Introduction
As a Windows user, it’s important to know which version of the operating system you are using. Whether you’re troubleshooting an issue, installing new software, or seeking compatibility information, understanding the version of Windows you have is essential.
Finding out what version of Windows you are running might seem like a complex task, but rest assured, it’s actually quite simple. In this article, we will guide you through various methods to determine the version of Windows you have installed on your computer.
Knowing the version of Windows you have is not only beneficial for personal reasons but also for staying up-to-date with the latest features, security patches, and support options provided by Microsoft. Different versions of Windows have varying capabilities and requirements, so being aware of your Windows version can help you make informed decisions about software compatibility and system upgrades.
Whether you’re using Windows 10, Windows 8.1, Windows 7, or even an older version like Windows XP, the methods included in this article will help you identify your Windows version with ease. So, without further ado, let’s dive into the different ways to determine what version of Windows you have on your PC.
Checking from the System Settings
One of the simplest ways to find out what version of Windows you are running is by checking the System Settings. Here’s how you can do it:
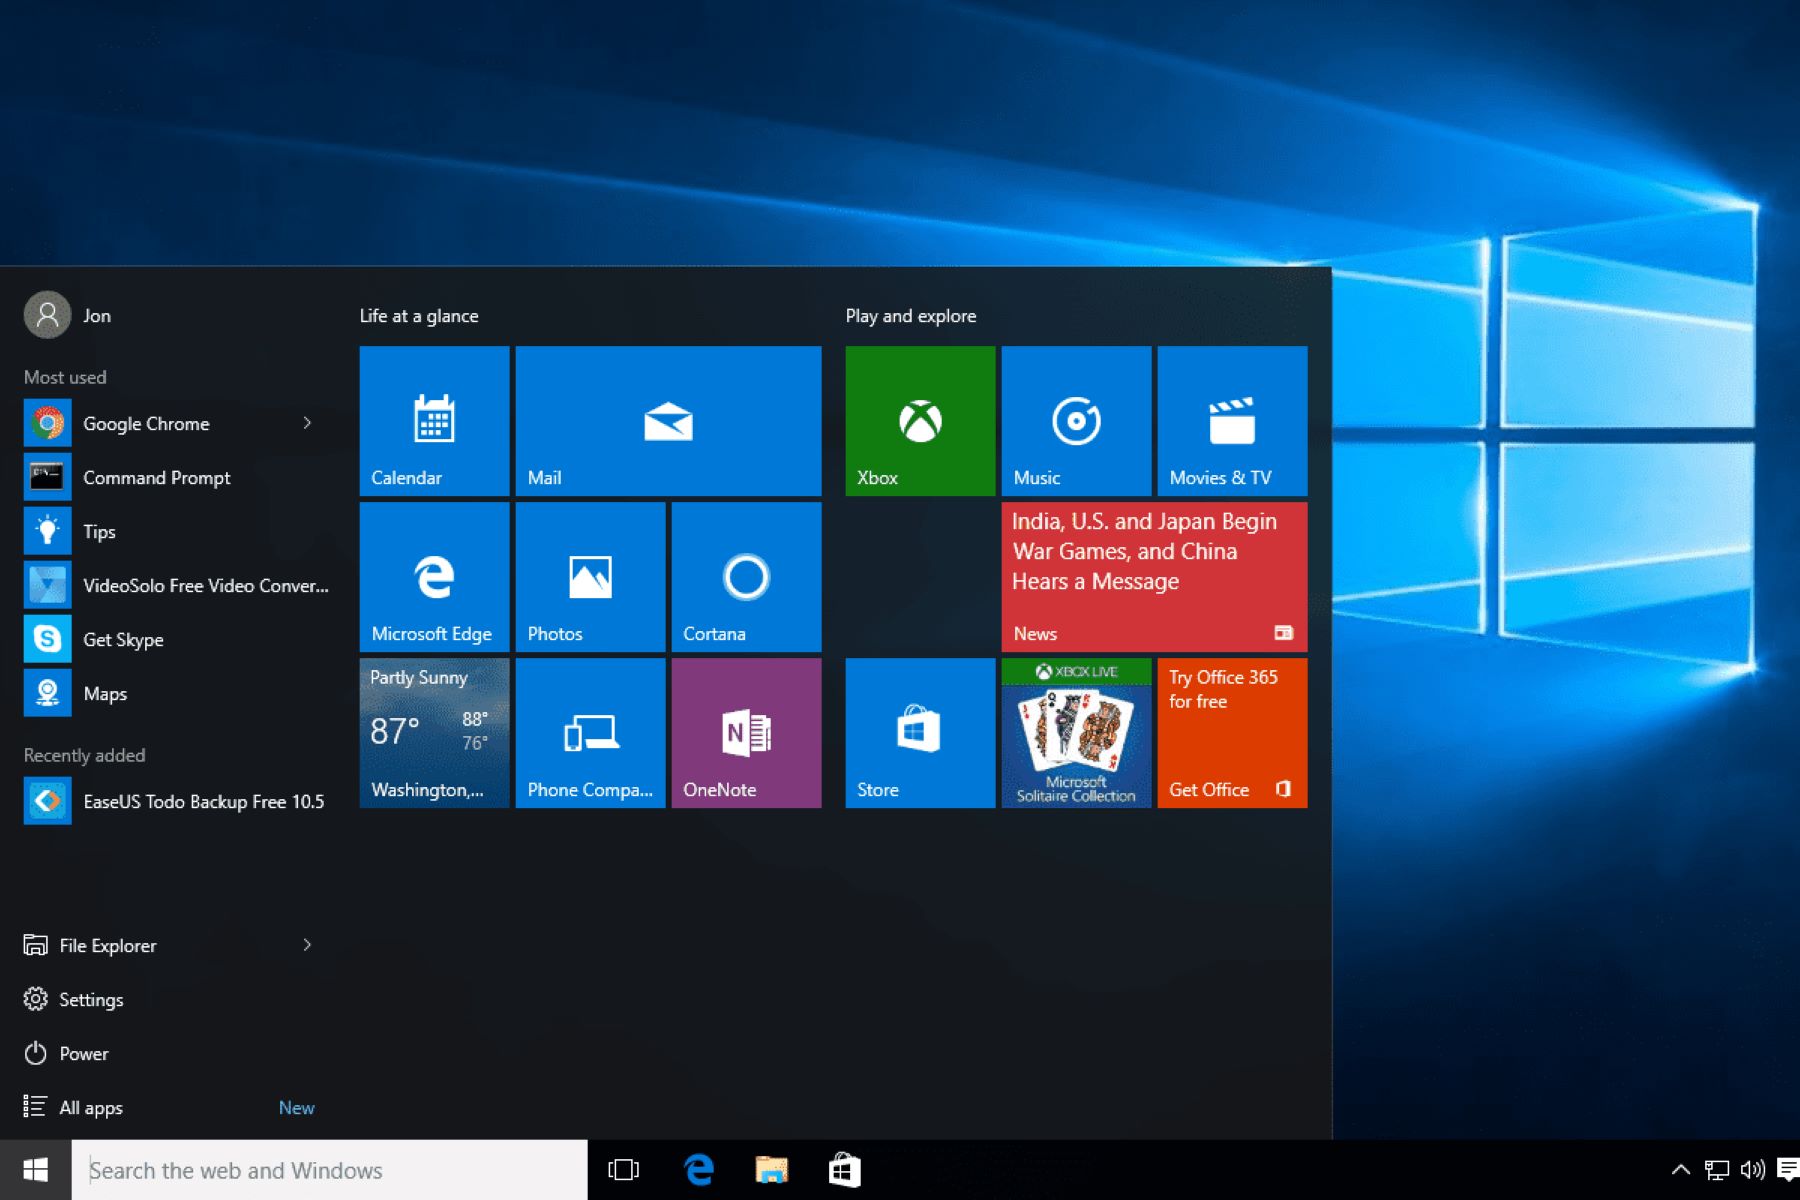
- Click on the “Start” button in the bottom left corner of your screen.
- Select the “Settings” gear icon, which resembles a gear.
- In the Settings window, click on the “System” option.
- From the left sidebar, select the “About” tab.
- Scroll down, and under the “Windows specifications” section, you will see the version and edition of Windows you are currently using.
The System Settings method is available on all recent versions of Windows, including Windows 10, Windows 8.1, and Windows 7. It allows you to quickly access information about your system, including the Windows version, build number, and edition.
This method is particularly useful if you’re using Windows 10, as it provides more detailed information about your system, such as the specific build number and the edition of Windows 10 (e.g., Home, Pro, Enterprise).
Keep in mind that the exact appearance and layout of the Settings window may vary slightly depending on the version of Windows you are using. However, the general path to accessing the System Settings and finding the Windows version should remain consistent across versions.
Using the Run Command
Another method to determine your Windows version is by using the Run command. Here’s how you can do it:
- Press the Windows key + R on your keyboard to open the Run dialog box.
- Type “winver” (without the quotes) into the Run box and press Enter.
- A small window titled “About Windows” will appear, displaying the version and build number of your Windows operating system.
The Run command method offers a quick and straightforward way to find your Windows version. It is available on multiple versions of Windows, including Windows 10, Windows 8.1, Windows 7, and earlier versions as well.
Using the Run command can be particularly helpful when you need to quickly retrieve your Windows version information without navigating through various settings menus. It provides a direct and convenient way to access the information you need with just a few keystrokes.
By using the Run command, you can also view additional details about your Windows version, such as the build number, which can be useful when troubleshooting or seeking specific software compatibility information.
Remember that the “winver” command is specific to Windows operating systems. If you are trying to find the version of another operating system, such as macOS or Linux, you will need to use different methods specific to those platforms.
Checking from the Control Panel
The Control Panel is a classic Windows tool that provides access to various system settings and configurations. It also allows you to find out what version of Windows you are using by following these steps:
- Press the Windows key + R on your keyboard to open the Run dialog box.
- Type “control” (without the quotes) into the Run box and press Enter.
- The Control Panel window will open. Make sure the view is set to “Icons” or “Large Icons” for easier navigation.
- Look for the “System” icon and click on it.
- In the System window, you will find information about your Windows version, edition, and system specifications.
Using the Control Panel method allows you to access a comprehensive overview of your system, including your Windows version and other relevant details. This method is available on various versions of Windows, from Windows 10 to Windows 7.
Checking from the Control Panel is particularly useful if you prefer the traditional interface and are familiar with navigating through system settings using this method. It provides a centralized location to access essential system information without having to delve into more advanced settings menus.
Remember that the appearance and layout of the Control Panel may differ slightly depending on the version of Windows you are using. However, the “System” option should be easily recognizable, as it is a commonly available and widely used component of the Control Panel.
Viewing the Windows Version in PC Settings
If you’re using Windows 10, the PC Settings menu provides a streamlined way to access and manage various system settings, including finding your Windows version. Follow the steps below to view your Windows version:
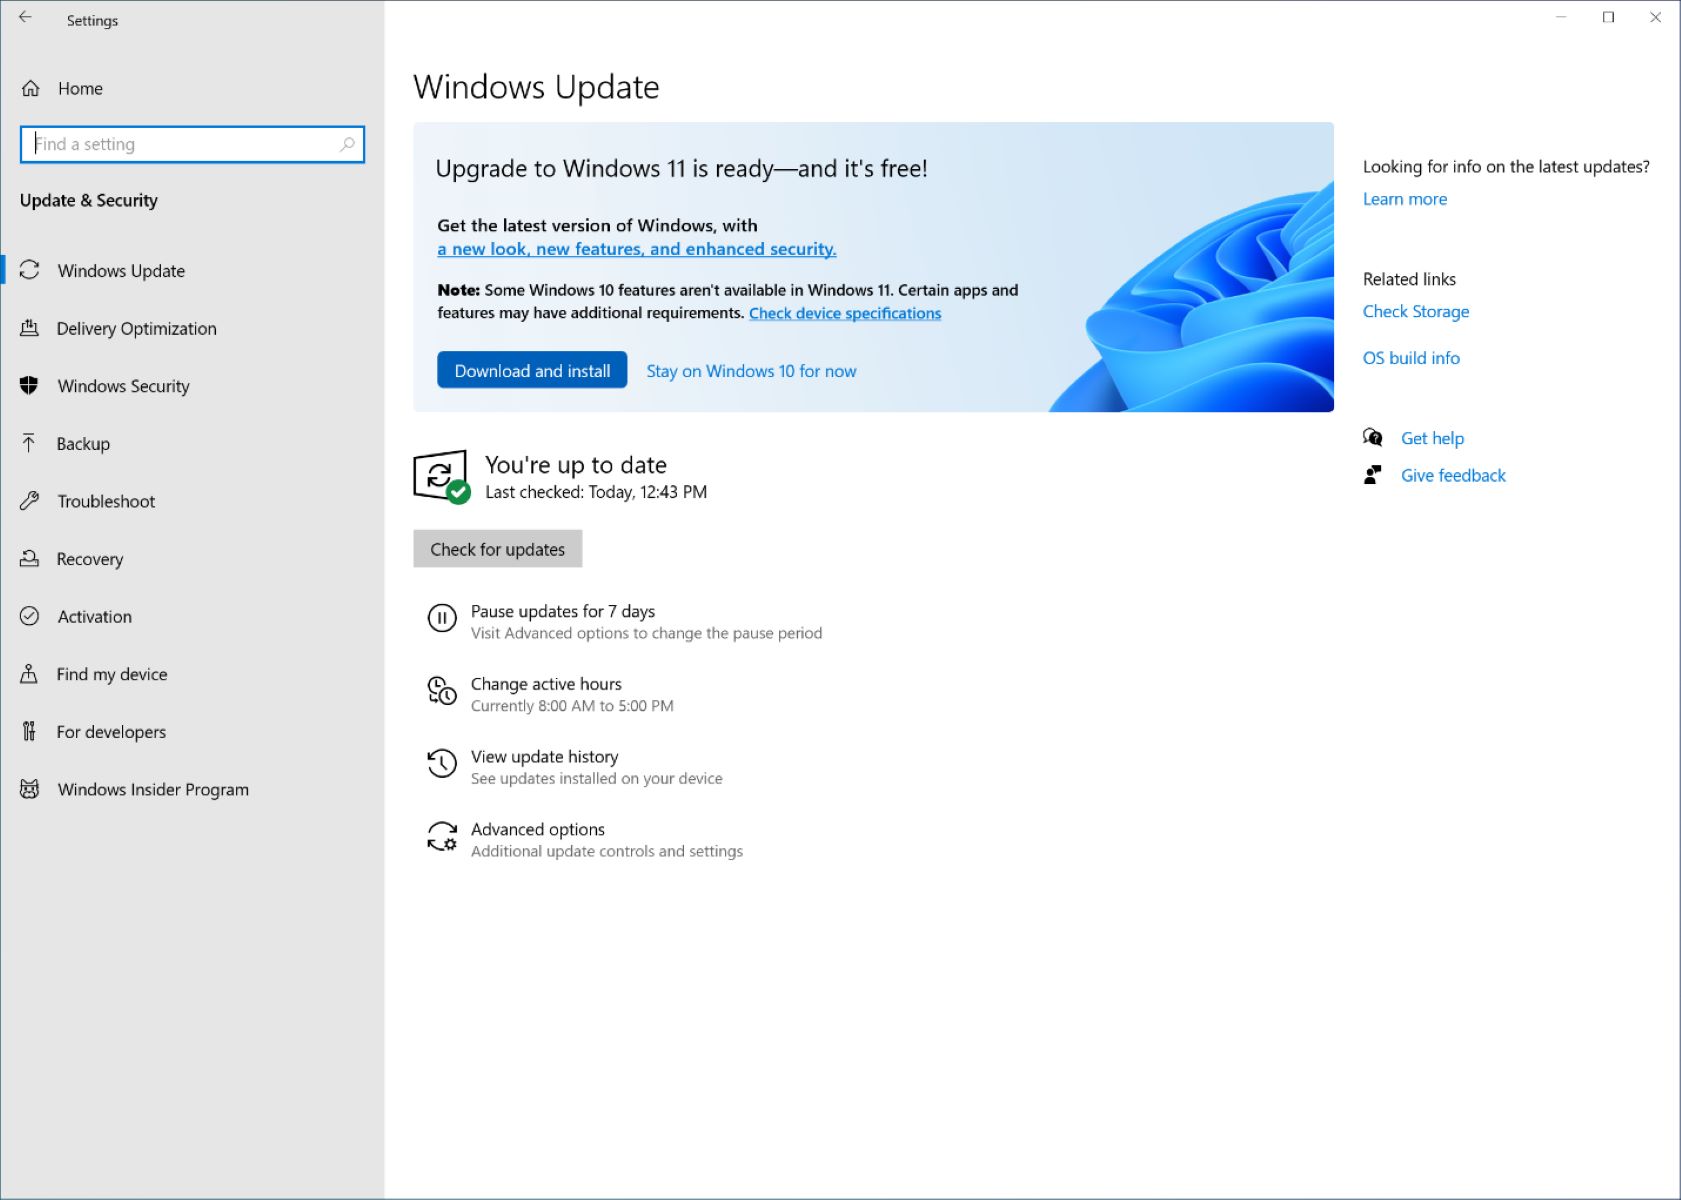
- Click on the “Start” button in the bottom left corner of your screen.
- Select the gear-shaped “Settings” icon to open the Settings menu.
- In the Settings window, click on the “System” option.
- From the left sidebar, select “About”.
- Under the “Windows specifications” section, you will find the version and edition of Windows you are currently using.
The PC Settings method provides a modern and well-organized interface for accessing system information and settings on Windows 10. It allows for easy navigation and provides a clear overview of your Windows version and other details.
By using the PC Settings option, you can quickly find the information you need without having to navigate through different menus or windows. The layout of the Settings menu in Windows 10 is designed to be user-friendly and intuitive, making it easier for users to find essential system information.
Keep in mind that this method is specific to Windows 10. If you’re using an older version of Windows, such as Windows 8.1 or Windows 7, you may need to use alternative methods mentioned in this article to check your Windows version.
Checking through the Command Prompt
If you’re comfortable working with the Command Prompt, you can use it to determine your Windows version. Here’s how:
- Open the Command Prompt by pressing the Windows key + R on your keyboard, then typing “cmd” (without the quotes) in the Run dialog box and pressing Enter.
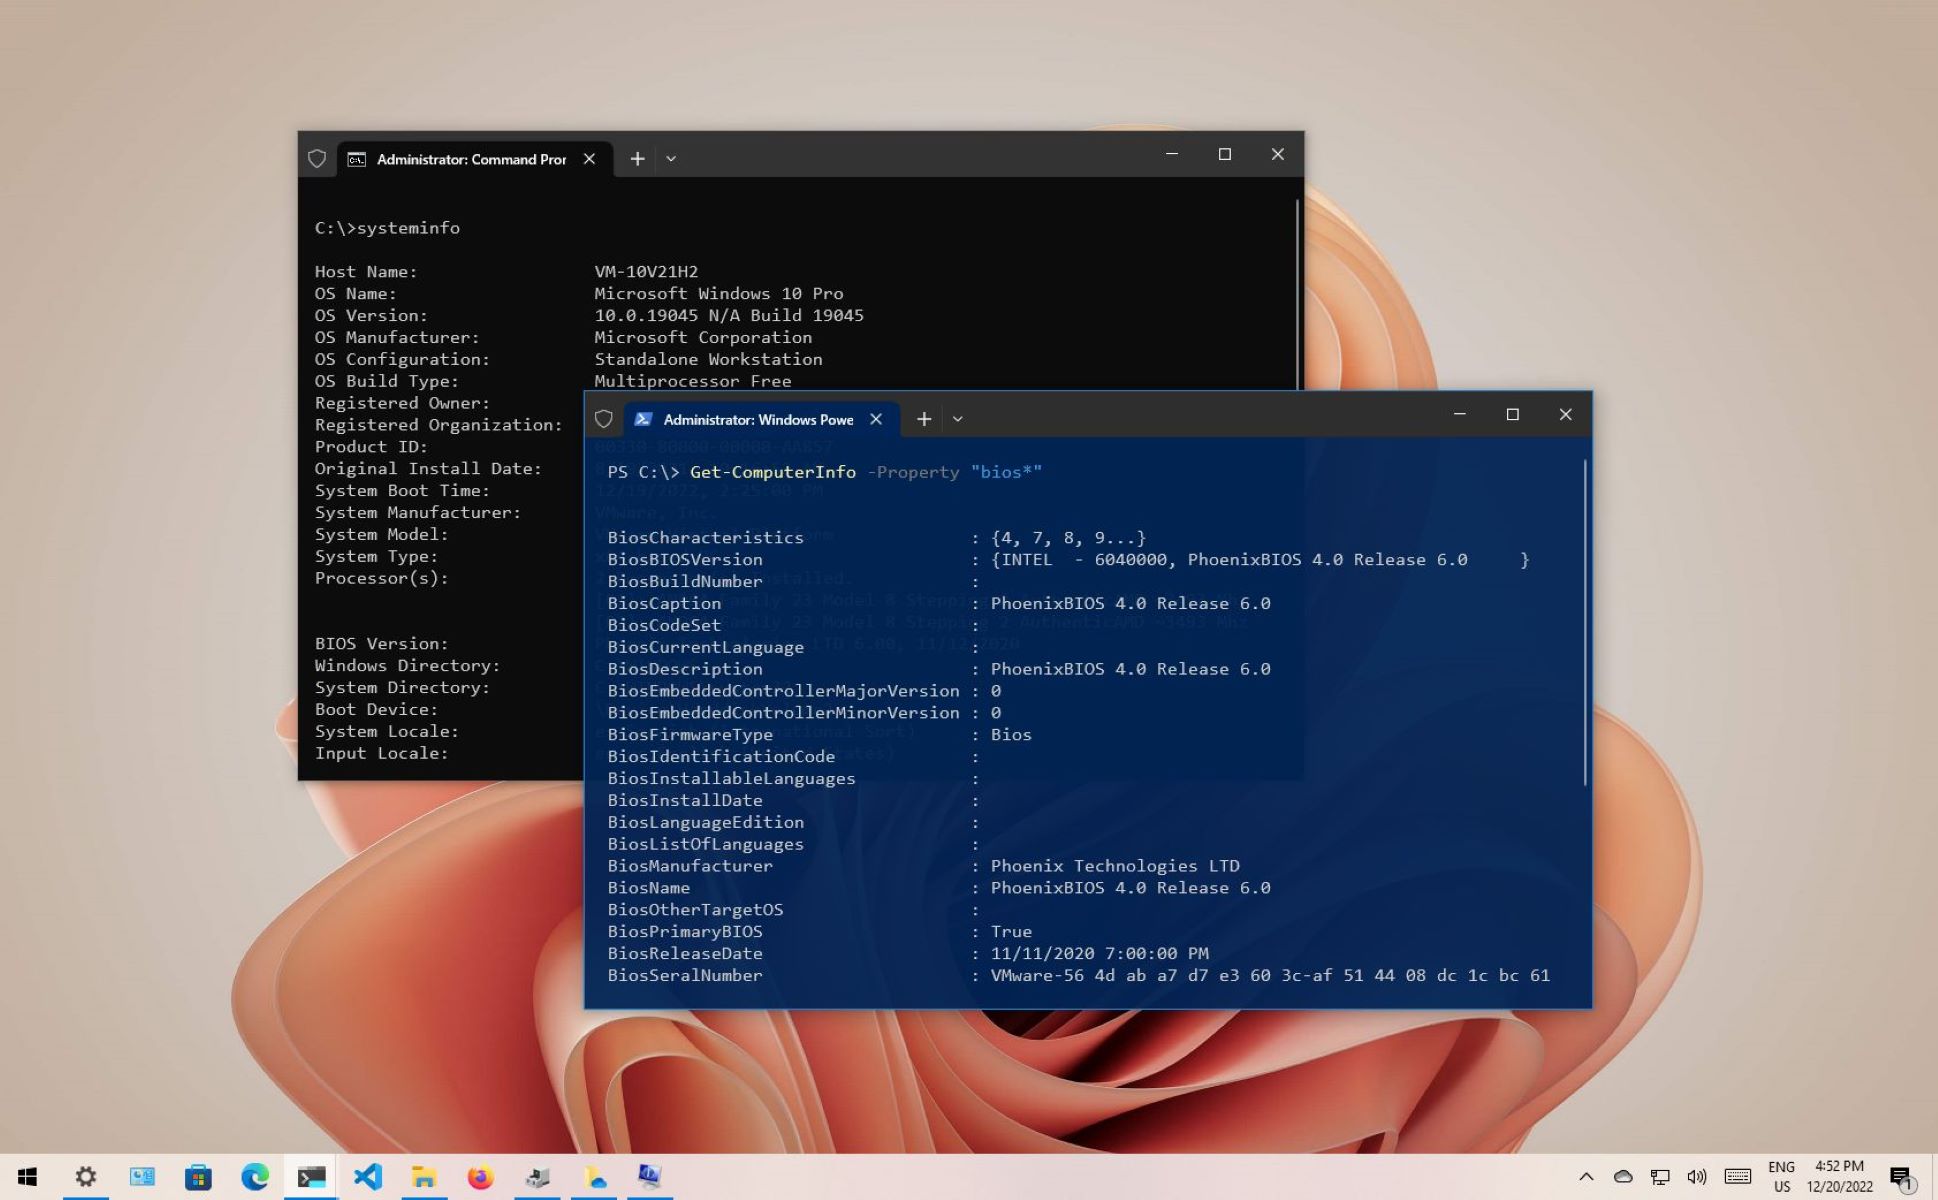
- In the Command Prompt window, type “
systeminfo” (without the quotes) and press Enter. - Wait for the system information to load. This might take a few seconds.
- Scroll through the list of system information until you find the “OS Name” and “OS Version” entries, which will indicate your Windows version.
The Command Prompt method gives you a detailed list of system information, including the Windows version, build number, installation date, and other relevant details. It is available on all versions of Windows, making it a versatile method for checking your Windows version.
Using the Command Prompt can be particularly useful if you prefer working with text-based commands or if you need to retrieve system information from a remote computer using command-line tools.
Keep in mind that the Command Prompt method requires some familiarity with navigating and executing commands in the Command Prompt interface. If you’re not comfortable with using the Command Prompt, you may want to consider using one of the other methods mentioned in this article.
Viewing the Windows Version on the Desktop
If you’re using certain versions of Windows, you can quickly check your Windows version by looking at the desktop itself. Here’s how:
- Go to your desktop by minimizing or closing any open windows.
- Right-click on an empty area of the taskbar (the bar at the bottom of the screen).
- In the context menu that appears, select the “Taskbar settings” option.
- In the “Taskbar settings” window, scroll down to the “Notification area” section, and click on the “Turn system icons on or off” link.
- In the next window, make sure the “Clock” toggle switch is turned on.
- Now, look at the system tray in the bottom-right corner of the screen, near the clock. The Windows version will be displayed there.
This method allows you to quickly view your Windows version without accessing any settings or running commands. It is available on certain versions of Windows, including Windows 10, Windows 8.1, and Windows 7.
By enabling the clock in the system tray, you not only have access to the current time but also gain immediate visibility of your Windows version. It is a convenient and easily accessible method for checking your Windows version when you’re working on the desktop.
However, keep in mind that this method may not display the exact build number or other specific details about your Windows version. For more in-depth information, you may need to use one of the other methods mentioned in this article.
Checking the Windows Version Using PowerShell
If you’re familiar with PowerShell, you can leverage its capabilities to quickly determine your Windows version. Here’s how:
- Open PowerShell by pressing the Windows key + R on your keyboard, then typing “powershell” (without the quotes) in the Run dialog box and pressing Enter.
- In the PowerShell window, type the following command and press Enter:
Get-CimInstance -ClassName Win32_OperatingSystem | Select-Object Caption, Version - Wait for PowerShell to execute the command. The output will display the Caption and Version properties, which indicate your Windows version.
The PowerShell method provides a powerful and flexible way to gather information about your Windows version. It is available on all recent versions of Windows, including Windows 10, Windows 8.1, and Windows 7.
Using PowerShell allows you to easily retrieve specific system information, including the Windows version and build number, in a command-line interface. This method can be particularly useful for those who work with scripting, automation, or administrative tasks on Windows systems.
Remember that PowerShell commands may require some familiarity with the syntax and structure of PowerShell. If you’re new to PowerShell, you may want to refer to online resources or guides for more detailed instructions on using PowerShell to retrieve system information.
Identifying the Windows Version through File Explorer
Another method to determine your Windows version is by using File Explorer. Here’s how you can do it:
- Open File Explorer by pressing the Windows key + E on your keyboard.
- In the File Explorer window, navigate to the main drive where your Windows operating system is installed (usually the C: drive).
- Find and locate the “Windows” folder in the directory.
- Inside the “Windows” folder, look for a file named “win.ini”.
- Right-click on the “win.ini” file and select “Open with” from the context menu.
- Choose a text editor, such as Notepad, to open the file.
- In the opened “win.ini” file, look for a line that begins with “Version=”.
- The value following “Version=” indicates your Windows version.
Using File Explorer to identify your Windows version offers an alternative method to access system information. This method is applicable to various versions of Windows, including Windows 10, Windows 8.1, Windows 7, and older versions as well.
By locating and examining the “win.ini” file within the Windows folder, you can retrieve information about your Windows version. This method can be useful when other methods, such as System Settings or Control Panel, are unavailable or less accessible.
It’s important to note that modifying or deleting any files within the Windows folder can cause system issues, so exercise caution when working with system files in File Explorer.
Conclusion
Identifying the version of Windows you are using is crucial for various reasons, including troubleshooting problems, ensuring software compatibility, and staying up-to-date with the latest features and security patches provided by Microsoft. Throughout this article, we have explored several methods to help you determine your Windows version.
From checking the System Settings and using the Run command to navigating the Control Panel and PC Settings, these methods provide quick and straightforward ways to find the version of Windows you have installed on your computer. Additionally, utilizing the Command Prompt, viewing the desktop, and leveraging PowerShell or File Explorer offer alternative approaches for retrieving your Windows version.
Each method offers its own advantages, whether it’s simplicity, speed, or access to detailed system information. Depending on your level of comfort and familiarity with different tools, you can choose the method that suits you best.
Remember to be mindful of the specific version of Windows you are using, as the appearance and layout of menus and settings may vary slightly. However, the general instructions provided in this article should guide you regardless of the specific version.
Knowing your Windows version allows you to make informed decisions regarding software compatibility, system requirements, and troubleshooting steps. It also helps you stay updated on new features and improvements from Microsoft.
We hope that this guide has provided you with the knowledge and tools to easily determine your Windows version. By being aware of your Windows version, you can optimize your computing experience and ensure a seamless and compatible environment.