Introduction
Welcome to this guide on how to hibernate your Windows 10 device. Hibernation is a fantastic feature that allows you to save your current session and power down your computer, while preserving all open documents, applications, and settings. When you turn your device on again, everything will be exactly as you left it, making hibernation a convenient and efficient way to resume work or continue tasks.
Hibernation is especially useful for laptop users, as it helps conserve battery life when you’re not using your device. By hibernating your Windows 10 laptop instead of shutting it down, you can quickly resume your work without the need to reopen applications and documents.
This guide will walk you through the process of enabling hibernation on your Windows 10 device, as well as using different methods to hibernate and resume from hibernation. Additionally, we’ll provide troubleshooting tips to help you resolve any hibernation-related issues you may encounter.
Whether you’re a student who frequently needs to pause their work or a professional who wants to save time and increase productivity, hibernating your Windows 10 device can be a game-changer. Let’s dive in and explore the world of hibernation on Windows 10, and harness the power of this feature to take control of your productivity.
What is hibernation?
Hibernation is a power-saving state that allows you to save the current state of your Windows 10 device and shut it down completely. Unlike sleep mode, which uses a small amount of power to keep your device in a low-power state, hibernation saves everything in your computer’s memory to the hard drive, effectively powering off your device.
When you hibernate your Windows 10 device, all open files, applications, and system settings are stored on the hard drive. This means that when you turn your device back on, it will resume exactly where you left off, with all your programs and documents still open and ready for use.
One of the main advantages of hibernation over other power-saving options is that it allows you to preserve your work even when the device is not connected to a power source. This makes hibernation particularly useful for laptop users who need to conserve battery life while keeping their work intact.
Another benefit of hibernation is its ability to speed up the startup process. Since the device doesn’t have to go through the complete booting sequence and reopen all the previously running programs, resuming from hibernation is usually faster than starting up from a cold boot.
It’s important to note that hibernation does not mean the same thing as shutting down your device. When you shut down your Windows 10 device, all open files and programs are closed, and the system is completely powered off. In contrast, hibernation allows you to save your work and quickly resume it later without having to go through the process of reopening everything.
Now that you have a clear understanding of what hibernation is and its benefits, let’s explore how to check if hibernation is enabled on your Windows 10 device and how to enable it if it’s not already activated.
Reasons to hibernate your Windows 10 device
There are several compelling reasons why you should consider hibernating your Windows 10 device. Let’s explore some of the key benefits:
- Battery life preservation: Hibernation is an excellent power-saving option for laptop users. By hibernating your device instead of shutting it down, you can save battery life while keeping all your applications and documents open. This allows you to quickly resume your work without having to reopen and reposition everything.
- Instant startup: Resuming from hibernation is much faster than starting up from a complete shutdown. Since everything is saved in memory, the system can quickly restore your previous session, allowing you to jump right back into your workflow.
- Work interruption prevention: Hibernation is a great way to pause your work without worrying about losing any progress. Whether you’re in the middle of an important document, a creative project, or a research task, hibernating your device allows you to easily pick up where you left off, eliminating the need to save and close everything.
- Multi-tasking efficiency: Hibernation is particularly beneficial for users who frequently switch between different tasks or projects. Instead of closing all applications and files related to one project to work on another, you can simply hibernate your device and resume from where you left off when you’re ready to continue your work.
- System resource conservation: Hibernation helps optimize system resources. When you hibernate your device, it frees up memory and CPU usage, allowing your computer to run smoother and more efficiently. This can be especially helpful if you’re working on resource-intensive tasks or have limited system resources.
- Safe and reliable: Hibernation ensures that your work is saved and preserved, even in the event of a power outage or unexpected shutdown. By storing everything on the hard drive, you reduce the risk of data loss and minimize the chances of encountering corrupted files or unsaved changes.
By taking advantage of the hibernation feature on your Windows 10 device, you can enjoy increased productivity, convenience, and peace of mind. Now that you understand the benefits of hibernation, let’s move on to checking if hibernation is enabled on your device and enabling it if necessary.
Checking if hibernation is enabled
Before you can hibernate your Windows 10 device, it’s important to check if the hibernation feature is enabled. Here’s how you can do it:
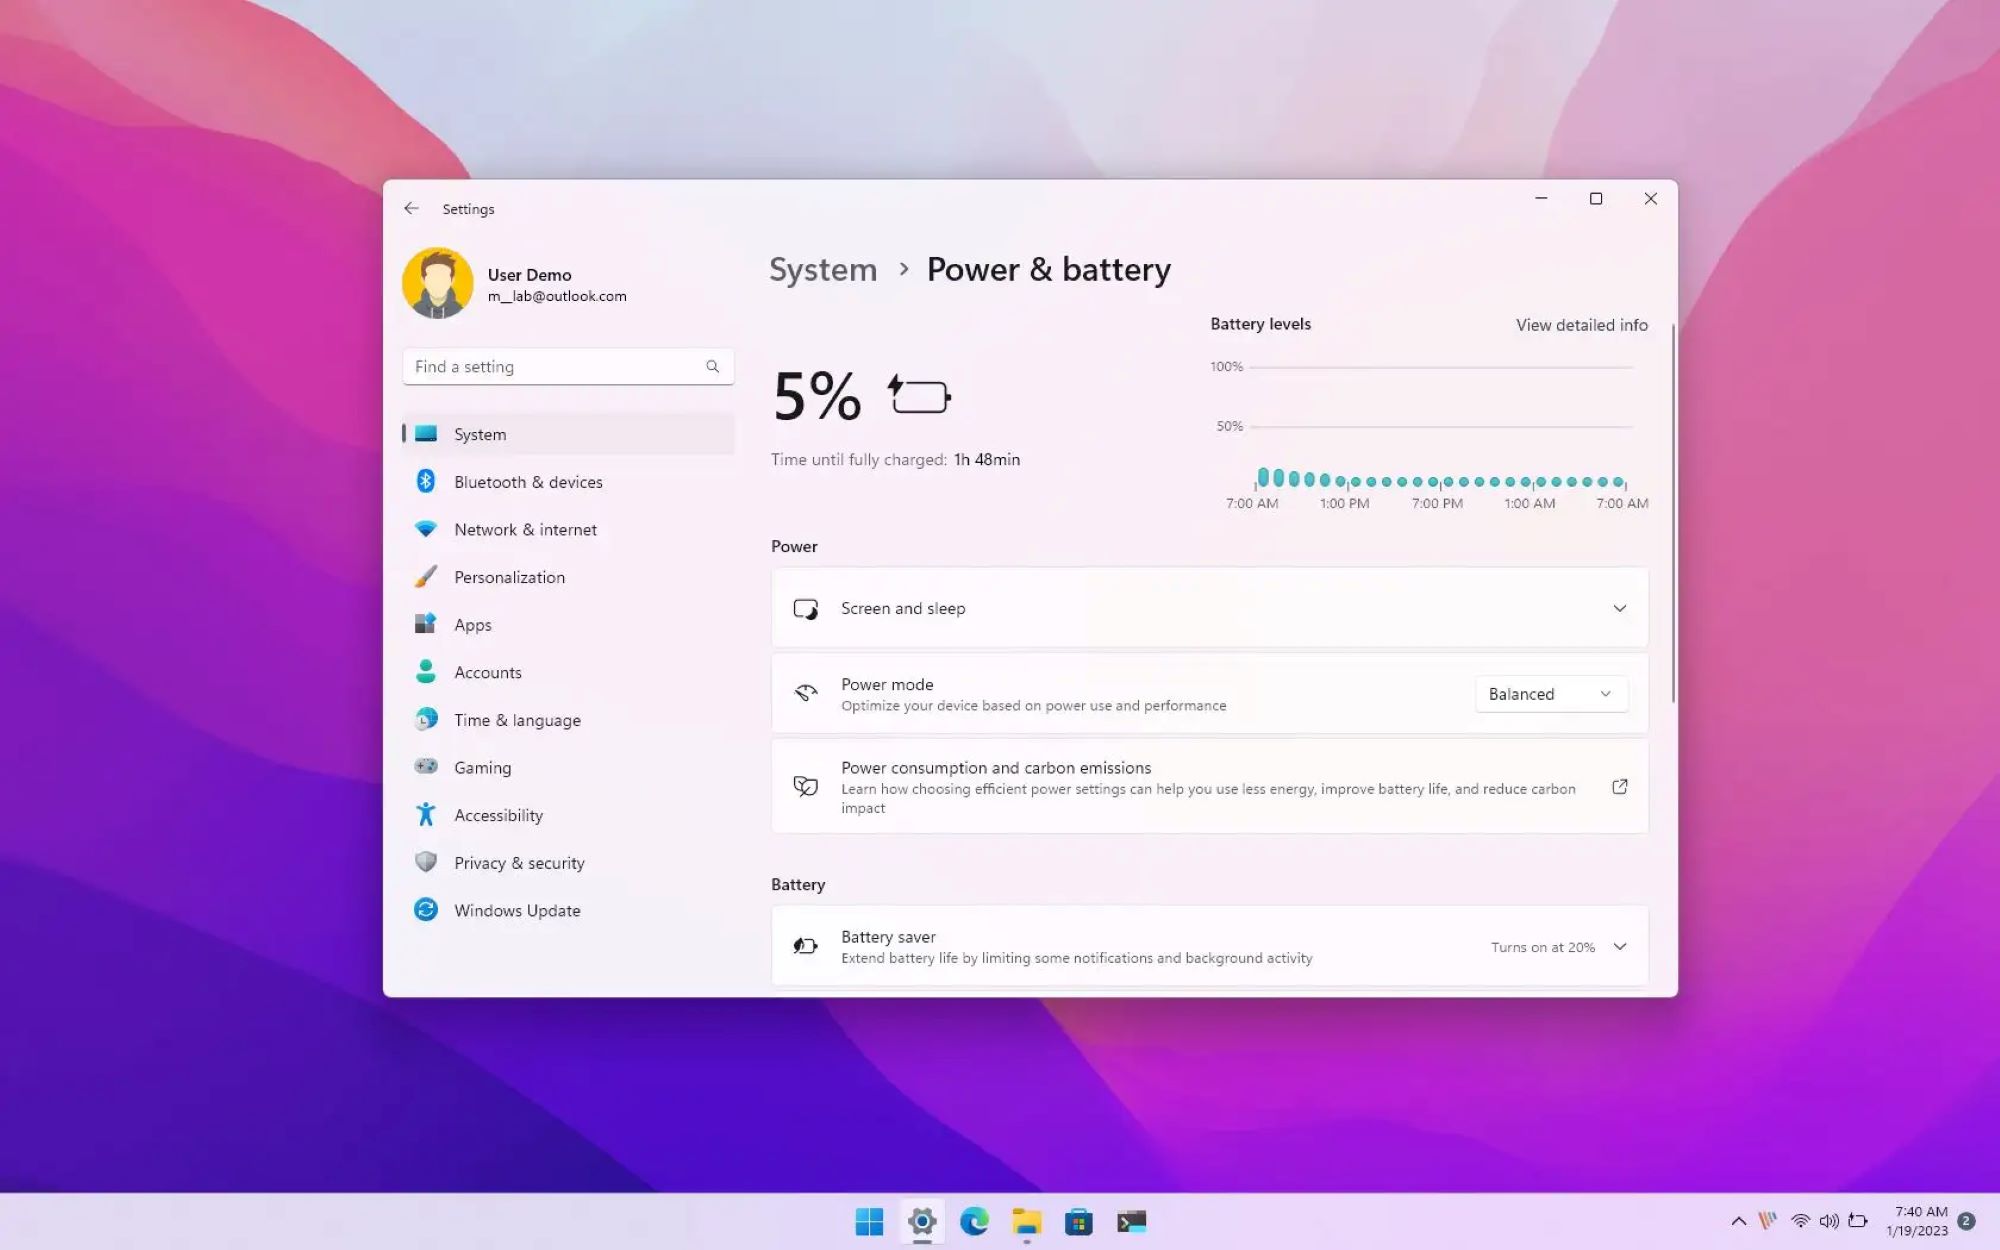
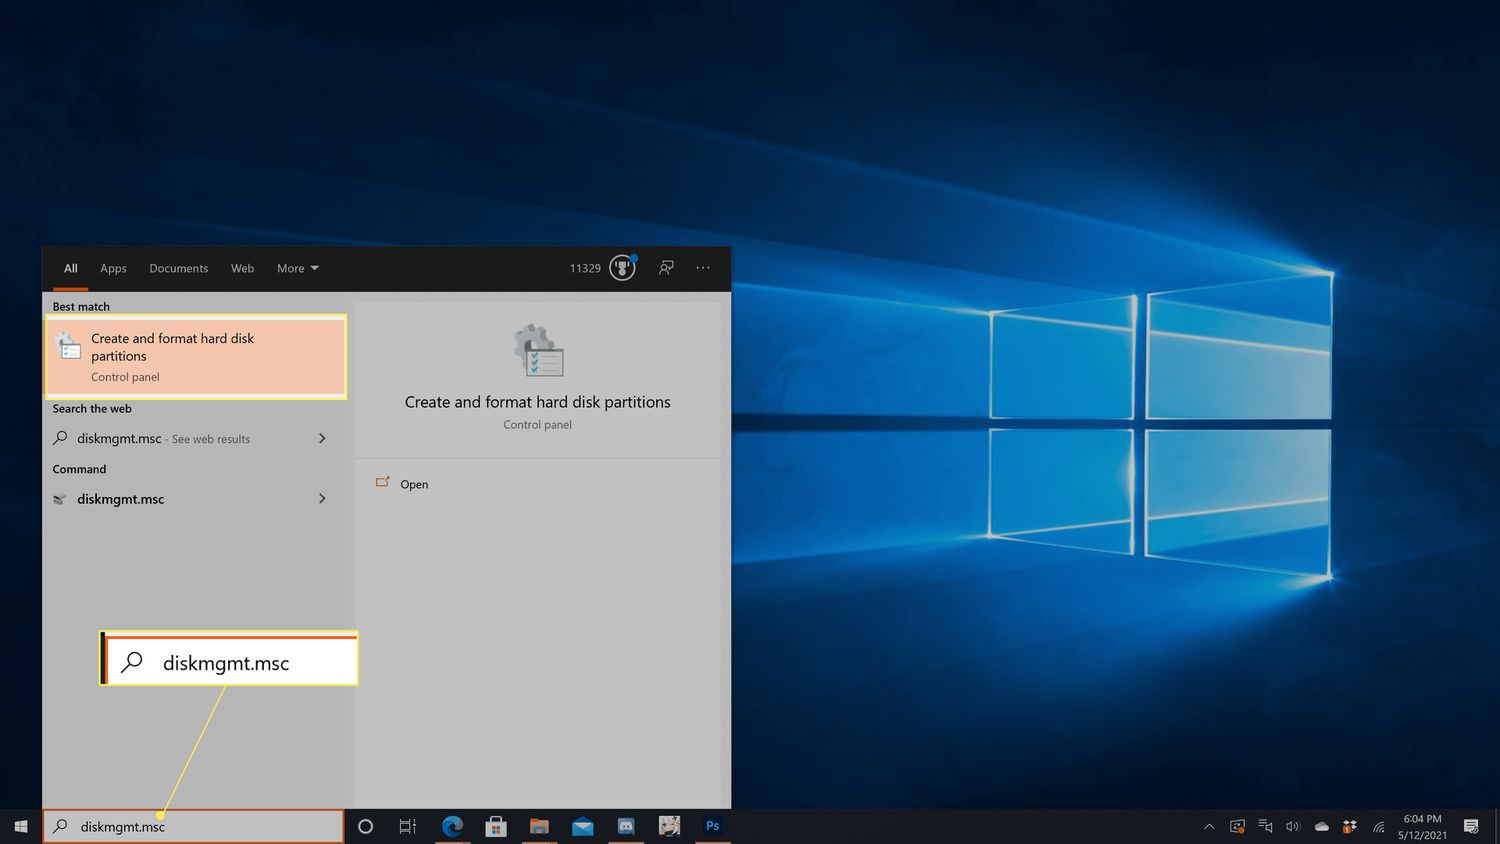
- Open Power Options: Click on the Start button and type “Power Options” in the search bar. Select “Power Options” from the list of results to open the Power Options menu.
- Select the current power plan: In the Power Options window, you’ll see the active power plan highlighted. Click on “Change plan settings” next to the active power plan to access its settings.
- View advanced power settings: In the Edit Plan Settings window, click on the “Change advanced power settings” link. This will open the Advanced Power Options dialog box.
- Expand the ‘Sleep’ category: In the Advanced Power Options dialog box, scroll down until you see the “Sleep” category. Click on the small arrow next to it to expand the options.
- Check the availability of ‘Hibernate’: Within the Sleep category, look for the option called “Hibernate after.” If this option is visible, it means that hibernation is enabled on your Windows 10 device. You can customize the time duration after which the device will automatically hibernate.
- If hibernation is not available: If you don’t see the “Hibernate after” option, it means that hibernation is disabled on your device. Don’t worry – we’ll guide you on how to enable it in the next section.
By following these simple steps, you can quickly check if hibernation is enabled on your Windows 10 device. If you find that hibernation is not available, don’t worry – the next section will show you how to enable it so you can start taking advantage of this convenient feature.
How to enable hibernation on Windows 10
If hibernation is not enabled on your Windows 10 device, you can follow these steps to enable it:
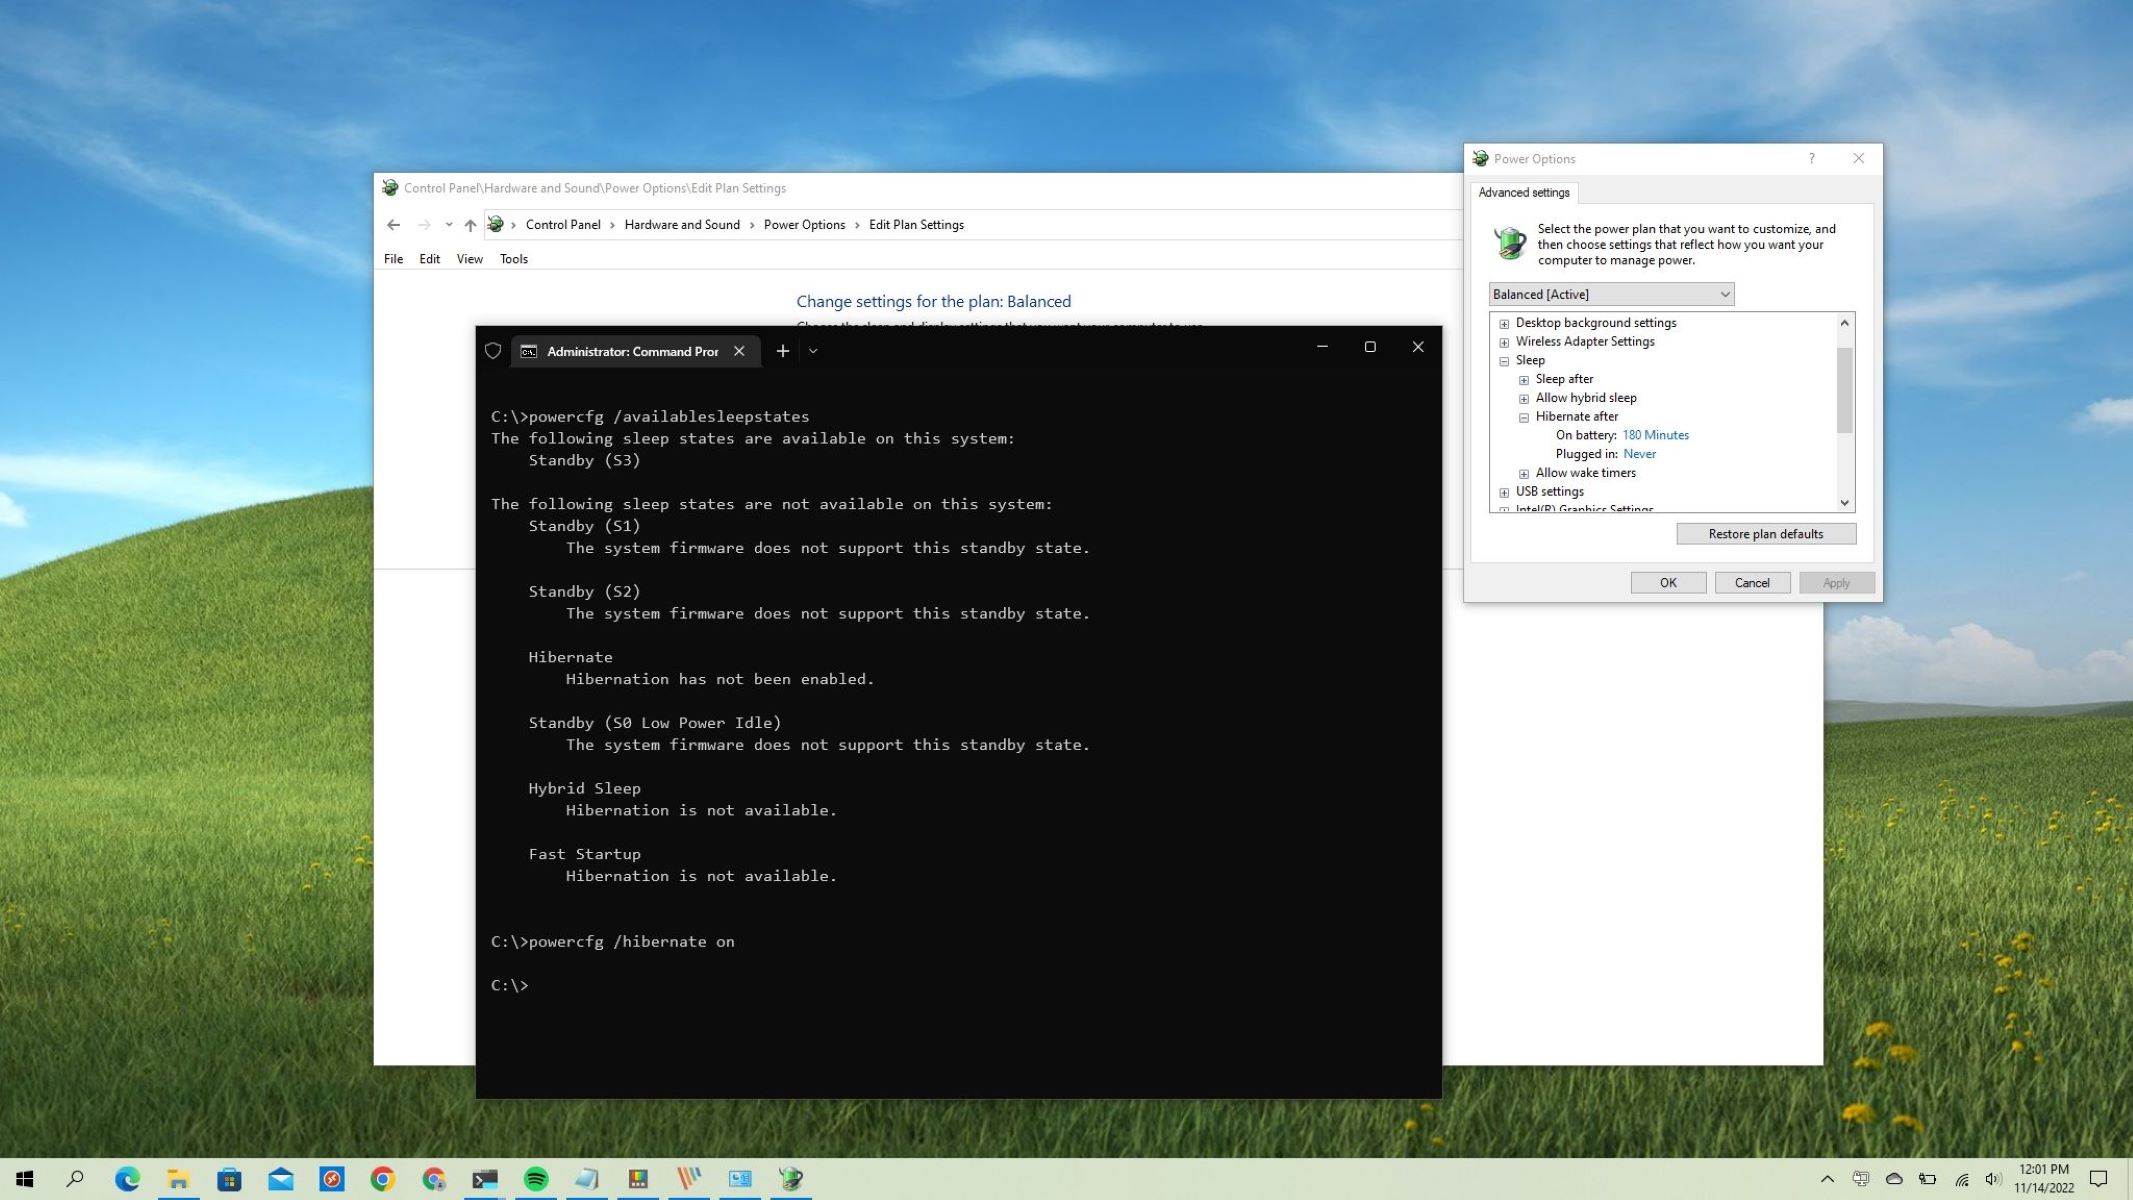
- Open Command Prompt as an administrator: Right-click on the Start button and select “Command Prompt (Admin)” from the context menu. This will open the Command Prompt with administrator privileges.
- Enter the command: In the Command Prompt window, type the following command and press Enter:
powercfg /hibernate on. This command will enable the hibernation feature on your Windows 10 device. - Check if hibernation is enabled: After executing the command, close the Command Prompt window and follow the steps outlined in the previous section to check if hibernation is now available in the Power Options menu. You should see the “Hibernate after” option if hibernation is successfully enabled.
- Adjust hibernation settings: If you want to customize the hibernation settings, such as the time duration before hibernation or the behavior when the device is running on battery power, you can do so by accessing the Advanced Power Options as described in the previous section. This will allow you to tailor the hibernation feature to your specific preferences.
By following these steps, you can easily enable hibernation on your Windows 10 device and start taking advantage of its benefits. Now that hibernation is enabled, let’s explore the different methods you can use to hibernate your device.
Using the Power Options menu to hibernate
Once hibernation is enabled on your Windows 10 device, you can use the Power Options menu to easily hibernate your computer. Here’s how:
- Open the Power Options menu: Click on the Start button and type “Power Options” in the search bar. Select “Power Options” from the list of results to open the Power Options menu.
- Select the desired power plan: In the Power Options menu, you’ll see a list of available power plans. Choose the power plan that you want to use and click on “Change plan settings” next to it.
- Customize the power plan: In the Edit Plan Settings window, you can customize various settings for the selected power plan. Look for the option called “Change advanced power settings” and click on it.
- Access the power buttons and lid options: In the Advanced Power Options dialog box, scroll down until you find the “Power buttons and lid” category. Click on the small arrow next to it to expand the options.
- Configure the power button action: Within the “Power buttons and lid” category, locate the option called “Power button action” and click on it. This will expand the settings for the power button.
- Select the hibernate action: In the “Power button action” settings, you’ll see a drop-down menu next to the options “On battery” and “Plugged in.” Click on the menu and choose the “Hibernate” option for either or both scenarios, depending on your preference.
- Save the changes: After selecting the hibernate action, click on the “Apply” button and then click on “OK” to save the changes.
Once you have configured the power button action to hibernate, you can easily hibernate your Windows 10 device by simply pressing the power button. When you’re ready to resume your work, just press the power button again to wake up your computer, and it will quickly restore your previous session.
Hibernating your Windows 10 device using the Power Options menu provides a convenient and easily accessible way to save your work and power down your computer. However, if you prefer using the Start menu or a keyboard shortcut to hibernate, we’ll cover those methods in the next sections.
Using the Start menu to hibernate
If you prefer using the Start menu to hibernate your Windows 10 device, you can do so by following these steps:
- Open the Start menu: Click on the Start button located at the bottom left corner of your screen or press the Windows key on your keyboard to open the Start menu.
- Access the Power button options: In the Start menu, you’ll see your user account picture or avatar at the top left corner. Click on it to expand a list of options.
- Choose the Hibernate option: Within the options list, you’ll find the “Power” section. Click on “Hibernate” to initiate the hibernation process.
- Wait for the hibernation: After selecting the Hibernate option, your Windows 10 device will begin the hibernation process. The screen might turn off, and your device will go into a low-power state, with all your open applications and files saved.
- Resume from hibernation: To wake up your computer from hibernation and resume your work, press the power button on your device. Windows 10 will quickly restore your previous session, allowing you to pick up where you left off.
Using the Start menu to hibernate your Windows 10 device provides a simple and intuitive method for conserving power and saving your work. It’s especially useful for users who prefer using the Start menu as their primary navigation tool.
Now that you know how to hibernate using the Start menu, let’s explore another quick and convenient method – using a keyboard shortcut to hibernate.
Using a keyboard shortcut to hibernate
If you prefer using keyboard shortcuts for quick access to features on your Windows 10 device, you can use a keyboard shortcut to hibernate. Follow these steps to set up and use a keyboard shortcut for hibernation:
- Create a desktop shortcut: Right-click on an empty space on your desktop and select “New” from the context menu. Then, choose “Shortcut” to create a new shortcut.
- Enter the hibernation command: In the “Create Shortcut” window, type the following command in the location field:
%windir%\system32\shutdown.exe /h. Click “Next” to proceed. - Choose a name for the shortcut: Give a name to the shortcut, such as “Hibernate,” and click “Finish.” The shortcut will be created on your desktop.
- Assign a keyboard shortcut: Right-click on the newly created shortcut and select “Properties” from the context menu. In the Properties window, click on the “Shortcut” tab, and then click on the “Shortcut key” field.
- Set the keyboard shortcut: Press the desired keyboard combination that you want to assign as the shortcut. For example, you can press Ctrl + Alt + H. The chosen keyboard shortcut will be automatically displayed in the “Shortcut key” field.
- Apply the changes: Click on “Apply” and then “OK” to save the changes. Your keyboard shortcut for hibernation is now set up.
To hibernate your Windows 10 device using the keyboard shortcut, simply press the assigned key combination (e.g., Ctrl + Alt + H). Your computer will quickly go into hibernation, preserving your open programs and documents.
Using a keyboard shortcut provides a convenient way to hibernate your Windows 10 device without having to navigate through menus or use the mouse. It’s especially useful for users who prefer quick access to features and want to streamline their workflow.
Now that you know how to use a keyboard shortcut to hibernate, let’s move on to the next section, where we’ll discuss resuming from hibernation.
Resuming from hibernation
After hibernating your Windows 10 device, you can easily resume your work and pick up where you left off. Here’s how you can do it:
- Press the power button: To wake up your computer from hibernation, simply press the power button on your device. This will initiate the wake-up process.
- Wait for the system to restore: Once you press the power button, Windows 10 will begin restoring your previous session. Depending on your computer’s speed and the amount of data saved, it may take a moment for the system to fully wake up.
- Enter your password: If you have set up a password or PIN to lock your computer, you will be prompted to enter it after the resume process is complete. Enter your credentials to access your desktop and continue your work.
- Verify the restored session: Upon logging in, you’ll find that all your open applications and files are restored exactly as you left them before hibernating. You can now seamlessly resume your tasks without the need to reopen or recover anything.
Resuming from hibernation is a quick and straightforward process. It allows you to get back to work efficiently and saves you the time and effort of reopening and setting up your applications and files from scratch.
Now that you know how to resume from hibernation, it’s essential to be aware of any potential issues that may arise and how to troubleshoot them. In the next section, we’ll cover some common hibernation issues and their solutions.
Troubleshooting hibernation issues
While hibernation is generally a reliable feature, there may be instances where you encounter issues or face difficulty in hibernating your Windows 10 device. Here are some common hibernation issues and their possible solutions:
- Hibernation option not available: If you don’t see the hibernate option in the Power Options menu or other hibernation settings, it’s likely because hibernation is disabled. In this case, refer back to the section on enabling hibernation and follow the steps to enable it on your device.
- System not waking up from hibernation: If your device fails to wake up from hibernation when you press the power button, try pressing and holding the power button for a few seconds to force a complete shutdown. Then, turn on your device again and check if it resumes normally.
- Hardware compatibility issues: Certain hardware components or drivers may cause conflicts with hibernation. To troubleshoot this, ensure that your device’s drivers are up to date. You can visit the manufacturer’s website or use Windows Update to check for driver updates.
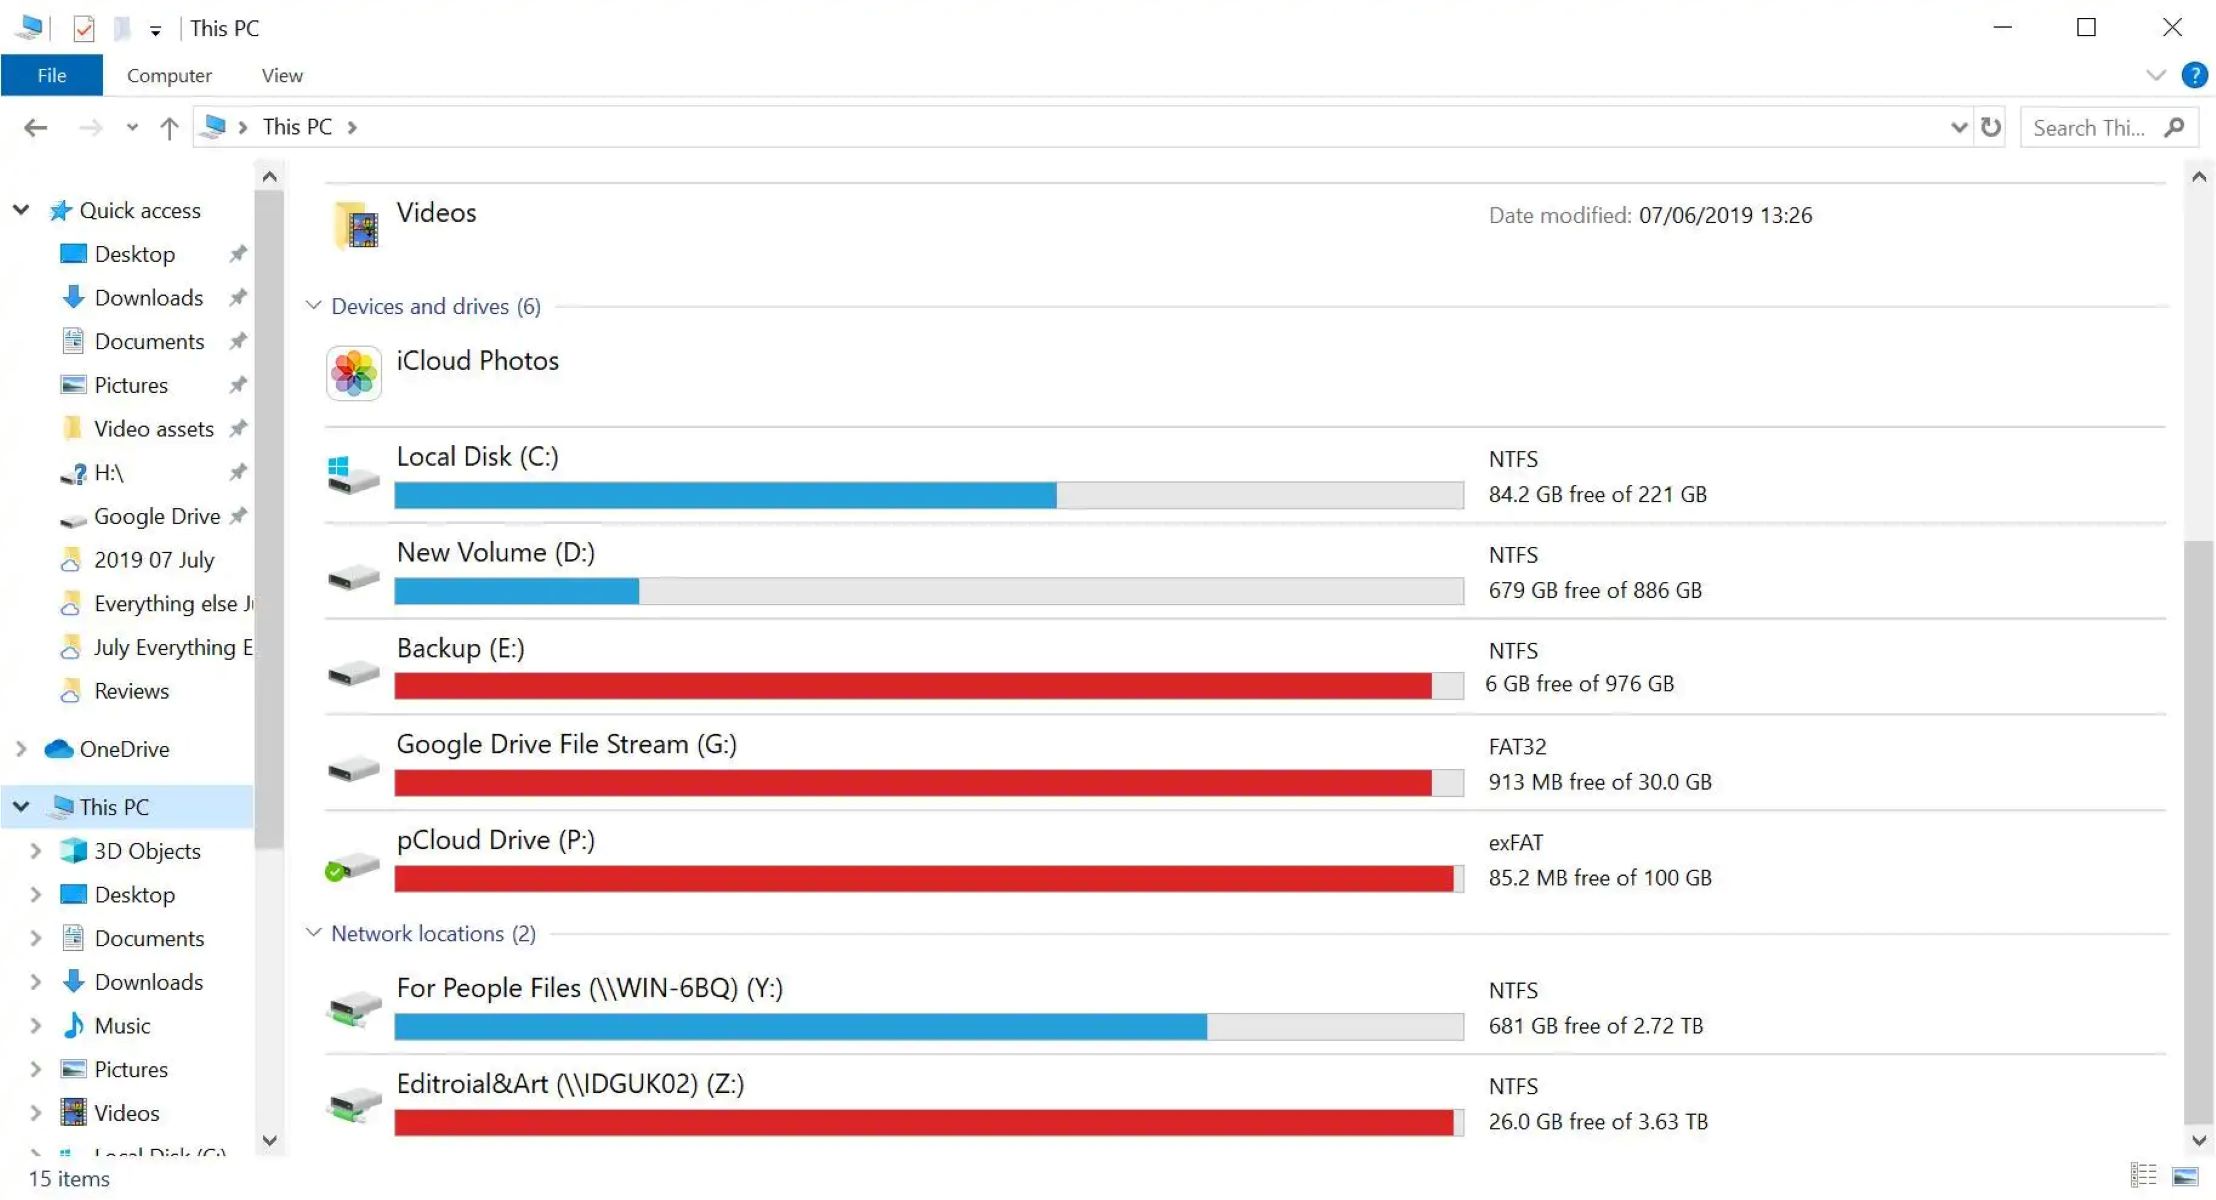
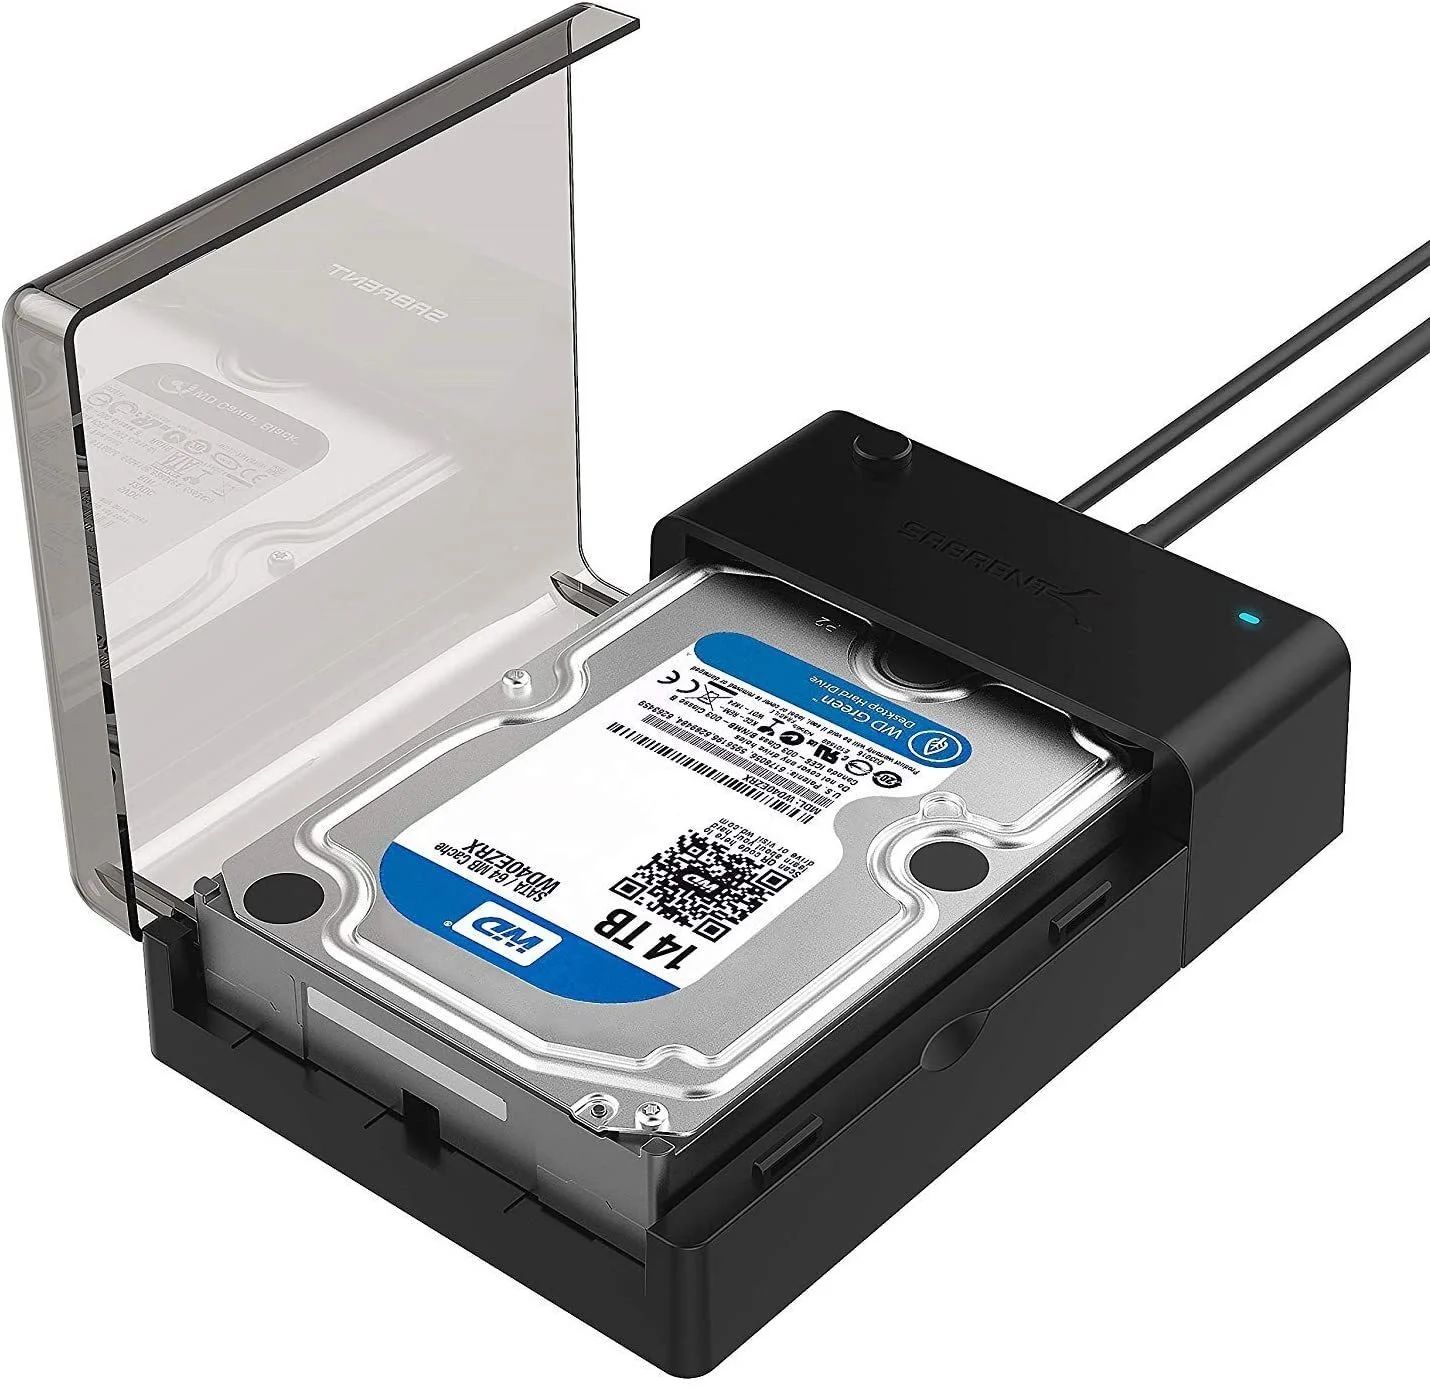
- Insufficient disk space: If you encounter hibernation issues, particularly failures to hibernate or errors during restoration, it may be due to insufficient disk space. Make sure you have enough free space on your hard drive for the hibernation file. Cleaning up unnecessary files or moving data to an external storage device may help resolve this issue.
- Power settings interfering with hibernation: Incorrect power settings or incompatible settings may prevent hibernation. Double-check and modify your power plan settings to allow hibernation and ensure that the correct actions are assigned to the power button and lid close events.
- Software conflicts or background processes: Certain software programs or background processes may interfere with hibernation. Close any unnecessary applications or processes before attempting to hibernate. Additionally, consider running a malware scan to check for any malicious software that may affect hibernation.
If you continue to experience issues with hibernation after troubleshooting, it may be helpful to seek assistance from technical support or forums dedicated to Windows 10. There may be specific issues related to your device or system configuration that require advanced troubleshooting steps.
By familiarizing yourself with these troubleshooting steps, you’ll be better equipped to address hibernation issues and ensure a smooth and efficient experience with this power-saving feature.
Conclusion
Hibernation is an incredibly useful feature in Windows 10 that allows you to save your work and power down your device, while effortlessly restoring your session when you resume. Whether you’re a laptop user looking to conserve battery life or a desktop user who wants to quickly resume tasks, hibernation provides a convenient solution.
In this guide, we explored the concept of hibernation and its benefits. We examined how to check if hibernation is enabled on your Windows 10 device and how to enable it if necessary. Additionally, we delved into various methods to hibernate your device, including using the Power Options menu, the Start menu, and keyboard shortcuts.
We also discussed the process of resuming from hibernation, ensuring that you can effortlessly pick up where you left off. Furthermore, we provided troubleshooting steps for common hibernation issues, helping you overcome any obstacles that may arise.
By incorporating hibernation into your workflow, you can save time, preserve your work, and optimize power usage on your Windows 10 device. Whether you’re a student needing frequent pauses in your work or a professional seeking uninterrupted multitasking, hibernation proves to be an invaluable feature.
We hope this guide has provided you with the knowledge and guidance to effectively use and troubleshoot hibernation on your Windows 10 device. Embrace the power-saving capabilities of hibernation and enjoy a seamless computing experience.