Introduction
Sleep mode is a handy feature in Windows 10 that allows you to save power and quickly resume your work. This feature automatically puts your computer into a low power state after a period of inactivity, conserving energy and extending battery life. While sleep mode is convenient, there may be instances when you want to turn it off temporarily or permanently.
In this article, we will explore several methods to turn off sleep mode in Windows 10. Whether you need to disable sleep mode to prevent interruptions during presentations or want to keep your computer awake for specific tasks, we’ve got you covered. By following these steps, you can regain control over your system’s sleep settings and customize them according to your needs.
Please note that altering sleep mode settings may not be suitable for all users, and you should only make changes if you understand the implications. Disabling sleep mode can result in increased power consumption and reduced battery life. Additionally, these methods may vary slightly depending on your computer’s hardware configuration and the version of Windows 10 you are using.
So, if you’re ready to learn how to turn off sleep mode in Windows 10, read on to discover the different methods you can employ to accomplish this.
Method 1: Adjust Power & Sleep Settings
One of the simplest ways to turn off sleep mode in Windows 10 is by adjusting the power and sleep settings. Here’s how you can do it:
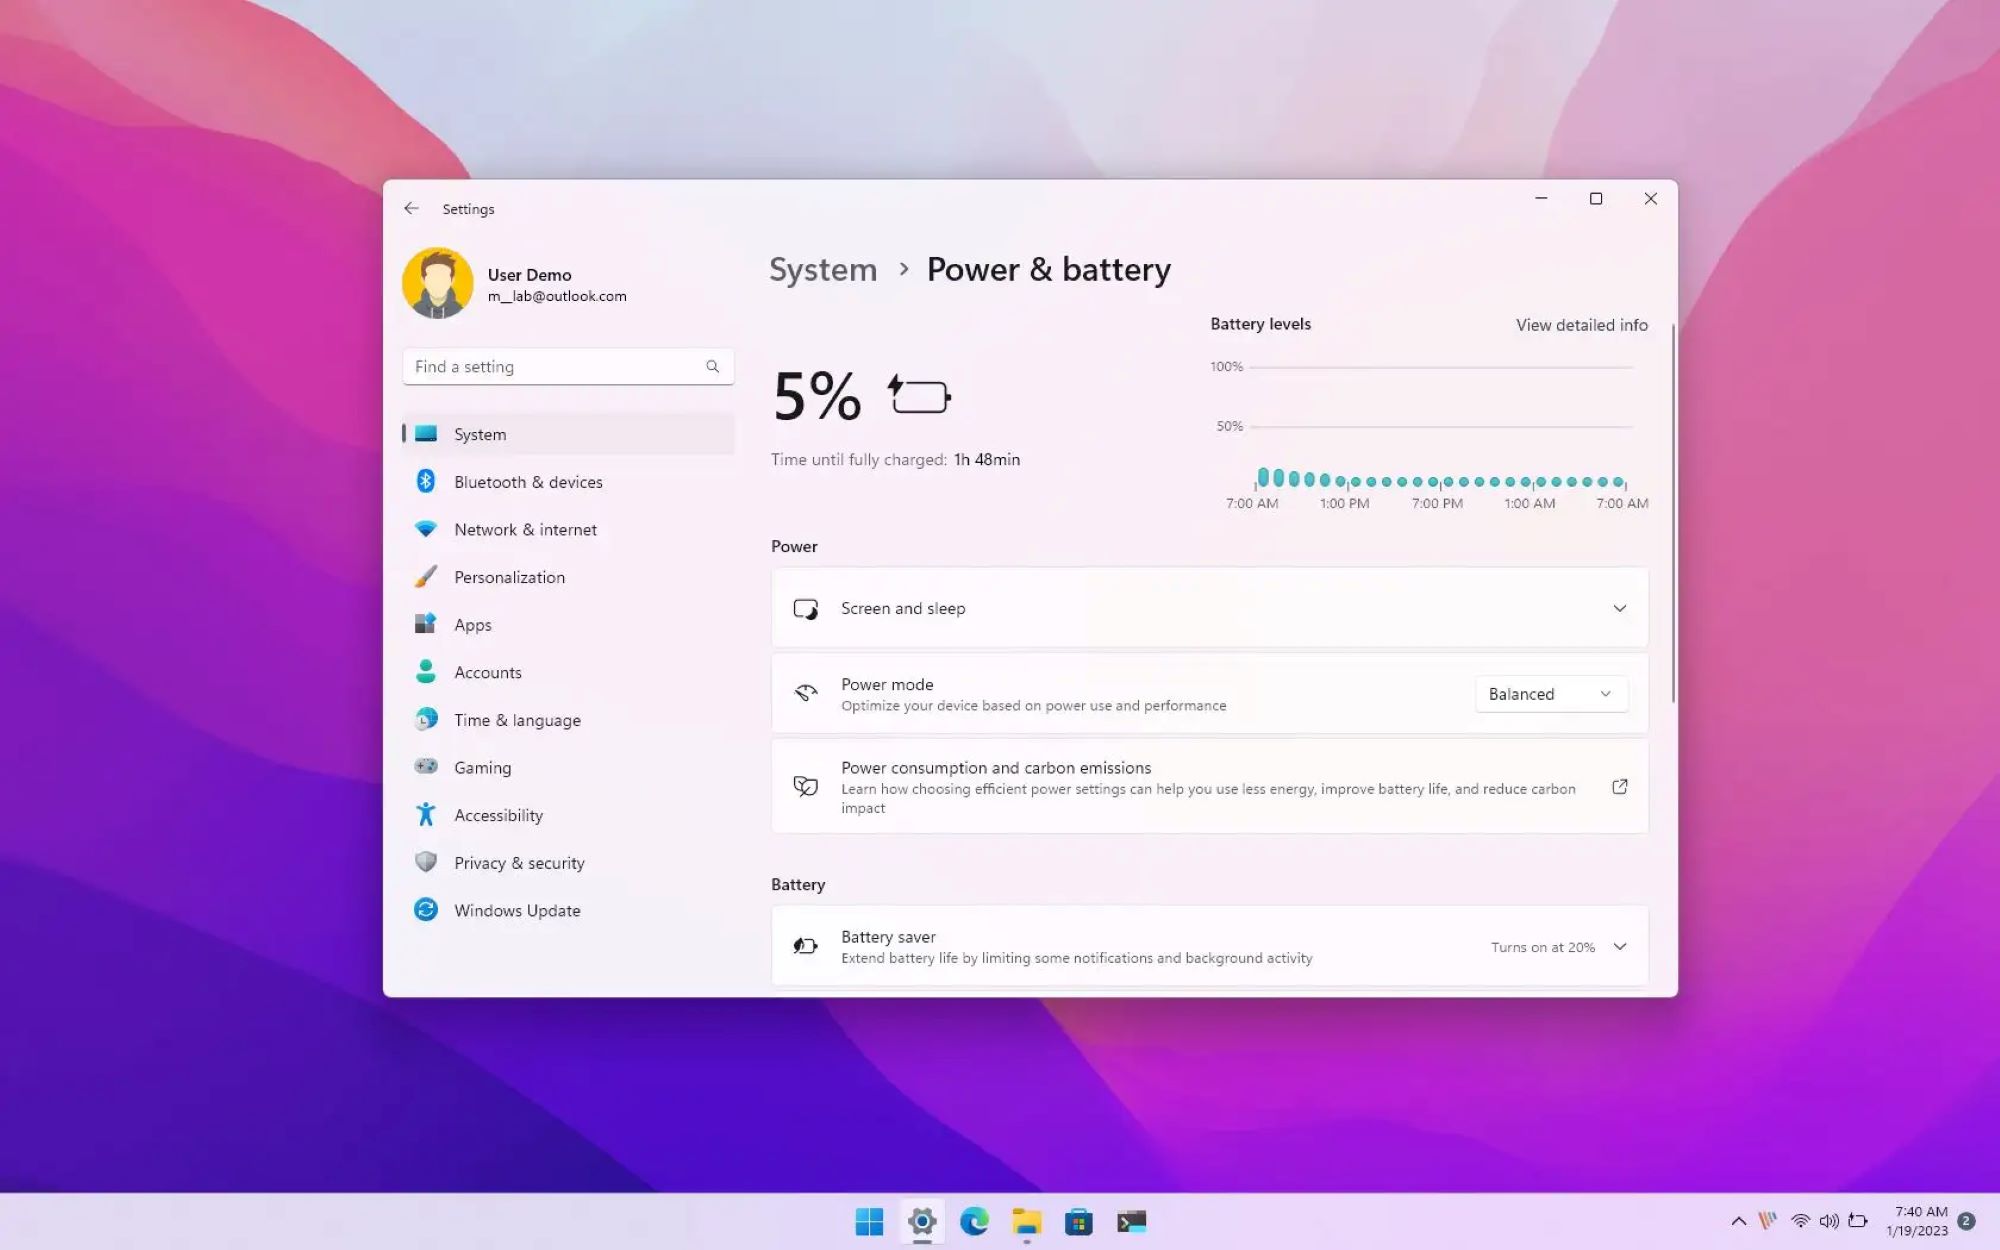
- Press the Windows key + I on your keyboard to open the Settings app.
- Click on “System” and then select “Power & sleep” from the left-hand menu.
- In the “Sleep” section, click on the drop-down menu and choose “Never” to disable sleep mode completely.
- If you only want to extend the time it takes for your computer to go to sleep, you can select a longer time duration from the drop-down menu.
- Additionally, you can adjust the screen and sleep settings separately. To do this, click on “Additional power settings” under the Related settings section.
- In the Power Options window, click on “Change plan settings” next to the power plan you’re currently using.
- Next, click on “Change advanced power settings.”
- In the Advanced settings tab, expand the “Sleep” section and modify the sleep and display settings to align with your preferences.
- Click on “Apply” and then “OK” to save the changes.
By adjusting the power and sleep settings, you can control when your computer goes into sleep mode or prevent it from entering sleep mode altogether. Keep in mind that these settings will apply to the current power plan that you have selected. If you use multiple power plans, you will need to adjust the settings for each plan individually.
Now that you have learned how to adjust your power and sleep settings let’s move on to the next method to turn off sleep mode in Windows 10.
Method 2: Use Device Manager
If adjusting the power and sleep settings didn’t turn off sleep mode on your Windows 10 computer, you can try disabling it through the Device Manager. Follow the steps below:
- Press the Windows key + X on your keyboard to open the Power User menu, and then select “Device Manager” from the list.
- In the Device Manager window, expand the “System devices” category.
- Locate and double-click on “Intel(R) Management Engine Interface” or a similar driver depending on your system configuration.
- In the properties window, click on the “Power Management” tab.
- Uncheck the box that says “Allow the computer to turn off this device to save power.”
- Click on “OK” to save the changes.
Disabling sleep mode through the Device Manager prevents your system from going into sleep mode. However, keep in mind that this method may not be suitable for all devices and may vary depending on your computer’s hardware configuration. If you do not see the “Intel(R) Management Engine Interface,” look for similar power management settings under other system devices in the Device Manager.
Now that you have disabled sleep mode using the Device Manager, let’s proceed to the next method, which involves updating your display drivers.
Method 3: Update Display Drivers
If your computer is still going into sleep mode despite adjusting the power settings, it’s worth checking if your display drivers are up to date. Outdated or incompatible display drivers can sometimes interfere with the sleep mode settings. Follow the steps below to update your display drivers:
- Press the Windows key + X on your keyboard to open the Power User menu and select “Device Manager” from the list.
- In the Device Manager window, expand the “Display adapters” category.
- Right-click on your display adapter and select “Update driver” from the context menu.
- Choose the option to search automatically for updated driver software. Windows will then search for and install the latest drivers for your display adapter.
- Restart your computer to apply the changes.
Updating your display drivers can help resolve compatibility issues and ensure that the sleep mode settings work as intended. If Windows couldn’t find the updated driver automatically, you may need to visit the manufacturer’s website to download and install the latest driver manually.
Now that you have updated your display drivers, let’s move on to the next method, which involves disabling Fast Startup.
Method 4: Disable Fast Startup
An enabled Fast Startup feature can sometimes interfere with the sleep mode settings on Windows 10. Disabling Fast Startup can help resolve sleep mode issues. Follow these steps to disable Fast Startup:
- Press the Windows key + R on your keyboard to open the Run dialog box.
- Type “control panel” in the dialog box and press Enter to open the Control Panel.
- Select “Power Options” from the list of available options.
- Click on “Choose what the power buttons do” from the left-hand menu.
- Click on “Change settings that are currently unavailable.”
- Scroll down to the “Shutdown settings” section.
- Uncheck the box next to “Turn on fast startup (recommended).”
- Click on “Save changes” to apply the settings.
By disabling Fast Startup, you ensure that your computer performs a complete shutdown instead of entering a hybrid sleep state. This can help resolve issues with sleep mode. Keep in mind that disabling Fast Startup may slightly increase your computer’s startup time.
Now that you have disabled Fast Startup, let’s move on to the next method, which involves disabling hibernation.
Method 5: Disable Hibernation
Disabling hibernation can also help in turning off sleep mode on Windows 10. Hibernation is a power-saving feature that saves your current session to the hard drive, allowing you to resume your work later. However, if you want to completely disable sleep mode, you can turn off hibernation. Here’s how:
- Open the Command Prompt as an administrator. You can do this by searching for “Command Prompt” in the Start menu, right-clicking on it, and selecting “Run as administrator.”
- In the Command Prompt, type “powercfg /hibernate off” (without quotes) and press Enter.
- This command will disable hibernation on your computer.
- Close the Command Prompt.
Disabling hibernation will free up disk space and prevent your computer from entering sleep mode. However, keep in mind that disabling hibernation means that you won’t be able to use the hibernate feature to save your current session. If you want to re-enable hibernation in the future, you can use the command “powercfg /hibernate on” in the Command Prompt.
Now that you have disabled hibernation, let’s move on to the next method, which involves adjusting advanced power settings.
Method 6: Adjust Advanced Power Settings
If none of the previous methods worked to turn off sleep mode on Windows 10, you can try adjusting the advanced power settings. This method provides more granular control over the sleep settings and allows you to customize them according to your preferences. Follow these steps to adjust the advanced power settings:
- Press the Windows key + X on your keyboard to open the Power User menu and select “Power Options” from the list.
- In the Power Options window, click on “Change plan settings” next to the power plan you’re currently using.
- Then, click on “Change advanced power settings.”
- In the Advanced settings tab, you will see a list of power options with various settings.
- Expand the “Sleep” section to see the available sleep settings.
- Customize the sleep settings according to your preferences. You can adjust options such as “Allow hybrid sleep,” “Hibernate after,” and “Allow wake timers.”
- Make the desired changes by selecting different values or disabling certain options.
- Click on “Apply” and then “OK” to save the changes.
Adjusting the advanced power settings allows you to fine-tune the sleep mode behavior on your Windows 10 computer. You can specify when your computer goes into sleep mode, whether to use hybrid sleep, and whether to allow wake timers to wake up the computer from sleep.
Now that you have learned how to adjust the advanced power settings, let’s summarize the different methods we have discussed to turn off sleep mode in Windows 10.
Conclusion
Tuning sleep mode settings in Windows 10 can help prevent your computer from entering a low-power state during periods of inactivity. We have explored various methods to turn off sleep mode, allowing you to customize your system’s behavior according to your preferences. Let’s recap the methods we discussed:
- Adjust Power & Sleep Settings: By modifying the power and sleep settings in the control panel, you can control when and how your computer goes into sleep mode.
- Use Device Manager: Disabling the power-saving settings for your system devices in the Device Manager can prevent sleep mode from activating.
- Update Display Drivers: Keeping your display drivers up to date can resolve compatibility issues and ensure that the sleep mode settings work properly.
- Disable Fast Startup: Disabling Fast Startup ensures that your computer performs a complete shutdown, preventing sleep mode from interfering with your system.
- Disable Hibernation: By disabling hibernation, you can turn off sleep mode and reclaim disk space, although you won’t be able to use the hibernate feature.
- Adjust Advanced Power Settings: Fine-tune the sleep mode behavior by customizing advanced power settings such as hybrid sleep and wake timers.
Remember, it is important to consider the potential impact of disabling or modifying sleep mode settings. Disabling sleep mode can consume more power and may reduce battery life on portable devices. Use these methods judiciously and based on your specific needs.
With the knowledge gained from this article, you can take control of your Windows 10 sleep mode settings and tailor them to suit your preferences and requirements. Whether you need uninterrupted presentations, specific tasks that require your computer to remain awake, or simply want to have more control over your system’s power management, these methods will help you achieve that.
Thank you for reading, and we hope this article has been helpful in guiding you on how to turn off sleep mode in Windows 10!