Introduction
Welcome to the world of external hard drives, where you can conveniently store and access your valuable data on the go. Whether you use it for backup purposes, expanding your storage capacity, or transferring files, an external hard drive is a versatile tool that has become an essential part of our digital lives.
However, you may have noticed that your external hard drive sometimes goes to sleep or enters a power-saving mode, causing a delay when accessing files and interrupting your workflow. While this feature can be helpful to reduce energy consumption and extend the lifespan of your hard drive, it can also be frustrating when you need instant access to your data.
In this article, we will explore the reasons behind why an external hard drive goes to sleep and the benefits of keeping it awake. We will also discuss several methods to stop your external hard drive from sleeping, providing you with the flexibility and convenience you need for efficient file management.
Before we dive into the solutions, it’s important to understand that the behavior of an external hard drive is often determined by the power settings of your operating system. These settings are designed to conserve energy and minimize wear and tear on your hard drive, but they can be adjusted to suit your specific needs.
Now, let’s explore why an external hard drive goes to sleep and why you might want to prevent it from doing so.
Why does an external hard drive go to sleep?
An external hard drive goes to sleep or enters a power-saving mode to conserve energy and reduce wear and tear on its components. When it remains inactive for a certain period of time, the drive automatically spins down, turning off the motor and suspending its operations. This feature helps to prolong the lifespan of the drive and also saves power, making it an attractive option for many users.
The sleep mode of an external hard drive is typically controlled by the power management settings of your operating system. These settings determine when the drive should go to sleep based on a predefined period of inactivity. By default, the timeout duration is often set to a shorter interval to maximize energy savings.
Additionally, some external hard drives have their own built-in power management features that can override the operating system settings. These drives may have a dedicated sleep timer or an automatic sleep mode, which kicks in after a specified inactivity period.
The decision to put the drive to sleep is based on a trade-off between power savings and responsiveness. While it may be beneficial for energy efficiency, it can cause delays when accessing files, especially if the drive takes a few seconds to wake up and spin back to its full operational speed.
It’s important to note that not all external hard drives have the sleep mode feature enabled by default. Some drives, particularly those designed for continuous operation or server use, may have sleep mode disabled to ensure uninterrupted access to data.
Now that we understand why an external hard drive goes to sleep, let’s explore the reasons why you might want to stop it from entering sleep mode.
Why should you stop an external hard drive from sleeping?
While the sleep mode of an external hard drive offers energy-saving benefits, there are several reasons why you might want to prevent your drive from entering sleep mode:
- Instant access: When your external hard drive is in sleep mode, it takes a few moments to wake up and spin up to its operational speed. This delay can be inconvenient, especially if you frequently access files or need immediate access to your data. By disabling sleep mode, you can enjoy instant access to your files without any interruptions or waiting time.
- Consistent performance: When an external hard drive wakes up from sleep mode, it needs to spin up to its operational speed, which can impact its performance during that transition period. By keeping the drive constantly active, you can ensure consistent and optimized performance, especially for tasks that require continuous data transfer or heavy disk usage.
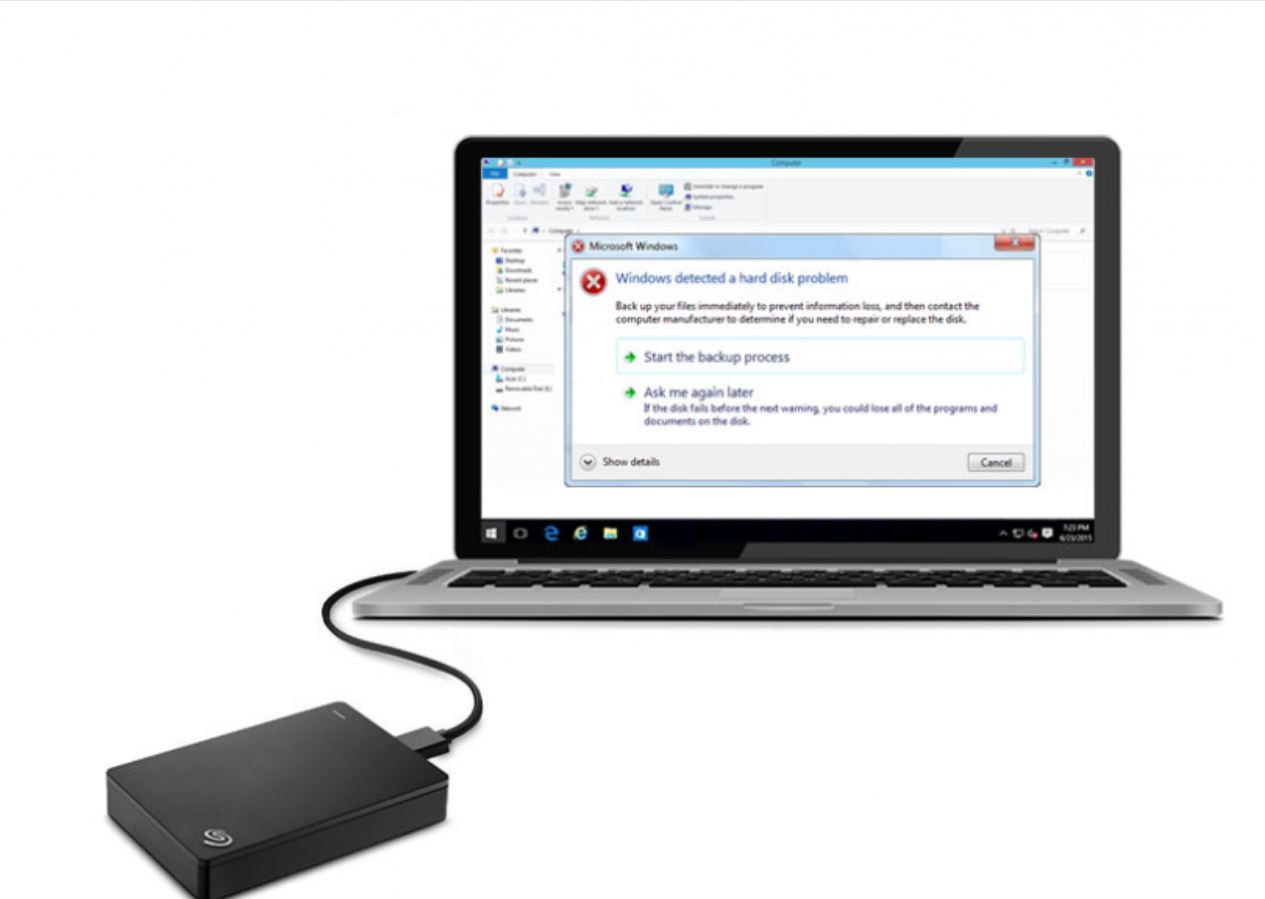
- Preventing data loss: In some cases, external hard drives going into sleep mode can lead to data loss or corruption. For example, if you’re working on a file stored on the external drive and it goes to sleep, any unsaved changes or open applications that rely on that file may experience errors or crashes. By disabling sleep mode, you can minimize the risk of losing important data or experiencing file-related issues.
- Uninterrupted backups: If you are using the external hard drive for automated backups, the sleep mode can interrupt the backup process. By turning off sleep mode, you can ensure that your backups run smoothly without any pauses or interruptions, providing you with peace of mind knowing that your data is constantly being backed up.
- Remote access: If you access your external hard drive remotely or over a network, the sleep mode can cause delays and disruptions in accessing your files. By keeping the drive awake, you can facilitate seamless remote access and improve the overall user experience.
While disabling sleep mode on your external hard drive may increase power consumption and reduce its overall lifespan, the trade-off is improved accessibility, performance, and convenience. It’s important to weigh the benefits and drawbacks based on your specific needs and usage patterns to make an informed decision.
Method 1: Adjust power settings in Windows
One of the simplest ways to stop your external hard drive from sleeping is by adjusting the power settings in your Windows operating system. By modifying these settings, you can customize the timeout duration and prevent the drive from entering sleep mode automatically. Here’s how you can do it:
- Open the Control Panel by searching for it in the Windows search bar or by right-clicking on the Start menu and selecting Control Panel from the menu.
- In the Control Panel, navigate to the “Power Options” or “Power & Sleep” section.
- Here, you will see a list of power plans. Select the power plan that your computer is currently using (usually labeled as “Balanced” or “Power Saver”).
- Click on “Change plan settings” next to the chosen power plan.
- In the next window, click on “Change advanced power settings”.
- A new window will open with advanced power settings. Scroll down until you find the “Hard disk” option. Expand it by clicking on the plus (+) sign next to it.
- Here, you will find options to set the time after which the hard disk should turn off. Set the time to “0” minutes or choose a longer duration, depending on your preferences.
- Click on “Apply” and then “OK” to save the changes.
By adjusting the power settings in Windows and setting the timeout duration to a higher value or turning it off completely, you can effectively prevent your external hard drive from going to sleep automatically. Keep in mind that these settings apply to all hard drives connected to your computer, so make sure to consider the implications for other drives as well.
It’s worth noting that the steps may vary slightly depending on the version of Windows you are using. If you are using a different operating system, such as macOS or Linux, consult the documentation or preferences menu specific to your OS to adjust the power settings for your external hard drive.
Method 2: Use third-party software
If you prefer a more flexible and advanced solution to prevent your external hard drive from sleeping, you can consider using third-party software designed specifically for managing power settings and drive behavior. These software applications offer additional customization options and features beyond what is available in the default Windows settings. Here’s how you can use third-party software to keep your external hard drive awake:
- Research and select a reputable third-party software program that specializes in power management for external hard drives. Some popular options include “NosleepHD,” “KeepAliveHD,” and “NoSleepDrive.”
- Download and install the chosen software from a trusted source. Be sure to read user reviews and check for compatibility with your operating system.
- Launch the software and navigate to the settings or preferences menu. Here, you will find options to customize the power settings for your external hard drive.
- Adjust the timeout duration or disable sleep mode entirely, depending on your preferences and requirements.
- Save the changes and exit the software.
- Keep the third-party software running in the background while using your computer to ensure that the desired power settings for your external hard drive are maintained.
Using third-party software gives you greater control over the power management settings of your external hard drive. You can set specific timings, create custom profiles for different drives, or even schedule specific periods during which the drive should stay awake. This adds convenience and flexibility, especially if you have specific usage patterns or requirements.
However, it’s essential to choose reliable and trusted third-party software from reputable developers to ensure the security and stability of your computer system. Always perform thorough research and read user reviews before installing any software onto your computer.
By using third-party software, you can have more granular control over the sleep mode behavior of your external hard drive, tailoring it to your specific needs and preferences.
Method 3: Disable sleep mode in BIOS
In addition to adjusting power settings in your operating system, you can also disable sleep mode for your external hard drive at the BIOS level. The BIOS (Basic Input/Output System) is a firmware that initializes hardware components during the boot process. Disabling sleep mode in the BIOS ensures that the drive remains constantly active regardless of the operating system. Here’s how you can disable sleep mode in BIOS:
- Restart your computer and enter the BIOS setup by pressing a specific key during startup. The key to access the BIOS varies depending on your computer’s manufacturer and model. Common keys include F2, Del, Esc, or F10. Refer to the computer’s documentation or search online for the specific key combination.
- Navigate through the BIOS menus using the arrow keys on your keyboard. Look for an option related to power management or hard drive settings.
- Once you find the appropriate option, disable sleep or standby mode for the hard drive. The exact wording may differ depending on your BIOS version, but some common options include “Hard Drive Sleep Mode,” “Hard Drive Standby,” or “Power Saving Mode.”
- Save the changes and exit the BIOS setup. This will restart your computer.
By disabling sleep mode at the BIOS level, your external hard drive will remain active even when the operating system tries to put it to sleep. This method ensures that the drive is constantly accessible and prevents any delays in accessing your data.
It’s important to note that accessing the BIOS and making changes requires caution, as any incorrect settings may have adverse effects on your computer’s stability. If you are unsure about making changes in the BIOS, it is recommended to seek assistance from a knowledgeable person or consult the manufacturer’s documentation.
Disabling sleep mode in BIOS can be an effective option if you want to ensure that your external hard drive remains active at all times, independent of the power management settings of your operating system.
Method 4: Keep the drive constantly active
If you want to prevent your external hard drive from going to sleep and ensure it remains constantly active, there are several methods you can employ. By keeping the drive busy and engaged, you can effectively prevent it from entering sleep mode. Here are some ways to keep your external hard drive constantly active:
- Continuous file access: Keep a file open on your external hard drive, such as a media player streaming music or a text document that is periodically updated. This continuous access to the drive will prevent it from going to sleep.
- Scheduled tasks: Configure your computer to perform regular tasks that involve accessing files on the external hard drive. For example, you can set up a scheduled backup or synchronization job that runs at regular intervals, keeping the drive active.
- Media playback: Use your external hard drive to play media files, such as movies or music. Streaming or playing files directly from the drive will keep it continuously active as long as the media is playing.
- File indexing: Enable file indexing on your external hard drive. This allows your operating system to continuously scan and index the files, keeping the drive active. Note that enabling file indexing may slightly impact performance and increase power consumption.
- Disk monitoring tools: Install disk monitoring software that periodically accesses the external hard drive to retrieve information about its health and status. These tools can help prevent the drive from entering sleep mode and provide valuable insights into its performance.
By adopting these methods, you can ensure that your external hard drive remains constantly active, eliminating any delays in accessing your files and preventing the need for it to go to sleep. However, it’s important to consider the increased power consumption and potential wear on the drive due to constant usage. Therefore, use these methods judiciously and assess the trade-offs based on your specific needs and priorities.
Remember that these methods may not be suitable for all scenarios, and the effectiveness may vary depending on your operating system and hardware configuration. Experiment with different approaches and find the one that best fits your requirements while balancing power consumption and drive longevity.
Method 5: Use a USB hub with external power supply
If you are experiencing issues with your external hard drive going to sleep or not receiving enough power from your computer, using a USB hub with an external power supply can be a helpful solution. USB hubs with external power supply provide a stable power source to your external hard drive, preventing power fluctuations and ensuring consistent performance. Here’s how you can use a USB hub with an external power supply:
- Purchase a USB hub that comes with an external power supply. Make sure the hub is compatible with your computer’s USB ports and the power requirements of your external hard drive.
- Connect the USB hub to your computer using one of the available USB ports. Ensure that the power supply is connected to the hub as well.
- Connect your external hard drive to one of the USB ports on the hub.
- Power on the USB hub using the external power supply.
- Your external hard drive will now receive a consistent and stable power supply from the USB hub, preventing it from entering sleep mode or experiencing power-related issues.
Using a USB hub with an external power supply not only provides a reliable power source for your external hard drive but also reduces the power load on your computer’s USB ports. This can be particularly beneficial if you have multiple devices connected to your computer or if your computer’s USB ports are limited in power output.
Keep in mind that the effectiveness of using a USB hub with an external power supply may vary depending on the specific model of the hub, the power requirements of your external hard drive, and the overall power delivery capabilities of your computer. Make sure to choose a high-quality USB hub and follow the manufacturer’s instructions for proper setup.
This method can be especially useful if you are using portable external hard drives that are often designed to draw power directly from the computer’s USB port. By using a USB hub with an external power supply, you can ensure that your drive remains consistently powered and active, without the risk of unexpected power interruptions or sleep mode activation.
Conclusion
Managing the sleep mode behavior of your external hard drive can greatly improve your overall user experience and productivity. By preventing your drive from entering sleep mode, you can enjoy instant access to your files, consistent performance, and uninterrupted backups. While there are several methods available to achieve this, it’s important to choose the approach that best fits your needs and priorities.
Adjusting power settings in your operating system allows you to customize the timeout duration or disable sleep mode entirely. This method is straightforward and easily accessible for most users. Alternatively, using third-party software designed for power management provides advanced customization options and additional features.
Disabling sleep mode at the BIOS level ensures that your external hard drive remains constantly active, independent of the power management settings in your operating system. However, caution must be taken when accessing and modifying BIOS settings.
Keeping your external hard drive constantly active by engaging in continuous file access, scheduled tasks, media playback, file indexing, or using disk monitoring tools can also prevent sleep mode from activating.
If your external hard drive requires a reliable power source, using a USB hub with an external power supply is an effective solution. This ensures that your hard drive receives a stable power supply, preventing power-related issues and sleep mode activation.
Ultimately, the method you choose should align with your specific requirements, balancing the benefits of constant drive access against the potential increase in power consumption and wear and tear on the drive. By implementing the appropriate method, you can ensure that your external hard drive remains active and accessible whenever you need it.