Introduction
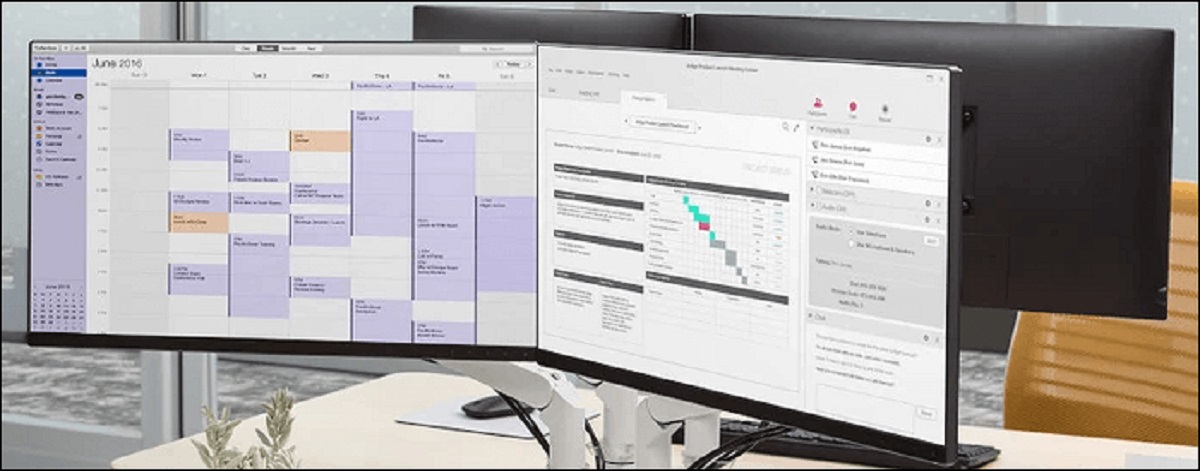
Welcome to the world of Mac, where you can maximize your productivity and entertainment with multiple monitors! Adding an extra screen to your Mac setup can open up a whole new level of multitasking and immersive experiences. Whether you’re a seasoned Mac user or new to the platform, this guide will walk you through the process of turning on a Mac monitor and getting it up and running smoothly.
Connecting and activating your Mac monitor is a straightforward process that requires a few easy steps. In this article, we’ll cover the necessary instructions and troubleshooting tips to ensure a seamless experience. So, whether you’re using a desktop Mac or a MacBook with external displays, let’s dive in and unlock the full potential of your Mac monitor!
Before we get started, it’s important to note that the steps may vary slightly depending on the model and version of macOS you’re using. However, the general principles will remain the same, and we’ll highlight any specific variations along the way.
Now, let’s get ready to expand your digital workspace and enhance your Mac experience by turning on your monitor!
Step 1: Connecting the Monitor
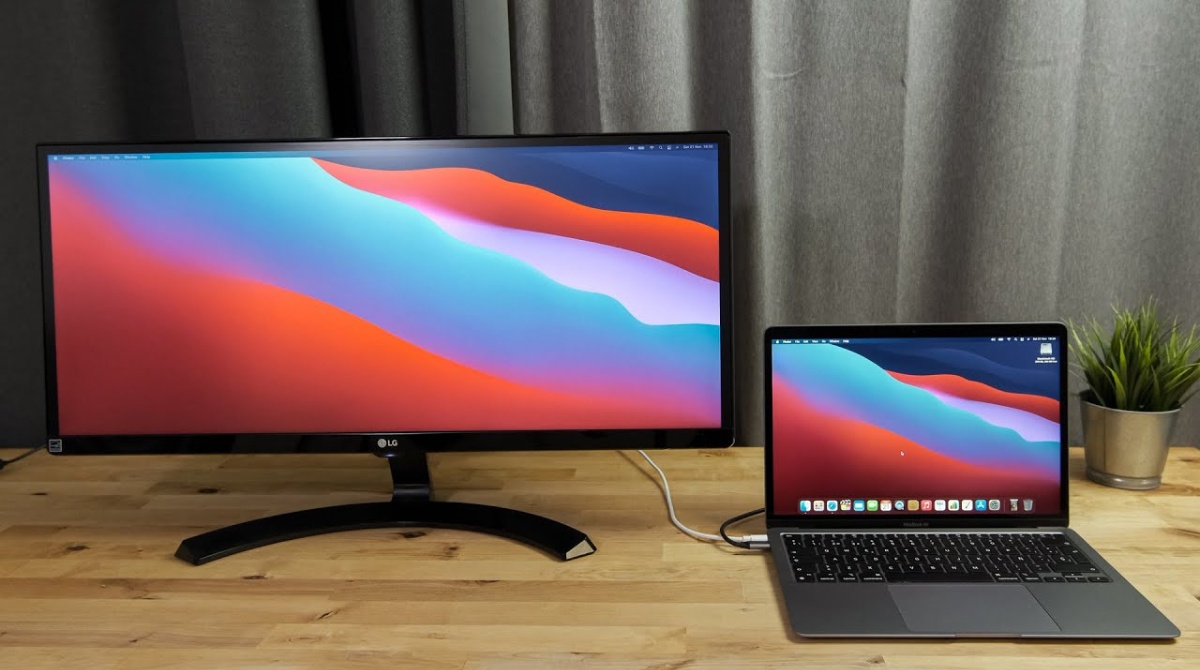
The first step in turning on your Mac monitor is to connect it to your Mac device. The method of connection will depend on the type of monitor you have and the available ports on your Mac. Here’s a step-by-step guide to help you get started:
- Check the ports: Take a look at your Mac and identify the available ports. Common ports include Thunderbolt, Mini DisplayPort, HDMI, and USB-C. Make sure to have the necessary cables on hand to connect your monitor to your Mac.
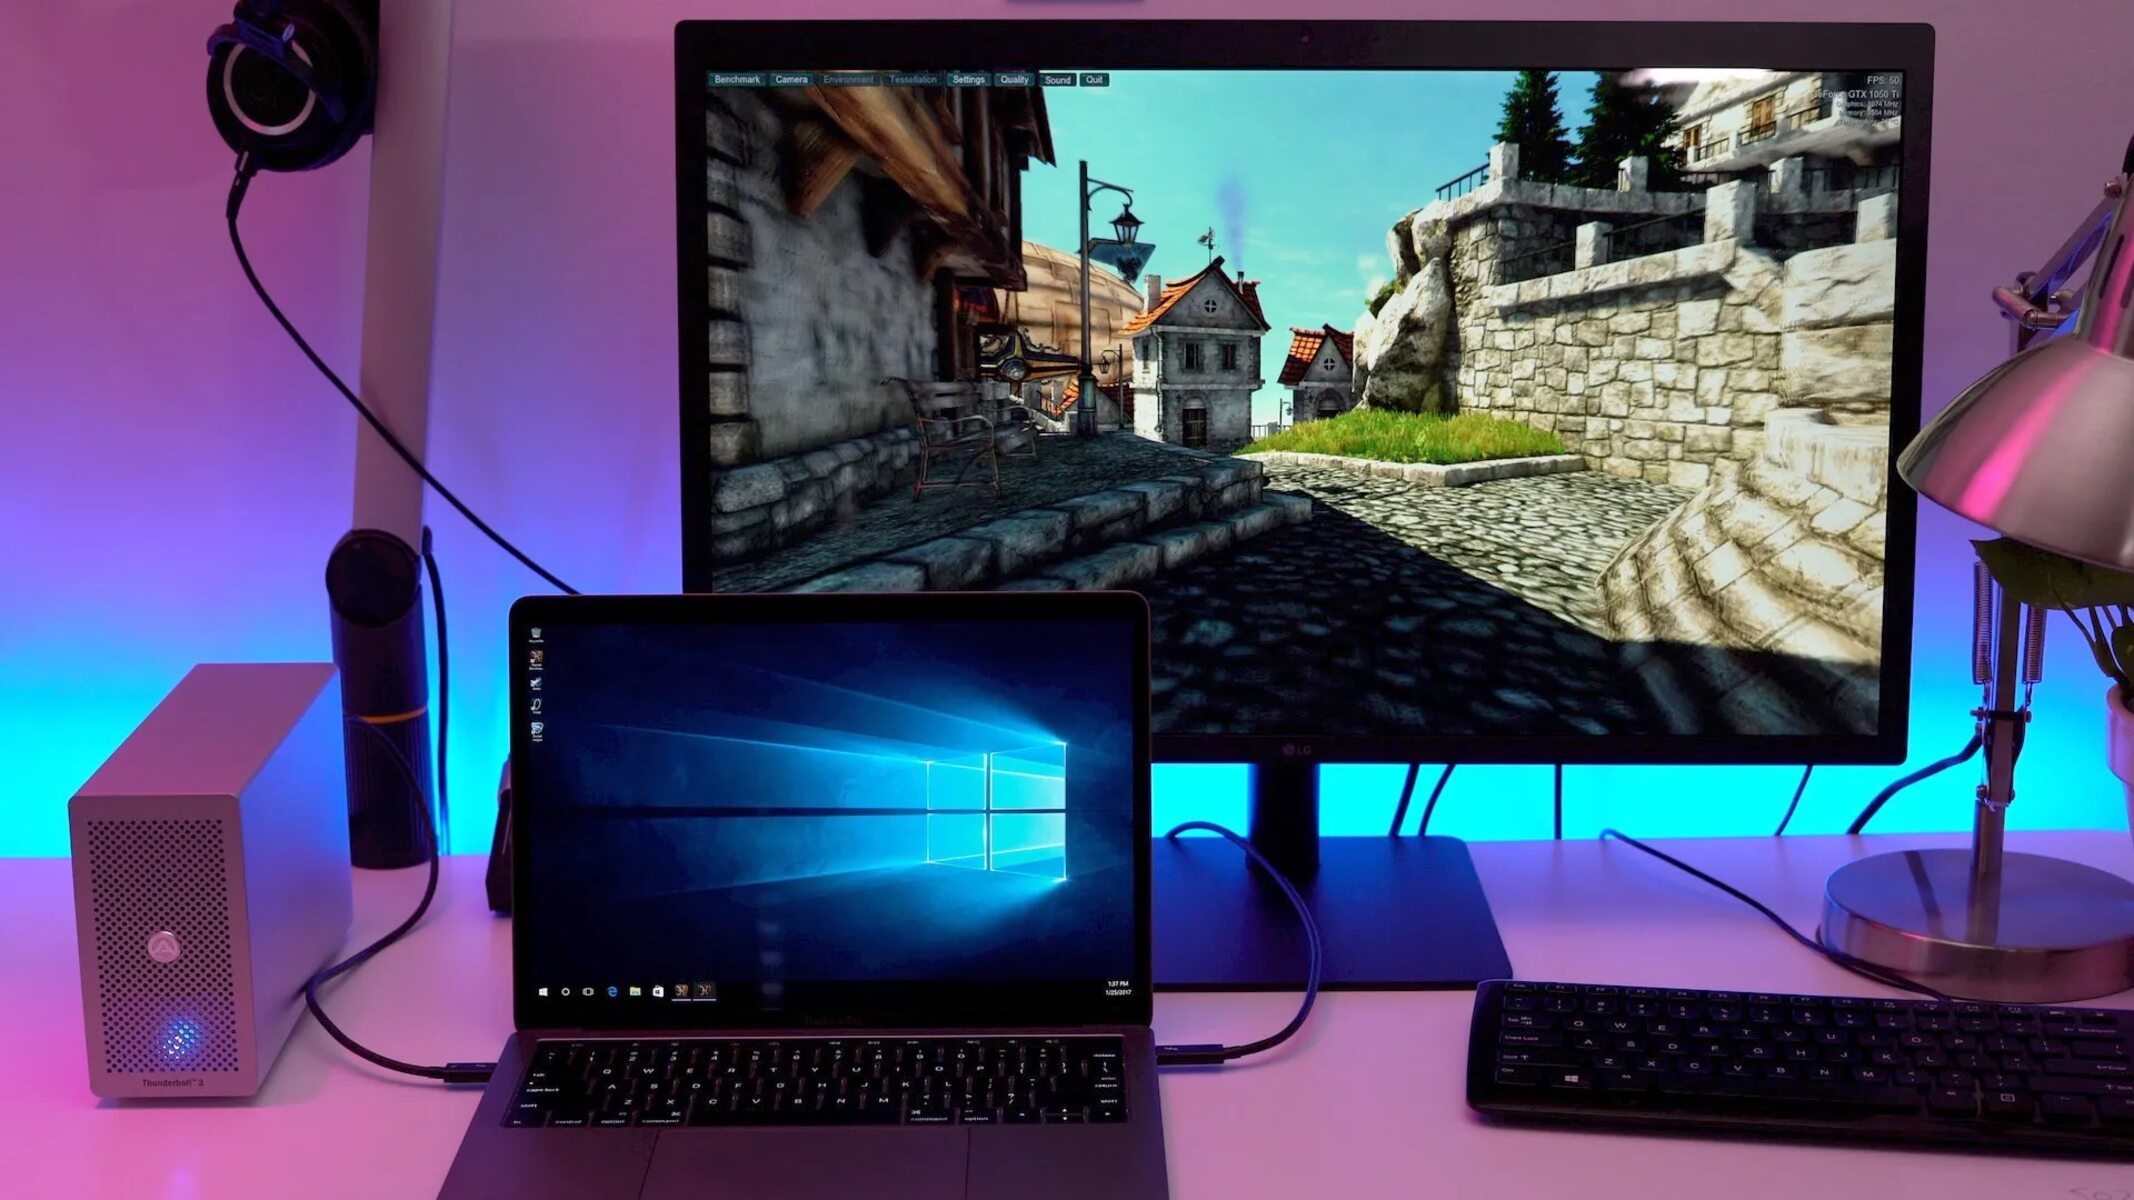
- Match the ports: Inspect the back of your Mac monitor and locate the corresponding ports. Match the ports on your monitor with the ports on your Mac. For example, if you have a Thunderbolt port on your Mac, ensure that your monitor has a Thunderbolt port as well.
- Connect the cables: Once you’ve matched the ports, connect one end of the cable to your monitor and the other end to your Mac. Ensure that the connection is secure.
- Power on the monitor: After connecting the cables, power on your Mac monitor. Most monitors have a power button or a switch at the front or bottom. Press or toggle the switch to turn on the monitor.
- Configure the display: Once the monitor is powered on, your Mac should detect it automatically. However, in some cases, you may need to configure the display settings manually. To do this, go to the Apple menu, select System Preferences, then click on Displays. From here, you can adjust the resolution, brightness, and other display settings according to your preferences.
Congratulations! You’ve successfully connected your Mac monitor to your device. Now, let’s move on to the next step and fine-tune your display preferences.
Step 2: Adjusting Display Preferences
Once you’ve connected your Mac monitor, it’s time to customize the display settings to optimize your viewing experience. Adjusting the display preferences allows you to fine-tune the resolution, arrangement, and other visual aspects. Follow these steps to adjust your display preferences:
- Open System Preferences: Click on the Apple menu in the top-left corner of your screen and select System Preferences from the drop-down menu.
- Select Displays: In the System Preferences window, click on the Displays icon. This will open the display settings menu.
- Arrangement tab: In the display settings menu, navigate to the Arrangement tab. Here, you can see a graphical representation of your connected monitors.
- Arrange your monitors: If you have multiple monitors connected, you can rearrange them by clicking and dragging the monitor icons in the graphical representation. This allows you to set the position and orientation of your monitors according to your preference.
- Resolution settings: In the display settings menu, you can also adjust the resolution of your monitors. Select the Display tab, and you’ll see a list of available resolution options. Choose the resolution that best suits your needs. It’s recommended to select the “Default for display” option to ensure optimal quality.
- Brightness and color settings: To adjust the brightness and color settings of your monitor, navigate to the Color tab in the display settings menu. Here, you can fine-tune the color calibration, adjust the display’s color profile, or enable features like Night Shift for a more comfortable viewing experience.
Take your time to experiment with the various display settings and find the configuration that works best for you. Don’t hesitate to make adjustments as needed to achieve the desired visual quality and comfort.
With your display preferences conveniently adjusted, it’s time to explore a nifty feature called Hot Corners, which can make activating your monitor even more convenient. Let’s move on to the next step!
Step 3: Using Hot Corners to Activate the Monitor
If you find it cumbersome to constantly switch between your Mac monitor and the main display, using Hot Corners can be a game-changer. Hot Corners are customizable shortcuts that allow you to activate your monitor with a simple mouse movement. Follow these steps to set up and use Hot Corners:
- Open System Preferences: Click on the Apple menu in the top-left corner of your screen and select System Preferences from the drop-down menu.
- Select Mission Control: In the System Preferences window, click on the Mission Control icon. This will open the Mission Control settings menu.
- Set up Hot Corners: In the Mission Control settings menu, click on the Hot Corners button located at the bottom left.
- Customize Hot Corners: A new window will appear, showing options for each corner of your screen. Select the desired corner and choose the action you want to assign to it. In this case, choose the “Put Display to Sleep” option to activate your Mac monitor when you move the mouse to that specific corner.
- Apply the changes: After customizing the Hot Corners, click the OK button to save the changes.
- Activate your monitor: To activate your Mac monitor using Hot Corners, simply move your mouse cursor to the corner you assigned the action to. Your monitor will come to life, and you can start using it without needing to go through any additional steps.
Hot Corners provide a quick and easy way to activate your monitor and seamlessly switch between displays. Experiment with different corners and actions to find the setup that best suits your workflow.
Now that you’ve learned how to use Hot Corners, let’s move on to the next step and explore how you can enable power-saving features for your monitor.
Step 4: Enabling Monitor Power Saving
By enabling monitor power-saving features, you can help conserve energy and extend the lifespan of your Mac monitor. Power-saving settings allow your monitor to enter sleep mode or turn off after a period of inactivity, helping reduce electricity usage and minimizing screen burn-in. Follow these steps to enable monitor power saving on your Mac:
- Open System Preferences: Click on the Apple menu in the top-left corner of your screen and select System Preferences from the drop-down menu.
- Select Energy Saver: In the System Preferences window, click on the Energy Saver icon. This will open the Energy Saver settings menu.
- Adjust Sleep settings: In the Energy Saver menu, you’ll see options to adjust the sleep settings for your Mac. By default, the display sleep time is set to a specific number of minutes. You can modify this duration according to your preference. Consider setting a shorter duration to conserve more energy.
- Enable Power Nap (optional): If your Mac supports it, you can also enable the Power Nap feature. This feature allows your Mac to perform certain tasks while in sleep mode, such as email fetch, iCloud syncing, and software updates, without fully waking up the system.
- Apply the changes: Once you’ve adjusted the sleep settings and enabled any desired power-saving features, close the Energy Saver menu to apply the changes.
Enabling monitor power saving is a simple and effective way to reduce energy consumption and promote an eco-friendly computing environment. By taking advantage of these settings, you can contribute to a greener and more sustainable use of your Mac monitor.
Now that you’ve learned how to enable monitor power saving, let’s move on to the final step and explore some common troubleshooting tips to resolve any issues you may encounter.
Step 5: Troubleshooting Common Issues
While setting up and using your Mac monitor, you may come across some common issues that can be easily resolved. Here are a few troubleshooting tips to help you overcome any potential hurdles:
- No display on the monitor: If you’re not seeing any display on your monitor, ensure that the cables are securely connected and that the monitor is powered on. Also, check if the correct input source is selected on your monitor. If the issue persists, try connecting the monitor to a different port on your Mac and restart your computer.
- Blurred or distorted display: If you’re experiencing a blurred or distorted display, check the resolution settings in the display preferences. Ensure that the resolution is set to the recommended or native resolution of your monitor. Adjusting the sharpness settings on your monitor can also help improve the display quality.
- Monitors not detected: If your Mac is not detecting your connected monitors, try restarting both your Mac and the monitor. Additionally, ensure that you’re using compatible cables and that the connections are secure. If you’re using an external docking station or adapters, make sure they are compatible with your Mac model.
- Mac gets stuck when connecting/disconnecting the monitor: If your Mac becomes unresponsive or gets stuck when connecting or disconnecting the monitor, try resetting the System Management Controller (SMC) on your Mac. To do this, shut down your Mac, then press and hold the power button for 10 seconds. Release the power button, then wait a few seconds before starting your Mac again.
- Incompatible resolution or refresh rate: Some monitors may not support certain resolutions or refresh rates. If you’re experiencing issues with the display, check the specifications of your monitor and ensure that the resolution and refresh rate settings are within the supported range. Adjust the settings accordingly in the display preferences.
If you encounter any other specific issues or have difficulty troubleshooting, consider reaching out to Apple Support or consulting online forums for further assistance. They can provide tailored solutions based on your specific situation.
With these troubleshooting tips, you can overcome common issues and enjoy a smooth and seamless experience with your Mac monitor.
Conclusion
Turning on and setting up your Mac monitor is a simple process that can greatly enhance your productivity and overall Mac experience. By following the steps outlined in this guide, you’ve learned how to connect your monitor, adjust display preferences, use Hot Corners for quick activation, enable power-saving features, and troubleshoot common issues.
With a connected and optimized monitor, you can expand your digital workspace, work on multiple tasks simultaneously, and immerse yourself in stunning visuals for entertainment purposes. Whether you’re a professional seeking a dual monitor setup for enhanced productivity or a creative individual looking to showcase your work on a larger screen, your Mac monitor can help you achieve your goals.
Remember to consider the specific capabilities and limitations of your monitor, as well as the compatibility with your Mac model and operating system version. This will ensure a seamless and hassle-free experience as you continue to explore the full potential of your Mac monitor.
As you become more familiar with your Mac monitor, don’t hesitate to experiment with different display settings, explore additional customization options, and stay up to date with software updates that may introduce new features and improvements.
Now that you’re armed with the knowledge and skills to turn on and optimize your Mac monitor, it’s time to take your Mac experience to the next level. Enjoy the expanded workspace, improved multitasking capabilities, and immersive visuals that your Mac monitor brings to the table!