Introduction
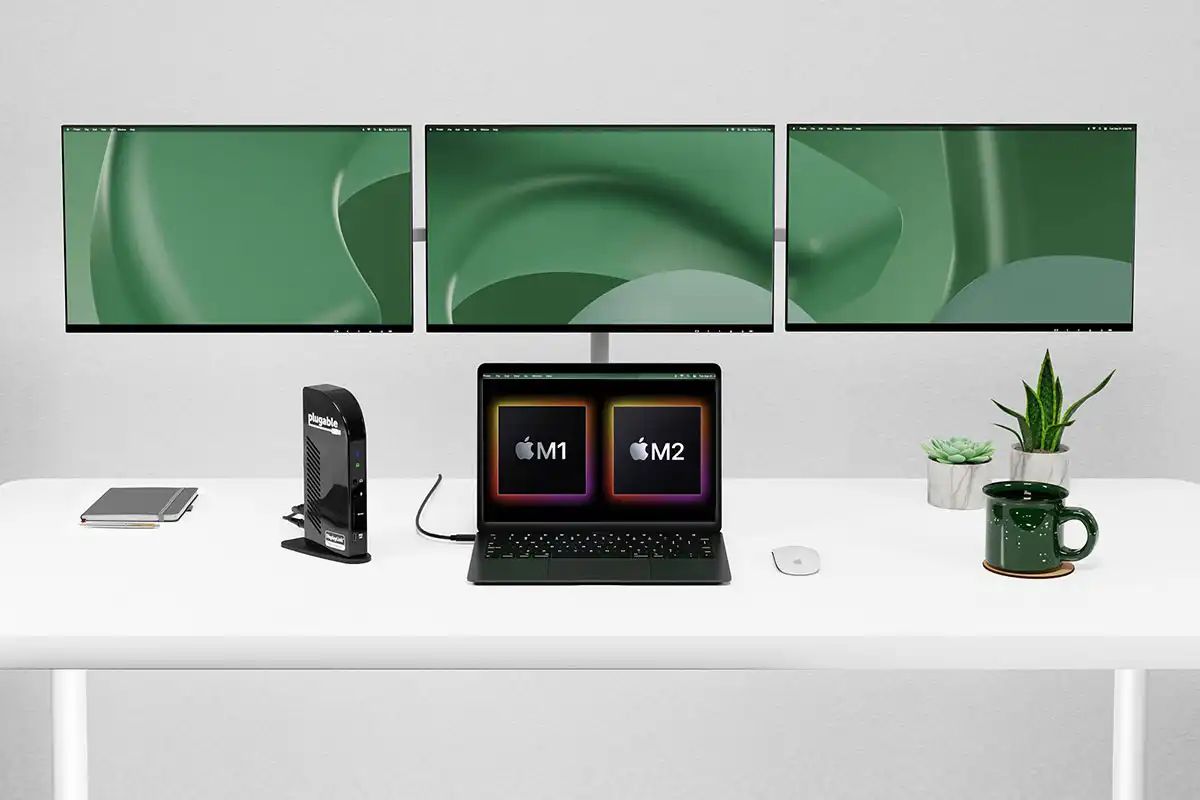
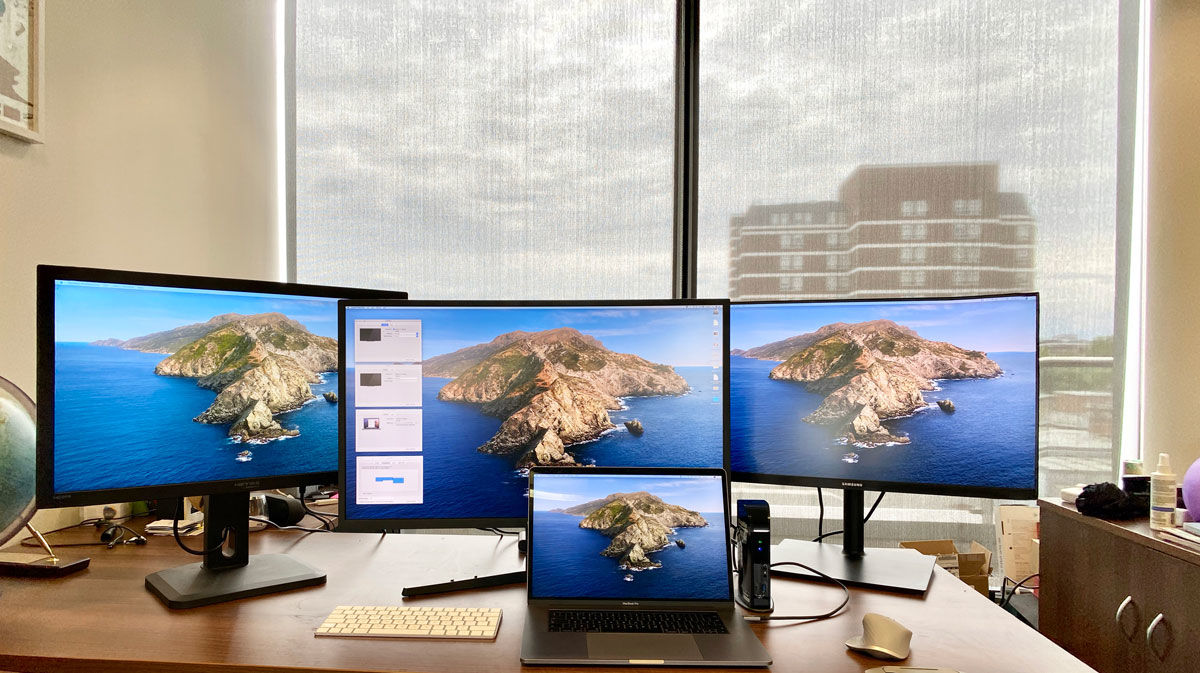
Welcome to the world of extended monitors on Mac! If you’re looking to increase your productivity, improve multitasking capabilities, or simply enhance your viewing experience, connecting an external monitor to your Mac is the way to go. This powerful feature allows you to utilize additional screen space, giving you the freedom to open multiple windows simultaneously and work on different tasks with ease.
Whether you’re a graphic designer needing more canvas to bring your creations to life, a programmer seeking to view code and run applications side by side, or just someone who wants to enjoy a larger display, extending your monitor on Mac is a game-changer.
In this guide, we’ll walk you through the process of connecting an external monitor to your Mac, adjusting display settings, configuring multiple displays, and finally, extending your display for maximum productivity. So, grab your cables and get ready to unlock the full potential of your Mac.
Before we dive into the details, it’s worth noting that the steps and options mentioned in this guide may vary slightly depending on the model of your Mac and the version of macOS you’re running. However, the fundamental concepts and principles remain the same, allowing you to follow along regardless of your specific setup.
So, without further ado, let’s get started on the journey towards a more efficient and expansive Mac experience.
Connecting an External Monitor to your Mac
Connecting an external monitor to your Mac is a straightforward process that requires a few cables and the right ports. Here’s how you can do it:
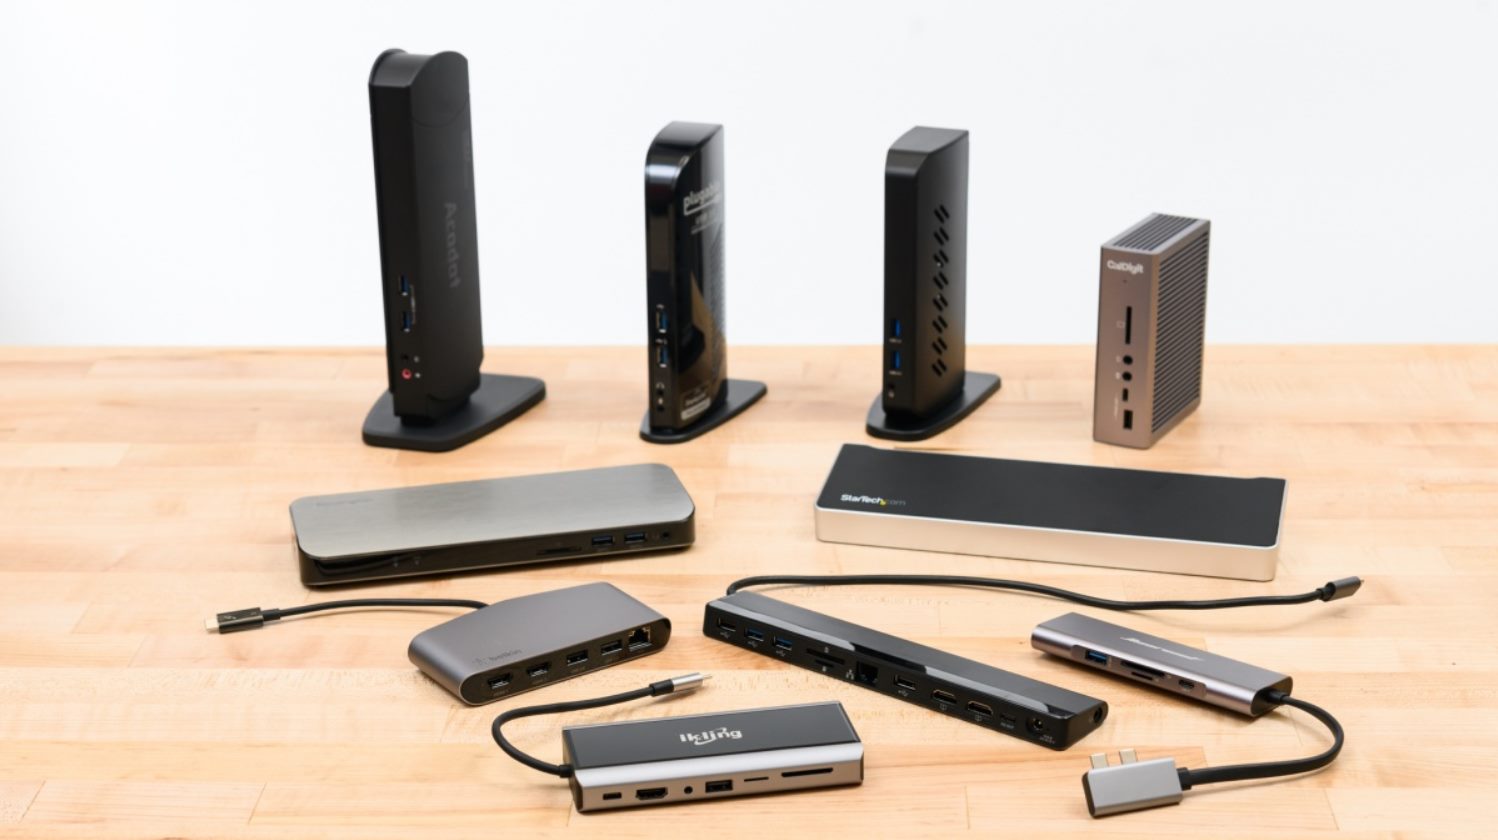
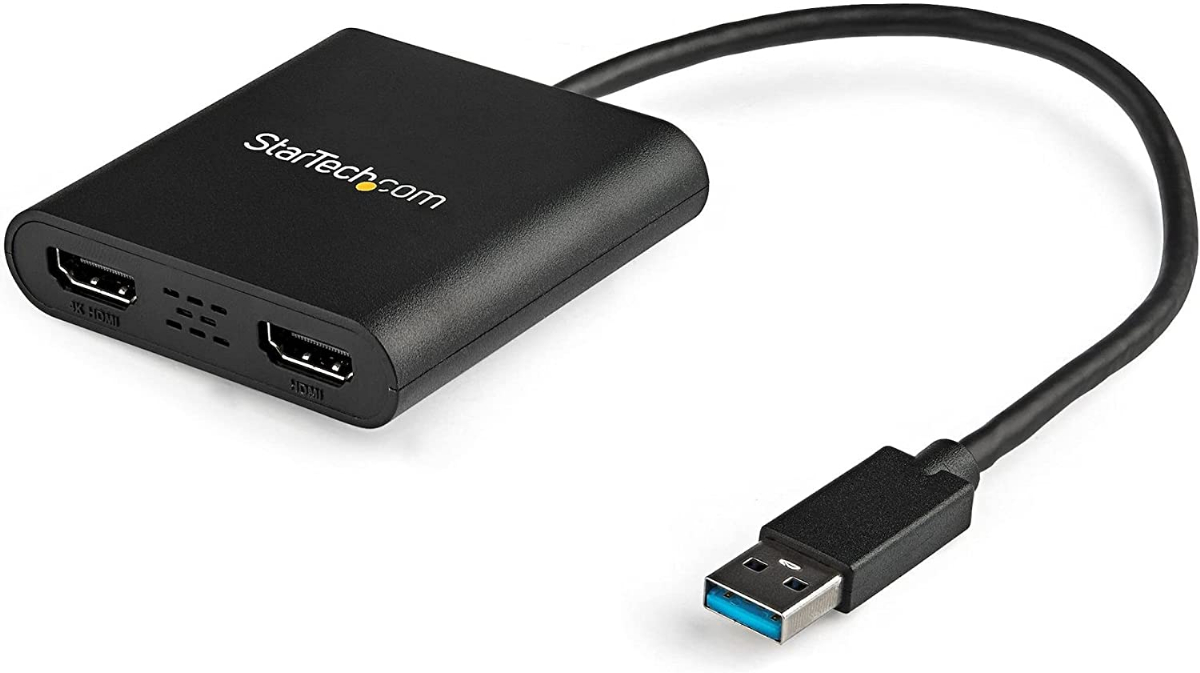
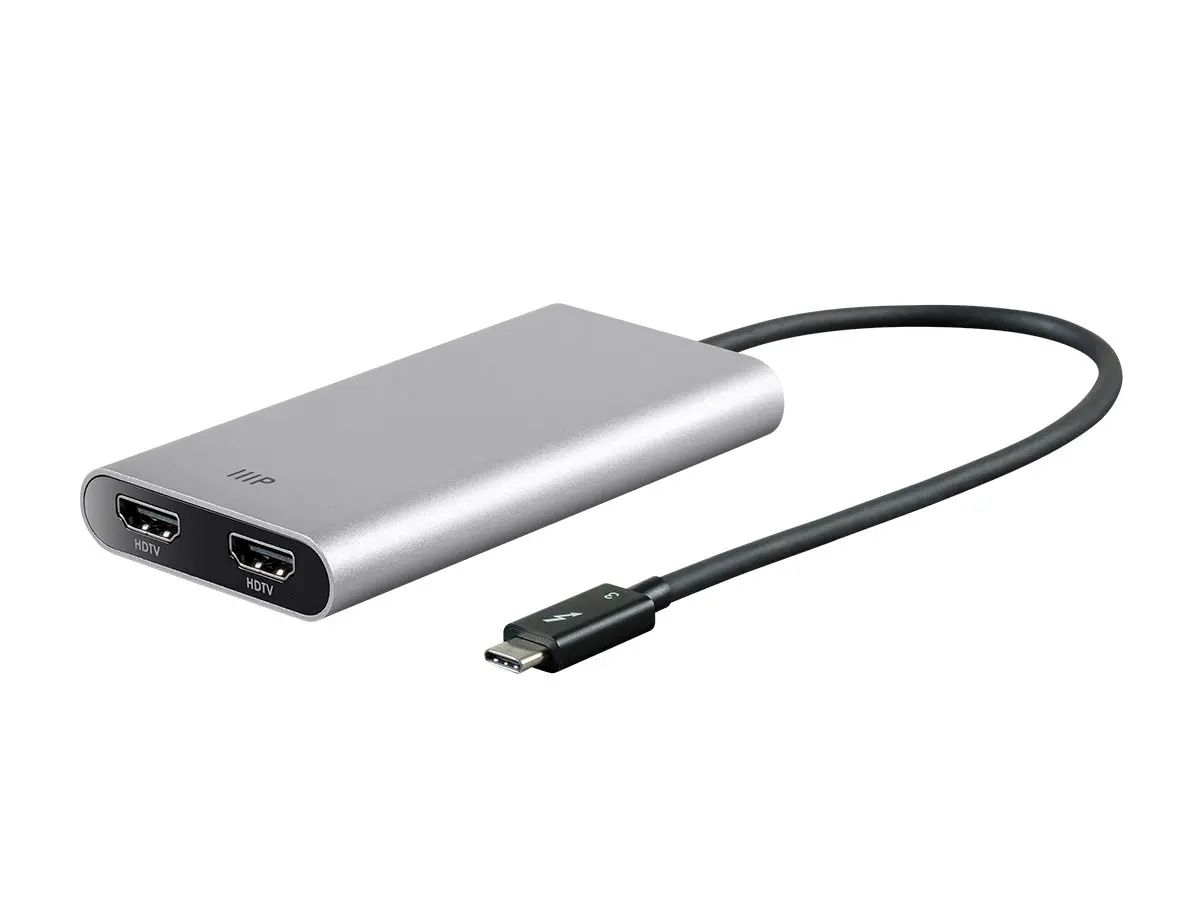
- Start by identifying the type of port on your Mac. Common port options include Thunderbolt, Mini DisplayPort, HDMI, and USB-C.
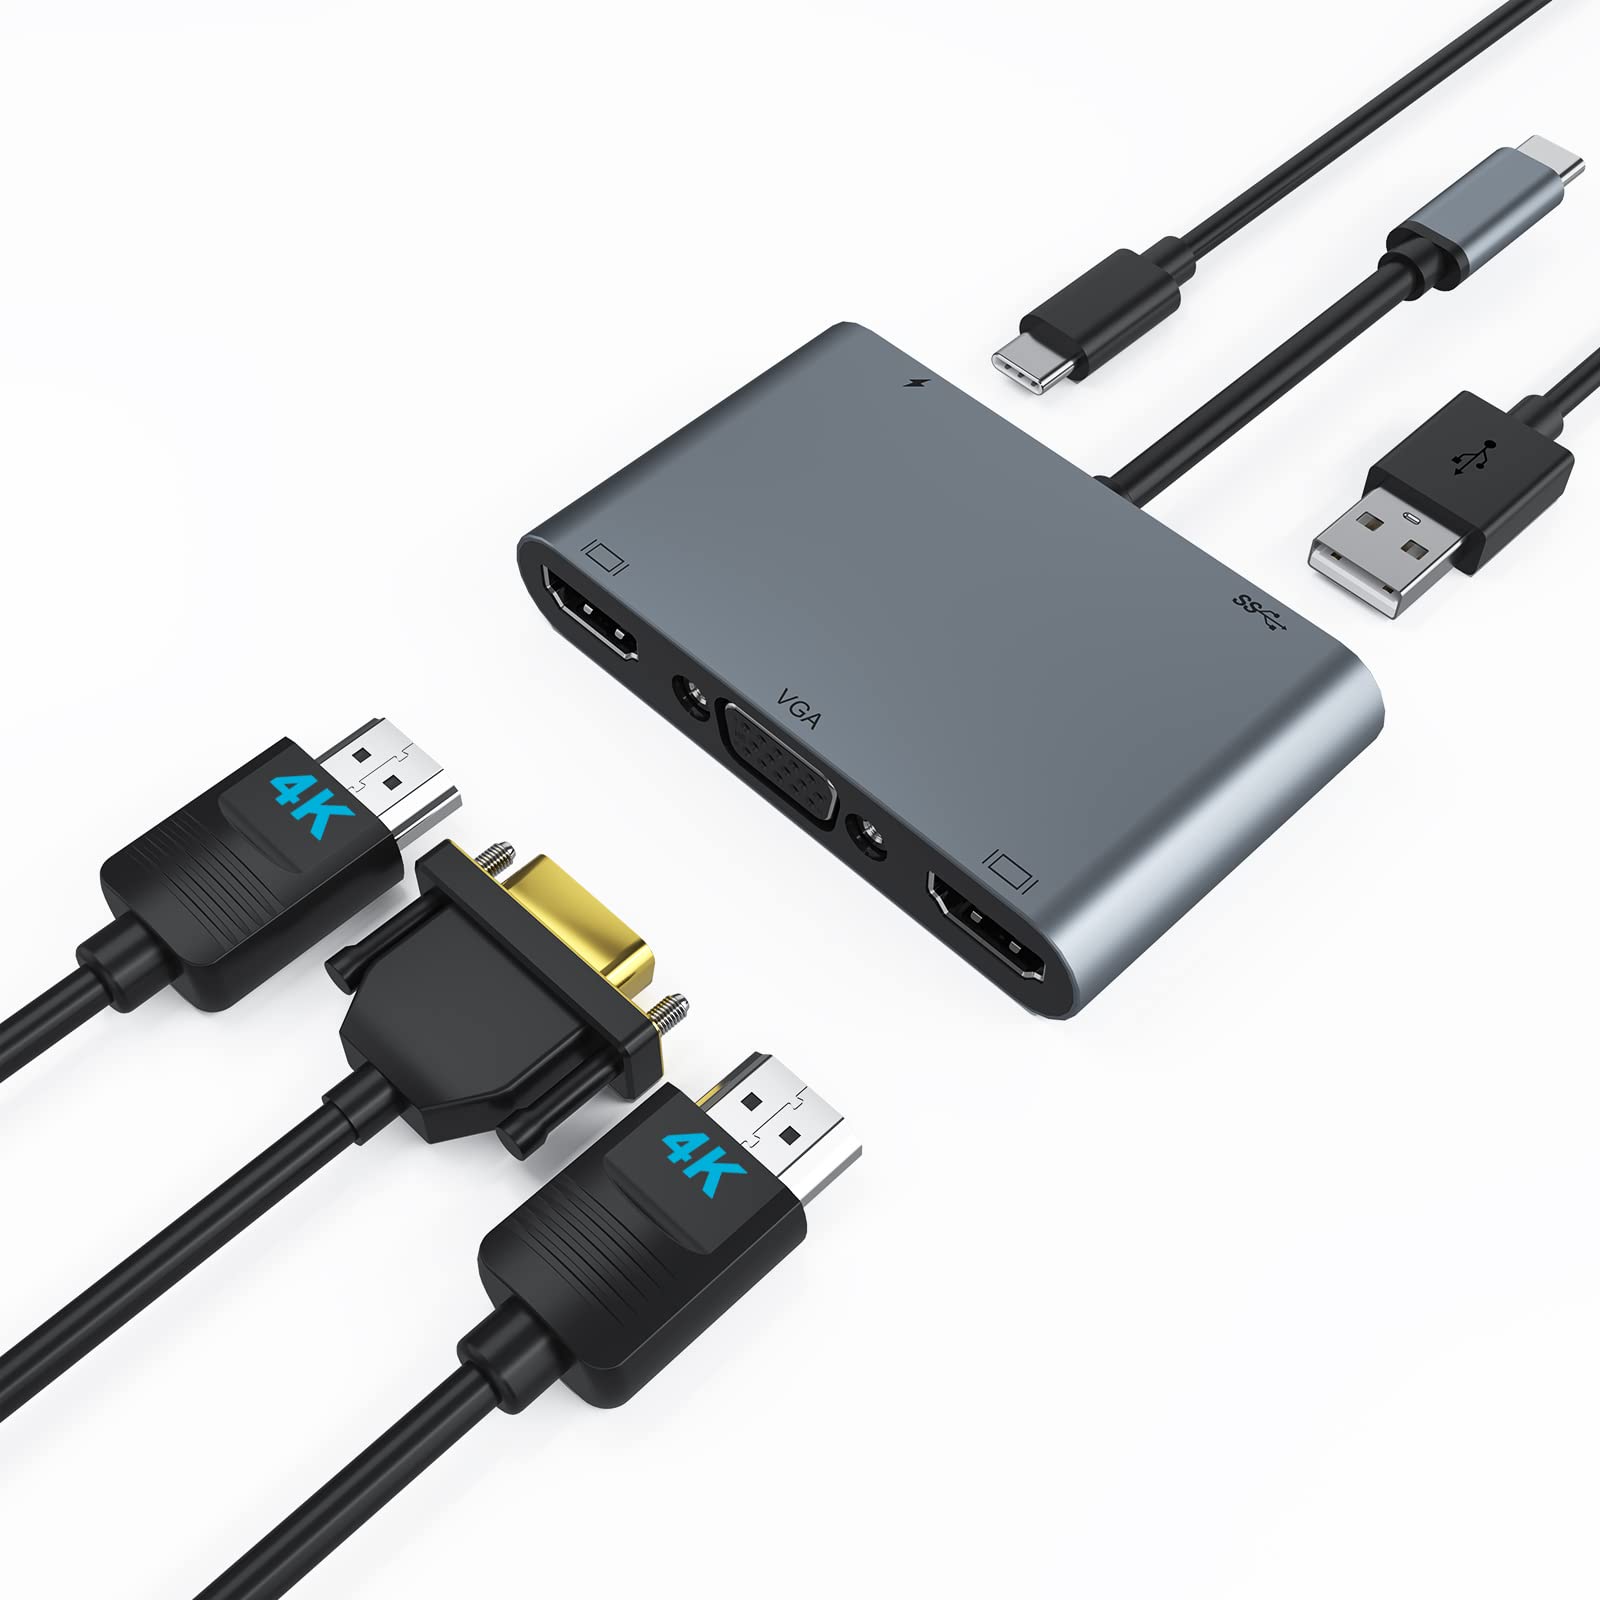
- Next, determine the video input ports available on your external monitor. Most monitors support HDMI, DisplayPort, or VGA connections.
- Once you have identified the ports, you’ll need to acquire the appropriate cables or adapters to connect your Mac to the monitor. For example, if your Mac has a Thunderbolt port and your monitor has an HDMI port, you’ll need a Thunderbolt to HDMI adapter or cable.
- Connect one end of the cable or adapter to the appropriate port on your Mac, and the other end to the corresponding port on your external monitor.
- Power on your external monitor and ensure that it is set to the correct input source for the connection.
- Your Mac should automatically detect the external monitor. To ensure it is recognized, go to the Apple menu, select “System Preferences,” and then click on “Displays.”
- In the Displays preferences, you can adjust the resolution, brightness, and other display settings for the external monitor.
Once your external monitor is connected and recognized by your Mac, you are ready to take full advantage of the extended screen real estate.
Keep in mind that not all Mac models support the connection of multiple displays or certain resolutions. It’s always a good idea to check your Mac’s specifications or consult the manufacturer’s documentation to ensure compatibility with external monitors.
Now that your external display is connected, let’s move on to adjusting the display settings on your Mac to optimize your viewing experience.
Adjusting Display Settings on your Mac
Once you have connected an external monitor to your Mac, you may need to make some adjustments to your display settings to ensure optimal visual quality and usability. Here are the key steps to adjust the display settings on your Mac:
- Go to the Apple menu in the top-left corner of your screen and select “System Preferences.”
- Click on “Displays” to access the display settings.
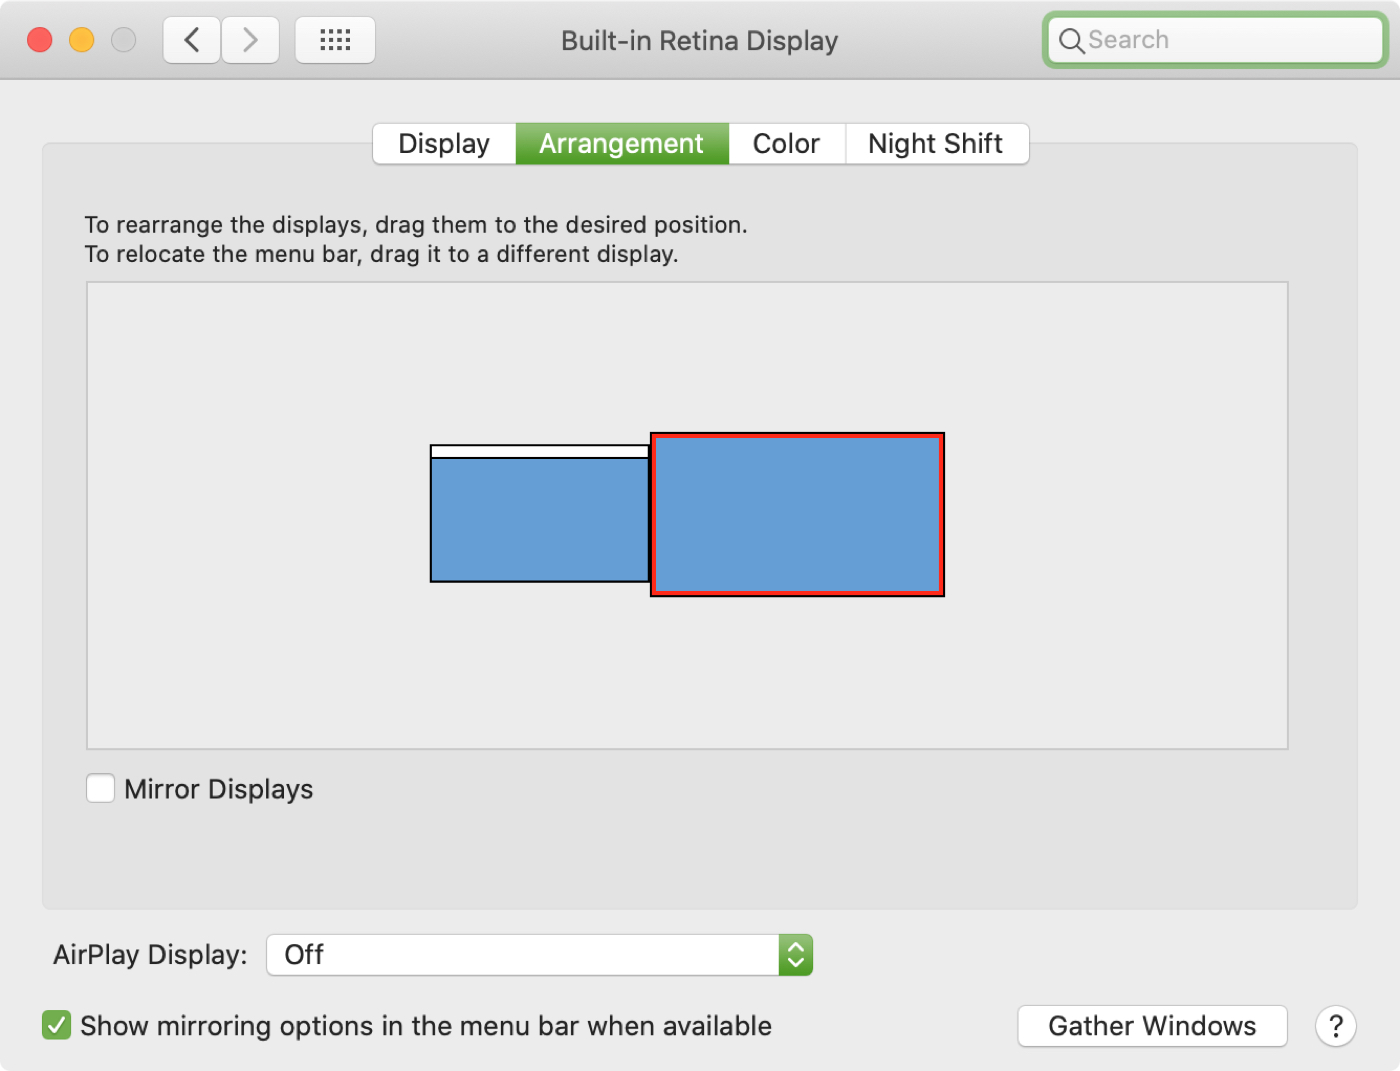
- In the Displays preferences window, you will see two tabs: “Display” and “Arrangement.”
- Under the “Display” tab, you can adjust the resolution, brightness, and other display settings for both your Mac’s built-in display and the external monitor.
- Click on the “Scaled” option to choose the resolution that best suits your needs. Higher resolutions offer more screen space, but smaller text and icons, while lower resolutions provide larger text and icons but limit the available screen space.
- Use the “Brightness” slider to adjust the brightness of the external monitor.
In addition to these basic display settings, you can also enable or disable features such as Night Shift (which adjusts the color temperature of your display for more comfortable nighttime viewing) and True Tone (which automatically adjusts the color temperature based on the surrounding lighting conditions) on supported Mac models.
Now that you have adjusted the display settings to your liking, it’s time to configure multiple displays on your Mac and extend your screen for enhanced productivity. Keep reading to learn how.
Configuring Multiple Displays on your Mac
If you want to harness the power of multiple displays on your Mac, you can easily configure and customize how they work together. Here’s how:
1. Open the Apple menu and go to “System Preferences.”
2. Click on “Displays” to access the display settings.
3. In the Displays preferences window, navigate to the “Arrangement” tab.
4. You will see a graphical representation of your displays. To configure how they work together, simply drag and arrange the displays to match your physical setup.
5. To set the primary monitor, which will host your dock and main menu bar, simply drag the white menu bar to the desired display.
6. You can also adjust the relative position of the displays by dragging them horizontally or vertically in the arrangement window. This ensures that mouse movement and window transitions feel natural as you navigate between screens.
7. To mirror your displays, check the “Mirror Displays” box to have the same content shown on both screens.
Alternatively, if you want to extend your display and utilize the additional screen space, make sure the “Mirror Displays” box is unchecked.
Once you have configured the multiple displays to your preference, you’re ready to extend your display and enjoy the benefits of increased productivity.
Now that your displays are set up, let’s explore how you can extend your screen on your Mac.
Extending your Display on Mac
Extending your display on a Mac allows you to span your workspace across multiple monitors, giving you more room to work with and increasing your productivity. Here’s how you can extend your display:
- Ensure that you have connected your external monitor to your Mac following the steps mentioned earlier.
- Once your displays are configured, go to the Apple menu and select “System Preferences.”
- Click on “Displays” to access the display settings.
- Navigate to the “Arrangement” tab in the Displays preferences window.
- Ensure that the “Mirror Displays” box is unchecked to enable the extended display mode.
- Drag and arrange the displays in the arrangement window to match your physical setup and positioning.
- Now, you can move windows and applications between the displays by dragging them from one screen to another. This allows you to work on different tasks simultaneously or have reference materials open on one monitor while working on the main content on the other.
Extending your display provides a spacious digital workspace that enhances your productivity and multitasking capabilities. Whether you’re a content creator, programmer, or simply a power user, having multiple displays can significantly improve your workflow.
Now that you have extended your display on your Mac, let’s explore how you can arrange the position of your displays to suit your preferences.
Arranging the Position of Displays on Mac
Arranging the position of your displays on a Mac allows you to customize the layout and orientation of your multiple monitors according to your needs and preferences. Here’s how you can arrange the position of displays:
- Go to the Apple menu and select “System Preferences.”
- Click on “Displays” to access the display settings.
- Navigate to the “Arrangement” tab in the Displays preferences window.
- In the arrangement window, you will see a graphical representation of your displays.
- Drag and arrange the displays to match your physical setup. You can move the displays horizontally, vertically, or even rotate them to suit your desired orientation.
- Drag the white menu bar to the display that you want to set as the primary monitor.
- By arranging the displays, you ensure that the mouse cursor moves seamlessly between them, enabling a natural and fluid experience.
- If you have a mixed arrangement of displays (e.g., one standard monitor and one with a different resolution or aspect ratio), you can adjust the alignment by dragging the displays up or down to align them based on their physical position.
Arranging the position of your displays is crucial for creating an ergonomic and efficient workspace. This way, you can position your displays in a way that reduces strain on your neck and eyes and aligns with your workflow requirements.
Now that you have arranged the position of your displays on your Mac, let’s explore how you can utilize the menu bar on your secondary display.
Using the Menu Bar on your Secondary Display
One of the convenient features when working with multiple displays on your Mac is the ability to have a separate menu bar on your secondary display. This allows you to access important system and application menus on both monitors without having to constantly switch between them. Here’s how you can enable and utilize the menu bar on your secondary display:
- Connect an external monitor to your Mac and configure it as a secondary display by following the instructions mentioned earlier.
- Go to the Apple menu and select “System Preferences.”
- Click on “Displays” to access the display settings.
- Navigate to the “Arrangement” tab in the Displays preferences window.
- Check the box that says “Show mirroring options in the menu bar when available.”
- With this option enabled, you can now move your mouse cursor to the top of the secondary display, and a menu bar will appear.
- The menu bar on the secondary display will mirror the contents of the menu bar on your primary display, providing quick access to the same system controls, application menus, and notification center.
- You can interact with the menu bar on the secondary display just like you would on your primary display. Simply click on menu items, open applications, and access system preferences as needed.
The menu bar on the secondary display enhances the usability and convenience of working with multiple displays on your Mac. It allows you to maintain a seamless workflow and easily access essential controls and features, regardless of which display you’re actively working on.
Now that you’re familiar with using the menu bar on your secondary display, let’s explore some tips and tricks for optimizing your experience with multiple monitors on Mac.
Tips and Tricks for Using Multiple Monitors on Mac
Working with multiple monitors on your Mac can greatly enhance your productivity and efficiency. To help you make the most out of this setup, here are some tips and tricks:
- Use Spaces: Spaces is a feature in macOS that allows you to create multiple virtual desktops. You can assign specific applications or windows to different Spaces, making it easier to manage and organize your workflow across multiple monitors.
- Customize Hot Corners: Take advantage of Hot Corners in macOS to quickly perform actions or switch between screens. For example, you can set a Hot Corner to activate Exposé, which shows all open windows, making it easier to navigate your workspace.
- Use Full-Screen Apps: Many apps support full-screen mode, allowing you to dedicate an entire display to a specific application. This is especially useful for video editing, design work, or any task that requires maximum screen real estate.
- Arrange Dock and Icons: Customize the position of the Dock and arrange icons on your primary display for easier access. This way, you can keep your frequently used apps and files easily accessible on the main screen.
- Utilize Split View: macOS offers a Split View feature, which allows you to work with two apps side by side in full-screen mode. This is particularly helpful when using two displays, as you can have Split View on one screen while using the other display for additional tasks.
- Keyboard Shortcuts: Learn and utilize keyboard shortcuts to navigate between displays, move windows, and switch between applications. This can significantly speed up your workflow and minimize mouse movement.
- Consider Color Calibration: If color accuracy is essential, make sure to calibrate your monitors to achieve consistent colors across all displays. This can be done through the Displays preferences in the System Preferences menu.
By implementing these tips and tricks, you can maximize the potential of your multiple monitor setup on your Mac and enjoy an optimized and seamless workflow.
Now that you’re armed with these tips and tricks, you’re ready to unlock the full power of multiple monitors and boost your productivity on your Mac.
Conclusion
Congratulations! You have learned how to extend your monitor on a Mac and unlock the potential of multiple monitors. By connecting an external monitor, adjusting display settings, configuring multiple displays, and extending your display, you now have a more expansive and efficient workspace.
We explored the process of connecting an external monitor to your Mac, adjusting display settings, and configuring multiple displays. We also discussed how to arrange the position of displays and utilize the menu bar on your secondary display. Additionally, we provided some valuable tips and tricks to enhance your experience with multiple monitors on your Mac.
With these newfound skills and knowledge, you can tailor your setup to meet your specific needs, whether you’re a designer, programmer, or anyone seeking to enhance productivity. Utilize the extra screen space, organize windows across different displays, and take advantage of customization options to create an optimal working environment for yourself.
Remember to check your Mac model’s specifications and the version of macOS you’re using, as certain features and options may vary. Always consult manufacturer documentation or online resources for detailed instructions specific to your setup.
Now, go ahead and enjoy the freedom and productivity that come with using multiple monitors on your Mac. Whether you’re multitasking with ease, improving workflow efficiency, or simply enjoying the enhanced visual experience, expanding your digital workspace is sure to be a game-changer.