Introduction
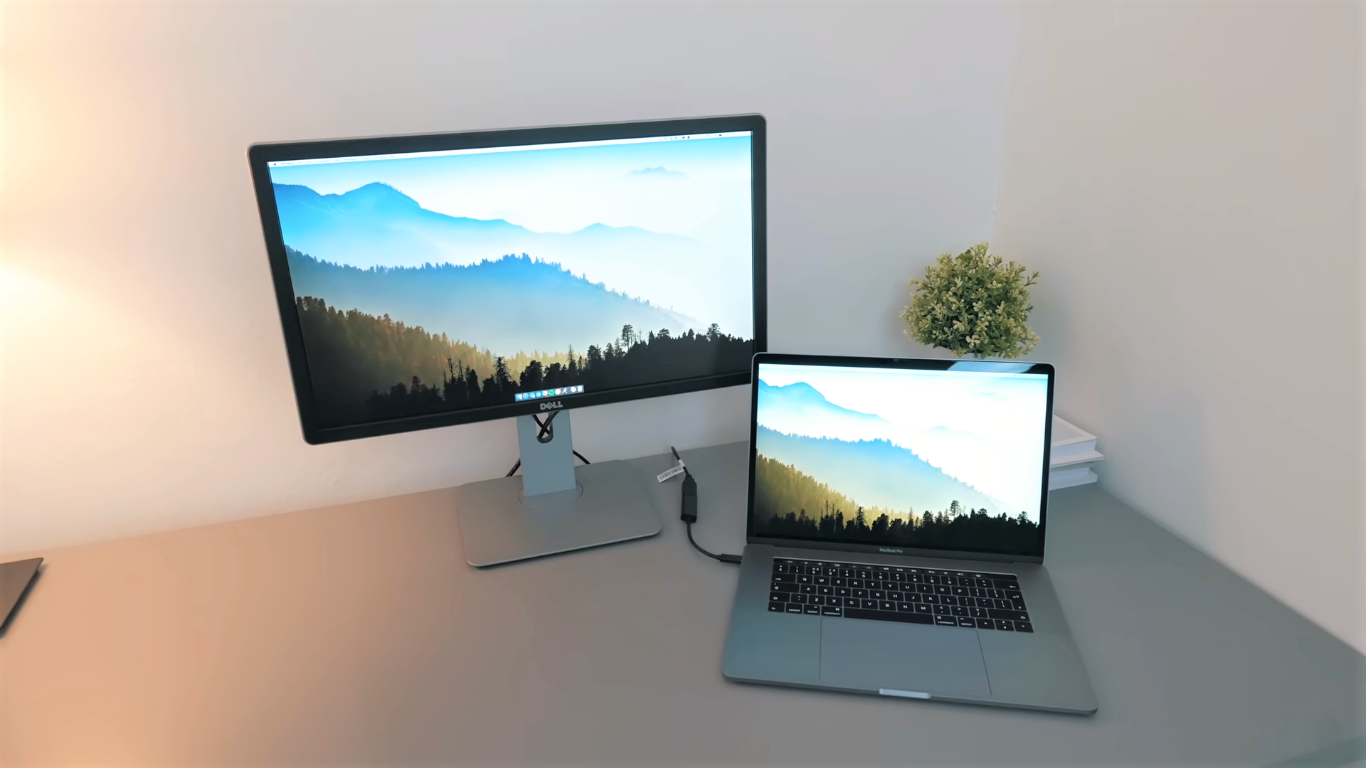
Connecting your MacBook to a Dell monitor is a great way to expand your workspace and enhance your productivity. Whether you need a larger display for multitasking or want to enjoy a better viewing experience, the process of connecting your MacBook to a Dell monitor is relatively straightforward. In this guide, we will walk you through the steps required to make this connection.
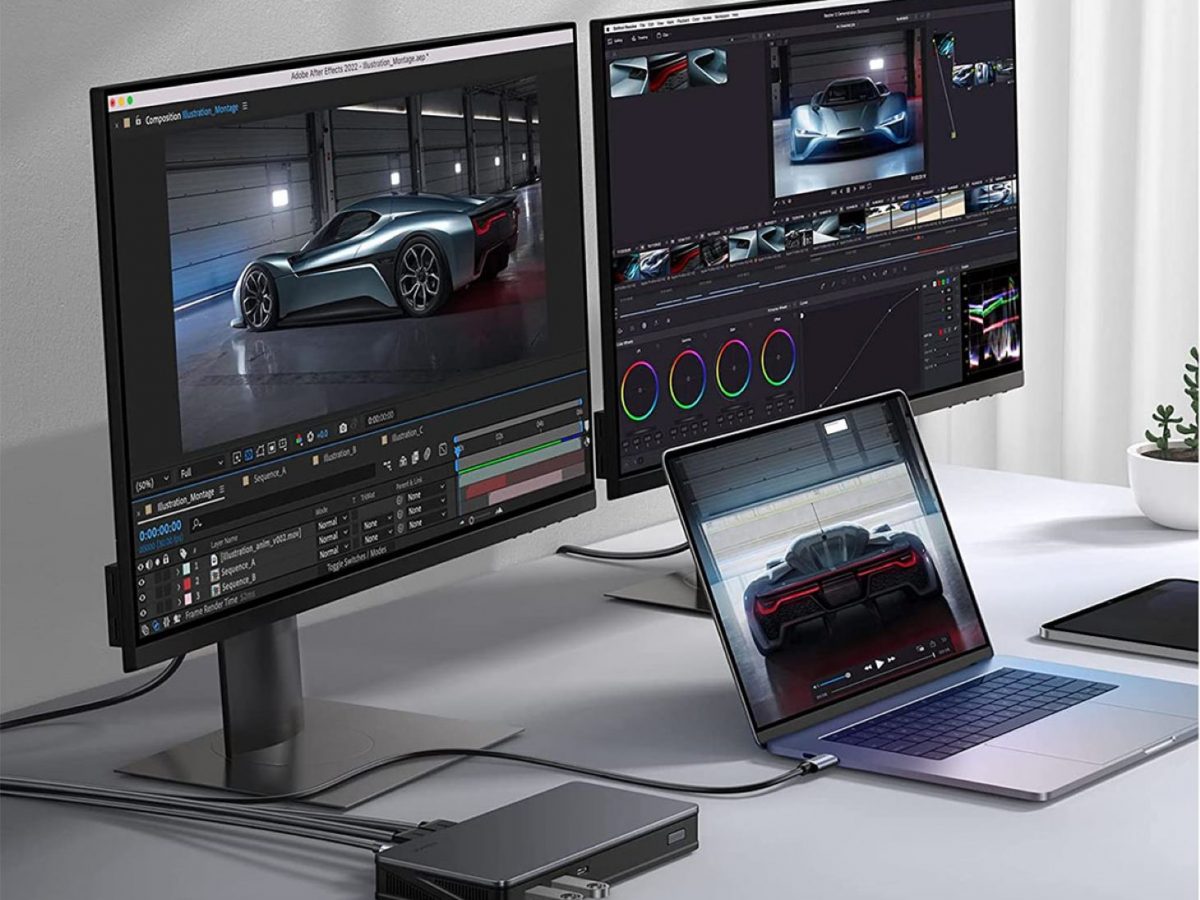
With the ability to connect external displays, MacBooks offer a flexible solution for users who require more screen real estate. By connecting a Dell monitor, you can enjoy a larger display and take advantage of the advanced features that Dell monitors provide. This allows you to work seamlessly across different applications, edit photos and videos with more precision, or simply enjoy a more immersive multimedia experience.
Before diving into the steps, it’s important to ensure that your MacBook and Dell monitor are compatible with each other. Additionally, you may need to gather the necessary cables and adapters to establish the connection. Understanding these compatibility requirements and choosing the right cables or adapters will make the setup process smoother and more efficient.
In the following sections, we will explore the compatibility requirements, choose the appropriate cables and adapters, and provide you with a step-by-step guide on how to connect your MacBook to a Dell monitor. We will also address common issues you may encounter during the setup process and offer troubleshooting tips to help you overcome them.
So, if you’re ready to enhance your productivity and take your MacBook experience to the next level, let’s dive in and learn how to connect your MacBook to a Dell monitor.
Connecting the MacBook to the Dell Monitor
Now that you have ensured the compatibility and gathered the necessary cables and adapters, let’s move on to the process of connecting your MacBook to the Dell monitor. Follow these step-by-step instructions to establish the connection:
- Power off your MacBook and the Dell monitor before connecting any cables.
- Locate the appropriate video port on your MacBook. This may vary depending on the model, but common ports include HDMI, Mini DisplayPort, or USB-C.
- Connect one end of the cable to the video port on your MacBook.
- Now, locate the corresponding video input port on the Dell monitor. This is typically located on the back or side of the monitor.
- Connect the other end of the cable to the video input port on the Dell monitor.
- If you are using an adapter, make sure it is securely connected to both the MacBook and the Dell monitor.
- Power on the MacBook and the Dell monitor.
- Once both devices are powered on, the MacBook should detect the Dell monitor automatically and configure the display settings accordingly.
- If the display does not automatically appear on the Dell monitor, you may need to adjust the display settings on your MacBook manually. To do this, go to “System Preferences” > “Displays” and select the “Arrangement” tab. From here, you can adjust the resolution, layout, and other display settings to your preference.
That’s it! You have successfully connected your MacBook to the Dell monitor. You should now be able to enjoy the extended display and take advantage of the increased productivity and enhanced visual experience.
Remember, if you encounter any issues during the setup process, refer to the troubleshooting section for some common solutions. With a little patience and troubleshooting, you’ll be able to overcome any obstacles and enjoy the benefits of a dual monitor setup.
Checking the Compatibility and Requirements
Before connecting your MacBook to a Dell monitor, it’s crucial to ensure that both devices are compatible with each other. Here are the key compatibility factors and requirements to consider:
- MacBook Model: Different MacBook models may have different video output ports. Review the specifications of your MacBook and identify the type of video output port it has, such as HDMI, Mini DisplayPort, or USB-C.
- Dell Monitor Model: Check the specifications of your Dell monitor to confirm the available video input ports. Common options include HDMI, DisplayPort, DVI, or VGA. Make sure that your monitor supports the same type of video input as your MacBook’s video output.
- Supported Resolutions: Ensure that your MacBook and Dell monitor support compatible resolutions. This will enable the optimal display of content without distortion or quality degradation. Refer to the user manuals or specifications of both devices to find the supported resolutions.
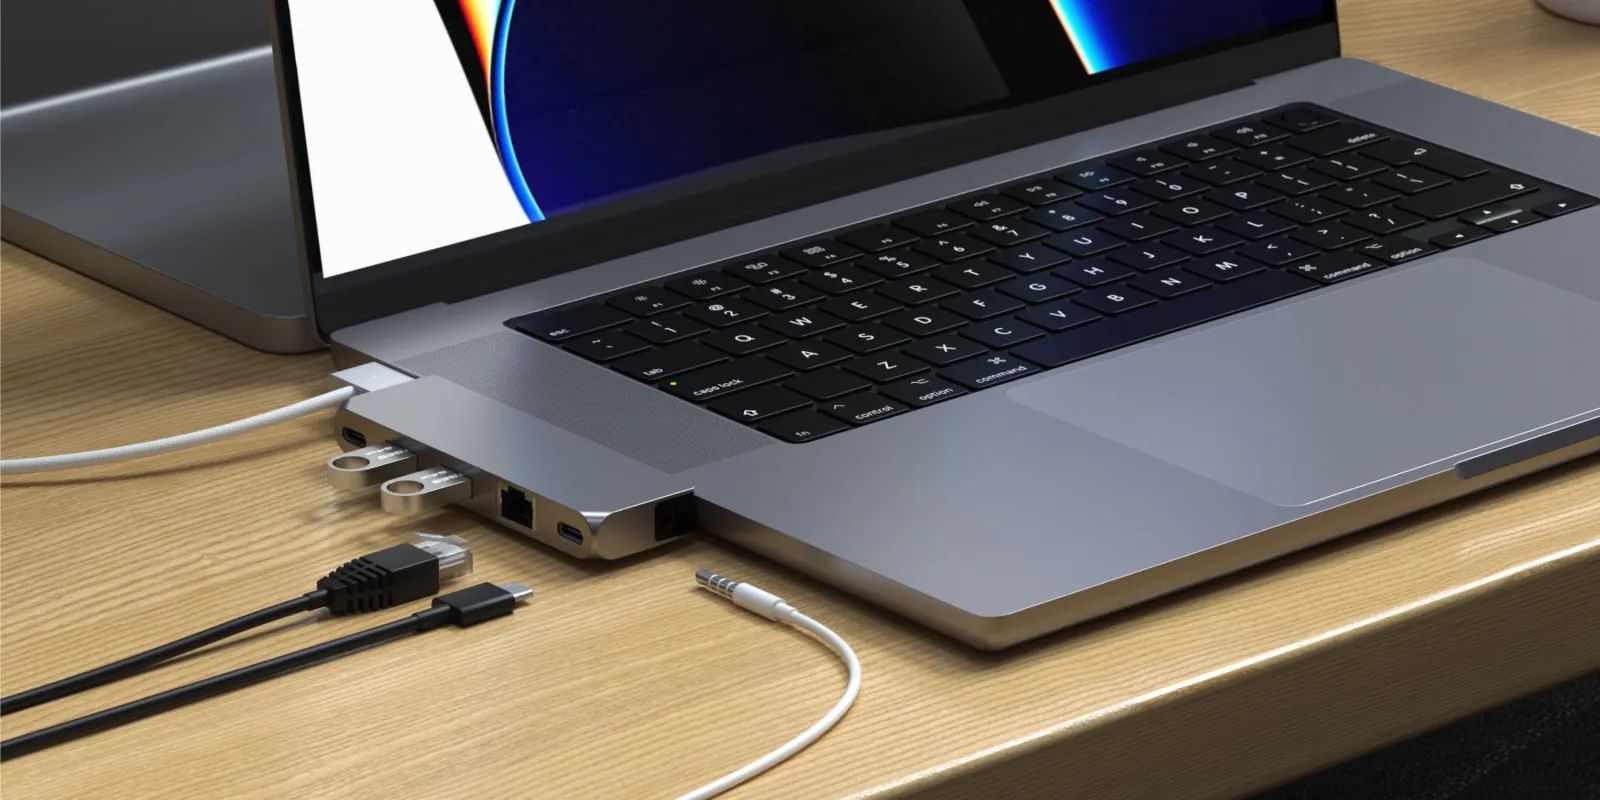
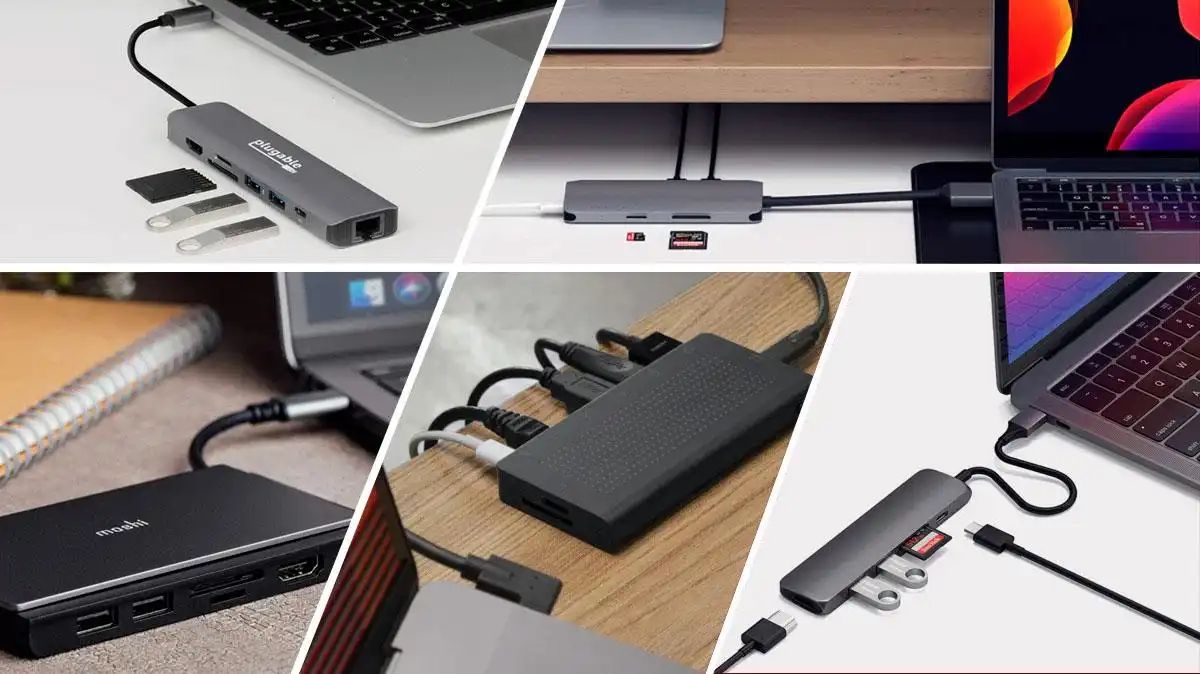
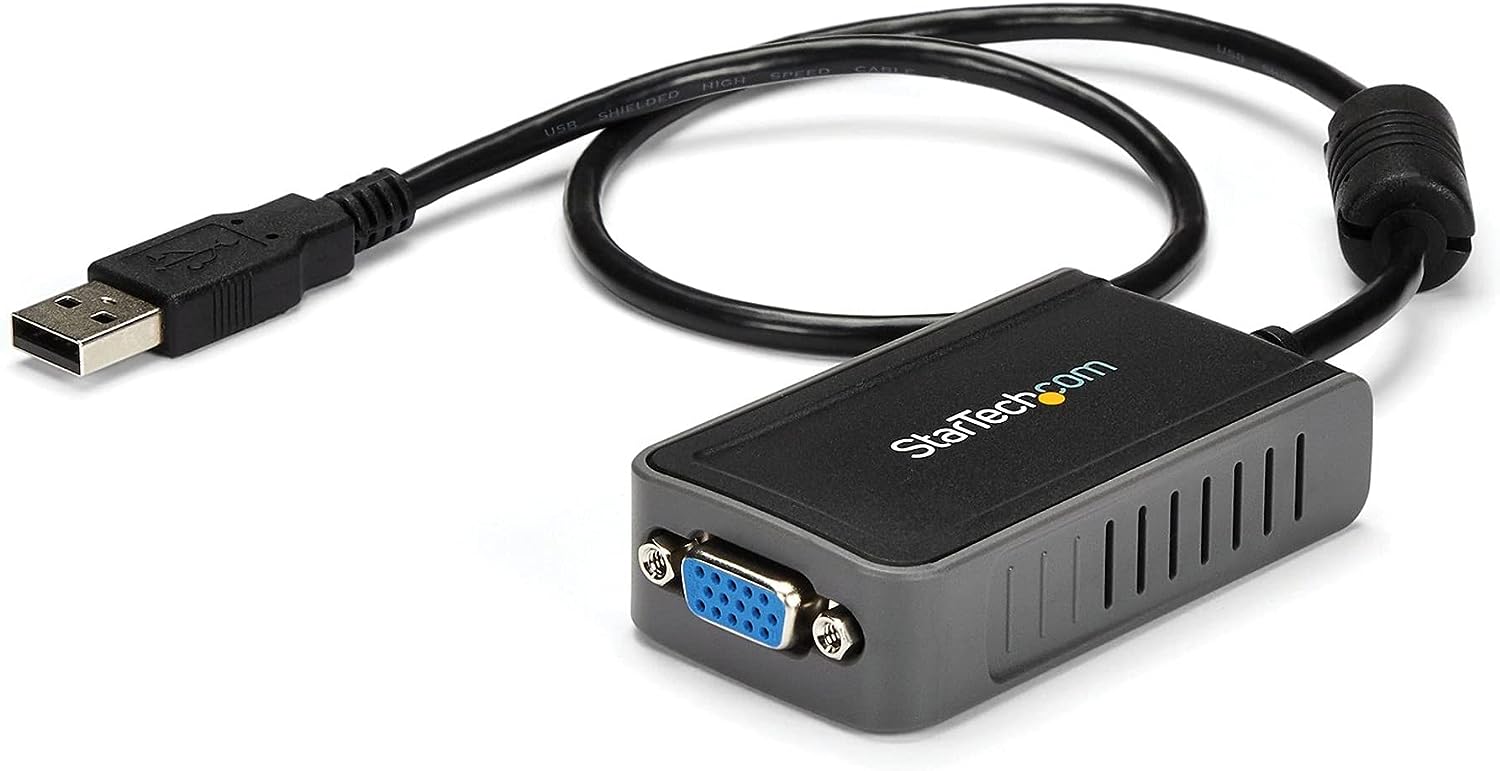
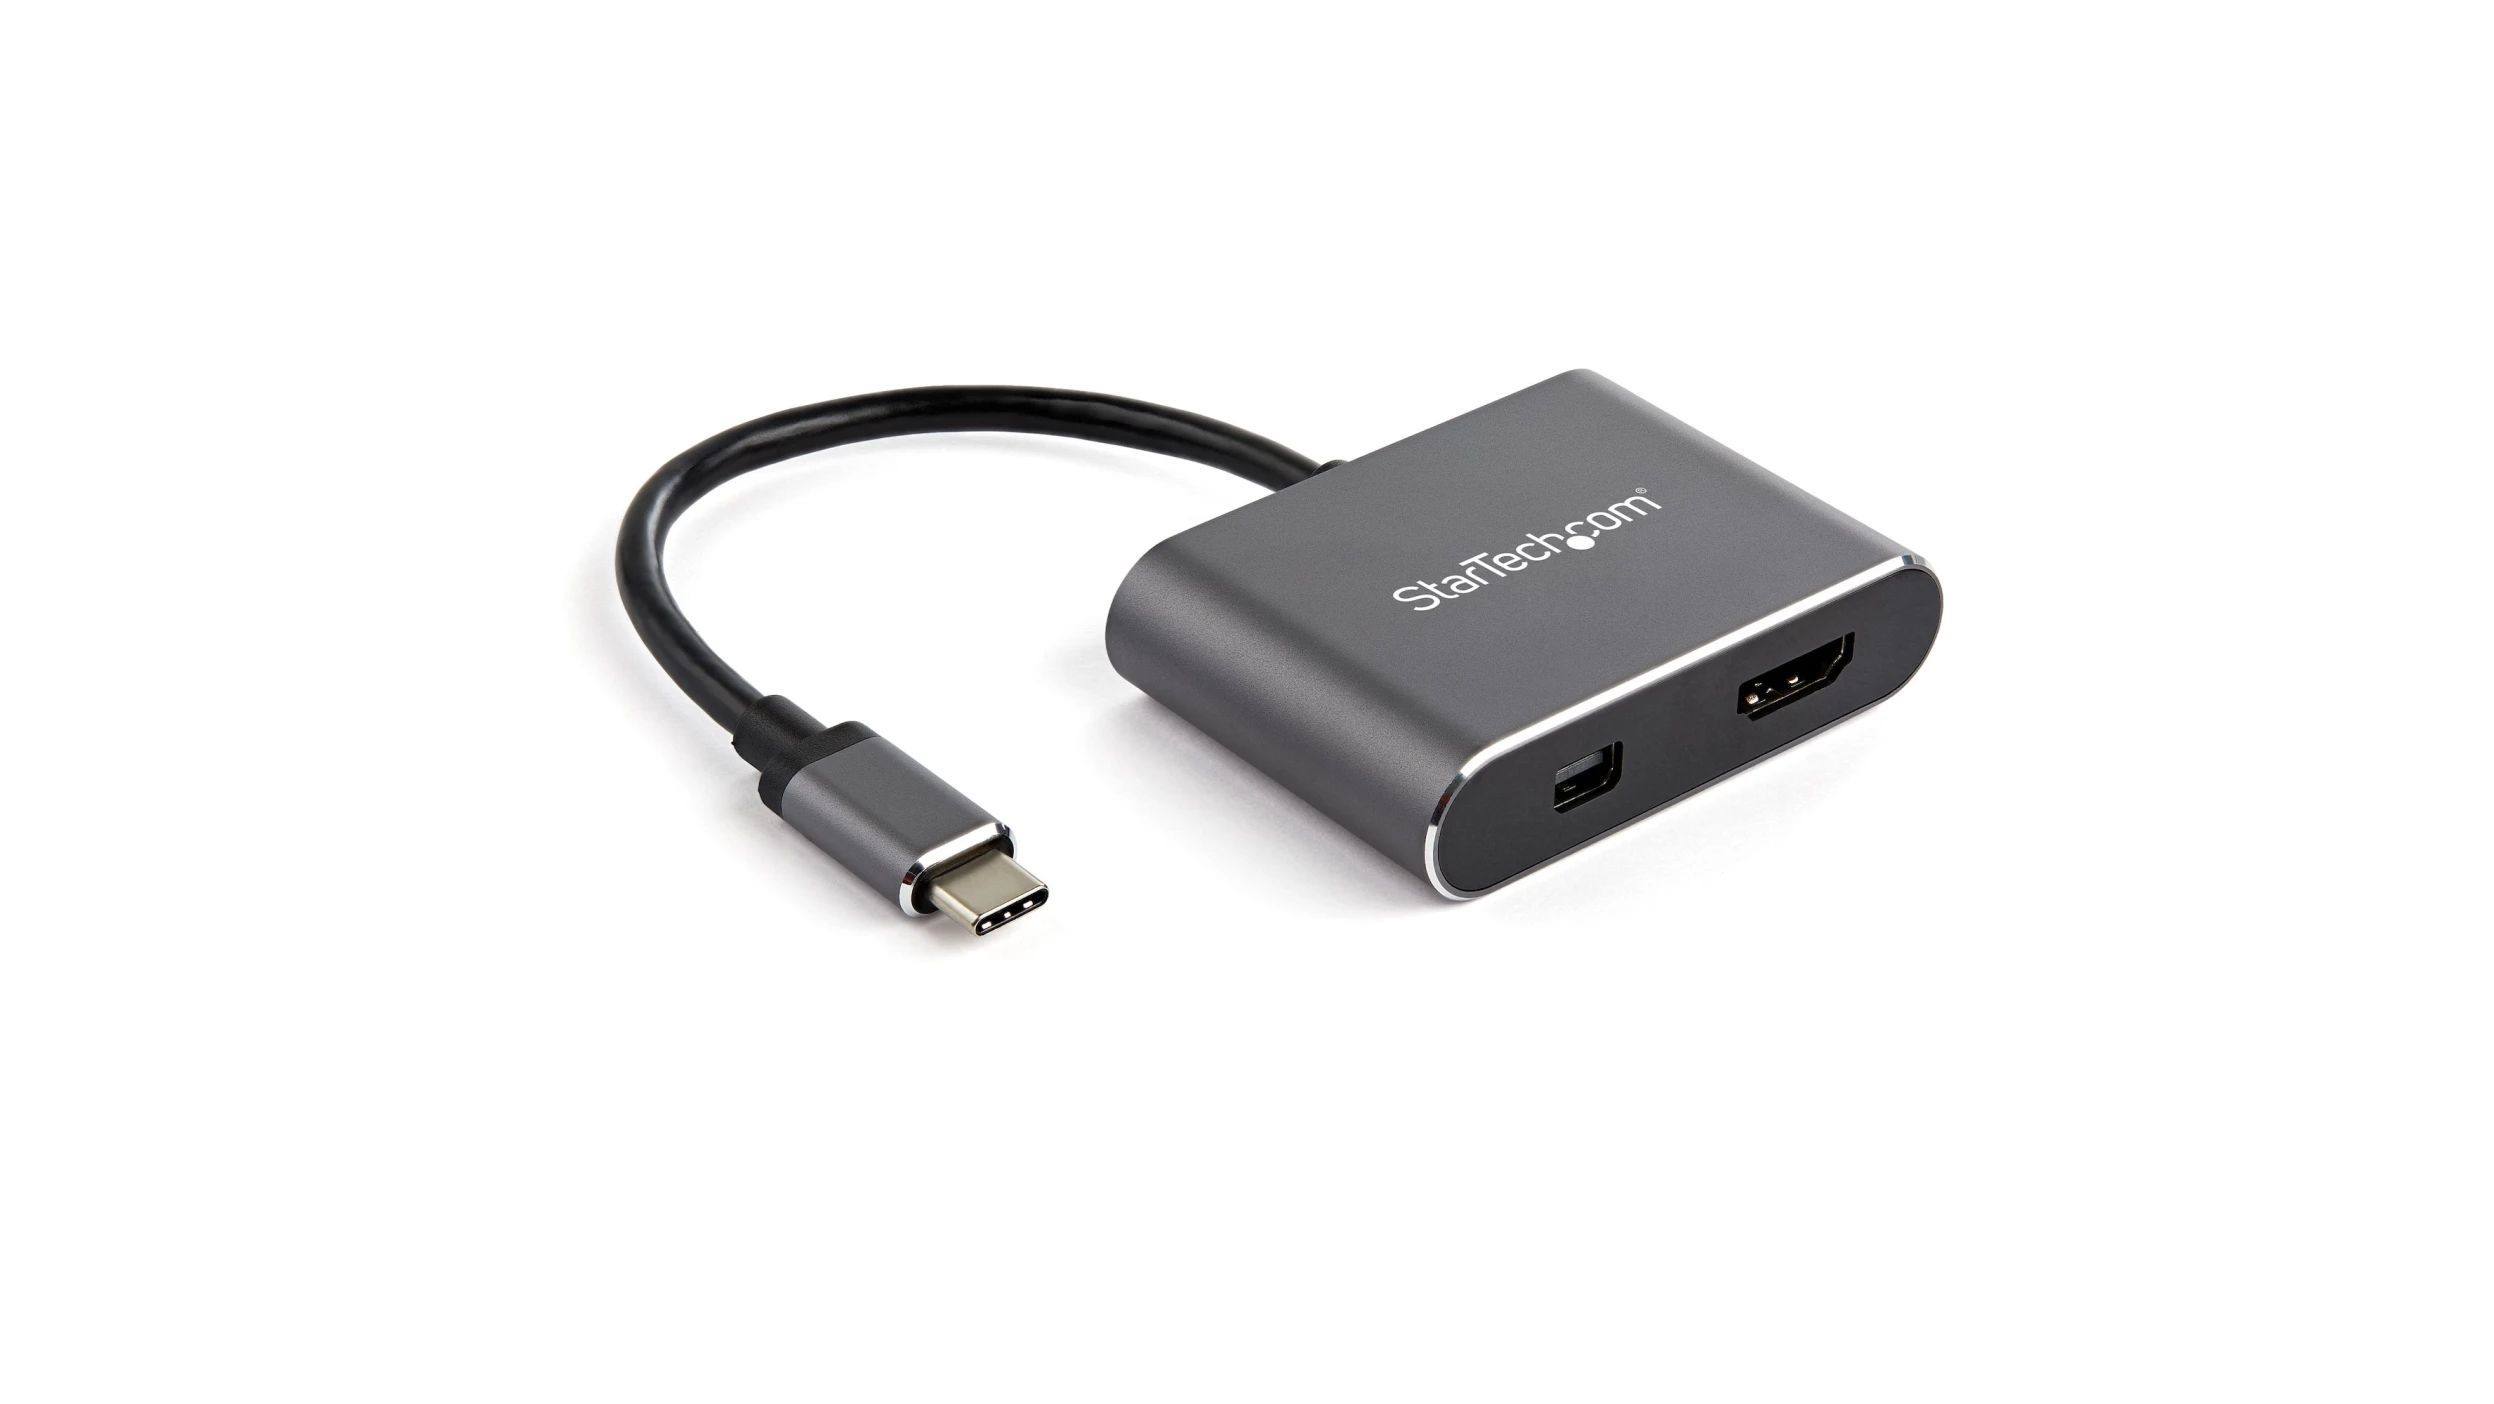
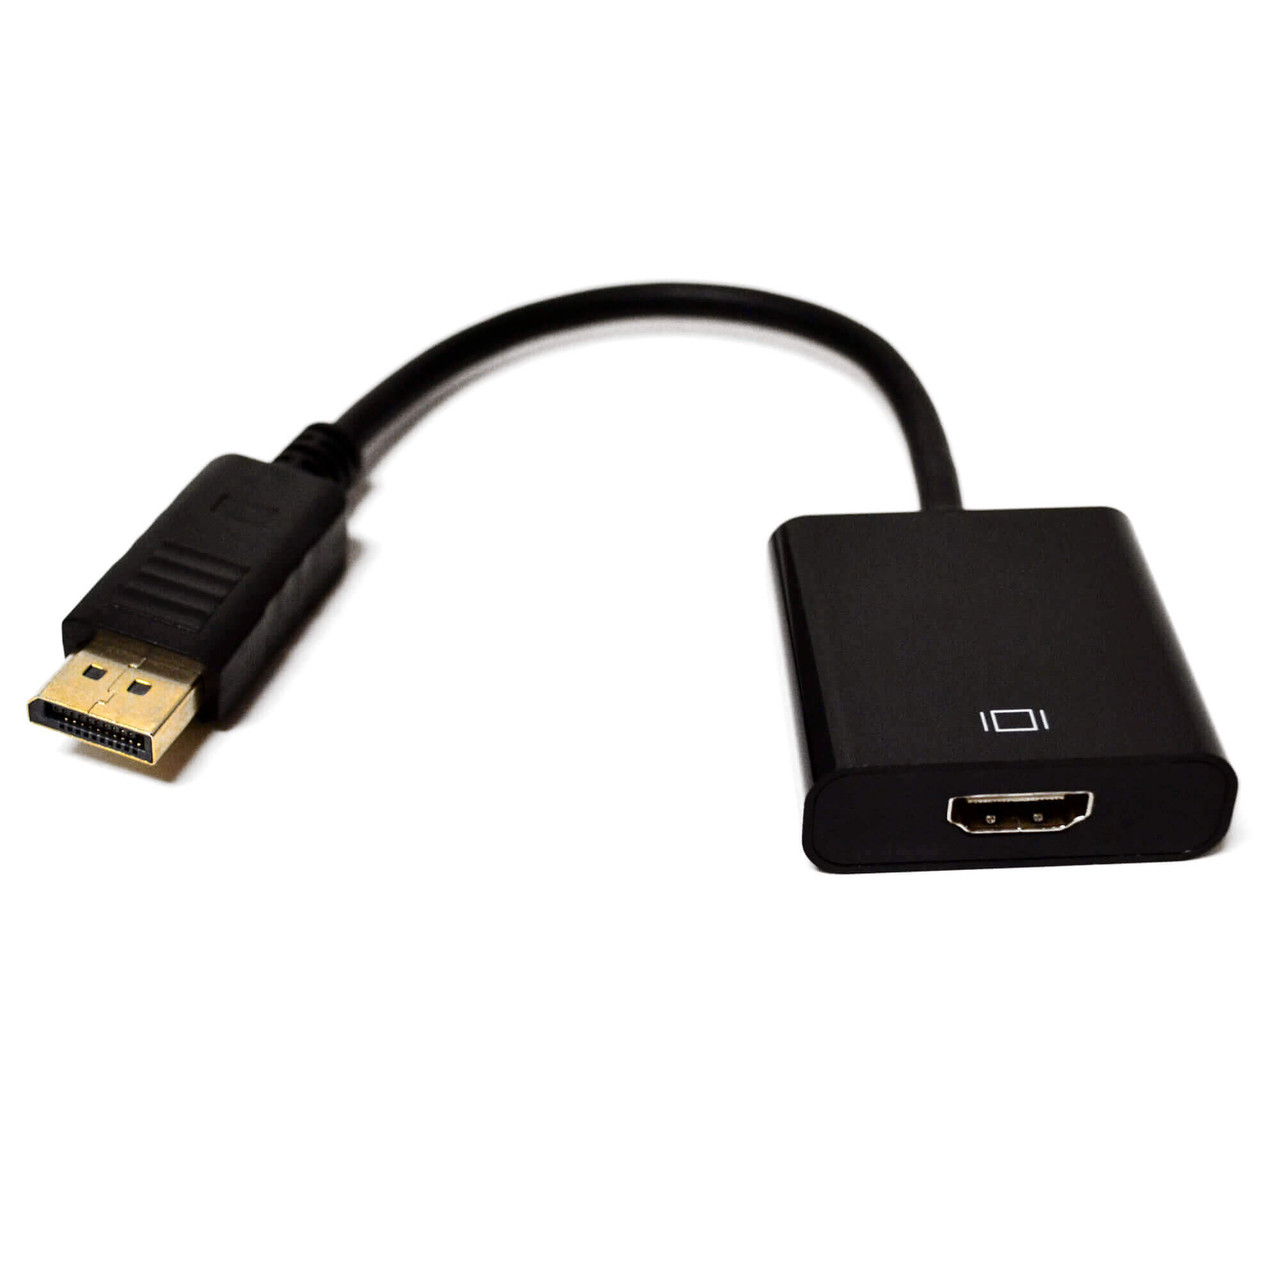
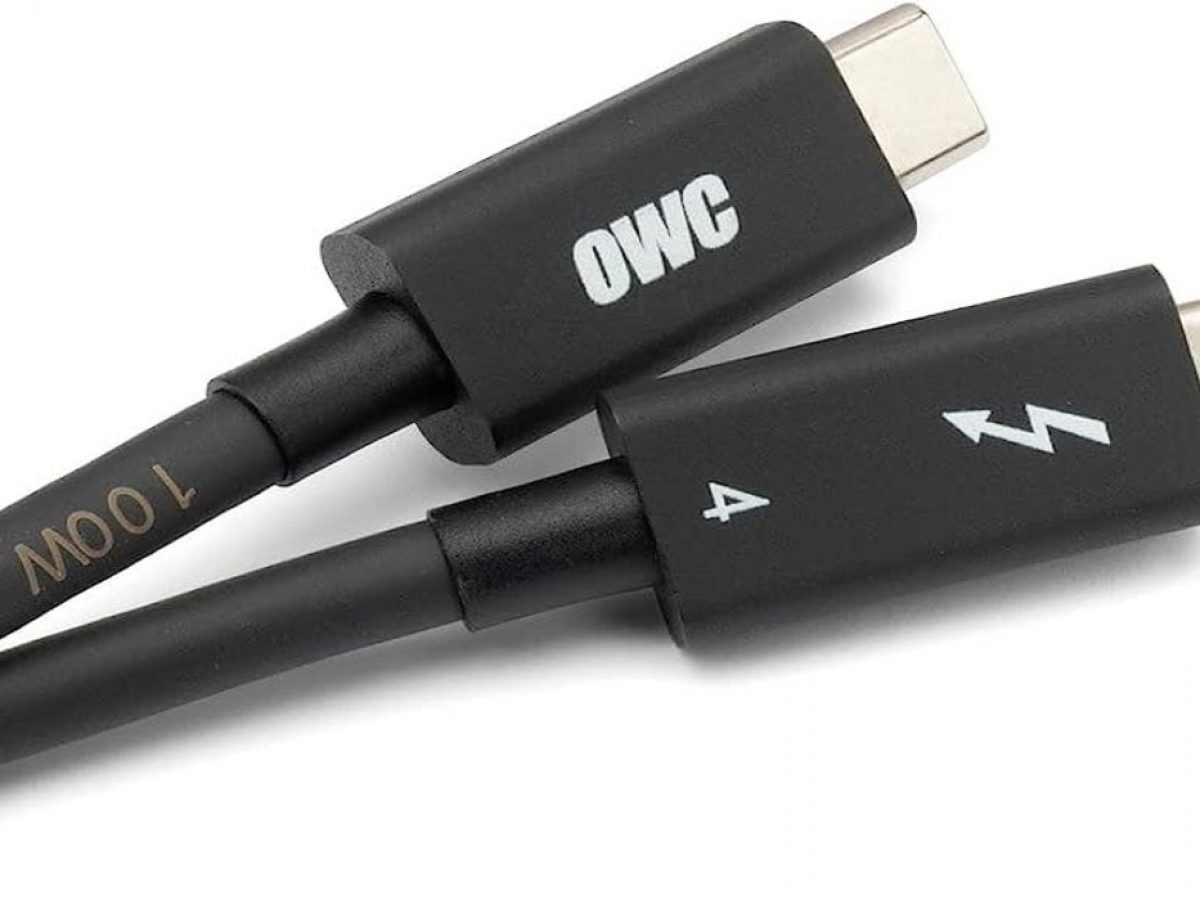
- Cables and Adapters: Depending on the video output port of your MacBook and the video input port of your Dell monitor, you may need specific cables or adapters to establish the connection. For example, if your MacBook has a USB-C port and your Dell monitor uses HDMI, you will require a USB-C to HDMI adapter or cable. Ensure that you have the necessary cables or adapters readily available.
- Operating System Compatibility: Check if your MacBook’s operating system is compatible with the Dell monitor. In most cases, MacBooks running the latest operating system versions should have no issues in terms of compatibility. However, it’s always a good idea to verify compatibility to avoid any surprises.
By checking the compatibility and requirements beforehand, you can ensure a smooth and successful connection between your MacBook and Dell monitor. This will minimize any potential issues that may arise during the setup process and help you make the most out of your dual monitor setup.
Choosing the Right Cables and Adapters
When connecting your MacBook to a Dell monitor, it’s essential to select the appropriate cables and adapters to establish a seamless connection. Here are some guidelines to help you choose the right cables and adapters:
- Video Output Port: Determine the type of video output port on your MacBook, such as HDMI, Mini DisplayPort, or USB-C. This will determine the type of cable or adapter you need.
- Video Input Port: Identify the video input port on your Dell monitor, such as HDMI, DisplayPort, DVI, or VGA. Ensure that you choose a cable or adapter that is compatible with the video input port of your monitor.
- Cable Length: Consider the distance between your MacBook and the Dell monitor when selecting the cable length. Choose a cable length that provides enough flexibility and convenience without compromising signal quality.
- Adapter Compatibility: If you need to use an adapter to connect your MacBook’s video output port to the Dell monitor’s video input port, ensure that the adapter is compatible with both devices. Check for compatibility with your MacBook model and the specific video input port of your Dell monitor.
- Quality and Brand: Opt for high-quality cables and adapters from reputable brands. A well-made cable or adapter can provide better signal transmission and longevity, ensuring a reliable and consistent connection between your MacBook and Dell monitor.
It’s worth mentioning that in some cases, you may need additional accessories or cables for audio transmission if your Dell monitor has built-in speakers. Check if your chosen cable or adapter supports audio transmission, or consider alternative audio connection options such as Bluetooth speakers or separate audio cables.
Take your time to research and select the appropriate cables and adapters based on your MacBook and Dell monitor’s compatibility and requirements. This will help you establish a stable and high-quality connection, allowing you to fully enjoy the benefits of a dual monitor setup.
Step-by-Step Guide to Connecting the MacBook to the Dell Monitor
Now that you have checked the compatibility, gathered the necessary cables and adapters, and are ready to connect your MacBook to the Dell monitor, follow these step-by-step instructions:
- Power off your MacBook and the Dell monitor before connecting any cables. This ensures a safe and smooth setup process.
- Locate the appropriate video port on your MacBook. Depending on your MacBook model, you may have an HDMI, Mini DisplayPort, or USB-C port. This is where you will connect the cable or adapter.
- Connect one end of the cable (or adapter) to the video port on your MacBook. Ensure that the connection is secure.
- Identify the corresponding video input port on the Dell monitor. The location of the port may vary but is typically found on the back or side of the monitor.
- Connect the other end of the cable (or adapter) to the video input port on the Dell monitor. Make sure the connection is firm and secure.
- If you are using an adapter, double-check that it is securely connected to both the MacBook and the Dell monitor.
- Power on your MacBook and the Dell monitor. Make sure both devices are properly powered up before proceeding to the next step.
- Allow a few moments for the MacBook to detect the Dell monitor and configure the display settings automatically. In most cases, you will see the screen on the Dell monitor come to life, indicating a successful connection.
- If the display does not automatically appear on the Dell monitor, you may need to adjust the display settings on your MacBook manually. Go to “System Preferences” and navigate to “Displays.” Select the “Arrangement” tab and modify the resolution, layout, and other display settings according to your preference.
That’s it! You have now successfully connected your MacBook to the Dell monitor. You can now enjoy the benefits of a dual monitor setup, such as increased productivity, larger workspace, and a more immersive viewing experience.
If you encounter any issues during the setup process, refer to the troubleshooting section for common solutions. However, following these step-by-step instructions should ensure a smooth and hassle-free connection between your MacBook and the Dell monitor.
Adjusting Display Settings on the MacBook
After connecting your MacBook to the Dell monitor, you may need to adjust the display settings on your MacBook to optimize the visual experience. Follow these steps to customize the display settings:
- Go to “System Preferences”. Click on the Apple menu icon located on the top-left corner of the screen and select “System Preferences” from the drop-down menu.
- Select “Displays”. In the System Preferences window, locate and click on the “Displays” icon. This will open the display settings menu.
- Navigate to the “Arrangement” tab. Once in the Display settings, navigate to the “Arrangement” tab. This tab allows you to modify the layout and settings of multiple displays.
- Configure the display arrangement. In the Arrangement tab, you will see a representation of your displays. You can drag and arrange them as per your preference to match the physical setup of your MacBook and Dell monitor. This ensures that the displays are aligned correctly and that the cursor moves smoothly across both screens.
- Adjust the resolution. In the Arrangement tab, you can also adjust the resolution of the Dell monitor. Select the Dell monitor from the display representation, and you’ll see a list of available resolutions. Choose the resolution that suits your needs and provides the best visual quality.
- Additional display settings. Depending on your MacBook model and operating system version, you may have additional display settings available in the Display preferences. Explore these settings to further customize elements such as brightness, color calibration, and more.
It’s worth noting that adjusting the display settings may require some trial and error to find the ideal configuration that meets your preferences. Take the time to explore and experiment with different settings to find the setup that suits your needs best.
Once you have adjusted the display settings to your satisfaction, you can start taking full advantage of the dual-monitor setup, maximizing productivity, and enjoying an expanded workspace.
In the event that you encounter any difficulties while adjusting the display settings, check for updates for your MacBook’s operating system and monitor firmware. Furthermore, consult the manufacturer’s documentation or online resources for additional guidance specific to your model.
Troubleshooting Common Issues
While connecting your MacBook to a Dell monitor is usually a straightforward process, you may encounter some common issues along the way. Here are a few troubleshooting tips to help you overcome these issues:
- No display on the Dell monitor: If the Dell monitor is not displaying anything, ensure that the connections are secure. Double-check that the cable is plugged in properly on both ends. Try disconnecting and reconnecting the cable or adapter to establish a solid connection. Also, make sure the Dell monitor is powered on and set to the correct video input source.
- Incorrect display resolution: If the resolution of the Dell monitor does not match your desired settings, go to “System Preferences” > “Displays” > “Arrangement” tab on your MacBook. Choose the correct resolution or try different resolutions to see if the issue resolves.
- Blurry or distorted display: If the display on the Dell monitor appears blurry or distorted, check the resolution settings on both the MacBook and the Dell monitor. Ensure that they are both set to the optimal resolution supported by both devices. Adjust the resolution as needed until the image appears clear and crisp.
- No audio on the Dell monitor: If you are using the Dell monitor’s built-in speakers but have no audio, check your MacBook’s audio settings. Go to “System Preferences” > “Sound” > “Output” tab and select the Dell monitor as the audio output device. Additionally, make sure the volume is not muted or set too low on both the MacBook and the Dell monitor.
- Adapter compatibility issues: If you are using an adapter to connect your MacBook to the Dell monitor, ensure that the adapter is compatible with both devices. Some adapters may not provide full functionality, resulting in issues like limited resolutions, unsupported audio transmission, or erratic behavior. Consider using a different adapter or cable that is specifically designed for your MacBook model and the Dell monitor.
If the troubleshooting tips mentioned above do not resolve the issue, it may be helpful to consult the user manuals or online support resources for your MacBook and Dell monitor. Additionally, reaching out to the manufacturer’s customer support can provide you with further assistance tailored to your specific setup and configuration.
By following these troubleshooting steps, you can overcome common issues and ensure a smooth and optimal connection between your MacBook and the Dell monitor, allowing you to fully enjoy the benefits of a dual monitor setup.
Conclusion
Connecting your MacBook to a Dell monitor opens up new possibilities for productivity, multitasking, and visual enjoyment. By following the steps outlined in this guide, you can establish a seamless connection between your MacBook and the Dell monitor and reap the benefits of a dual monitor setup.
We began by emphasizing the importance of checking compatibility and gathering the necessary cables and adapters. Understanding the requirements and ensuring a proper connection is crucial to a successful setup.
We then provided a step-by-step guide, taking you through the process of connecting your MacBook to the Dell monitor. By following these instructions, you can establish a reliable and high-quality connection in no time.
In addition, we discussed the importance of adjusting the display settings on your MacBook to optimize the dual monitor experience. By customizing the settings to your preference, you can enhance productivity and enjoy a more immersive viewing experience.
Lastly, we addressed common troubleshooting issues that you might encounter when connecting your MacBook to a Dell monitor. By following the troubleshooting tips provided, you can overcome these issues and ensure a smooth and hassle-free connection.
With the MacBook and Dell monitor seamlessly connected and optimized, you can now enjoy the benefits of a dual monitor setup. Whether you’re working on complex projects, editing multimedia content, or simply browsing the web with more screen real estate, this setup will undoubtedly enhance your workflow and productivity.
Remember, should you encounter any difficulties during the setup or encounter unique issues, consult the manufacturer’s documentation or reach out to their customer support for personalized assistance.
So go ahead, connect your MacBook to a Dell monitor, and unlock the full potential of your workspace. Experience the joy of increased productivity and a visually stunning environment that will help you excel in your work and leisure activities.