Introduction
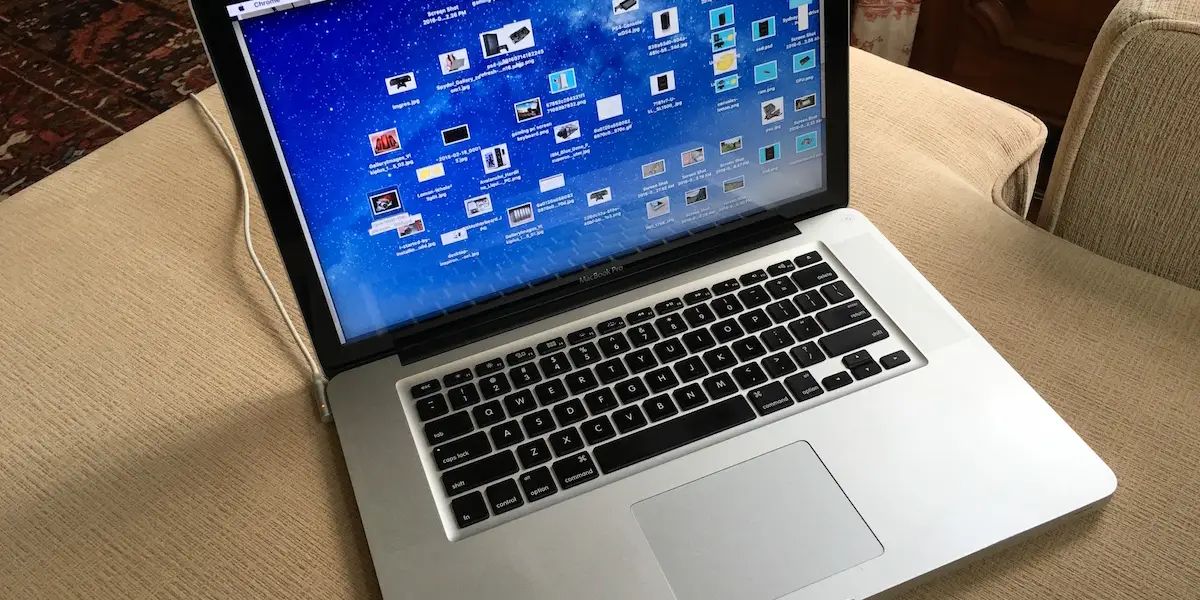
Welcome to the world of multi-tasking and productivity! Have you ever wondered how many monitors a MacBook Pro can support? As a professional or avid computer user, having a multiple monitor setup can significantly enhance your workflow and improve your overall efficiency. With the ability to display multiple windows simultaneously and seamlessly switch between applications, you can streamline your workflow and effortlessly multitask.
In this article, we will explore the capabilities of the MacBook Pro in terms of supporting multiple monitors. Whether you are a content creator, developer, designer, or simply a power user, knowing the limitations and possibilities of your MacBook Pro can help you make informed decisions when setting up your workstation.
Before delving into the specifics, it is important to understand the jargon associated with monitor setups. When we refer to multiple monitors, we are talking about connecting two or more external displays to your MacBook Pro, in addition to the built-in display. This allows you to extend your desktop across multiple screens, providing a larger workspace and greater flexibility.
Now, let’s dive into the details and discover how many monitors a MacBook Pro can support based on its specifications, how to connect them, and the configuration options available on macOS.
Defining the Monitor Setup
Before we explore how many monitors a MacBook Pro can support, let’s first define the different types of monitor setups. When it comes to multiple monitors, there are a few common configurations:
- Extended Desktop: This setup allows you to connect additional monitors to your MacBook Pro and extend your desktop across them. Each monitor acts as a separate workspace, giving you more screen real estate to work with. You can have different applications, documents, or windows open on each monitor.
- Mirrored Display: In this configuration, all connected monitors mirror the content displayed on your MacBook Pro’s built-in display. This can be useful for presentations or situations where you want multiple people to see the same content simultaneously.
- Docked Setup: A docked setup involves connecting your MacBook Pro to an external dock that then allows you to connect multiple monitors, as well as other peripherals like keyboards, mice, and Ethernet cables. This setup provides a more centralized and organized workstation.
Now that we understand the different monitor setups, let’s explore the capabilities of the MacBook Pro in terms of supporting multiple displays.
It is important to note that the number of monitors a MacBook Pro can support depends on its model and specifications. Each MacBook Pro model has different graphic processing capabilities, which play a crucial role in determining the number and resolution of external monitors it can handle.
MacBook Pro Specifications
To understand the number of monitors a MacBook Pro can support, it is essential to consider its specifications. The key factors that determine the capabilities of a MacBook Pro in terms of monitor support include the GPU (Graphics Processing Unit), CPU (Central Processing Unit), and the available ports for connecting external displays.
The GPU is responsible for handling the graphics processing tasks, such as rendering and displaying visual content. Different MacBook Pro models come with different GPU options, ranging from integrated graphics to powerful discrete graphics cards. Generally, models equipped with dedicated graphics cards have better capabilities for handling multiple monitors.
The CPU also plays a role in determining monitor support. A faster and more powerful CPU can handle the additional processing tasks required for multiple displays with ease. It is worth noting that all recent MacBook Pro models come with powerful CPUs that can handle multiple displays without significant issues.
Another crucial factor to consider is the available ports on your MacBook Pro. Older models may have different port configurations compared to newer ones. Common display connection ports include HDMI, DisplayPort, Thunderbolt 2, and Thunderbolt 3 (USB-C). The number and types of ports on your MacBook Pro will determine the maximum number of displays you can connect directly.
It is important to consult the specifications of your specific MacBook Pro model to understand its GPU, CPU, and port capabilities. You can easily find these specifications on Apple’s official website or in the documentation that came with your MacBook Pro.
Now that we have a clearer understanding of the key specifications to consider, let’s explore the number of monitors supported by different MacBook Pro models in the next section.
Number of Monitors Supported by MacBook Pro Models
The number of monitors a MacBook Pro can support varies depending on the model and its specifications. Here’s a breakdown of the different MacBook Pro models and their capabilities:
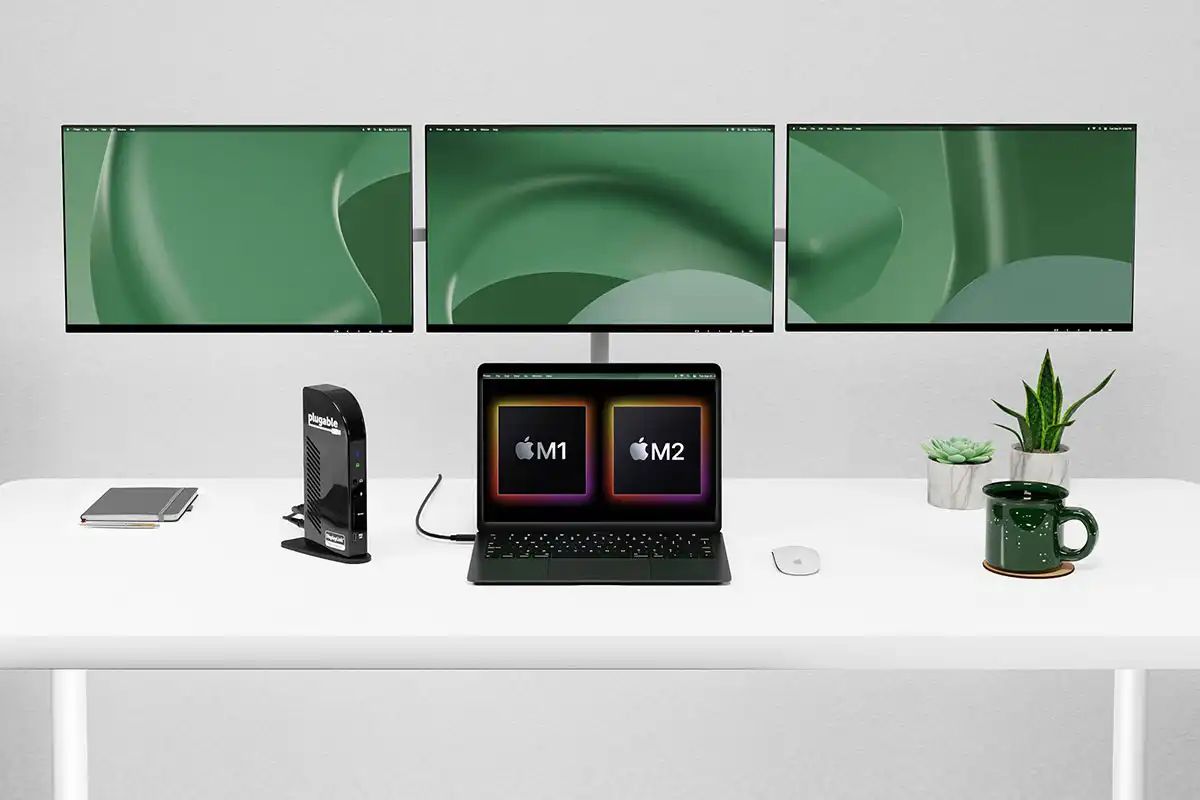
1. MacBook Pro (13-inch, M1 Chip): The latest generation MacBook Pro powered by the M1 chip can support up to one external display with up to 6K resolution at 60Hz. This can be accomplished using the Thunderbolt/USB 4 ports available on the device.
2. MacBook Pro (13-inch, Intel-based): The Intel-based MacBook Pro (13-inch) models, without a dedicated GPU, can support up to two external displays. You can connect one display using the Thunderbolt 3 (USB-C) port and the other display using the HDMI port. Both displays can have a resolution of up to 4K at 60Hz.
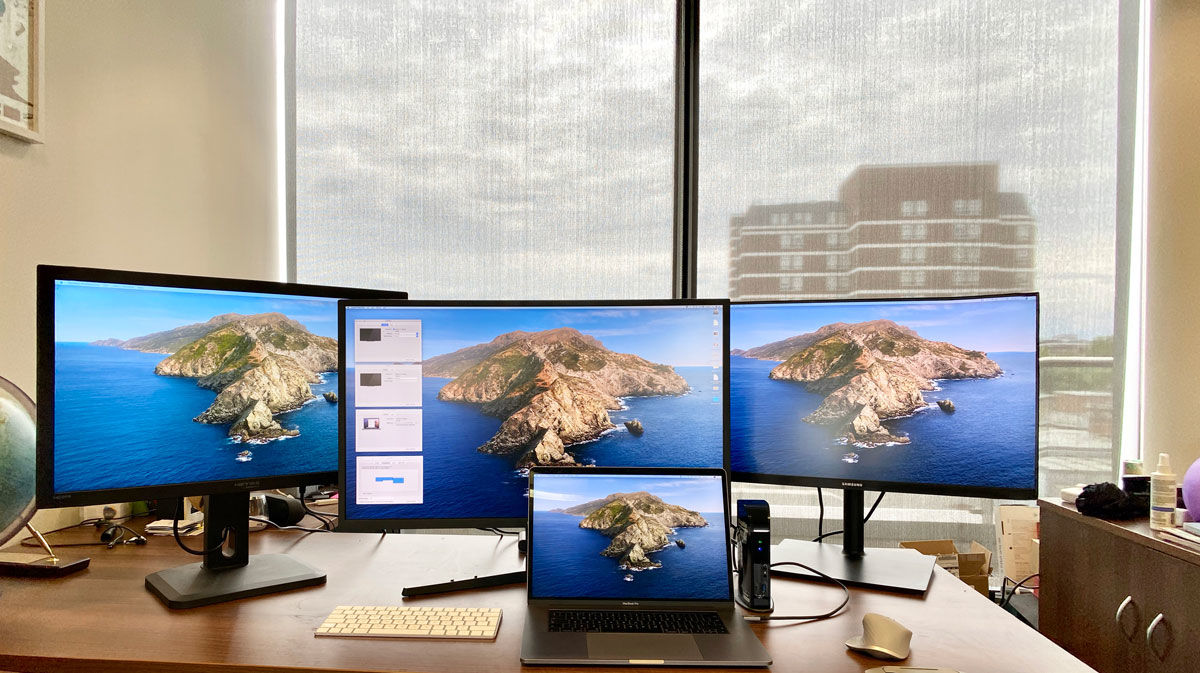
3. MacBook Pro (16-inch, Intel-based): The Intel-based MacBook Pro (16-inch) models are more powerful and can support up to four external displays. You can connect two displays using the Thunderbolt 3 (USB-C) ports on the left side of the device, and the other two displays using the two Thunderbolt 3 (USB-C) ports on the right side. All external displays can have a resolution of up to 4K at 60Hz.
It’s worth noting that the MacBook Pro models with dedicated graphics (typically found in higher-end configurations) tend to have better support for multiple displays. These models can handle more demanding tasks and often have additional ports, providing better flexibility in setting up a multi-monitor workstation.
When connecting multiple displays, it is essential to consider the available ports and their bandwidth capabilities. Some ports may have limitations when it comes to supporting high-resolution displays or refresh rates. It is recommended to consult the user manual or specifications of your MacBook Pro model to ensure optimal compatibility and performance.
Now that we know how many monitors different MacBook Pro models can support, let’s move on to the next section, where we’ll explore how to connect multiple monitors to your MacBook Pro.
Connecting Multiple Monitors
Connecting multiple monitors to your MacBook Pro can expand your workspace and boost your productivity. The process of connecting external monitors depends on the available ports and the monitor’s compatibility. Let’s explore the different connection options:
1. HDMI Port: Many monitors and TVs support HDMI connectivity. If your MacBook Pro has an HDMI port, connecting an HDMI cable from your MacBook Pro to the monitor is a straightforward option. This allows you to extend your desktop or mirror your display, depending on your preference.
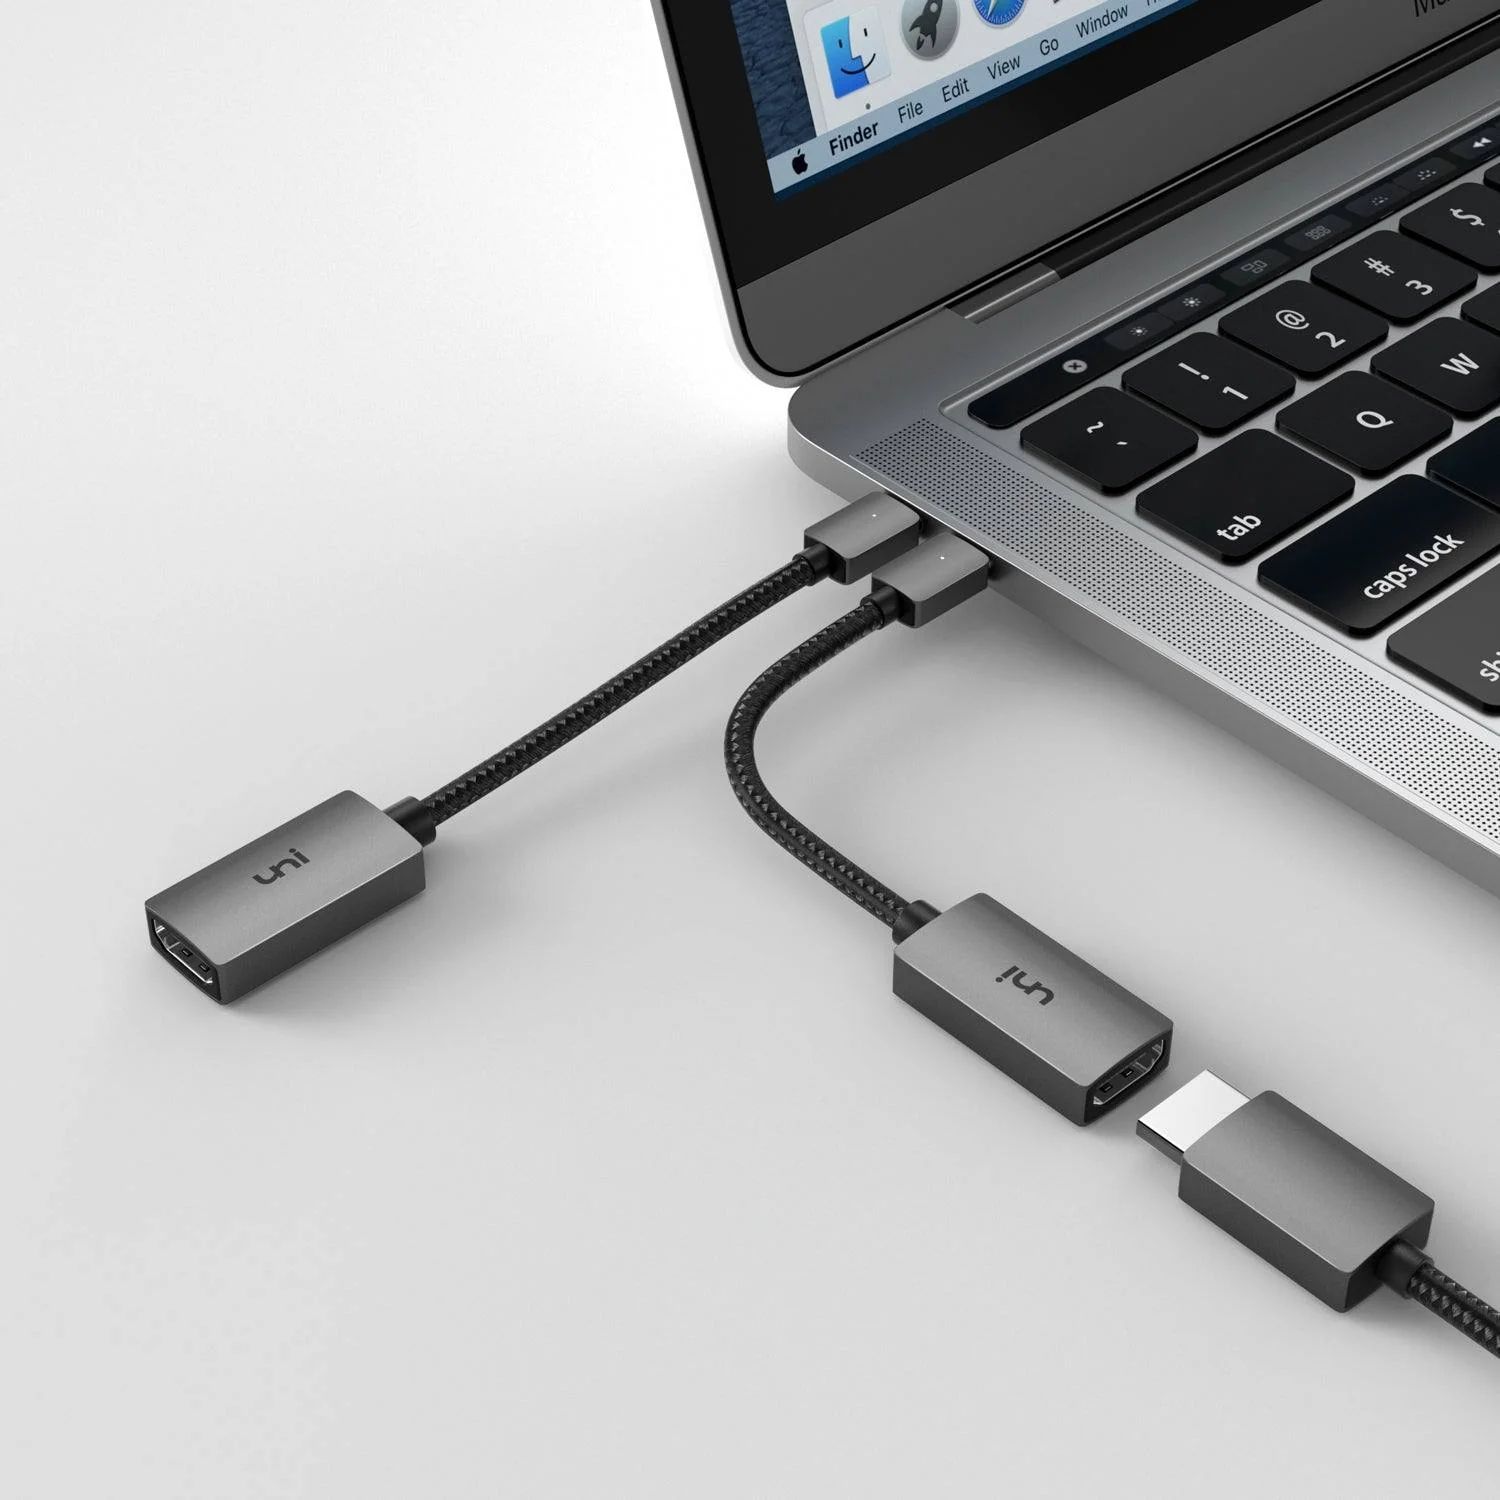
2. DisplayPort/Thunderbolt 3: DisplayPort is a common port found on many monitors, and Thunderbolt 3 ports on MacBook Pros can support DisplayPort connections. You can connect a DisplayPort cable directly from the monitor to your MacBook Pro using an appropriate adapter if necessary. This provides a reliable and high-quality display connection.
3. USB-C/Thunderbolt 3: The Thunderbolt 3 (USB-C) ports on a MacBook Pro offer versatile connectivity options. You can connect compatible monitors using a USB-C to HDMI, DisplayPort, or VGA adapter, depending on the monitor’s available ports. Ensure that the adapter supports the desired resolution and refresh rate to experience optimal performance.
4. Docking Stations: If you want to simplify the process of connecting multiple monitors, consider using a docking station. A docking station allows you to connect multiple monitors, along with other peripherals, using a single cable connected to your MacBook Pro. This not only reduces cable clutter but also provides additional USB ports, Ethernet connectivity, and charging capabilities.
When connecting multiple monitors, keep in mind that each display may have different resolution and refresh rate capabilities. To ensure the best experience, make sure your MacBook Pro supports the desired resolutions and refresh rates for all connected monitors. The graphics processing capabilities of your MacBook Pro, as well as the software running on it, also play a role in determining the overall performance.
Now that you know how to connect multiple monitors to your MacBook Pro, let’s explore how to configure them on macOS in the next section.
Configuring Multiple Monitors on macOS
After connecting multiple monitors to your MacBook Pro, you can configure them to suit your preferences and work requirements. macOS offers several options for managing multiple displays:
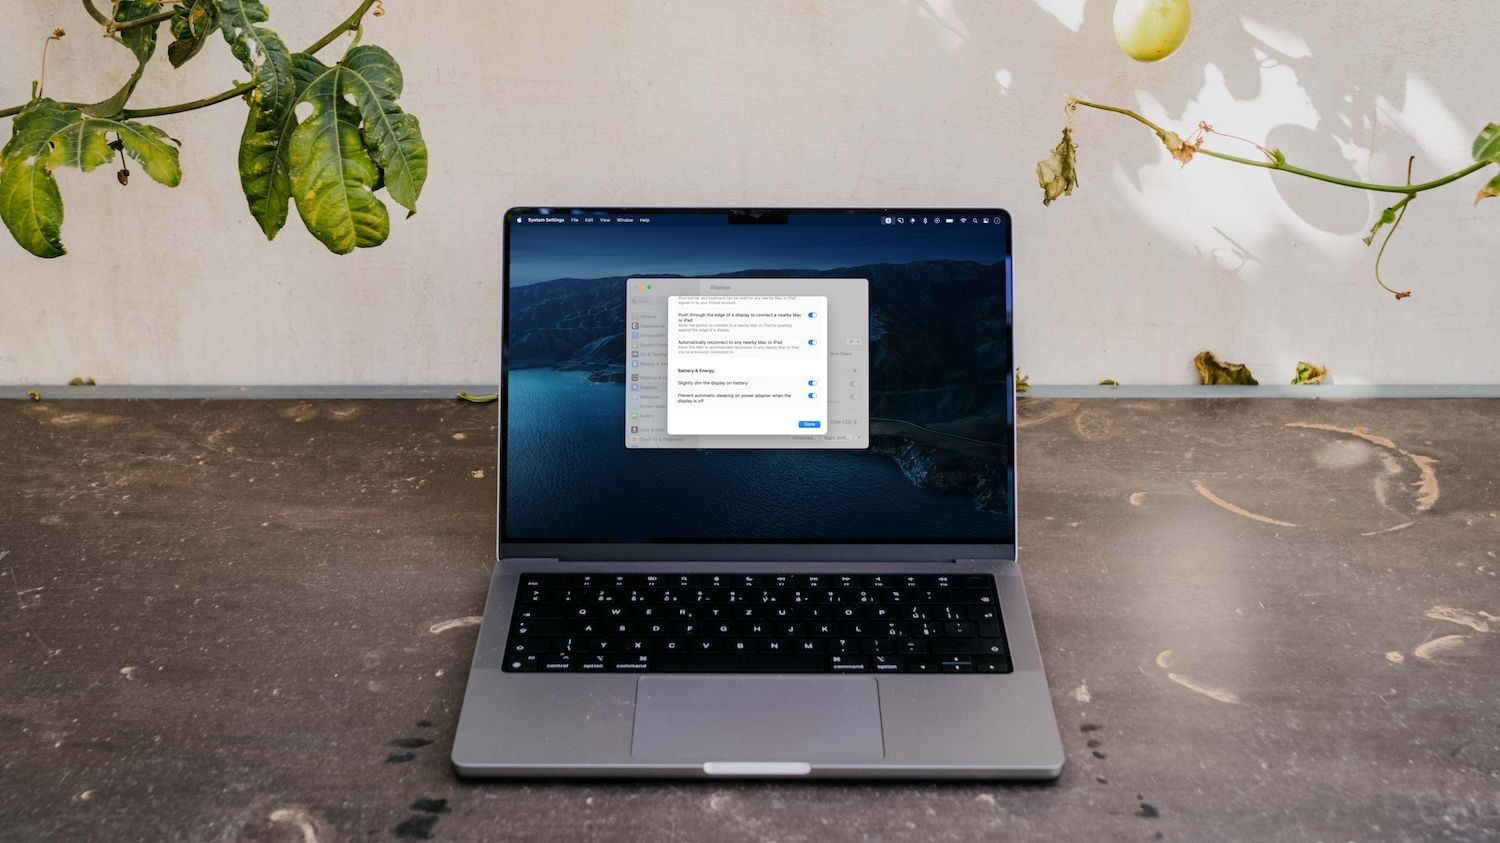
1. Display Arrangement: To configure the layout of your external monitors, go to “System Preferences” on your MacBook Pro and click on “Displays.” You will see a window displaying the arrangement of your monitors. Here, you can drag and arrange the display icons to match the physical arrangement of your monitors. This allows you to position them according to your workspace setup or personal preference.
2. Display Modes: macOS provides various display modes to customize how your external monitors function. You can choose between Extended Desktop mode, where each monitor acts as a separate workspace, or Mirrored mode, where all connected monitors display the same content. To switch between these modes, navigate to the “System Preferences” > “Displays” and select the “Arrangement” tab. Uncheck the “Mirror Displays” option to enable Extended Desktop mode.
3. Menu Bar and Dock: By default, macOS displays the menu bar and dock on the primary monitor. To change the location of the menu bar, go to “System Preferences” > “Displays” > “Arrangement” and drag the white bar to the desired screen. You can also enable the “Displays have separate Spaces” option under the “Mission Control” settings to have different menu bars and docks on each monitor, providing a more immersive workspace experience.
4. Screen Resolution: macOS allows you to adjust the screen resolution of each connected monitor independently. To change the resolution, navigate to “System Preferences” > “Displays” > “Display” tab. Here, you can select the desired resolution for each monitor. It is recommended to choose the native resolution for the best image quality and clarity.
5. Screensaver and Energy Settings: You can configure screensaver and energy settings specifically for your external monitors. Go to “System Preferences” > “Desktop & Screensaver” and select the “Screen Saver” tab. You can choose different screensavers and adjust their settings for each monitor. Additionally, under the “Energy Saver” settings, you can configure power-saving options for your external monitors.
Remember to periodically check for software updates and macOS compatibility with your external monitors. Apple often releases updates that address issues and improve performance with external displays.
Now that you know how to configure multiple monitors on macOS, let’s move on to the next section, where we’ll discuss using external monitors with your MacBook Pro.
Using External Monitors with MacBook Pro
Using external monitors with your MacBook Pro opens up a world of possibilities for improving productivity, enhancing visual content creation, and expanding your workflow. Here are some practical benefits and tips for utilizing external monitors:
1. Increased Screen Real Estate: The primary advantage of using external monitors is the expanded screen real estate they provide. With a larger workspace, you can have multiple applications, documents, or windows open simultaneously and easily switch between them. This makes multitasking more efficient and allows for better organization of your work.
2. Enhanced Content Creation: External monitors offer a bigger canvas for content creators. Whether you’re editing videos, designing graphics, or working on complex spreadsheets, the additional screen space provides a more immersive and detailed view of your work. It allows for precise adjustments, accurate color representation, and efficient workflow management.
3. Seamless Collaboration: If you frequently collaborate with others, using external monitors can be beneficial. With mirrored display configurations, everyone in a meeting or presentation can view the content on a larger screen simultaneously. This ensures a consistent and synchronized viewing experience.
4. Docking Stations for Simplicity: Docking stations simplify the process of connecting and disconnecting multiple monitors. They provide a centralized hub where you can connect your MacBook Pro as well as other peripherals like keyboards, mice, and storage devices. This setup enables quick and hassle-free transitions between different workspaces.
5. Ergonomic Considerations: External monitors can contribute to a more ergonomic and comfortable work setup. You can position the screens at eye level, use adjustable stands or monitor arms for better posture, and reduce strain on your neck and back. This promotes a healthier and more productive working environment.
When choosing external monitors, consider factors such as resolution, refresh rate, color accuracy, and connectivity options. Select monitors that align with your specific needs and preferences to ensure optimal performance and a seamless user experience.
Keep in mind that the performance of external monitors may vary depending on the resources and capabilities of your MacBook Pro. Higher resolution and refresh rates may require more processing power and can impact overall performance. Therefore, it’s recommended to use a MacBook Pro with a configuration that can handle the demands of driving multiple high-resolution displays.
Now that we’ve explored the benefits of using external monitors with your MacBook Pro, let’s move on to the final section of this article.
Recommendations for Multi-Monitor Setup
Setting up a multi-monitor configuration can significantly enhance your productivity and overall computing experience. To ensure a smooth and efficient multi-monitor setup, here are some recommendations to consider:
1. Check MacBook Pro Compatibility: Before investing in external monitors, verify that your MacBook Pro model supports the desired number and resolution of displays. Refer to the specifications of your MacBook Pro or consult Apple’s official website for accurate information.
2. Consider Display Resolution and Refresh Rate: Choose external monitors with resolutions and refresh rates that align with your workflow and visual requirements. Higher resolutions offer more screen real estate, while higher refresh rates provide smoother scrolling and motion. Strike a balance between performance and affordability to meet your needs.
3. Utilize Docking Stations or External GPU: If you plan to connect multiple monitors and other peripherals, consider using docking stations or external GPUs. These devices simplify connectivity, provide additional ports, and offer more graphics processing power, ensuring smooth operation and compatibility.
4. Arrange Monitors Ergonomically: Position your monitors ergonomically in a way that minimizes strain on your neck and eyes. Adjust the height, tilt, and angle of each monitor to maintain a comfortable viewing position. Consider using monitor arms or adjustable stands to achieve optimal positioning.
5. Customize Display Arrangement: Take advantage of macOS’s display arrangement settings to customize the placement of your monitors. Arrange them according to your physical workspace layout and personal preference. This ensures a seamless transition between monitors and improves overall navigation between applications.
6. Calibrate Colors and Profiles: To achieve accurate color representation, consider calibrating the colors of your external monitors. Use display calibration tools or software to adjust the color profiles and ensure consistent color accuracy across all connected monitors.
7. Organize Desktop Spaces: macOS allows you to create multiple desktop spaces, each with its own set of applications and windows. Utilize this feature to organize your workspace efficiently. Assign specific applications or workflows to different desktop spaces, making it easier to navigate and stay focused.
8. Maintain Software and Driver Updates: Regularly update macOS, display drivers, and any related software to ensure optimal compatibility and performance. These updates often include bug fixes, performance enhancements, and improvements for multi-monitor setups.
Remember that the effectiveness of a multi-monitor setup depends on your specific needs and workflow. Experiment with different configurations, software settings, and monitor arrangements to find the setup that works best for you.
By following these recommendations, you can create an efficient and tailored multi-monitor setup that enhances your productivity and computing experience.
Conclusion
In conclusion, the number of monitors a MacBook Pro can support depends on the model and its specifications. Understanding the capabilities of your specific MacBook Pro model is crucial when setting up a multi-monitor workstation.
We explored the different types of monitor setups, including extended desktop, mirrored display, and docked setups. Each configuration offers its own benefits and caters to different user requirements.
Considering the GPU, CPU, and available ports on your MacBook Pro is essential for determining its monitor support capabilities. Higher-end models with dedicated graphics tend to have better support for multiple displays.
Connecting multiple monitors to your MacBook Pro can be done through HDMI, DisplayPort, Thunderbolt 3, or docking stations. Each method offers flexibility and different connectivity options.
Configuring multiple monitors on macOS allows you to arrange displays, switch between display modes, set screen resolutions, and customize other display settings. Taking advantage of these options enhances your workspace and workflow efficiency.
Using external monitors with your MacBook Pro provides benefits such as increased screen real estate, improved content creation capabilities, seamless collaboration, and ergonomic considerations. Selecting monitors that meet your specific needs and preferences is important for optimal performance.
Lastly, we provided recommendations for a successful multi-monitor setup, including checking compatibility, considering resolution and refresh rate, utilizing docking stations, arranging monitors ergonomically, customizing display settings, calibrating colors, and staying updated with software and driver updates.
By implementing these recommendations and understanding the capabilities of your MacBook Pro, you can create a multi-monitor setup that enhances your productivity, improves your workflow, and provides a more immersive computing experience.