Introduction
As a MacBook owner, you may be surprised to know that your trusty device can actually be used as a gaming monitor. That’s right! With a few simple steps, you can transform your MacBook into a powerful display for gaming consoles, such as an Xbox or PlayStation.
Why would you want to do this, you ask? Well, there are several compelling reasons. First, the high-resolution Retina display on your MacBook provides a stunning visual experience, making your games come to life with vibrant colors and sharp details. Secondly, using your MacBook as a gaming monitor allows you to enjoy your favorite console games on a larger screen, providing a more immersive gaming experience.
Now, before we dive into the process of making your MacBook a gaming monitor, there are a few requirements you’ll need to meet:
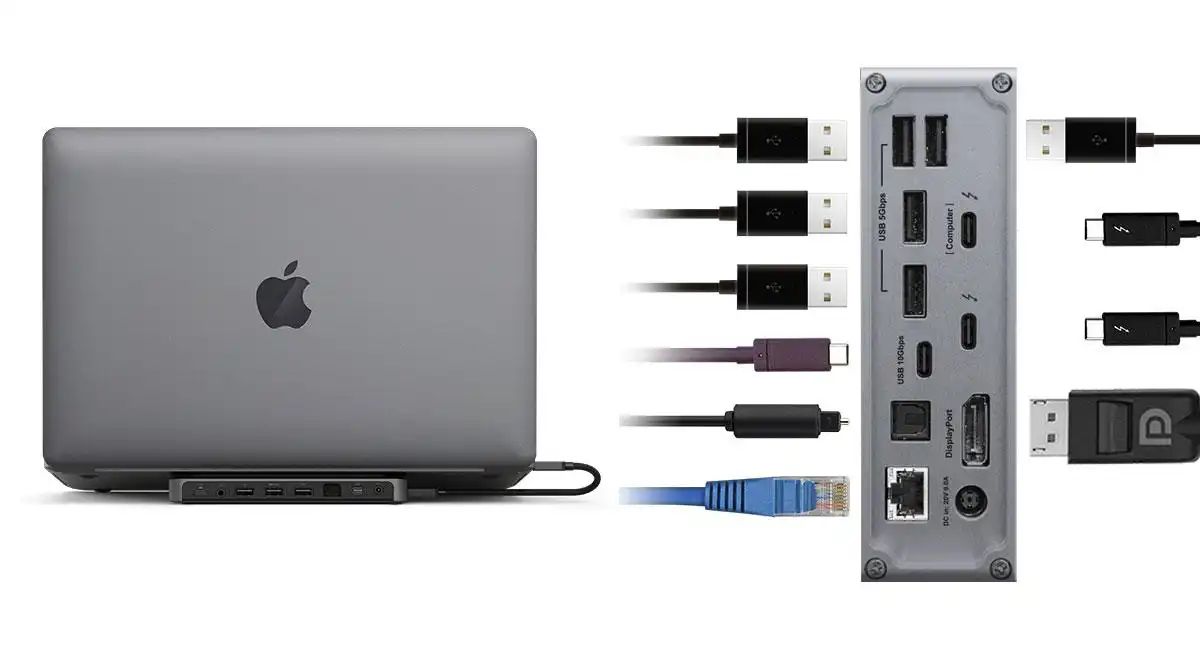
- A MacBook with a Thunderbolt or Mini DisplayPort
- A compatible gaming console, such as an Xbox or PlayStation
- A Thunderbolt or Mini DisplayPort cable
Once you have these requirements in place, you’re ready to begin the step-by-step process of setting up your MacBook as a gaming monitor. Don’t worry; it’s easier than you might think!
Requirements
Before you can start using your MacBook as a gaming monitor, there are a few essential requirements that you need to fulfill. Here’s what you’ll need:
- A MacBook: To use your MacBook as a gaming monitor, you’ll need a MacBook with a Thunderbolt or Mini DisplayPort. These ports are essential for connecting your gaming console to your MacBook.
- A compatible gaming console: Whether you have an Xbox, PlayStation, or any other gaming console, make sure it is compatible with the MacBook. Most modern gaming consoles have HDMI output, which can be easily connected to your MacBook.
- A Thunderbolt or Mini DisplayPort cable: To connect your MacBook and gaming console, you’ll need a cable that supports Thunderbolt or Mini DisplayPort. This cable will transfer the audio and video signals from your gaming console to your MacBook.
It’s important to ensure that you have all the necessary hardware before proceeding with the setup process. Without these requirements, you won’t be able to connect your gaming console to your MacBook and utilize it as a gaming monitor.
Once you have these requirements in place, you’re ready to move on to the next steps and start setting up your MacBook as a gaming monitor. It’s an exciting process that will allow you to enjoy your favorite console games on a larger screen with the stunning display quality of your MacBook.
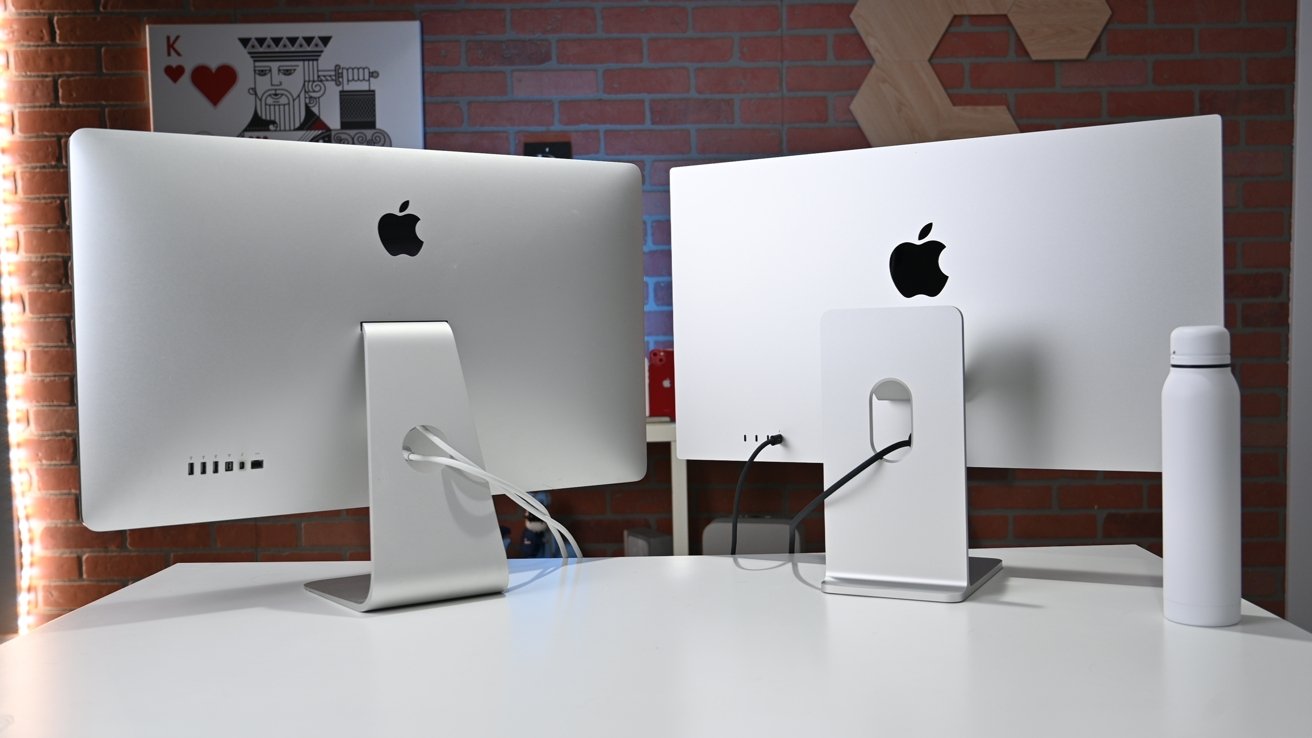
Step 1: Check Your Mac Compatibility
Before you begin the process of using your MacBook as a gaming monitor, it’s important to ensure that your specific MacBook model supports this feature. Not all MacBooks have the capability to function as a secondary display for gaming consoles. Here’s how you can check the compatibility:
- Research your MacBook model: Find out the specific details of your MacBook model, including its year of release and technical specifications. This information will help you determine if your MacBook supports target display mode.
- Check Apple’s official website: Visit the Apple website and search for your MacBook model. Look for specifications or support documentation that mentions if your MacBook is capable of target display mode. If it is mentioned, then your MacBook can be used as a gaming monitor.
- Consult the user manual: If you still have the user manual that came with your MacBook, check for any information regarding target display mode. It might provide specific instructions or limitations for using your MacBook as a gaming monitor.
- Reach out to Apple support: If you’re still unsure about the compatibility of your MacBook, you can contact Apple support for assistance. They will be able to provide you with accurate information and guide you through the process.
Checking the compatibility of your MacBook is essential to ensure a smooth setup process. If your MacBook does not support target display mode, you may need to consider alternative options for using it as a gaming monitor. However, if your MacBook is compatible, you can proceed to the next steps with confidence, knowing that you’ll be able to enjoy your console games on a larger screen.
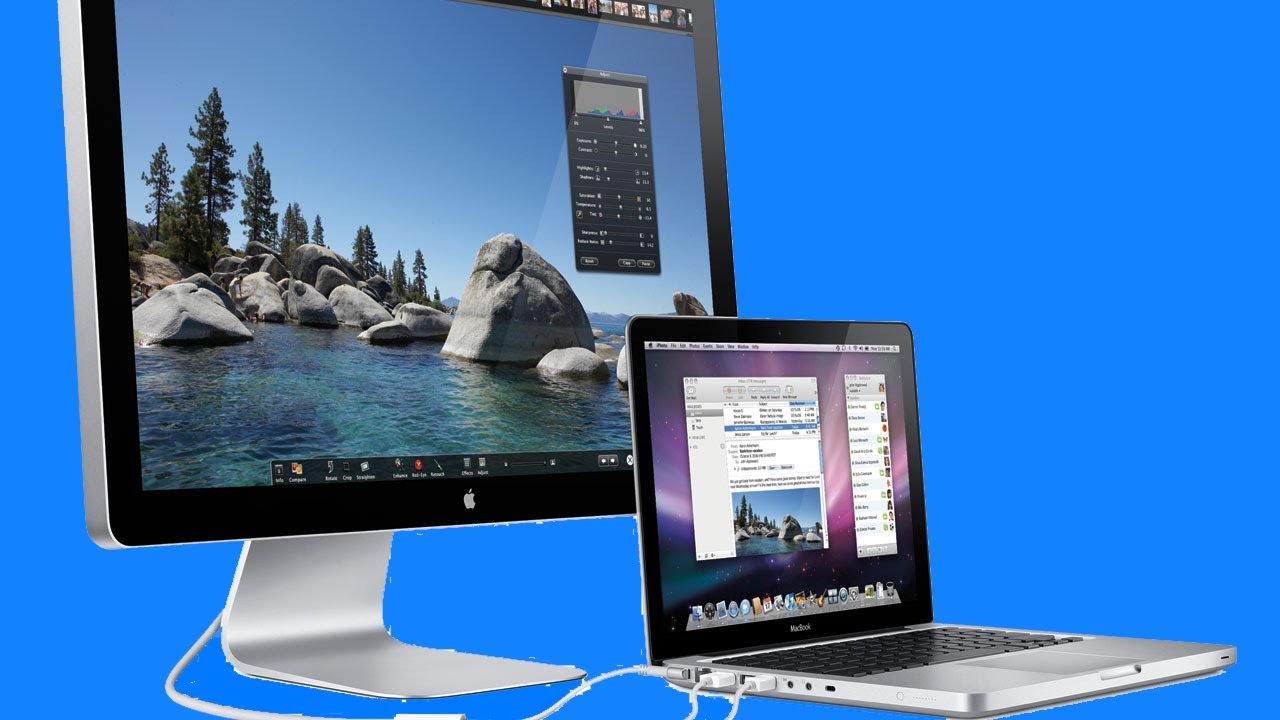
Step 2: Connect Your Devices
Once you’ve confirmed that your MacBook is compatible with target display mode, it’s time to connect your gaming console to your MacBook. Follow these steps to establish the connection:
- Power off your MacBook and gaming console: Before connecting any cables, make sure both devices are turned off. This will help prevent any potential damage during the setup process.
- Locate the Thunderbolt or Mini DisplayPort on your MacBook: Identify the Thunderbolt or Mini DisplayPort on your MacBook. Depending on the MacBook model, this port may be located on either side of the device. Make sure you have a clear view of this port.
- Connect the Thunderbolt or Mini DisplayPort cable: Take your Thunderbolt or Mini DisplayPort cable and insert one end into the port on your MacBook. Ensure the connection is secure by pushing the cable all the way in.
- Connect the other end of the cable to your gaming console: Take the other end of the Thunderbolt or Mini DisplayPort cable and connect it to the HDMI output on your gaming console. Again, ensure a secure connection.
- Power on your MacBook and gaming console: Once the cable connections are established, power on both your MacBook and gaming console. Wait for them to fully boot up.
By following these steps, you have successfully connected your gaming console to your MacBook using the Thunderbolt or Mini DisplayPort cable. This establishes the foundation for using your MacBook as a gaming monitor.
Now it’s time to move on to the next step and enable target display mode on your MacBook to activate the gaming monitor functionality.
Step 3: Enable Target Display Mode
Now that your gaming console is connected to your MacBook, it’s time to enable target display mode. This feature allows your MacBook to function as a secondary display for your gaming console. Here’s how to do it:
- Press the Command + F2 keys: On your MacBook’s keyboard, simultaneously press the Command and F2 keys. This keyboard shortcut is specifically designed to activate target display mode.
- Check for the target display mode activation: After pressing the Command + F2 keys, keep an eye on your MacBook’s screen. If target display mode is successfully activated, the screen should turn black and start displaying the output from your gaming console.
- Verify the connection: Take a look at your gaming console’s output. If you see the console’s display on your MacBook’s screen, it means that the connection is established correctly, and target display mode is enabled.
If you encounter any issues or the target display mode doesn’t activate, try the following troubleshooting steps:
- Double-check the cable connections, ensuring that they are securely plugged into both your MacBook and gaming console.
- Restart both your MacBook and gaming console, then try enabling target display mode again.
- Consult your MacBook’s user manual or visit Apple’s support website for specific instructions related to your MacBook model.
- Reach out to Apple support for further assistance if the problem persists.
Once target display mode is successfully enabled, you’re one step closer to enjoying gaming on your MacBook. However, there’s one more crucial step to complete before you can fully immerse yourself in the gaming experience.
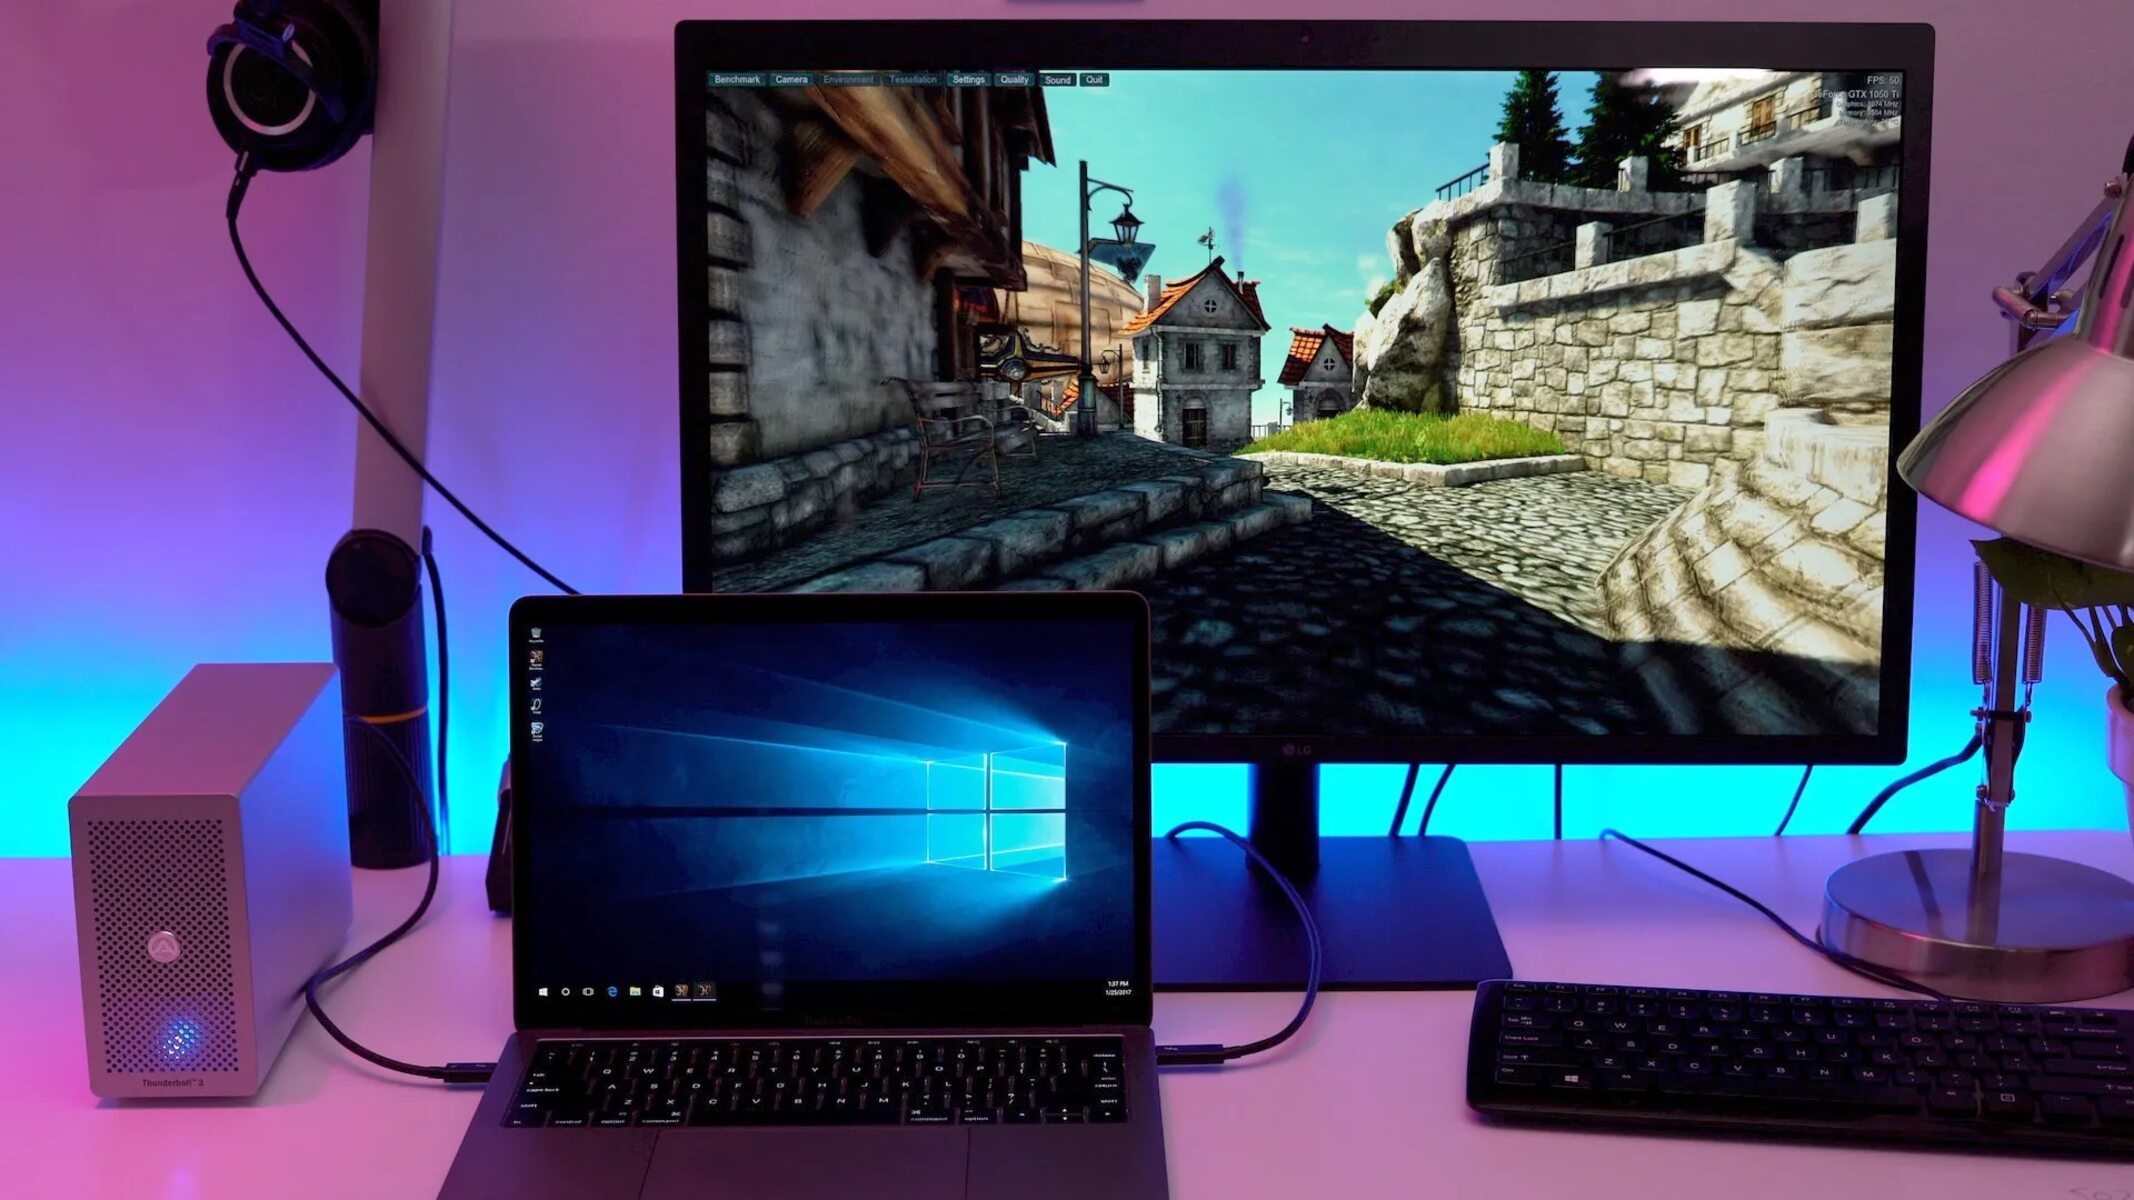
Step 4: Adjust Display Settings
After enabling target display mode, you may need to adjust the display settings on your MacBook to optimize your gaming experience. Here are some key settings you should consider:
- Resolution: Open the System Preferences on your MacBook and navigate to the Displays section. Here, you can adjust the resolution to match the native resolution of your gaming console. This ensures that the graphics are displayed accurately and without any distortion.
- Brightness and Contrast: Adjust the brightness and contrast levels on your MacBook’s display to your preferred settings. This can help enhance the visibility and clarity of the gaming visuals.
- Sound Output: By default, the audio will be played through your MacBook’s speakers. However, if you prefer to use external speakers or headphones connected to your gaming console, make sure to change the sound output settings accordingly.
- Input Control: In some cases, you may want to enable or disable input control on your MacBook. Input control allows you to control your gaming console directly from the MacBook’s keyboard and trackpad. To toggle this setting, go to the System Preferences, then click on the Displays section and navigate to the Input Control tab.
Experiment with these display settings to achieve the best visual and audio quality for your gaming experience. Each gamer has their own preferences, so feel free to fine-tune the settings to suit your individual needs.
It’s also worth mentioning that some games may have specific display settings within their own options menu. Take a moment to explore the game’s settings and make any adjustments that enhance your gameplay.
With the display settings adjusted, you’re now ready to embark on the final step and enjoy gaming on your MacBook.
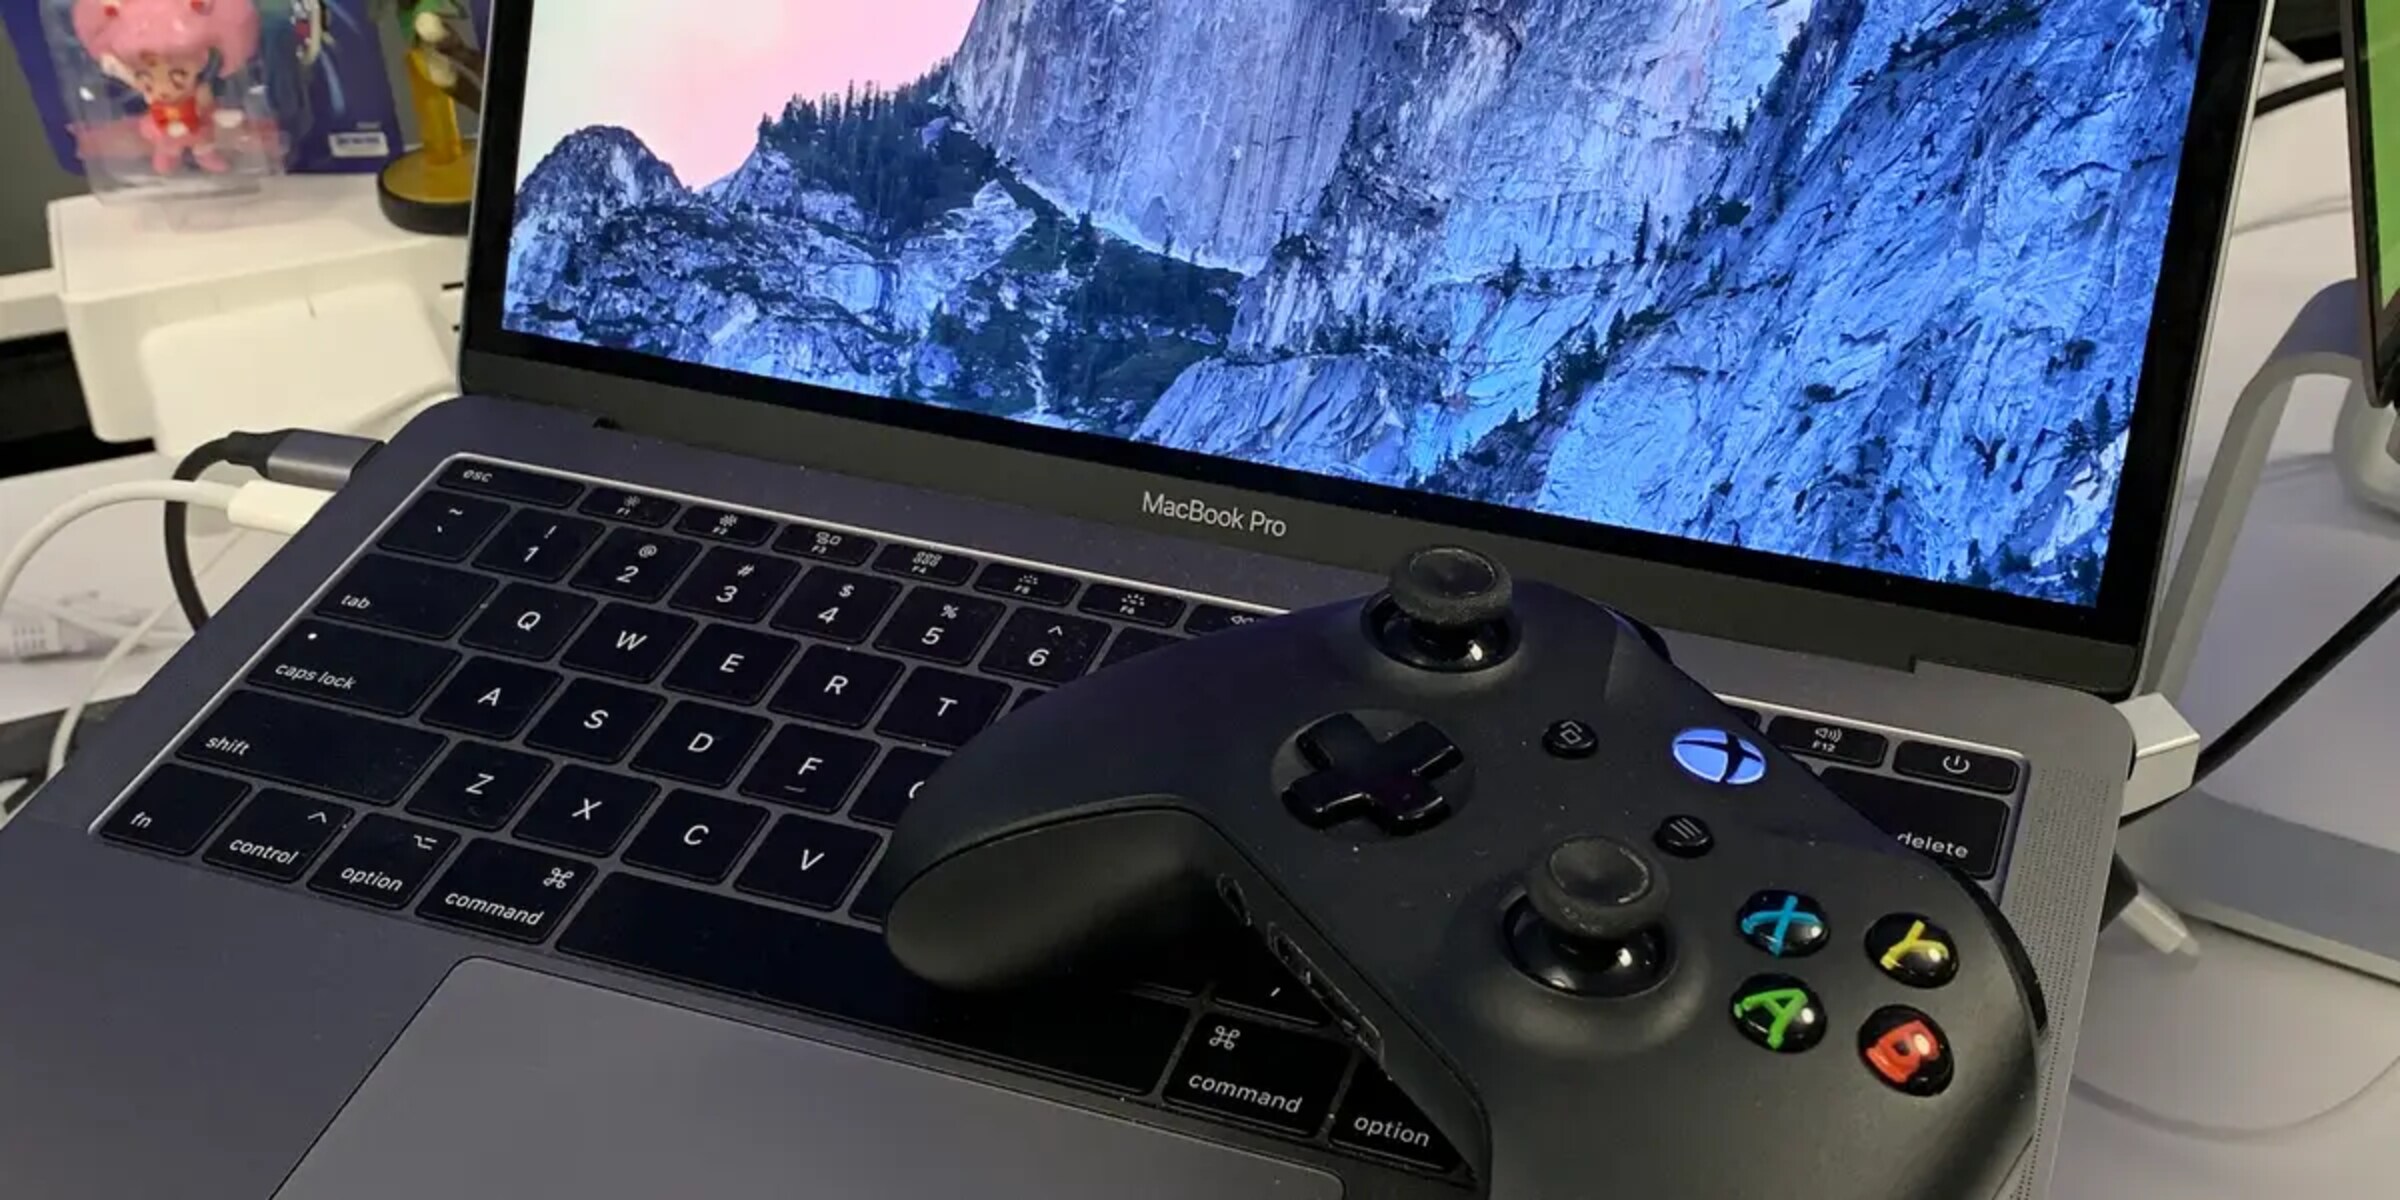
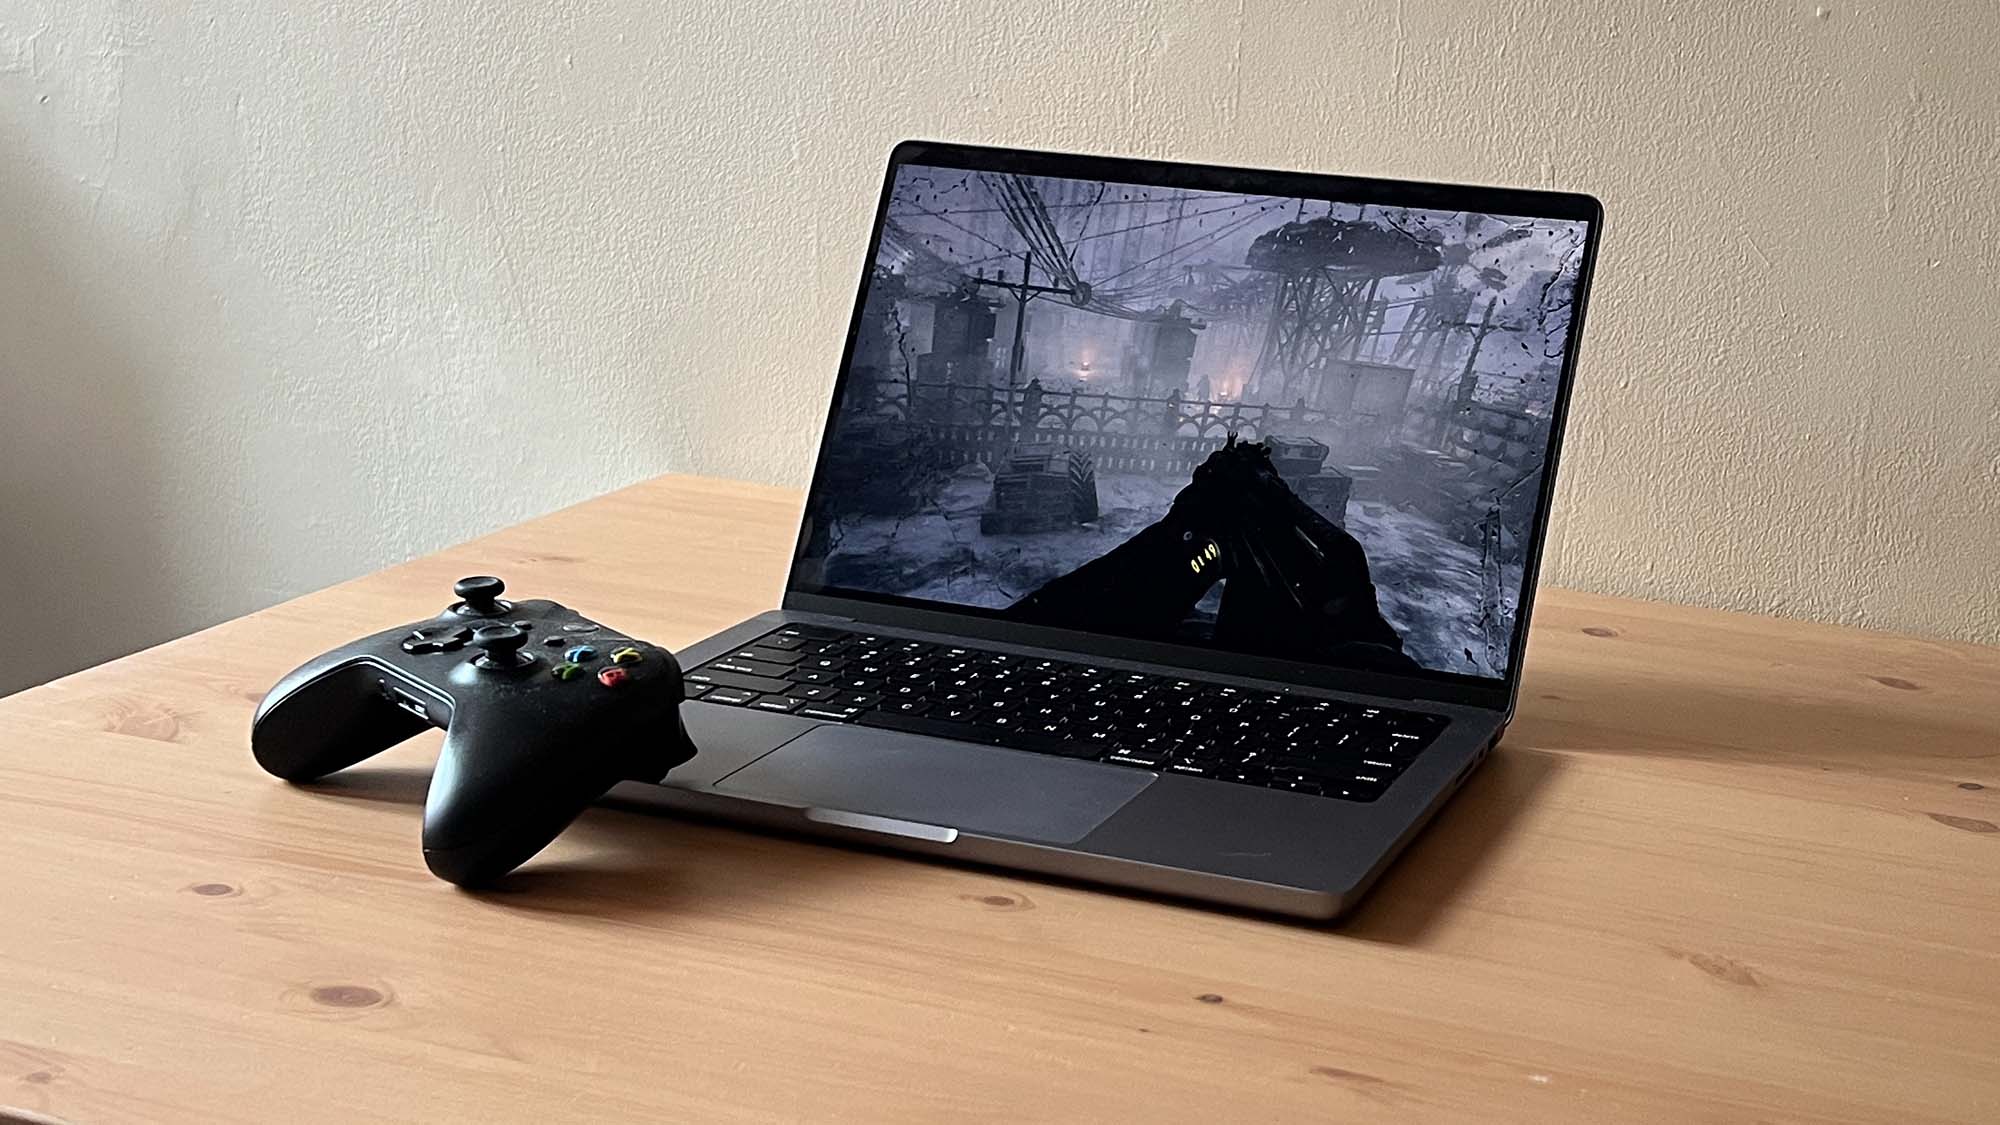
Step 5: Enjoy Gaming on Your MacBook
Congratulations! You’ve successfully set up your MacBook as a gaming monitor, and now it’s time to dive into the world of gaming on a larger screen with stunning visuals. Here’s how to make the most of your gaming experience:
- Select your game: Choose the game you want to play on your gaming console and launch it. The game will be displayed on your MacBook’s screen, allowing you to fully immerse yourself in the gaming world.
- Take advantage of the Retina display: Your MacBook’s high-resolution Retina display provides exceptional clarity and detail. Enjoy the vibrant colors, sharp graphics, and immersive visuals that enhance your gaming experience.
- Get comfortable: Find a comfortable position to play your games. Consider using a gaming controller or connect a wireless keyboard and mouse to your gaming console for optimal control.
- Customize your gaming setup: Set up your gaming space to your liking. Adjust the lighting, arrange gaming accessories, and create a cozy atmosphere that enhances your gaming sessions.
- Explore multiplayer options: If your game supports multiplayer mode, connect with friends or other gamers online to enjoy cooperative or competitive gaming experiences together.
Remember that utilizing your MacBook as a gaming monitor opens up new possibilities for enjoying console gaming. Take advantage of the versatility and convenience it offers.
When you’re done gaming, simply exit the game on your gaming console and power off both your MacBook and console. This will ensure that everything is properly shut down and ready for your next gaming session.
Now, go ahead and immerse yourself in the world of gaming on your MacBook. Experience the excitement, challenge, and thrill of your favorite console games on a larger screen, all thanks to the versatility of your MacBook.
Enjoy your gaming adventures!
Conclusion
Congratulations on successfully turning your MacBook into a gaming monitor! By following the steps outlined in this guide, you’ve unlocked a new way to enjoy console gaming on a larger screen with the impressive display quality of your MacBook.
Through careful research, checking compatibility, connecting your devices, enabling target display mode, adjusting display settings, and finally, immersing yourself in the gaming experience, you’ve embarked on a journey that provides a whole new level of enjoyment and immersion.
Whether you’re playing action-packed adventures, engrossing RPGs, or engaging multiplayer games, your MacBook’s high-resolution Retina display ensures that every visual detail comes to life with stunning clarity and vibrant colors.
Remember to customize your gaming setup, get comfortable, and explore multiplayer options with friends or fellow gamers. Make sure to optimize the display settings to suit your preferences and enhance your gaming experience further.
When you’re finished gaming, power off your MacBook and gaming console for a smooth shutdown.
Now, it’s time to embark on your gaming adventures and delve into the captivating worlds of your favorite console games on your MacBook. Enjoy every moment, conquer challenges, and have an incredible gaming experience!
Happy gaming!