Introduction
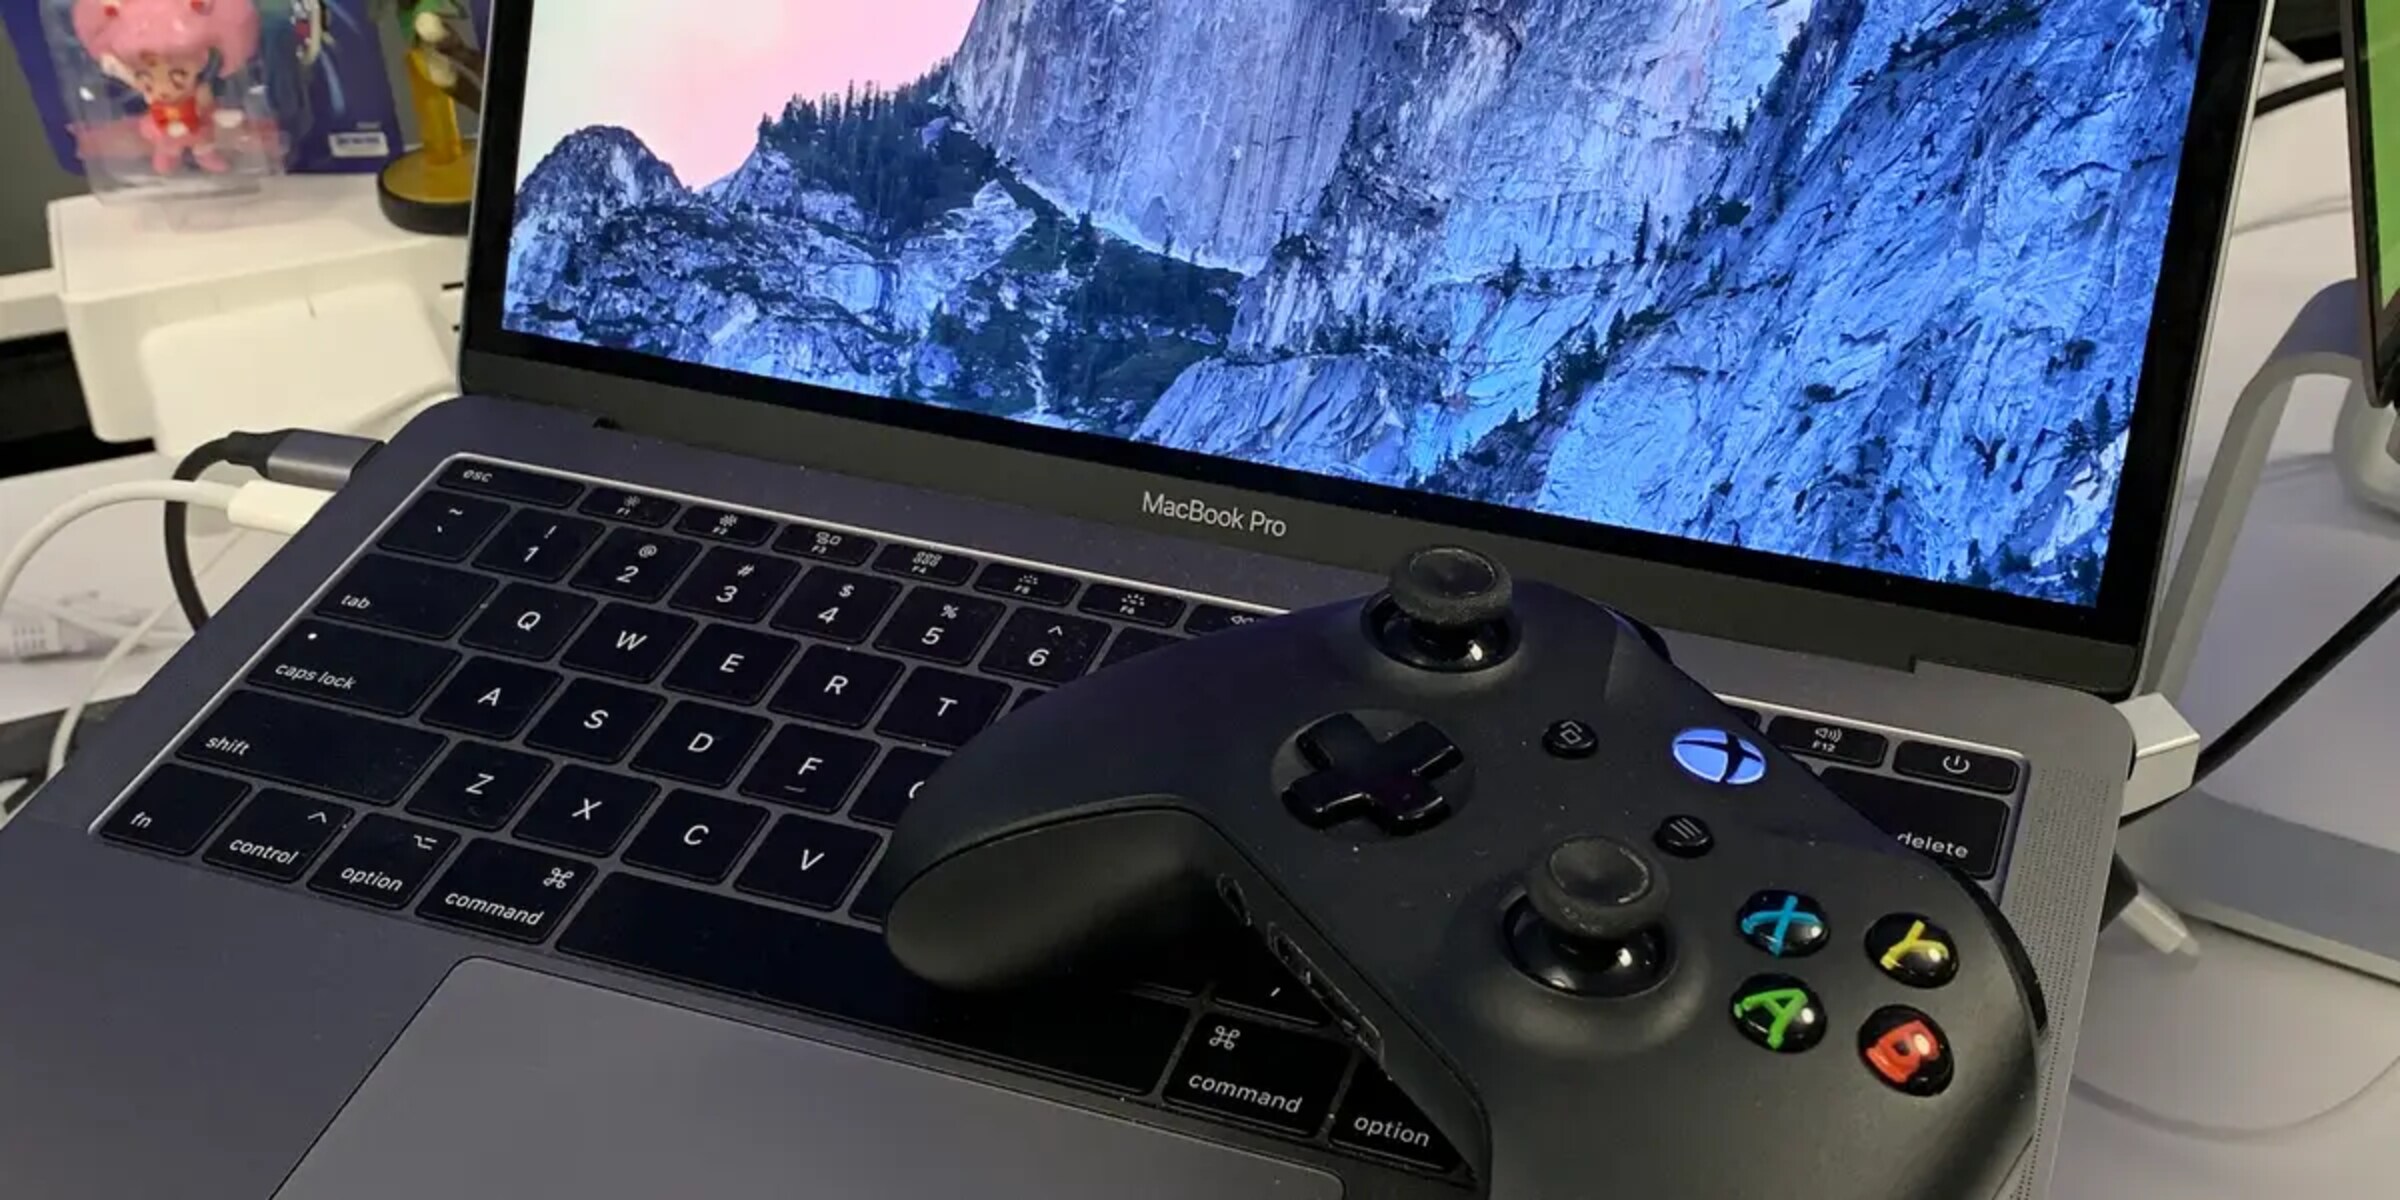
Connecting your Xbox to your MacBook can open up a world of gaming possibilities. Whether you want to enjoy your favorite Xbox games on a larger screen or use your MacBook as a display for multiplayer gaming, a simple HDMI connection can make it all possible.
Playing Xbox games on your MacBook not only provides a more immersive experience, but it also allows you to take advantage of the powerful graphics capabilities and high-resolution display of your MacBook. Additionally, it gives you the flexibility to play games in different environments and on the go.
In this article, we will guide you through the process of connecting your Xbox to your MacBook using an HDMI cable. We will go over each step in detail, making the process simple and hassle-free. By the end of this guide, you will be ready to dive into your favorite games right on your MacBook!
Before we get started, please ensure that you have the necessary equipment, including an HDMI cable, your Xbox console, and your MacBook. With everything ready, let’s jump into the steps to connect your Xbox to your MacBook!
Step 1: Gather the necessary equipment
Before you can connect your Xbox to your MacBook, it’s important to ensure that you have all the required equipment. Here’s what you’ll need:
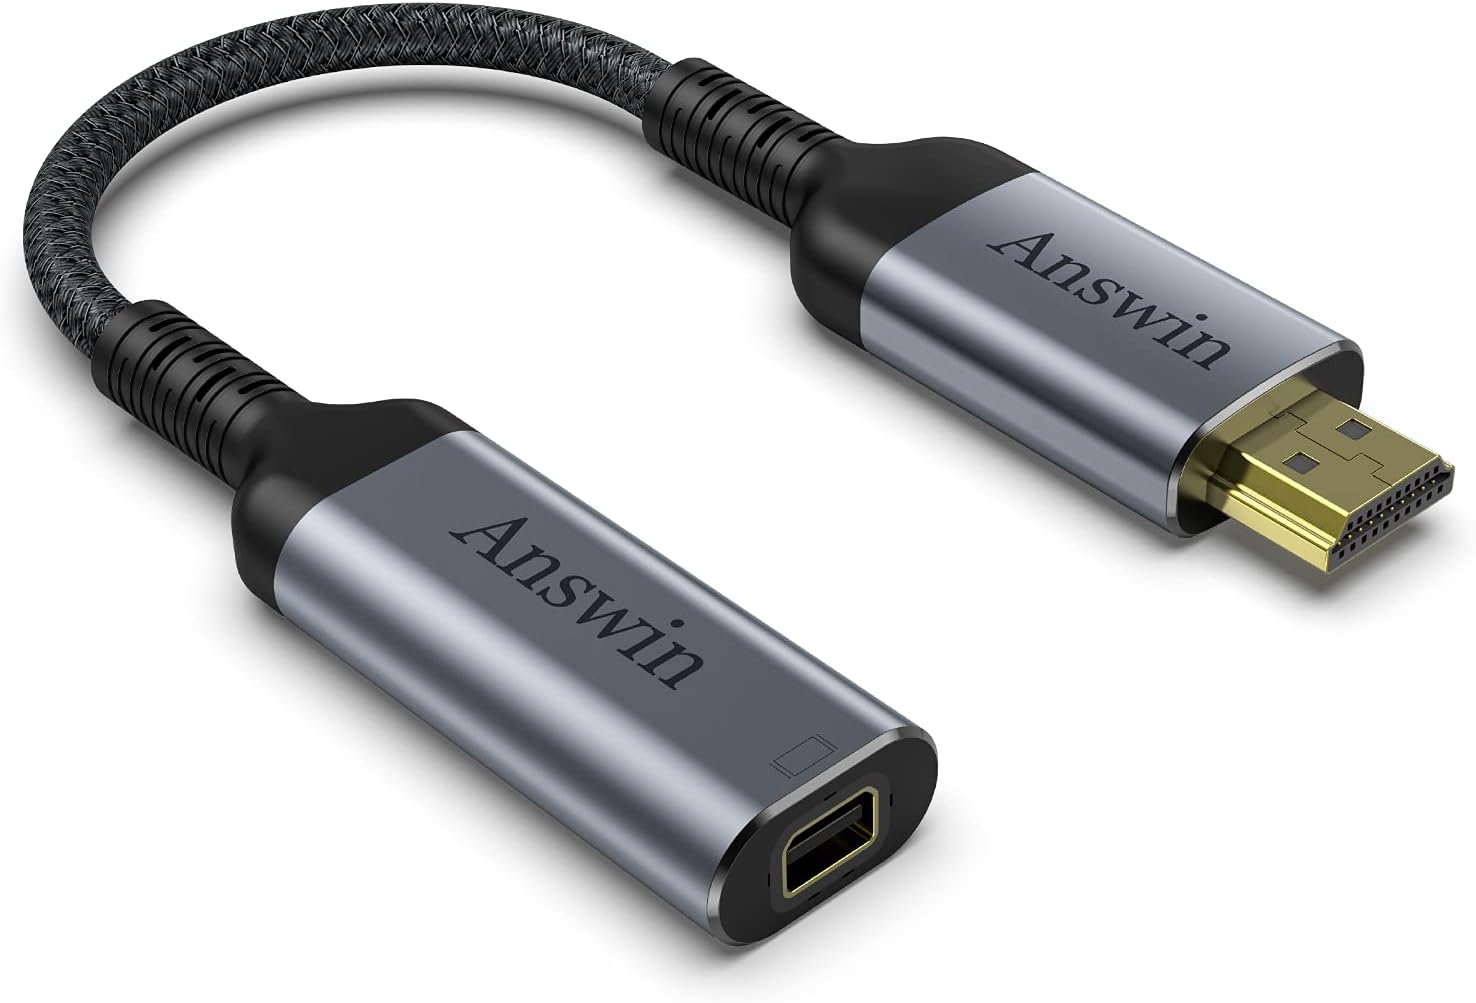
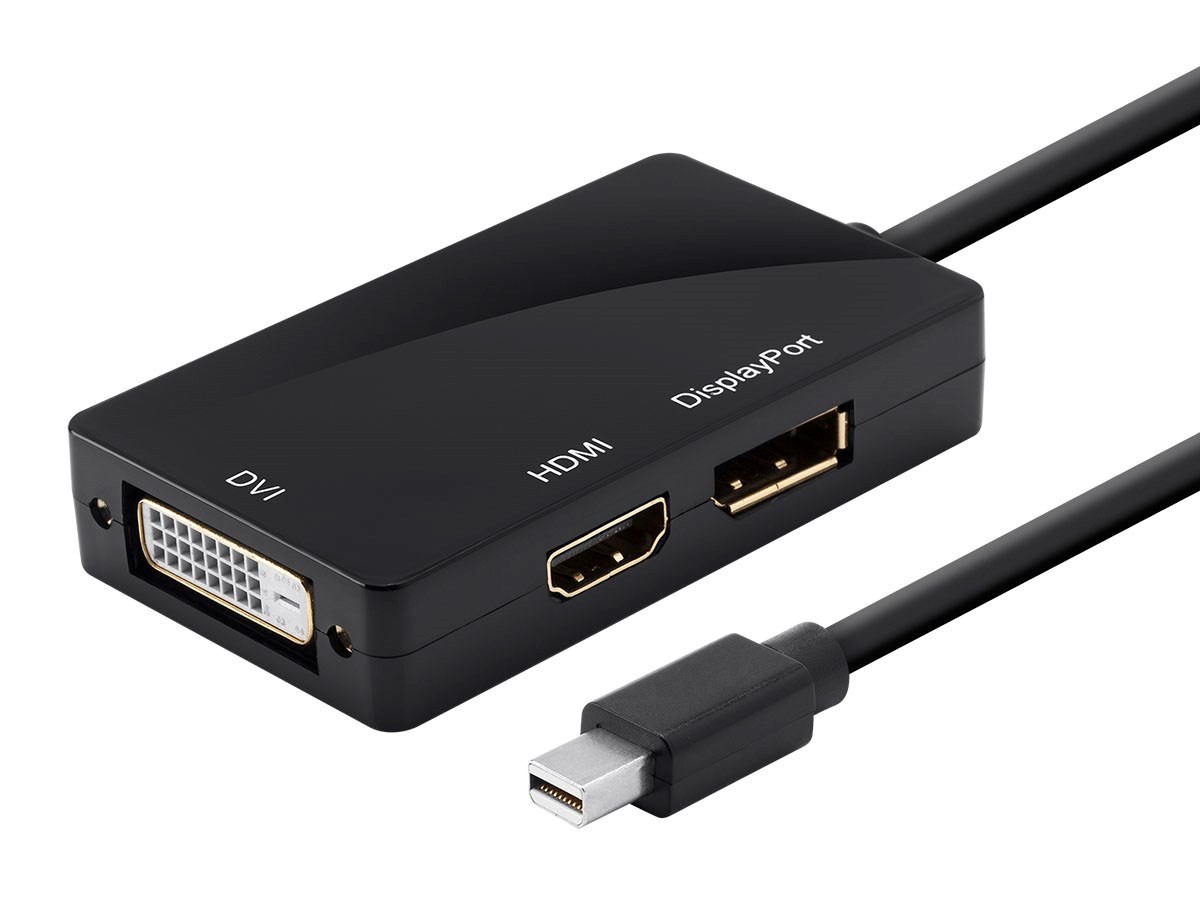
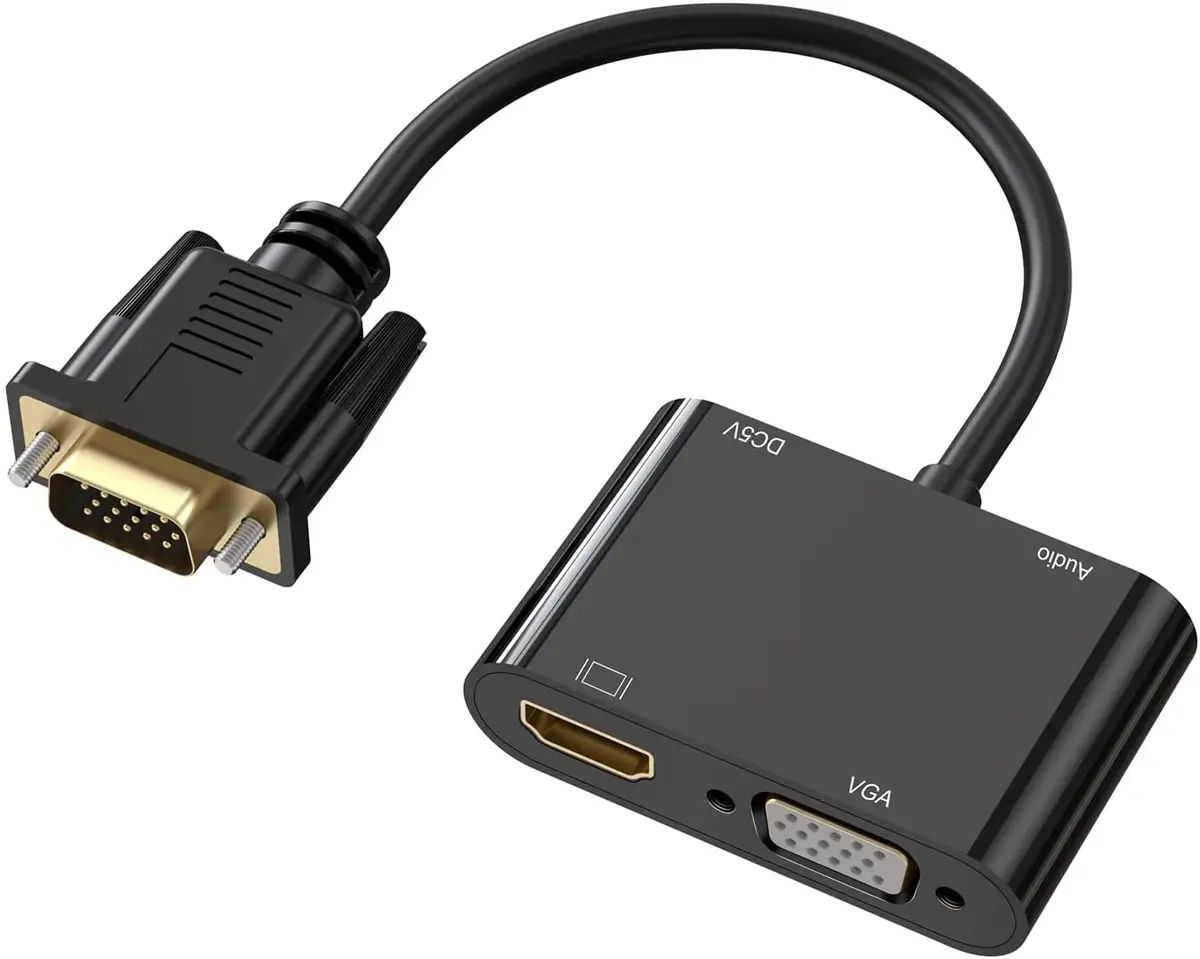
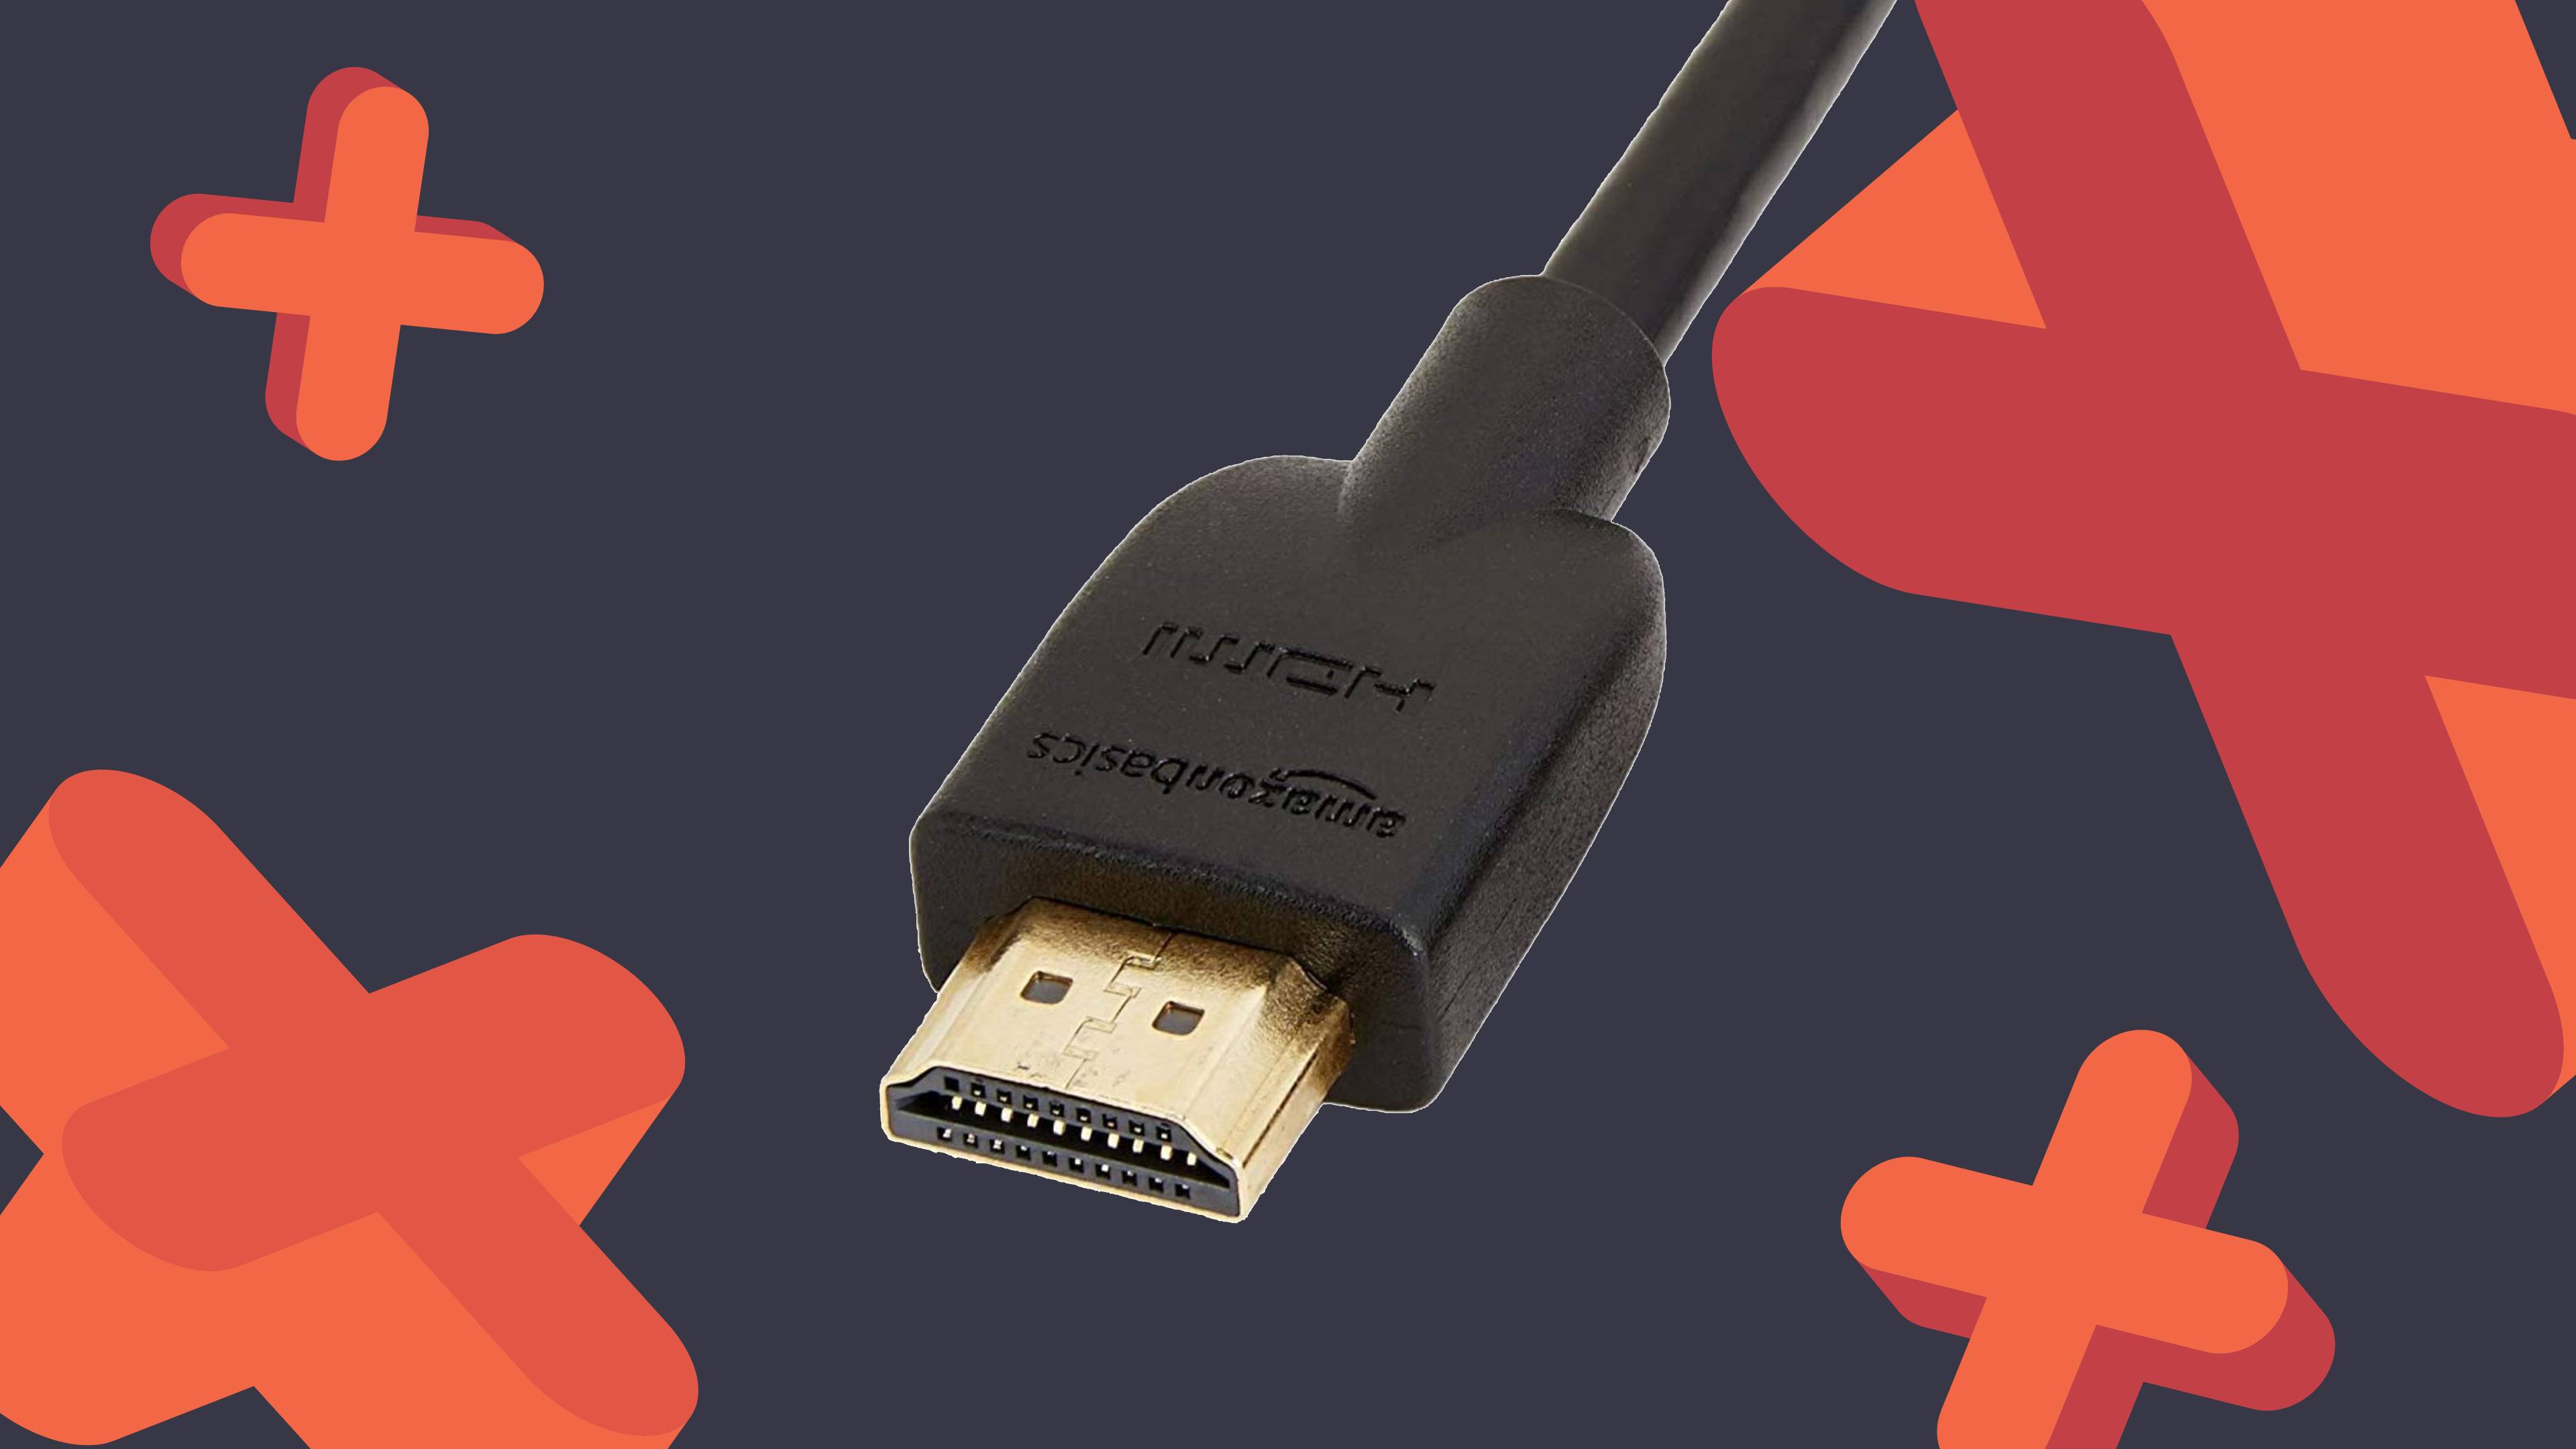
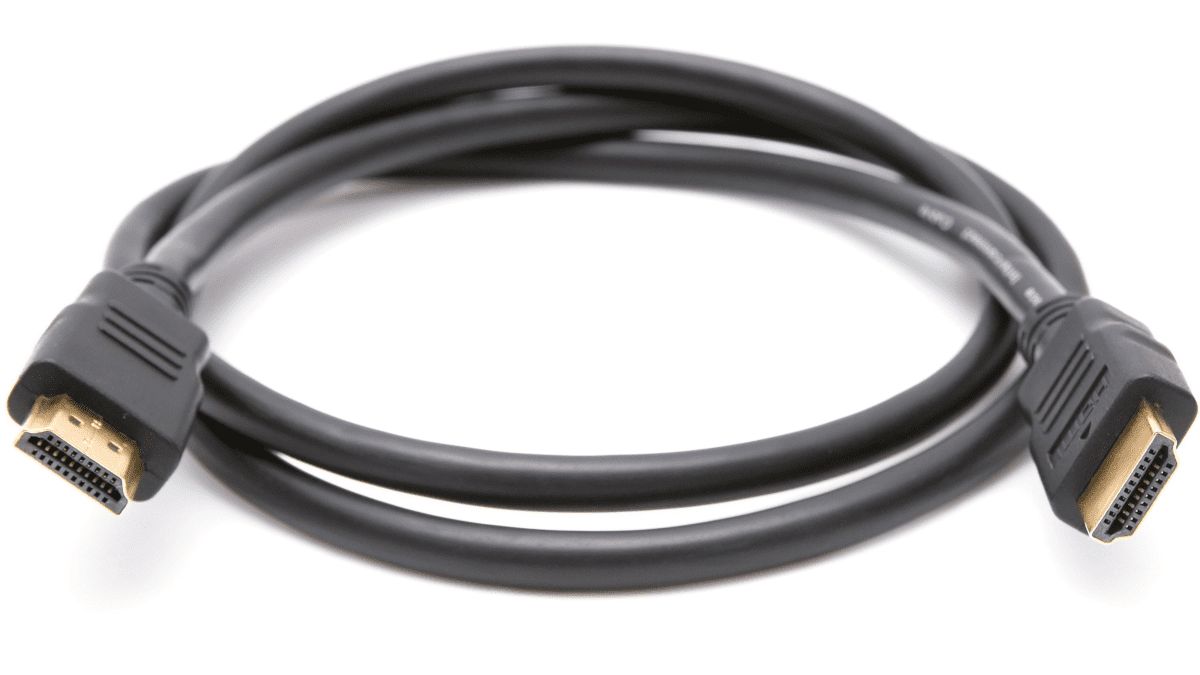
- An HDMI cable: This is the key component for connecting your Xbox to your MacBook. Make sure you have a high-quality HDMI cable that is long enough to reach from your Xbox console to your MacBook.
- Your Xbox console: Whether you have an Xbox One, Xbox One S, or Xbox Series X, make sure it is powered on and ready to connect.
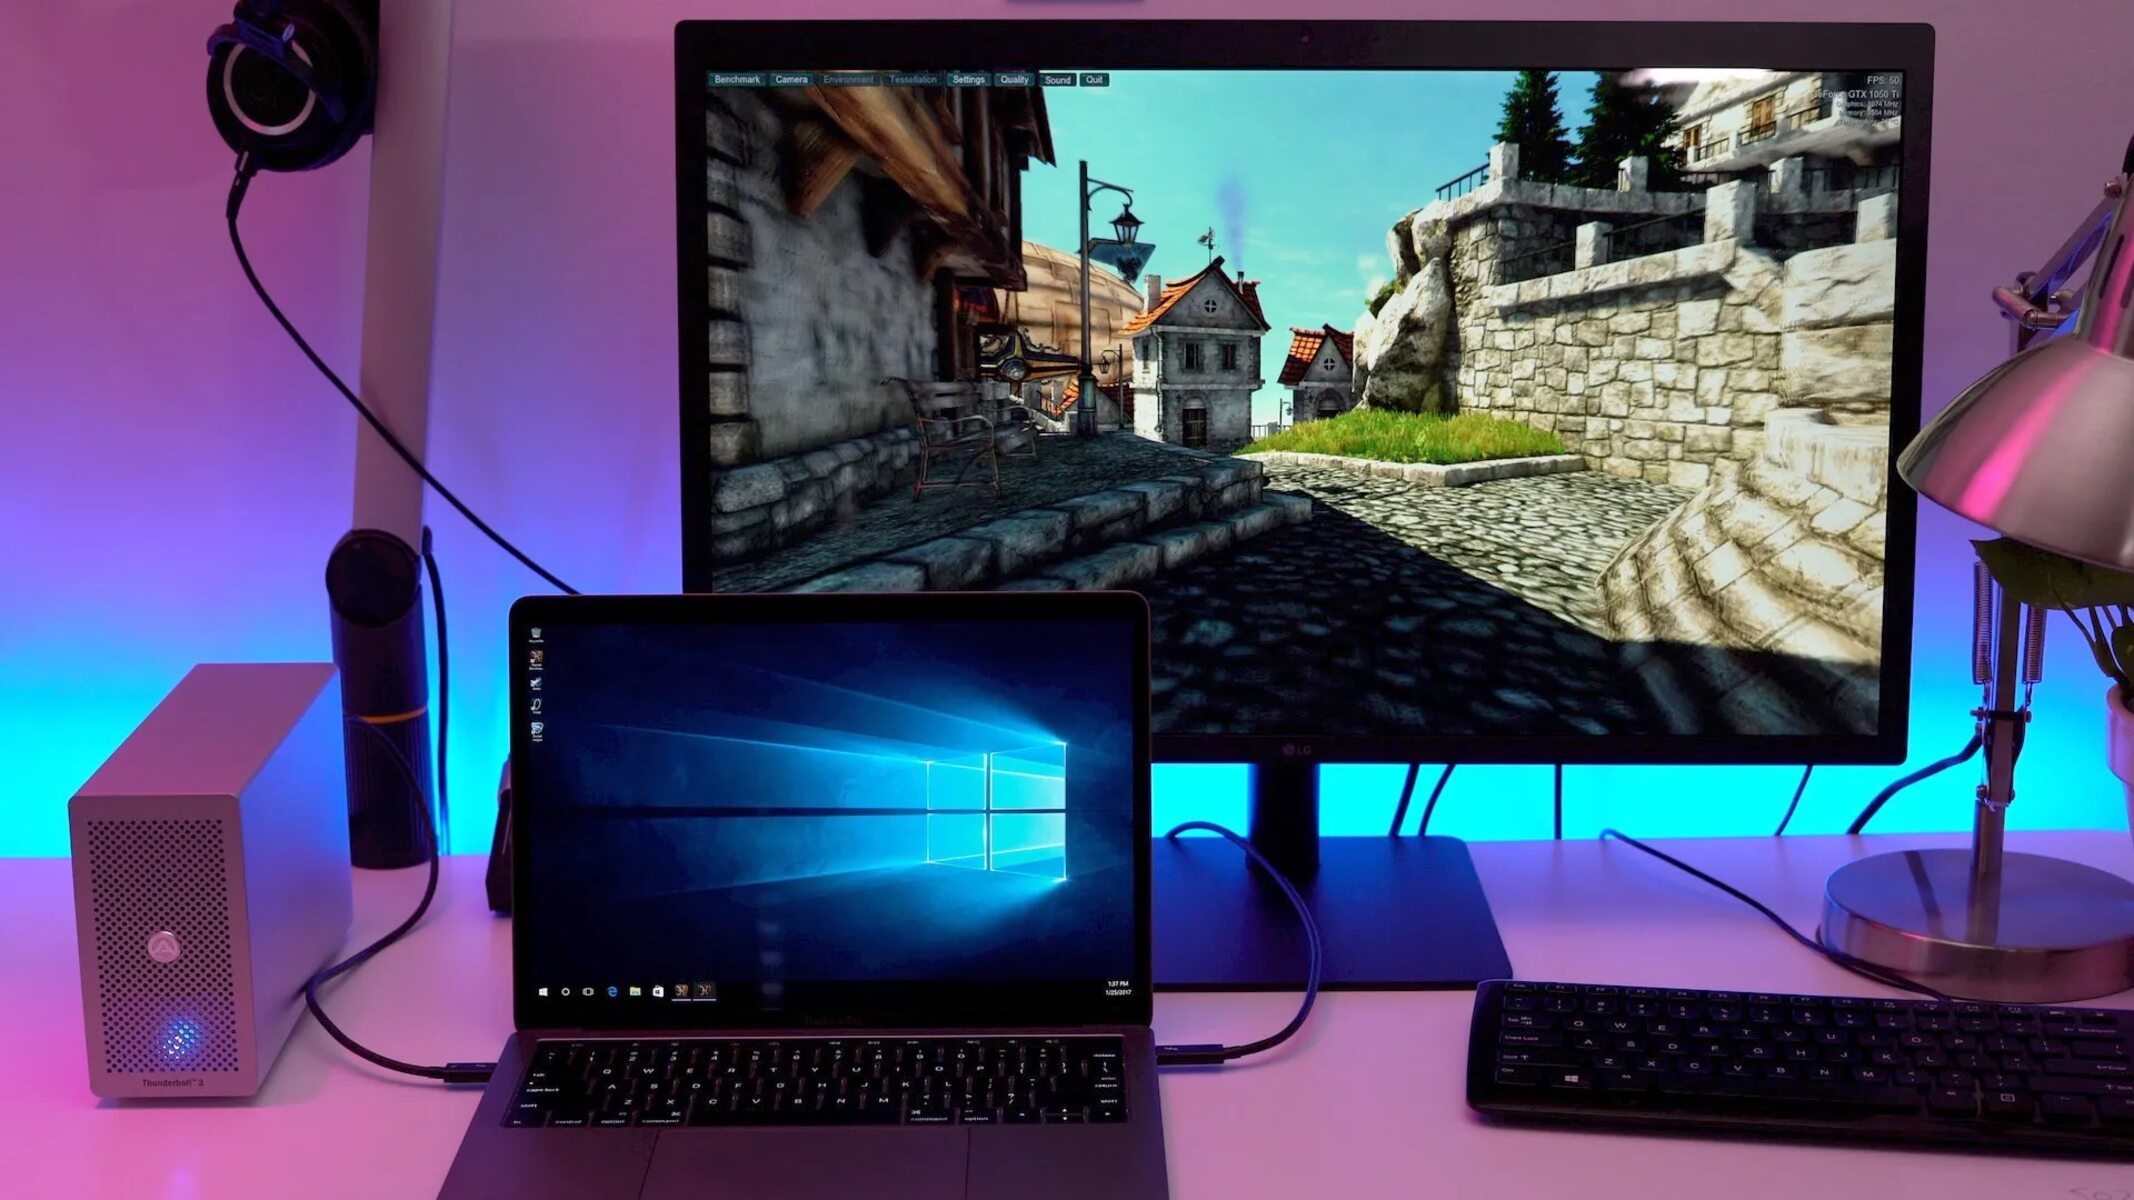
- Your MacBook: Ensure that your MacBook is turned on and has an available HDMI port. Most MacBook models, especially those released in recent years, come with an HDMI port.
Once you have gathered all the necessary equipment, you’re ready to move on to the next step: connecting the HDMI cable to your Xbox and MacBook. Keep in mind that the HDMI cable is essential for transmitting both audio and video signals, so it’s important to use a reliable and high-quality cable to ensure optimal performance.
Step 2: Connect the HDMI cable to your Xbox and MacBook
Now that you have all the necessary equipment, it’s time to connect the HDMI cable to your Xbox console and MacBook. Follow these steps to establish the connection:
- Locate the HDMI port on your Xbox console. It is usually found on the back of the console. Ensure that your Xbox is powered off before proceeding.
- Take one end of the HDMI cable and insert it into the HDMI port on your Xbox console. Make sure it is inserted securely.
- Locate the HDMI port on your MacBook. Depending on your model, it may be located on the side or back of your MacBook.
- Take the other end of the HDMI cable and plug it into the HDMI port on your MacBook. Again, ensure that it is inserted securely.
Once the HDMI cable is connected to both your Xbox console and MacBook, you have successfully established the physical connection. However, simply connecting the cable may not be enough to start playing games on your MacBook. The next steps involve configuring the display settings on your MacBook and adjusting the audio settings to ensure a seamless gaming experience.
Step 3: Configure the display settings on your MacBook
After connecting the HDMI cable between your Xbox console and MacBook, it’s time to configure the display settings on your MacBook to ensure that the video output from your Xbox is properly displayed. Follow these steps to configure the display settings:
- On your MacBook, click on the Apple menu in the top-left corner of the screen and select “System Preferences” from the drop-down menu.
- In the System Preferences window, click on “Displays.”
- In the Displays window, you will see the arrangement of your displays. You should see two displays represented: the built-in MacBook display and the Xbox display.
- Ensure that the “Mirror Displays” option is unchecked. This will allow your MacBook and Xbox to have independent displays, giving you the freedom to use your MacBook screen solely for Xbox gaming.
- If the Xbox display is not visible, click on the “Detect Displays” button to search for available displays.
- Once the Xbox display appears, select it and adjust the resolution settings to your preference. You can choose from various resolution options to suit your gaming experience.
With the display settings properly configured, your MacBook is now ready to showcase the video output from your Xbox console. However, to ensure a fully immersive gaming experience, it’s important to also adjust the audio settings on your MacBook.
Step 4: Adjust the audio settings on your MacBook
Now that the display settings on your MacBook are configured, it’s time to ensure that the audio output from your Xbox is properly routed to your MacBook. Follow these steps to adjust the audio settings:
- On your MacBook, click on the Apple menu in the top-left corner of the screen and select “System Preferences” from the drop-down menu.
- In the System Preferences window, click on “Sound.”
- Under the “Output” tab, you should see a list of available audio devices. Look for the option that corresponds to your HDMI connection. It may be labeled as “HDMI” or something similar.
- Select the HDMI audio output as your preferred audio device.
- Adjust the volume level as desired to achieve the optimal audio experience for gaming.
By setting the HDMI audio output as your preferred option, you ensure that the audio from your Xbox console is directed to your MacBook’s speakers or connected headphones. This completes the audio setup, allowing you to enjoy immersive sound while gaming on your MacBook.
With the display and audio settings adjusted, you’re now ready to test the connection and start gaming on your MacBook!
Step 5: Test the connection and enjoy gaming on your MacBook!
Now that you have completed the necessary steps to connect your Xbox to your MacBook, it’s time to test the connection and start enjoying your favorite games on a larger screen. Follow these steps to ensure that everything is working as expected:
- Turn on your Xbox console and your MacBook.
- On your MacBook, navigate to the input source or display settings. Ensure that the correct input source is selected, indicating the HDMI connection from your Xbox.
- Wait for a few moments, and you should see the Xbox dashboard or home screen displayed on your MacBook’s screen.
- Launch your favorite game on the Xbox console and enjoy the immersive gaming experience on your MacBook.
- Using your Xbox controller, play the game as you normally would and enjoy the smooth gameplay on your MacBook’s display.
During gameplay, make sure to monitor the performance of your MacBook to ensure smooth running and optimal gaming experience. You may need to adjust the graphics settings in the games to achieve the best performance on your MacBook.
Remember that playing Xbox games on your MacBook offers the convenience of gaming on a portable device with a high-resolution display. You can now enjoy your favorite games on the go, whether it’s in the comfort of your living room or while traveling.
With the connection tested and everything working seamlessly, feel free to explore a vast library of Xbox games and immerse yourself in the world of gaming right on your MacBook!