Introduction
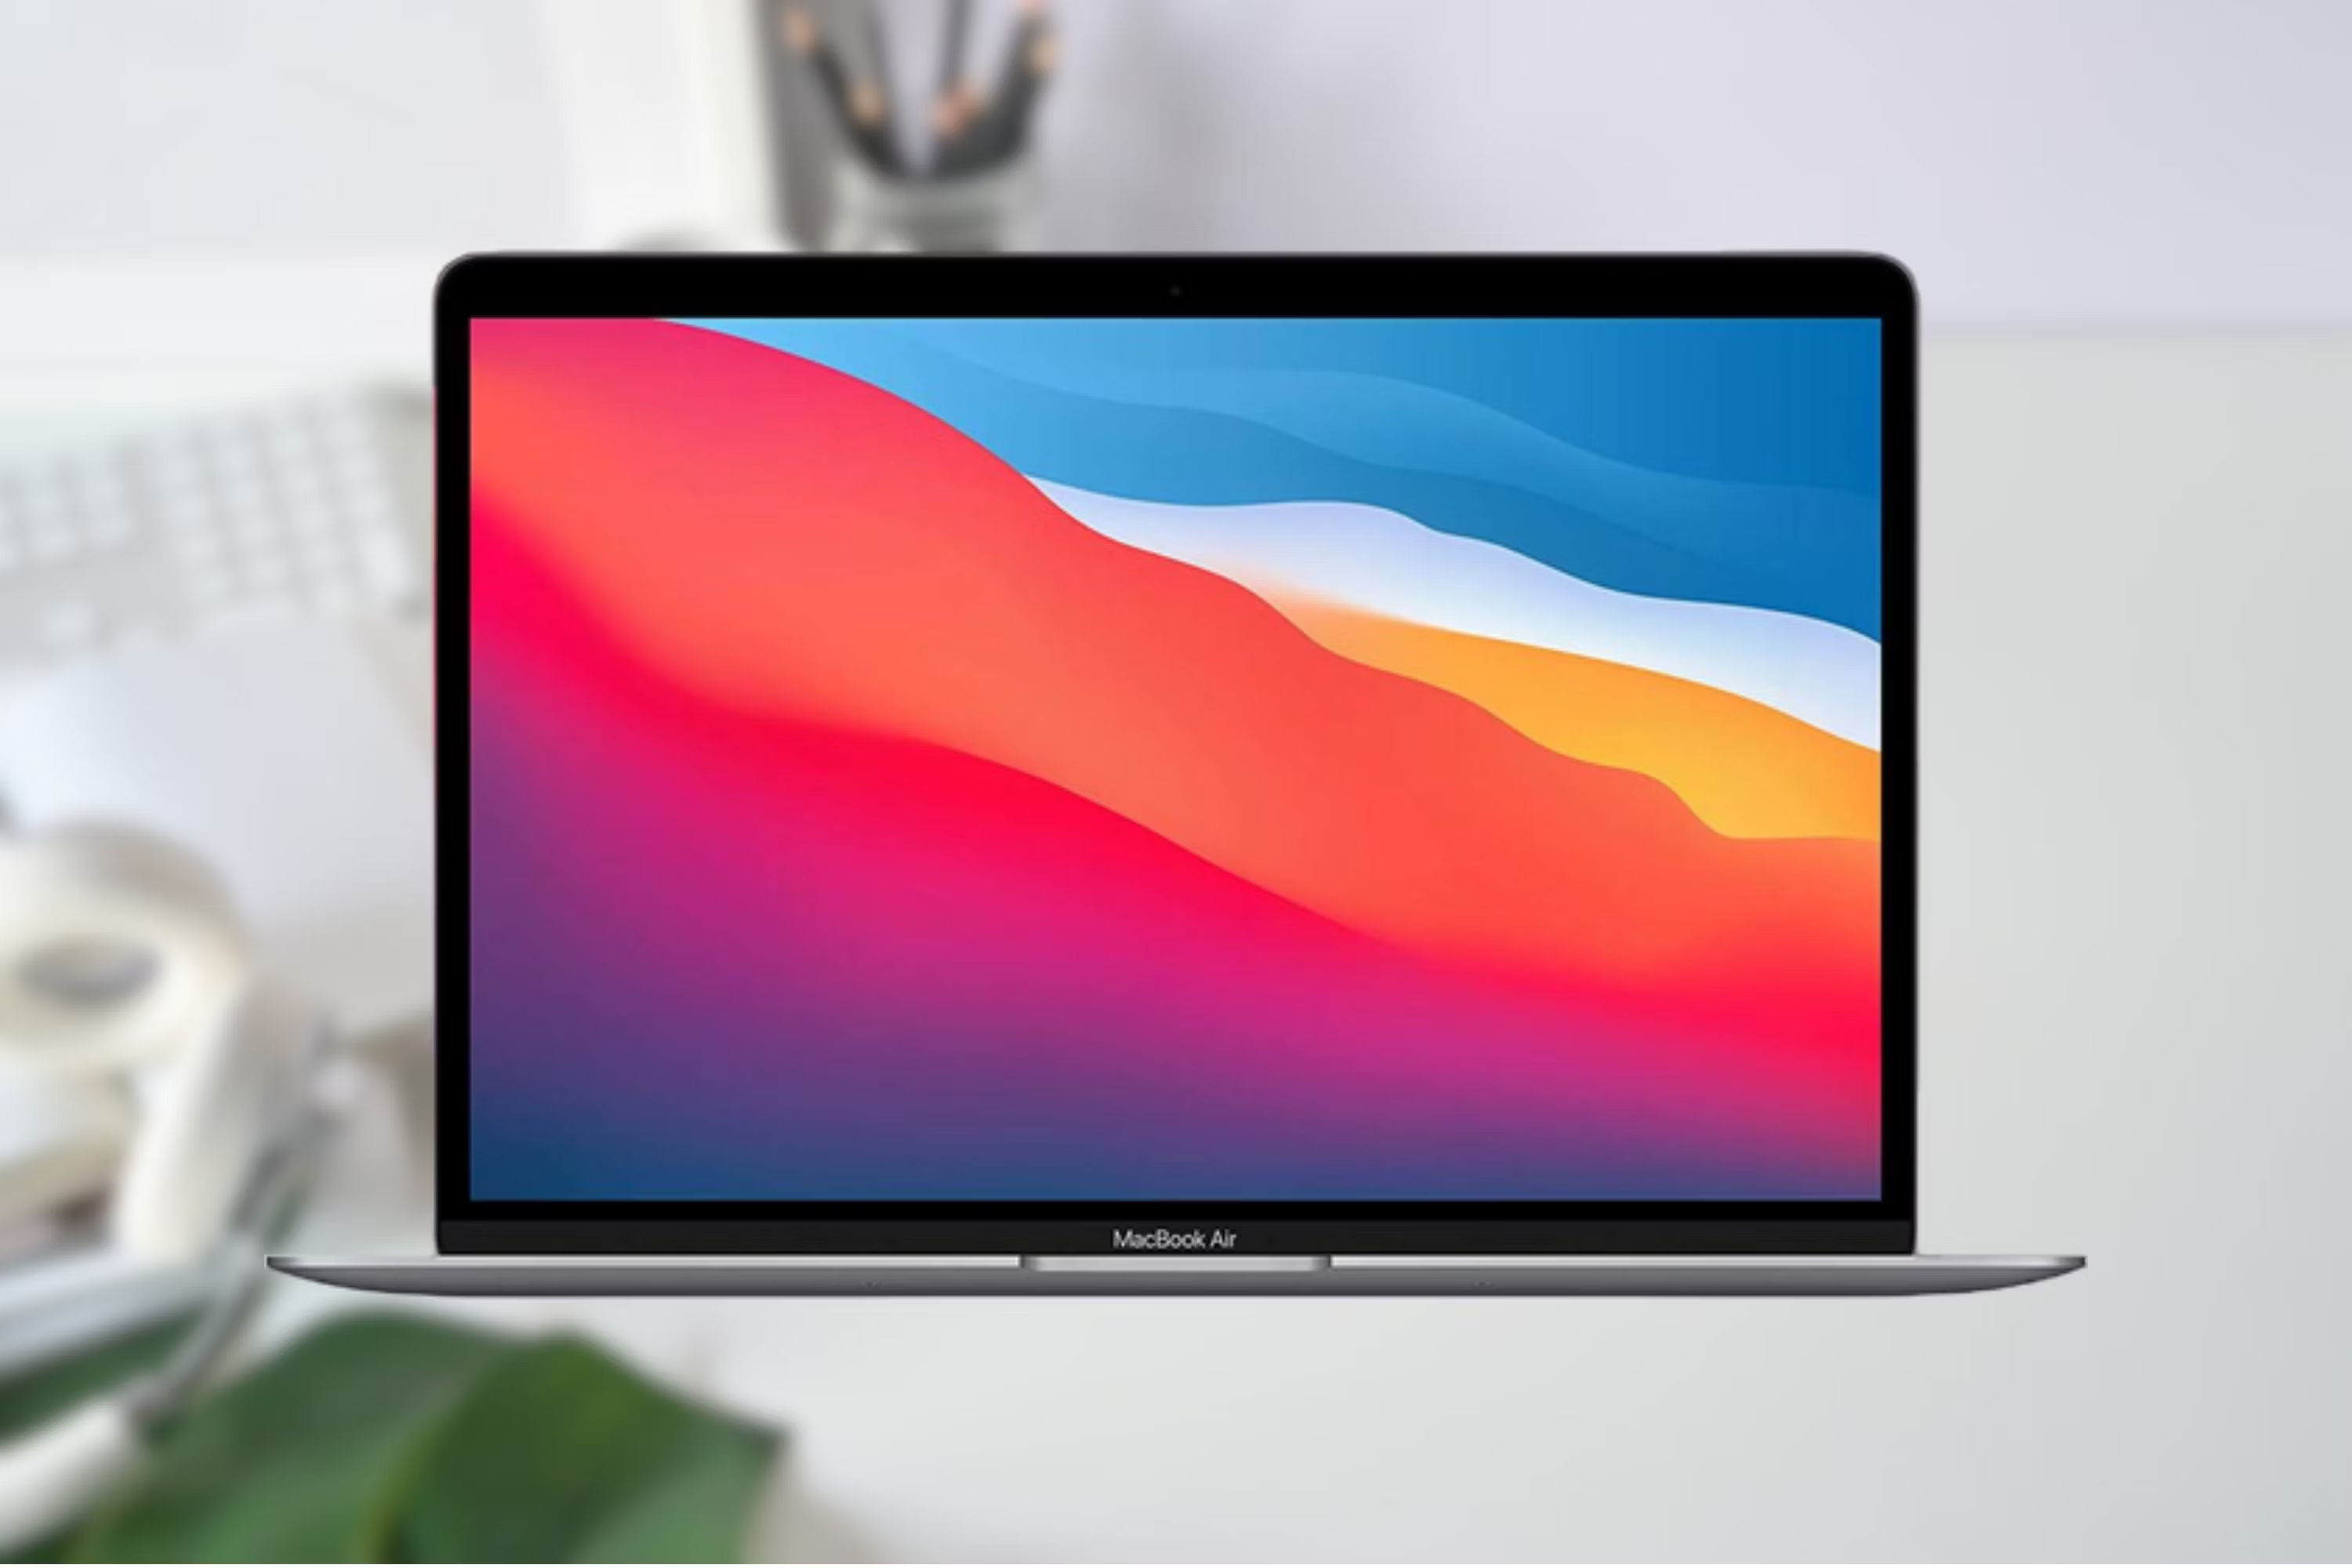
Connecting a monitor to your MacBook Air can greatly enhance your productivity and provide a more immersive viewing experience. Whether you need a larger screen for multitasking or want to enjoy high-definition content on a bigger display, this guide will walk you through the steps to connect a monitor to your MacBook Air.
With the ever-increasing demand for flexible work setups and the rise of remote work, the ability to connect your MacBook Air to an external monitor has become essential. By expanding your screen real estate, you can have multiple windows open at once, easily compare documents side by side, or enjoy a more cinematic experience when watching movies or playing games.
However, connecting a monitor to your MacBook Air is not as simple as just plugging it in. Depending on the model and year of your MacBook Air, you may need specific cables and adapters to make the connection. Additionally, adjusting the display settings on your MacBook Air ensures that the monitor functions optimally and displays the content correctly.
In this guide, we will walk you through the step-by-step process of connecting a monitor to your MacBook Air. We will cover how to check the ports on your MacBook Air, gather the necessary cables and adapters, connect the monitor, adjust the display settings, and troubleshoot common issues that may arise.
Whether you are a professional needing a dual-monitor setup for graphics-intensive tasks or a casual user wanting to enjoy a larger screen, this guide will provide you with the knowledge and instructions needed to successfully connect a monitor to your MacBook Air. Let’s dive in and unlock the full potential of your MacBook Air!
Step 1: Check the ports on your MacBook Air
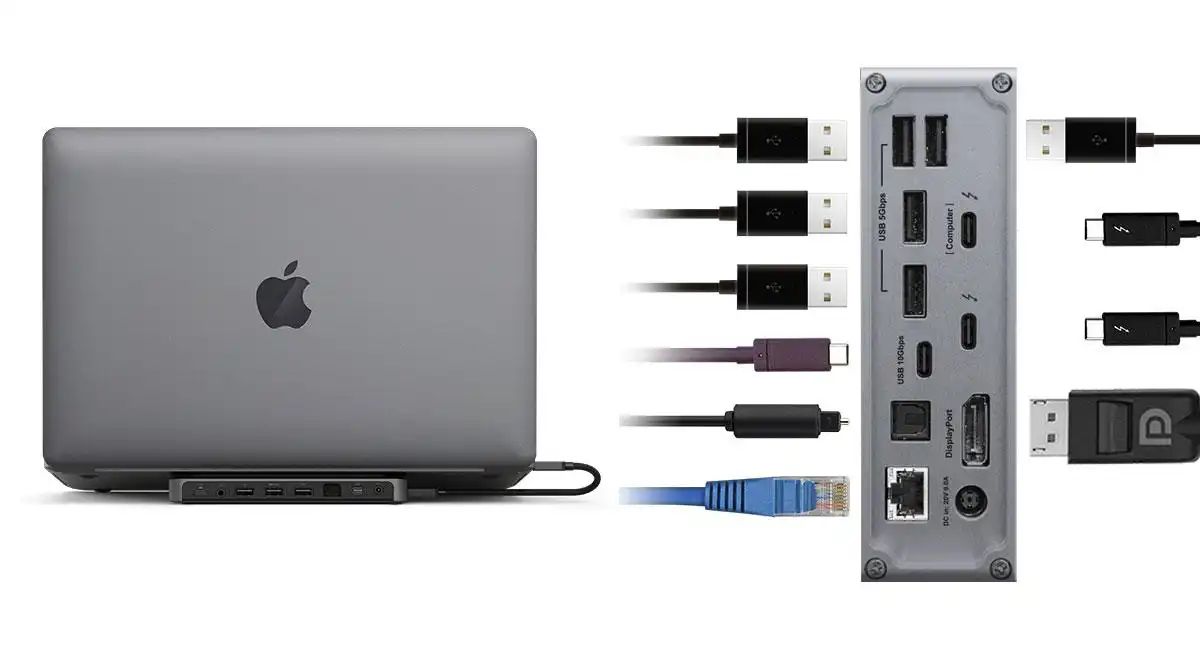
Before connecting a monitor to your MacBook Air, it’s important to check the available ports on your device. The ports will vary depending on the model and year of your MacBook Air. By identifying the ports, you can determine the appropriate cables and adapters needed to establish the connection.
Here are the different types of ports commonly found on MacBook Air models:
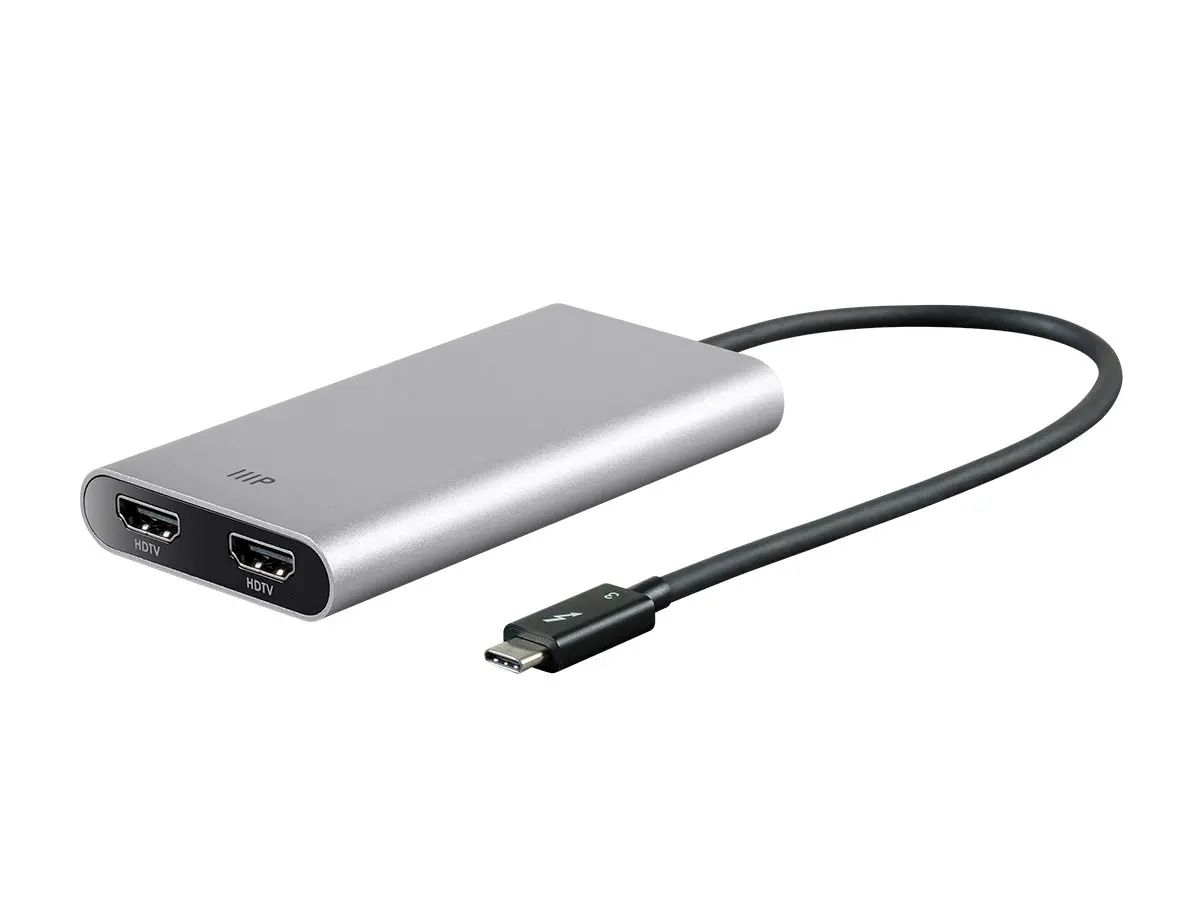
- USB-C/Thunderbolt 3 ports: The latest MacBook Air models come equipped with USB-C/Thunderbolt 3 ports. These versatile ports support high-speed data transfer and can also be used to connect external displays. They have a distinctive oval shape and can be found on both sides of the MacBook Air.
- Mini DisplayPort: Some older MacBook Air models may feature a Mini DisplayPort. This port can also be used to connect an external monitor, but you will need a Mini DisplayPort to HDMI, DVI, or VGA adapter to make the connection.
- HDMI: MacBook Air models released in recent years may have an HDMI port. This port allows for a direct connection to an HDMI-compatible monitor without the need for an additional adapter.
- Thunderbolt 2: Older MacBook Air models might come with a Thunderbolt 2 port. This port is compatible with Thunderbolt and Mini DisplayPort devices, including monitors.
Once you have identified the available ports on your MacBook Air, it’s time to move on to the next step – gathering the necessary cables and adapters. Remember that the specific requirements may differ depending on the year and model of your MacBook Air.
Note: The MacBook Air’s Thunderbolt 3 ports are backward compatible with USB-C devices. However, if you have a MacBook Air with only USB-C ports, make sure to check the specifications and ensure that the external monitor you plan to connect supports USB-C connectivity or that you have the necessary adapters.
Now that you have checked the ports on your MacBook Air, you’re ready to proceed to the next step. Let’s gather the cables and adapters required to connect the monitor.
Step 2: Gather the necessary cables and adapters
Now that you have identified the ports on your MacBook Air, it’s time to gather the cables and adapters required to connect your monitor. The specific cables and adapters you need will depend on the type of port your MacBook Air has and the type of monitor you want to connect.
Here are some commonly used cables and adapters for connecting a monitor to a MacBook Air:
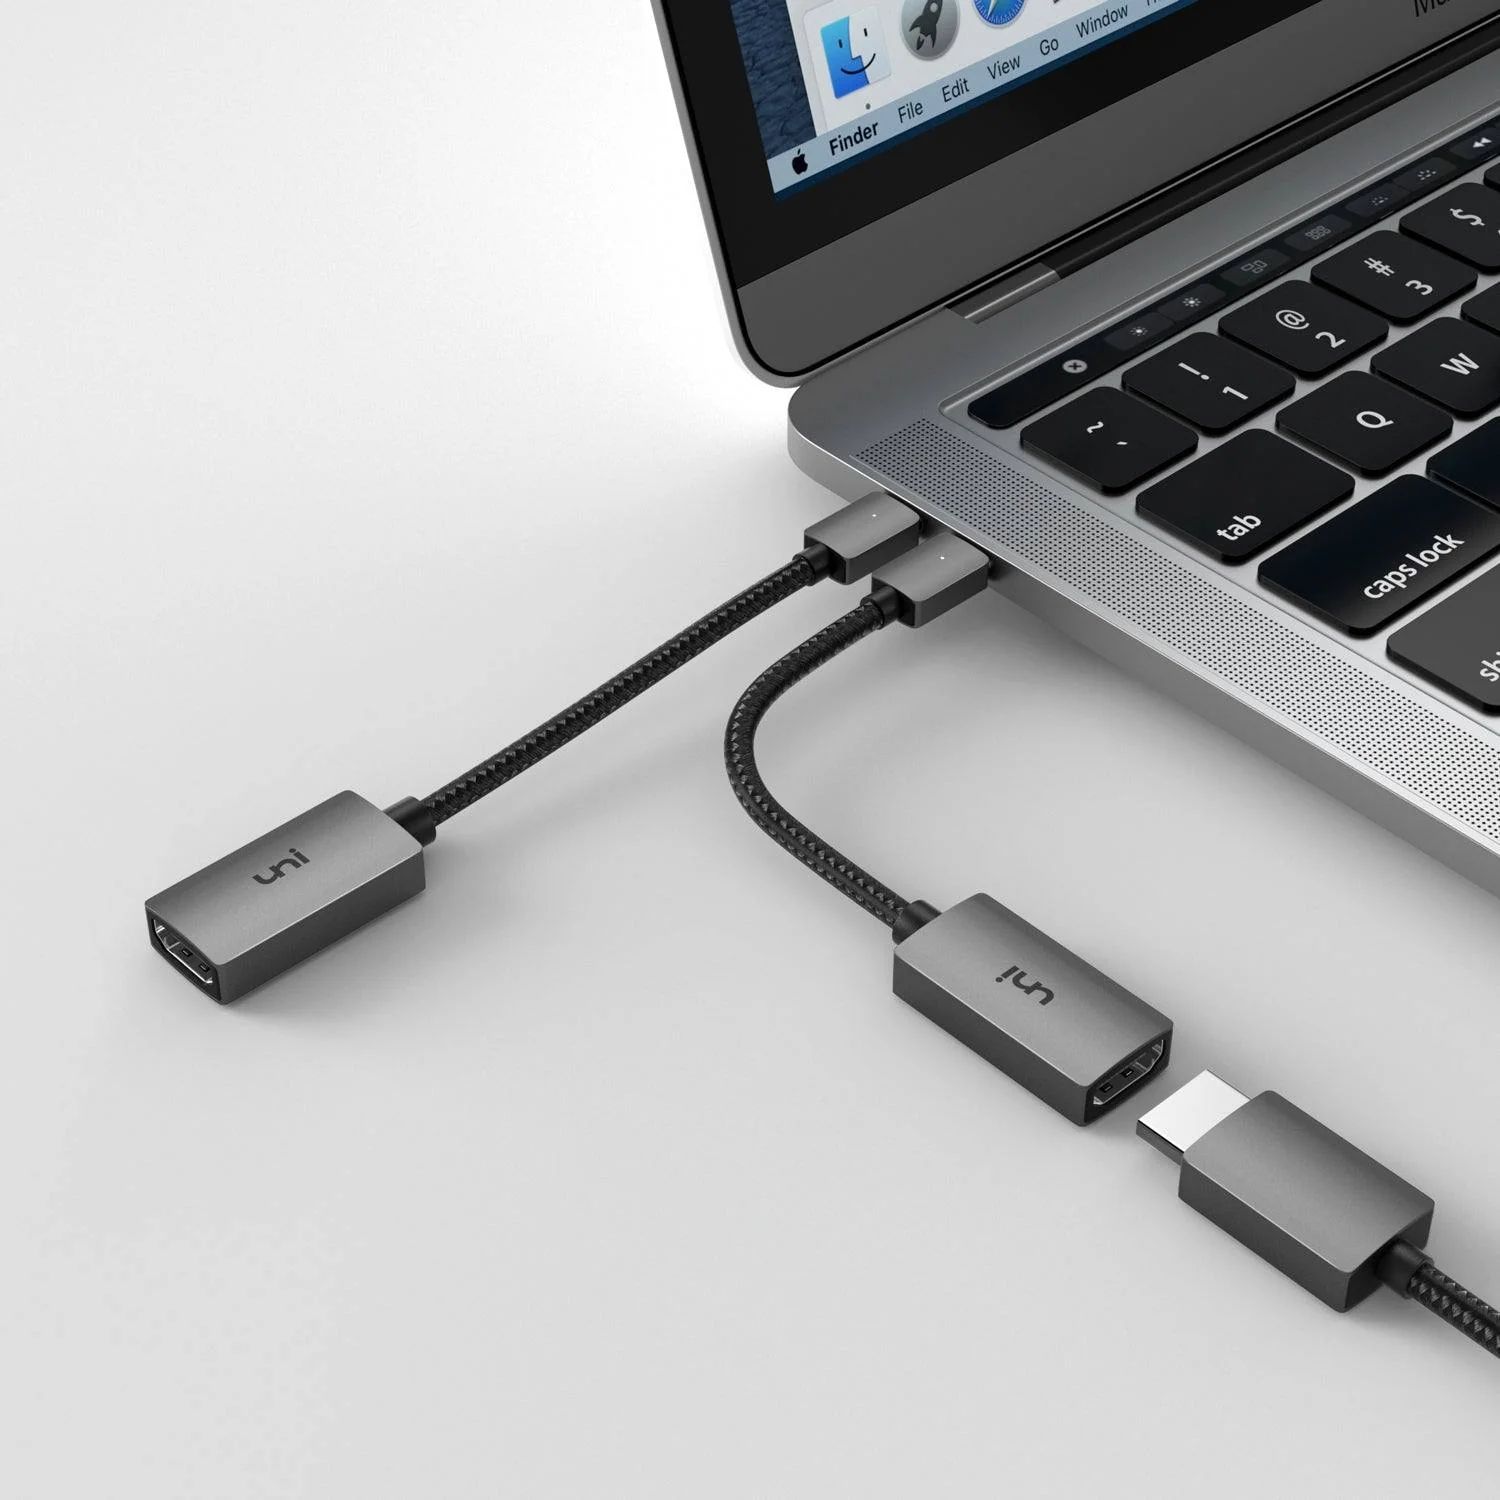
- USB-C to HDMI Cable: If your MacBook Air has a USB-C/Thunderbolt 3 port, and your monitor has an HDMI input, you can use a USB-C to HDMI cable to establish a direct connection between the two. This cable carries both audio and video signals.
- USB-C to DisplayPort Cable: Similar to the USB-C to HDMI cable, a USB-C to DisplayPort cable allows you to connect your MacBook Air to a monitor with a DisplayPort input. This cable provides high-quality video output.
- USB-C to VGA Cable: If you need to connect your MacBook Air to a VGA-compatible monitor or projector, a USB-C to VGA cable will be required. This cable allows you to transmit video signals, but it does not carry audio. If you need audio as well, you will need a separate audio cable.
- Mini DisplayPort to HDMI/DVI/VGA Adapter: If your MacBook Air has a Mini DisplayPort instead of a USB-C/Thunderbolt 3 port, you will need an adapter to connect to different types of displays. For HDMI, DVI, or VGA input, you can use a Mini DisplayPort to HDMI, DVI, or VGA adapter, respectively.
These are just a few examples of the cables and adapters available. The specific type you need depends on the ports on your MacBook Air and the input options on your monitor. Look for good quality cables and adapters that are compatible with your devices to ensure reliable and high-quality connections.
Once you have gathered the necessary cables and adapters, you are ready to move on to the next step – connecting the monitor to your MacBook Air. We will discuss the various methods to establish the connection in the following step.
Step 3: Connect the monitor to your MacBook Air
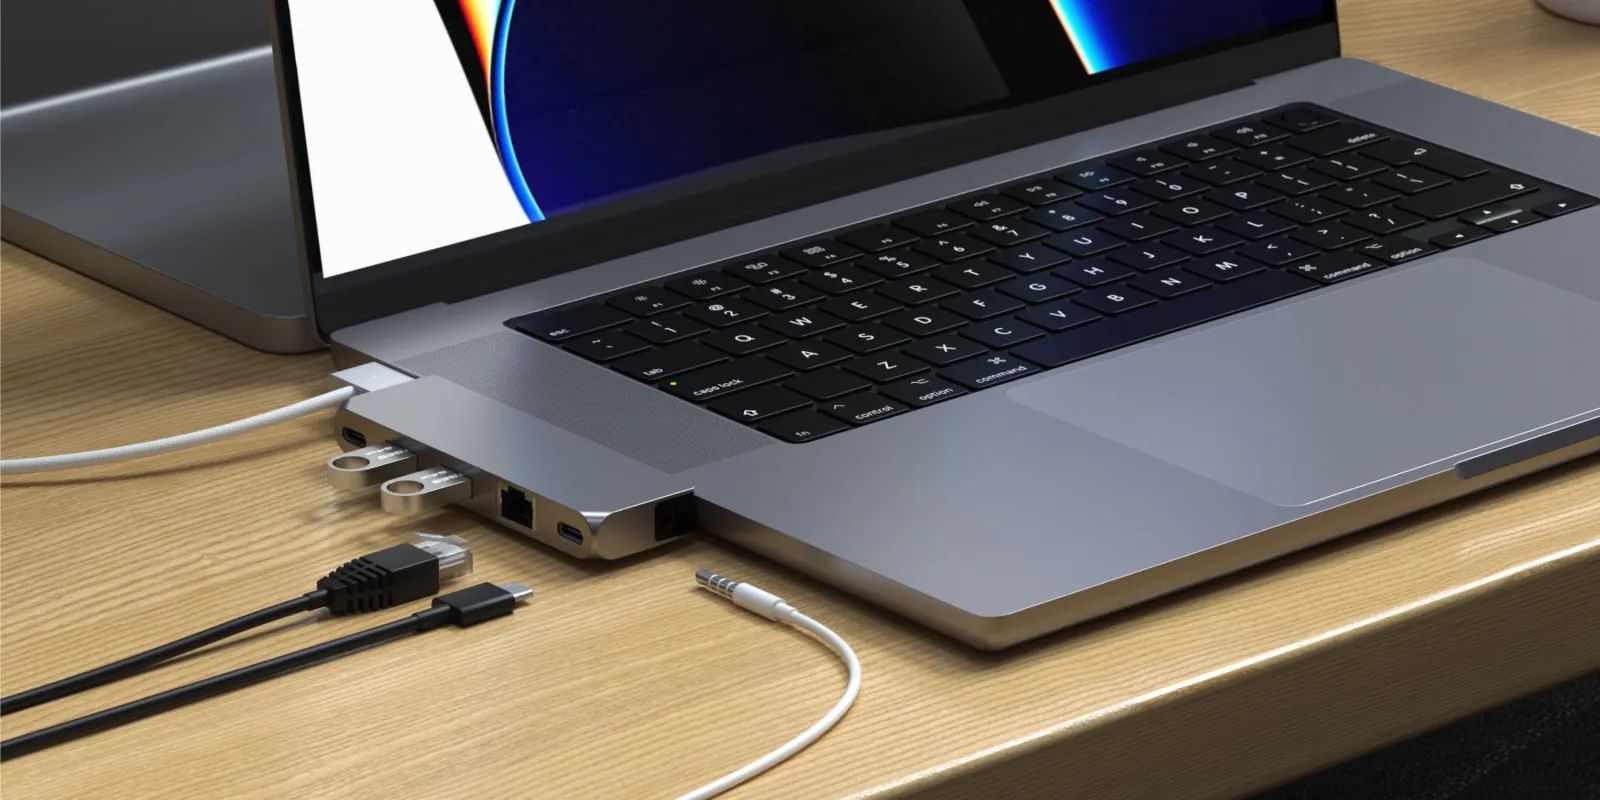
Now that you have the necessary cables and adapters, it’s time to connect the monitor to your MacBook Air. The method will depend on the type of ports available on your MacBook Air and the input options on your monitor. Here are the most common ways to establish the connection:
- USB-C/Thunderbolt 3 to HDMI/DisplayPort: If your MacBook Air has a USB-C/Thunderbolt 3 port, and your monitor has an HDMI or DisplayPort input, you can connect the two using an appropriate cable. Simply plug one end of the cable into the USB-C/Thunderbolt 3 port on your MacBook Air and the other end into the corresponding port on your monitor. Once connected, the monitor should automatically detect the signal and display the content from your MacBook Air.
- Mini DisplayPort to HDMI/DisplayPort: If your MacBook Air has a Mini DisplayPort and your monitor has an HDMI or DisplayPort input, use an appropriate adapter. Connect one end of the adapter to the Mini DisplayPort on your MacBook Air and the other end to the corresponding port on your monitor. Then, connect an HDMI or DisplayPort cable from the adapter to the monitor. Make sure the connections are secure, and the monitor should start displaying the content from your MacBook Air.
- USB-C/Thunderbolt 3 to VGA: If your monitor only has a VGA input, and your MacBook Air has a USB-C/Thunderbolt 3 port, use a USB-C to VGA cable. Connect one end of the cable to the USB-C/Thunderbolt 3 port on your MacBook Air and the other end to the VGA input on your monitor. If your USB-C to VGA cable does not carry audio, you will need a separate audio cable to connect the audio output from your MacBook Air to the monitor or external speakers.
Remember to double-check that all connections are secure and properly inserted. If the monitor is not displaying the content from your MacBook Air, make sure the monitor is powered on and set to the correct input source. Additionally, you may need to adjust the display settings on your MacBook Air to ensure the monitor is detected and set up correctly.
With the monitor connected to your MacBook Air, you can now enjoy the benefits of an extended workspace or a larger screen for your work, entertainment, or creative endeavors.
Now that you have successfully connected the monitor to your MacBook Air, we will move on to the next step – adjusting the display settings to optimize your viewing experience.
Step 4: Adjust the display settings on your MacBook Air
After connecting the monitor to your MacBook Air, it’s essential to adjust the display settings to ensure optimal viewing and performance. By adjusting the settings, you can customize the resolution, arrangement, and other display preferences according to your needs.
Follow these steps to adjust the display settings on your MacBook Air:
- Open System Preferences: Click on the Apple menu () at the top-left corner of your screen and select “System Preferences” from the dropdown menu.
- Select Displays: In the System Preferences window, click on the “Displays” icon to access the display settings.
- Configure Arrangement and Resolution: In the Displays settings, you can arrange and adjust the resolution of your external monitor. Drag the white menu bar at the top of the window to your desired monitor to set it as the primary display. You can also adjust the resolution based on your monitor’s capabilities by selecting the “Scaled” option.
- Configure Display Preferences: Explore the other tabs in the Displays settings to further customize the display preferences. Here, you can adjust the refresh rate, color profile, and other advanced settings specific to your external monitor.
- Check Mirror or Extend Display: Depending on your preference, you can choose to mirror your MacBook Air’s display on the external monitor or extend your desktop across both screens. Select the appropriate option in the “Arrangement” tab.
- Make Adjustments: Fine-tune the settings according to your liking. Experiment with different resolutions, arrangement options, and display preferences until you achieve the desired setup.
Once you have adjusted the display settings, your MacBook Air and external monitor should be working seamlessly together. You can now enjoy the extended workspace, improved productivity, and immersive multimedia experience that a dual-monitor setup offers.
If you encounter any issues or your MacBook Air is not detecting the external monitor, refer to the next step for troubleshooting common problems and finding solutions.
Now that you have adjusted the display settings on your MacBook Air, let’s move on to the final step – troubleshooting common issues that may arise when connecting and using an external monitor.
Step 5: Troubleshooting common issues
While connecting and using an external monitor with your MacBook Air is usually a straightforward process, you may encounter some common issues along the way. Here are some troubleshooting tips to resolve those problems:
- No signal or display: If your external monitor does not show any signal or display, make sure that all cables and adapters are securely connected. Try disconnecting and reconnecting the cables. Also, check that your monitor is powered on and set to the correct input source.
- Unsupported resolution: If your monitor displays an unsupported resolution or the screen appears stretched or pixelated, go to System Preferences > Displays and select a lower resolution. Experiment with different resolutions until you find one that is compatible with your monitor.
- No audio: If you’re using an HDMI or DisplayPort connection and there is no audio output from your external monitor, go to System Preferences > Sound and ensure that the correct audio output is selected. You may need to select the monitor or external speakers as the output device.
- Blank or flickering screen: If your external monitor intermittently goes blank or flickers, try resetting the System Management Controller (SMC) on your MacBook Air. To do this, shut down your MacBook Air, then press and hold the Shift + Control + Option keys on the left side of the keyboard along with the Power button for 10 seconds. Release all the keys and power on your MacBook Air.
- Poor display quality: If the display quality on your external monitor is not satisfactory, make sure that you are using high-quality cables and adapters. Additionally, adjust the display settings in System Preferences > Displays to improve color accuracy, brightness, and contrast.
If you have followed these troubleshooting steps and are still experiencing issues with your external monitor, it’s recommended to consult the official support documentation for your MacBook Air model or contact Apple support for further assistance.
By troubleshooting common issues, you can ensure a smooth and seamless experience when using your MacBook Air with an external monitor.
Now that you have learned how to troubleshoot common problems, you are ready to enjoy your connected setup and make the most of the enhanced productivity and visual experience it offers.
Conclusion
Connecting a monitor to your MacBook Air can significantly enhance your productivity and elevate your viewing experience. By following the steps outlined in this guide, you can successfully connect a monitor to your MacBook Air and enjoy the benefits of a larger screen, improved multitasking capabilities, and immersive multimedia content.
Start by checking the ports available on your MacBook Air to determine the type of cables and adapters you need. Gather the necessary cables and adapters to establish the connection between your MacBook Air and the monitor. Then, connect the monitor to your MacBook Air, ensuring all cables are securely inserted.
Once the monitor is connected, adjust the display settings on your MacBook Air to optimize the viewing experience. Configure the resolution, screen arrangement, and other preferences according to your needs. This step allows you to fine-tune the settings and ensures that the monitor functions seamlessly with your MacBook Air.
If you encounter any issues during the process, refer to the troubleshooting section to resolve common problems. From connection errors to display quality issues, these troubleshooting tips will help you identify and fix the problem, ensuring a smooth and hassle-free experience.
Remember, the specific steps and requirements may vary depending on the model and year of your MacBook Air, as well as the type of monitor you are connecting. Always refer to the official documentation or support resources provided by Apple for accurate and up-to-date information.
With the monitor successfully connected and the display settings adjusted, you can now enjoy the many benefits of a connected setup. Whether you’re working on complex projects, enjoying multimedia content, or simply seeking a larger screen for your daily tasks, the combination of your MacBook Air and an external monitor offers enhanced productivity and an immersive viewing experience.
Now, it’s time to unleash the full potential of your MacBook Air and explore the possibilities that come with a connected monitor setup. Enjoy the expanded workspace, improved performance, and elevated visual experience that will take your computing experience to new heights.