Introduction
Case fans are an essential component of any computer system, as they help to keep the internal components cool and prevent overheating. Over time, dust and debris can accumulate on the fan blades, affecting their efficiency and performance. In some cases, you may need to take off the blades to thoroughly clean them or replace them with new ones. This can seem like a daunting task, especially for those who are not familiar with the inner workings of a computer system.
However, with the right tools and a step-by-step approach, removing the blades of a case fan can be a relatively simple process. In this guide, we will walk you through the necessary steps to safely take off the blades of a case fan and provide tips on how to clean them effectively. Whether you are a novice computer enthusiast or a seasoned DIYer, this guide will help you overcome any challenges and ensure a smooth fan blade removal process.
Before we dive into the details, it is important to note that safety precautions should always be taken when working with any computer hardware. Make sure to turn off your computer and disconnect it from the power source before starting any maintenance or repair tasks. Additionally, it is recommended to wear an anti-static wristband or regularly touch a grounded metal surface to prevent static electricity from damaging the internal components of your computer.
Tools Needed
Before you can begin removing the blades from your case fan, it is important to gather the necessary tools. These tools will help you efficiently and safely complete the task. Here are the tools you will need:
- Screwdriver: Depending on the type of fan you have, you may need a Phillips or flathead screwdriver to remove the screws that secure the blades.
- Tweezers or needle-nose pliers: These small tools are useful for manipulating clips or small screws that may be holding the blades in place.
- Cotton swabs or soft cloth: These will be used to clean the blades and fan housing once the blades are removed.
- Rubbing alcohol: A gentle cleaning solution such as rubbing alcohol can be used to remove any stubborn dirt or grime from the blades.
- Compressed air: This can be used to blow away loose dust and debris from both the blades and the fan housing.
Having these tools readily available will make the process of removing the blades much smoother and more efficient. It is always a good idea to gather all the necessary tools before you begin to avoid any unnecessary delays or frustrations.
Step 1: Turn Off and Disassemble the Fan
The first step in removing the blades from a case fan is to power off your computer and disconnect it from the power source. This is crucial to ensure your safety and prevent any damage to the hardware.
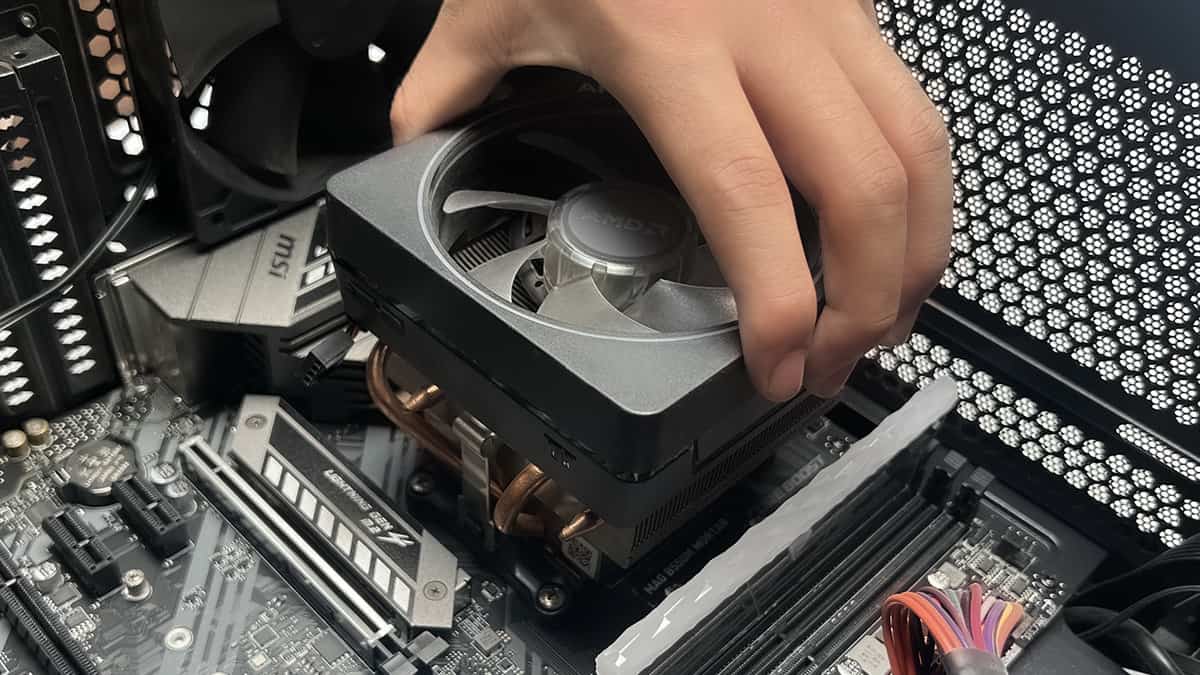
Once your computer is turned off, locate the case fan that you wish to work on. Most case fans are attached using screws, so you will need to open up your computer case to access the fan. Use a screwdriver to remove the screws securing the side panel of the case.
With the side panel removed, you will now have access to the inside of your computer. Take a moment to identify the fan that you want to remove the blades from. You may need to refer to your computer’s manual or visually inspect the fans to locate the specific one.
Next, you will need to disconnect the fan’s power cable from the motherboard or fan controller. Gently unplug the connector by pulling it straight out. Be careful not to apply excessive force as this can damage the connector or the motherboard.
Some fans may also have additional cables for RGB lighting or fan speed control. If your fan has any of these cables attached, carefully disconnect them as well.
Once you have disconnected the power and any additional cables, you are now ready to proceed to the next step of removing the blades from the case fan.
Step 2: Locate the Clips or Screws Holding the Blades
After disassembling your computer case and disconnecting the fan’s power cables, it’s time to locate the clips or screws that are holding the blades in place.
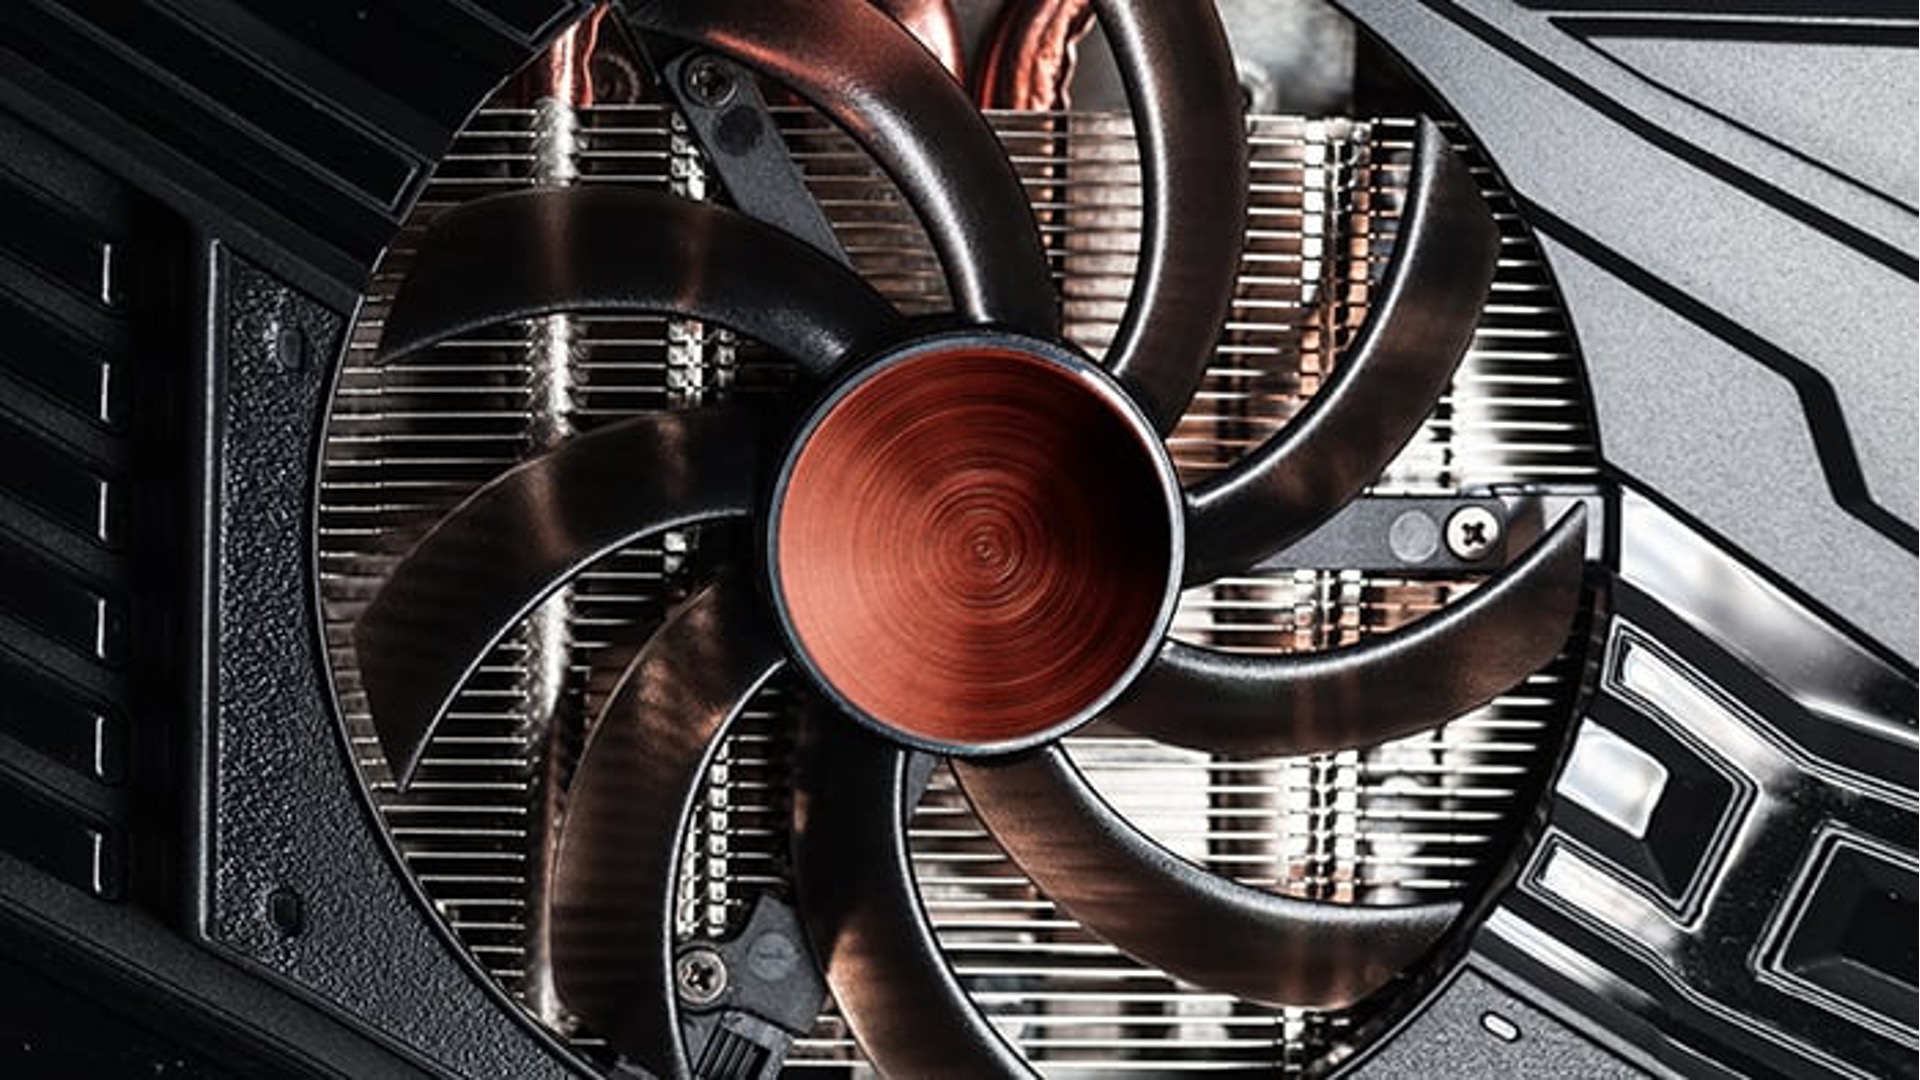
Depending on the design of your case fan, you will either find small clips or screws securing the blades to the fan hub. These clips or screws are typically located near the center of the fan.
If your fan has clips, you will need to carefully press or pry them open to release the blades. Use tweezers or needle-nose pliers to manipulate the clips if they are too small or tight to open with your fingers. Take caution not to use excessive force that could damage the fan or the blades.
On the other hand, if your fan has screws, you will need to loosen them using a screwdriver. Most case fans have four screws that hold the blades in place. Carefully unscrew each one, making sure to keep track of the screws so you can easily reassemble the fan later.
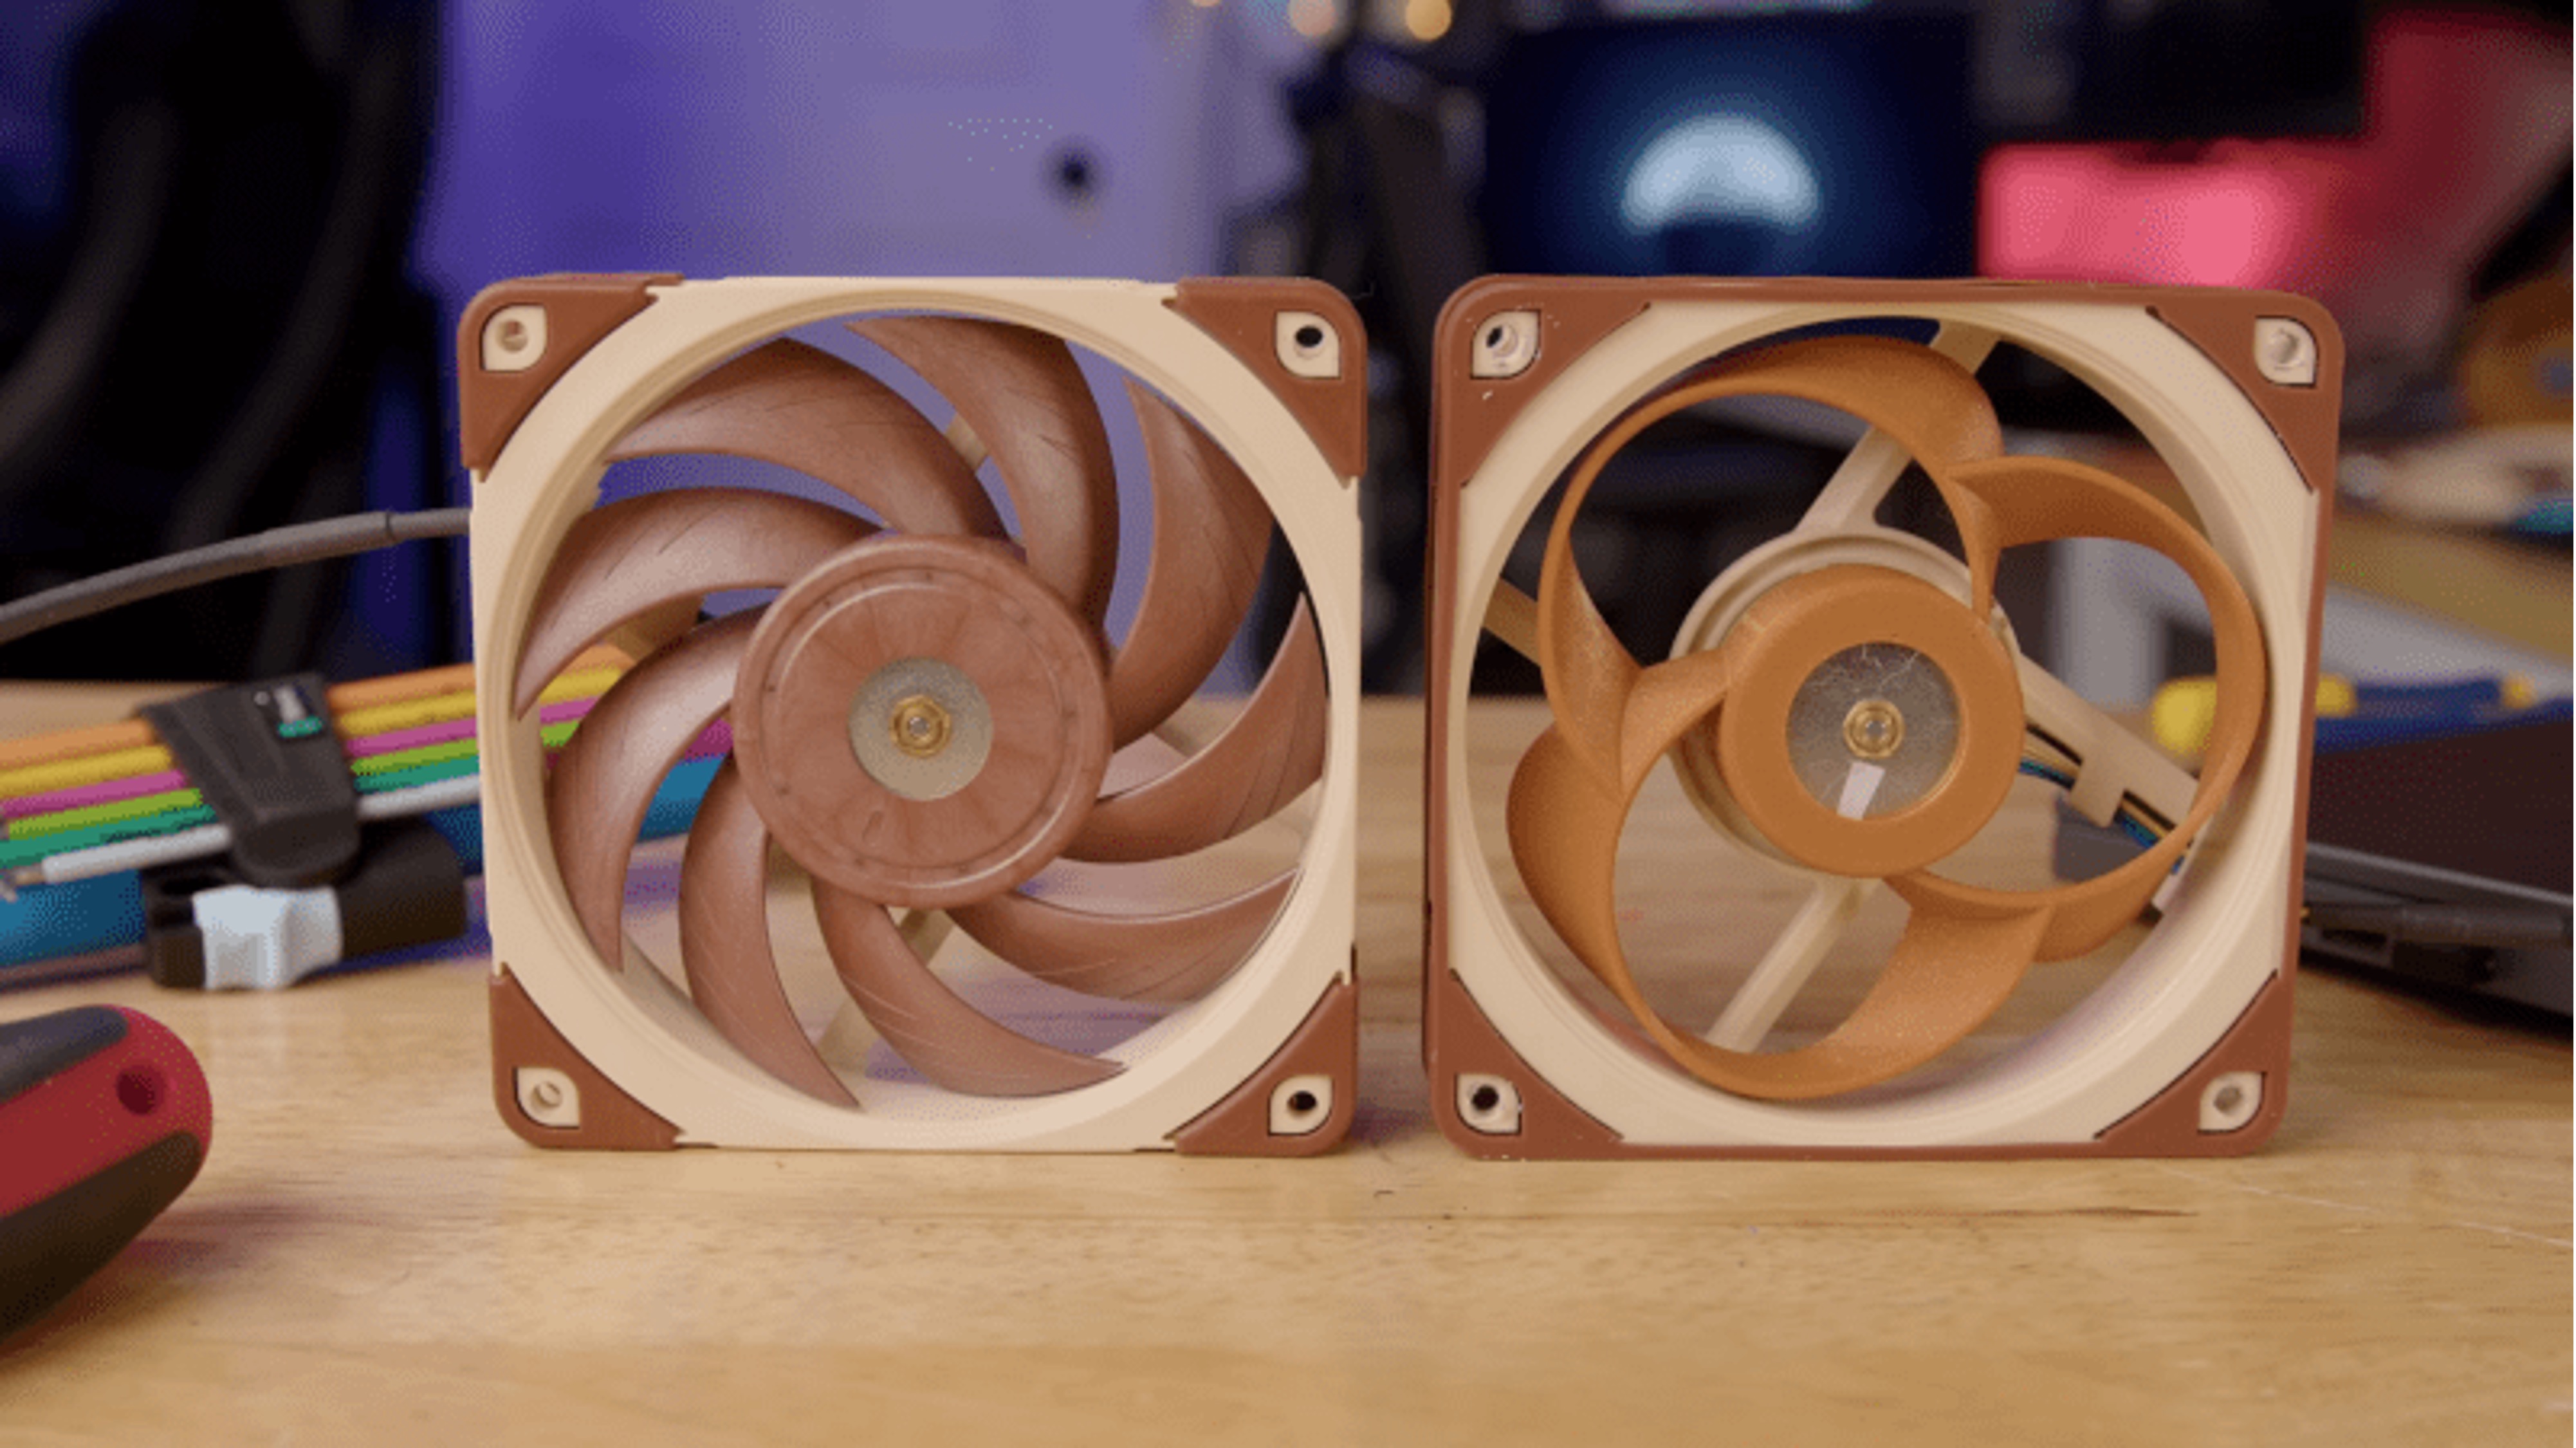
It is important to pay attention to the orientation of the blades as you remove them. Many fans have an arrow or other marking that indicates the correct rotation direction. Take note of this marking so you can align the blades correctly during reassembly.
Keep in mind that some case fans may have a combination of clips and screws. In such cases, remove the clips first and then proceed to unscrew the remaining screws.
Once you have located the clips or screws and successfully removed them, you are now ready to move on to the next step of actually taking off the blades from the case fan.
Step 3: Remove the Clips or Unscrew the Blades
With the clips or screws located and accessible, you can now proceed to remove them and detach the blades from the case fan.
If your fan is secured with clips, gently release them by pressing or prying them open. Start with one clip and work your way around the fan, carefully releasing each one. Use tweezers or needle-nose pliers if necessary to manipulate the clips if they are difficult to open. Take your time and be patient to avoid causing any damage.
For fans that are secured with screws, use a screwdriver to unscrew each one. Loosen the screws one at a time, following a diagonal pattern to ensure even pressure is exerted on the fan. This will help prevent any warping of the fan housing.
As you remove the clips or screws, be mindful of the blades’ position and ensure they do not accidentally fall off or get damaged. If needed, use your other hand to secure the blades as you release the clips or screws.
Once all the clips or screws have been removed, the blades should easily come loose from the fan hub. Gently lift or slide the blades away from the hub, taking care not to bend or twist them in the process. If you encounter any resistance, double-check to ensure that all the clips or screws are fully removed.
Set the blades aside in a safe place while you proceed to the next step of cleaning them and the fan housing.
Removing the clips or unscrewing the blades may seem intimidating at first, but by following these steps carefully, you can successfully detach the blades from the case fan without causing any damage.
Step 4: Gently Pull or Twist the Blades Off
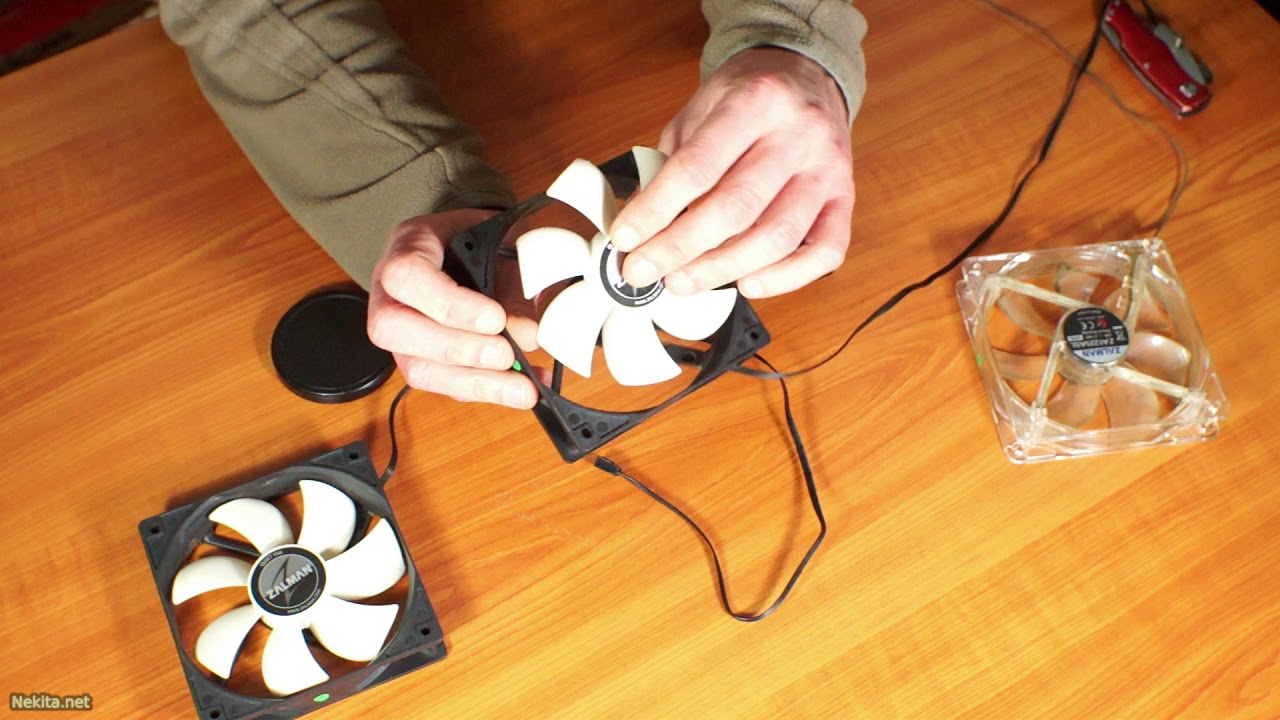
Now that the clips or screws holding the blades have been removed, it’s time to gently pull or twist the blades off the fan hub.
Start by firmly gripping one blade near the base where it connects to the hub. Apply gentle but steady pressure and carefully pull the blade away from the hub. Avoid using excessive force, as this can damage the blades or the fan itself.
If the blades do not easily come off, try gently twisting them back and forth while pulling. This can help loosen any residual friction or adhesive that may be holding the blades in place.
Continue this process for each blade, taking care to keep a firm grip and maintain control as you remove them. Make sure to keep the blades in the same order and orientation as they were originally attached to the fan.
Some fans may have additional features, such as a fan shroud or housing. If your fan has these components, you may need to remove them before accessing the blades. Refer to your fan’s manual for specific instructions on how to detach these components.
During this step, it is important to be patient and cautious. Take your time to ensure that the blades are properly disengaged from the fan hub without causing any damage. If you encounter any resistance or difficulties, recheck that all clips or screws have been fully removed.
Once all the blades have been safely removed, set them aside and proceed to the next step of cleaning both the blades and the fan housing.
By gently pulling or twisting the blades off the fan hub, you can successfully detach them without causing any harm to the fan or the blades themselves.
Step 5: Clean the Blades and Fan Housing
After removing the blades from the fan, it’s important to take the time to clean both the blades and the fan housing to ensure optimal performance and longevity.
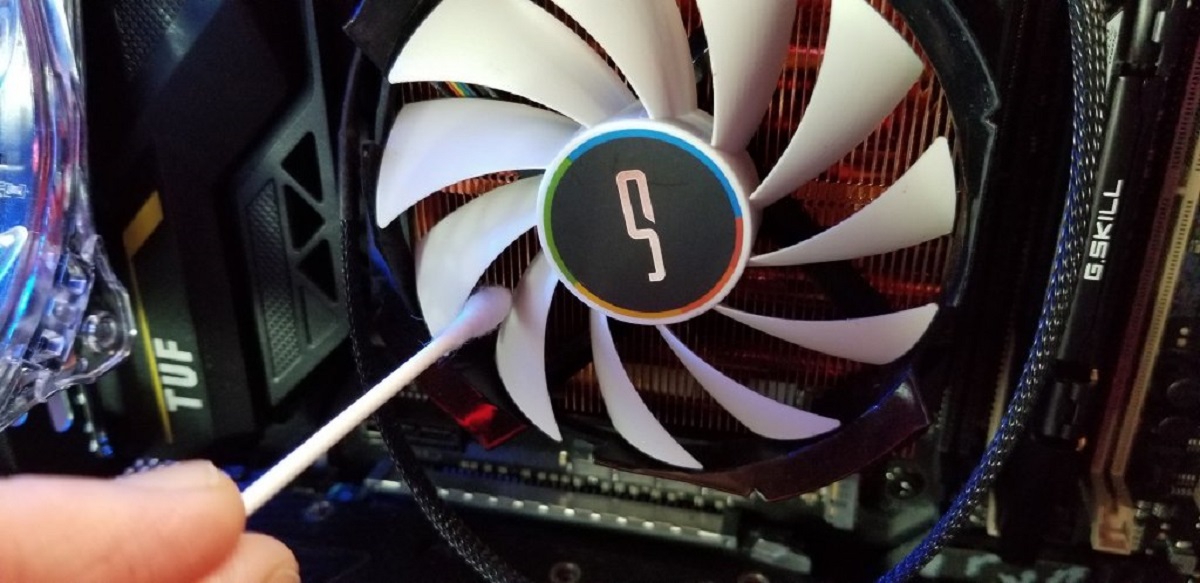
Start by inspecting the blades for any dust, dirt, or debris. You can use compressed air to blow away loose particles from the blades. Hold the can of compressed air a few inches away from the blades and use short bursts to remove the dust. Be sure to rotate the blades to clean all sides thoroughly.
If there are stubborn stains or residue on the blades, you can use a soft cloth or cotton swabs dipped in rubbing alcohol to gently wipe them clean. Ensure that the cloth or swabs are only slightly damp, as excessive moisture can damage the electrical components of the fan.
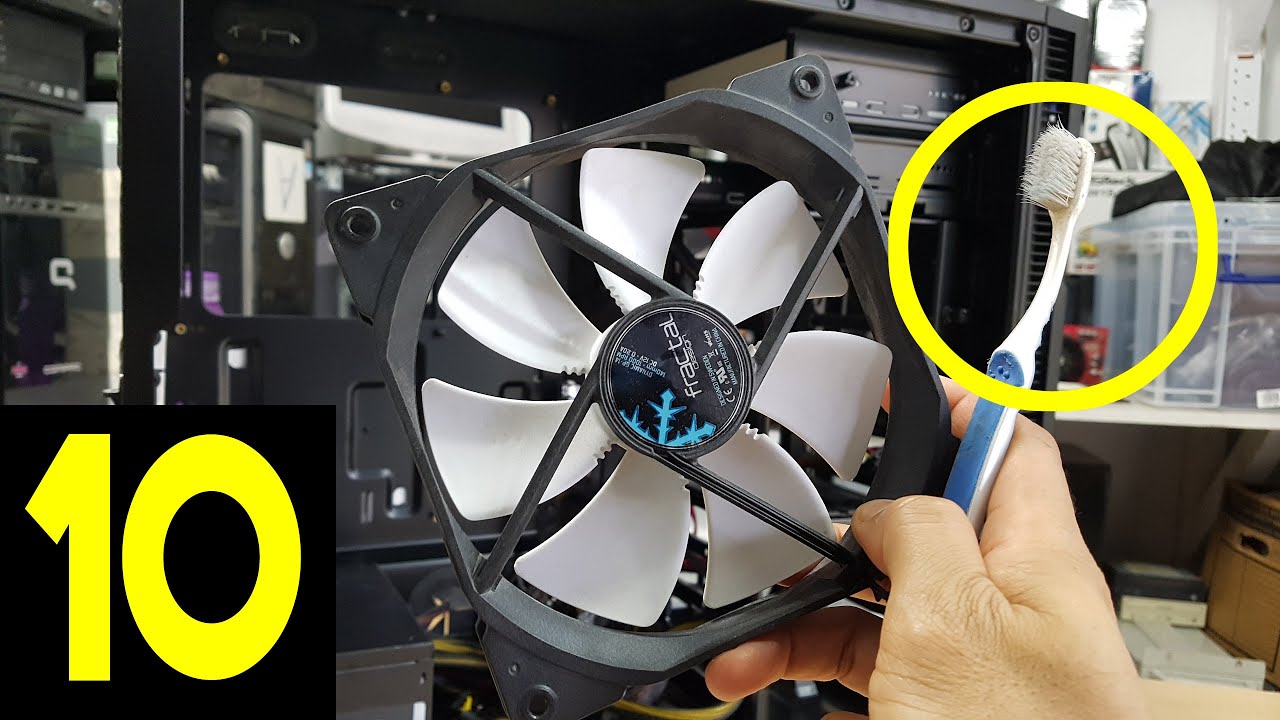
As for the fan housing, use the compressed air to blow away any dust or debris. Direct the airflow into the fan housing and make several passes to ensure all the nooks and crannies are adequately cleaned. Pay attention to the areas around the fan blades as well as the grille where the air enters and exits.
If there are visible stains or grime on the fan housing, you can use a damp cloth with a mild cleaning solution, such as a mixture of mild detergent and water, to gently scrub the affected areas. Ensure that the cloth is not overly wet and be careful not to let any liquid drip into the fan or other parts of the computer.
Once you have thoroughly cleaned both the blades and the fan housing, allow them to dry completely before reassembling the fan. This will prevent any moisture from causing damage when the fan is powered on.
Cleaning the blades and fan housing is a crucial step in maintaining the efficiency and performance of your case fan. By removing dust and debris, you can ensure optimal airflow and prevent any potential damage caused by overheating.
Step 6: Reassemble the Fan
After cleaning the blades and fan housing, it’s time to reassemble the fan and put everything back together.
Start by aligning the blades with the fan hub, ensuring that they are in the correct orientation. If your fan has markings, such as arrows or indicators, use them as a guide to ensure proper alignment.
Gently push or slide each blade onto the fan hub, making sure they are securely attached. Take care not to apply excessive force that could bend or damage the blades.
If your fan uses clips to secure the blades, simply press them back into place until they click or snap into position. Make sure each clip is securely engaged before moving on to the next one.
For fans that use screws, retrieve the screws that you removed earlier and use a screwdriver to carefully tighten them back into place. Start with one screw and gradually tighten them in a diagonal pattern to ensure even pressure.
Once all the blades are securely attached to the fan hub, reconnect the power cable and any additional cables that were connected to the fan. Ensure that they are firmly plugged in, but again, be cautious not to use excessive force.
With the fan blades and cables reconnected, take a moment to double-check that everything is properly aligned and secured. Look for any loose connections or misalignment before proceeding.
Once you are confident that the fan is reassembled correctly, put the side panel of your computer case back into position and secure it with the screws you removed earlier.
Finally, reconnect your computer to the power source and power it on. Monitor the fan to ensure it is spinning properly and listen for any abnormal noises. If everything looks and sounds good, congratulations! You have successfully reassembled your case fan.
Reassembling the fan is the final step in the process of removing and cleaning the blades. Take your time and pay attention to details to ensure a smooth reassembly and proper functioning of the fan.
Conclusion
Congratulations! You have successfully learned how to take off the blades of a case fan and clean them for optimal performance. By following the step-by-step guide provided, you can effectively remove the blades, clean them, and reassemble the fan without any hassle.
Remember, taking care of your case fan is essential for maintaining proper airflow and preventing overheating in your computer system. Regular cleaning of the blades and fan housing helps to ensure efficient cooling and prolongs the lifespan of your components.
Always exercise caution and follow safety procedures when working with computer hardware. Turn off your computer and disconnect it from the power source before performing any maintenance tasks. Take note of any specific instructions provided by your fan manufacturer and consult your computer’s manual if needed.
With the right tools, patience, and attention to detail, you can keep your case fans running smoothly and your computer operating at its best. Don’t hesitate to incorporate this knowledge into your regular computer maintenance routine to ensure the longevity of your system.
We hope that this guide has been helpful to you in your quest to remove and clean the blades of your case fan. Enjoy the benefits of a cool and efficiently running computer!