Introduction
A loose case fan blade can cause several issues with your computer, including inefficient cooling, increased noise, and potential damage to other components. It is important to address this problem as soon as possible to ensure the optimal performance and longevity of your computer.
There are various reasons why a case fan blade may become loose. Over time, the vibrations from the fan’s operation can loosen the attachment mechanism, or improper installation may be the culprit. Regardless of the cause, fixing a loose case fan blade is a relatively simple task that can be done with a few basic tools and some careful attention.
In this guide, we will walk you through the step-by-step process of fixing a loose case fan blade. We will discuss common causes of the issue, the tools and materials you will need, and two different methods depending on the type of attachment mechanism. By following these instructions, you can ensure that your case fan remains securely in place and maintains optimal cooling performance.
Common Causes of Loose Case Fan Blades
Understanding the common causes of loose case fan blades can help you prevent the issue from occurring in the first place and enable you to take appropriate measures to fix it. Here are some of the most common causes:
- Vibration: Constant operation of the case fan can cause vibrations that gradually loosen the attachment mechanism. These vibrations can be intensified if the fan is not secured properly or if there is some imbalance in the fan blade.
- Improper Installation: If the case fan was not properly installed initially, it can lead to a loose blade. This can happen if the screws or clips securing the fan are not tightened adequately or if they are not aligned correctly.
- Excessive Dust or Debris: Accumulated dust or debris on the fan blades or attachment points can create an uneven surface and prevent the fan from sitting firmly in place. Over time, this can lead to the fan blade becoming loose.
- Wear and Tear: Like any mechanical component, case fan blades can experience wear and tear over time. The constant spinning motion can gradually affect the tightness of the attachment, leading to a loose blade.
- Impact or Physical Damage: If the computer case or fan has been subjected to a physical impact or damage, it can cause the fan blade to become loose. This can occur if the case has been dropped or if there has been excessive force applied to the fan.
Identifying the cause of the loose fan blade can help you take appropriate measures to fix it and prevent future occurrences. By addressing the root cause, you can ensure the longevity and optimal performance of your case fan.
Tools and Materials Needed
Before you begin fixing a loose case fan blade, it is important to gather the necessary tools and materials. Having these items on hand will make the process smoother and more efficient. Here is a list of the tools and materials you will need:
- Phillips Screwdriver: Depending on the type of attachment mechanism, you may need a Phillips screwdriver to tighten screws or remove the fan blade for inspection and repair.
- Allen Wrench: If the fan blade is attached with an Allen screw, you will need the appropriate-sized Allen wrench to tighten or loosen it.
- Lint-free Cloth: It is important to have a lint-free cloth on hand to wipe away any dust or debris from the fan blades and attachment points. This will ensure a clean and secure fit.
- Compressed Air or Dust Blower: If there is excessive dust or debris on the fan blades or attachment points, a can of compressed air or a dust blower can be used to remove it. This will help improve the fit and prevent future looseness.
- Tweezers or Small Pliers: In some cases, small particles or debris may be caught in the attachment mechanism. Having a pair of tweezers or small pliers can be helpful for removing them and ensuring a proper fit.
- Anti-vibration Pads (optional): If you want to reduce vibrations and minimize the chances of the fan blade becoming loose again in the future, you may consider using anti-vibration pads. These can be placed between the fan and the case to absorb vibrations and provide a more secure installation.
By gathering these tools and materials beforehand, you will have everything you need to fix a loose case fan blade effectively. This will help ensure a successful repair and the proper functioning of your computer’s cooling system.
Step-by-Step Guide: Fixing a Loose Case Fan Blade
Fixing a loose case fan blade is a straightforward process that can be done by following a few simple steps. Here is a step-by-step guide to help you fix the issue:
- Power Off Your Computer: Before you begin any work inside your computer case, it is important to power off your computer and unplug it from the power source. This will ensure your safety and prevent any damage to the components.
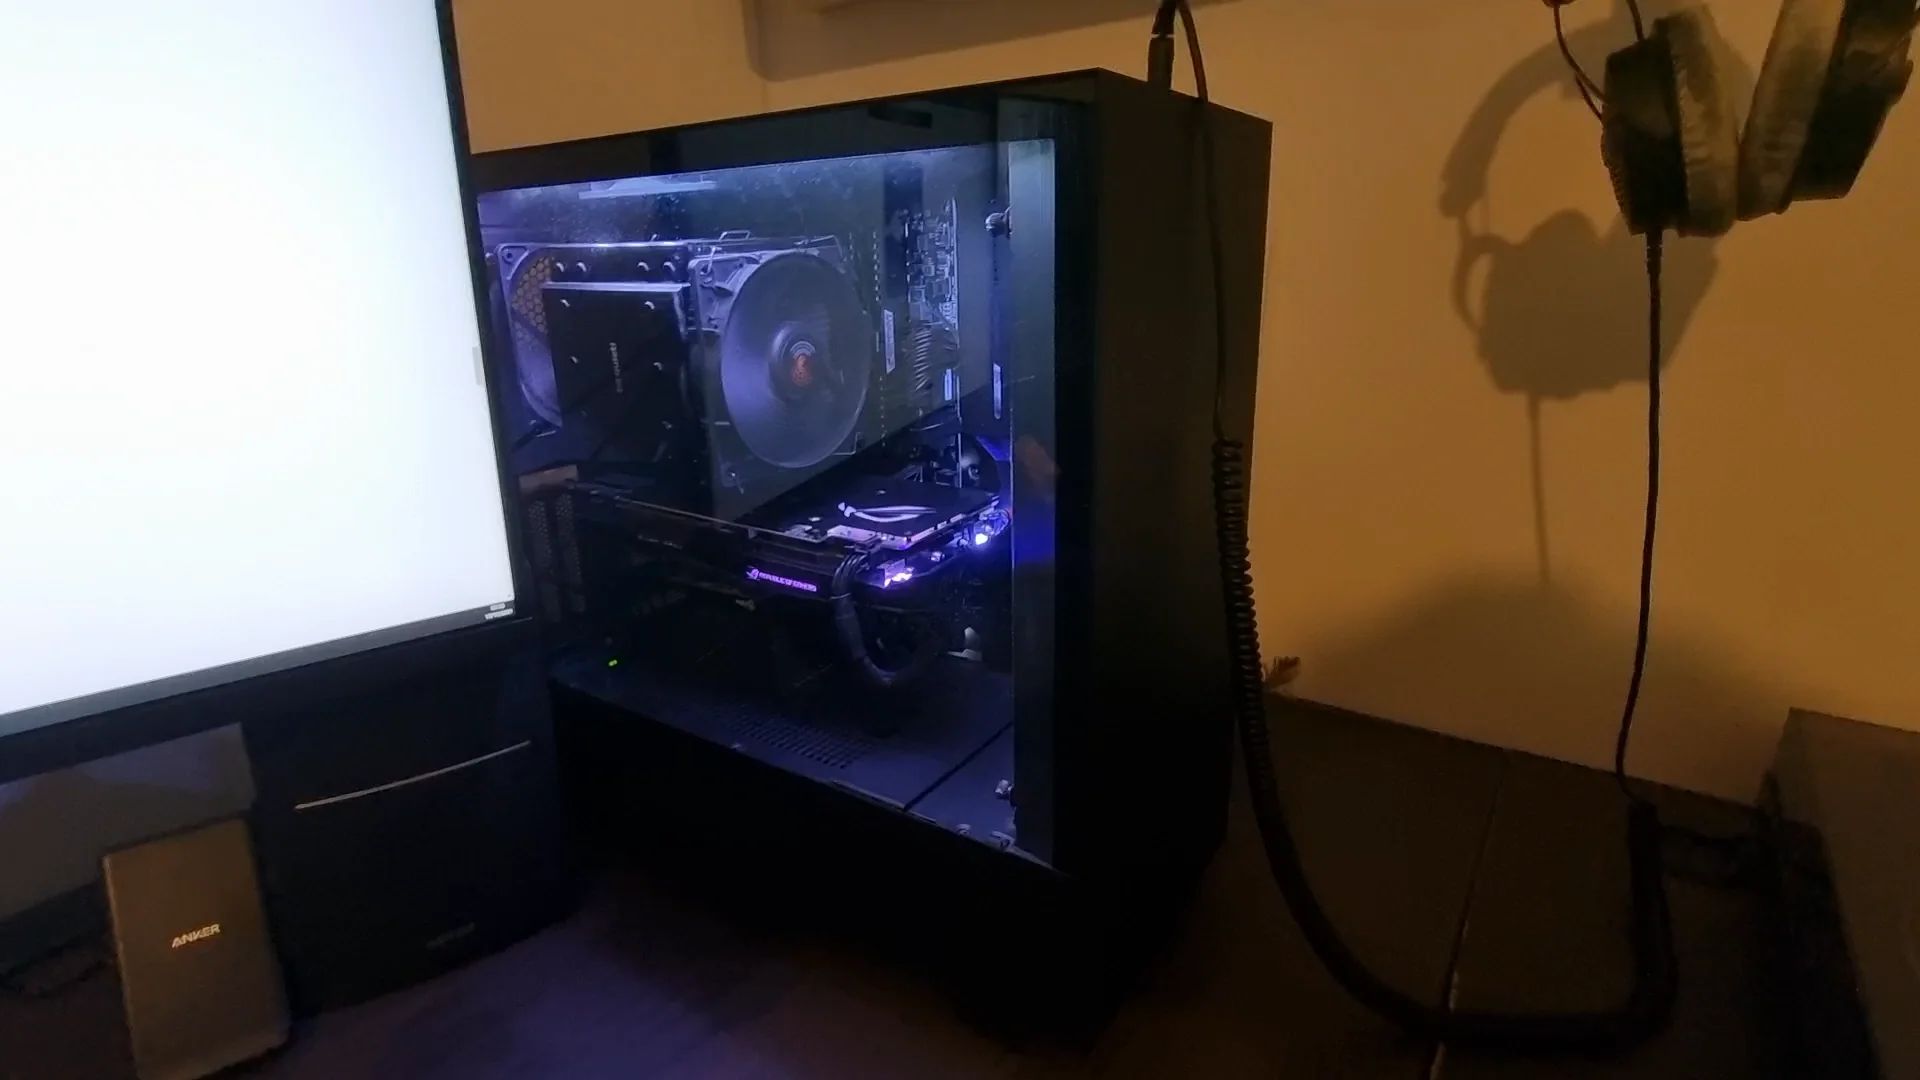
- Open the Computer Case: Use a screwdriver to remove the screws securing the side panel of your computer case. Carefully remove the panel to gain access to the internal components.
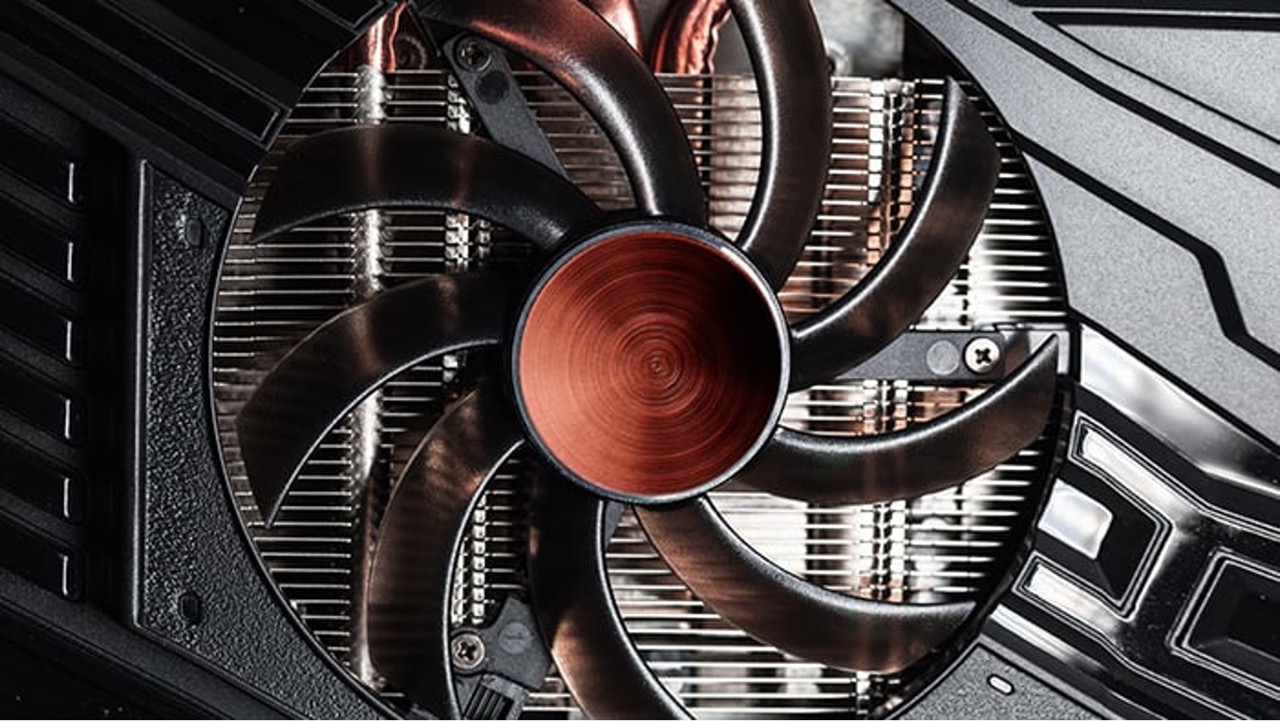
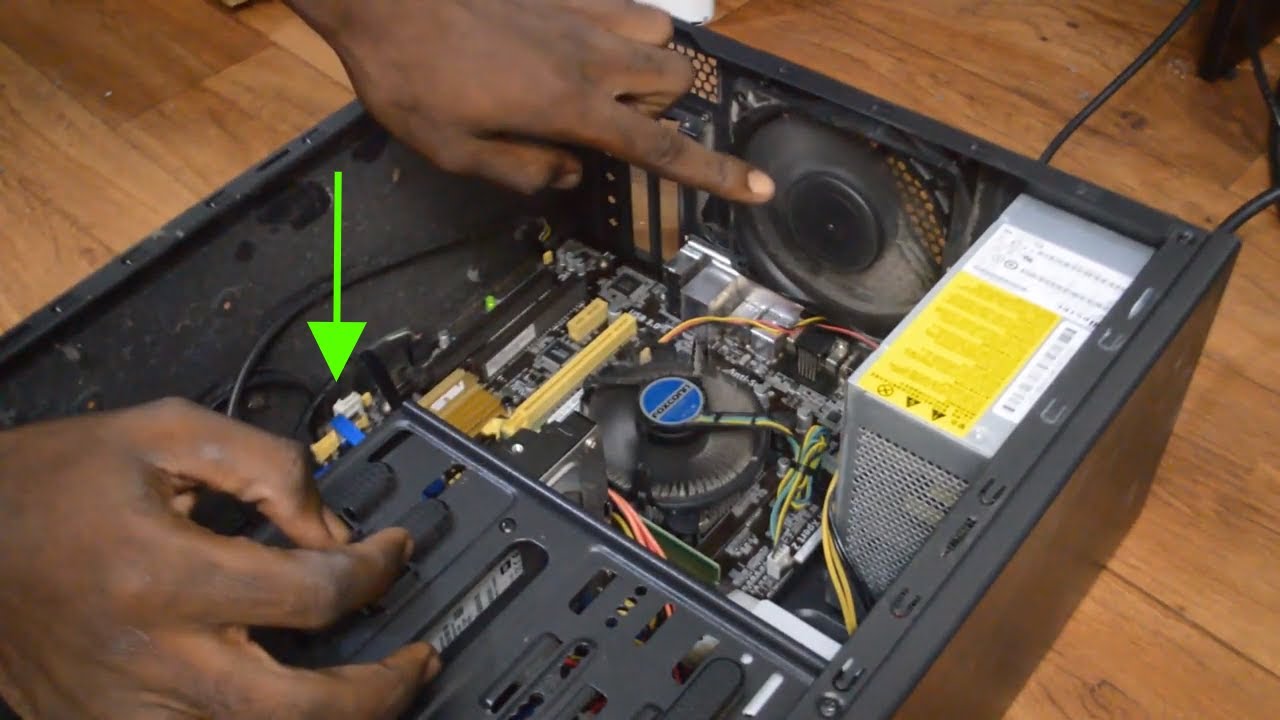
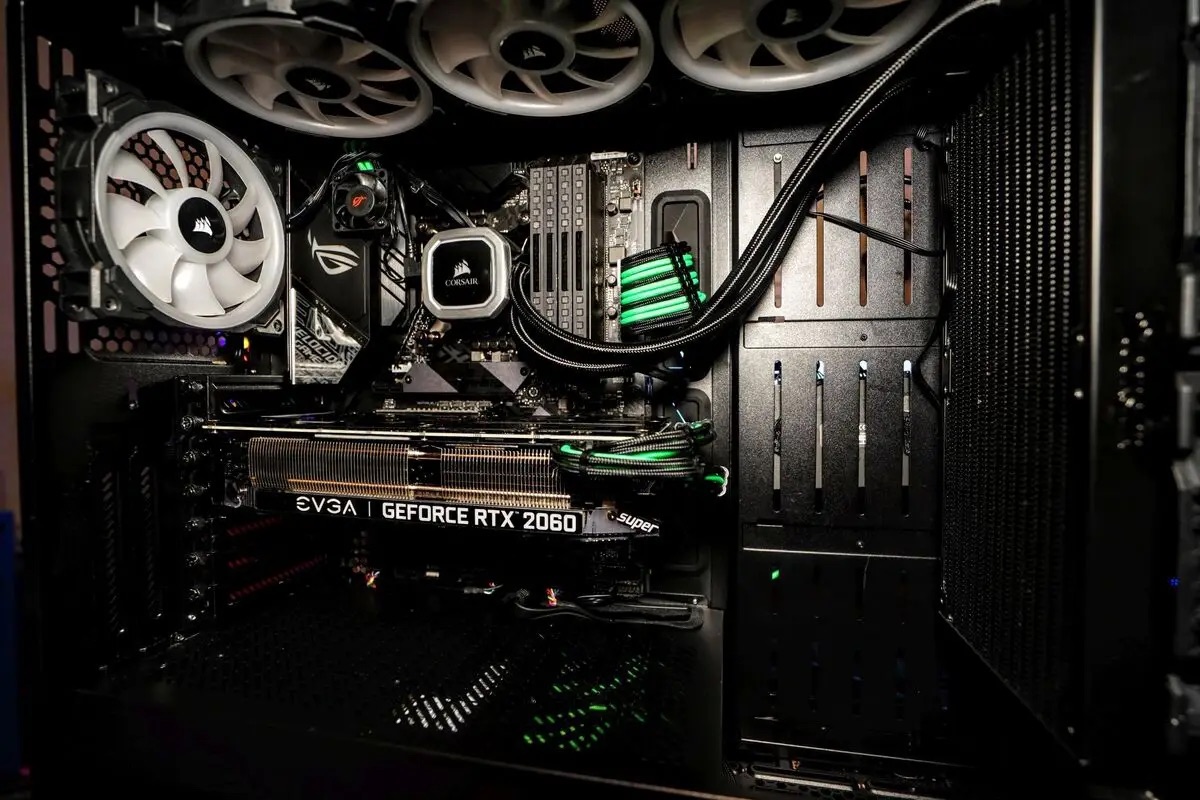
- Locate the Loose Fan Blade: Once the computer case is open, locate the loose fan blade. It may be a case fan located at the front, rear, or side of the case. Take note of its position and any visible looseness or wobbling.
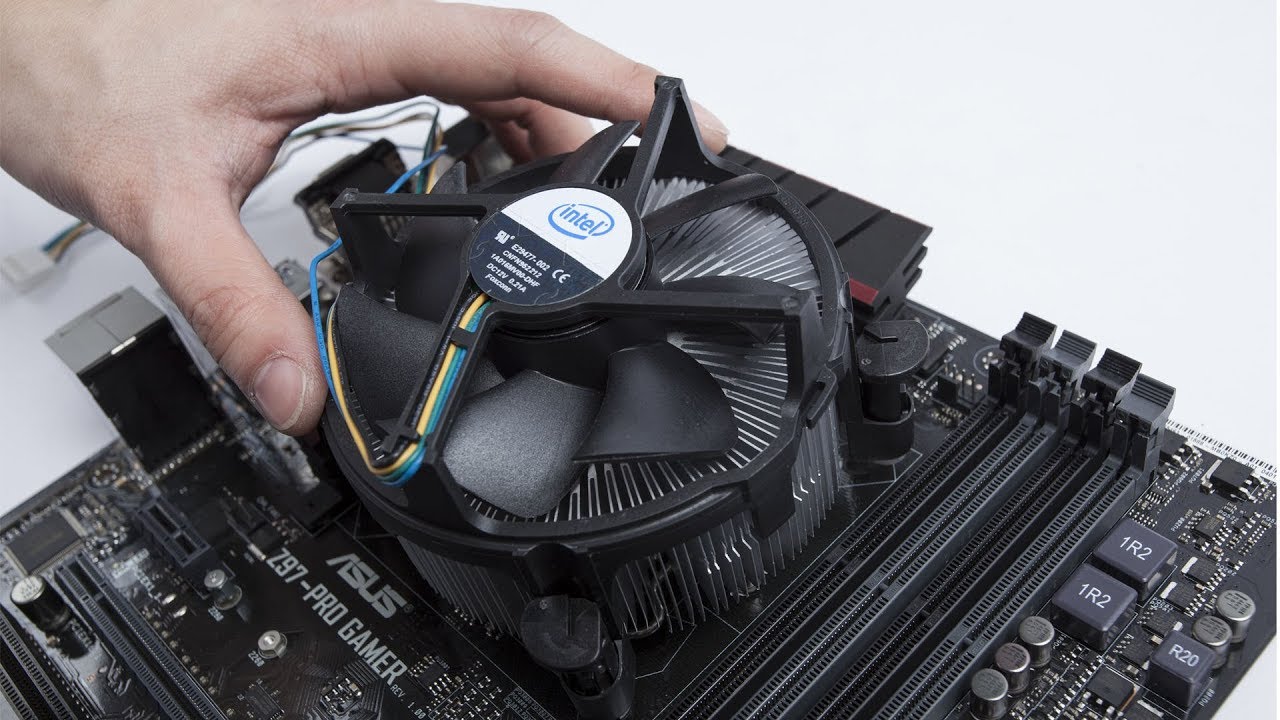
- Inspect the Fan Blade Attachment Mechanism: Carefully examine the attachment mechanism of the fan blade. This can be either screw-type or clip-type.
- Determine the Type of Attachment: Depending on the attachment mechanism, you will need to follow specific instructions to fix the loose fan blade. Let’s discuss the steps for each type:
- Screw-Type Attachment: If the fan blade is attached with screws, proceed to step 6.1.
- Clip-Type Attachment: If the fan blade is attached with clips, skip to step 7.1.
- Tightening Screw-Type Attachments: If the fan blade is attached with screws, you can use one of the following methods to tighten it:
- Using a Screwdriver: Insert the screwdriver into the screw head and turn it clockwise to tighten the screws. Be careful not to overtighten, as this can damage the fan or the case.
- Using an Allen Wrench: If the screws require an Allen wrench, select the appropriate-sized wrench and insert it into the screw head. Rotate the wrench clockwise to tighten the screws until the fan blade is secure.
- Securing Clip-Type Attachments: If the fan blade is attached with clips, follow the steps below:
- Identifying the Right Clip Location: Examine the attachment points on the fan and the case to identify the loose clip. It may require adjusting or repositioning.
- Adjusting Clip Tension: Use your fingers or a pair of small pliers to gently squeeze or adjust the clip tension. Be cautious not to apply too much force, as it can break the clip. Repeat this step for all the clips until the fan blade is securely attached.
- Closing the Computer Case: Once the fan blade is securely fixed, carefully place the side panel back onto the computer case. Align the screw holes and use a screwdriver to tighten the screws and secure the panel in place.
- Powering On and Testing the Fan Blade: After closing the case, plug in your computer and power it on. Monitor the fan blade to ensure it is operating smoothly, without any wobbling or looseness.
By following these step-by-step instructions, you can effectively fix a loose case fan blade and restore optimal cooling performance to your computer.
Power Off Your Computer
Before you begin fixing a loose case fan blade, it is crucial to power off your computer and unplug it from the power source. This important step ensures your safety and prevents any accidental damage to the components during the repair process.
To power off your computer, follow these steps:
- Save your work: Ensure that you have saved all open files and properly closed any running applications. This will prevent data loss or corruption when you shut down your computer.
- Shut down your operating system: Click on the Start menu or the Windows icon in the bottom left corner of your screen. From the menu, select the “Shutdown” or “Power” option. This will initiate the shutdown process.
- Wait for the computer to power down: Give your computer a few moments to completely power down. You can observe the power indicator light on your computer case to ensure it is turned off.
- Unplug the power cable: Once your computer is powered down, gently unplug the power cable from the wall outlet or surge protector. This ensures that no power is being supplied to the computer while you work on it.
It is important to follow these steps carefully to avoid any damage to your computer’s components or risk of electric shock. Taking the time to properly power off your computer before proceeding with the repair ensures a safe environment for you and the longevity of your computer.
Open the Computer Case
Once you have powered off your computer and ensured it is unplugged, the next step is to open the computer case. This will provide you with access to the internal components, including the loose case fan blade that needs to be fixed.
Follow these steps to open the computer case:
- Gather the necessary tools: Before opening the computer case, make sure you have a screwdriver that matches the screws securing the side panel. Most computer cases use standard Phillips screws, but some may require different types.
- Locate the side panel screws: Examine the back of your computer case. Look for the screws that secure the side panel. They are typically located along the edges of the case. Some cases have thumb screws that can be easily turned by hand.
- Remove the side panel screws: Using the appropriate screwdriver, carefully remove the screws securing the side panel. Turn them counterclockwise (lefty-loosey) until they are fully loosened. Set the screws aside in a safe place to prevent them from being misplaced.
- Remove the side panel: Once the screws are removed, gently slide or lift off the side panel of the computer case. Some cases may require you to push a release latch or apply slight pressure to remove the panel.
- Store the side panel in a safe place: Set the side panel aside in a secure location where it won’t be accidentally damaged. This will ensure that it remains in good condition and can be reattached properly after the repair is completed.
Remember to exercise caution when working with a computer case. Avoid unnecessary force or excessive pressure to prevent any damage to the case or its components. Properly opening the computer case will grant you access to the internal components and allow you to proceed with fixing the loose case fan blade.
Locate the Loose Fan Blade
After opening your computer case, the next step is to locate the precise fan blade that is loose. This will help you focus your attention and efforts on the specific area that requires repair.
Follow these steps to locate the loose fan blade:
- Observe the fan placement: Take a moment to observe the layout of your computer case and identify the various fans present. Common locations for case fans include the front, rear, and sides of the case. Note the number of fans and their positions.
- Identify the loose fan: Once you have identified the location of the fans, visually inspect each fan to determine which one is loose. Look for any visible wobbling or irregular movement while the computer is turned on. This will help you confirm the exact fan that needs to be fixed.
- Check the fan blades: Examine the fan blades closely for any signs of damage, such as cracks or bends. While a loose blade may not be visibly damaged, it is important to ensure the blades are in good condition. Any damaged blades should be replaced to maintain optimal cooling performance.
- Take note of the fan’s model and type: If possible, make a note of the fan’s model and type. This information can be helpful when searching for specific repair instructions or replacement parts, if needed.
By carefully locating the loose fan blade, you can concentrate your efforts on fixing the specific area that requires attention. Focusing on the identified fan will enable you to proceed with the necessary repairs and restore proper functionality to your computer’s cooling system.
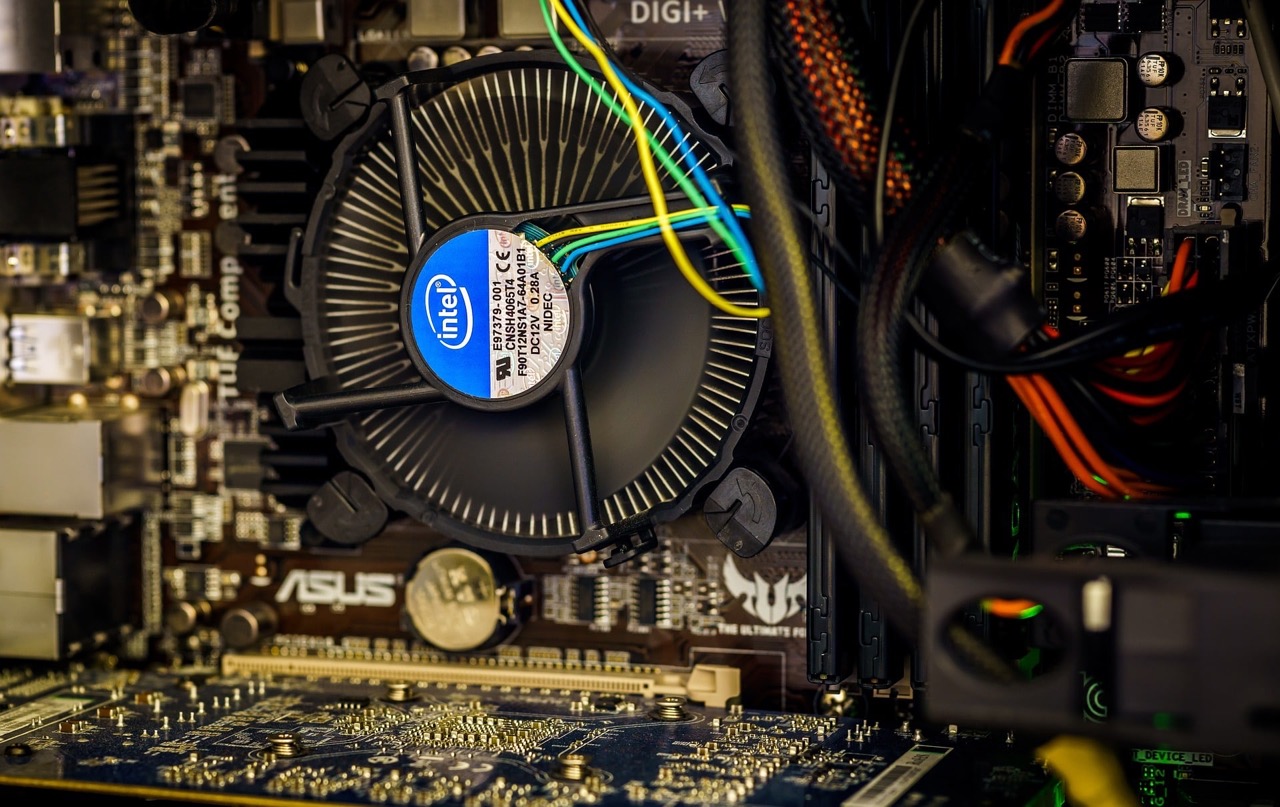
Inspect the Fan Blade Attachment Mechanism
Once you have located the loose fan blade, the next step is to inspect the attachment mechanism. This will help you understand how the blade is secured and determine the appropriate course of action to fix the issue.
Follow these steps to inspect the fan blade attachment mechanism:
- Observe the attachment points: Take a close look at the attachment points where the fan blade connects to the case or the fan housing. Notice if there are any screws, clips, or other securing mechanisms present.
- Check for any visible damage: Inspect the attachment points for any signs of damage, such as broken clips or stripped screw threads. This is important to identify any potential issues that may need to be addressed during the repair process.
- Examine the tightness: Gently try to move the loose fan blade to determine the level of looseness. Pay attention to any noticeable play or movement at the attachment points. This will help you assess the severity of the issue and determine the appropriate fix.
- Inspect the attachment hardware: If screws are used to secure the fan blade, examine them closely to ensure they are properly tightened. Check for any signs of wear or damage that may require replacement screws.
- Look for alignment issues: A misaligned fan blade can also result in a loose attachment. Verify that the blade is properly aligned with the attachment points and that there are no obstructions preventing a secure fit.
By carefully inspecting the fan blade attachment mechanism, you can gain insights into the specific factors contributing to the loose blade. This information will guide you in choosing the most effective repair method and ensuring a secure and reliable fan blade attachment.
Determine the Type of Attachment
Before proceeding with the repair of the loose case fan blade, it is essential to determine the type of attachment mechanism used. This will help you understand the specific steps and tools required to address the issue effectively.
There are two common types of case fan attachments: screw-type and clip-type. Follow the steps below to identify the type of attachment:
- Visual inspection: Take a close look at the fan blade and its attachment points. Examine whether screws or clips are used to secure the fan blade to the case or fan housing.
- Screw-type attachment: If you see visible screws at the attachment points, you can determine that the fan blade uses a screw-type attachment mechanism. Note the presence of screws and proceed to step 6.1 for tightening instructions.
- Clip-type attachment: If there are no visible screws and instead you see clips at the attachment points, you can determine that the fan blade uses a clip-type attachment mechanism. Note the presence of clips and proceed to step 7.1 for securing instructions.
Identifying the type of attachment mechanism is crucial as it will guide you in choosing the appropriate method to fix the loose case fan blade. Whether it requires tightening screws or adjusting clips, understanding the attachment type will ensure that you take the correct steps to secure the fan blade and restore optimal cooling performance.
1 Screw-Type Attachment
In the case of a screw-type attachment mechanism, screws are used to secure the fan blade to the case or fan housing. This type of attachment provides a reliable and secure connection. Follow the steps below to tighten the screws and fix the loose case fan blade:
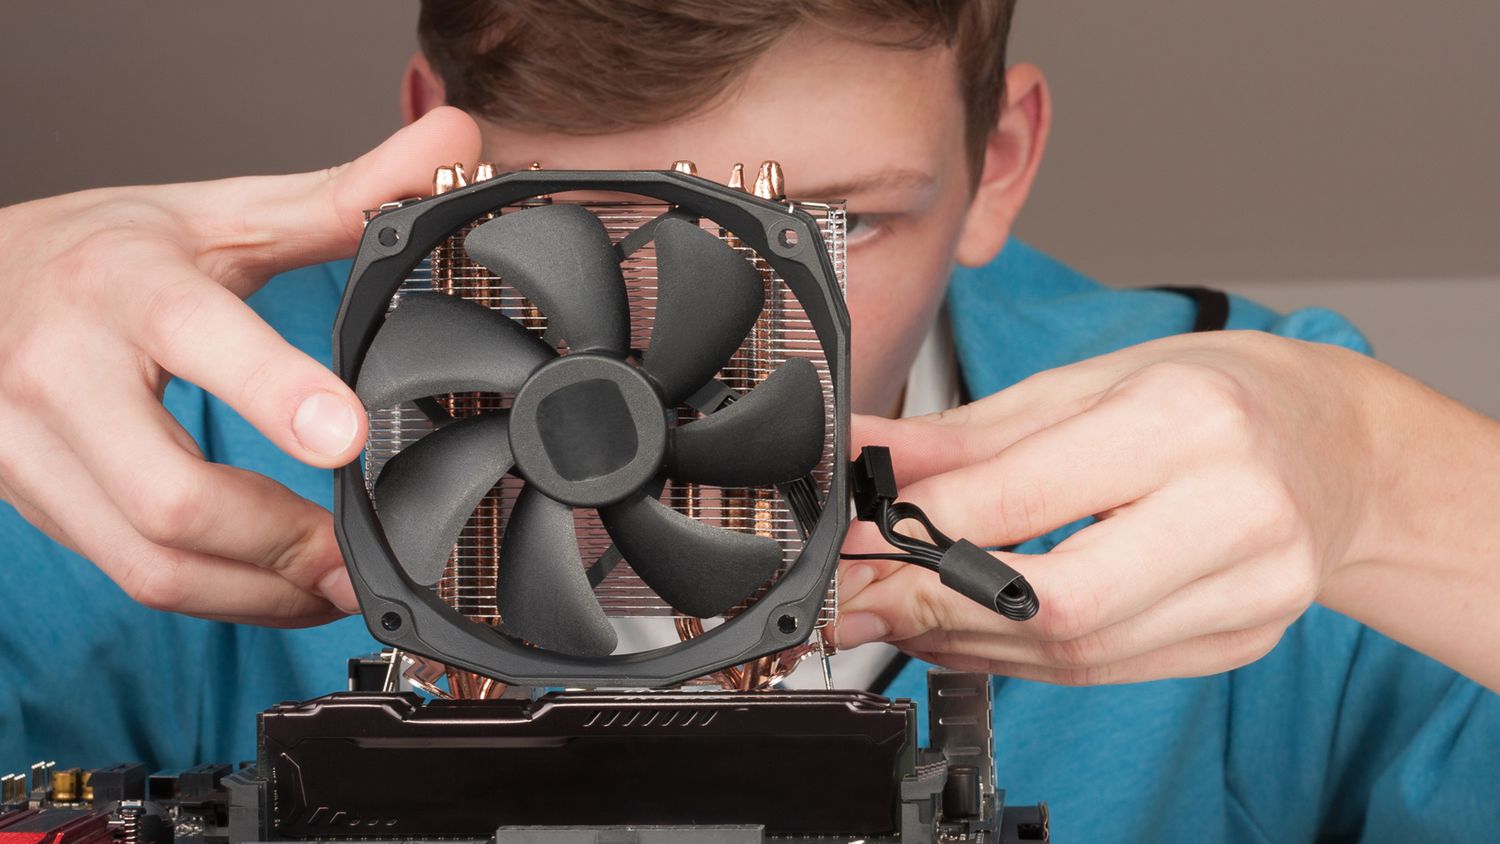
- Using a Screwdriver: With the appropriate-sized Phillips screwdriver, insert the screwdriver into the screw head located at the attachment point of the loose fan blade.
- Tightening the screws: With gentle but firm pressure, turn the screwdriver clockwise (righty-tighty) to tighten the screws. Be cautious not to overtighten, as this can damage the fan blade or the case. Tighten the screws until you feel resistance and ensure that the fan blade is securely fastened in place.
- Inspect the tightness: After tightening the screws, check the fan blade for any remaining looseness or wobbling. Gently try to move the fan blade to ensure it is properly secured. If there is no noticeable movement, the screw-type attachment is now tightened.
- Repeat for other screws: If there are multiple attachment points with screws, repeat the above steps for each screw to ensure the entire fan blade is properly secured.
- Replace damaged screws (if necessary): Take note of any damaged screws, such as those with stripped threads or signs of wear. If needed, obtain replacement screws that match the specifications of the original screws to ensure proper fit and secure attachment.
By following these steps, you can effectively tighten the screws and fix a loose case fan blade with a screw-type attachment. Ensuring a secure and stable connection will allow the fan blade to operate efficiently and contribute to the optimal cooling performance of your computer.
2 Clip-Type Attachment
In the case of a clip-type attachment mechanism, clips are used to secure the fan blade to the case or fan housing. This type of attachment offers a convenient and hassle-free way to secure the fan blade. Follow the steps below to secure the loose fan blade with a clip-type attachment:
- Identifying the right clip location: Examine the attachment points on the fan blade and the case to identify the loose clip. Look for any visible signs of misalignment or slight movement at the attachment point.
- Adjusting clip tension: Use your fingers or a pair of small pliers to gently squeeze or adjust the clip tension. Apply slight pressure to increase the tension and secure the fan blade in place. Be cautious not to apply excessive force, as this can damage the clip or the fan blade.
- Test the attachment: After adjusting the clip tension, gently try to move the fan blade to ensure it is no longer loose. It should remain firmly in place without any noticeable wobbling or movement. If there is still some looseness, readjust the clip tension as needed until the fan blade is securely attached.
- Repeat for other clips: If there are multiple clips securing the fan blade, repeat the above steps for each clip to ensure that the entire fan blade is properly secured.
- Consider using anti-vibration pads (optional): To minimize vibrations and reduce the chances of the fan blade becoming loose again, you may consider placing anti-vibration pads between the fan and the case. These pads help absorb vibrations and provide a more secure installation.
By following these steps, you can effectively secure the loose fan blade with a clip-type attachment. The proper adjustment of clip tension will ensure a stable connection, allowing the fan blade to operate smoothly and contribute to the efficient cooling of your computer.
Tightening Screw-Type Attachments
If the fan blade of your computer case is attached with screws, tightening them appropriately is necessary to fix the loose blade. Follow the steps below to tighten screw-type attachments:
- Using a Screwdriver: Start by obtaining a screwdriver that matches the screw type. Most case fans use Phillips screws, so a Phillips screwdriver is typically the right choice.
- Locate the screws: Identify the screws that secure the fan blade. These screws are usually located at the corners of the fan blade assembly, attaching it to the case or the fan housing.
- Apply gentle pressure: Insert the screwdriver into the screw head, ensuring a secure grip. Apply gentle but firm pressure to prevent the screwdriver from slipping and damaging the screw or the surrounding components.
- Turn the screws clockwise: Begin turning the screws clockwise (righty-tighty) to tighten them. Ensure that the screwdriver engages fully with the screw head to prevent stripping or damaging the screw.
- Tighten until snug: Continue turning the screws until they feel snug. Be careful not to overtighten, as this can damage the fan blade or the case. Snug is sufficient as long as the screws provide a secure attachment for the fan blade.
- Test for stability: After tightening the screws, gently try to move the fan blade to check for any remaining looseness. A properly tightened screw should hold the fan blade firmly in place without any significant wobbling or movement.
- Replace damaged screws (if necessary): Take note of any damaged screws, such as those with stripped threads or signs of wear. If needed, obtain replacement screws that match the original specifications for optimal fit and secure attachment.
By following these steps, you can effectively tighten screw-type attachments and ensure that the fan blade of your computer case is securely fixed. Properly tightened screws will contribute to the stable and efficient operation of the fan, ensuring optimal cooling performance.
1 Using a Screwdriver
When tightening screw-type attachments for a loose case fan blade, using a screwdriver is the most common and effective method. Follow the steps below to tighten the screws with a screwdriver:
- Choose the right screwdriver: Select a screwdriver that matches the screw type used to secure the fan blade. Most case fans use Phillips screws, so a Phillips screwdriver is typically the right choice.
- Insert the screwdriver: Insert the screwdriver into the screw head, ensuring a firm grip on the handle. Ensure that the screwdriver is fully engaged with the screw head to prevent slipping or damage
- Apply gentle pressure: Apply gentle but firm pressure to the screwdriver while keeping it aligned with the screw head. This will prevent the screwdriver from slipping off the screw and damaging the surrounding components.
- Turn the screw clockwise: Begin turning the screwdriver clockwise (righty-tighty) to tighten the screw. Rotate the screwdriver with gentle force, paying attention to the resistance encountered as the screw tightens.
- Tighten until snug: Continue turning the screwdriver until the screw feels snug. It is important not to overtighten, as this can damage the fan blade or strip the screw threads.
- Test for stability: After tightening the screw, test the stability of the fan blade by gently trying to move it. If the screw has been properly tightened, the fan blade should remain securely in place without any noticeable wobbling or movement.
- Repeat for other screws: If there are multiple screws securing the fan blade, repeat the above steps for each screw to ensure all of them are properly tightened.
- Replace damaged screws (if necessary): Take note of any damaged screws, such as those with stripped threads or signs of wear. If needed, obtain replacement screws that match the original specifications for optimal fit and secure attachment.
Using a screwdriver to tighten screw-type attachments is a reliable method to fix a loose case fan blade. Following these steps will ensure a secure connection between the fan blade and the case, contributing to the efficient cooling and proper functioning of your computer.
2 Using an Allen Wrench
Some case fans use Allen screws instead of Phillips screws for their attachment. If your loose case fan blade is secured with Allen screws, you will need an Allen wrench, also known as a hex key, to tighten them. Follow the steps below to tighten the screws using an Allen wrench:
- Select the right-sized Allen wrench: Start by identifying the appropriate-sized Allen wrench that fits the screw head of the fan blade attachment. The correct size is essential to ensure a snug fit and prevent the wrench from slipping during the tightening process.
- Insert the Allen wrench: Insert the short end of the Allen wrench into the screw head, ensuring it is fully engaged with the screw. Holding the Allen wrench firmly with your hand, align it securely with the screw head.
- Rotate the Allen wrench clockwise: Begin turning the Allen wrench clockwise (righty-tighty) to tighten the screw. Apply gentle but firm pressure, and rotate the wrench smoothly to avoid damaging the screw head or surrounding components.
- Tighten until snug: Continue rotating the Allen wrench until the screw feels snug, but be cautious not to overtighten. It is important to strike the right balance between firmness and avoiding excessive force that could cause damage.
- Test for stability: After tightening the Allen screw, check the stability of the fan blade by gently trying to move it. A properly tightened screw should hold the fan blade securely in place without any significant wobbling or movement.
- Repeat for other screws: If there are multiple Allen screws securing the fan blade, repeat the above steps for each screw to ensure all of them are properly tightened.
- Replace damaged screws (if necessary): Take note of any damaged Allen screws, such as those with stripped heads or signs of wear. If needed, obtain replacement screws that match the original specifications for optimal fit and secure attachment.
Using an Allen wrench to tighten the Allen screws is an effective method to fix a loose case fan blade. By following these steps, you can properly secure the fan blade, ensuring optimal cooling performance and stability in your computer system.
Securing Clip-Type Attachments
If your loose case fan blade is attached with clips, you will need to secure it using the clip-type attachment method. This involves adjusting the tension of the clips to ensure a secure and stable connection. Follow the steps below to secure the loose fan blade with clip-type attachments:
- Identifying the right clip location: Examine the attachment points on the fan blade and the case to identify the loose clip. Look for any visible signs of misalignment or slight movement at the attachment point.
- Adjusting clip tension: To secure the fan blade, you will need to adjust the tension of the clips. Use your fingers or a pair of small pliers to gently squeeze or adjust the clip tension. Apply slight pressure to increase the tension and secure the fan blade in place. Be cautious not to apply excessive force, as this can damage the clip or the fan blade.
- Testing the attachment: After adjusting the clip tension, gently try to move the fan blade to ensure it is no longer loose. It should remain firmly in place without any noticeable wobbling or movement. If there is still some looseness, readjust the clip tension as needed until the fan blade is securely attached.
- Repeat for other clips: If there are multiple clips securing the fan blade, repeat the above steps for each clip to ensure that the entire fan blade is properly secured.
- Consider using anti-vibration pads (optional): To further minimize vibrations and reduce the chances of the fan blade becoming loose again, you may consider placing anti-vibration pads between the fan and the case. These pads help absorb vibrations and provide a more secure installation.
By following these steps, you can effectively secure the loose fan blade with clip-type attachments. Adjusting the clip tension ensures a stable connection, allowing the fan blade to operate smoothly and contribute to the efficient cooling of your computer.
1 Identifying the Right Clip Location
When securing a loose case fan blade with clip-type attachments, it is crucial to identify the right clip location. This step helps ensure that the fan blade is properly aligned and securely attached to the case or fan housing. Follow the steps below to identify the correct clip location:
- Examine the attachment points: Carefully inspect the fan blade and the case to locate the attachment points. Look for clips that are designed to hold the fan blade in place. These clips are typically positioned at specific intervals around the fan blade.
- Check for misalignment or looseness: Observe the fan blade and note any signs of misalignment or looseness. Look for clips that seem to be less secure or not properly engaged with the fan blade.
- Identify the loose clip: Gently press on each clip to determine which one is loose. You may notice some movement or lacking tension in the loose clip compared to the other clips. Make a mental note or mark the location of the loose clip for further adjustments.
- Verify alignment and engagement: Ensure that the loose clip is properly aligned with the corresponding attachment point on the fan blade. The clip should fit snugly around the fan blade, securely holding it in place.
- Inspect for obstructions: Check for any obstructions or debris that may be preventing the loose clip from properly engaging with the attachment point. Clear away any obstacles that could interfere with the secure attachment of the clip.
By carefully identifying the right clip location, you can focus your efforts on securing the specific clip that requires adjustment. This step ensures that the loose case fan blade is securely attached to the case or fan housing, contributing to the efficient cooling and proper functioning of your computer.
2 Adjusting Clip Tension
In order to secure a loose case fan blade with clip-type attachments, it is necessary to adjust the tension of the clips. The proper adjustment of clip tension ensures a secure and stable connection between the fan blade and the case or fan housing. Follow the steps below to adjust the clip tension:
- Using your fingers or pliers: Gently squeeze or adjust the clip tension by using your fingers or a pair of small pliers.
- Apply slight pressure: Apply slight pressure to increase the tension of the clip. Ensure that you exert enough force to secure the clip while being cautious not to apply excessive pressure, which could damage the clip or the fan blade.
- Focus on the loose clip: Pay particular attention to the clip that is loose and needs adjustment. If there are multiple clips securing the fan blade, you may need to adjust each one individually to achieve the desired tension.
- Test the attachment: Once you have adjusted the tension of the clips, gently try to move the fan blade to ensure it is no longer loose. The clip tension should hold the fan blade securely in place, resulting in minimal to no wobbling or movement.
- Re-adjust if necessary: If the fan blade still exhibits some looseness or wobbling, re-adjust the tension of the clips as needed. Fine-tune the tension until the fan blade is securely attached without any significant movement.
By properly adjusting the clip tension, you can effectively secure the loose fan blade without risking damage to the clips or the fan blade itself. This will ensure proper airflow and optimal cooling performance for your computer.
Closing the Computer Case
After fixing the loose case fan blade, it is important to properly close the computer case to ensure the internal components are protected and the system remains secure. Follow the steps below to close the computer case:
- Position the side panel: Begin by aligning the side panel with the edge of the computer case. Make sure you position it correctly so that any screw holes line up with the corresponding holes on the case.
- Secure the side panel: Once aligned, gently slide or press the side panel back into place. Ensure that it is snugly fitted and properly seated along the edges of the case.
- Insert screws: If your computer case uses screws to secure the side panel, locate the corresponding screw holes on the case and the side panel. Insert the screws into the holes and use a screwdriver to tighten them, ensuring the side panel is securely fixed to the case.
- Hand-tighten thumb screws (if applicable): If your computer case uses thumb screws, tighten them securely by hand. Avoid over-tightening to prevent damage to the case or the screw threads.
- Ensure proper alignment: Double-check that the side panel is properly aligned and fits flush with the case. It should not bulge or have any gaps that could compromise the integrity of the computer case.
- Inspect for any loose components: Before finalizing the closure of the computer case, ensure that all internal components, such as cables or expansion cards, are securely seated in their respective slots and connections. This will help prevent any potential issues or damage caused by loose components.
By carefully following these steps, you can ensure that the computer case is properly closed and secured. A closed case not only protects the internal components from dust and physical damage but also promotes efficient airflow, contributing to the overall performance and longevity of your computer.
Powering On and Testing the Fan Blade
Once you have fixed the loose case fan blade and closed the computer case, it is important to power on your computer and test the fan blade to ensure it is operating properly. Follow the steps below to power on and test the fan blade:
- Plug in the power cable: Ensure that the power cable is securely connected to the computer and the power source.
- Power on the computer: Press the power button on your computer to turn it on. Allow the system to boot up and reach the operating system.
- Monitor the fan blade: Observe the fan blade closely to ensure it is spinning smoothly and without any noticeable wobbling, noise, or irregularities.
- Check for proper airflow: Feel the airflow coming from the fan blade to ensure it is consistent and adequate. Proper airflow indicates that the fan is functioning optimally in cooling your computer.
- Listen for abnormal noises: Pay attention to any unusual or loud noises coming from the fan blade. A properly fixed fan blade should operate quietly without any grinding, scraping, or excessive noise.
- Monitor temperatures: Use software monitoring tools or your computer’s BIOS to check the temperatures of your computer’s components. Proper fan operation should help maintain cool temperatures, preventing overheating and ensuring optimal performance and longevity.
- Perform a stress test (optional): If you want to further test the functionality of the fan blade, you can run a stress test or engage in tasks that put a heavier load on your computer’s resources. Monitor the fan blade’s performance during these tasks to ensure it adequately dissipates heat.
By powering on and testing the fan blade, you can ensure that it is functioning properly after being fixed. Monitoring the fan’s performance, airflow, and temperature is crucial for maintaining the cooling efficiency of your computer and preventing any potential issues caused by a loose or malfunctioning fan blade.
Conclusion
Fixing a loose case fan blade is a crucial maintenance task to ensure the optimal performance and longevity of your computer. Whether it’s a screw-type or clip-type attachment, addressing the issue promptly will prevent unnecessary strain on the fan motor, minimize noise, and maintain efficient cooling for your computer components.
Throughout this guide, we discussed the common causes of loose fan blades, the tools and materials needed for the repair, and step-by-step instructions for fixing both screw and clip-type attachments. By following these instructions carefully, you can successfully tighten screws or adjust clip tension, securing the fan blade firmly in place.
Remember to always power off your computer and take necessary safety precautions when working with the internal components. Observe the fan blade attachment mechanism, inspect for damages, and ensure proper alignment during the repair process. Once the fan blade is secure, close the computer case and power on the system to test the fan’s operation, airflow, and temperature.
Regularly monitoring and maintaining the condition of your case fan blades is essential for optimal cooling performance and the overall health of your computer. By addressing any issues promptly and properly, you can enjoy a reliable and efficient computing experience.