Introduction
Taking screenshots on your RCA tablet can be a useful feature for various reasons. Whether you want to capture a memorable moment from a video, save an important document, or troubleshoot an issue, knowing how to take a screenshot can come in handy. RCA tablets, like many other Android devices, offer multiple methods to capture a screenshot.
In this guide, we will go over four different methods you can use to take a screenshot on an RCA tablet. These methods range from using the device’s physical buttons to utilizing the built-in screenshot quick tile or even third-party apps. So, whether you have an RCA Viking Pro or a different model, read on to learn how to capture screenshots effortlessly.
Before we delve into the methods, it is important to note that this guide is specifically tailored for RCA tablets running on the Android operating system. The exact steps and button combinations may vary slightly depending on the model and Android version. However, the overall concepts and approaches remain consistent across RCA tablets.
Now, without further ado, let’s jump into the various methods you can employ to take a screenshot on your RCA tablet and start capturing those precious moments or preserving important information.
Method 1: Using the Power and Volume Down Buttons
One of the most common and straightforward ways to take a screenshot on an RCA tablet is by using the physical buttons on the device. This method works on most RCA tablet models and is relatively easy to execute.
To begin, locate the power button and the volume down button on your RCA tablet. These buttons are usually positioned on the sides of the device. Once you have identified the buttons, follow these step-by-step instructions:
- Open the screen or app that you want to capture in the screenshot.
- Press and hold down the power button and the volume down button simultaneously. You should press and hold these buttons until you see a visual indication that the screenshot has been taken.
- Depending on the RCA tablet model and Android version, you may hear a camera shutter sound, see a flash on the screen, or feel a brief vibration. These cues indicate that the screenshot has been successfully captured.
- Release the buttons after the screenshot has been taken.
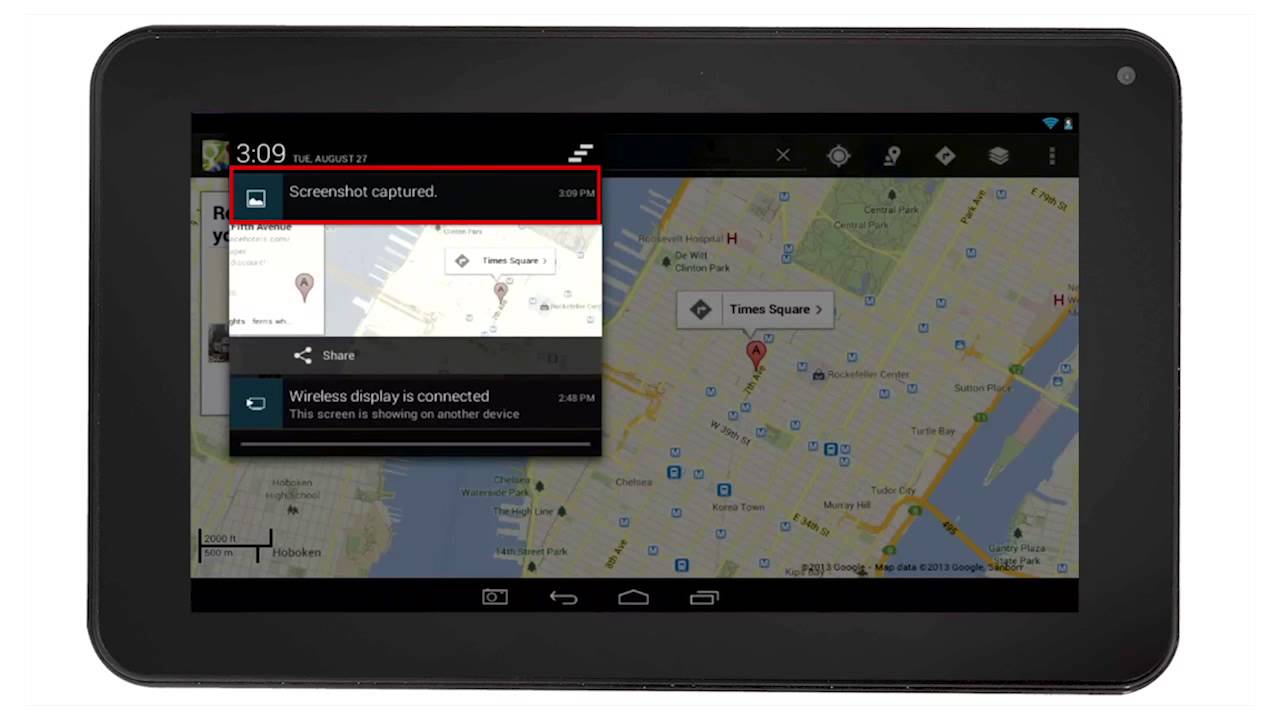
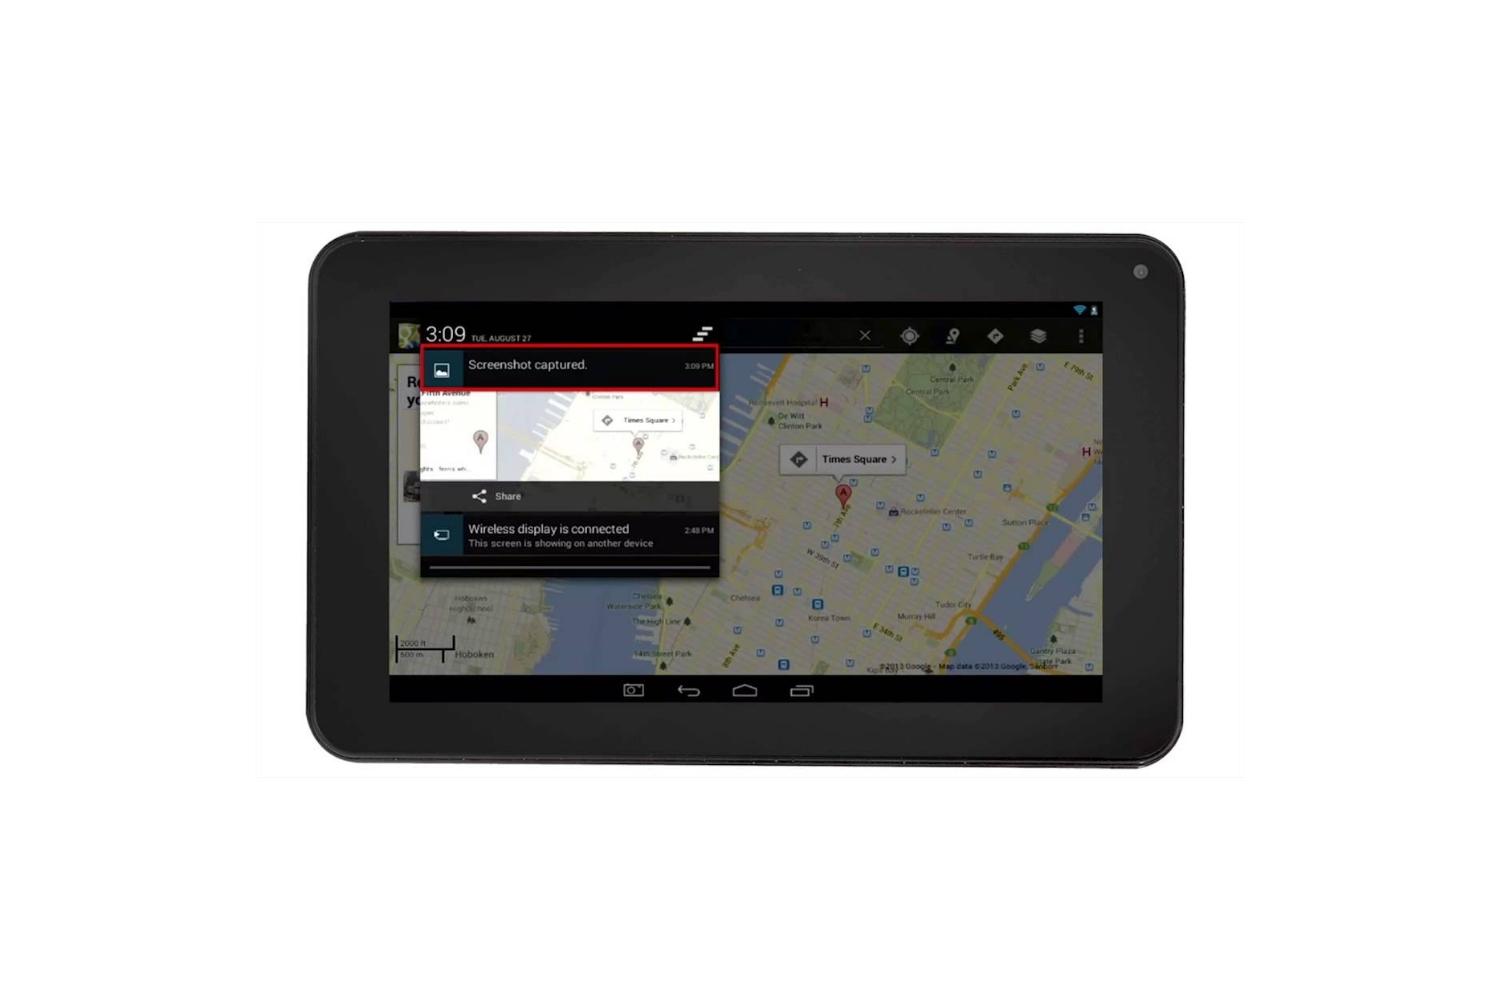
Once you have taken the screenshot, you can access it by pulling down the notification panel on your RCA tablet. Look for a notification indicating that a screenshot has been captured. Tapping on the notification will take you to the screenshot where you can view, edit, or share it as needed.
It’s important to note that if you miss the timing or accidentally press the wrong buttons, you may unintentionally trigger other actions on your RCA tablet, such as turning off the device or adjusting the volume. Therefore, it may take some practice to master the simultaneous press and hold of the power and volume down buttons.
This method is effective for capturing screenshots on RCA tablets and is especially useful for capturing static images on the screen or within apps. However, if you are looking to capture a scrolling screenshot, capture video recordings, or have more advanced features, you may need to explore alternative methods which will be discussed in the following sections.
Now that you are familiar with the first method, let’s move on to the next method: using the power and home buttons to capture a screenshot on your RCA tablet.
Method 2: Using the Power and Home Buttons
Another common method to take a screenshot on an RCA tablet is by utilizing the power and home buttons. This method is popular among users who are accustomed to older Android devices or those who find the power and volume down buttons combination difficult to manage.
To capture a screenshot using the power and home buttons on your RCA tablet, follow these simple steps:
- Make sure the screen or app you want to capture is open and ready.
- Locate the power button, typically positioned on one of the sides of your tablet.
- Find the home button, usually located at the bottom of the device’s front panel.
- Press and hold down the power button and the home button simultaneously. Continue holding them until you see a visual indication that the screenshot has been taken.
- Similar to the previous method, you might hear a camera shutter sound, notice a flash on the screen, or feel a brief vibration when the screenshot is successfully captured.
- Release the buttons after taking the screenshot.
After taking the screenshot, you can access it by swiping down the notification panel on your RCA tablet. Look for a notification regarding the captured screenshot and select it to open, edit, or share the screenshot as desired.
Using the power and home buttons provides a simpler alternative for taking screenshots on your RCA tablet. This method is especially useful if you prefer the practicality of a physical home button or are more comfortable with the button combination provided. However, if your RCA tablet does not have a physical home button, don’t worry. There are additional methods you can try, which will be discussed in the following sections.
Now that you know how to capture a screenshot using the power and home buttons, let’s move on to the next method: utilizing the screenshot quick tile on your RCA tablet.
Method 3: Using the Screenshot Quick Tile
If you own an RCA tablet running on a newer version of Android, you may have access to the screenshot quick tile feature. This method provides a convenient way to capture screenshots directly from the notification panel, without the need for button combinations.
To use the screenshot quick tile feature on your RCA tablet, follow these steps:
- Ensure that the screen or app you want to capture is open and visible.
- Swipe down from the top of the screen to access the notification panel.
- Look for the quick settings panel, which is usually represented by a gear or cog icon.
- Swipe horizontally through the quick settings panel until you find the “Screenshot” or “Capture” icon.
- Tap on the screenshot icon to instantly capture a screenshot of the current screen or app.
Once you have taken the screenshot, a notification will briefly appear confirming the capture. You can swipe down the notification panel again and tap on the screenshot notification to view, edit, or share the screenshot.
It is worth noting that the availability of the screenshot quick tile feature may vary depending on the version of Android installed on your RCA tablet. If you do not see the screenshot icon in the quick settings panel, you can try expanding the panel by tapping on the small arrow or “More” button to reveal additional quick settings options. Additionally, you can customize the quick settings tiles by accessing the system settings, allowing you to add or remove the screenshot tile for quick access.
Utilizing the screenshot quick tile is a hassle-free way to capture screenshots on your RCA tablet. This method is particularly useful if you frequently need to take screenshots and want a quicker and more accessible approach. However, if the screenshot quick tile is not available on your device or you require more advanced screenshot functionalities, there is one more method to explore: using third-party apps.
Now that you are familiar with the screenshot quick tile method, let’s move on to the final method: capturing screenshots on an RCA tablet using third-party apps.
Method 4: Using Third-Party Apps
If you are looking for more advanced screenshot capabilities or additional features not provided by the built-in methods, using third-party apps is a viable option. There are numerous screenshot apps available on the Google Play Store that offer various functionalities and customization options to enhance your screenshot-taking experience on your RCA tablet.
To use third-party apps to capture screenshots on your RCA tablet, follow these general steps:
- Go to the Google Play Store on your RCA tablet.
- Search for “screenshot app” or “screen capture app.”
- Browse through the available options and read the reviews and descriptions to find an app that suits your needs.
- Download and install the chosen app on your RCA tablet.
- Launch the app and follow the on-screen instructions to set it up.
- Once the app is ready, use the provided tools or gestures to capture screenshots as desired.
Third-party screenshot apps often offer features such as scrolling screenshots, annotation tools, image editing capabilities, and even automatic screenshot capturing. Some popular apps include Screenshot Easy, Super Screenshot, and Screenshot Touch, among others. Make sure to explore the features and options of the app you choose to take full advantage of its capabilities.
Keep in mind that using third-party apps may require additional storage space on your RCA tablet and could potentially impact device performance. It is advisable to choose a reputable app with positive user reviews to ensure a smooth and secure experience.
Using third-party apps to capture screenshots on your RCA tablet provides you with more flexibility and advanced features that might not be available with the built-in methods. This method is ideal if you require specialized functionalities or if you are a power user who frequently takes screenshots for various purposes.
With this, we have covered four different methods you can use to take screenshots on your RCA tablet. Whether you prefer using the physical buttons, the screenshot quick tile, or third-party apps, you now have a range of options to choose from based on your specific needs and preferences.
Take a moment to explore and practice the different methods to become familiar with the process. Soon, capturing screenshots on your RCA tablet will become second nature, allowing you to effortlessly preserve, share, and utilize important information and memorable moments captured on your device.
Conclusion
Taking screenshots on your RCA tablet is a valuable skill that can come in handy in various situations. Whether you want to capture a memorable moment, save important information, or troubleshoot an issue, knowing how to take a screenshot is essential. Throughout this guide, we have explored four different methods you can use to capture screenshots on your RCA tablet: using the power and volume down buttons, using the power and home buttons, utilizing the screenshot quick tile, and employing third-party apps.
By using the physical buttons, you can easily capture screenshots by pressing and holding the power and volume down buttons simultaneously. The power and home buttons combination offers a simpler alternative for users who find the volume buttons challenging to manage. If your RCA tablet supports it, the screenshot quick tile provides a convenient way to capture screenshots directly from the notification panel. Lastly, third-party apps offer advanced features and customization options for a more tailored screenshot experience.
Remember to practice the different methods and choose the one that best suits your preferences and requirements. Each method has its benefits and limitations, so be sure to explore the options available on your RCA tablet and choose the one that works best for you.
With these methods at your disposal, you can now effortlessly capture and share screenshots on your RCA tablet. Whether you use them for personal or professional use, screenshots will help you document important information, share moments with others, and troubleshoot issues effectively.
So, grab your RCA tablet, follow the methods outlined in this guide, and start capturing those screenshots with confidence.