Introduction
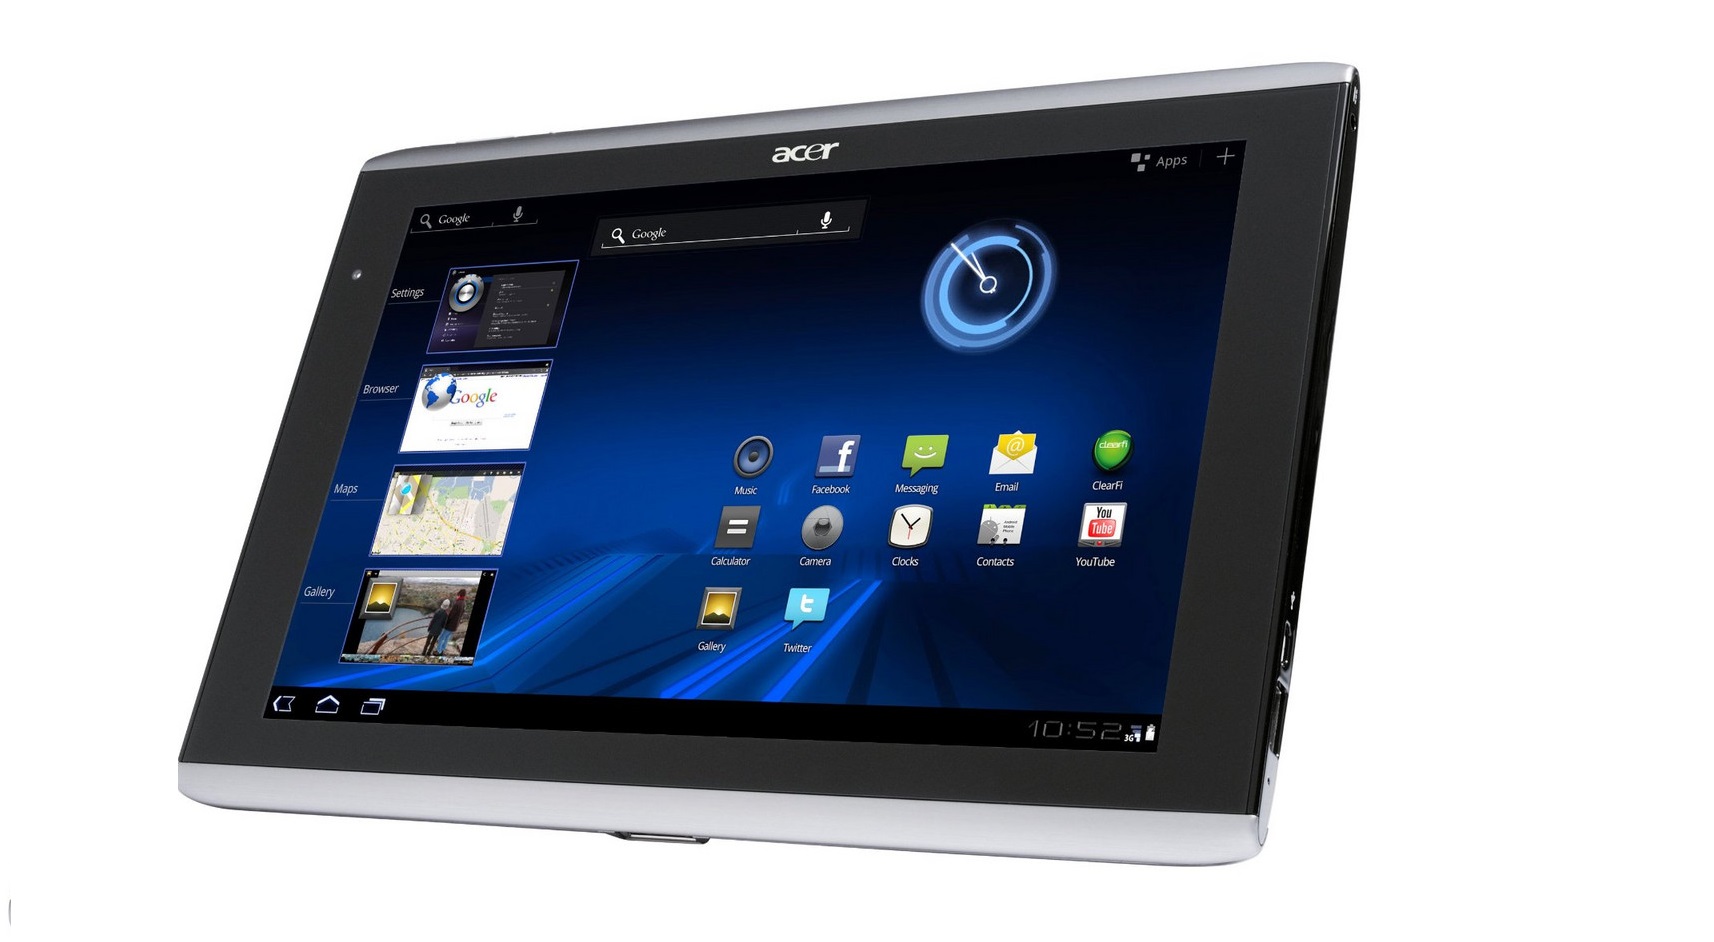
Welcome to our guide on how to take a screenshot on an Acer tablet. Taking screenshots is a useful feature that allows you to capture and save the content displayed on your tablet’s screen. Whether you want to capture a funny meme, share an interesting article, or save important information, learning how to take a screenshot is essential.
As an Acer tablet user, you’ll be pleased to know that capturing screenshots on your device is a straightforward process. In this article, we will walk you through the step-by-step instructions to help you capture and save screenshots effortlessly.
By capturing screenshots, you can easily share information with friends, save memorable moments, or even troubleshoot technical issues by providing visual evidence. So, whether you’re an avid gamer, a social media enthusiast, or a productivity-focused individual, knowing how to take screenshots on your Acer tablet will undoubtedly come in handy.
Now, let’s dive in and explore the various methods you can use to take screenshots on your Acer tablet. Whether you’re using the latest Acer tablet models or an older version, these methods will work across the board.
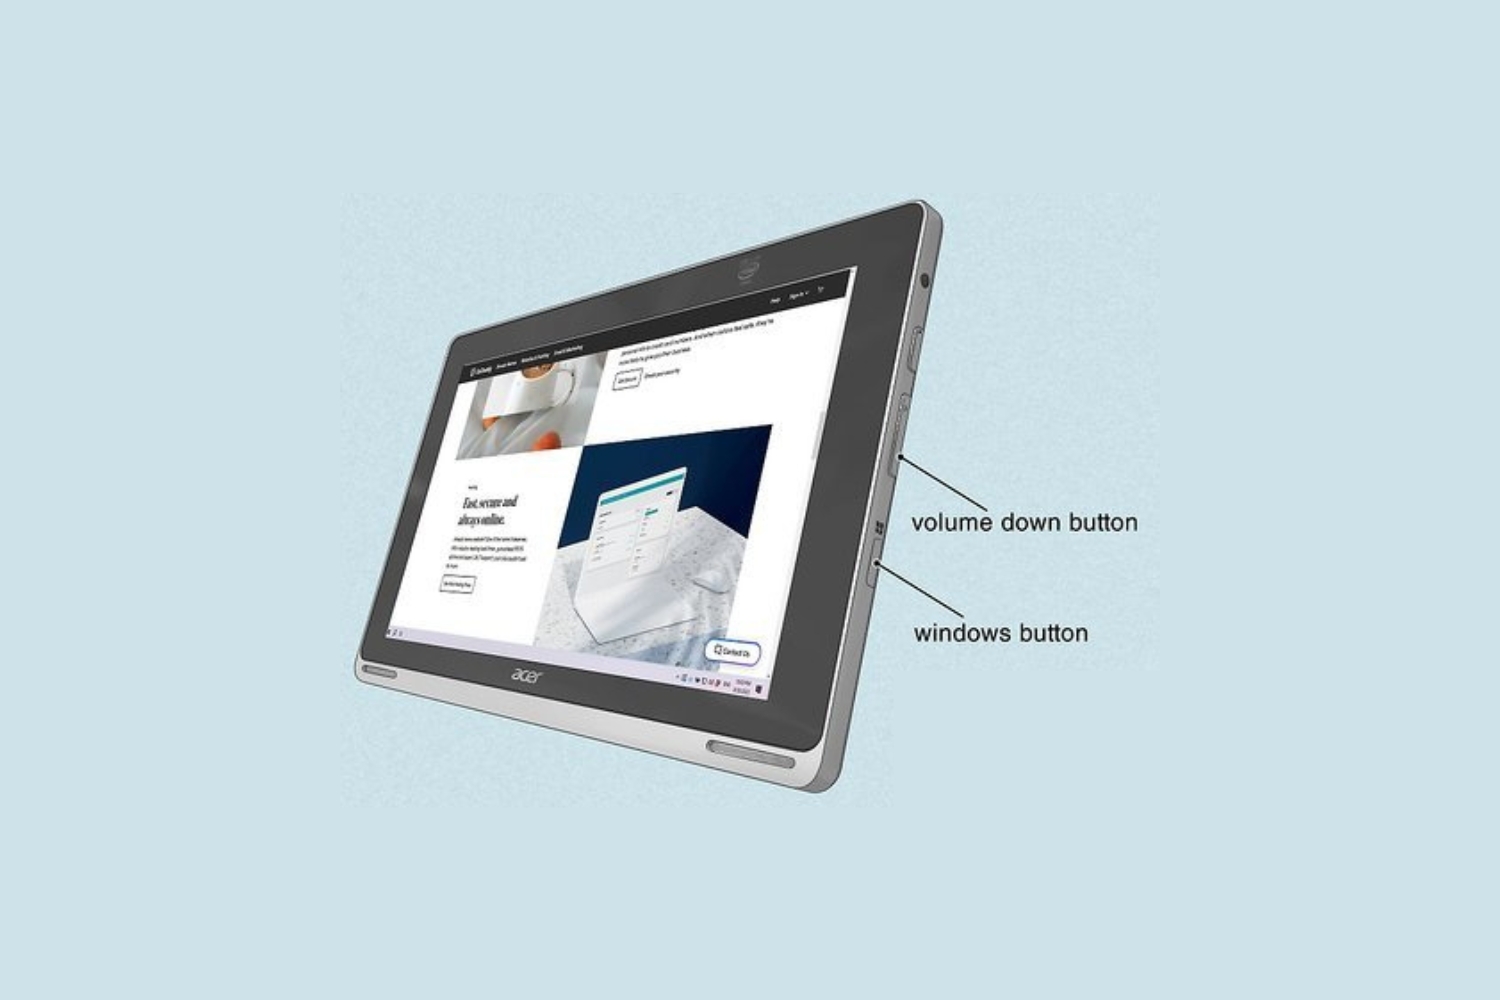
Step 1: Locate the Power and Volume Down buttons
The first step in capturing a screenshot on your Acer tablet is to locate the Power and Volume Down buttons. These buttons are typically found on the sides or edges of the device, depending on the specific model you have.
On most Acer tablets, the Power button is commonly located on the right-hand side of the device. It is often identified by a small icon resembling a power symbol. The Volume Down button, on the other hand, is usually found either above or below the Power button.
Take a moment to familiarize yourself with the positioning of these buttons on your Acer tablet. It’s important to be able to locate them quickly and easily when you’re ready to take a screenshot.
Once you have located the Power and Volume Down buttons, you’re ready to move on to the next step. Don’t worry if you’re not entirely sure about the positioning of these buttons – we will guide you through the process!
Step 2: Press and hold the Power and Volume Down buttons simultaneously
Now that you have located the Power and Volume Down buttons on your Acer tablet, it’s time to capture the screenshot. To do this, simply press and hold the Power and Volume Down buttons simultaneously.
Make sure to press both buttons at the same time and hold them for a few seconds. You may feel a slight vibration or hear a capturing sound, indicating that the screenshot has been successfully taken.
It’s important to ensure that you press the buttons simultaneously and hold them until the screenshot is captured. If you release the buttons too soon, the screenshot may not be captured, and you’ll need to repeat the process.
This method of capturing a screenshot on an Acer tablet using the Power and Volume Down buttons is a standard approach that works across various Acer tablet models. It’s a quick and convenient way to capture your screen without the need for any additional tools or apps.
Now that you have successfully captured the screenshot, it’s time to move on to the next step to check if the screenshot was taken.
Step 3: Release the buttons and check if the screenshot was taken
After holding the Power and Volume Down buttons on your Acer tablet to capture the screenshot, you can now release them. Once you have released the buttons, it’s time to check if the screenshot was successfully taken.
First, look for a notification on your screen indicating that the screenshot has been captured. This notification may appear as a small thumbnail image of the captured screenshot. Tap on the notification to open and view the screenshot.
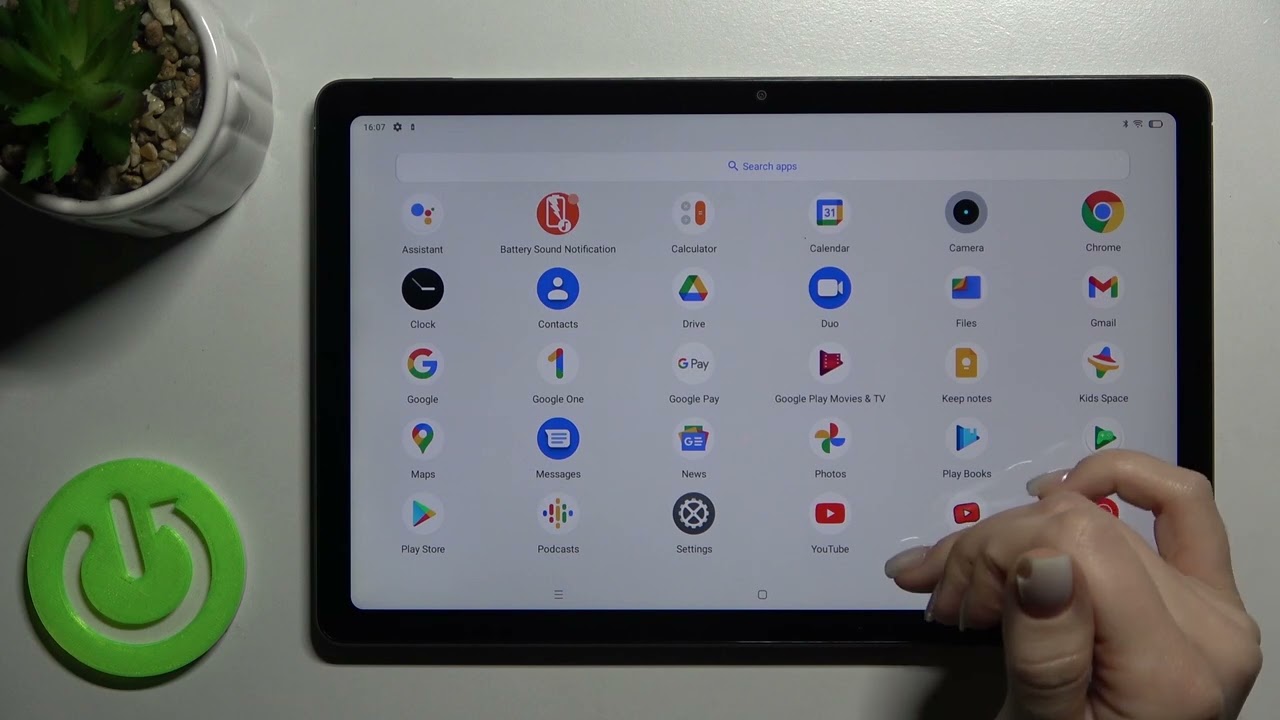
If you don’t see a notification, don’t worry. The screenshot may still have been captured. To verify this, head to your device’s Gallery or Photos app and look for a “Screenshots” album or folder. Open the folder to access all the screenshots you have captured.
Within the “Screenshots” album, you should be able to see the most recent screenshot at the top of the list. Tap on the image to open and view it in full size.
If you can view the screenshot in either the notification or the Gallery/Photos app, congratulations! You have successfully captured a screenshot on your Acer tablet. You can now share, edit, or save the screenshot as needed.
If, for some reason, the screenshot has not been successfully taken, don’t worry. Repeat the process of pressing and holding the Power and Volume Down buttons simultaneously to capture a new screenshot. Remember to hold the buttons until you see a visual or auditory indication that the screenshot has been captured.
Now that you know how to check if the screenshot was taken, you can proceed to the next section to explore an alternative method that you can use to capture screenshots on your Acer tablet.
Alternative method: Using the Quick Settings menu
In addition to using the Power and Volume Down buttons, there is an alternative method to capture screenshots on your Acer tablet. This method involves using the Quick Settings menu, which provides quick access to various device settings and features.
To begin, navigate to the screen you want to capture and swipe down from the top of the screen to open the Quick Settings menu.
Within the Quick Settings menu, you will see a range of options and features. Look for the “Screenshot” or “Capture” icon, usually represented by a small camera or rectangle icon. Tap on this icon to initiate the screenshot process.
After tapping on the screenshot icon, your Acer tablet will capture the entire screen as a screenshot. You will see a brief visual or auditory feedback indicating that the screenshot has been taken.
To access the captured screenshot, you have a couple of options. One way is to tap on the notification that appears after taking the screenshot. This will open the screenshot directly, allowing you to view and share it.
If you miss the notification or want to view the screenshot later, you can find it in the “Screenshots” album within your device’s Gallery or Photos app. Simply open the app and navigate to the “Screenshots” folder to access your captured screenshots.
The use of the Quick Settings menu to capture screenshots can be a convenient option for those who prefer a more accessible and intuitive method. It eliminates the need to press physical buttons and offers a streamlined approach for capturing and managing screenshots.
Now that you are familiar with the alternative method of using the Quick Settings menu, you can choose the method that suits you best for capturing screenshots on your Acer tablet.
Conclusion
Capturing screenshots on your Acer tablet is a simple process that can be accomplished using either the Power and Volume Down buttons or the Quick Settings menu. By following the steps outlined in this guide, you can easily capture and save screenshots of important information, share interesting content, or troubleshoot technical issues with visual evidence.
In this article, we discussed the steps involved in taking a screenshot on an Acer tablet. We first covered the importance of being familiar with the Power and Volume Down buttons on your device. Locating these buttons is crucial as they are the primary means of capturing screenshots.
We then explained how to press and hold the Power and Volume Down buttons simultaneously to take a screenshot. Releasing the buttons and checking for visual or auditory feedback confirmed whether the screenshot was successfully captured. We also explored an alternative method using the Quick Settings menu, which provides an accessible and intuitive way to capture screenshots.
Remember, capturing screenshots on your Acer tablet can be a valuable tool for various purposes, including sharing information, saving memories, and troubleshooting. Whether you’re an avid gamer, social media enthusiast, or a productivity-focused individual, knowing how to take a screenshot is essential.
With these methods at your disposal, you can confidently capture and manage screenshots on your Acer tablet. So, the next time you come across something worth saving or sharing, you’ll know exactly how to capture the moment.
Now go ahead and explore the world of screenshots on your Acer tablet with ease and convenience!