Introduction
Welcome to this guide on how to turn on an RCA tablet. RCA tablets are popular devices that offer portable, on-the-go computing power. Whether you’re a new user or have recently acquired an RCA tablet, understanding how to power it on is essential to begin using all its features and functionalities.
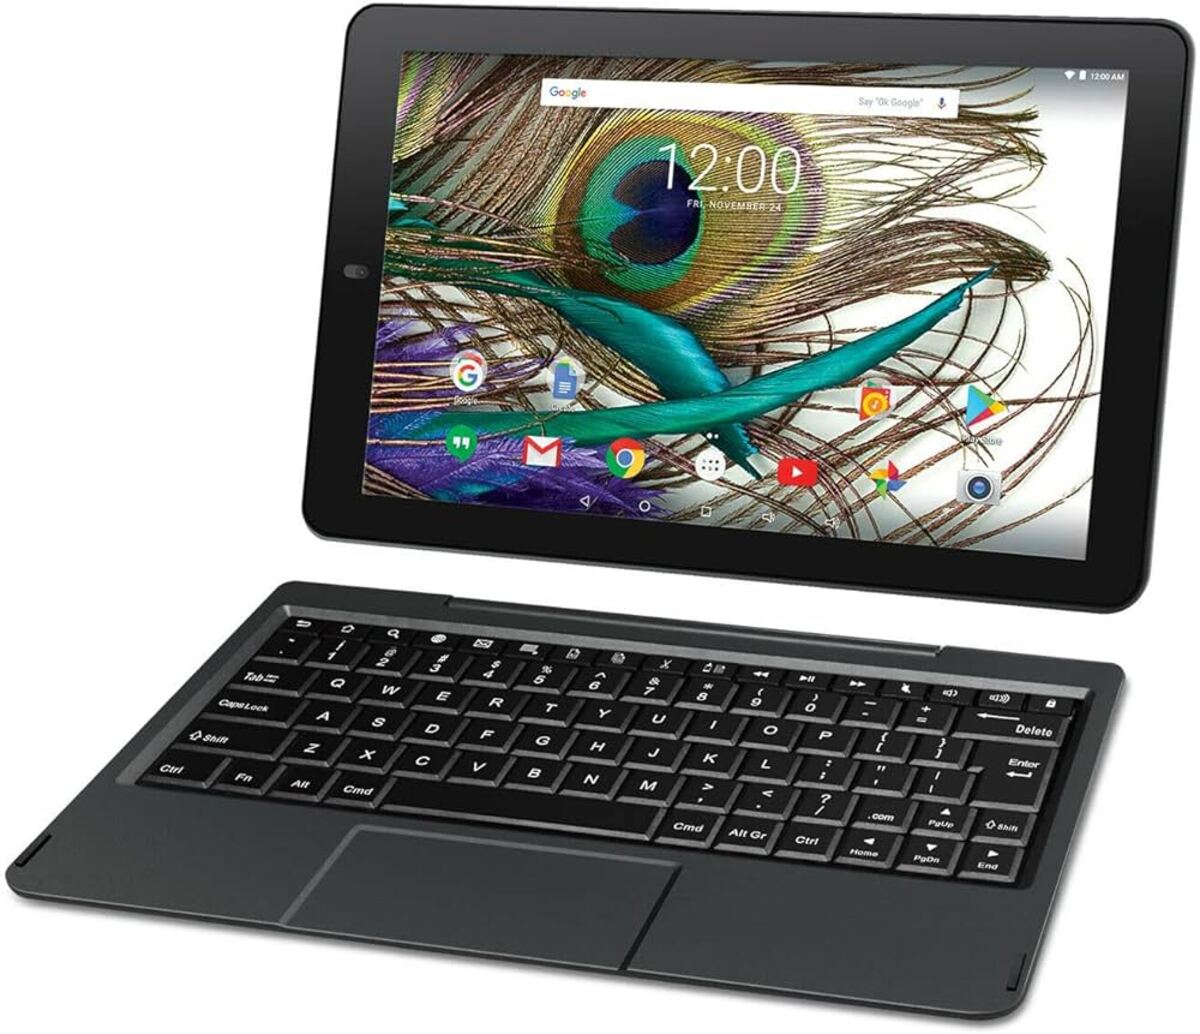
RCA tablets are known for their user-friendly interface and straightforward setup process. In this guide, we will take you through the step-by-step instructions to turn on your RCA tablet, navigate the lock screen, unlock the device, and set it up for first-time use.
Before we dive into the specifics, it’s important to note that the exact steps and terminology may vary slightly depending on the model and version of your RCA tablet. However, the general principles remain the same for most models, so you should be able to follow along regardless of your tablet’s specific configuration.
So, without further ado, let’s get started with the process of turning on your RCA tablet and discovering all the exciting possibilities it has to offer.
Step 1: Charging the Tablet
The first step to turning on your RCA tablet is to ensure that it has enough power. Before attempting to power on the device, make sure it is adequately charged. To charge your RCA tablet, follow these steps:
- Locate the charging port on the tablet. It is usually located on the bottom or side of the device.
- Connect the USB end of the charging cable into the charging port.
- Plug the other end of the charging cable into a power source such as a wall outlet or a USB port on your computer.
- You should see a charging indicator on the screen, such as a battery icon with a lightning bolt. This indicates that the tablet is successfully charging. Please note that it may take some time for the battery to reach an adequate level of charge.
- Allow the tablet to charge until the battery is sufficiently powered. It is recommended to charge the tablet for at least a few hours, or until the battery is fully charged.
- Once the tablet is sufficiently charged, you can proceed to the next step of turning it on.
By ensuring that your RCA tablet is properly charged, you can avoid any potential issues when attempting to power it on. Charging the tablet fully will also ensure that you have sufficient power to use the device without interruptions, allowing you to enjoy all its features and functions to the fullest extent.
Step 2: Powering On the Tablet
Once your RCA tablet is charged and ready, it’s time to power it on. Follow these simple steps to turn on your RCA tablet:
- Locate the power button on your tablet. The power button is typically located on the side or top of the device.
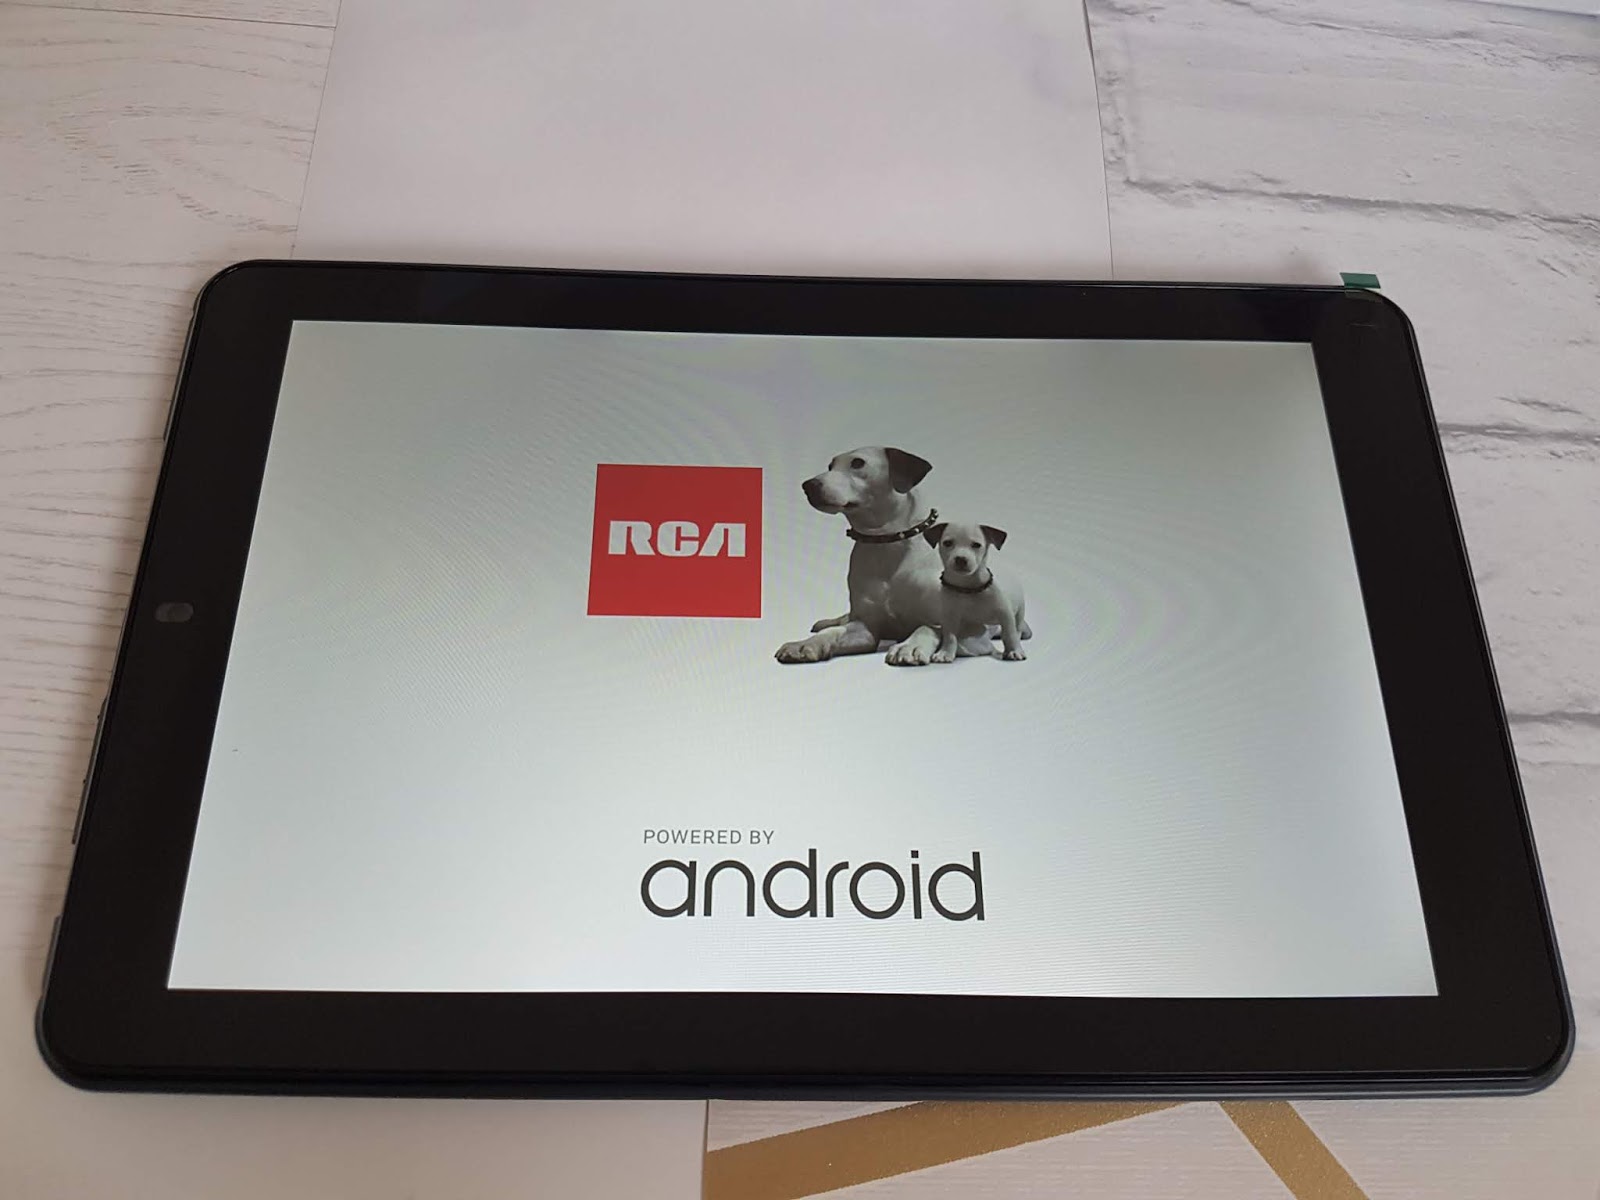
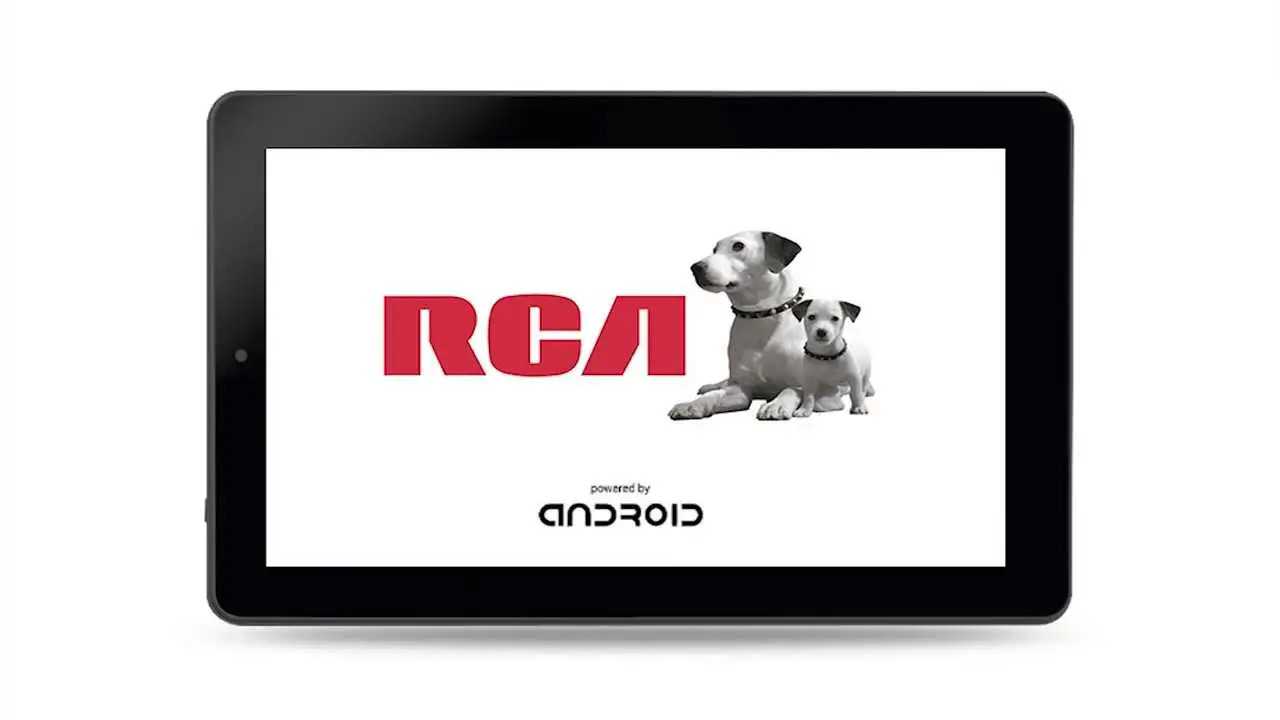
- Press and hold the power button for a few seconds until you see the RCA logo or the device vibrates slightly. This indicates that the tablet is powering on.
- Release the power button after the logo appears or the vibration is felt.
- The tablet will now start the boot-up process and load the operating system.
- You will eventually be taken to the lock screen, where you can proceed to the next step to navigate and unlock the tablet.
It’s important to note that the boot-up time may vary depending on your tablet’s model and specifications. It may take a few seconds or a couple of minutes for the tablet to fully power on and load the operating system.
Once your RCA tablet is powered on, you are one step closer to exploring its wide range of features and capabilities. In the following steps, we will guide you through navigating the lock screen, unlocking the tablet, and setting it up for first-time use.
Step 3: Navigating the Lock Screen
After successfully powering on your RCA tablet, you will be greeted with the lock screen. The lock screen serves as a security measure to prevent unauthorized access to your device. Follow the steps below to navigate the lock screen:
- Observe the lock screen. Depending on your tablet’s settings, you may see various elements such as the date, time, and notifications.
- If your tablet has a pattern lock or a PIN, swipe or tap on the lock screen to display the unlock options.
- If your tablet has a password or a fingerprint unlock, locate the corresponding options on the lock screen.
- Swipe, tap, enter your PIN or password, or use your registered fingerprint to unlock the tablet.
- Once you’ve successfully unlocked the tablet, you will be taken to the home screen or the last screen you were using.
It’s important to note that the lock screen settings may vary depending on your specific RCA tablet model and Android version. Some tablets may offer additional security options such as facial recognition or iris scanning.
By becoming familiar with the lock screen and its various unlock options, you can efficiently access your tablet’s functions and protect your personal information from unauthorized access.
Step 4: Unlocking the Tablet
Once you have successfully navigated the lock screen on your RCA tablet, the next step is to unlock the device. This will grant you full access to the tablet’s features and functionalities. Here’s how to unlock your RCA tablet:
- On the lock screen, locate the unlock method you have set up for your device. This could be a pattern, PIN, password, or your fingerprint.
- If you have set up a pattern, carefully trace the pattern you created on the lock screen. Make sure to accurately replicate the pattern to unlock the tablet.
- If you have set up a PIN or password, enter the correct PIN or password using the on-screen keyboard and tap the Enter or OK button.
- If you have registered your fingerprint, place your finger on the designated fingerprint sensor to authenticate and unlock the tablet.
- Once you have successfully entered the correct pattern, PIN, password, or used your registered fingerprint, the tablet will unlock, and you will be taken to the home screen or the last screen you were using.
It’s important to remember your pattern, PIN, password, or keep your registered fingerprint secure. These security measures provide an additional layer of protection for your tablet and ensure that only authorized individuals can access your device and personal information.
Now that you have successfully unlocked your RCA tablet, you can begin exploring its extensive range of features and customizations.
Step 5: Setting Up the Tablet
After unlocking your RCA tablet, it’s time to set it up for first-time use. This step will help you configure various settings and personalize your tablet according to your preferences. Follow the steps below to set up your RCA tablet:
- Once you have unlocked the tablet, you may be prompted to choose your language and region. Select your preferred language and region from the available options.
- Next, you may be asked to connect to a Wi-Fi network. Choose the Wi-Fi network you want to connect to and enter the password if prompted.
- If your tablet is running on the Android operating system, you will be prompted to sign in with your Google account. If you have an existing Google account, enter your email address and password. If you don’t have a Google account, you can create one by following the on-screen instructions.
- Once you have signed in to your Google account, you may be prompted to set up additional security measures like fingerprint or face unlock, or to enable services like Google Assistant. Follow the prompts and choose your desired settings.
- After completing the initial setup, you may have the option to restore apps and data from a previous device or to set up the tablet as new. Select the option that best suits your needs.
- You may also be prompted to accept the terms and conditions and customize additional settings like screen lock preferences, app permissions, and more. Follow the on-screen instructions and make any desired changes.
- Once you have completed the setup process, you will be taken to the home screen of your RCA tablet. From here, you can start exploring the various apps, features, and settings available.
The setup process may slightly differ depending on your specific RCA tablet model and the version of the Android operating system it runs. However, the steps outlined above should provide a general guide to help you set up your RCA tablet successfully.
Congratulations! You have now successfully set up your RCA tablet and are ready to make the most of its features, apps, and capabilities.
Conclusion
In this guide, we have walked you through the process of turning on your RCA tablet and getting it ready for use. We started by ensuring that the tablet is charged, then proceeded to power it on by pressing and holding the power button. We then discussed how to navigate the lock screen and successfully unlock the tablet using patterns, PINs, passwords, or fingerprints. Finally, we explored the steps to set up the tablet, including language selection, Wi-Fi connection, Google account sign-in, and customization options.
By following these steps, you can confidently power on your RCA tablet, unlock it, and set it up for the first time. Remember to familiarize yourself with your specific tablet model and Android version, as the steps and options may vary slightly.
Now that your RCA tablet is ready to go, you can start taking advantage of its features, whether it’s browsing the web, watching videos, playing games, or accessing your favorite apps. The tablet offers a versatile and portable computing experience for both work and entertainment.
We hope this guide has been helpful in getting you started with your RCA tablet. If you have any further questions or encounter any difficulties, consult the user manual or reach out to the manufacturer’s support team for assistance. Enjoy your new RCA tablet and all the possibilities it brings!