Introduction
In today’s fast-paced digital world, upgrading your computer’s storage drive to a solid-state drive (SSD) can greatly enhance its performance and speed. Solid-state drives offer faster data access, improved reliability, and increased durability compared to traditional mechanical hard drives. Additionally, switching to an SSD can help reduce power consumption and noise, making it a popular choice for both home and professional users.
However, transitioning from a traditional hard drive to an SSD involves more than just swapping out the drives. It requires careful planning and execution to ensure a smooth and successful migration of your data and operating system. In this guide, we will walk you through the step-by-step process of switching a computer to a solid-state drive, allowing you to unlock the full potential of your system.
Before we delve into the details, it’s essential to note that the steps outlined here are general guidelines. The specific process may vary depending on your computer’s make and model, as well as the operating system you are using. It is always recommended to refer to your computer’s user manual or manufacturer’s website for any specific instructions or precautions.
Step 1: Determine Compatibility
Before proceeding with the installation of an SSD, it’s crucial to determine if your computer is compatible with this type of drive. While most modern computers can accommodate an SSD, it’s essential to cross-check a few key factors to avoid any compatibility issues.
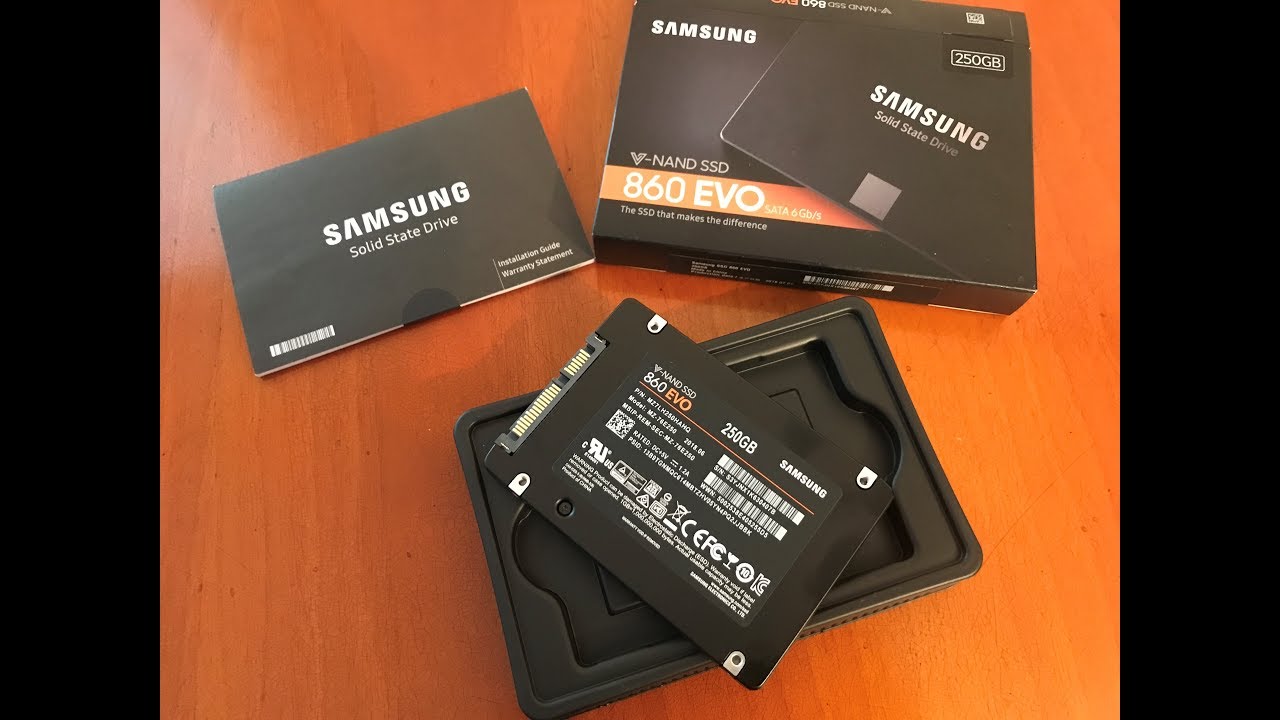
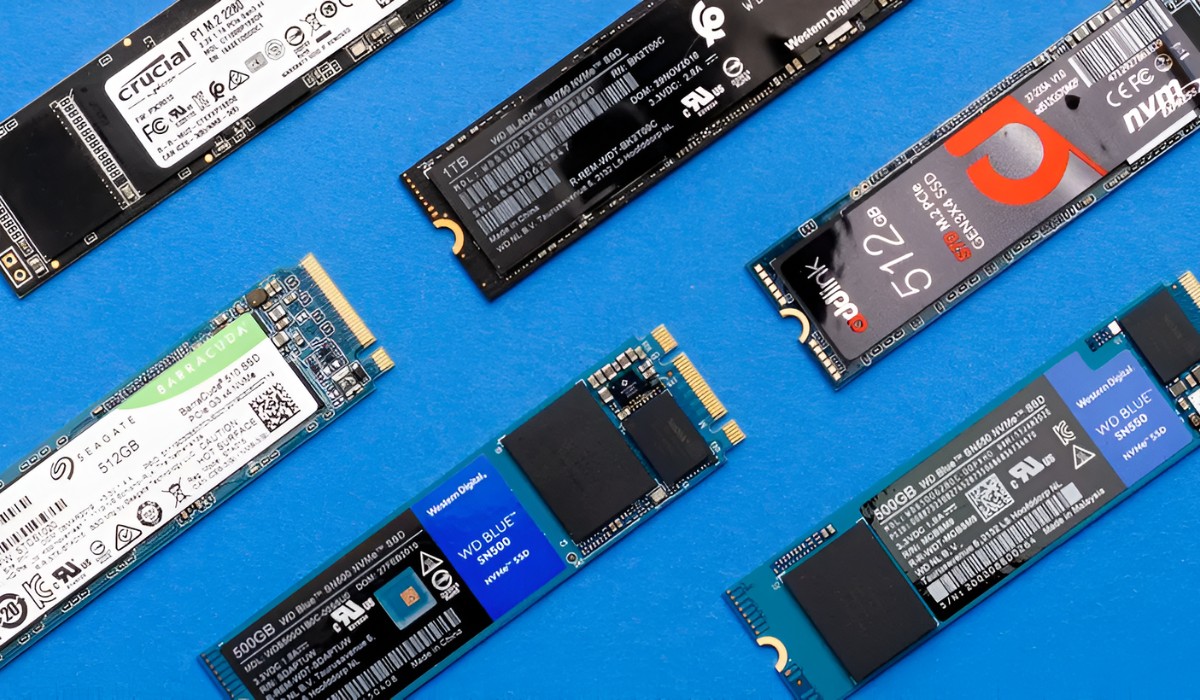
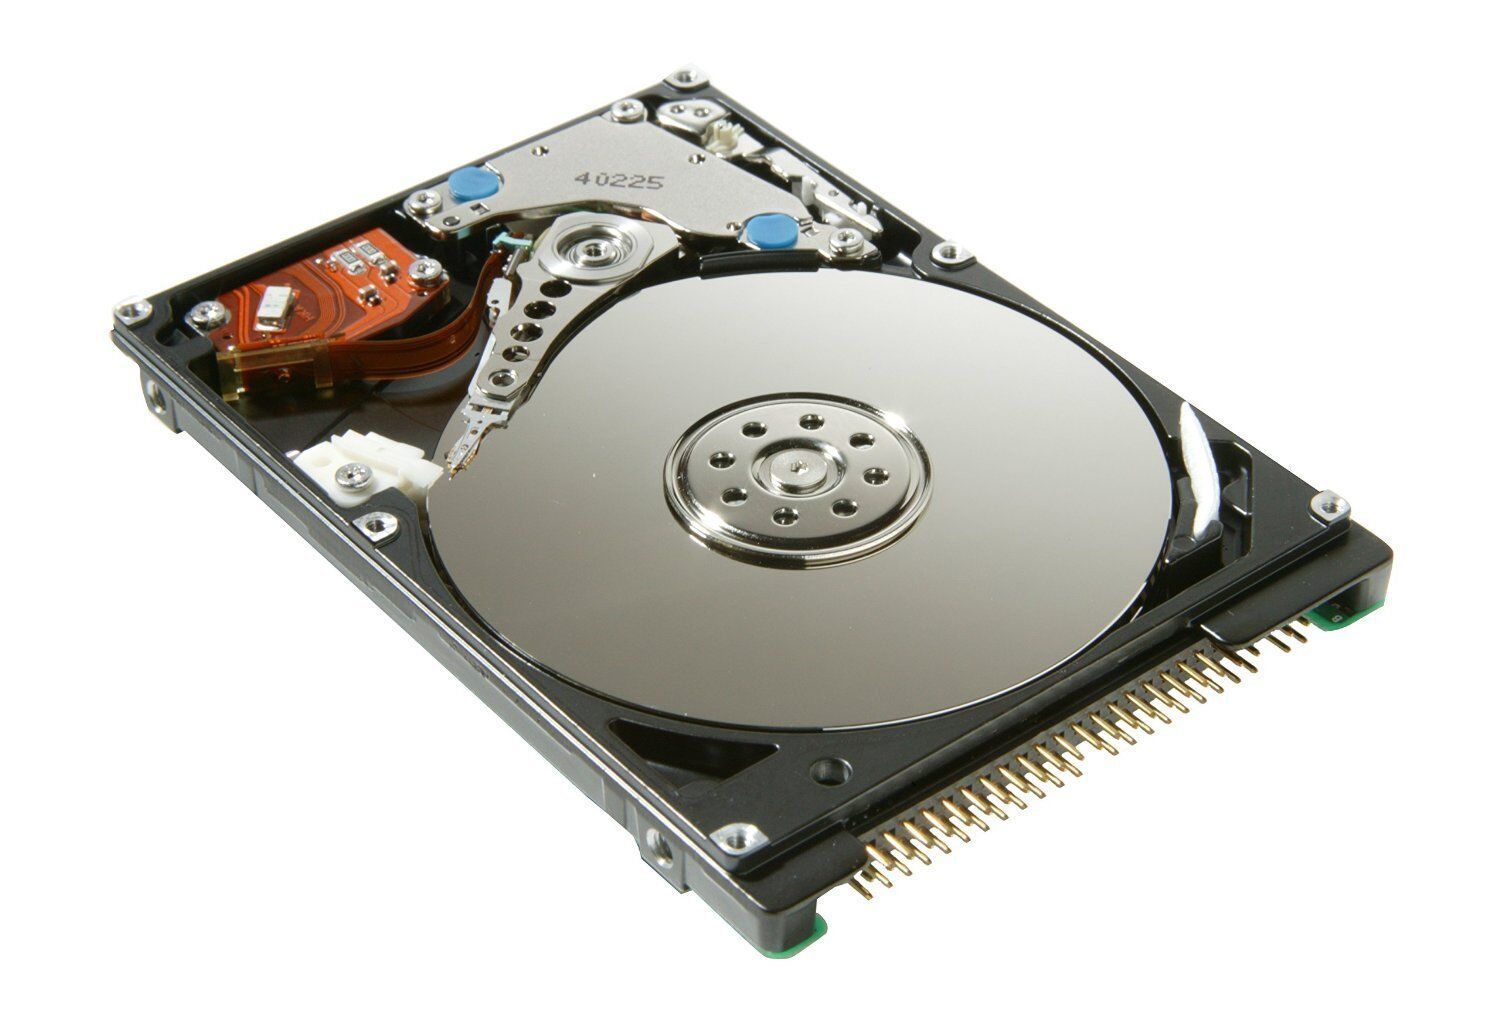
The first thing to consider is the physical size of the SSD. Commonly, SSDs come in two form factors: the smaller 2.5-inch variant, which is designed to fit into laptops and some desktops, and the larger 3.5-inch variant, typically used in desktop computers. Check your computer’s specifications or consult the manufacturer’s documentation to identify the appropriate size and form factor for your system.
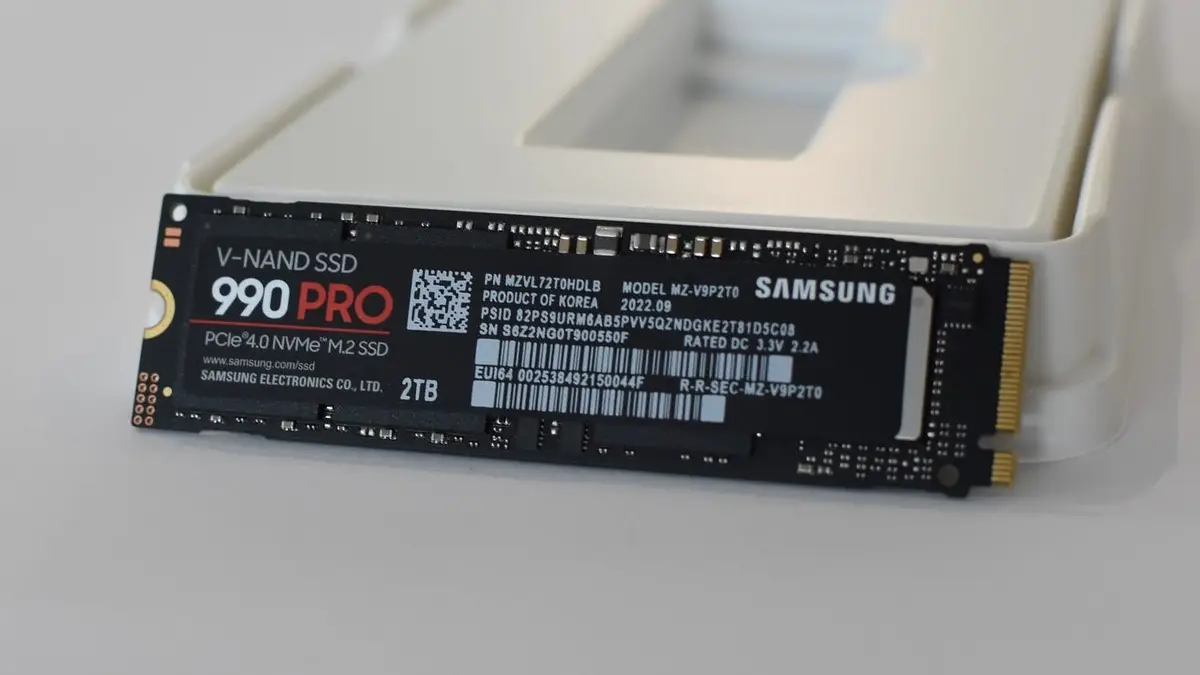
Next, verify the interface compatibility. SSDs primarily use SATA (Serial Advanced Technology Attachment) or the newer NVMe (Non-Volatile Memory Express) interface. SATA is the more prevalent and backward-compatible option, while NVMe offers significantly faster transfer speeds. Refer to your computer’s specifications to determine if it supports either of these interfaces or consult the manufacturer’s documentation for the necessary information.
Additionally, ensure that your system has the required SATA or NVMe connection ports available. Most motherboards have multiple SATA ports, which are usually used by existing hard drives and optical drives. Check if there are any available ports to accommodate the new SSD. In the case of NVMe, ensure that your motherboard has an M.2 slot or a PCIe slot compatible with NVMe drives.
Lastly, it’s essential to ensure that your computer’s operating system supports SSDs. Most modern operating systems, including Windows, macOS, and Linux, are fully compatible with SSDs. However, older or specialized systems may require specific drivers or updates. Check the specifications of your operating system to verify its compatibility and update it if necessary.
By confirming the physical compatibility, interface compatibility, available connection ports, and operating system compatibility, you can ensure a seamless installation and avoid any potential issues during the transition to an SSD.
Step 2: Back up Your Data
Before proceeding with any hardware changes, it is crucial to back up all your important data. This step ensures that even if something goes wrong during the installation process, you won’t lose any valuable information. Data backup also ensures a smooth transition to the new drive without any interruption or loss of files.
Start by identifying the data that needs to be backed up. This usually includes your documents, photos, videos, music, and any other files that hold personal or professional value. Consider any data stored in system folders, such as the desktop, downloads folder, or specific application folders.
There are various methods to back up your data, depending on your specific requirements and preferences. One common method is to manually copy and paste the files to an external storage device, such as an external hard drive or a USB flash drive. This can be time-consuming, especially if you have a large amount of data.
Alternatively, you can use dedicated backup software or cloud storage services to automate the backup process. These solutions offer features such as scheduling regular backups, incremental backup to save disk space, and the ability to restore data quickly in case of loss or hardware failure. Choose a method that suits your needs and ensure that the backup is complete and verified before proceeding to the next steps.
Remember that backing up your data is a crucial step in the process, and neglecting it can result in permanent data loss. Take the time to double-check that everything is backed up properly, and consider creating a system image or disk clone for a complete backup of your entire system. This will allow you to revert to the previous state if needed, ensuring a seamless and worry-free transition to the SSD.
Once you have securely backed up your data, you can proceed with confidence to the next step of installing the SSD in your computer.
Step 3: Obtain the Necessary Equipment
Before you can install the SSD in your computer, you need to gather the necessary equipment. Having the right tools and accessories will ensure a smooth and hassle-free installation process. Here’s a list of the essential items you’ll need:
1. Solid-State Drive (SSD): Determine the appropriate size, form factor, and storage capacity for your needs. Consider factors such as your budget and intended use of the computer to choose the right SSD. Ensure that the SSD is compatible with your computer’s interface, as determined in the previous step.
2. Screwdrivers: Depending on your computer’s make and model, you may need different types of screwdrivers to open the case and secure the SSD in place. Most commonly, a Phillips-head screwdriver will be sufficient, but check your computer’s documentation to be certain.
3. SATA or NVMe Cable: If your SSD requires a specific cable to connect to your computer’s motherboard, ensure that you have the appropriate cable on hand. SATA cables are commonly used for SSDs, while NVMe drives may require special M.2 or PCIe cables. Check your computer’s specifications or consult the SSD manufacturer’s documentation to determine the required cable type.
4. Mounting Bracket or Adapter: If your computer’s drive bay or slot is not compatible with the size or form factor of the SSD, you may need a mounting bracket or adapter. This will allow you to securely install the SSD in the available space.
5. Static-free Environment: It’s important to work in a static-free environment to avoid damaging sensitive electronic components. Consider using an anti-static wristband or mat to discharge any static electricity before handling the SSD or other internal components.
By obtaining and verifying these essential tools and accessories, you will be well-prepared to install the SSD in your computer. Double-check that you have everything on hand before proceeding to avoid any unnecessary delays or complications during the installation process.
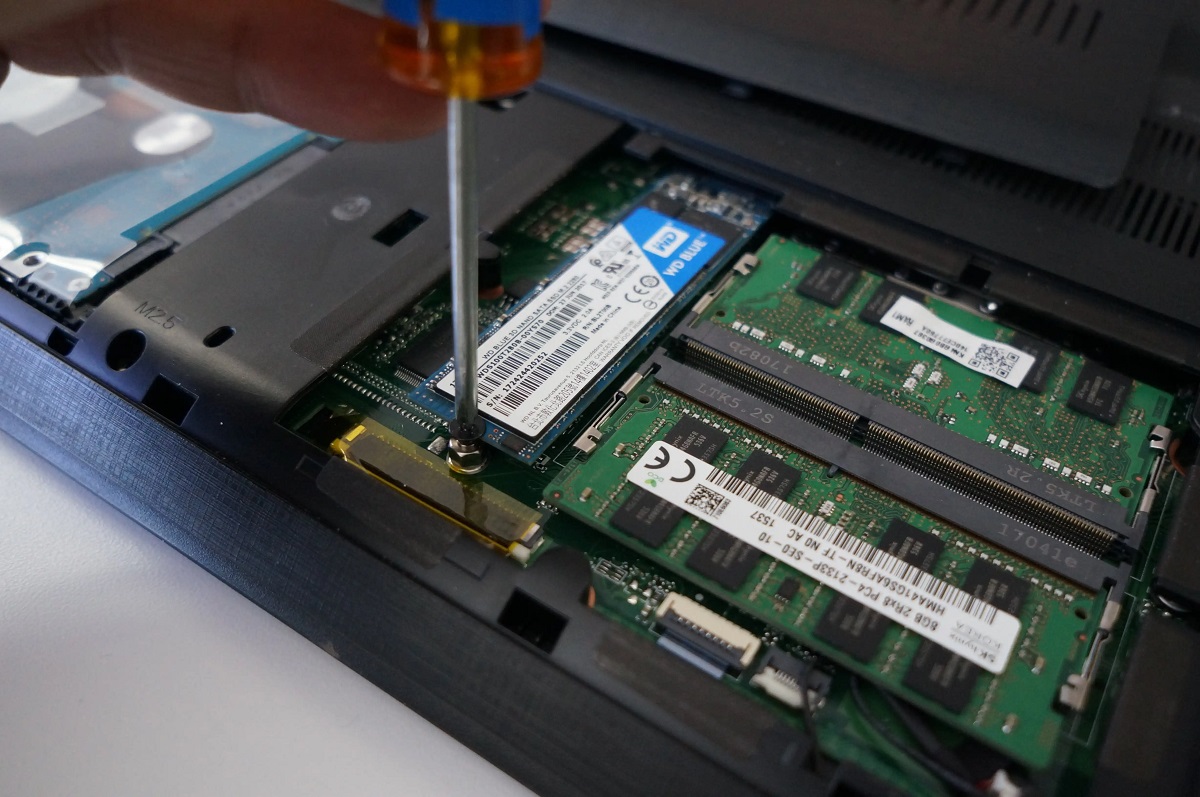
Step 4: Physically Install the SSD
With the necessary equipment in hand, you can now proceed to physically install the solid-state drive (SSD) in your computer. This step involves opening the computer’s case, locating the appropriate slot or bay, and securely installing the SSD. Follow these guidelines for a successful installation:
1. Power down your computer: Before you begin any hardware installation, shut down your computer and unplug it from the power source. This will prevent any accidental damage and ensure your safety during the installation process.
2. Open the computer case: Depending on the make and model of your computer, the process of opening the case may vary. In general, you will need to remove the side panel of the computer tower or the back cover of an all-in-one system. Consult your computer’s documentation or search online for specific instructions on how to open your computer case safely.
3. Locate the drive bay or slot: Identify the drive bay or slot where you will install the SSD. It is usually located near the existing hard drive or optical drive. If necessary, use the mounting bracket or adapter to ensure a secure fit.
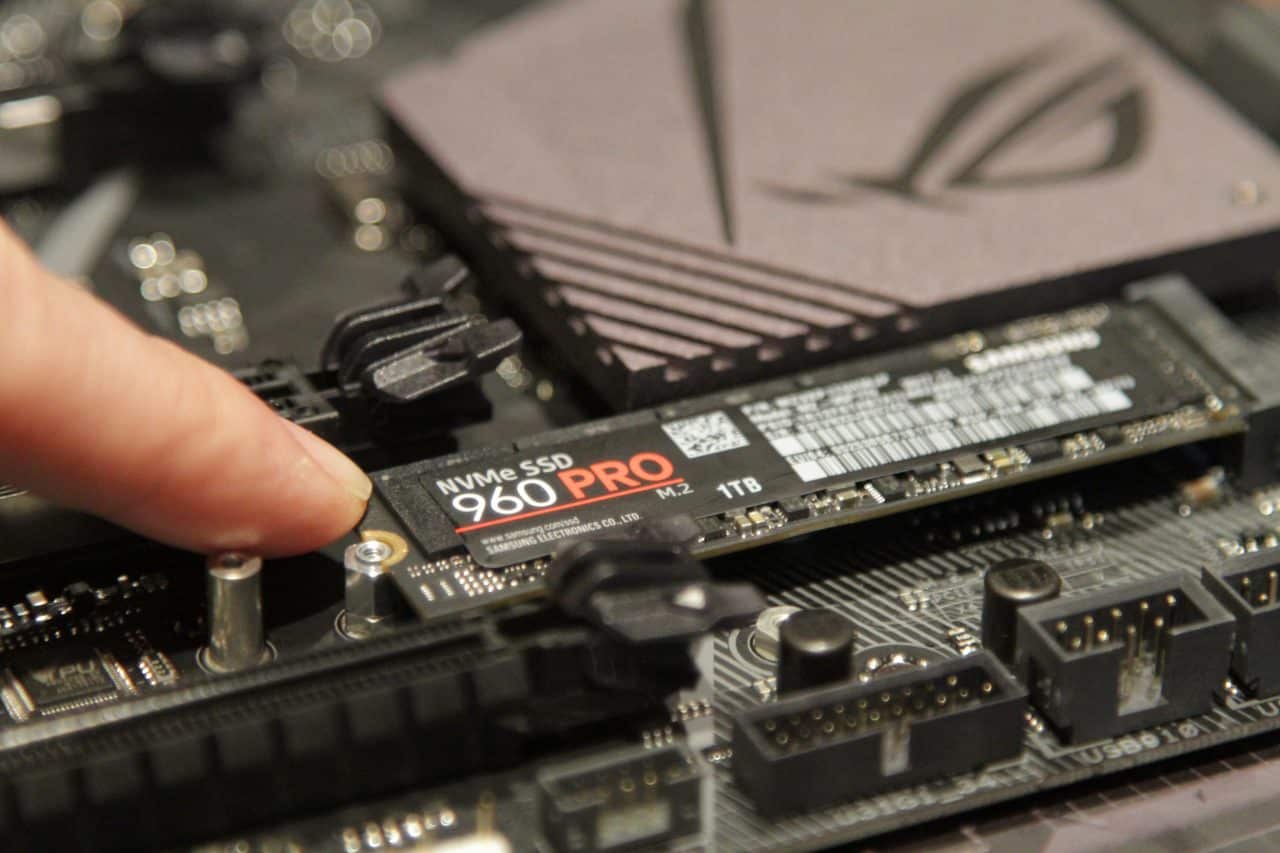
4. Connect the necessary cables: If your SSD requires a SATA or NVMe cable to connect to the motherboard, carefully attach it to the appropriate ports. For SATA, connect one end of the cable to the SSD and the other end to an available SATA port on the motherboard. For NVMe, insert the SSD into the M.2 slot or PCIe slot and secure it.
5. Secure the SSD in place: Depending on the design of your computer case, you may need screws or brackets to secure the SSD in the drive bay or slot. Use the appropriate tools to ensure a tight and secure fit, preventing any movement or dislodging of the SSD.
6. Close the computer case: Once the SSD is securely installed, close the computer case by reattaching the side panel or back cover. Ensure that all screws are tightened, but be careful not to overtighten them.
By following these steps, you will successfully physically install the SSD in your computer, bringing you one step closer to enjoying the enhanced performance and speed that it offers.
Step 5: Connect the SSD to Your Computer
Now that you have physically installed the solid-state drive (SSD) in your computer, it’s time to establish the necessary connections to ensure proper functionality. This step involves connecting the SSD to your computer’s power supply and motherboard. Follow these guidelines for a successful connection:
1. Locate the power supply cables: Identify the power supply cables from your computer’s power supply unit (PSU). SATA power cables are commonly used for SSDs. If you have a modular power supply, connect the corresponding SATA power cable to an available port on the power supply. If your power supply is not modular, there should be pre-attached SATA power cables that you can use.
2. Connect the power cable to the SSD: Take the SATA power cable and connect one end to the SSD’s power connector. Ensure a secure connection by aligning the pins correctly and gently pushing the connector into place. Be careful not to force it or bend any pins.
3. Locate the data connection cables: Depending on your SSD’s interface, you will need to locate the appropriate data connection cables. For SATA SSDs, a SATA data cable is required. For NVMe SSDs, there might not be a need for a separate data cable as they are typically directly connected to the motherboard via the M.2 or PCIe slot.
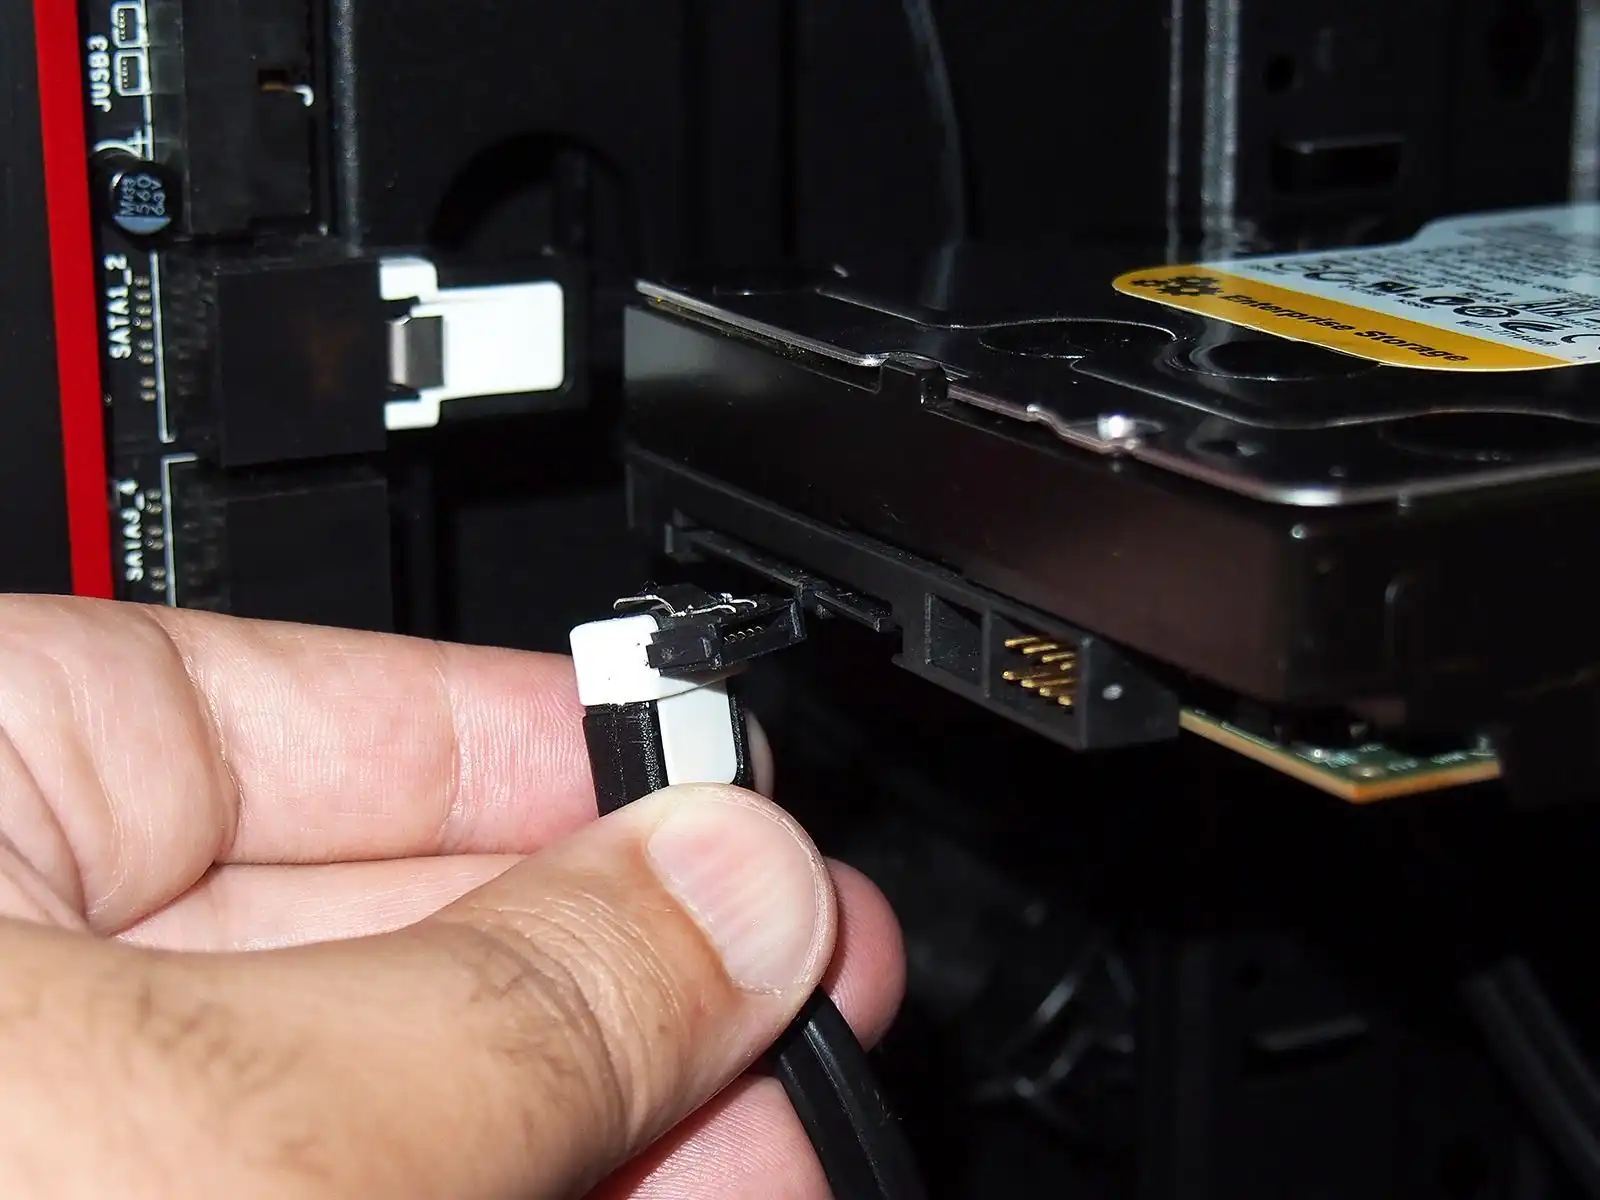
4. Connect the data cable to the SSD: Take the SATA data cable and connect one end to the SSD’s data connector. The data connector is usually located next to the power connector. Ensure a secure connection by aligning the L-shaped notch on the cable connector with the notch on the SSD’s data connector. Gently push the connector into place, making sure it is fully inserted.
5. Connect the other end of the data cable: Locate an available SATA port on the motherboard and connect the other end of the data cable to it. As with the SSD end, align the notch on the cable connector with the notch on the motherboard’s SATA port. Gently push the connector into place.
6. Ensure proper cable management: Once the connections are made, it’s important to ensure proper cable management within your computer case. Use cable ties or clips to secure the power and data cables, preventing them from interfering with other components or impeding airflow. This will help maintain a tidy and efficient system.
By following these steps, you will successfully connect the SSD to your computer, enabling it to communicate with the motherboard and receive power from the PSU.
Step 6: Clone Your Existing Hard Drive to the SSD
Now that you have connected the solid-state drive (SSD) to your computer, it’s time to transfer your existing data, including the operating system, from the old hard drive to the SSD. Cloning the hard drive ensures that all your files, settings, and applications are replicated on the SSD, allowing for a seamless transition. Follow these steps to clone your existing hard drive to the SSD:
1. Choose a cloning software: There are various cloning software options available, both free and paid. Popular choices include Clonezilla, Macrium Reflect, and EaseUS Todo Backup. Select a cloning software that is compatible with your operating system and download it from a reliable source.
2. Run the cloning software: Open the cloning software and follow the on-screen instructions to start the cloning process. In most cases, you will be prompted to select the source drive (your existing hard drive) and the destination drive (the SSD). Make sure you choose the correct drives to avoid any data loss.
3. Configure the cloning settings: Depending on the software you are using, you may have the option to adjust certain settings during the cloning process. These settings typically include cloning method (sector-by-sector or intelligent clone), partition resizing (to match the SSD’s capacity), and any specific options related to your operating system.
4. Start the cloning process: Once you have configured the necessary settings, start the cloning process. This may take some time, depending on the size of your hard drive and the amount of data stored on it. It’s important to let the software complete the cloning process without interruption.
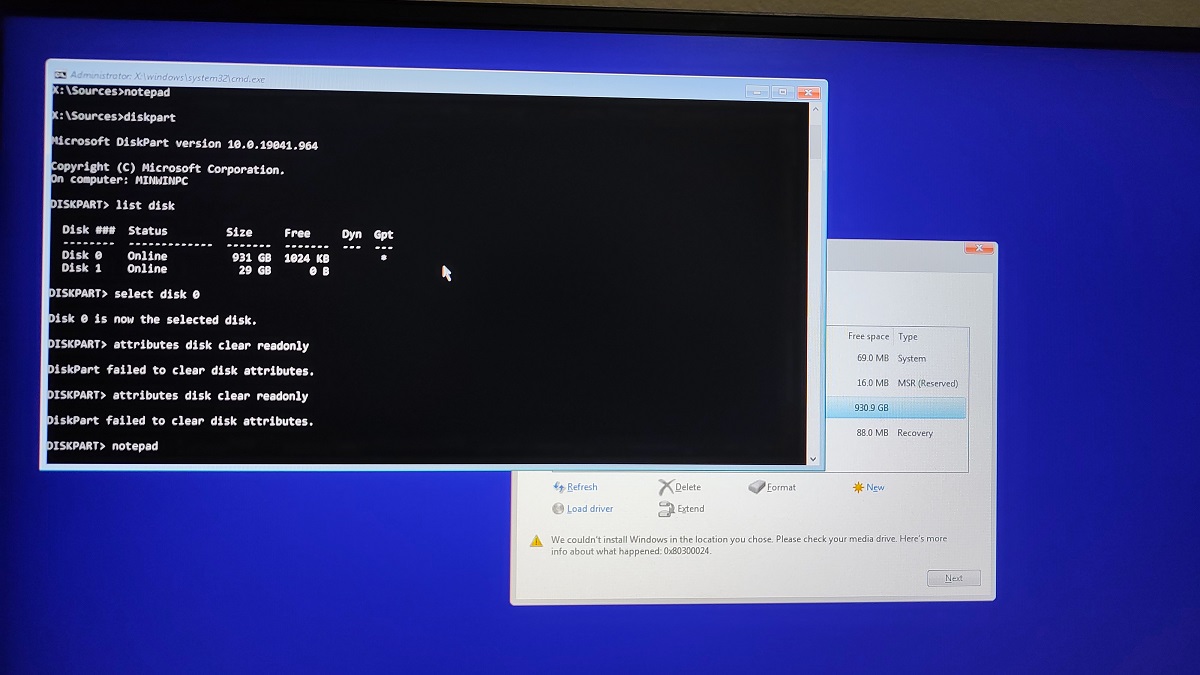
5. Verify the cloned drive: After the cloning process is complete, it’s crucial to verify the cloned drive’s integrity and accuracy. Access the BIOS or boot menu of your computer and check if the SSD is detected as the boot drive. Also, ensure that all your files, applications, and settings are successfully transferred to the SSD.
6. Test the cloned drive: Once you have verified the cloned drive, it’s recommended to perform a few test runs to ensure that everything is functioning correctly. Restart your computer and check if the operating system boots up smoothly from the SSD. Open a few applications and files to confirm that everything is working as expected.
By following these steps, you will successfully clone your existing hard drive to the SSD, ensuring that all your data and settings are transferred seamlessly, allowing for a smooth transition to the new drive.
Step 7: Set the SSD as the Boot Drive
After successfully cloning your existing hard drive to the solid-state drive (SSD), it’s crucial to set the SSD as the boot drive in your computer’s BIOS or UEFI settings. This step ensures that your computer starts up from the SSD, taking advantage of its fast boot times and improved performance. Here’s how you can set the SSD as the boot drive:
1. Restart your computer: Save and close any open applications, then restart your computer.
2. Access the BIOS/UEFI settings: During the boot process, a specific key needs to be pressed to access the BIOS or UEFI settings. The key varies depending on your computer’s manufacturer but is commonly the F2, Del, F12, or Esc key. Consult your computer’s documentation or perform an internet search to identify the correct key for your system.
3. Navigate to the boot settings: Once inside the BIOS/UEFI settings menu, navigate to the “Boot” or “Boot Order” section. This section determines the order in which the computer looks for bootable devices.
4. Change the boot order: Locate the option that lists the available boot devices or boot order. Use the appropriate keys (usually the “+” or “-” keys) to move the SSD to the top of the list. This will set the SSD as the first device the computer attempts to boot from.
5. Save changes and exit: After setting the SSD as the primary boot device, save your changes and exit the BIOS/UEFI settings. This is usually done by pressing the F10 key and confirming your selection.
6. Restart your computer: Allow your computer to restart. It should now boot from the SSD instead of the old hard drive.
7. Verify the boot drive: Once you are logged into your operating system, verify that the SSD is indeed the boot drive. Open the File Explorer (Windows) or Finder (macOS) and confirm that the drive listing matches the SSD. You can also check the system information in your operating system’s settings to verify the boot drive.
By setting the SSD as the boot drive, you ensure that your computer starts up quickly and runs efficiently, taking full advantage of the improved performance offered by the SSD.
Step 8: Test the New Drive
After setting the solid-state drive (SSD) as the boot drive and successfully transitioning to the new drive, it’s essential to thoroughly test its performance and functionality. Testing the new drive ensures that it is operating optimally and that all your data and applications are running smoothly. Follow these steps to test the new drive:
1. Check the boot time: Restart your computer and note the time it takes for the operating system to boot up. With an SSD as the boot drive, you should experience significantly faster boot times compared to a traditional hard drive.
2. Open applications and files: Launch your frequently used applications and open some files to check if they load quickly. The increased read and write speeds of the SSD should result in faster application launch times and shorter file access times.
3. Monitor system responsiveness: Pay attention to how your system responds to various tasks. Switch between applications, perform multitasking, and observe if your computer feels more responsive and snappier compared to before.
4. Test file transfer speeds: Copy a large file or folder from one location to another on your computer to test the file transfer speeds. The faster read and write speeds of the SSD will result in quicker file transfers.
5. Run benchmark tests: Utilize benchmarking software to evaluate the performance of your SSD. These tools provide detailed information about read and write speeds, random access times, and other performance metrics. Popular benchmarking tools include CrystalDiskMark, AS SSD Benchmark, and ATTO Disk Benchmark.
6. Keep an eye on temperatures: Monitor the temperature of the SSD using software tools provided by the manufacturer or third-party applications. Ensure that the temperature remains within the SSD’s operating range to prevent overheating, which can lead to decreased performance and potential damage.
7. Check for any issues: Pay attention to any unusual behavior, error messages, or glitches that may occur after the SSD upgrade. If you encounter any issues, consult the manufacturer’s documentation, online forums, or seek professional assistance to troubleshoot and resolve the problem.
8. Repeat the above steps periodically: It’s a good practice to periodically test the performance of your SSD. This allows you to monitor any changes or degradation over time, ensuring the drive continues to deliver reliable performance.
By thoroughly testing your new SSD, you can ensure that it functions optimally, and any issues can be identified and addressed promptly. Enjoy the improved speed and performance that the SSD brings to your computer.
Conclusion
Upgrading your computer to a solid-state drive (SSD) can significantly enhance its performance and speed, providing faster data access, improved reliability, and increased durability. By following the step-by-step process outlined in this guide, you can successfully switch your computer to an SSD and unlock its full potential.
Starting with ensuring compatibility and backing up your data, you are prepared for a smooth transition. Obtaining the necessary equipment, physically installing the SSD, and connecting it to your computer ensures a secure and stable setup. The crucial step of cloning your existing hard drive to the SSD ensures that all your files, settings, and applications are seamlessly transferred.
Setting the SSD as the boot drive in the BIOS or UEFI settings ensures that your computer starts up quickly and efficiently. Finally, testing the new drive through benchmarking, performance monitoring, and file transfer speeds allows you to verify its increased speed and functionality.
Remember to periodically check the performance of your SSD and address any issues that may arise. Regular backups and staying up-to-date with firmware updates and driver installations are important for maintaining the longevity and optimal performance of your SSD.
By following these steps, you can successfully switch your computer to an SSD and enjoy the numerous benefits it offers. Whether you are a home user seeking faster load times and responsiveness or a professional requiring improved productivity and efficiency, upgrading to an SSD will undoubtedly enhance your computing experience. Embrace the power of SSD technology and take your computer performance to the next level.