Introduction
Are you looking to boost the performance of your computer? Upgrading your traditional hard drive to a solid-state drive (SSD) is a great way to do it. The Samsung 860 EVO 250GB 2.5 Solid State Drive is a popular choice for its reliability and impressive speed. Installing this SSD can significantly improve your computer’s boot time and overall responsiveness.
Upgrading your storage drive may seem daunting, but fear not! This article will guide you through the installation process step by step. By the end of this guide, you will have a shiny new SSD up and running in your computer.
Before we dive into the installation steps, let’s talk about the tools and materials you’ll need. The good news is that the process is fairly straightforward and does not require any specialized tools. Here’s what you’ll need:
- A Phillips screwdriver
- A SATA cable
- A SATA power cable
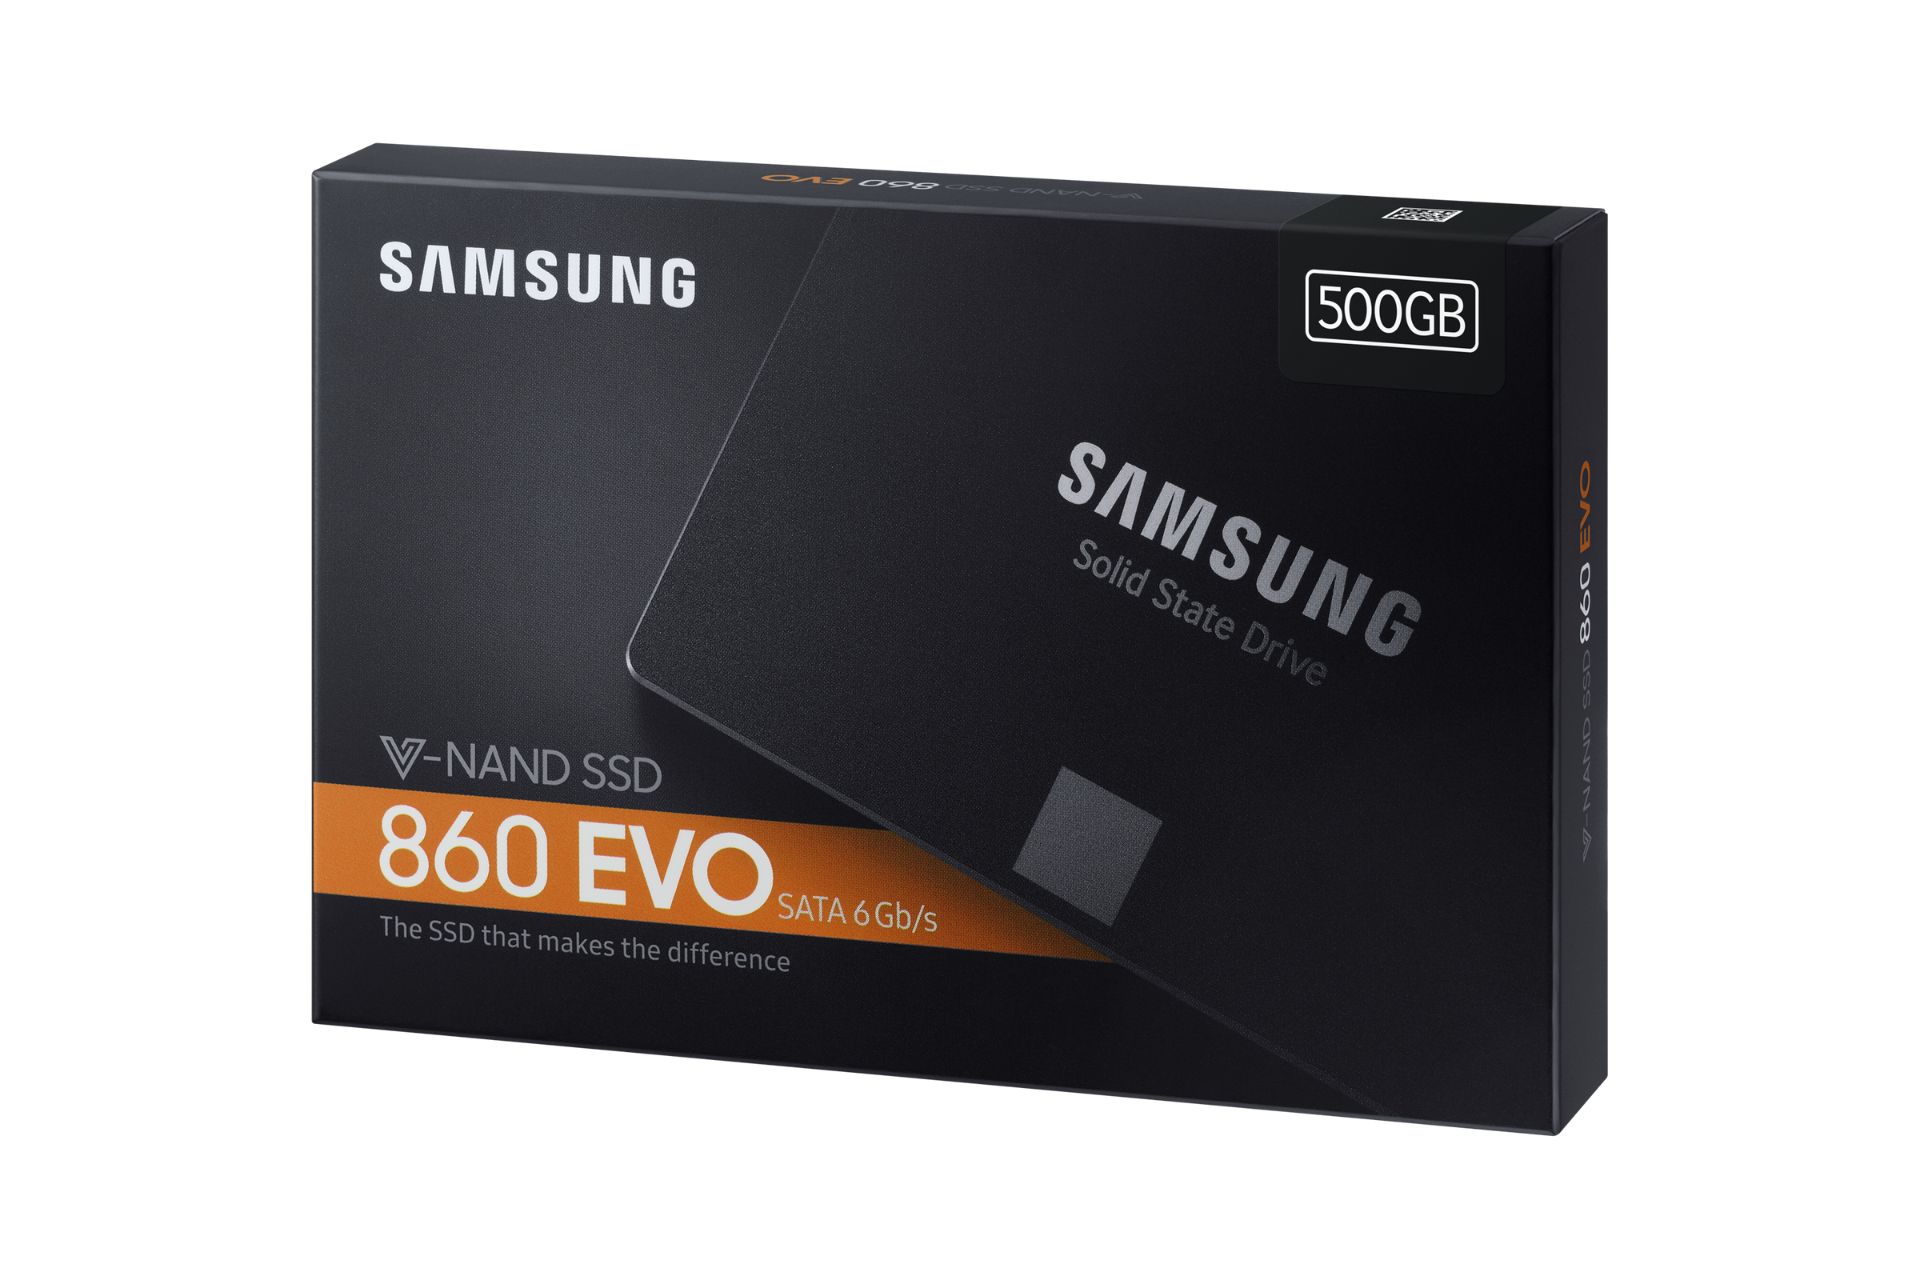
- The Samsung 860 EVO 250GB 2.5 Solid State Drive
Now that you have your tools and materials ready, let’s get started!
Tools and Materials Needed
Before you begin the installation process for the Samsung 860 EVO 250GB 2.5 Solid State Drive, you’ll need a few essential tools and materials. But don’t worry, you won’t need anything too fancy. Here’s a list of what you’ll need to get started:
- A Phillips screwdriver: This will be used to open your computer case and secure the SSD in place.
- A SATA cable: This cable will be used to connect the SSD to your computer’s motherboard.
- A SATA power cable: You’ll need this cable to provide power to the SSD.
- The Samsung 860 EVO 250GB 2.5 Solid State Drive: Of course, you’ll need the SSD itself. Make sure you have the correct model and size before proceeding.
Having these tools and materials ready before you start the installation process will save you time and ensure a smooth experience.
It’s worth noting that the specific tools and materials required may vary slightly depending on your computer’s make and model. However, the vast majority of desktop computers will require the items listed above. If you’re unsure about compatibility or if you need any additional tools or cables, consult your computer’s user manual or contact the manufacturer for guidance.
Once you have gathered all the necessary tools and materials, you’re ready to move on to the next step: shutting down your computer and preparing for the installation process.
Step 1: Shut Down Your Computer and Unplug It
Before you begin installing the Samsung 860 EVO 250GB 2.5 Solid State Drive, the first step is to shut down your computer and unplug it from the power source. This ensures your safety and prevents any electrical accidents during the installation process.
To shut down your computer, follow these simple steps:
- Save any open files and close all applications on your computer.
- Click on the “Start” button in the bottom-left corner of your screen.
- Select the “Power” option from the menu.
- Click on “Shut Down” or “Turn Off” to initiate the shut down process.
Next, you’ll need to unplug your computer from the power source. Locate the power cord that connects your computer to the wall socket or surge protector. Gently pull the plug out of the socket or switch off the surge protector if you’re using one.
It’s important to wait for a few minutes after shutting down your computer to allow it to cool down. This ensures that the internal components are not hot to the touch when you begin working on the installation. This waiting period also helps to discharge any residual electricity in the system.
Remember, always take precautions when working with electronic devices. By shutting down your computer and unplugging it from the power source, you’re ensuring your safety before proceeding to the next steps.
Now that your computer is safely shut down and unplugged, you’re ready to move on to the next step: opening your computer case.
Step 2: Open Your Computer Case
With your computer safely shut down and unplugged, it’s time to open the computer case to access the internal components. Opening the case may vary slightly depending on the type of computer you have, but the general steps are as follows:
- Locate the screws or latches that secure the computer case.
- Use a Phillips screwdriver to remove the screws, or release the latches to open the case.
- Once the screws are removed or the latches are released, gently slide or lift the side panel of the case to open it.
It’s important to note that some computer cases may have multiple side panels or a removable top panel. Refer to your computer’s user manual if you’re unsure about the specific steps for your case.
As you open the computer case, be mindful of any cables or connections that may be attached to the side panel. Carefully disconnect them if necessary, ensuring not to damage any wires or components.
Once the case is open, take a moment to familiarize yourself with the internal layout. You’ll be looking for the mounting area where the SSD will be installed. This area is typically located near the existing storage drive(s) and is easily identifiable.
Remember to handle the internal components with care and avoid touching any delicate parts. Static electricity can damage sensitive electronic circuits, so it’s a good idea to ground yourself by touching a metal surface before handling any components.
Now that your computer case is open and you’re familiar with the internal layout, you’re ready to move on to the next step: locating the mounting area for the SSD.
Step 3: Locate the Mounting Area for the SSD
After you have opened your computer case, the next step is to locate the mounting area where you will install the Samsung 860 EVO 250GB 2.5 Solid State Drive. This area is typically located near the existing storage drive(s) within the case.
Take a moment to visually inspect the internal components of your computer. Look for any empty drive bays or slots. The mounting area for the SSD will typically feature a 2.5-inch drive bay. This area may also have mounting brackets or screws to secure the drive in place.
If you’re unsure about the exact location of the mounting area, consult your computer’s user manual or refer to the manufacturer’s website for specific instructions regarding your computer model.
It’s important to note that in some cases, your computer may not have an available drive bay for the SSD. If this is the case, you may need to remove an existing drive or utilize a mounting bracket to accommodate the new SSD. Before proceeding, make sure you have clear instructions on how to proceed with the installation if adjustments are needed.
Once you have identified the mounting area, take a moment to ensure that it is clean and free from any dust or debris. Removing any obstructions will help ensure a secure and proper installation of the SSD. You can use compressed air or a soft cloth to gently clean the area if necessary.
Now that you have located the mounting area for the SSD, you’re ready to move on to the next step: preparing the SSD for installation.
Step 4: Prepare the SSD for Installation
Before you install the Samsung 860 EVO 250GB 2.5 Solid State Drive into the mounting area, it’s essential to prepare the SSD to ensure a successful installation. Here’s how you can do it:
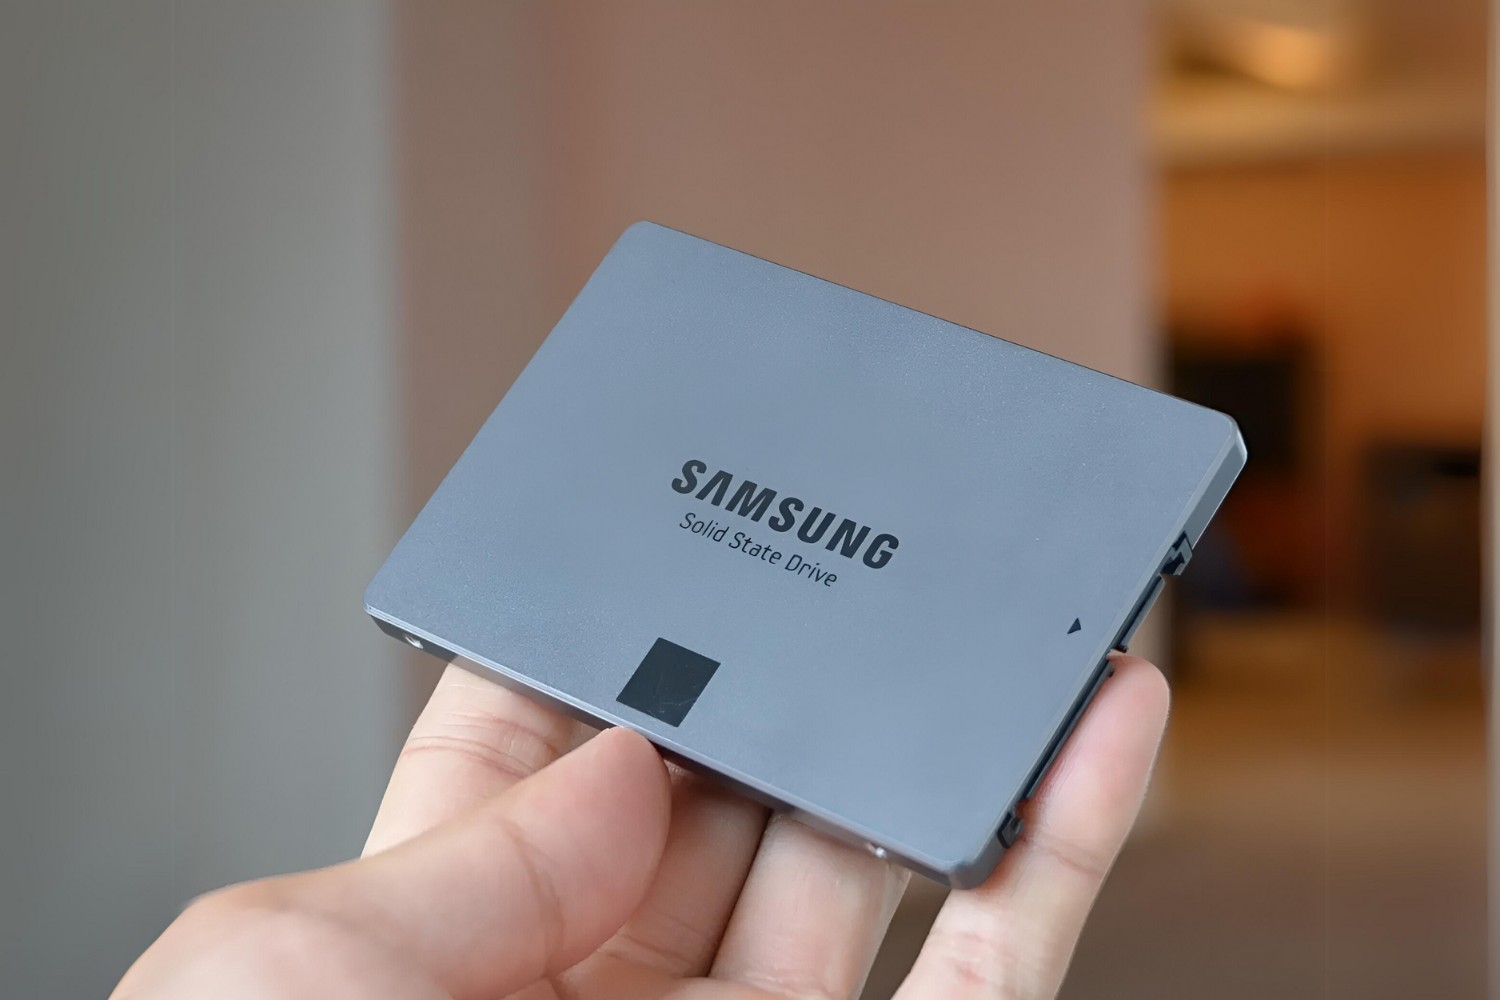
- Handle the SSD with care. Avoid touching the gold connectors or any exposed circuitry. Instead, hold the drive by its edges or use an anti-static wrist strap if you have one.
- Inspect the SSD for any physical damage. Ensure there are no visible signs of dents, scratches, or loose components. If you notice any damage, contact the manufacturer for assistance.
- If your SSD didn’t come with any accessories, you may need to attach the mounting brackets. These brackets help secure the SSD into the mounting area. Follow the instructions provided with your SSD to attach the brackets if needed.
- Once the SSD is ready, find the SATA connectors. There are two types you need to look for:
- SATA data connector: This cable connects the SSD to the motherboard. It is usually a thin, L-shaped connector. Locate an available SATA port on the motherboard and ensure you have a SATA cable ready to connect the SSD.
- SATA power connector: This cable provides power to the SSD. Locate an available SATA power connector from the power supply unit (PSU).
- Ensure both the SATA data connector and SATA power connector are easily accessible and within reach of the mounting area. This will make it easier to connect the cables once the SSD is installed.
By preparing the SSD for installation, you ensure that it’s in good condition and ready to be securely mounted inside your computer. Taking these steps will help prevent any installation issues and ensure the longevity of your SSD.
Now that you have prepared the SSD, you’re ready to move on to the next step: installing the SSD into the mounting area.
Step 5: Install the SSD into the Mounting Area
With the Samsung 860 EVO 250GB 2.5 Solid State Drive prepared for installation, it’s time to mount the SSD into the designated area within your computer case. Follow these steps to ensure a secure and proper installation:
- Align the SSD with the mounting area in your computer case. Pay attention to any mounting brackets or screw holes that may be present.
- If necessary, attach the mounting brackets to the SSD using the screws provided with your SSD or the brackets themselves.
- Carefully slide the SSD into the mounting area, ensuring that it sits securely and flush against the case.
- If your mounting area requires screws, use the appropriate screws to secure the SSD in place. Take care not to overtighten the screws, as this may damage the drive or the case.
- Double-check that the SSD is firmly installed and does not wiggle or move when gentle pressure is applied. A secure installation is important to prevent any damage to the drive and to ensure optimal performance.
Throughout the installation process, be mindful of any nearby cables or components. Avoid placing excessive pressure on any delicate parts and ensure that the SSD does not obstruct any other internal components.
It’s worth noting that some computer cases may have tool-less installation mechanisms for SSDs, allowing you to skip the step of using screws. If your case offers this feature, follow the manufacturer’s instructions to securely mount the SSD using the tool-less method.
Once the SSD is securely installed in the mounting area, you’re ready to move on to the next step: connecting the SATA cable to the SSD.
Step 6: Connect the SATA Cable to the SSD
Once you have successfully mounted the Samsung 860 EVO 250GB 2.5 Solid State Drive into the designated area, it’s time to connect the necessary cables. Follow these steps to connect the SATA cable to the SSD:
- Locate the SATA data connector on the SSD. It is a small L-shaped connector typically located near the power connector.
- Take the SATA data cable and connect one end firmly into the SSD’s SATA data connector.
- Locate an available SATA port on your computer’s motherboard. The SATA ports are typically labeled and can be found near the other storage-related connections.
- Connect the other end of the SATA data cable securely into the chosen SATA port on the motherboard. Ensure that it is firmly seated and latched into place.
It’s important to handle the SATA cable with care and avoid putting unnecessary stress on the connectors. Make sure the cable is properly aligned before gently inserting it into the connectors.
By connecting the SATA cable, you enable data transfer between the Samsung 860 EVO SSD and your computer’s motherboard. This connection allows for fast and reliable communication, ensuring that your computer can access the SSD’s data.
Once the SATA cable is securely connected to the SSD and the motherboard, you’re ready to move on to the next step: connecting the power cable to the SSD.
Step 7: Connect the Power Cable to the SSD
With the SATA cable securely connected to the Samsung 860 EVO 250GB 2.5 Solid State Drive and the motherboard, it’s time to provide power to the SSD. Follow these steps to connect the power cable:
- Locate the SATA power connector on your power supply unit (PSU). It is a rectangular-shaped connector with multiple pins.
- Take the SATA power cable and connect one end to the SATA power connector on the PSU. Ensure that it is firmly seated and connected.
- Locate the SATA power connector on the SSD. It is a small, L-shaped connector typically located near the SATA data connector.
- Connect the other end of the SATA power cable securely into the SSD’s SATA power connector. Make sure it is properly aligned and latched into place.
When connecting the power cable, ensure that the SATA power connector is oriented correctly and matches the SSD’s SATA power connector. It should insert smoothly without excessive force. Double-check that the connection is secure and that the cable is not loose.
It’s important to handle the power cable with care and avoid placing any strain on the connectors. Ensure that the cable is routed neatly and does not obstruct any other components or cables inside the computer case.
By connecting the power cable, you provide the necessary electrical power to the Samsung 860 EVO SSD, enabling it to function properly and store and retrieve data. This connection ensures that the SSD receives the power it needs to operate efficiently.
Once the power cable is securely connected to the SSD and the PSU, you’re ready to move on to the next step: securing the SSD in place.
Step 8: Secure the SSD in Place
Now that the Samsung 860 EVO 250GB 2.5 Solid State Drive is properly connected and powered, it’s crucial to secure it in place within the mounting area of your computer case. Follow these steps to ensure a stable installation:
- Check if your computer case has any brackets or mounting mechanisms specifically designed for securing SSDs. If present, refer to your case’s manual for instructions on how to use them.
- If no brackets or mounting mechanisms are available, you can use screws to secure the SSD in place. Align the mounting holes on the SSD with the corresponding holes in the mounting area.
- Using a Phillips screwdriver, gently insert the screws through the mounting holes in the SSD and tighten them. Be careful not to overtighten, as it could damage the drive or the case.
It’s essential to ensure that the SSD is securely fastened and does not wiggle or move when pressure is applied. A loose SSD could potentially disconnect the cables or cause performance issues. Make sure the screws are tightened firmly, but don’t apply excessive force.
While securing the SSD, be cautious not to damage any other components or cables nearby. Take your time and double-check that the drive is aligned properly and that the screws are inserted into the correct holes.
Securing the SSD in place not only protects the drive from movement but also ensures that it remains in the correct position for optimal data transfer and reliable performance.
With the SSD securely fastened and appropriately installed in the mounting area, you’re one step closer to enjoying the benefits of improved storage speed and performance. Now, it’s time to move on to the next step: closing your computer case.
Step 9: Close Your Computer Case
After successfully installing the Samsung 860 EVO 250GB 2.5 Solid State Drive and securing it in place, it’s time to close your computer case. Closing the case not only protects the internal components but also ensures proper airflow for cooling. Follow these steps to close your computer case:
- Double-check all cable connections to ensure they are secure. Ensure that the SATA data cable and power cable are firmly attached to the SSD and the motherboard/PSU, respectively.
- Organize and tidy up any loose cables inside the case. Use cable ties or cable management tools to bundle and secure cables, keeping them out of the way of any fans or other components.
- Align the side panel of the case with the chassis and slide or press it into place gently. Depending on your case, you may need to secure it using screws or latches.
- If there are screws, use a Phillips screwdriver to tighten them, but be careful not to overtighten. Ensure that the panel is snug and properly aligned with the rest of the case.
When closing the case, take care not to pinch or crush any cables. Ensure that the side panel fits flush with the case and that there are no gaps or loose edges. A properly closed case provides better protection against dust, debris, and accidental damage.
Once the case is closed, give it a quick visual inspection to ensure that everything looks tidy and secure. Also, check for any signs of cables obstructing fans or other components, as this can affect airflow and cooling.
By closing your computer case, you’re safeguarding the internal components and promoting optimal performance. Your computer is now ready to be powered on and to enjoy the benefits of the new SSD.
Now that you’ve successfully closed your computer case, it’s time to move on to the final step: plugging in and powering on your computer.
Step 10: Plug In and Power On Your Computer
Now that you have completed the installation of the Samsung 860 EVO 250GB 2.5 Solid State Drive and closed your computer case, it’s time to plug in and power on your computer. Follow these steps to complete the installation process:
- Connect the power cable back into your computer and plug it into a power outlet or surge protector.
- Double-check all cable connections, including the power cable, monitor cable, keyboard, and mouse.
- Ensure that the computer case power switch is in the “Off” position before turning on the power supply unit at the back of the case (if applicable).
- Press the power button on your computer case to turn on your computer.
As your computer powers on, listen for any unusual noises and observe the screen for normal startup activity. If everything appears to be functioning properly, you can proceed to the next step of setting up your computer.
Once your computer has booted up, it’s essential to check that the Samsung 860 EVO SSD is recognized by the system. To do this:
- Click on the “Start” button on your computer screen and go to “This PC” or “My Computer” (depending on your operating system).
- You should see the Samsung 860 EVO SSD listed as a new drive. Take note of the drive letter assigned to the SSD to easily access it in the future.
Congratulations! You have successfully installed and powered on your computer with the Samsung 860 EVO SSD. You can now enjoy the increased speed and performance that comes with a solid-state drive.
Remember to transfer any necessary files or operating system installations to the new SSD, ensuring that you optimize its storage capacity and maximize its benefits.
If you encounter any issues during the installation process or have further questions, consult the Samsung support documentation or seek assistance from a qualified technician.
Enjoy your upgraded system and the improved performance provided by the Samsung 860 EVO SSD!
Conclusion
Congratulations on successfully installing the Samsung 860 EVO 250GB 2.5 Solid State Drive into your computer! By following the step-by-step guide outlined in this article, you have upgraded your storage and unlocked the potential for improved speed and performance.
Installing an SSD can significantly enhance your computing experience, reducing boot times, increasing file transfer speeds, and improving overall system responsiveness. The Samsung 860 EVO, known for its reliability and impressive performance, is an excellent choice for upgrading your storage drive.
Throughout the installation process, we covered essential steps, including shutting down your computer, opening the case, locating the mounting area, preparing the SSD, connecting the SATA cable, attaching the power cable, securing the SSD, closing the computer case, and finally, plugging in and powering on your computer.
Remember to properly organize and secure cables inside your computer case to maintain proper airflow and prevent any damage. Additionally, ensure that the SSD is recognized by your system and properly labeled within your operating system.
With your new SSD up and running, take the time to transfer essential files and applications to fully utilize the benefits of increased storage speed and performance.
If you encountered any difficulties during the installation process or have further questions, refer to the Samsung support documentation or consult a qualified technician for assistance.
Now that you’ve completed the installation, enjoy the improved computing experience and experience faster file access, quicker boot times, and seamless multitasking with your upgraded Samsung 860 EVO SSD.
Thank you for following this guide, and we hope that this new addition to your computer enhances your productivity and enjoyment for years to come!