Introduction
Upgrading your computer with a solid-state drive (SSD) can significantly improve its performance and speed. By attaching the SSD to the motherboard, you can take advantage of its fast data transfer capabilities and enjoy reduced boot times, faster application loading, and improved overall system responsiveness.
If you’re new to computer hardware and wondering how to attach an SSD to your motherboard, don’t worry. In this guide, we will walk you through the process step by step, ensuring that you can successfully install your SSD and reap its benefits.
Before we get started, it’s important to note that different motherboards may have varying designs and layouts. Therefore, it’s always a good idea to consult your motherboard’s manual for specific instructions that may be unique to your system. However, the general process remains the same for most desktop computers.
Now, let’s dive in and explore the steps to attach your SSD to the motherboard.
Step 1: Gather the necessary tools and materials
Before you begin the process of attaching your SSD to the motherboard, you’ll need to gather a few essential tools and materials. Having everything prepared beforehand will make the installation process smoother and more efficient. Here’s what you’ll need:
1. A Phillips head screwdriver: Most computer cases require a Phillips head screwdriver for removing the side panel and securing the SSD to the case.
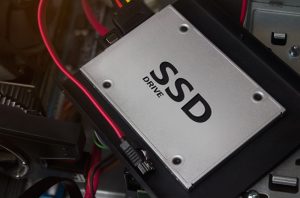
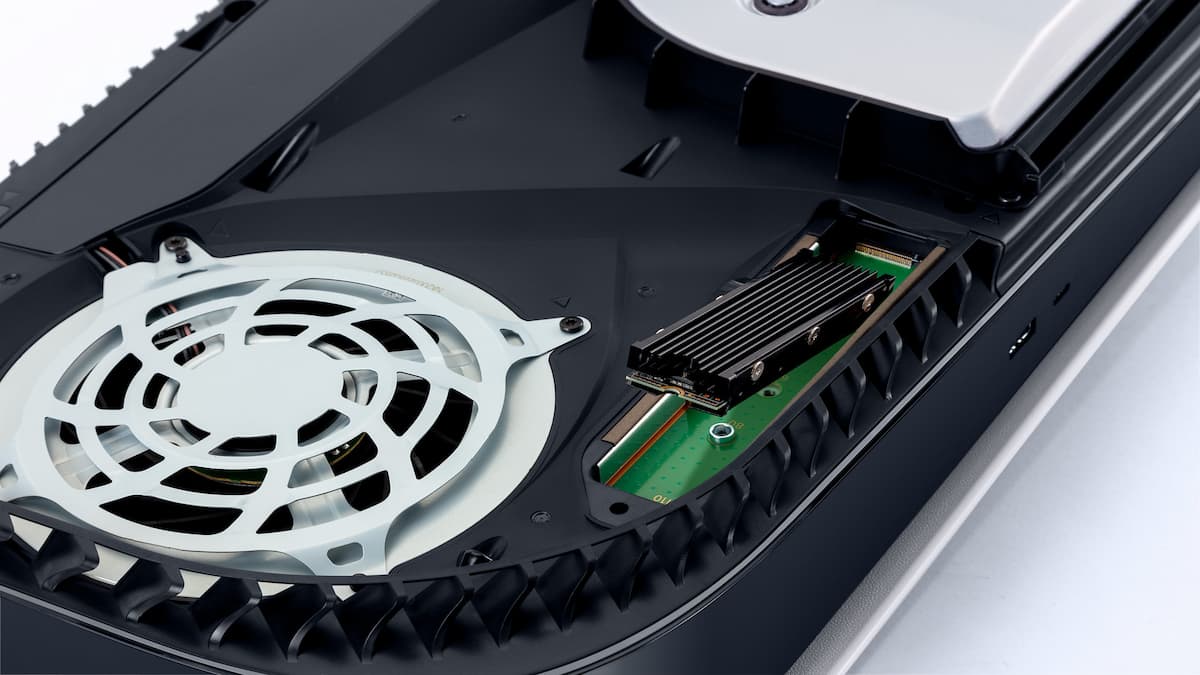
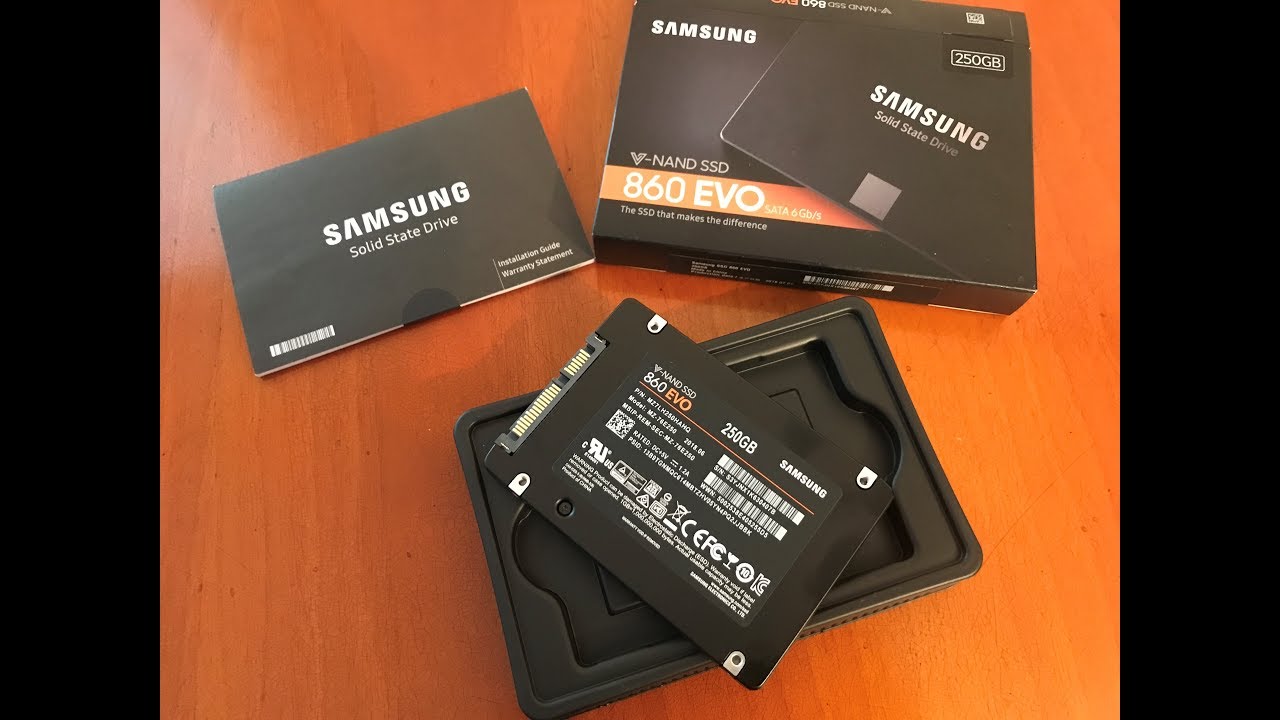
2. An SSD: Ensure that you have purchased a compatible SSD that matches the form factor (e.g., 2.5-inch or M.2) supported by your motherboard. It’s also advisable to check the storage capacity and ensure it meets your needs.
3. SATA data cable: This cable allows for data transfer between the SSD and the motherboard. Most motherboards come with SATA cables included, but if you need an extra one, it can be purchased separately.
4. SATA power cable: To power your SSD, you’ll need a SATA power cable. This cable typically comes from your power supply unit (PSU). If you have a modular PSU, ensure that you have the necessary cable available.
5. Mounting screws: SSDs, especially 2.5-inch drives, typically require mounting screws to secure them in place. These screws are commonly included with your SSD or computer case. If you can’t find them, consult your manual or purchase them separately.
Once you have gathered all the necessary tools and materials, you’re ready to move on to the next steps of attaching your SSD to the motherboard. Remember to take proper precautions, such as grounding yourself by touching a metal surface, to protect your components from electrostatic discharge.
Step 2: Power down your computer
Before you begin working inside your computer, it’s important to power it down properly to avoid any potential damage or data loss. Follow the steps below to safely turn off your computer:
1. Save your work: Make sure you have saved any open documents or files and close all running programs. This ensures that you don’t lose any unsaved data during the shutdown process.
2. Shut down the operating system: Depending on your specific operating system, locate the “Shut Down” option. In Windows, you can typically find it in the Start menu or by pressing the Windows key + X and selecting “Shut down or sign out.”
3. Wait for the computer to fully shut down: Allow your computer a few moments to complete the shutdown process. You can check if the computer has powered off completely by observing any indicator lights or listening for any fan noise.
4. Unplug the power cord: Once your computer is fully shut down, disconnect the power cord from the wall outlet to completely cut off the power supply. This step is crucial for your safety and prevents any accidental electrical discharge while working on the internal components.
5. Press the power button to discharge any remaining power: To discharge any lingering power in the system, press and hold the power button on the front of the computer for a few seconds. This helps eliminate any residual charge that might be present.
Now that your computer is powered down, you can proceed to the next step—opening the computer case—to access the motherboard and attach the SSD.
Step 3: Open the computer case
To access the internal components of your computer, you’ll need to open the computer case. Follow these steps to safely open the case:
1. Locate the screws or latches: Look for screws or latches securing the side panel of your computer case. These are usually located on the rear or top of the case. If you’re unsure, consult the manual for your specific computer case model.
2. Remove the screws or unlatch the latches: Use a Phillips head screwdriver to remove the screws or unlatch the latches. Set them aside in a safe place so you can easily reattach the side panel later.
3. Slide or remove the side panel: Once the screws are removed or the latches are released, gently slide or remove the side panel of the case. Be cautious when handling the panel to avoid any sharp edges and ensure you don’t accidentally pull on any cables connected to the panel.
4. Ground yourself: Before touching any of the internal components, it’s essential to ground yourself. This helps protect sensitive electronic components from potential damage caused by electrostatic discharge. You can do this by touching a metal surface or using an anti-static wrist strap if available.
5. Locate the motherboard: Inside the computer case, you’ll find the main circuit board called the motherboard. It is usually situated in a horizontal or vertical position, and you can identify it by its size and various ports and connectors.
With the computer case open, you are now ready to move on to the next step of attaching the SSD to the motherboard.
Step 4: Locate the SATA ports on the motherboard
Before you connect the SSD to the motherboard, you need to locate the SATA ports on the motherboard. SATA (Serial ATA) ports are used for connecting storage devices like SSDs to the motherboard. Follow these steps to find the SATA ports:
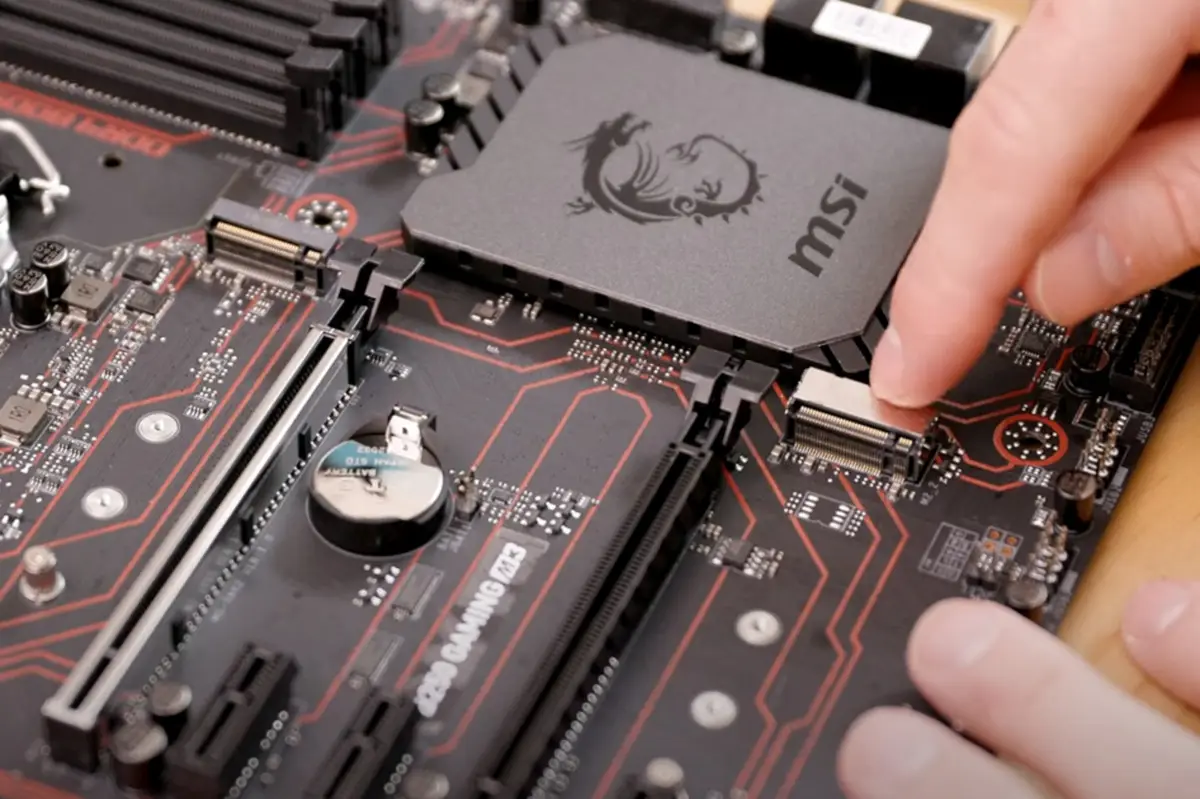
1. Identify the motherboard: Look for the large, flat circuit board inside your computer case. This is the motherboard. It is usually labeled with the manufacturer’s logo and model number.
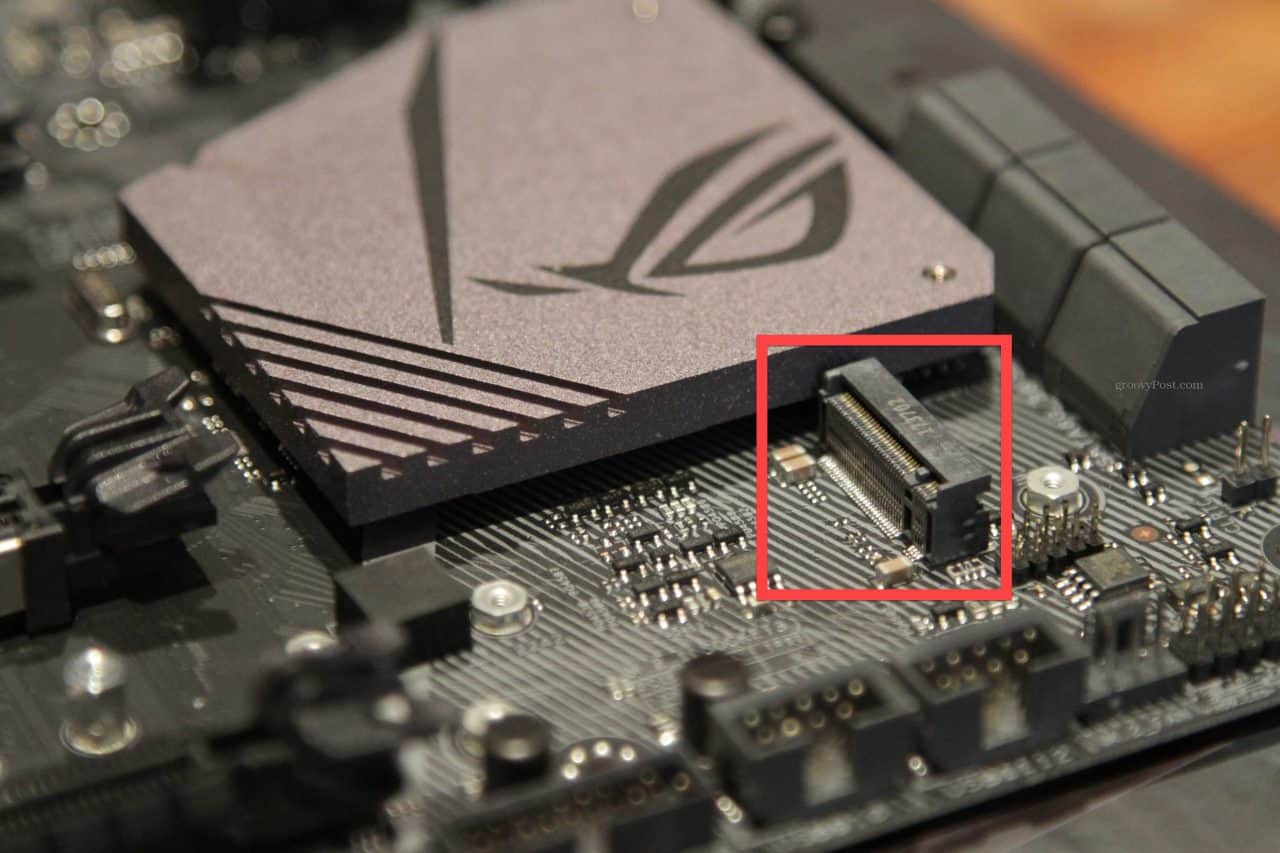
2. Locate the SATA connectors: On the motherboard, you will find a series of ports or connectors. The SATA connectors are rectangular-shaped and typically colored in different shades, such as black or white. These connectors may be located near the edge of the motherboard or clustered together in a specific area.
3. Count the SATA ports: Depending on the motherboard, you may have multiple SATA ports available. Count the number of ports you see and make a note of their locations. It’s important to avoid confusing them with other ports, such as USB or Ethernet ports.
4. Determine the SATA version: Take note of the SATA version supported by the motherboard. SATA versions can be 1.5Gbps (SATA I), 3Gbps (SATA II), 6Gbps (SATA III), or higher. The SATA version affects the maximum data transfer rate that your SSD can achieve when connected to the motherboard.
5. Refer to the motherboard manual: If you’re unsure about the exact location or specifications of the SATA ports on your motherboard, consult the motherboard manual. The manual will provide detailed information about the motherboard layout, including the position and features of the SATA ports.
Now that you have located the SATA ports on your motherboard, you are ready to proceed with connecting the SATA data cable to establish a connection between the SSD and the motherboard.
Step 5: Connect the SATA data cable to the motherboard
With the SATA ports on the motherboard identified, it’s time to connect the SATA data cable to establish a connection between the SSD and the motherboard. Follow these steps:
1. Locate an available SATA port: Look for an available SATA port on the motherboard where you want to connect your SSD. Ensure that the SATA port is not already occupied by another device.
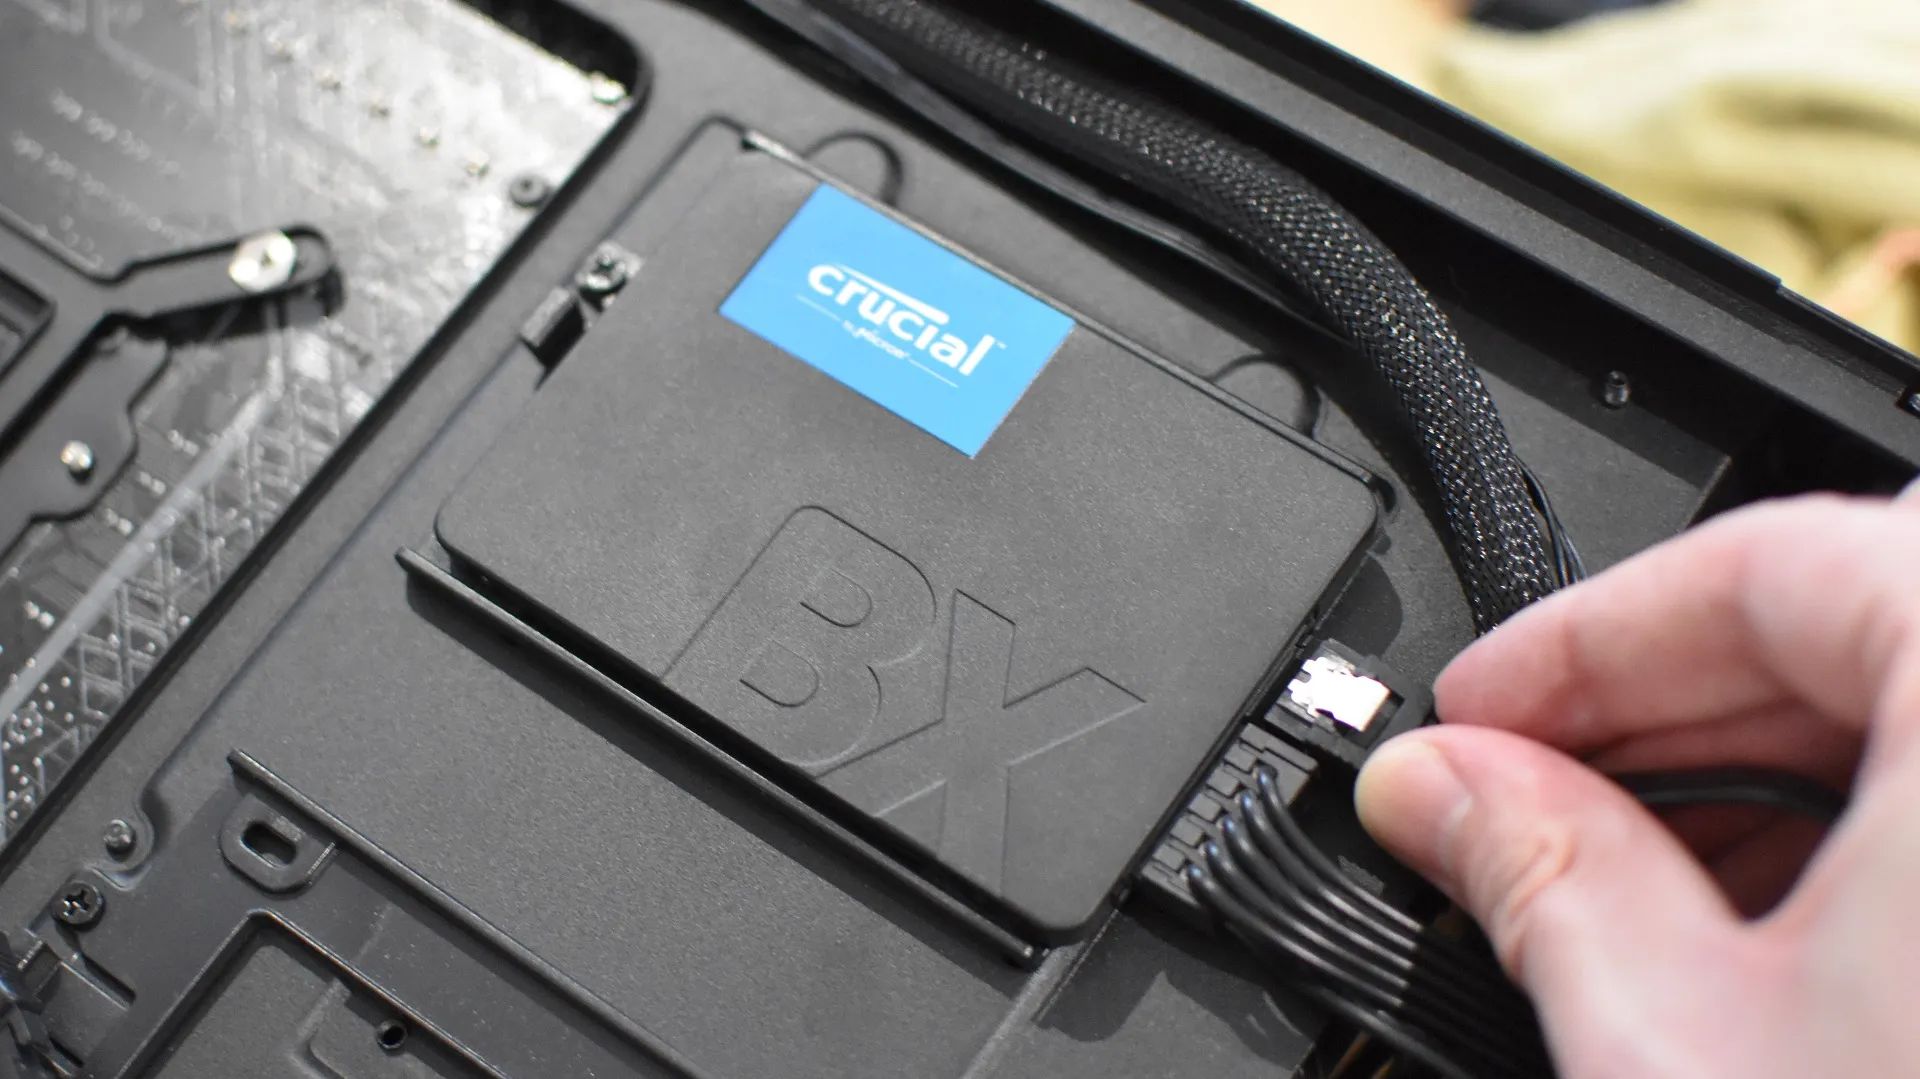
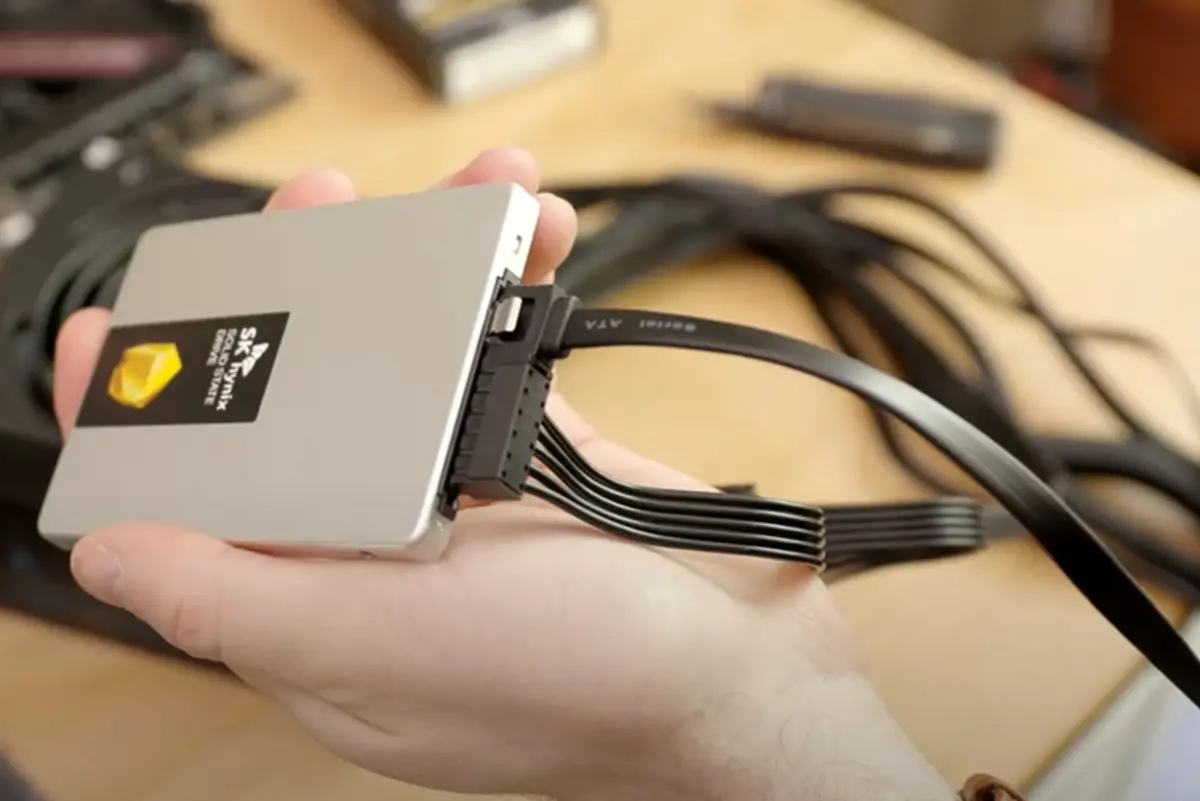
2. Insert one end of the SATA data cable: Take one end of the SATA data cable and align the L-shaped connector with the corresponding SATA port on the motherboard. Gently insert the connector into the port, making sure it is fully seated.
3. Connect the other end to the SSD: Take the other end of the SATA data cable and connect it to the SATA data port on your SSD. The SATA data port is usually located on the back of the SSD and is labeled as “SATA” or “Data.”
4. Ensure a secure connection: Ensure that both ends of the SATA data cable are securely connected. Double-check that the connectors are properly aligned and fully inserted into their respective ports without any wiggling or loose connections.
5. Run the cable neatly: After connecting the SATA data cable, ensure that you run it neatly through the computer case’s cable management channels. This helps keep the interior organized and avoids any interference with other components such as fans or airflow.
With the SATA data cable connected, you have established the data transfer link between the SSD and the motherboard. Now, it’s time to proceed to the next step, where you will connect the power cable to the SSD.
Step 6: Connect the SATA power cable to the SSD
After connecting the SATA data cable, the next step is to provide power to your SSD by connecting the SATA power cable. Follow these steps to complete the connection:
1. Locate an available SATA power connector: Look for an available SATA power connector from your power supply unit (PSU). These connectors are typically flat, rectangular-shaped with multiple openings, and labeled “SATA.”
2. Attach the SATA power cable: Take the SATA power cable and align the L-shaped connector with the corresponding SATA power port on the SSD. Gently insert the connector into the port, ensuring it is securely seated.
3. Ensure a snug connection: Make sure the SATA power cable is firmly connected to both the SSD and the power supply. Give the cable a gentle tug to ensure it is securely in place and won’t come loose during operation.
4. Avoid excessive force or bending: When connecting the SATA power cable, be careful not to use excessive force or bend the cable too sharply. This can cause damage to the cable or the connectors.
5. Neatly manage the cables: Once the SATA power cable is connected, ensure that you neatly manage the cables to avoid any tangling or interference with other components. Use cable ties or cable management clips to secure the cables and keep them organized.
With the SATA power cable connected, your SSD now has both data and power connections. This completes the installation process, and you are almost ready to use your upgraded computer. In the next step, we will attach the SSD to the motherboard using mounting screws.
Step 7: Attach the SSD to the motherboard using mounting screws
Now that you have connected the SSD to the motherboard, it’s time to attach the SSD securely using mounting screws. This step ensures that the SSD remains in place and doesn’t move around inside the computer case. Follow these steps to attach the SSD:
1. Identify the mounting points: Locate the mounting points on your computer case or the SSD mounting bracket. These are typically small holes or slots designed to hold the SSD securely in place.
2. Position the SSD: Carefully position the SSD in the desired location inside the computer case or the designated SSD mounting area. Align the mounting holes on the SSD with the corresponding mounting points.
3. Insert the mounting screws: Take the mounting screws that came with the SSD or the computer case and insert them into the mounting holes. Use a Phillips head screwdriver to tighten the screws gently. Be cautious not to overtighten them, as it may damage the SSD or the mounting points.
4. Verify the secure attachment: Ensure that the SSD is securely attached by lightly shaking or pressing on it. If there is no significant movement or wobbling, it is properly secured. If it feels loose, double-check the mounting screws and tighten them if necessary.
5. Consider cable management: While securing the SSD, take a moment to review the cable management inside your computer case. Ensure that the SATA cables and power cables are neatly arranged and not putting unnecessary strain on the SSD or other components.
With the SSD securely attached to the motherboard using mounting screws, you have successfully completed this step. The next step involves closing the computer case and preparing for the final stages of the installation process.
Step 8: Close the computer case
Now that you have completed the internal installation of your SSD and ensured all connections are secure, it’s time to close the computer case. Follow these steps to properly close the case:
1. Align the side panel: Take the side panel that you removed earlier from the computer case and align it with the case’s edges. Make sure it is positioned correctly and fits snugly without any gaps.
2. Slide or press the side panel into place: Slide the side panel back onto the case. Apply gentle pressure if necessary to ensure that it is correctly seated. For cases with latches, ensure that the latches engage properly to secure the panel in place.
3. Tighten the screws: If your computer case requires screws to secure the side panel, use a Phillips head screwdriver to tighten them. Start with the top or rear screws and work your way down, making sure each screw is tightened evenly but not overly tightened.
4. Check for proper closure: After securing the side panel, give the case a gentle shake or tap to verify that the panel is securely in place. Ensure there are no loose parts or rattling noises.
5. Connect external cables: Once the computer case is closed, reconnect any external cables such as the power cord, monitor cable, keyboard, and mouse if you disconnected them earlier.
With the computer case closed and all cables connected, you are ready for the final step—powering on your computer and verifying the SSD connection.
Step 9: Power on your computer and verify the SSD connection
After closing the computer case, it’s time to power on your computer and ensure that the SSD is properly recognized and connected. Follow these steps to verify the SSD connection:
1. Reconnect the power cord: Plug the power cord back into the wall outlet and connect it to the power supply unit on your computer.
2. Press the power button: Locate the power button on your computer case and press it to turn on the computer. Wait for the computer to boot up and reach the operating system.
3. Check the BIOS/UEFI: During the boot process, you can enter your computer’s BIOS (Basic Input/Output System) or UEFI (Unified Extensible Firmware Interface) settings by pressing a specific key (usually displayed on the screen) such as “Del,” “F2,” or “Esc.” Once in the BIOS/UEFI, navigate to the storage or device configuration section to confirm that the SSD is recognized by the system.
4. Verify the SSD in the operating system: After booting into the operating system, open the Disk Management utility (Windows) or Disk Utility (macOS) to confirm that the SSD is detected and properly labeled. Ensure that it is listed as a storage device with the correct capacity.
5. Run a test or transfer files: To further validate the SSD connection, you can run a benchmark or transfer files to and from the SSD to ensure it is functioning correctly and delivering the expected performance improvement.
If you encounter any issues or if the SSD is not detected, double-check the connections and consult your motherboard manual or SSD manufacturer’s documentation for troubleshooting steps specific to your hardware.
Once you have verified the SSD connection and confirmed its successful integration, congratulations! You have successfully attached the SSD to your motherboard, enhancing your computer’s performance and storage capabilities.
Conclusion
Attaching an SSD to your motherboard is a straightforward process that can greatly improve the performance and speed of your computer. By following the steps outlined in this guide, you can successfully install your SSD and enjoy the benefits of faster boot times, quicker application loading, and improved overall system responsiveness.
From gathering the necessary tools and materials to closing the computer case and verifying the SSD connection, each step is crucial in ensuring a successful installation. Taking precautions such as powering down your computer, grounding yourself, and securely attaching the SSD using mounting screws are essential to preventing any damage to the components and ensuring a stable and reliable connection.
Remember to consult your motherboard manual for any specific instructions unique to your system. While the general process of attaching an SSD remains consistent, it’s always best to follow the manufacturer’s guidelines for your specific motherboard model.
With your SSD properly connected and recognized by your computer, you can now benefit from faster data transfer speeds and improved overall system performance. Whether you’re using the SSD for gaming, multimedia production, or everyday tasks, the enhanced speed and efficiency will significantly enhance your computing experience.
By taking the time to attach your SSD correctly to your motherboard, you have opened up opportunities to fully utilize the capabilities of your computer. Enjoy the advantages and explore everything your upgraded system can now achieve.