Introduction
Welcome to our comprehensive guide on how to insert an SSD in the PS5! The PlayStation 5 is a game-changing console that offers incredible graphics and performance. However, its built-in storage may not be enough for avid gamers who want to have a vast collection of games at their fingertips. By adding an SSD to your PS5, you can expand your storage capacity and ensure a smoother gaming experience.
While the process may seem daunting at first, with the right guidance and a little bit of patience, you’ll be able to easily install an SSD in your PS5. In this step-by-step tutorial, we will walk you through the entire process, from preparation to initialization.
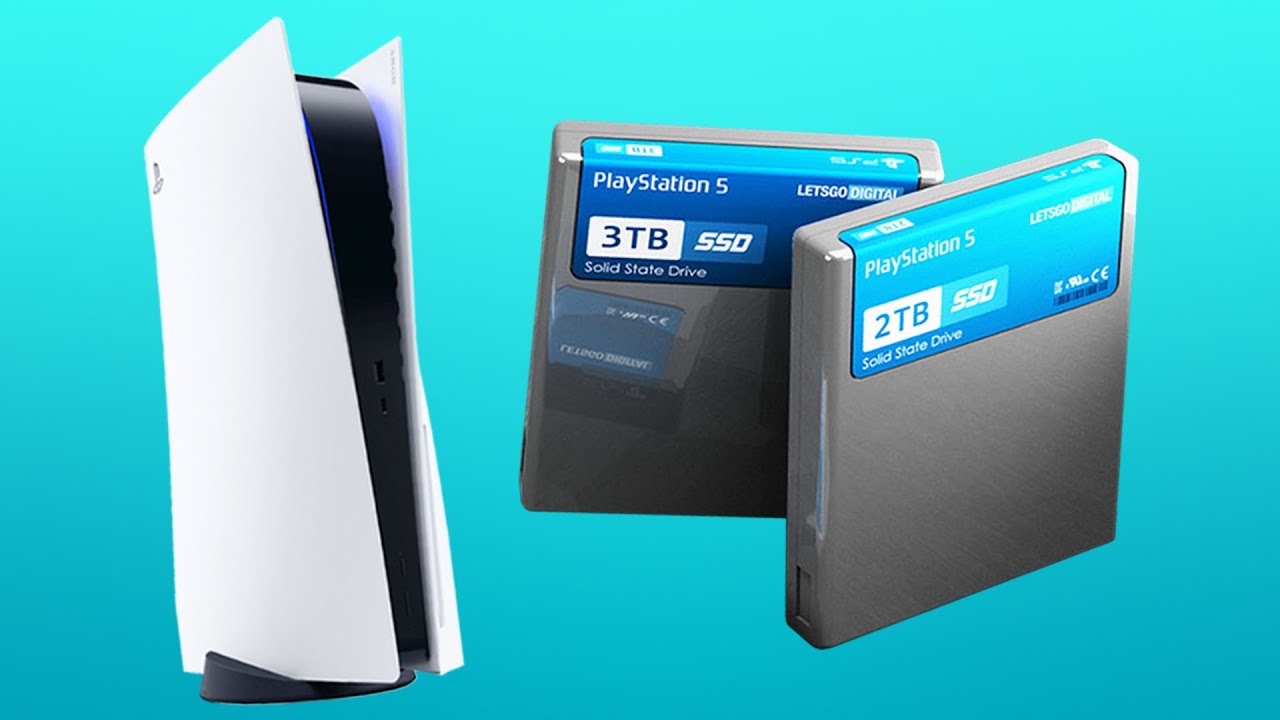
Before we dive in, it’s important to note that not all SSDs are compatible with the PS5. Sony has provided a list of recommended SSDs that meet their performance and size requirements. Make sure to choose an SSD from this list to ensure optimal compatibility and performance.
Are you ready to expand your storage and take your gaming experience to the next level? Let’s get started!
Step 1: Preparation
Before you begin the process of inserting an SSD in your PS5, it’s essential to gather all the necessary tools and materials. Here’s what you’ll need:
- A compatible SSD: As mentioned earlier, make sure to choose an SSD from Sony’s recommended list to ensure compatibility.
- A small Phillips screwdriver: This will be needed to open the PS5’s cover.
- A clean and well-lit workspace: Find a comfortable area with good lighting to work on your PS5.
- An anti-static wristband or mat: This will help protect your console from static electricity that could potentially damage internal components.
- A container or tray to hold screws: Keeping screws organized will make reassembling the PS5 easier.
Once you have all the necessary materials, it’s a good idea to read through the PS5’s user manual and familiarize yourself with the console’s internal components. This will help you better understand the steps involved in the installation process.
Next, power off your PS5 and disconnect all cables from the console. This includes the power cable, HDMI cable, and any other peripheral cables that may be connected.
Now, touch a metal surface or wear an anti-static wristband to discharge any static electricity from your body. This precaution will help prevent damage to the sensitive electronic components of the PS5.
With the preparation complete, you’re now ready to move on to the next step, which involves opening the PS5’s cover. Prepare yourself for an exciting journey of expanding your PS5’s storage capacity!
Step 2: Opening the PS5
Now that you’re prepared, it’s time to open up your PS5 and gain access to its internal components. Follow these steps to open the PS5:
- Place the PS5 horizontally on a stable surface with the glossy side facing up. This will prevent the console from rolling or slipping during the opening process.
- Locate the screw that secures the PS5’s cover on the rear panel. It is located near the bottom-left corner.
- Using a small Phillips screwdriver, carefully unscrew the securing screw. Make sure to keep track of the screw as you will need it later when reassembling the console.
- Gently slide the PS5’s glossy cover towards the rear of the console, applying even pressure. This will release the clips that hold the cover in place.
- Lift the cover from the rear side and set it aside.
With the PS5’s cover successfully removed, you will now have a clear view of the internal components. Take a moment to marvel at the sleek design and craftsmanship of the console.
It’s important to handle the PS5’s internals with care. Avoid touching any exposed circuitry or delicate components. Always handle the console by its edges to prevent accidental damage.
Before moving on to the next step, take a deep breath and ensure that you’re comfortable with the process so far. The exciting part is just around the corner as you prepare to identify the SSD slot!
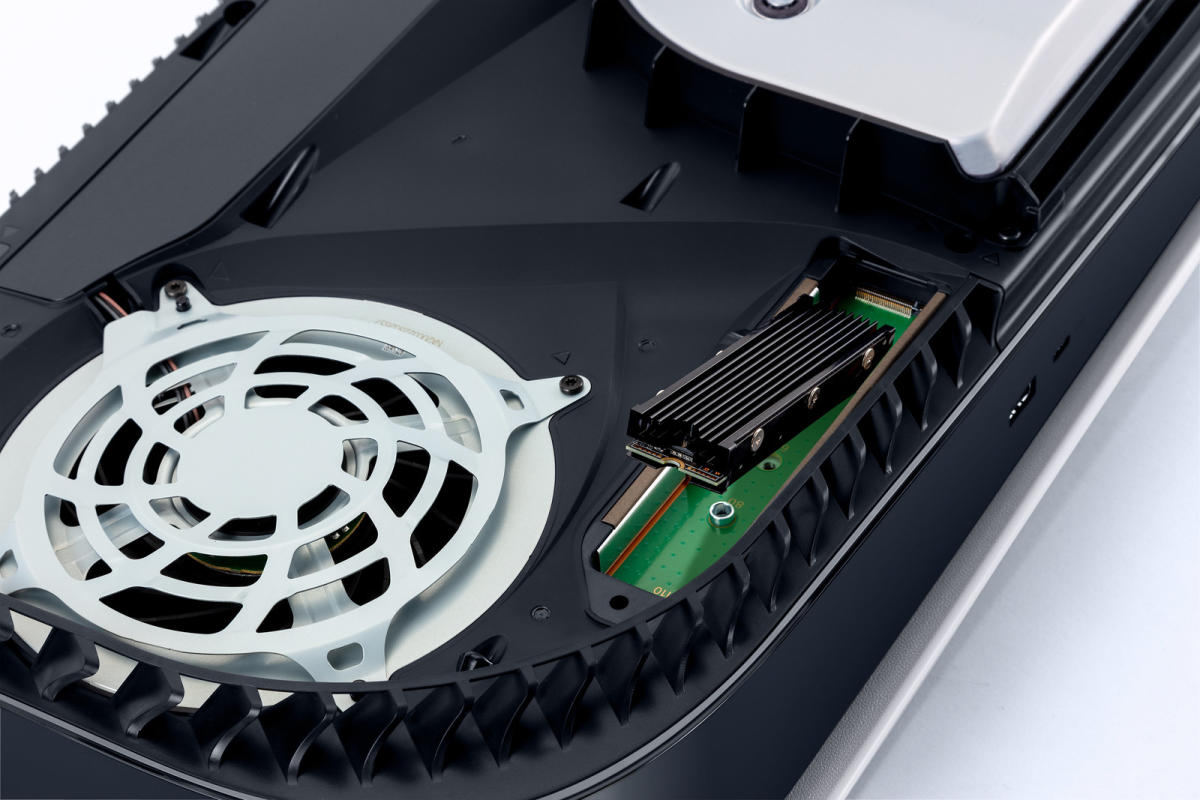
Step 3: Identifying the SSD Slot
Now that the PS5’s cover is off, it’s time to locate the SSD slot where you’ll be inserting the new SSD. Follow these steps to identify the SSD slot:
- Locate the main circuit board or motherboard of the PS5. It is the large, flat component that encompasses most of the internal space.
- Look for a slot labeled “SSD Expansion.” This slot is specifically designed to accommodate an additional SSD.
- If you’re unsure of which slot it is, consult the PS5’s user manual or refer to the manufacturer’s documentation.
Once you have identified the SSD slot, take a moment to observe its location and how it is situated on the motherboard. This will help you align the new SSD correctly during the installation process.
It’s worth noting that the SSD slot may be covered by a heat sink. Depending on the model of your PS5, you may need to remove the heat sink before proceeding with the installation. Refer to the PS5’s user manual or manufacturer’s documentation for detailed instructions on removing the heat sink, if necessary.
With the SSD slot identified, you’re one step closer to expanding your PS5’s storage. Next, we’ll move on to attaching the SSD to the heat sink (if required) in preparation for insertion.
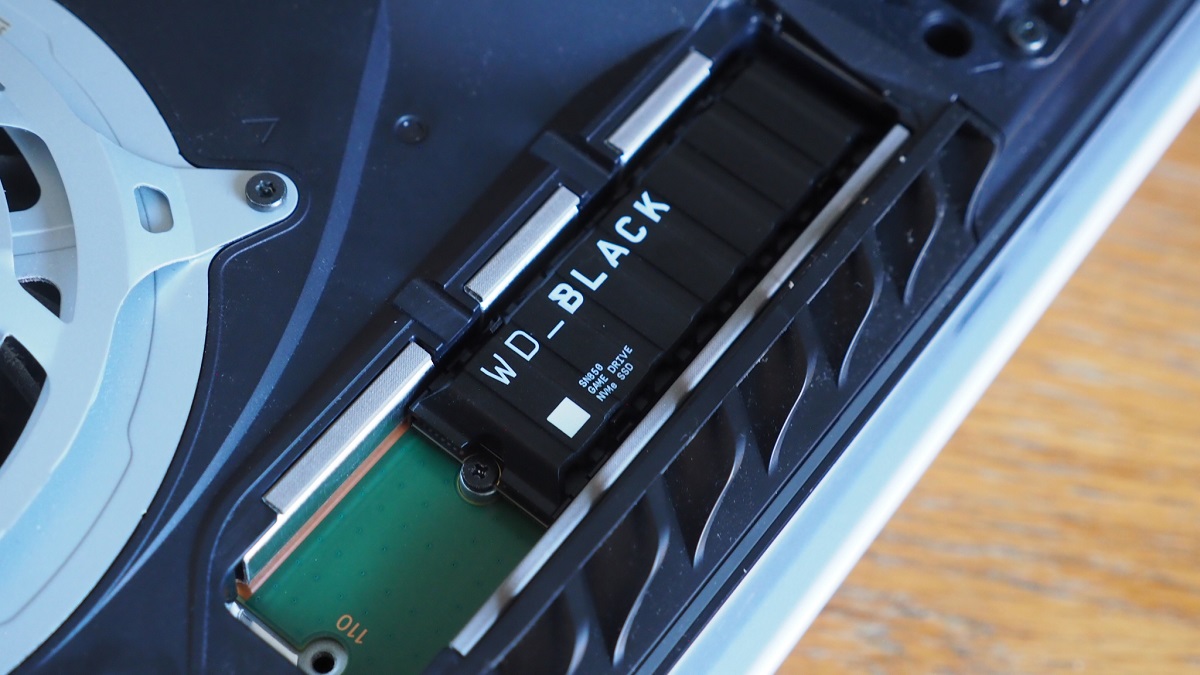
Step 4: Attaching the SSD to the Heat Sink
If your SSD slot is covered by a heat sink, you’ll need to remove the heat sink and attach the SSD to it before proceeding with the installation. Follow these steps to complete this task:
- Refer to the PS5’s user manual or manufacturer’s documentation to locate the screws or clips that secure the heat sink in place.
- Using a suitable tool, carefully remove the screws or unclip the heat sink from the designated area.
- Once the heat sink is removed, you’ll notice a thermal pad or thermal paste applied to its underside. Take a moment to inspect it and determine if it needs replacing.
- If the thermal pad or paste appears worn or dried out, gently remove it using a lint-free cloth or thermal paste remover.
- Apply a small amount of fresh thermal paste or affix a new thermal pad to the center of the SSD, ensuring even coverage.
- When the thermal paste or pad is in place, carefully attach the SSD to the heat sink, aligning the screw holes or clips on the SSD with those on the heat sink.
- Secure the SSD to the heat sink using the provided screws or clips. Avoid over-tightening to prevent damage to the components.
Once the SSD is securely attached to the heat sink, take a moment to ensure that everything is aligned correctly. This will ensure optimal thermal performance and prevent any issues during the installation process.
With the SSD now properly attached to the heat sink, you’re ready to move on to the exciting step of inserting the SSD into the slot. Keep up the great work!
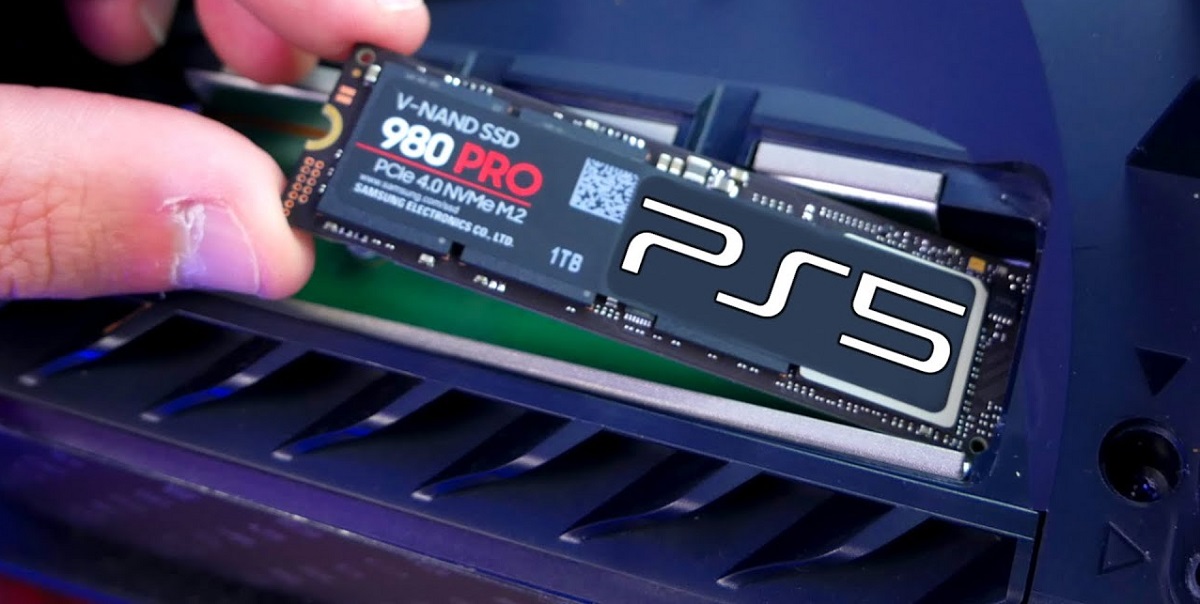
Step 5: Inserting the SSD into the Slot
With the SSD securely attached to the heat sink (if applicable), it’s time to insert it into the designated slot on the PS5’s motherboard. Follow these steps to complete this crucial step:
- Hold the SSD by its edges, taking care not to touch any of the exposed circuitry or delicate components.
- Align the SSD with the SSD slot on the PS5’s motherboard. Ensure that the connection pins on the SSD align with the connector in the slot.
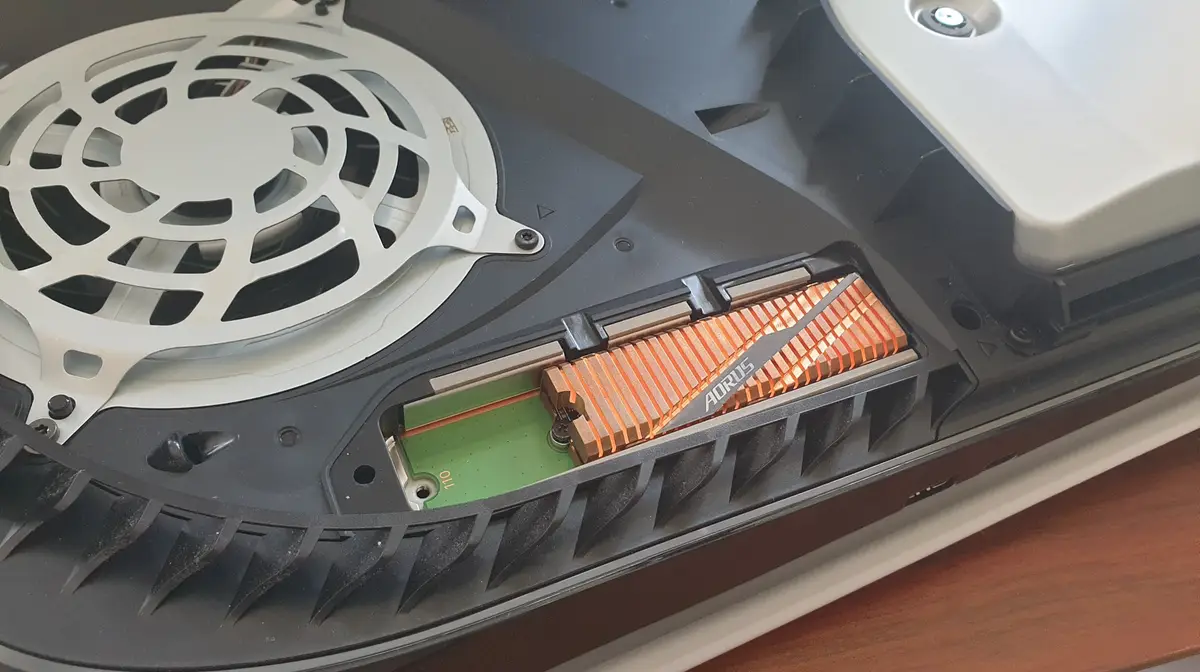
- Gently slide the SSD into the slot, applying even pressure until it is fully inserted. Be careful not to force it or insert it at an angle, as this can damage the SSD or the slot.
- Once the SSD is fully inserted, ensure that it is securely in place and flush with the motherboard.
It’s important to note that the PS5’s SSD slot is designed to accept only one SSD at a time. Attempting to insert multiple SSDs or other incompatible components can cause damage to the console.
With the SSD successfully inserted into the slot, you’ve accomplished a major milestone in expanding your PS5’s storage capacity. Now, it’s time to put everything back together and bring your console back to life!
Step 6: Reassembling the PS5
Now that the SSD is securely inserted into the slot, it’s time to reassemble your PS5. Follow these steps to put everything back together:
- Retrieve the PS5’s cover that you set aside earlier.
- Carefully position the cover over the PS5, ensuring that all corners and edges align properly.
- Slide the cover gently towards the front of the console until it clicks into place. This indicates that the clips have securely fastened the cover.
- Retrieve the screw that you removed earlier to secure the PS5’s cover.
- Using a small Phillips screwdriver, carefully fasten the screw back into the designated hole on the rear panel. The screw should be snug but not overly tight.
With the cover securely fastened, take a moment to ensure that the PS5 is reassembled correctly. Check that the cover is flush with the console and that there are no gaps or misalignments.
Now that your PS5 is reassembled, it’s time to power it back on and initialize the newly installed SSD!
Before reconnecting any peripheral cables, take a moment to double-check that everything is in order. Ensure that the SSD is securely inserted, the cover is properly fastened, and all screws are tightened. This will help prevent any issues during the initialization process.
Now that everything is in place, it’s time to power on your PS5 and move on to the final step of initializing the SSD. Get ready to witness the enhanced storage capacity and improved gaming experience!
Step 7: Initializing the SSD
With the SSD successfully installed and the PS5 reassembled, it’s time to initialize the newly added storage. Follow these steps to complete the initialization process:
- Power on your PS5 by reconnecting the power cable and any other peripheral cables you had disconnected earlier.
- Wait for the console to fully boot up and reach the home screen.
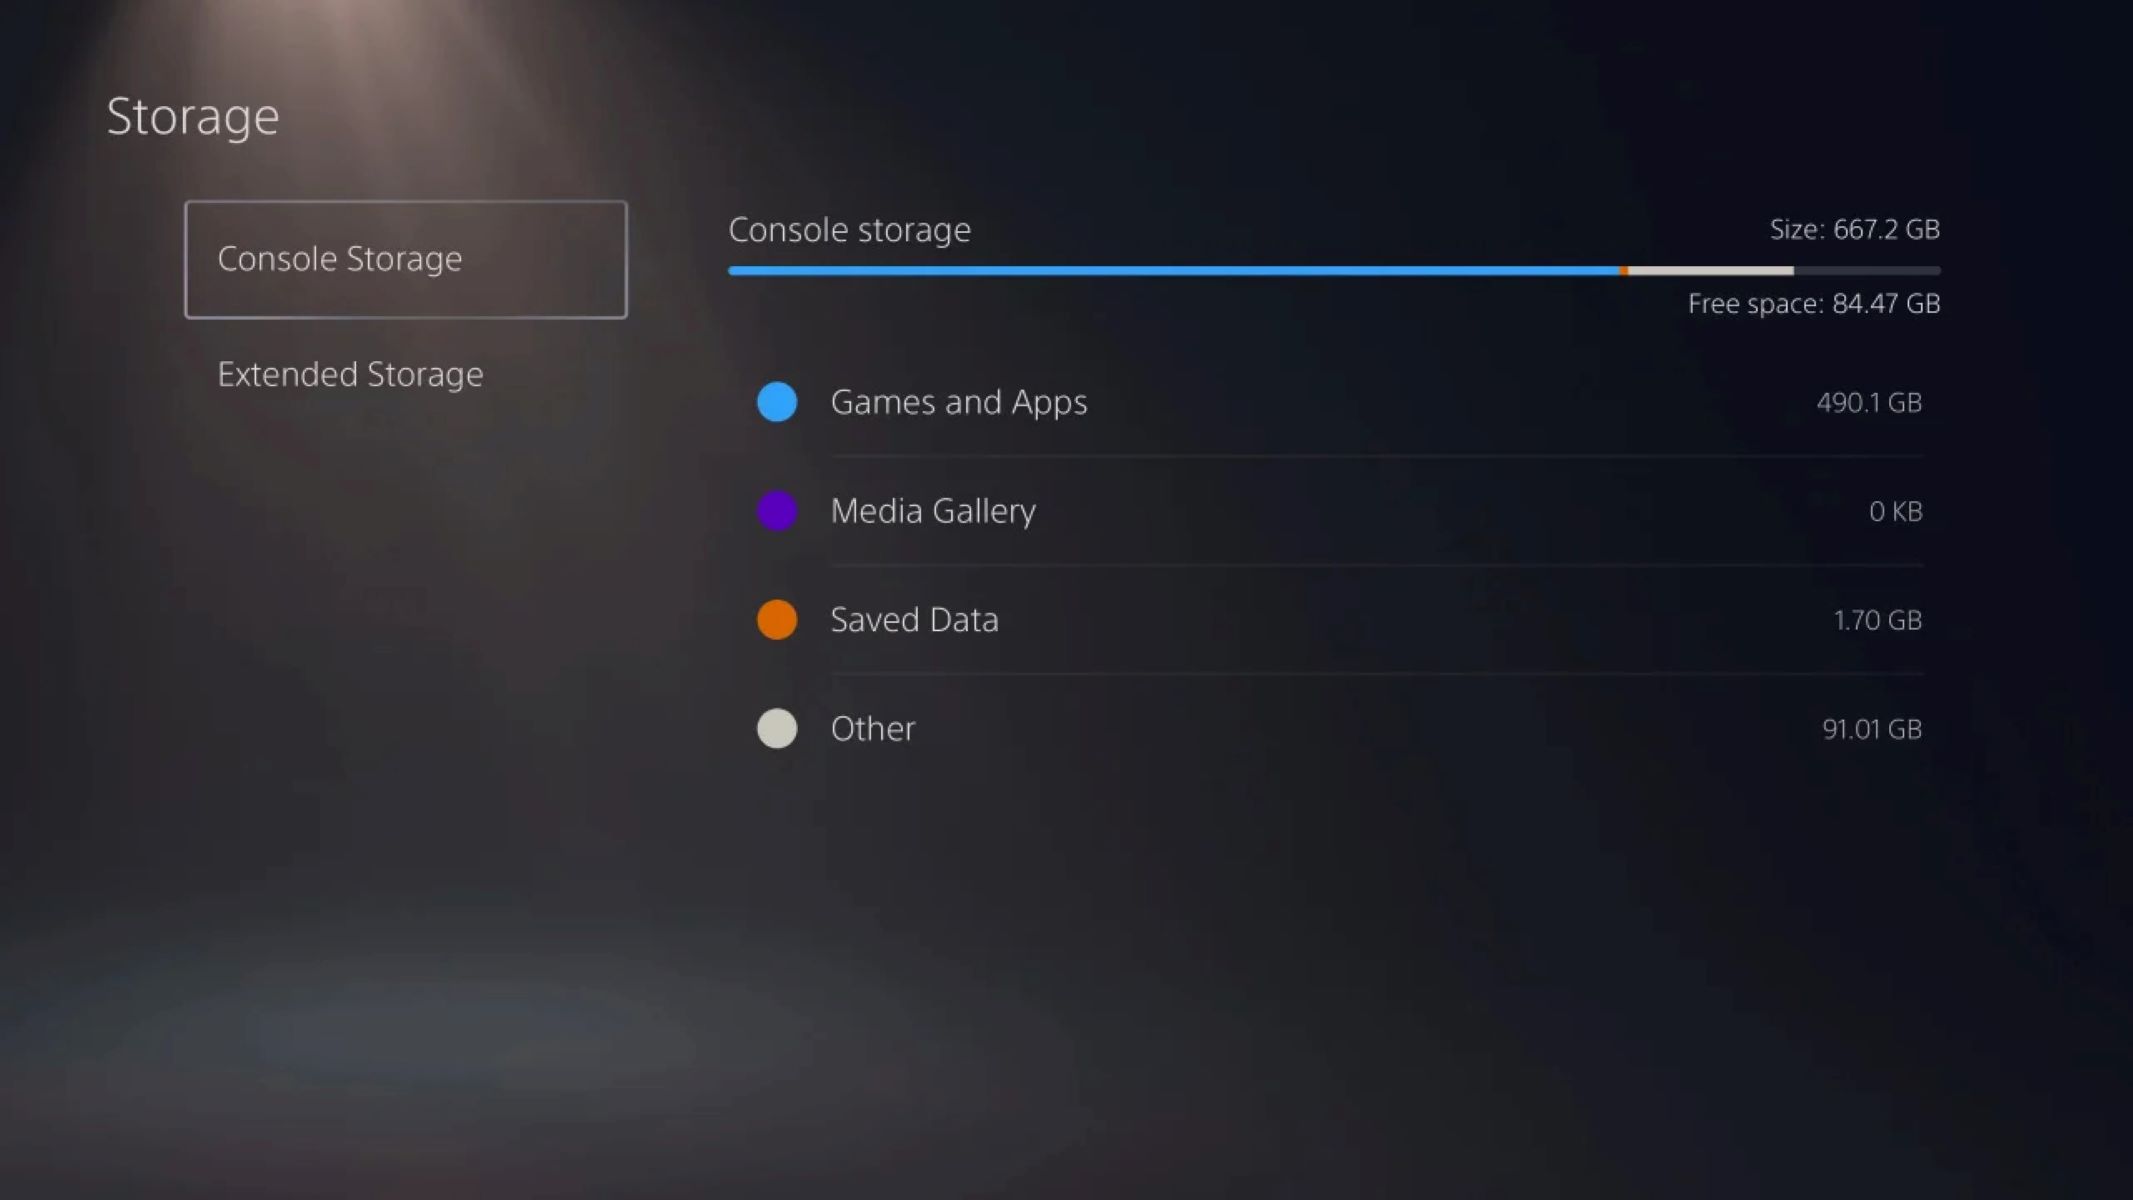
- Go to the system settings on your PS5 by navigating through the main menu.
- Select the “Storage” option from the settings menu.
- Scroll down and find the newly installed SSD in the list of storage options. It should be labeled and recognized by the system.
- Select the SSD and choose the option to format or initialize it.
- Follow the on-screen prompts to complete the initialization process. This may involve confirming the formatting of the SSD and selecting any additional settings.
- Wait for the PS5 to complete the initialization process. This may take a few minutes depending on the size of the SSD.
Once the initialization is complete, your PS5 will recognize the newly installed SSD as part of its storage. You can now enjoy the expanded storage capacity and improved gaming experience that the SSD provides.
It’s important to note that formatting or initializing the SSD will erase any existing data on the drive. Make sure to back up any important files or game saves before proceeding with this step.
Congratulations! You have successfully installed and initialized an SSD in your PS5. Enjoy the additional storage space and improved performance that this upgrade brings.
Conclusion
Congratulations on successfully inserting an SSD into your PS5! By following the step-by-step guide outlined in this article, you have expanded your console’s storage capacity and ensured a smoother gaming experience. With the additional space provided by the SSD, you can now store more games, videos, and multimedia content without worrying about running out of storage.
Remember, it’s crucial to choose a compatible SSD from the recommended list provided by Sony to ensure optimal performance and compatibility with your PS5. Taking the time to prepare and gather the necessary tools before starting the installation process will make the entire process smoother and more enjoyable.
From opening the PS5 and identifying the SSD slot to attaching the SSD to the heat sink and performing the necessary initialization, each step plays a critical role in achieving a successful installation. Take your time, follow the instructions carefully, and always handle the internals of the console with care to avoid any damage.
Now that you have upgraded your PS5 with an SSD, you can enjoy faster load times, quicker in-game performance, and a seamless gaming experience. Take full advantage of the expanded storage capacity and explore a vast library of games without limitations.
Thank you for using our guide to insert an SSD in your PS5. We hope this article has provided you with the necessary guidance and information to complete the installation process successfully. Happy gaming!