Introduction
Welcome to our guide on how to install a WD Black SSD in your PS5! If you’re looking to enhance your gaming experience by upgrading your storage capacity, the WD Black SSD is a fantastic choice. This solid-state drive offers fast loading times, improved performance, and ample space to store all your favorite games and media.
With the increasing size of modern game installations, the default storage in the PS5 can quickly fill up. Adding an SSD to your PS5 will not only allow you to install more games but also significantly reduce loading times, giving you a seamless gaming experience.
In this guide, we will walk you through the step-by-step process of installing the WD Black SSD in your PS5. We’ll cover everything from preparing your PS5 for the installation to restoring your data once the SSD is in place. Whether you’re an experienced gamer or a beginner, this guide will make the installation process smooth and straightforward.
Before we get started, it’s essential to note that opening your PS5 and installing an SSD may void your warranty. It’s always a good idea to check your warranty terms and consider the potential risks involved. If you’re confident in your abilities and want to proceed, let’s dive into the installation process!
What You Need
Before you begin the installation process, make sure you have the following items:
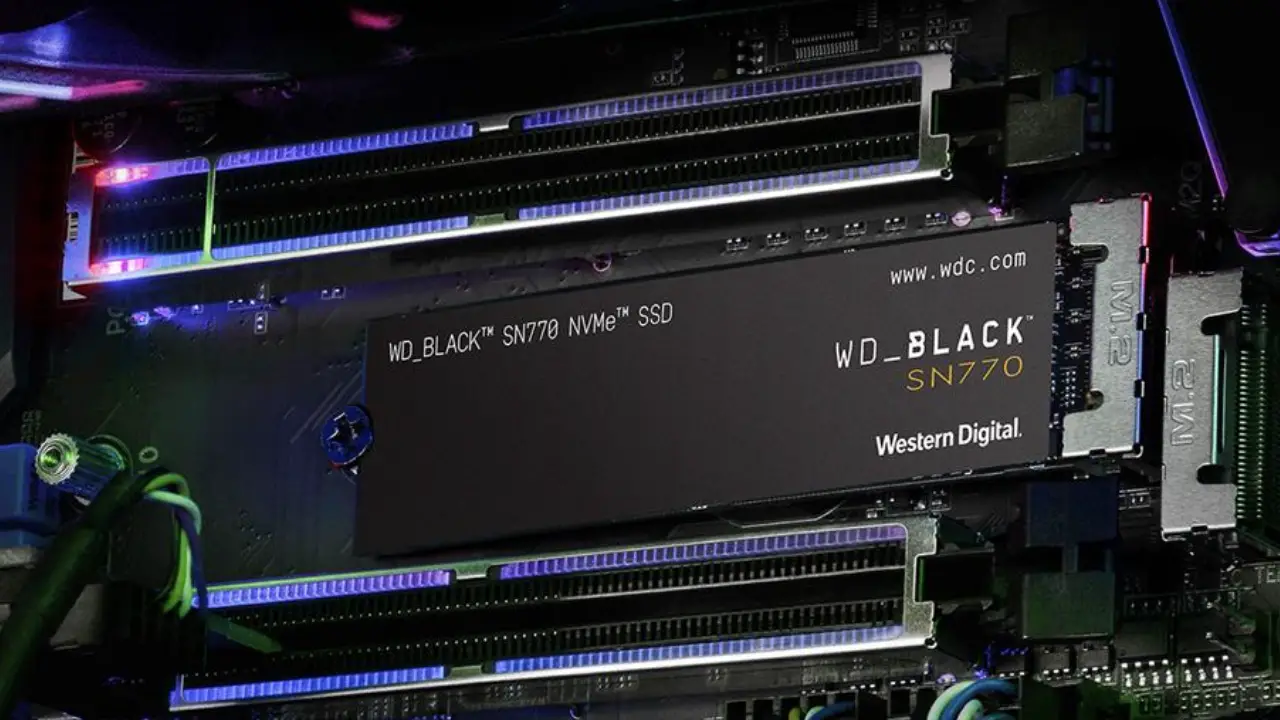
- A WD Black SSD: Ensure you have a compatible WD Black SSD with the appropriate capacity for your gaming needs. Check the official WD website or product packaging to ensure compatibility with the PS5.
- A screwdriver: You’ll need a small screwdriver to remove the PS5’s expansion slot cover and secure the SSD in place once installed.
- An internet connection: You’ll need a stable internet connection to update your PS5 system software and reinstall your games.
- A USB storage device: Prepare a USB storage device with sufficient capacity to back up your PS5 data. This will ensure that your data remains safe during the installation process.
It’s crucial to ensure you have all the necessary equipment before proceeding with the installation. This will save you time and ensure a smooth experience throughout.
Note: If you’re unfamiliar with how to back up your data or update your PS5 system software, refer to the official PlayStation support website for detailed instructions and guidance.
Step 1: Prepare your PS5
Before diving into the installation process, it’s essential to prepare your PS5 for the upcoming SSD installation. Here are the steps to follow:
- Turn off your PS5: Press and hold the power button on your PS5 until the power indicator turns off. Ensure that the console is completely powered down.
- Disconnect all cables: Unplug any cables connected to your PS5, including the power cable, HDMI cable, and any USB devices. This will ensure a safe and hassle-free installation process.
- Place the PS5 on a stable surface: Find a clean and stable surface to work on. It’s best to have ample space to move around and position the console comfortably.
- Gather your tools: Ensure that you have the necessary tools mentioned in the “What You Need” section, including a compatible WD Black SSD and a screwdriver.
- Ground yourself: To prevent any damage from static electricity, it’s crucial to ground yourself. You can do this by touching a metal surface to discharge any built-up static charge.
By following these steps, you’ll have your PS5 prepared and ready for the installation process. It’s crucial to pay attention to detail and ensure that you have all the necessary tools and a suitable working environment. Let’s move on to the next step: backing up your PS5 data.
Step 2: Backup your data
Before proceeding with the installation of the WD Black SSD, it’s crucial to back up your data to ensure that it remains safe during the process. Follow these steps to back up your PS5 data:
- Connect a USB storage device: Connect a compatible USB storage device to one of the USB ports on your PS5.
- Power on your PS5: Press the power button on your PS5 to turn it on.
- Go to Settings: From the home screen, navigate to the Settings menu. You can find it at the top-right corner of the screen.
- Select System Software: In the Settings menu, scroll down and select “System Software.”
- Choose Data Transfer and Backup: In the System Software menu, select “Data Transfer and Backup.”
- Select Back Up Your PS5: Choose the “Back Up Your PS5” option and follow the on-screen instructions to initiate the backup process.
- Wait for the backup to complete: The PS5 will automatically back up your saved data, games, and settings to the USB storage device. This process may take some time, depending on the amount of data being backed up.
- Verify the backup: Once the backup is complete, double-check that all the necessary data has been successfully backed up to the USB storage device. It’s always better to be safe than sorry when it comes to safeguarding your valuable gaming data!
By following these steps, you’ll have a secure backup of your PS5 data, providing peace of mind throughout the SSD installation process. With your data safely backed up, let’s move on to the exciting part: opening the PS5 expansion slot.
Step 3: Open the PS5 expansion slot
Now that you have safely backed up your PS5 data, it’s time to open the PS5’s expansion slot to prepare for the installation of the WD Black SSD. Follow these steps to open the expansion slot:
- Power off your PS5: Ensure that your PS5 is completely powered off by pressing and holding the power button until the power indicator turns off.
- Locate the expansion slot cover: On the rear side of the PS5, you will find a rectangular cover labeled “PS5 Expansion Slot.” It is positioned just below the “HDMI” and “Ethernet” ports.
- Remove the expansion slot cover: Gently slide the cover towards the left to disengage the locking mechanism. Once unlocked, carefully lift the cover to reveal the additional slot inside.
- Set aside the expansion slot cover: Keep the cover in a safe place, as you will need it later to secure the SSD and maintain a clean appearance.
Be mindful when handling the expansion slot cover to avoid any damage, as it will be reattached later in the installation process.
Once you have successfully opened the expansion slot, you’re ready to move on to the next step: inserting the WD Black SSD into the PS5.
Step 4: Insert the WD Black SSD
With the PS5 expansion slot opened, it’s time to insert the WD Black SSD into your PS5. Follow these steps to ensure a proper installation:
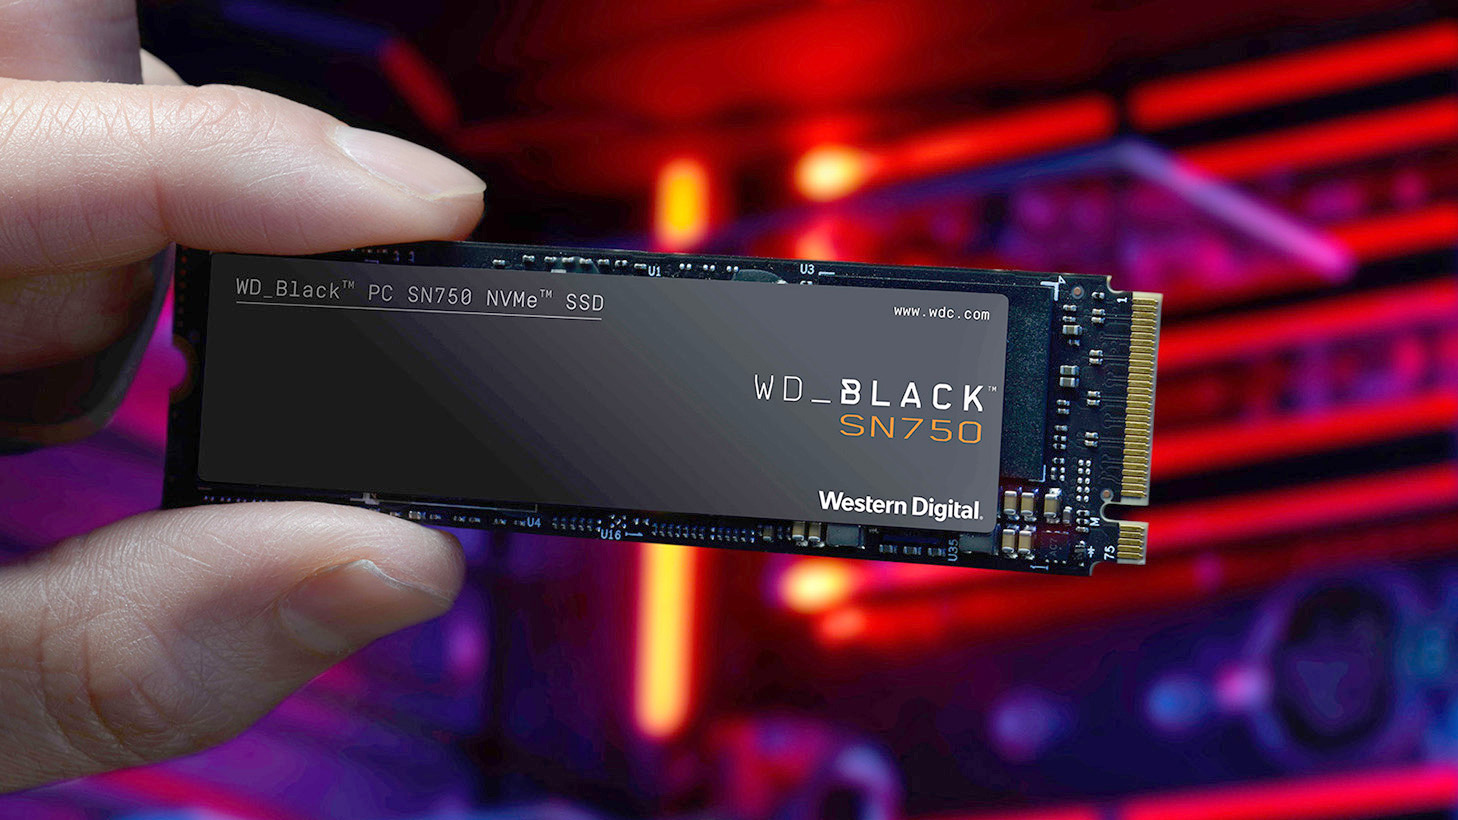
- Hold the WD Black SSD: Gently grasp the WD Black SSD by its sides. Avoid touching the metal connectors on the bottom to prevent any damage.
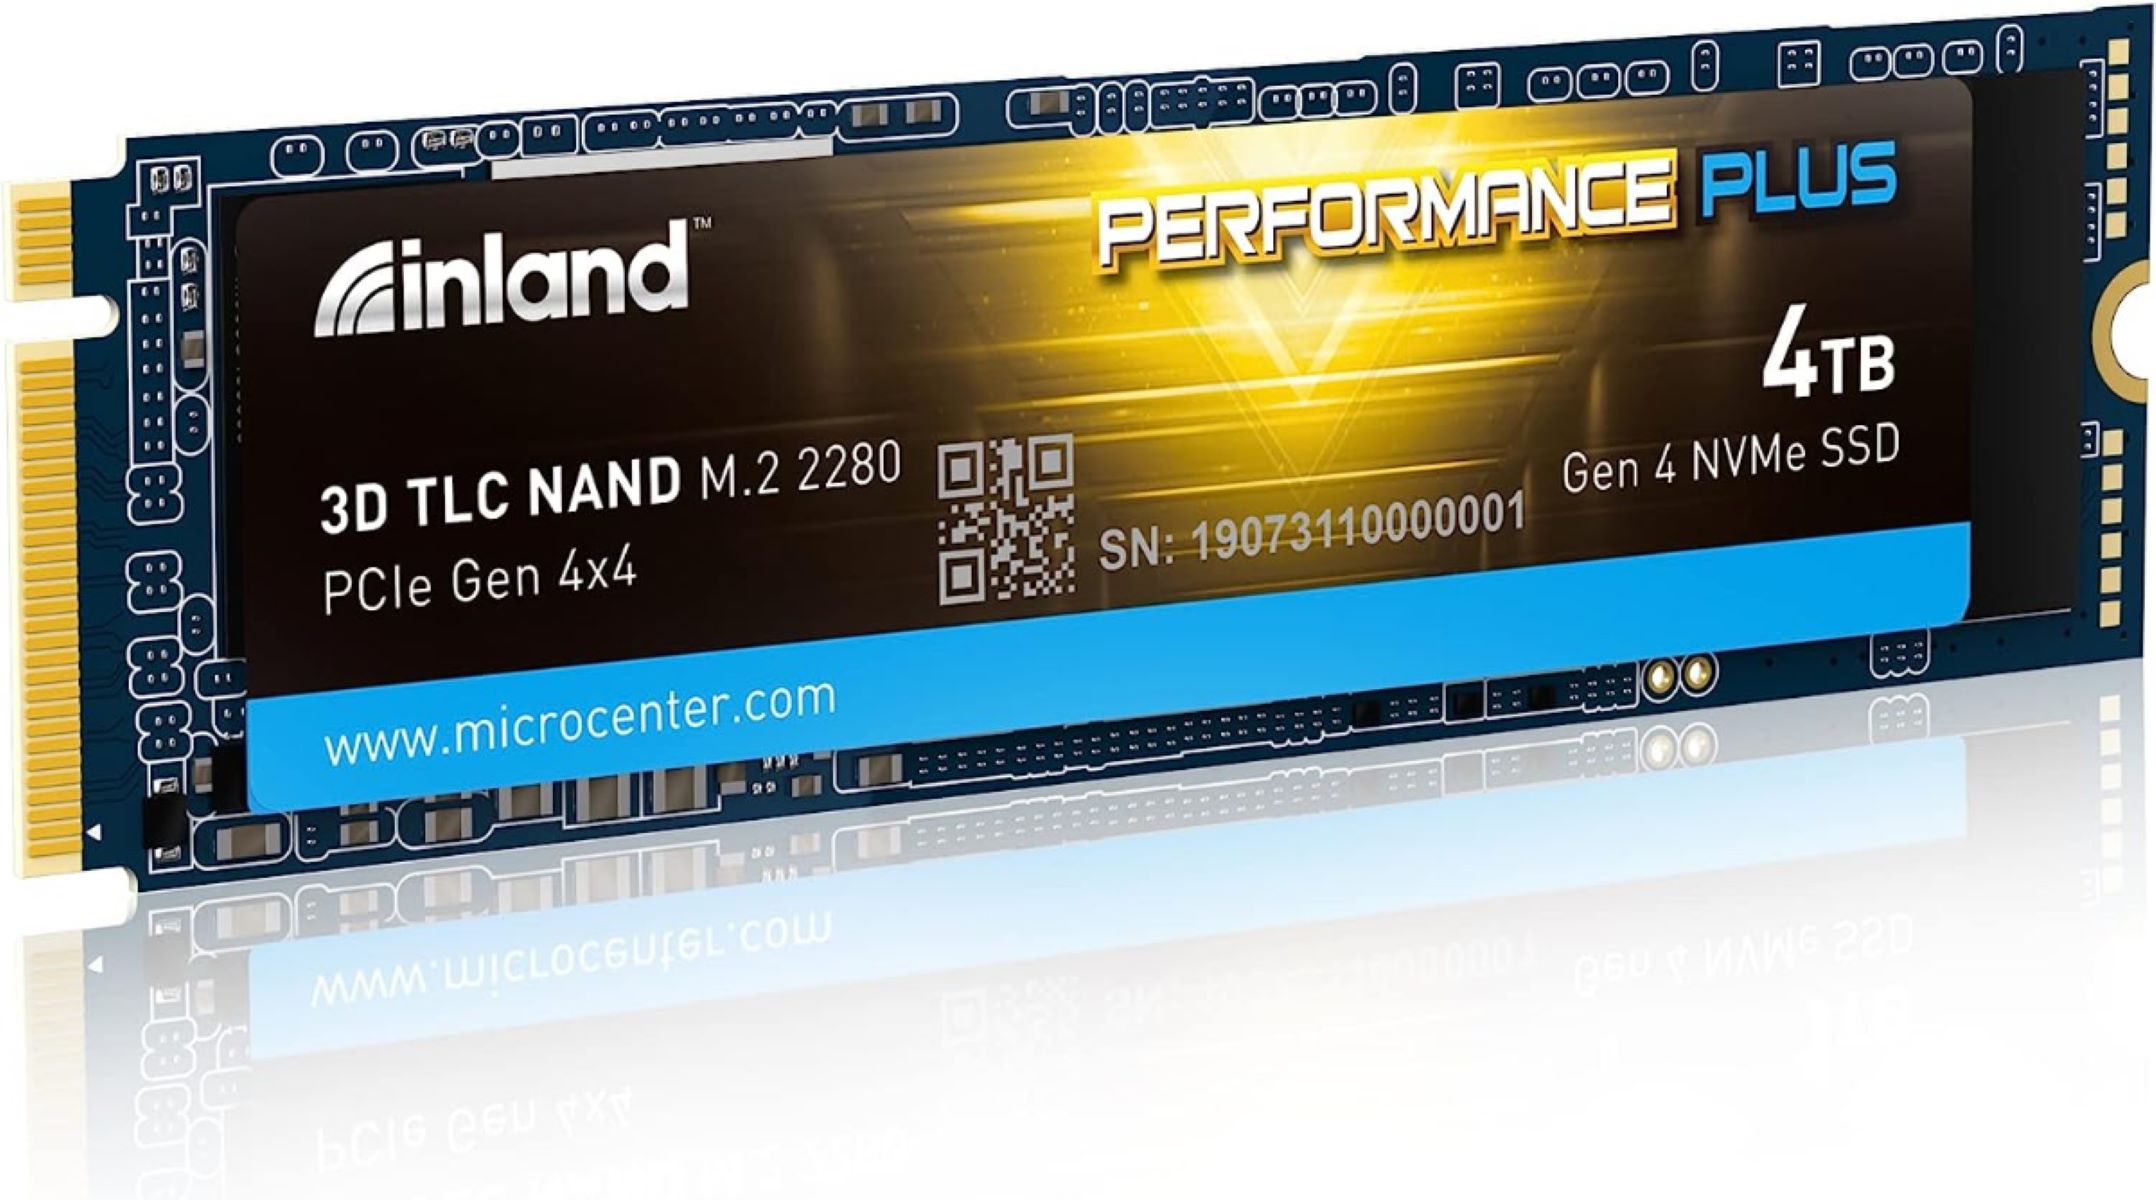
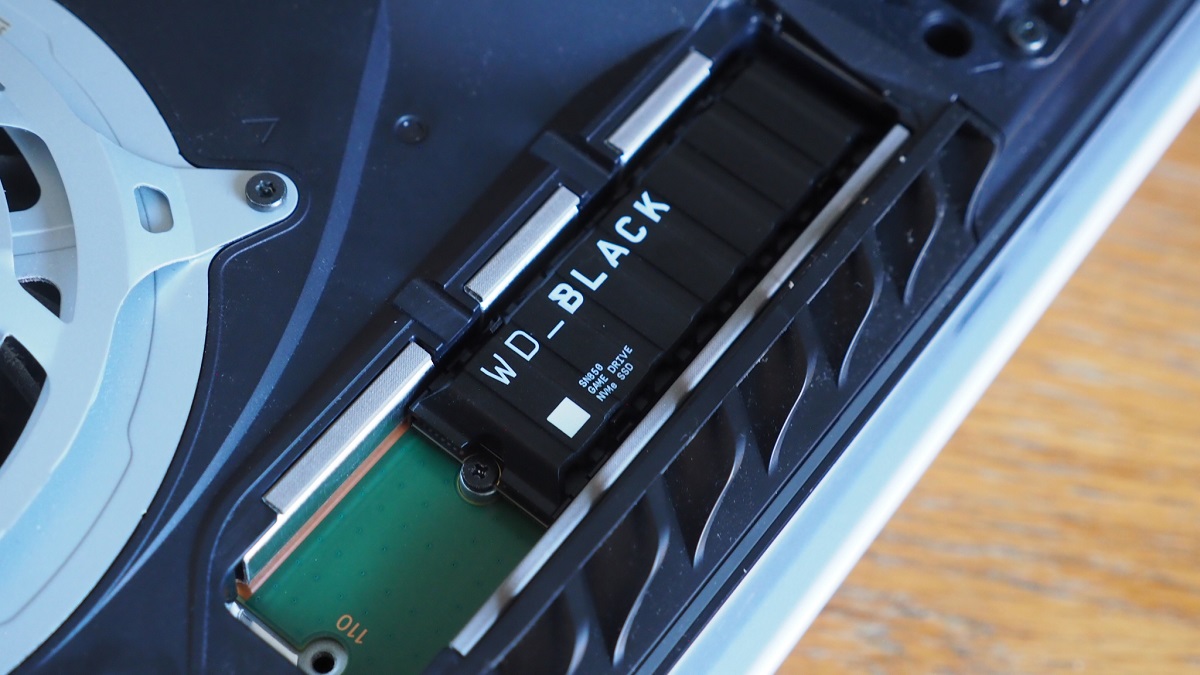
- Align the SSD with the slot: Locate the M.2 slot inside the PS5, which is situated just below the opened expansion slot. Align the notched end of the SSD connector with the slot’s corresponding notch.
- Insert the SSD: Carefully insert the WD Black SSD into the M.2 slot in a straight motion. Apply gentle pressure until it sits securely in place.
- Ensure proper alignment: Verify that the WD Black SSD is properly aligned and fully inserted into the M.2 slot. It should fit snugly and be parallel to the motherboard.
Note: It’s essential to use caution during this step to avoid any damage to the SSD or the PS5’s internal components. Take your time, and if needed, refer to the PS5’s user manual for clarification on the M.2 slot’s location.
Once the WD Black SSD is successfully inserted into the M.2 slot, it’s time to move on to the next step: securing the SSD in place with a screw.
Step 5: Secure the SSD with the screw
After inserting the WD Black SSD into the PS5’s M.2 slot, the next step is to secure it in place using the provided screw. Follow these steps to ensure the SSD is properly fastened:
- Locate the screw: In the packaging of the WD Black SSD or the PS5, you should find a small screw specifically designed for securing the SSD.
- Position the screw: Place the screw carefully in the designated hole located on the motherboard near the M.2 slot. This hole is typically labeled with an “M.2 SSD” or similar marking.
- Tighten the screw: Using a screwdriver, gently tighten the screw into place. Ensure the SSD remains securely fastened, but be cautious not to overtighten, as this could damage the M.2 slot or the SSD itself.
- Double-check the SSD’s stability: Verify that the WD Black SSD is firmly in place and does not move or wiggle when lightly touched. This confirms that it is properly secured and ready for the next steps.
Remember to exercise caution while handling the screw and screwdriver to avoid any accidental damage to the PS5 or the SSD. It’s crucial to strike a balance between securing the SSD and not applying excessive force.
With the WD Black SSD securely fastened, you’re ready to move on to the next step: closing the PS5 expansion slot.
Step 6: Close the PS5 expansion slot
Now that the WD Black SSD has been securely installed and fastened in the PS5, it’s time to close the expansion slot. Follow these steps to ensure a proper closure:
- Retrieve the expansion slot cover: Locate the expansion slot cover that you set aside earlier.
- Align the cover: Position the cover over the PS5’s expansion slot, ensuring that it aligns with the slots and tabs on the console.
- Slide the cover into place: Carefully slide the cover towards the right until it locks into position. The cover should fit flush with the back of the PS5.
- Secure the cover: Apply gentle pressure to the cover, making sure it is securely in place.
- Verify the closure: Double-check that the expansion slot cover is properly closed and that there are no gaps or protrusions.
Ensuring that the expansion slot cover is closed correctly helps maintain the aesthetics of your PS5 and keeps dust and debris out of the internal components.
Congratulations! You have successfully closed the PS5 expansion slot. The next step is to power on your console and initialize the newly installed WD Black SSD.
Step 7: Power on and initialize the SSD
With the WD Black SSD securely installed and the PS5 expansion slot closed, it’s time to power on your console and initialize the newly installed SSD. Follow these steps to ensure a smooth initialization process:
- Connect all cables: Reconnect all the cables, including the power cable and HDMI cable, to the back of your PS5. Ensure that everything is securely connected.
- Power on your PS5: Press the power button on your PS5 to turn it on. Allow the system to boot up and access the home screen.
- Update system software: If a system software update is available, the PS5 will prompt you to perform the update. Follow the on-screen instructions to update the system software to the latest version.
- Access settings: Once the system software is up to date, navigate to the Settings menu on your PS5 from the home screen.
- Select System Storage: In the Settings menu, find and select “System Storage.”
- Initialize WD Black SSD: In the System Storage menu, you will see the newly installed WD Black SSD listed. Select it and follow the on-screen prompts to initialize the SSD.
- Format the SSD: During the initialization process, you will be given the option to format the SSD. Choose the appropriate formatting option, usually “Format as Extended Storage.” This will optimize the SSD for use with the PS5.
- Follow on-screen instructions: Proceed with the initialization process, carefully following the on-screen instructions until the SSD is successfully initialized.
Once the initialization process is complete, your PS5 is ready to take full advantage of the WD Black SSD’s storage capacity and enhanced performance. The next step is to restore your data from the previously created backup.
Step 8: Restore your data
After initializing the WD Black SSD, it’s time to restore your data from the previously created backup. Follow these steps to ensure a successful data restoration process:
- Connect the USB storage device: Connect the USB storage device containing the backup to one of the USB ports on your PS5.
- Power on your PS5: Turn on your PS5 and allow it to fully boot up to the home screen.
- Go to Settings: From the home screen, navigate to the Settings menu at the top-right corner.
- Select System Software: In the Settings menu, scroll down and select “System Software.”
- Choose Data Transfer and Backup: In the System Software menu, select “Data Transfer and Backup.”
- Select Restore Data: Choose the “Restore Data” option and follow the on-screen instructions to initiate the data restoration process.
- Select the backup location: Choose the USB storage device where your backup is stored. The PS5 will detect the backup file(s) on the device.
- Select the data to restore: Choose the specific data you want to restore, such as saved games, settings, and other relevant files. You may have the option to select all or customize your selection.
- Follow on-screen instructions: Proceed with the data restoration process, carefully following the on-screen prompts and instructions until the restoration is complete.
During the data restoration process, it’s important to ensure that the USB storage device remains connected and that you do not interrupt the process. This will ensure a successful transfer of your data to the newly installed WD Black SSD.
Once the data restoration is complete, you can start enjoying your PS5 with the new storage capacity and the convenience of having your previously backed-up data readily available.
Congratulations! You have successfully installed and configured the WD Black SSD in your PS5, empowering you to enjoy an expanded gaming experience.
Conclusion
Congratulations on successfully installing the WD Black SSD in your PS5! You’ve taken an important step towards enhancing your gaming experience by increasing storage capacity and improving performance. By following the step-by-step guide outlined in this article, you’ve ensured a smooth installation process.
The WD Black SSD provides fast loading times, ample storage space, and improved overall performance, allowing you to enjoy your favorite games without any limitations. The increased capacity means you can install more games, download additional content, and store media files without worrying about running out of space.
Remember, always take the necessary precautions when working with your PS5, and be sure to backup your data before making any changes. Opening the expansion slot and installing an SSD may void your warranty, so it’s essential to consider the associated risks and check your warranty terms.
We hope this guide has been helpful in guiding you through the process of installing the WD Black SSD in your PS5. Enjoy the faster loading times, smoother gameplay, and expanded storage capacity that the WD Black SSD brings to your gaming experience. Now, go ahead and immerse yourself in a world of endless gaming possibilities!