Introduction
Welcome to our guide on how to swap your laptop’s hard drive to a solid-state drive (SSD). If you’re looking to boost your laptop’s performance and improve overall speed and responsiveness, upgrading to an SSD is a great solution. In this article, we will walk you through the benefits of swapping your laptop’s hard drive to an SSD and provide you with a step-by-step guide to help you successfully complete the upgrade. So, let’s dive in and explore the world of SSDs!
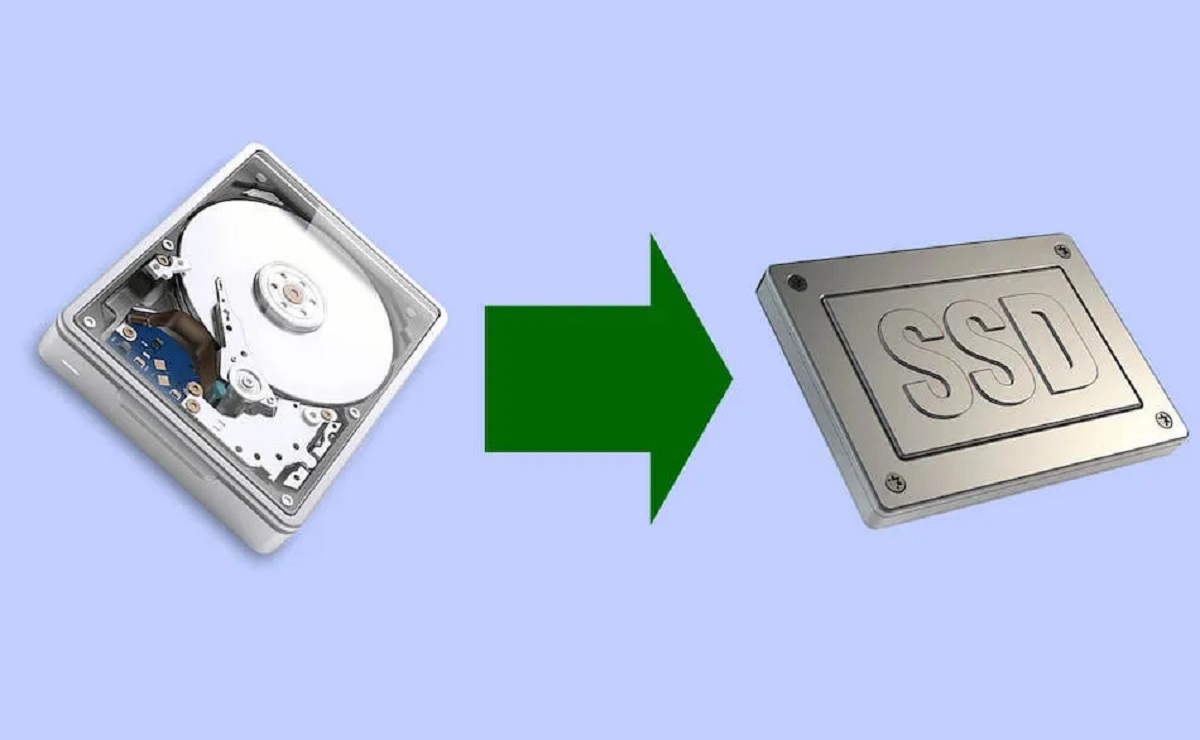
Traditional hard disk drives (HDDs) have been the standard storage option in laptops for many years. While they offer a large storage capacity at a relatively low cost, they can be slower and more prone to mechanical failures. On the other hand, SSDs are newer, faster, and more reliable storage devices that use flash memory technology to store data. By swapping your laptop’s hard drive to an SSD, you can experience significant improvements in boot times, file transfer speeds, and overall performance.
Before we jump into the step-by-step guide, there are a few important things to consider. Firstly, you need to make sure that your laptop is compatible with an SSD upgrade. Most modern laptops support SSDs, but it’s always a good idea to double-check the specifications of your device or consult the manufacturer’s documentation.
Another crucial factor to consider is the capacity of the SSD you’ll need. SSDs come in various sizes, and you’ll want to select one that offers ample storage for your needs. Take into account the space requirements of your operating system, applications, and files to determine the appropriate SSD capacity.
Additionally, it’s essential to back up all your data before proceeding with the HDD to SSD swap. Swapping the hard drive involves transferring data, and there’s always a risk of data loss. By creating a backup of your important files, you can ensure that your data is safe and easily recoverable in case anything goes wrong during the process.
Now that we’ve covered the necessary considerations, let’s move on to the step-by-step guide that will help you swap your laptop’s hard drive to an SSD. With the right tools and some patience, you’ll be enjoying the improved performance of your laptop in no time!
Benefits of Swapping Laptop Hard Drive to SSD
Upgrading your laptop’s hard drive to a solid-state drive (SSD) comes with several compelling benefits. Let’s explore the advantages that make this swap a worthwhile investment:
- Improved Performance: One of the most significant benefits of swapping your laptop’s hard drive to an SSD is the noticeable improvement in performance. SSDs are much faster than traditional hard drives, offering lightning-fast boot times and reduced application loading times. Your laptop will feel more responsive, allowing for seamless multitasking and faster data access.
- Faster File Transfer Speeds: SSDs excel in file transfer speeds, which means you can experience faster data transfers between your laptop’s internal storage and external devices such as USB drives or external hard drives. This is especially beneficial if you frequently work with large files or need to back up your data quickly.
- Enhanced Durability: Unlike traditional hard drives, SSDs have no moving parts. This makes them more resistant to shocks, drops, and vibrations, reducing the risk of data loss due to physical damage. The durability of SSDs also contributes to the overall longevity of the drive, ensuring long-term reliability.
- Improved Battery Life: SSDs are more power-efficient than traditional hard drives, resulting in improved battery life for your laptop. With an SSD, you can enjoy extended usage time without having to worry about frequent recharging.
- No Noise: Traditional hard drives generate noise due to their spinning disks and moving parts. SSDs, on the other hand, operate silently. This not only creates a quieter computing experience but also eliminates the distracting noise that can be especially noticeable in quiet environments.
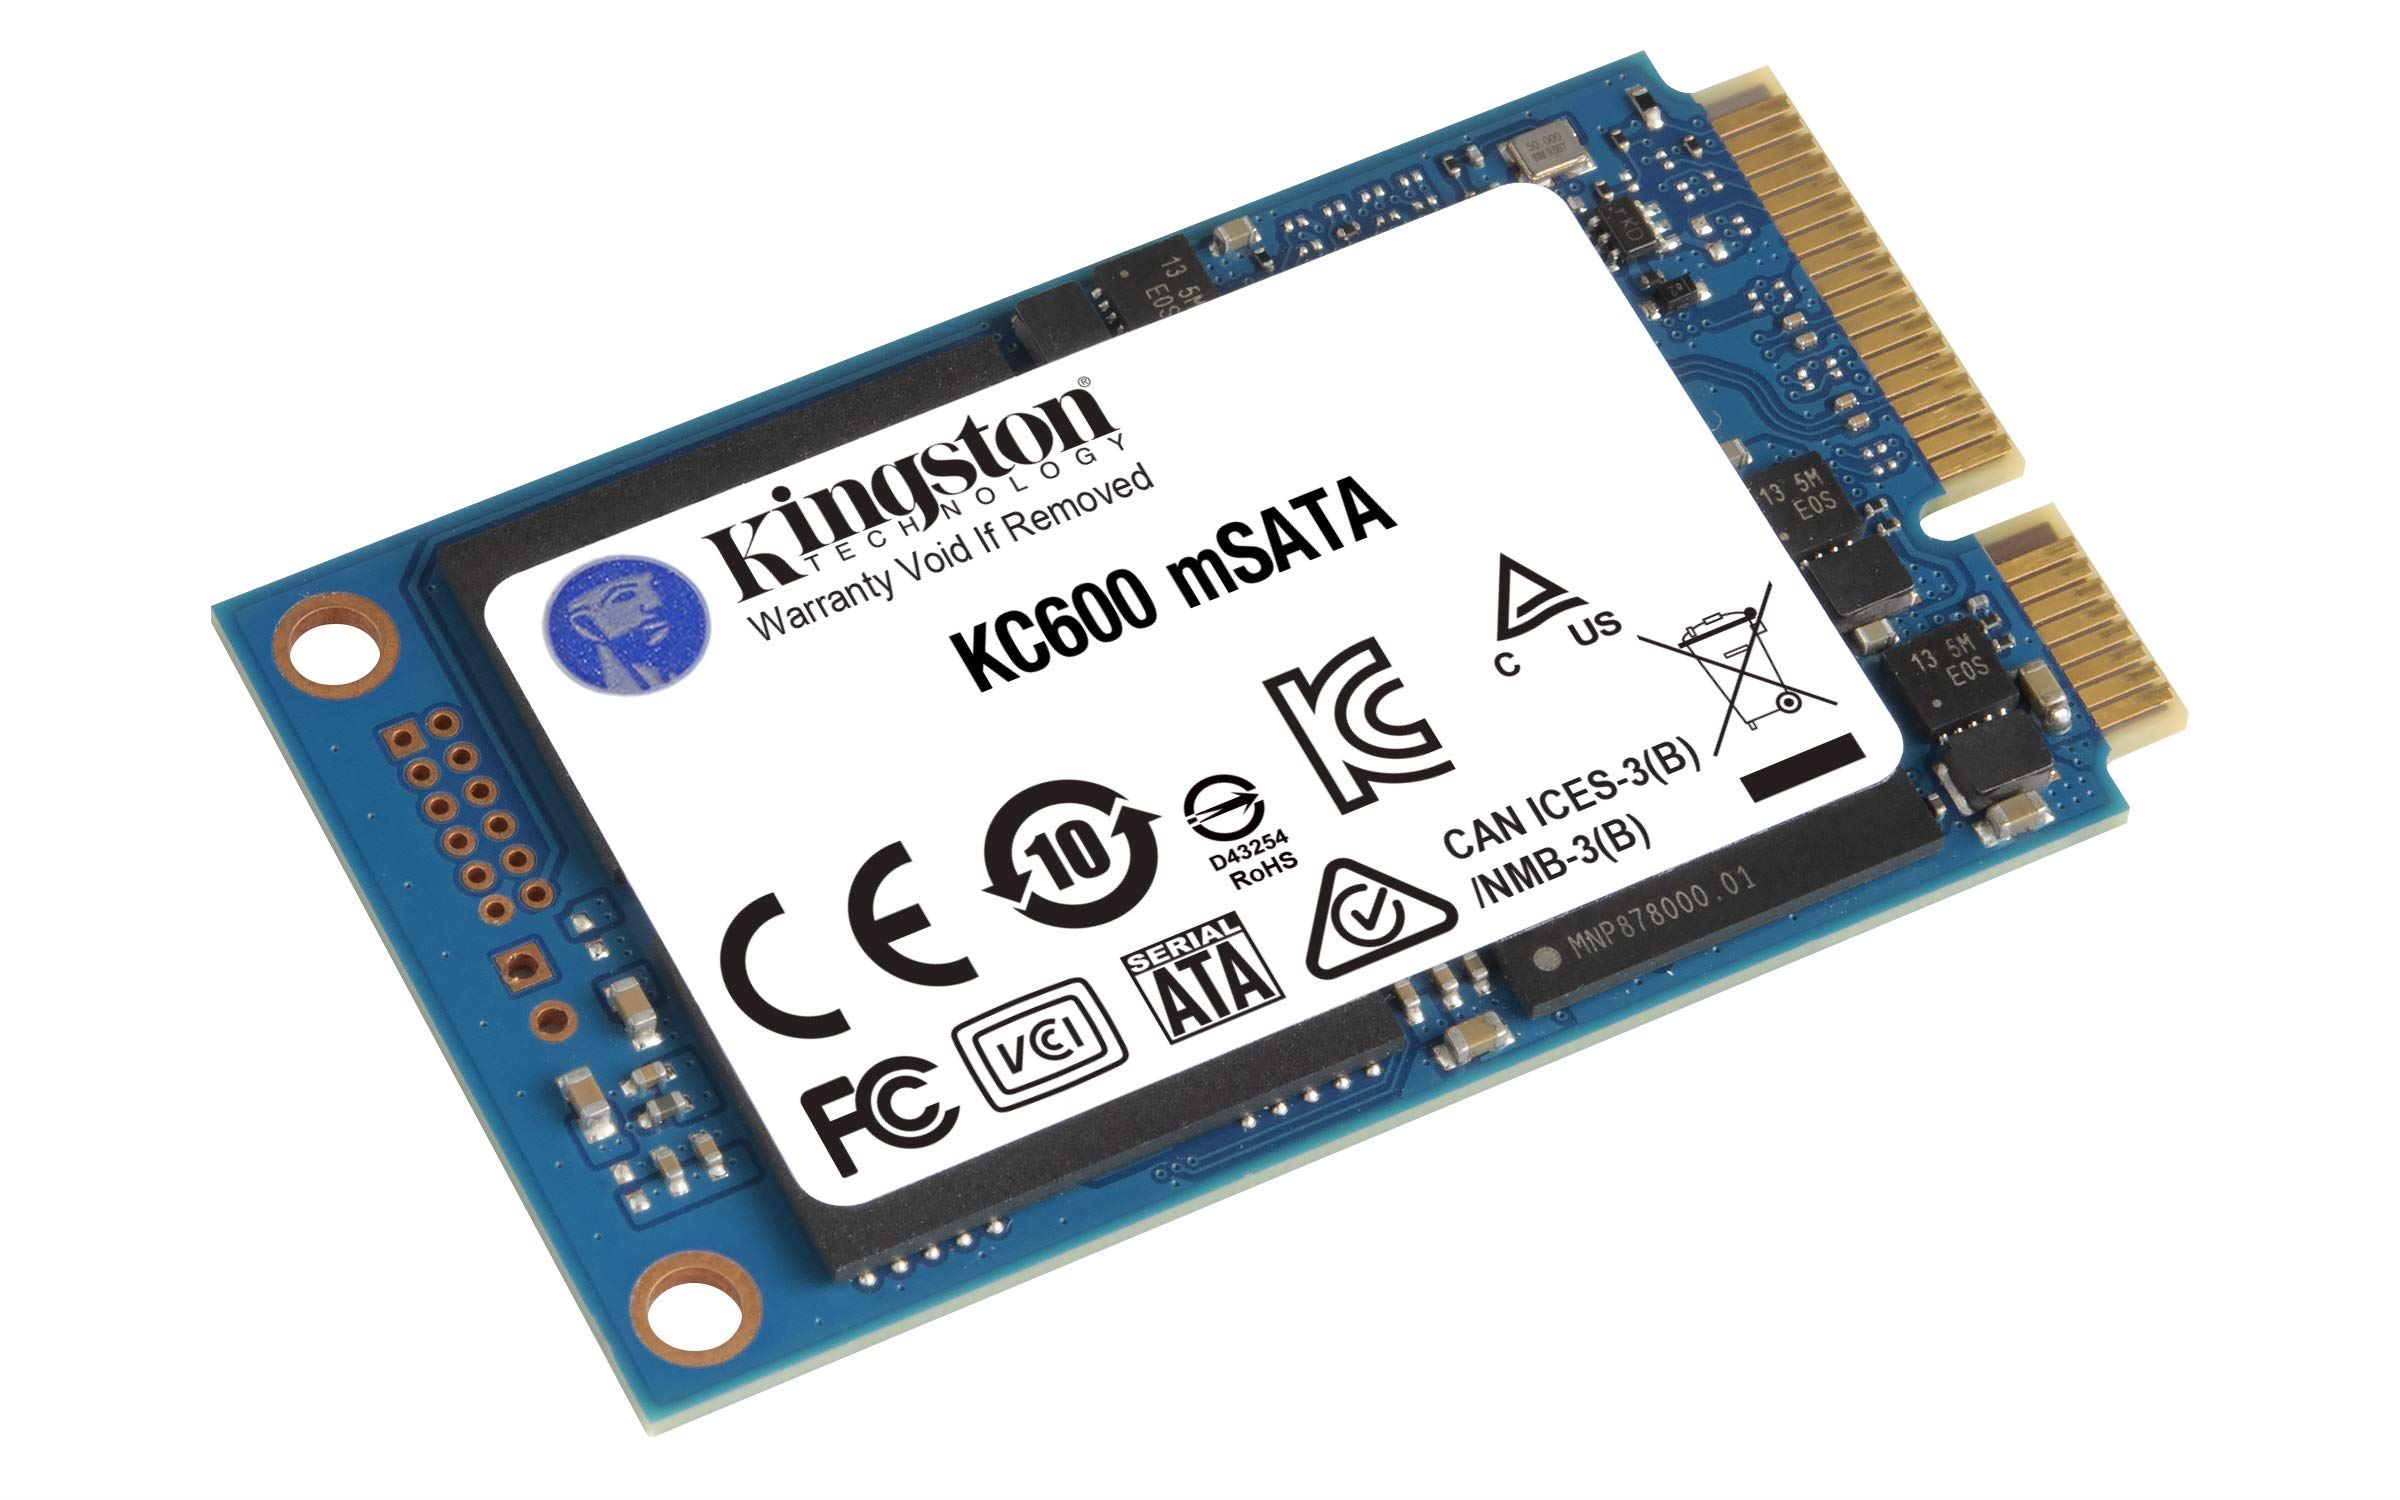
- Compact and Lightweight: SSDs are smaller and lighter than traditional hard drives, making them an ideal choice for laptops. With their compact form factor, SSDs allow for more freedom in laptop design and provide a sleeker, more portable computing experience.
By swapping your laptop’s hard drive to an SSD, you can enjoy these benefits and greatly enhance your overall computing experience. The improved performance, faster file transfer speeds, enhanced durability, extended battery life, noiseless operation, and compact design make SSDs an excellent investment for laptop users.
Things to Consider Before Swapping an HDD to SSD
Before you embark on the process of swapping your laptop’s hard disk drive (HDD) to a solid-state drive (SSD), there are a few important factors to consider. These considerations will help ensure a smooth and successful upgrade:
- Laptop Compatibility: Verify that your laptop is compatible with an SSD upgrade. Most modern laptops support SSDs, but it’s essential to check your laptop’s specifications or consult the manufacturer’s documentation to confirm compatibility.
- SSD Capacity: Determine the appropriate SSD capacity for your needs. Consider the amount of storage space required for your operating system, applications, and files. It’s recommended to choose an SSD with enough capacity to accommodate your data, as upgrading to a smaller capacity SSD may lead to storage limitations.
- Data Backup: Before starting the HDD to SSD swap, back up all your important data. Swapping the hard drive involves transferring data, and there’s always a risk of data loss. Creating a backup ensures that your files are safe in case of any unforeseen issues during the upgrade process.
- Operating System Reinstallation: In some cases, you may need to reinstall your operating system when swapping an HDD to an SSD. Take this into consideration and ensure you have a backup of your operating system or installation media ready if needed.
- Peripheral Compatibility: Check the compatibility of any external peripherals or hardware that may be connected to your laptop. Some devices may require specific drivers or configurations that could be affected by the SSD upgrade.
- Physical Space: Take note of the physical dimensions of the SSD and ensure that it will fit securely into your laptop. SSDs come in various form factors, so it’s important to choose one that is compatible with your laptop’s drive bay.
- Software and License: Consider any software or licenses tied to your existing hard drive. Some software may require reactivation or reinstallation after the upgrade. Make sure you have the necessary information or licenses to proceed with the activation.
By carefully considering these factors, you can better prepare for the HDD to SSD swap and ensure a successful upgrade process. Taking the time to verify compatibility, back up your data, and consider any peripheral or software implications will help facilitate a seamless transition to the improved performance and benefits that an SSD offers.
Step-by-Step Guide to Swap Laptop Hard Drive to SSD
Now that you have considered the necessary factors, let’s proceed with the step-by-step guide to help you swap your laptop’s hard drive to a solid-state drive (SSD). Follow these instructions carefully to ensure a successful upgrade:
- Prepare Your Equipment: Gather all the necessary tools and equipment, including a screwdriver suitable for your laptop’s screws, an external hard drive or USB drive for data backup, an SSD of your desired capacity, and any additional cables or adapters required for the installation.
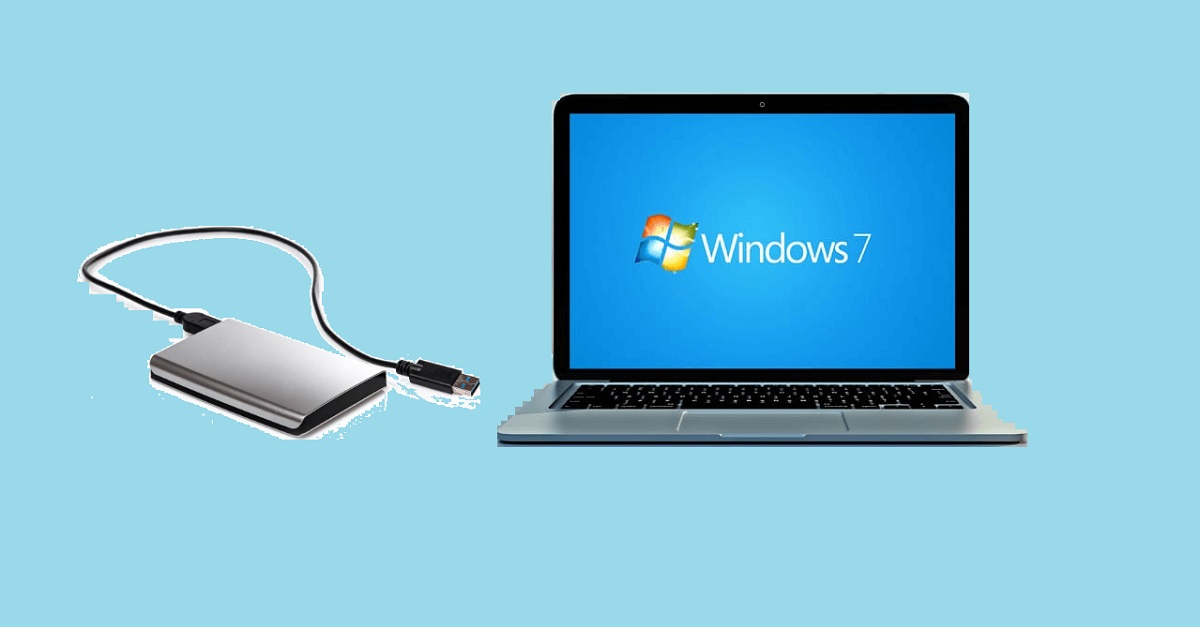
- Create a Data Backup: Back up all your important data from the existing hard drive to an external storage device. Use a reliable backup software or manually transfer your files to ensure that they are safely stored.
- Power Off and Unplug: Shut down your laptop and disconnect it from any power source. Also, remove the laptop battery if it’s easily accessible. This is important for your safety and to prevent any damage to the components.
- Locate the HDD: Identify the location of your laptop’s hard drive. Refer to the manufacturer’s documentation or online resources specific to your laptop model for guidance.
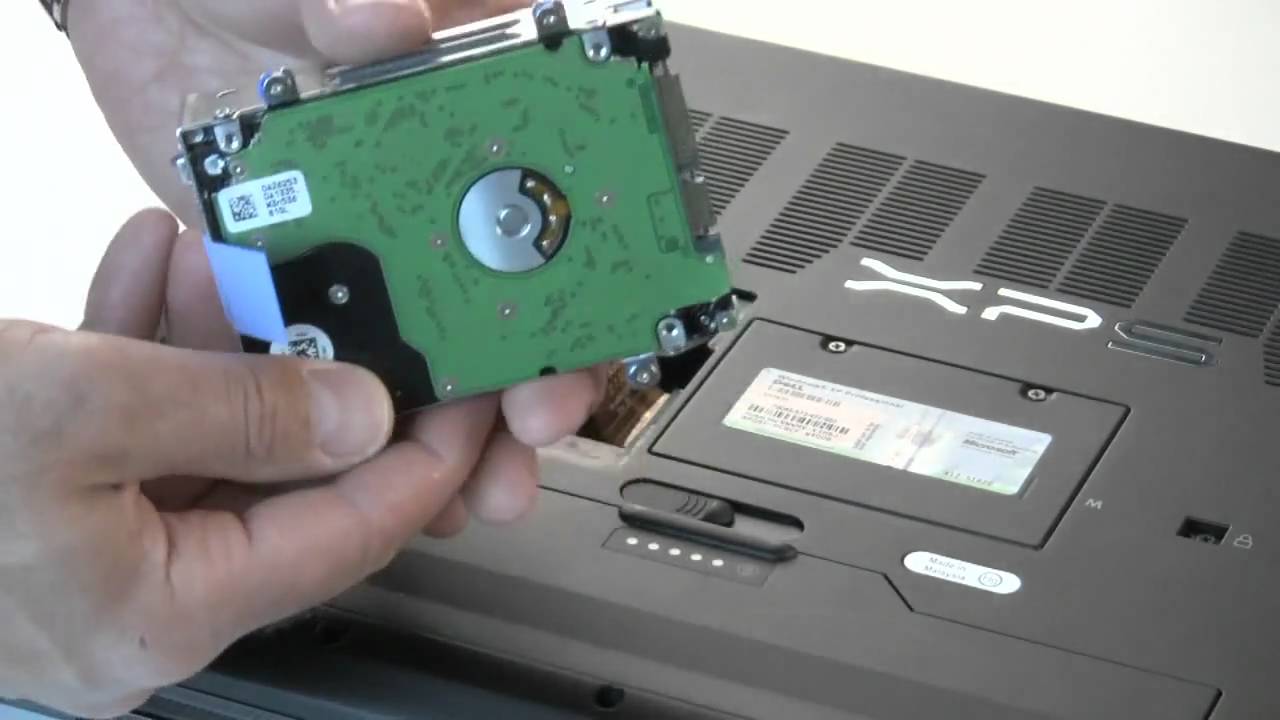
- Remove the HDD: Carefully remove the screws securing the hard drive compartment cover and lift the cover off. Disconnect the cables attached to the hard drive and gently slide it out of the drive bay.
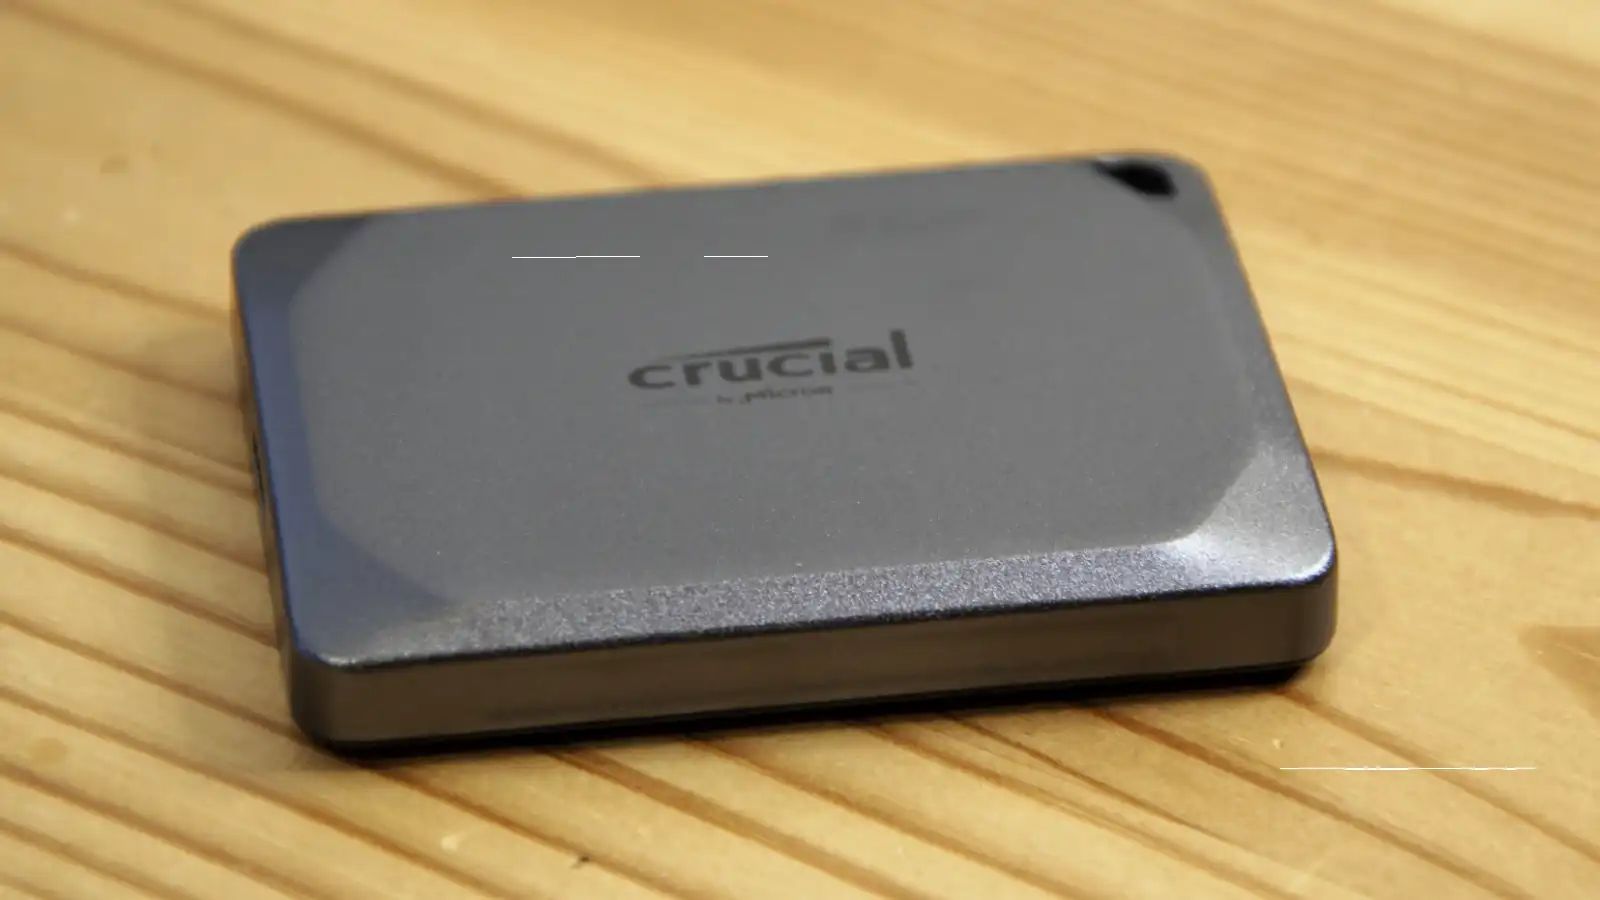
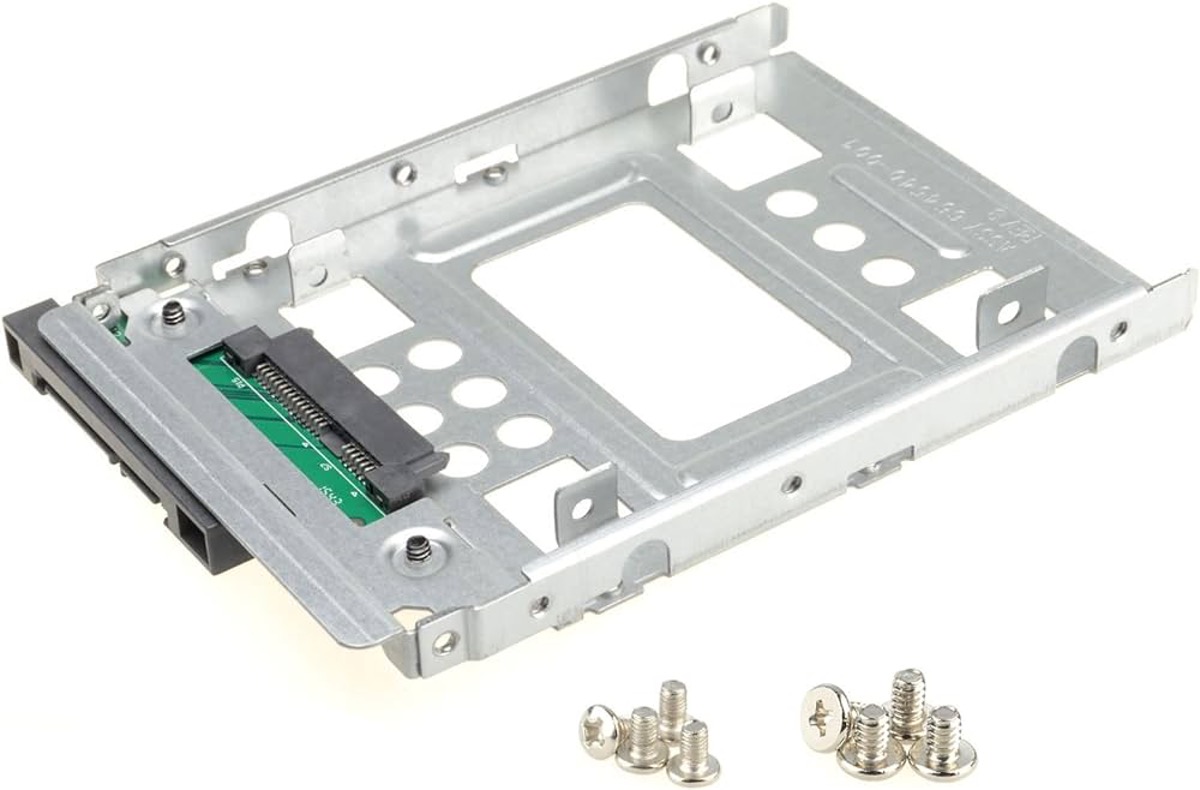
- Prepare the SSD: If your SSD does not come with an installation kit, you may need to attach any necessary brackets or adapters to ensure secure fitting within the drive bay.
- Install the SSD: Insert the SSD into the drive bay, making sure it is properly aligned. Secure it in place using the screws removed from the old hard drive.
- Connect Cables: Reattach the cables that were previously connected to the hard drive onto the SSD. Ensure they are securely plugged in to avoid any connection issues.
- Replace the Drive Bay Cover: Carefully place the drive bay cover back onto the laptop and secure it with the screws. Double-check that all screws are tightened but not excessively tightened.
- Power On and Reinstall: Reattach the laptop battery if it was removed earlier. Plug in your laptop and power it on. You may need to reinstall the operating system if your SSD did not come preloaded with one.
- Restore Data and Settings: Once the operating system is installed, restore your data from the backup you created earlier. Reinstall necessary applications and configure your settings as needed.
- Test and Enjoy: After completing the above steps, test your laptop to ensure that everything is working properly. Enjoy the improved speed, performance, and reliability of your laptop with the newly installed SSD.
Following this step-by-step guide will help you successfully swap your laptop’s hard drive to an SSD. Remember to take your time, be patient, and consult your laptop’s manufacturer documentation or online resources if you encounter any difficulties during the process.
Additional Tips for a Successful HDD to SSD Swap
When swapping your laptop’s hard disk drive (HDD) to a solid-state drive (SSD), there are a few additional tips that can help ensure a smooth and successful upgrade. Consider these tips to enhance your HDD to SSD swap:
- Perform a Clean System Installation: While cloning your operating system from the HDD to the SSD is an option, performing a clean installation of the operating system on the SSD is recommended. This will help optimize the system for the new hardware and ensure a fresh start.
- Enable TRIM: TRIM is a feature that helps optimize SSD performance by wiping blocks of data no longer in use. Make sure TRIM is enabled in your operating system settings to maintain the longevity and performance of your SSD.
- Update Firmware: Some SSDs may require firmware updates for optimal functionality. Check the SSD manufacturer’s website for any available firmware updates and follow their instructions to update your SSD’s firmware, if necessary.
- Dispose of the Old HDD Securely: Once you have successfully swapped your HDD with an SSD, it’s crucial to securely dispose of the old hard drive. You can do this by physically destroying the drive or using professional services to ensure the data cannot be recovered.
- Enable Drive Encryption: If your laptop previously had drive encryption enabled, ensure that you enable it on your new SSD as well. Drive encryption helps protect your data in case your laptop is lost or stolen.
- Enable Automatic TRIM: Check if your operating system has an option for automatic TRIM, which periodically performs the TRIM function in the background. Enabling this feature will help maintain the performance of your SSD over time.
- Consider Data Migration Tools: If you are not comfortable with manually transferring data, consider using data migration tools to simplify the process. There are various software applications available that can help you migrate your data seamlessly from the old HDD to the new SSD.
- Update Device Drivers: After installing the SSD, it’s recommended to update your laptop’s device drivers to ensure compatibility and optimal performance. Visit the manufacturer’s website to download and install the latest drivers for your specific laptop model.
- Monitor SSD Health: Install SSD health monitoring software to keep an eye on the health and performance of your SSD. This will allow you to identify any potential issues and take necessary action to maintain the longevity of the drive.
- Keep the HDD as a Backup: Once you have completed the HDD to SSD swap, consider repurposing the old hard drive as a backup storage device. This will provide you with an extra level of data security and backup in case of any unforeseen circumstances.
By following these additional tips, you can enhance the success of your HDD to SSD swap and ensure optimal performance and reliability from your newly installed solid-state drive. Remember to consult the SSD and laptop manufacturer’s documentation for specific instructions and guidelines pertaining to your hardware and software configuration.
Conclusion
Congratulations! You have reached the end of our guide on how to swap your laptop’s hard drive to a solid-state drive (SSD). By upgrading to an SSD, you can unlock a world of benefits, including improved performance, faster file transfer speeds, enhanced durability, extended battery life, noiseless operation, and a compact and lightweight design.
Before you embark on the upgrade process, remember to consider essential factors such as laptop compatibility, SSD capacity, data backup, and operating system reinstallation. These considerations will help ensure a successful and hassle-free HDD to SSD swap.
Following our step-by-step guide, you can confidently replace your laptop’s hard drive with an SSD. Remember to gather all the necessary tools, create a data backup, and take precautions to power off and unplug your laptop before starting the process.
Additionally, we provided some helpful tips to further enhance your HDD to SSD swap. Performing a clean system installation, enabling TRIM, updating firmware, and securely disposing of the old hard drive are just a few ways to optimize the upgrade experience.
Once you have completed the HDD to SSD swap, don’t forget to monitor the health of your new SSD, keep your device drivers updated, and consider repurposing the old hard drive as a backup storage device.
By following these guidelines and tips, you can enjoy the improved speed, responsiveness, and reliability that an SSD brings to your laptop. Make the most out of your technology investment and experience a seamless and enjoyable computing experience.


