Introduction
Welcome to our guide on how to splice an HDMI cable. Whether you have a damaged cable or need to extend its length, knowing how to splice an HDMI cable can come in handy. HDMI cables are widely used for connecting audio and video devices, such as TVs, DVD players, and gaming consoles, to provide a high-quality digital signal. However, there may be situations where you need to modify or repair the cable to suit your specific needs.
Splicing an HDMI cable involves joining two cables together or altering the existing cable to extend its reach. While it may seem like a daunting task, with the right tools and techniques, you can successfully splice an HDMI cable without compromising the signal quality. In this guide, we will walk you through the process of splicing an HDMI cable step by step, highlighting the tools and precautions needed along the way.
Before we dive into the practical steps, let’s take a closer look at what exactly splicing an HDMI cable entails and why you might need to do it.
What is Splicing HDMI Cable?
Splicing an HDMI cable refers to the process of joining two HDMI cables together or altering the existing cable to extend its length. This technique allows you to customize the length of your HDMI cable to fit your specific needs, whether it’s connecting devices across a room or routing cables through walls.
When splicing an HDMI cable, it’s crucial to maintain the integrity of the signal to ensure a high-quality audio and video experience. HDMI cables transmit digital signals, and any disruption or interference can result in signal loss or reduced image and sound quality. Therefore, it’s essential to follow the proper splicing techniques to ensure a seamless connection and optimal performance.
There are two main methods of splicing an HDMI cable:
- Joining two HDMI cables: This method is used when you need to extend the length of an existing HDMI cable. By properly connecting two HDMI cables, you can effectively increase the reach of your cable without sacrificing signal quality.
- Modifying the existing HDMI cable: This method involves altering the length or structure of an HDMI cable to fit a specific purpose. It requires cutting the cable and then reattaching the severed ends using appropriate splicing techniques.
It’s important to note that splicing an HDMI cable should only be done when necessary and with caution. It’s always recommended to use the appropriate length of cable for your setup to avoid any potential signal degradation or loss.
In the next section, we will discuss various situations where you might need to splice an HDMI cable.
Why would you need to splice an HDMI cable?
There are several reasons why you might need to splice an HDMI cable:
- Extending cable length: One of the most common reasons for splicing an HDMI cable is to extend its length. Sometimes, the standard length of HDMI cables that come with electronic devices is not long enough to reach your desired location. By splicing two HDMI cables together, you can effectively increase the reach without compromising the signal quality.
- Repairing a damaged cable: HDMI cables, like any other cables, can get damaged over time due to wear and tear or accidental incidents. If you have a damaged HDMI cable with a broken connector or exposed wires, splicing can be a cost-effective solution to repair the cable rather than buying a new one.
- Customizing cable length: In some cases, the standard length of HDMI cables may be too long for your specific setup. Excess cable length can lead to unnecessary cable clutter and poor cable management. By splicing and altering the existing cable to a shorter length, you can achieve a neater and more organized setup.
- Routing cables through walls or tight spaces: Splicing an HDMI cable can also be beneficial when you need to pass the cable through walls, conduits, or tight spaces. By splicing and creating a detachable connection, you can easily thread the cable through small openings and reassemble it on the other side.
It’s important to note that while splicing HDMI cables may be a practical solution in certain situations, it should be performed with care and precision. Properly splicing HDMI cables requires following the correct techniques and using the appropriate tools to ensure a secure connection and maintain the integrity of the audio and video signals.
In the next section, we will discuss the tools and materials you’ll need to successfully splice an HDMI cable.
Tools and materials needed
Before you begin splicing an HDMI cable, make sure you have the following tools and materials ready:
- HDMI cables: Ensure you have the HDMI cables that you wish to splice. It’s essential to use HDMI cables with matching specifications and quality to maintain the integrity of the signal.
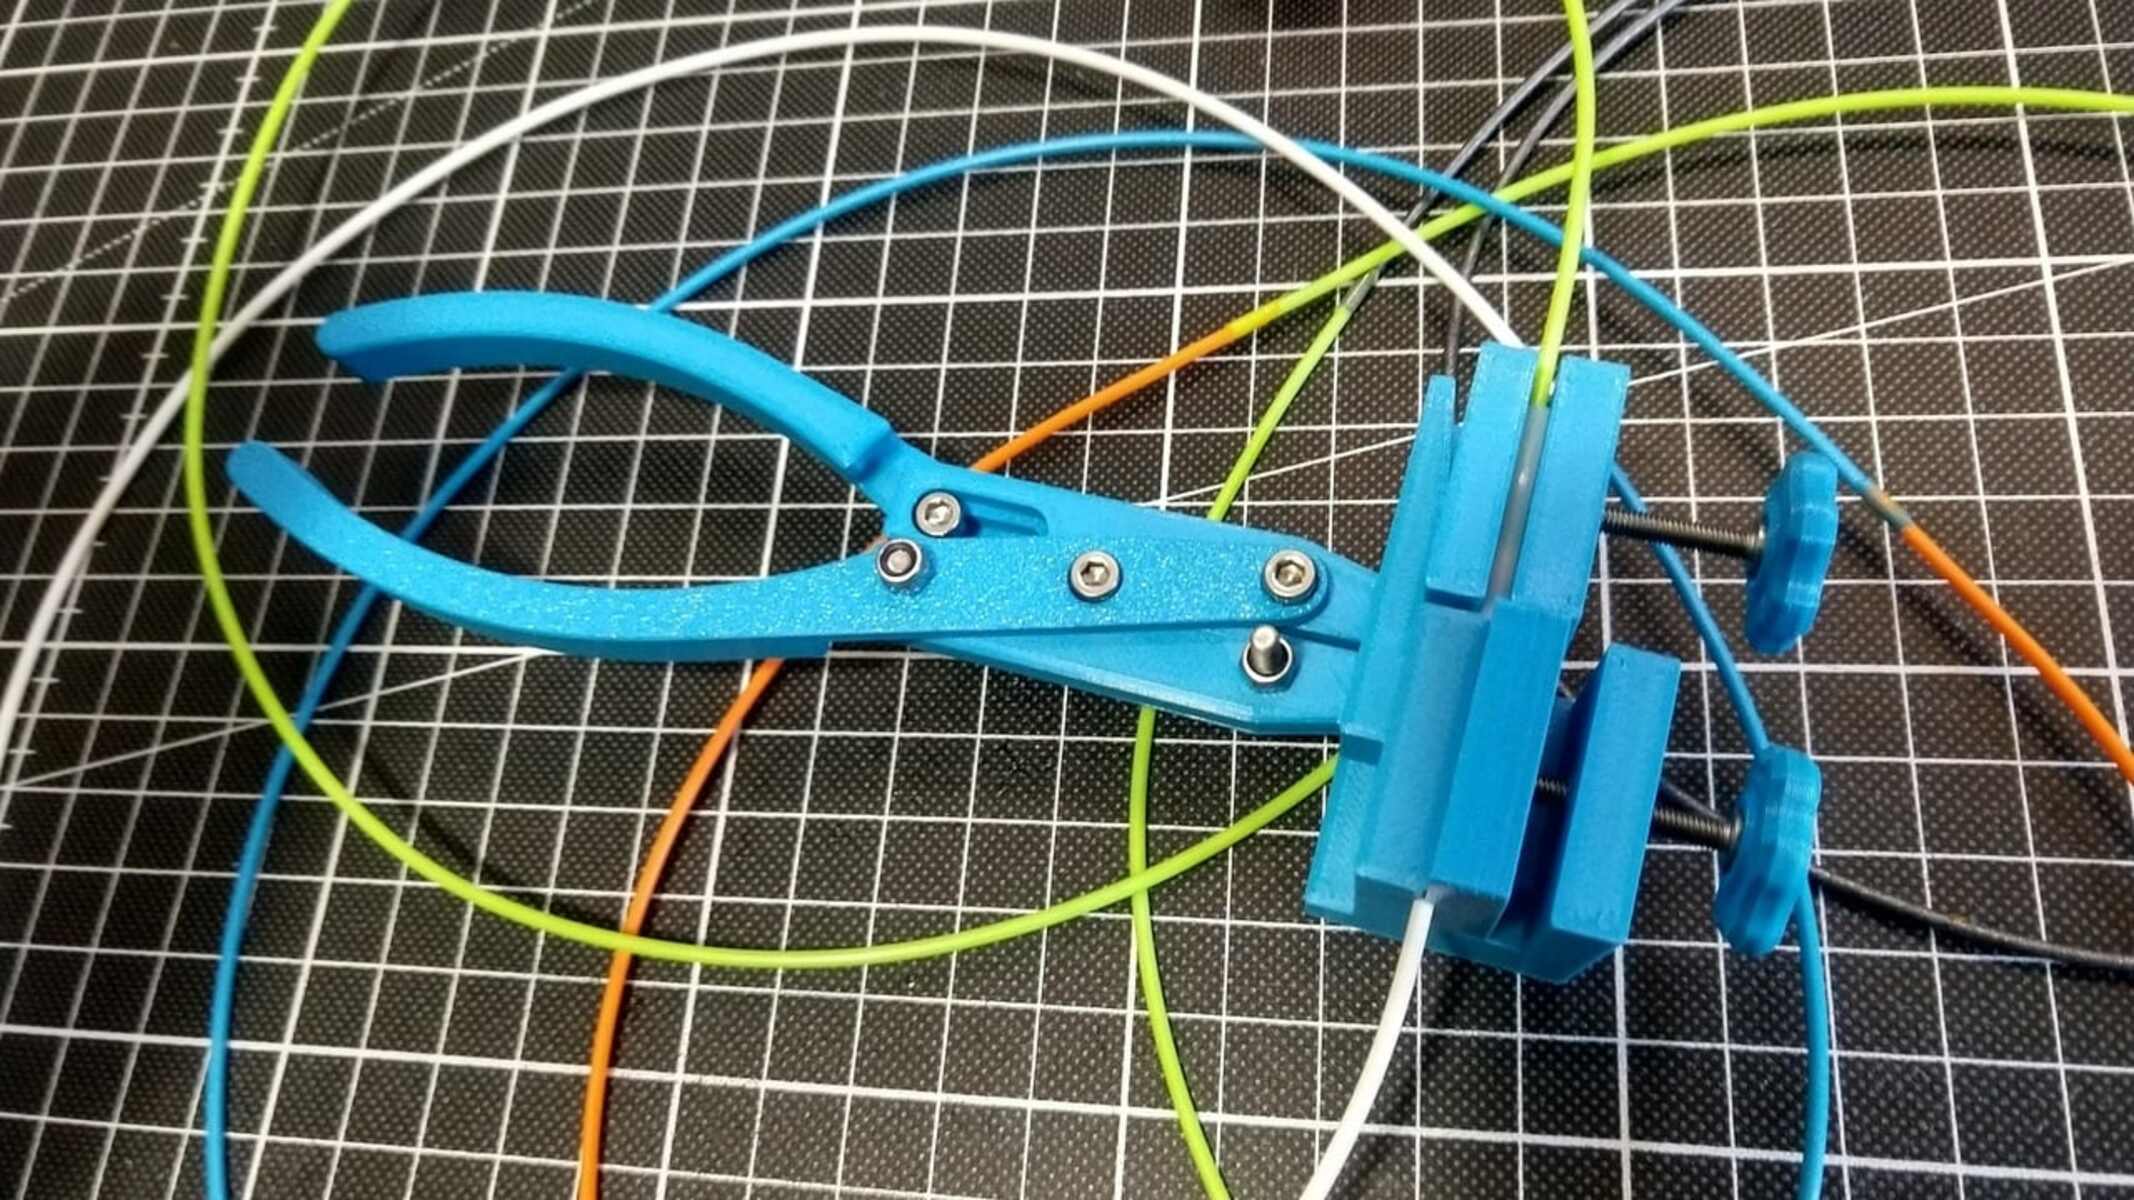
- Wire cutter/stripper: A wire cutter or stripper is required to cut the HDMI cables and expose the inner wires for splicing. Make sure you have a wire cutter/stripper that is suitable for cutting the thickness of HDMI cables.
- Soldering iron and solder: Depending on the splicing method you choose, you may need a soldering iron and solder to make secure connections. This is typically required when joining two HDMI cables or reattaching severed ends.
- Heat shrink tubing: Heat shrink tubing is used to insulate and protect the soldered connections. It provides a clean and secure finish to the spliced area, preventing any potential signal interference or short circuits.
- Heat gun or lighter: A heat gun or lighter is necessary to shrink the heat shrink tubing and create a tight seal around the spliced area. Ensure you have a heat gun or lighter that can generate enough heat to shrink the tubing effectively.
- Electrical tape: Electrical tape can be used as an alternative to heat shrink tubing for insulating the spliced area. It helps secure the connection and provides additional protection against signal interference.
- Wire connectors: If you are using the method of joining two HDMI cables, you may need male and female HDMI connectors to create a solid connection between the cables.
- Flux (optional): Flux can be used during the soldering process to enhance the flow of solder and ensure a stronger and more reliable connection.
- Safety goggles and gloves: It’s always important to prioritize safety when working with tools and soldering. Wear safety goggles to protect your eyes and gloves to protect your hands from potential burns or injuries.
Having these tools and materials prepared beforehand will make your splicing process smoother and more efficient.
In the next section, we will walk you through a step-by-step guide on how to splice an HDMI cable.
Step-by-step guide on splicing HDMI cable
Follow these step-by-step instructions to splice an HDMI cable:
- Prepare the cables: Start by identifying the two HDMI cables that you want to splice. Ensure that they have matching specifications and quality. Measure and mark the desired length for the spliced cable.
- Cut the cables: Using a wire cutter or stripper, carefully cut the HDMI cables at the marked points. Make sure to have clean and precise cuts to ensure proper connections.
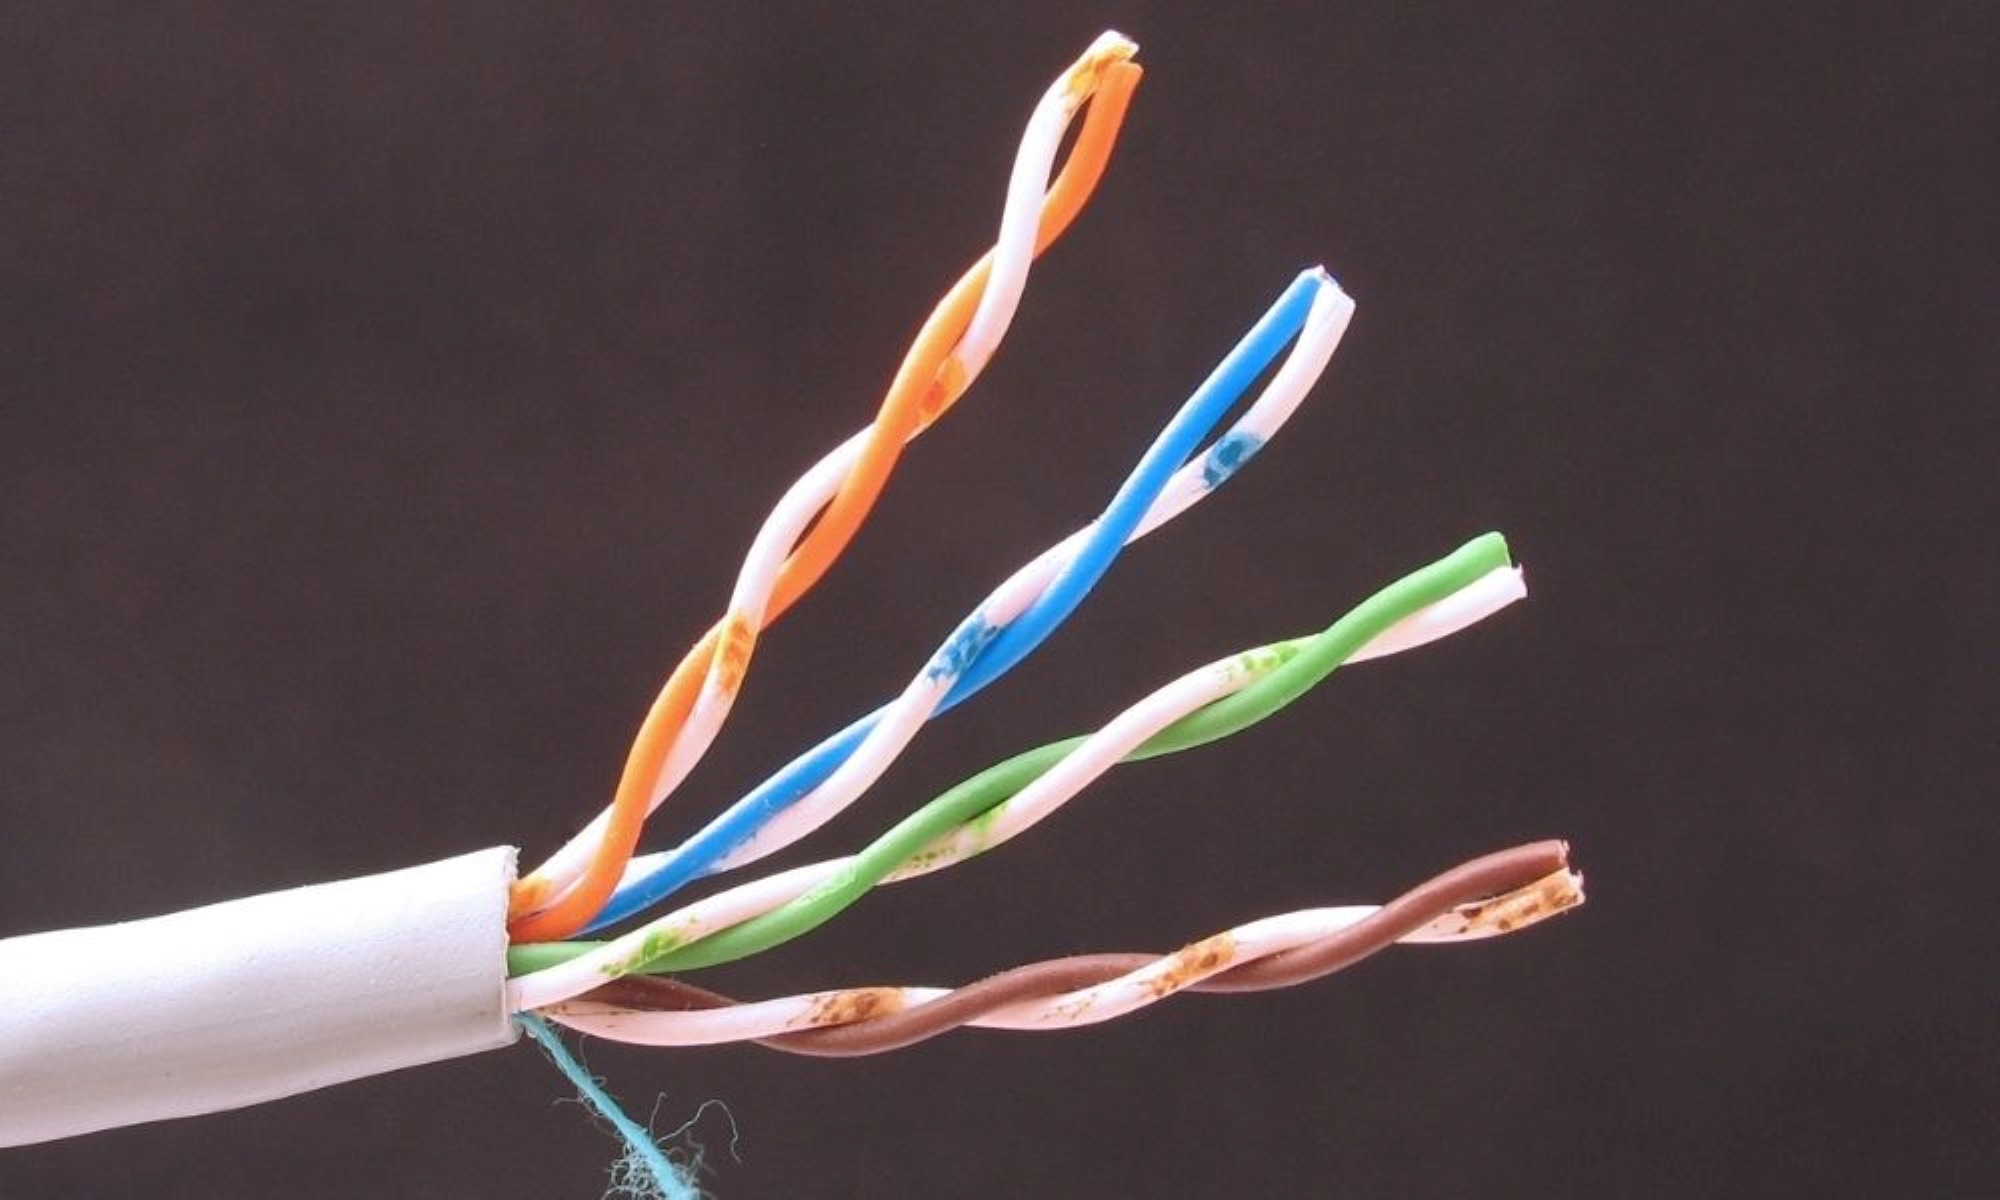
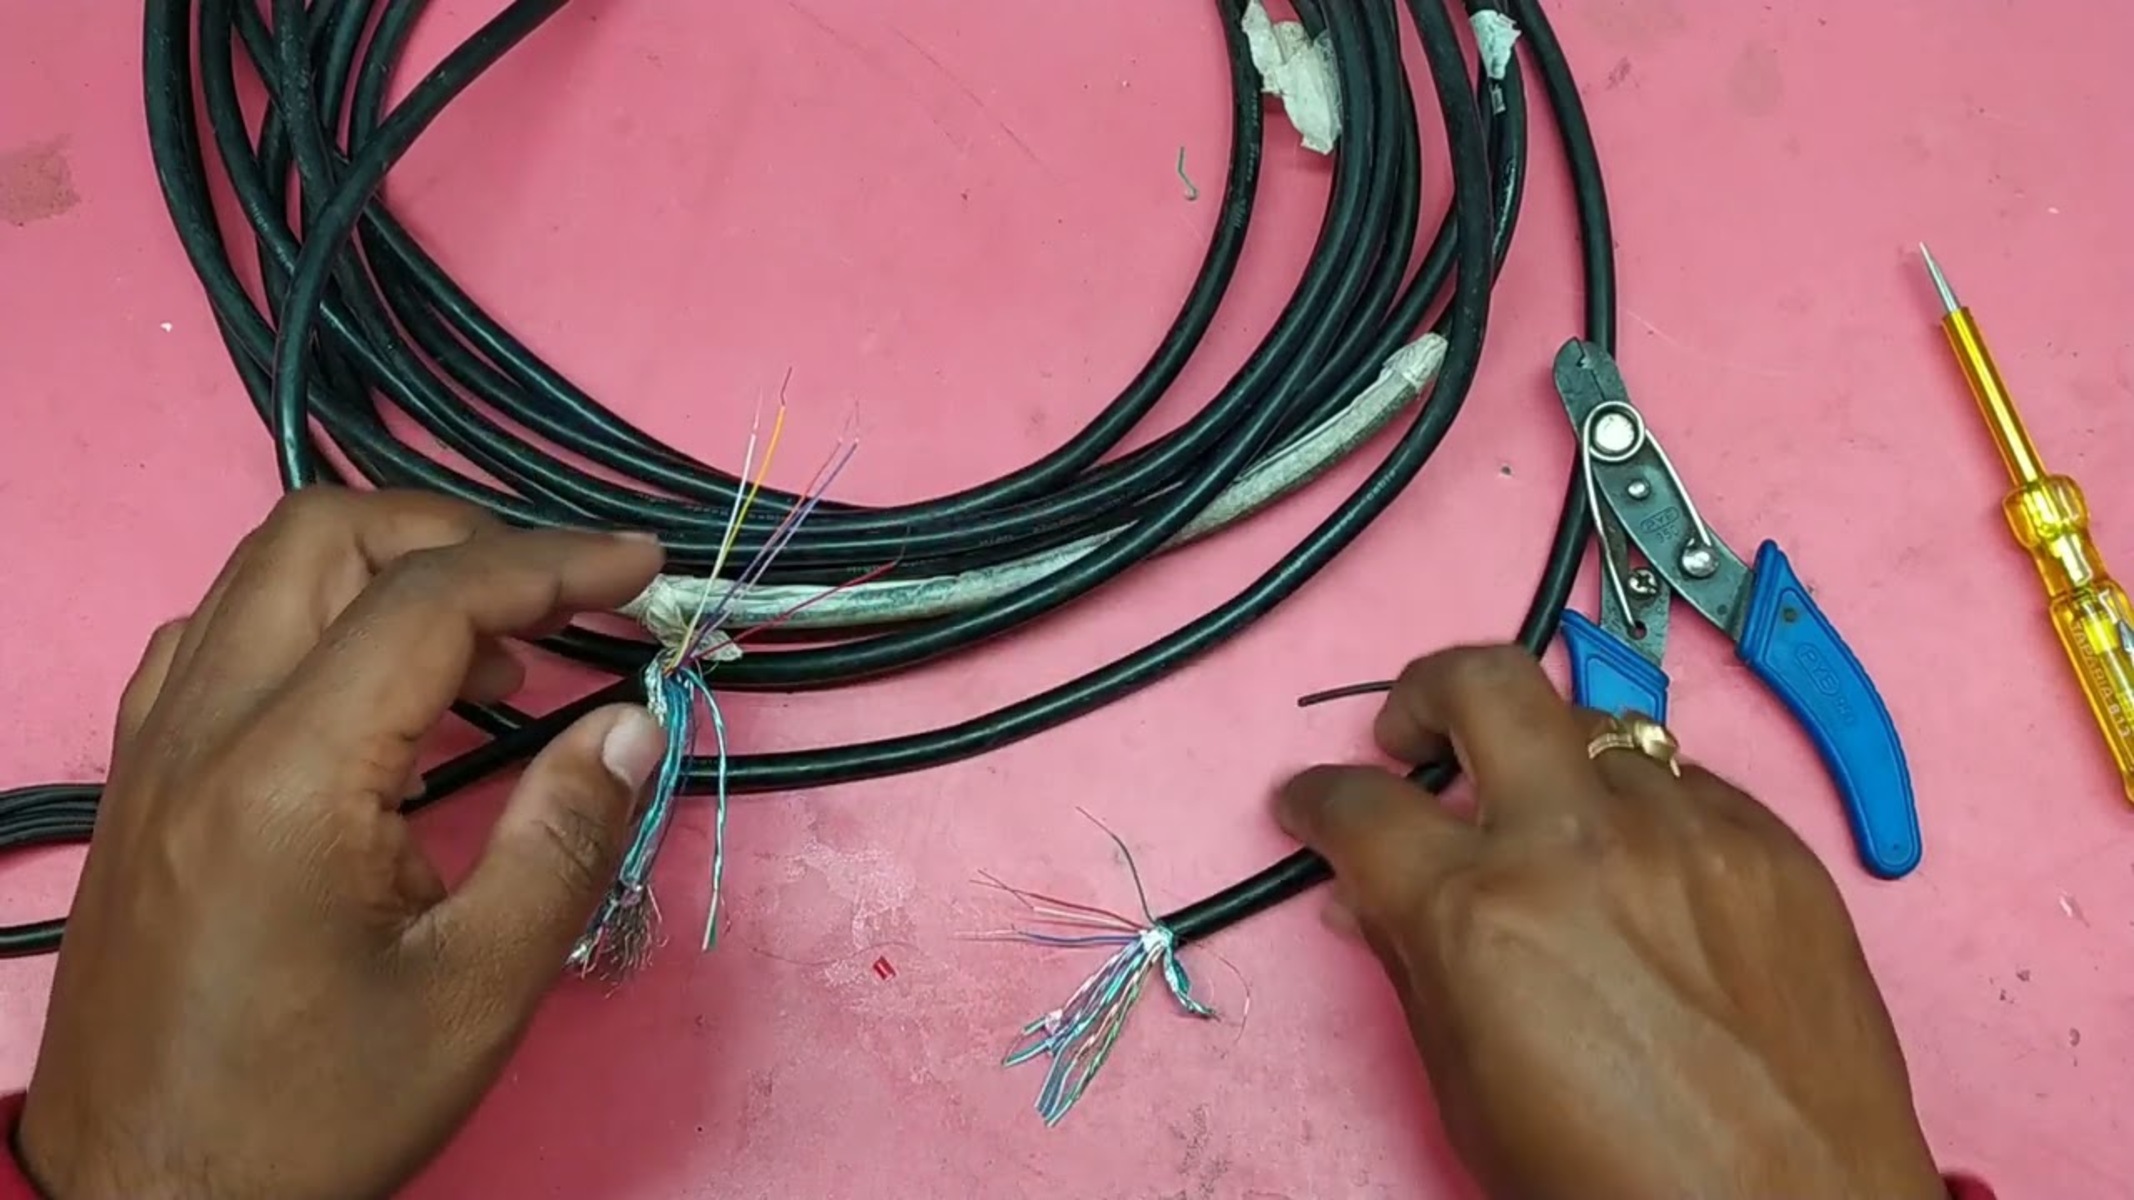
- Expose the inner wires: Strip the outer protective covering of the cut ends of each cable, exposing the inner wires. Take care not to damage the individual wires while stripping.
- Solder the wires (if necessary): If you’re joining two HDMI cables, you’ll need to solder the corresponding wires together. Match the colors and solder the exposed wires firmly, taking care to maintain a secure connection. Use flux if desired for better soldering results.
- Insulate the connection: Slide a piece of heat shrink tubing over the spliced area or wrap electrical tape around the soldered connection. Ensure that the tubing or tape covers the exposed wires and extends beyond the joint.
- Apply heat: Use a heat gun or a lighter to carefully heat the heat shrink tubing, causing it to shrink tightly around the spliced area. If using electrical tape, make sure to tightly wrap it around the joint, ensuring a secure and insulated connection.
- Test the spliced cable: Once the splicing process is complete, connect the spliced HDMI cable to your devices and test the audio and video signals. Ensure that there are no signal distortions or interruptions.
Note: If you are modifying the existing HDMI cable rather than joining two cables, you may not need to solder. Instead, you can cut and adjust the cable length and then reattach the severed ends using appropriate splicing techniques.
Remember, splicing an HDMI cable should be done with caution and precision to maintain optimal signal quality. If you are unsure about the process or lack the necessary skills, it’s advisable to seek professional assistance or consider purchasing a pre-spliced HDMI cable.
In the next section, we will share some tips and precautions to keep in mind when splicing an HDMI cable.
Tips and precautions
When splicing an HDMI cable, consider the following tips and precautions to ensure a successful and safe process:
- Use high-quality HDMI cables: It’s crucial to use reputable and high-quality HDMI cables for splicing. This helps maintain signal integrity and ensures a reliable connection.
- Double-check cable compatibility: Before splicing two HDMI cables together, ensure that they have compatible specifications. Mismatched cables can result in signal loss or poor performance.
- Properly strip and prepare the cables: Take your time to strip the outer protective covering of the HDMI cables carefully. Improper stripping or damaging the inner wires can lead to poor connections.
- Take precautions when soldering: If soldering is required, use caution and follow proper soldering techniques. Avoid overheating the wires and ensure a secure and reliable solder joint.
- Insulate the spliced area: Use heat shrink tubing or electrical tape to insulate and protect the spliced area. This prevents signal interference and reduces the risk of short circuits.
- Test the spliced cable before installation: Before fully installing the spliced HDMI cable, test it with your devices to ensure there are no issues with the audio or video signals. This allows you to make any necessary adjustments before final installation.
- Consider professional assistance if unsure: If you are unfamiliar with splicing techniques or lack confidence in performing the process, it’s best to seek professional help. They have the expertise and experience to ensure a proper and reliable splicing job.
- Follow safety precautions: Wear safety goggles and gloves to protect yourself from potential injuries or burns during the splicing process. Additionally, work in a well-ventilated area and take breaks if needed.
Splicing an HDMI cable can be a cost-effective solution when done correctly. However, it is essential to weigh the benefits against the risks involved. If you are unsure about the process or have doubts about your abilities, it’s always better to seek professional assistance or invest in pre-spliced HDMI cables.
In the final section, we will wrap up this guide on splicing HDMI cables.
Conclusion
Splicing an HDMI cable can be a practical solution for extending cable length, repairing damaged cables, or customizing cable length to fit specific setups. By following the right techniques and using the appropriate tools, you can successfully splice an HDMI cable without compromising the audio and video signal quality.
In this guide, we have explored what splicing an HDMI cable entails and why you might need to splice one. We have also provided a step-by-step guide, highlighting the tools and materials required, to help you through the splicing process.
Remember to always use high-quality HDMI cables, properly prepare the cables before splicing, and take precautions when soldering or making connections. Insulating the spliced area using heat shrink tubing or electrical tape is essential to prevent signal interference and ensure a secure connection.
If you are unsure about splicing techniques or lack the necessary skills, it’s advisable to seek professional assistance. They can ensure a reliable and successful splicing job without compromising the signal integrity.
By understanding the process and following the tips and precautions outlined in this guide, you can confidently splice an HDMI cable and tailor it to your specific needs. Enjoy the flexibility and convenience of having a customized HDMI cable that perfectly suits your audio and video setup.