Introduction
Welcome to the world of Logitech MX Keys, the ultimate keyboard designed specifically for Mac users. Whether you are a creative professional, a passionate gamer, or simply someone who values efficiency and productivity, the Logitech MX Keys is here to elevate your Mac experience to new heights. In this guide, we will walk you through the step-by-step process of setting up your Logitech MX Keys for your Mac.
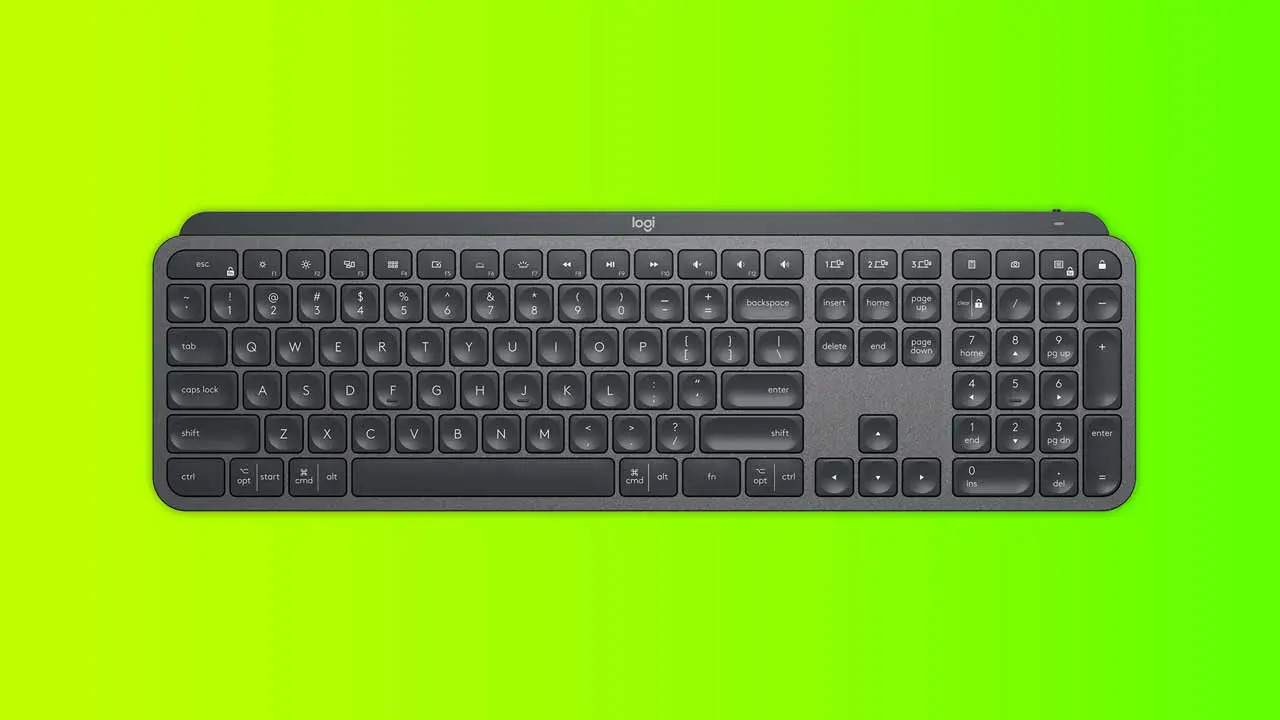
Designed with precision and ergonomics in mind, the Logitech MX Keys boasts a sleek and stylish design that seamlessly integrates into the aesthetics of any Mac setup. With its comfortable tactile keys and intelligent backlighting, navigating your Mac has never been more effortless. Moreover, the MX Keys is equipped with advanced connectivity features such as Bluetooth and USB-C, ensuring a reliable and lag-free connection at all times.
Setting up your Logitech MX Keys for your Mac is a breeze, thanks to Logitech’s user-friendly software and intuitive interface. With just a few simple steps, you will be able to tailor the keyboard to suit your preferences, customize keyboard shortcuts, and unlock the full potential of this remarkable device.
Whether you are a seasoned Mac user or new to the world of Apple, this guide will provide you with all the information you need to get started with your Logitech MX Keys. So, let’s dive in and discover the wonders that await you with this exceptional keyboard.
Step 1: Unboxing and Connecting the Logitech MX Keys
Congratulations on your purchase of the Logitech MX Keys! Before you can start enjoying the seamless typing experience it offers, let’s begin with unboxing and connecting the keyboard.
When you receive your Logitech MX Keys, carefully remove it from the packaging, ensuring you don’t accidentally damage any of the components. Inside the box, you will find the keyboard itself, a USB-C charging cable, and any additional accessories that may have come with it.
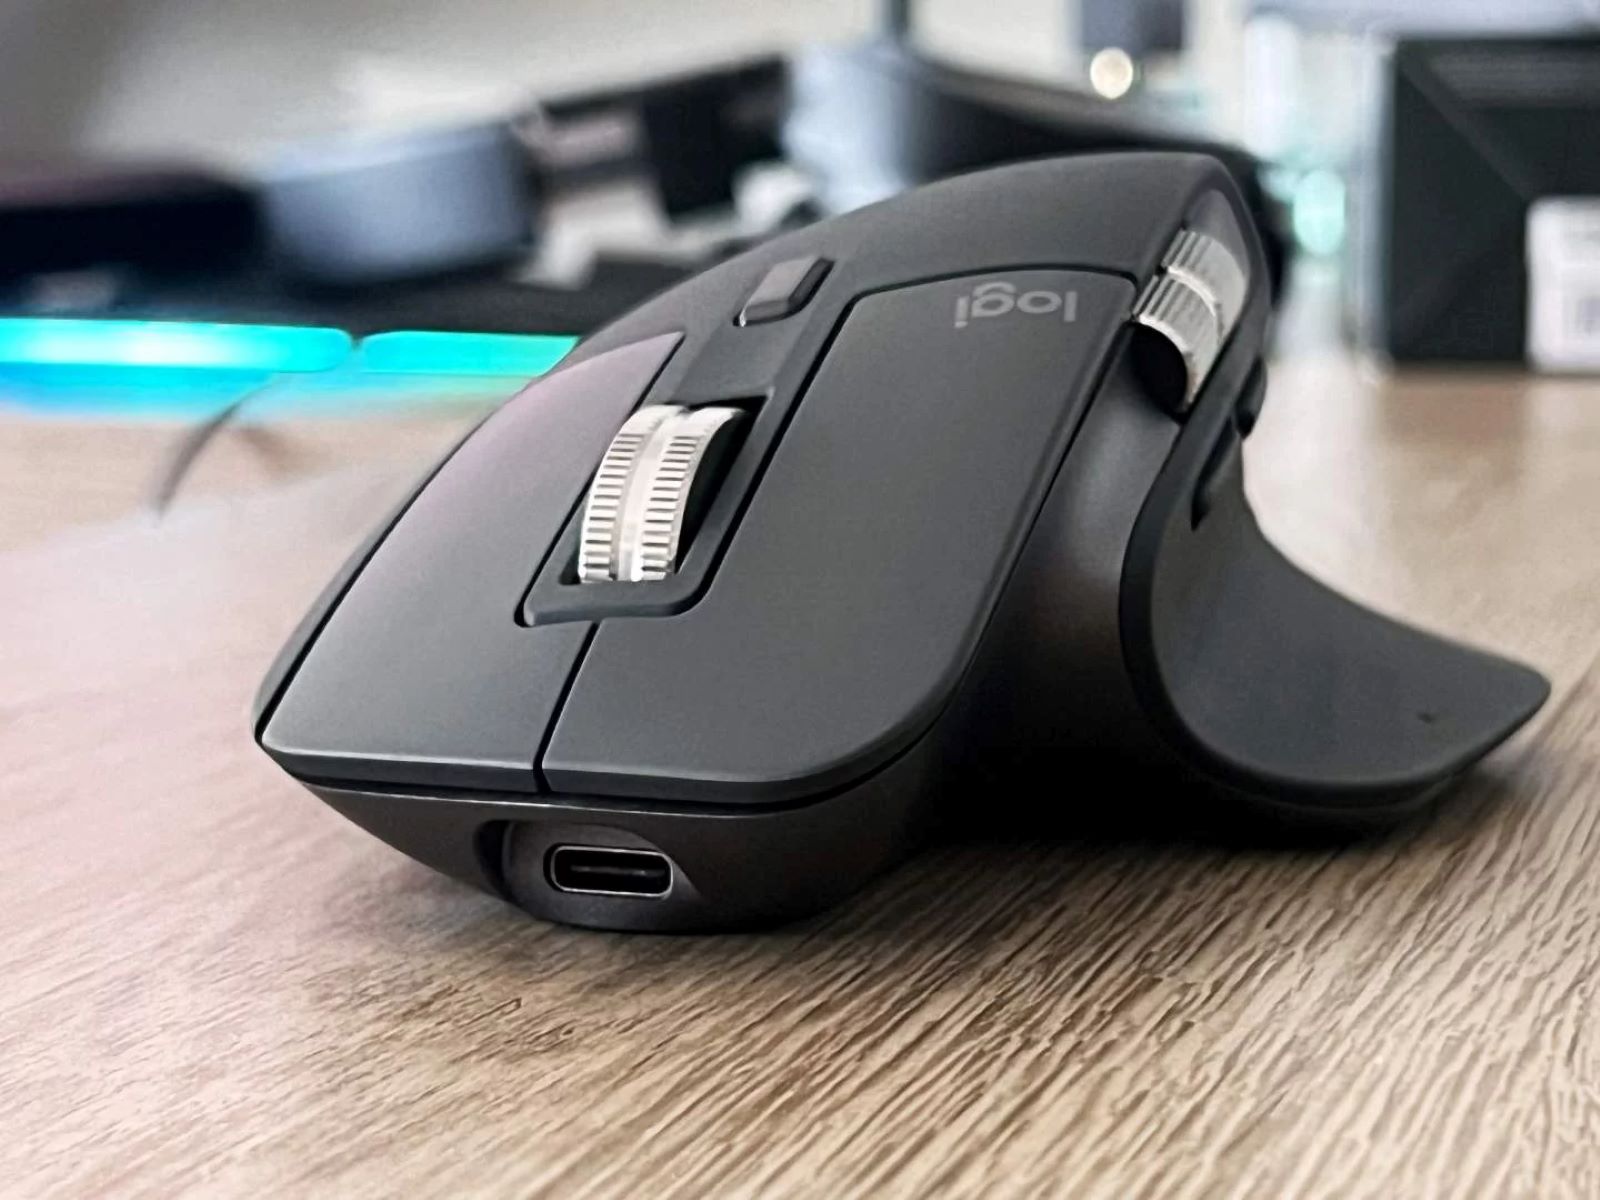
To connect the MX Keys to your Mac, you have two options: wireless Bluetooth connection or wired USB connection. The wireless Bluetooth connection allows for more flexibility and freedom of movement, while the wired USB connection ensures a reliable and lag-free typing experience.
Wireless Bluetooth Connection:
1. Turn on your Mac and make sure Bluetooth is enabled.
2. On the Logitech MX Keys, press and hold the Bluetooth pairing button located on the bottom of the keyboard.
3. The LED indicator on the keyboard will start flashing, indicating that it is in pairing mode.
4. On your Mac, go to System Preferences and open Bluetooth settings.
5. Click on the “+” button to add a new device and select the MX Keys from the list of available devices.
6. Follow the on-screen instructions to complete the pairing process.
Wired USB Connection:
1. Connect the USB-C end of the charging cable to the MX Keys and the USB-A end to an available USB port on your Mac.
2. Your Mac will automatically detect and recognize the MX Keys as a connected keyboard.
Once the connection is established, you are ready to start using your Logitech MX Keys on your Mac. Take a moment to adjust the keyboard to your preferred typing angle and enjoy the comfortable and responsive keys that the MX Keys offers.
Now that we have successfully connected your Logitech MX Keys to your Mac, let’s move on to the next step and install the Logitech Options software to unlock even more customization and functionality.
Step 2: Installing Logitech Options Software
To unleash the full potential of your Logitech MX Keys and access a range of customization options, it’s essential to install the Logitech Options software on your Mac. This powerful software allows you to personalize your keyboard settings, assign custom shortcuts, and fine-tune the functionality of the MX Keys to suit your specific needs.
Here’s a step-by-step guide on how to install the Logitech Options software:
1. Visit the Logitech website and navigate to the MX Keys product page.
2. Look for the “Support” section or the “Downloads” tab on the page.
3. Locate the Logitech Options software for Mac and click the download button.
4. Once the download is complete, locate the installation file and double-click to open it.
5. Follow the on-screen instructions to install the software on your Mac.
6. After the installation is complete, launch the Logitech Options software.
7. The software will automatically detect the connected MX Keys and display it on the screen.
8. Click on the MX Keys icon to access a wide range of customization options.
With the Logitech Options software, you can customize the keyboard’s function keys, adjust the backlight brightness, and create keyboard shortcuts tailored to your workflow. You can also easily switch between multiple devices paired with the MX Keys, allowing you to seamlessly transition between your Mac, iPad, and other devices.
Furthermore, the Logitech Options software provides firmware updates for your MX Keys, ensuring that you always have access to the latest features and improvements. Regularly checking for updates will help keep your keyboard optimized and enhance its performance over time.
By installing the Logitech Options software, you are unlocking a world of customization and efficiency. Take some time to explore the software and make adjustments according to your preferences. Whether you’re a writer, designer, or power user, the Logitech Options software will empower you to maximize your productivity and tailor the MX Keys to match your unique needs.
Now that we have installed the Logitech Options software, we can move on to the next step: pairing the MX Keys with your Mac using the software’s advanced features.
Step 3: Pairing the MX Keys with your Mac
Once you have successfully installed the Logitech Options software on your Mac, it’s time to pair the MX Keys with your computer using the software’s advanced pairing features. This will enable you to seamlessly switch between different devices and take advantage of the keyboard’s multi-device capabilities.
Follow these steps to pair the MX Keys with your Mac:
1. Launch the Logitech Options software on your Mac.
2. Click on the MX Keys icon in the software interface to access the keyboard settings.
3. Within the software, click on the “Device” tab or a similar option that allows you to manage devices.
4. On the MX Keys, press and hold one of the Easy-Switch buttons located at the top left of the keyboard. The Easy-Switch buttons have numbers “1,” “2,” and “3” on them.
5. The LED indicator above the button will start flashing, indicating that the MX Keys is in pairing mode.
6. Back in the Logitech Options software, click on the “+” button or a similar option to add a new device.
7. The software will search for nearby devices, and the MX Keys should appear in the list of available devices.
8. Select the MX Keys from the list and follow the on-screen instructions to complete the pairing process.
9. Repeat the process if you want to pair the MX Keys with additional devices.
Once the pairing process is complete, you can easily switch between paired devices by pressing the corresponding Easy-Switch button on the MX Keys. This feature is especially useful if you frequently work across multiple devices, such as your Mac, iPad, or even a Windows PC.
The Logitech Options software allows you to customize the behavior of the Easy-Switch buttons, such as assigning different functionality to each button or creating device-specific profiles. With a simple press of a button, you can seamlessly switch between devices and increase your productivity.
Remember to keep the Logitech Options software up to date to ensure compatibility and access to the latest features. Regularly checking for software updates will ensure that your MX Keys is always performing optimally and providing you with the best typing experience.
Now that you have successfully paired the MX Keys with your Mac, it’s time to move on to the next step: customizing the keyboard shortcuts and function keys to suit your workflow.
Step 4: Customizing Keyboard Shortcuts and Function Keys
One of the key benefits of the Logitech MX Keys is its ability to be customized to fit your individual needs and workflow. In this step, we will explore how to personalize the keyboard shortcuts and function keys to enhance your productivity and streamline your Mac experience.
Follow these steps to customize the keyboard shortcuts and function keys:
1. Launch the Logitech Options software on your Mac.
2. Click on the MX Keys icon in the software interface to access the keyboard settings.
3. Navigate to the “Keyboard” or “Key assignment” tab within the software.
4. You will see a graphical representation of the MX Keys, displaying all the keys and function keys.
5. Click on a specific key or function key that you want to customize.
6. Choose from the available options to assign the desired function to the selected key.
7. Repeat the process for other keys or function keys that you wish to customize.
With the ability to customize keyboard shortcuts, you can streamline your workflow and perform tasks more efficiently. For example, you can assign shortcuts to open frequently used applications, perform specific actions within applications, or even create custom macros to automate repetitive tasks.
The Logitech Options software also allows you to customize specific function keys on the MX Keys. You can assign functions such as media controls, screen brightness adjustment, volume control, and more to the function keys. This provides quick and convenient access to commonly used features, saving you time and effort.
Moreover, if you use multiple devices with the MX Keys, you can create device-specific profiles within the Logitech Options software. This means that you can customize the keyboard shortcuts and function keys differently for each device, ensuring a seamless transition between your Mac, iPad, or any other paired device.
Experiment with different customization options and explore what works best for you and your Mac workflow. Don’t hesitate to tweak your settings and make adjustments as needed. The MX Keys is designed to adapt to your unique needs and preferences.
Now that you have customized the keyboard shortcuts and function keys, let’s move on to the next step: adjusting keyboard settings and preferences to further enhance your typing experience.
Step 5: Adjusting Keyboard Settings and Preferences
Now that you have customized the keyboard shortcuts and function keys on your Logitech MX Keys, it’s time to fine-tune the keyboard settings and preferences to optimize your typing experience.
Follow these steps to adjust the keyboard settings and preferences:
1. Launch the Logitech Options software on your Mac.
2. Click on the MX Keys icon in the software interface to access the keyboard settings.
3. Navigate to the “Keyboard” or “Advanced settings” tab within the software.
4. Here, you will find a range of options to adjust various keyboard settings and preferences.
5. Customize the keyboard backlight settings to your preference. You can adjust the brightness level, enable or disable auto-adjustment, and even set timers to conserve battery life.
6. Explore additional settings like key repeat rate, typing sound, and touchpad gesture customization, if applicable.
7. Make any desired adjustments to suit your typing style and preferences.
The Logitech MX Keys offers adjustable backlighting, allowing you to type comfortably in any lighting conditions. You can choose to have the backlight always on, triggered by motion detection, or turned off completely to conserve battery life. Adjusting the backlight brightness to your liking ensures a pleasant and distraction-free typing experience.
Additionally, you can fine-tune settings like key repeat rate, which determines how quickly a letter is repeated when a key is held down. Customize it to find the optimal speed that matches your typing speed and comfort level.
If your MX Keys has an integrated touchpad, you can customize touchpad gestures to perform actions like scrolling, zooming, and navigating between applications. This feature adds another layer of convenience and efficiency to your Mac workspace.
Take the time to explore and experiment with different keyboard settings and preferences to find the perfect combination that suits your individual needs. The MX Keys is designed to be versatile and adaptable, ensuring a personalized and comfortable typing experience.
Now that you have adjusted the keyboard settings and preferences, you are all set to make the most of your Logitech MX Keys on your Mac. Enjoy the smooth and responsive typing experience and unleash your productivity with this powerful keyboard.
Conclusion
Congratulations! You have successfully set up your Logitech MX Keys for your Mac and unlocked a world of customization and productivity. By following the steps outlined in this guide, you have connected the MX Keys to your Mac, installed the Logitech Options software, paired the keyboard with multiple devices, customized keyboard shortcuts and function keys, and adjusted keyboard settings to suit your preferences.
The Logitech MX Keys is a versatile and powerful keyboard that enhances your Mac experience. With its comfortable typing experience, intelligent backlighting, and advanced connectivity features, the MX Keys allows you to work seamlessly and efficiently on your Mac.
Additionally, the Logitech Options software empowers you to personalize your keyboard, tailoring it to your unique needs and workflow. Customizing keyboard shortcuts and function keys, creating device-specific profiles, and adjusting settings such as backlight brightness and key repeat rate enable you to work with precision and maximize productivity.
Whether you’re a creative professional, a dedicated gamer, or simply someone who values efficiency and comfort, the Logitech MX Keys is designed to elevate your Mac experience. The ergonomic design, reliable wireless connection, and extensive customization options make it the ultimate keyboard for Mac users.
Remember to keep the Logitech Options software up to date, as it provides firmware updates and ensures compatibility with your Mac. Regularly checking for updates will ensure that you have access to the latest features and improvements, keeping your MX Keys optimized.
Thank you for choosing Logitech MX Keys for your Mac. We hope this guide has helped you set up and customize your keyboard to suit your individual preferences. Now, it’s time to unleash your creativity, enhance your productivity, and enjoy the seamless typing experience that the Logitech MX Keys offers.