Introduction
Welcome to the world of technology, where staying connected has become an essential part of our everyday lives. One of the most common means of communication is through emails, and with the advent of tablets, accessing your emails on the go has never been easier. In this guide, we will walk you through the process of setting up email on your Android tablet, so you can send, receive, and manage your messages with ease.
Setting up email on your Android tablet allows you to have your inbox at your fingertips, whether you’re travelling, working, or simply lounging at home. With just a few simple steps, you can have your email account synced and ready to go in no time.
Before we delve into the setup process, it’s important to note that the exact steps may vary slightly depending on the make and model of your Android tablet, as well as the email app you’re using. However, the overall process remains similar across most devices and email applications.
So, whether you’re a tech-savvy individual or a novice when it comes to technology, don’t worry! We are here to guide you through the process, one step at a time. By the end of this guide, you’ll be equipped with the knowledge needed to set up email on your Android tablet and stay connected wherever you go.
Now, let’s get started with step one: opening the email app on your Android tablet.
Step 1: Open the Email App
The first step in setting up email on your Android tablet is to open the email app. The email app may already be pre-installed on your device, or you can download it from the Google Play Store.
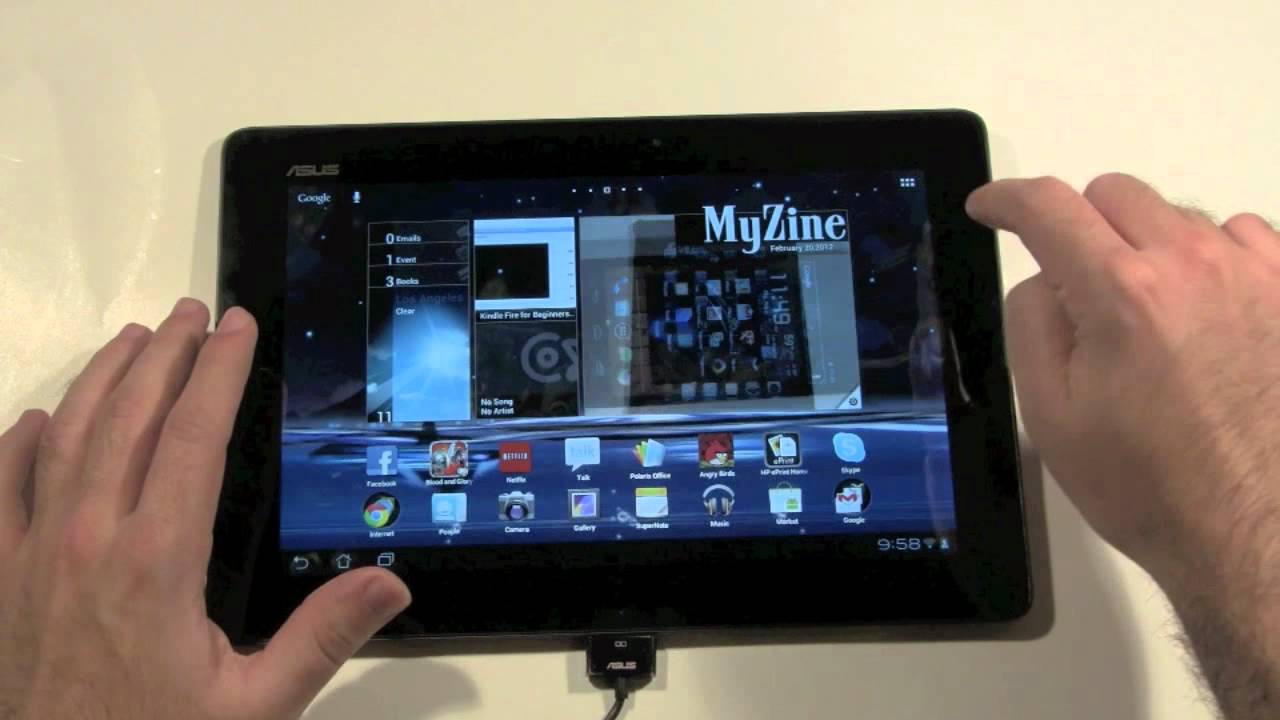
To open the email app, locate the app drawer on your Android tablet. This is usually represented by a grid icon on your home screen or in the navigation bar at the bottom of the screen. Tap on the app drawer icon to open it.
Next, look for the email app icon. It may be labeled as “Email,” “Mail,” or have the icon of an envelope. Tap on the email app icon to open the app.
Once the app is open, you will be prompted to set up an email account. If you have previously set up an email account on your Android tablet, you may see your inbox directly. In that case, skip to the next step. Otherwise, continue with the setup process.
Now that you have successfully opened the email app, it’s time to move on to step two: adding a new email account.
Step 2: Add a New Email Account
Once you have opened the email app on your Android tablet, the next step is to add a new email account. Adding a new email account allows you to access your emails from that specific account in the email app.
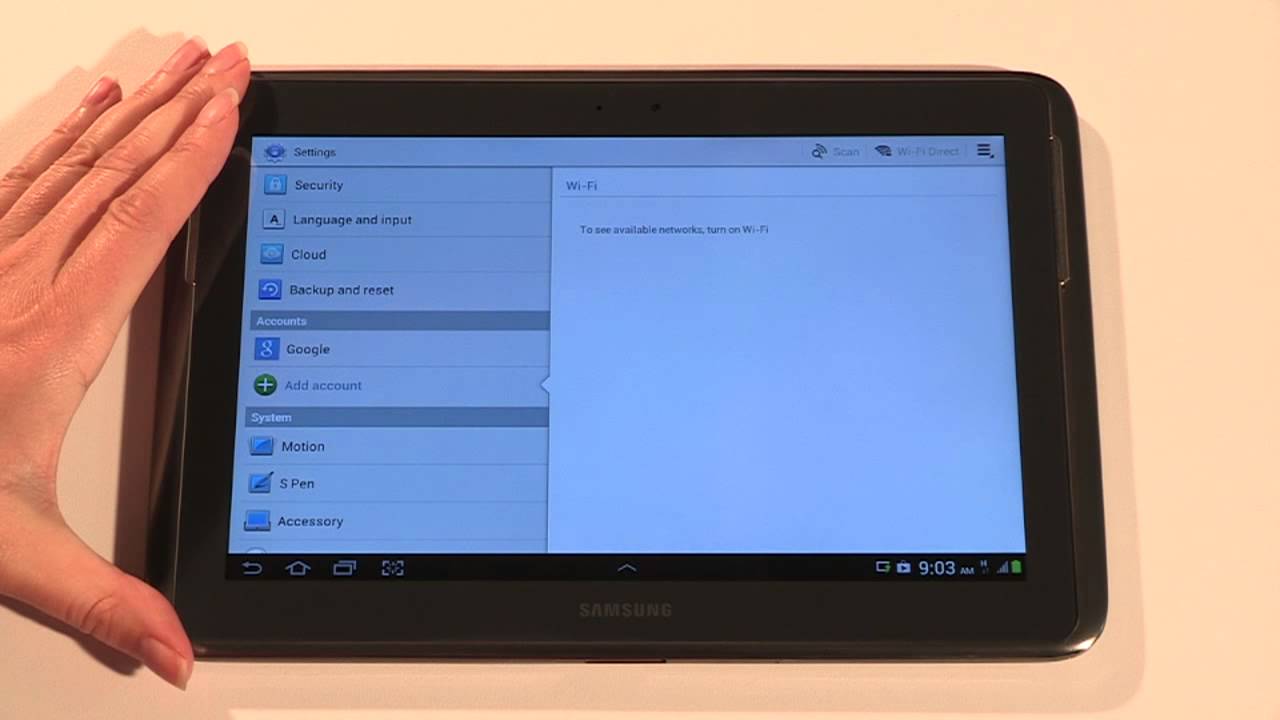
To add a new email account, look for the option to add an account within the email app. This option is usually located at the top or bottom of the app screen; it may be labeled as “Add Account” or “Setup Account.” Tap on this option to proceed.
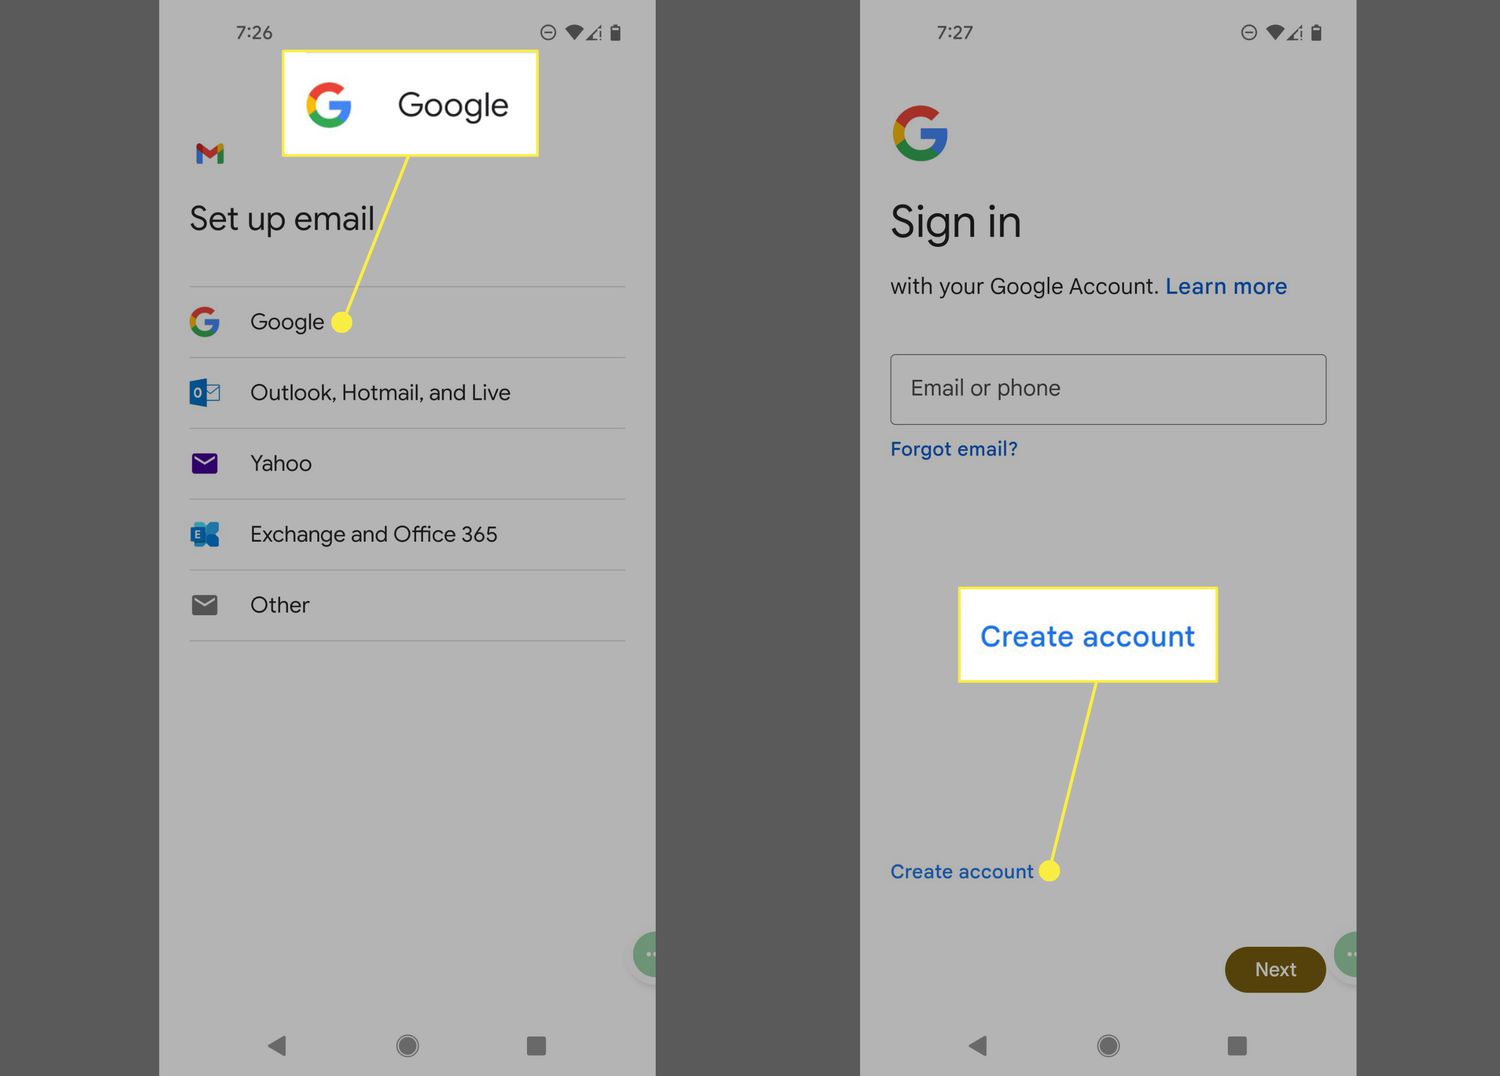
After tapping on “Add Account” or “Setup Account,” you will be presented with a list of email providers to choose from, such as Gmail, Outlook, Yahoo, or your work email provider. Select the email provider for the account you want to add.
If your email provider is not listed, look for the option that says “Other” or “Manual Setup.” This option allows you to add an email account from any provider by manually entering the necessary information.
Once you have selected the email provider or chosen the “Other” or “Manual Setup” option, you will be prompted to enter your email address and password. Make sure to double-check the accuracy of the email address and password to avoid any login issues.
Now that you have successfully added a new email account to the email app, let’s move on to step three: entering your email address and password.
Step 3: Enter Your Email Address and Password
After selecting the email provider or choosing the “Other” or “Manual Setup” option in the previous step, you will now be prompted to enter your email address and password for the account you want to add to the email app.
In the provided fields, enter your full email address. Make sure to type it correctly, as any typos or errors may prevent the app from properly syncing with your email account.
Once you have entered your email address, proceed to the next field and enter the associated password. Take care to enter the password accurately, paying attention to uppercase and lowercase letters, as passwords are case-sensitive.
If you’re setting up a work email account that uses a different password for the email server, you may see separate fields for “Email Server Password” or “Incoming Server Password” and “Outgoing Server Password.” In such cases, enter the respective passwords accordingly.
Some email providers may offer the option to use additional security measures, such as two-factor authentication or app passwords. If prompted, follow the instructions provided by your email provider to enable these features and generate app passwords if necessary.
After entering your email address and password, double-check to ensure their accuracy. Once you’re confident that you’ve entered the correct information, proceed to the next step: manual setup (if necessary).
Step 4: Manual Setup (if necessary)
In most cases, the email app on your Android tablet will automatically detect and configure the settings for your email account based on the entered email address and password. However, there may be instances where manual setup is required, especially for certain email providers or advanced email configurations.
If the email app fails to automatically set up your email account, you will be prompted to manually configure the settings. Manual setup allows you to enter specific details about the email server and protocol to ensure proper synchronization of your emails.
When prompted for manual setup, you will need to provide the following information:
- Email Server: This is the incoming email server that receives incoming messages. It is usually in the format of “mail.yourdomain.com” or “imap.yourdomain.com.”
- Username: Enter your full email address again as the username.
- Password: Provide the password for your email account.
- Security Type: Select the appropriate security type for your email server. This can be SSL/TLS, STARTTLS, or None.
- Port: Enter the port number associated with the email server. Common port numbers include 993 for IMAP (SSL/TLS), 143 for IMAP (STARTTLS), or 110 for POP3 (No security).
- Authentication: Choose the authentication method required by your email server. This is typically set to “Auto” or “Normal Password.”
Make sure to accurately fill in all the required fields based on your email provider’s recommended settings. If you’re unsure about any of the details, you can contact your email provider’s support for assistance or refer to their documentation.
Once you have manually entered the configuration settings, proceed to the next step: choosing the email protocol.
Step 5: Choose the Email Protocol (POP3, IMAP, or Exchange)
After setting up the server settings in the previous step, you will now be prompted to choose the email protocol for your account. The email protocol determines how your emails are retrieved and stored on your Android tablet.
The three most common email protocols available for selection are POP3, IMAP, and Exchange. Here’s a brief overview of each protocol:
- POP3 (Post Office Protocol 3): With POP3, your emails are downloaded from the email server and stored locally on your device. This means that once the emails are downloaded, they are no longer available on the server. POP3 is ideal if you prefer to access your emails offline or if you have limited storage space on your device.
- IMAP (Internet Message Access Protocol): IMAP allows you to access your emails stored on the email server directly. This means that any changes made to your emails, such as deleting or moving them to folders, will be reflected across all devices and email clients connected to your account. IMAP is ideal if you need to access your emails from multiple devices or if you want to keep your email data synchronized.
- Exchange: Exchange is a Microsoft protocol designed for corporate email accounts that use a Microsoft Exchange server. It offers advanced features such as calendar synchronization, contact management, and integration with other Microsoft services. Exchange is commonly used in business environments and is often the preferred choice for work email accounts.
Choose the email protocol that best suits your needs and preferences. If you’re unsure, you can consult with your email provider or refer to their documentation to determine the recommended protocol for your account.
After selecting the email protocol, proceed to the next step: configuring server settings.
Step 6: Configure Server Settings
Once you have chosen the email protocol in the previous step, you will now need to configure the server settings for your email account. These settings include details such as the incoming server, outgoing server, and additional security settings.
First, you will be prompted to enter the incoming server settings:
- Incoming Server: This is the server used to receive incoming emails. It is often in the format of “mail.yourdomain.com” or “imap.yourdomain.com.”
- Incoming Port: Enter the port number associated with the incoming server. The most common port numbers for SSL/TLS secure connections are 993 for IMAP and 995 for POP3.
- Security Type: Select the appropriate security type for the incoming server, such as SSL/TLS or STARTTLS. This ensures that your email communication remains secure.
After entering the incoming server settings, you may be prompted to enter the outgoing server settings:
- Outgoing Server: This is the server used to send outgoing emails. It is often in the format of “smtp.yourdomain.com.”
- Outgoing Port: Enter the port number associated with the outgoing server. Common port numbers for SSL/TLS secure connections are 465 or 587.
- Security Type: Select the appropriate security type for the outgoing server, such as SSL/TLS or STARTTLS, to ensure secure email transmission.
Make sure to accurately fill in all the required server settings based on your email provider’s recommendations. These values can vary depending on the provider and configuration of your email account.
Additionally, you may also see options for timeouts, sync frequency, and other advanced settings. You can customize these settings according to your preferences, or you can leave them at their default values.
Once you have configured the server settings, proceed to the next step: account options and preferences.
Step 7: Account Options and Preferences
After configuring the server settings for your email account, you will have the option to set up additional account options and preferences. These settings allow you to customize how your email app handles incoming and outgoing emails, notifications, and other account-related preferences.
Some of the common account options and preferences include:
- Email Sync Frequency: This allows you to specify how frequently the email app checks for new emails. You can choose options such as “Every 15 minutes,” “Hourly,” or “Manually.” Select the desired sync frequency based on your preferences and the frequency of incoming emails.
- Notification Settings: Customize how you are notified about new emails. You can choose to receive notifications for all emails, only important emails, or disable notifications altogether. You may also have the option to set sound, vibration, or LED alerts for incoming emails.
- Signature: Add a personalized signature to your outgoing emails. You can include your name, contact information, or a creative quote to make your emails more professional or unique.
- Email Storage Settings: Depending on your device’s storage capacity, you may have options to manage how emails are stored. This includes settings such as “Keep emails on device” or “Automatically delete emails after a certain period.”
- Additional Account Settings: Some email providers may offer additional account settings, such as advanced security options, email forwarding, or automatic replies. Explore these settings to further customize and enhance your email experience.
Take the time to go through these account options and preferences and set them according to your needs and preferences. These settings can greatly impact how you interact with your emails and the overall user experience of the email app.
After setting up your account options and preferences, you are almost done! Proceed to the next step to complete the email setup process.
Step 8: Complete the Setup Process
Congratulations! You’ve made it to the final step of setting up email on your Android tablet. In this step, you will complete the setup process and start enjoying the convenience of accessing your emails on your device.
Before proceeding, review all the settings and information you’ve entered to ensure their accuracy. If you need to make any changes, go back to the respective steps and modify the settings as necessary.
Once you’re satisfied with the settings, tap on the “Next” or “Finish” button to complete the setup process. The email app will then attempt to connect to your email server and sync your messages. This process may take a few moments depending on your network connection and the amount of data to be synchronized.
Once the email app successfully establishes a connection and completes the syncing process, you will see your inbox and any other folders associated with your email account. Congratulations! You can now start sending, receiving, and managing your emails on your Android tablet.
To access your email account in the future, simply open the email app on your tablet. It will automatically sync with your email server to retrieve new messages and updates.
Remember to periodically check your email settings and preferences to ensure they still meet your requirements. You can make any necessary adjustments by accessing the account settings within the email app.
That’s it! You have successfully set up email on your Android tablet. Now you can stay connected and manage your emails conveniently, no matter where you are.
Thank you for following this step-by-step guide. If you have any further questions or need additional assistance, feel free to consult the email app’s help documentation or reach out to your email provider’s support team.
Conclusion
Setting up email on your Android tablet is a simple and straightforward process that allows you to access your emails on the go. By following the steps outlined in this guide, you can easily configure your email account on your tablet’s email app and start enjoying the convenience of staying connected wherever you are.
We started by opening the email app on your Android tablet and then proceeded to add a new email account. Next, we entered the email address and password associated with the account. If necessary, we manually configured the server settings and chose the appropriate email protocol. After that, we configured the server settings, set up account options and preferences, and completed the setup process.
Remember to double-check all the information you enter during the setup process to ensure its accuracy. It is also recommended to periodically review your email settings and preferences to ensure they meet your requirements.
Now that you have successfully set up email on your Android tablet, you can enjoy the convenience of accessing your emails, sending messages, and managing your inbox while on the go. The email app will keep your emails synchronized, and you can customize various features such as notification settings and email storage preferences to suit your needs.
If you encounter any difficulties or have further questions, consult the help documentation of your email app or reach out to your email provider’s support team for assistance.
Thank you for choosing this guide to help you set up email on your Android tablet. Stay connected, and enjoy the convenience of having your emails at your fingertips!