Introduction
Adding email to your Android device allows you to stay connected and easily manage your inbox on the go. Whether you use a Gmail, Yahoo, Outlook, or any other email provider, the process of adding an email account to your Android device is relatively straightforward.
By following a few simple steps, you can configure your Android device to receive and send emails seamlessly. This guide will walk you through the process, ensuring that you can access your email account without any hassle.
With email access on your Android device, you can enjoy the convenience of checking your messages at any time and staying up-to-date with important communications. Whether you need to respond to an urgent work email or keep in touch with friends and family, having email on your Android device ensures you never miss a beat.
Regardless of whether you use your email for work or personal purposes, having it available on your Android device can significantly enhance your productivity and communication capabilities. Plus, with the ability to sync your email across devices, you can easily manage your inbox from your smartphone, tablet, or computer.
In the following sections, we will guide you through the step-by-step process of adding an email account to your Android device. From accessing the email app to configuring advanced settings, we will cover everything you need to know to get your email set up and running smoothly. So, let’s get started!
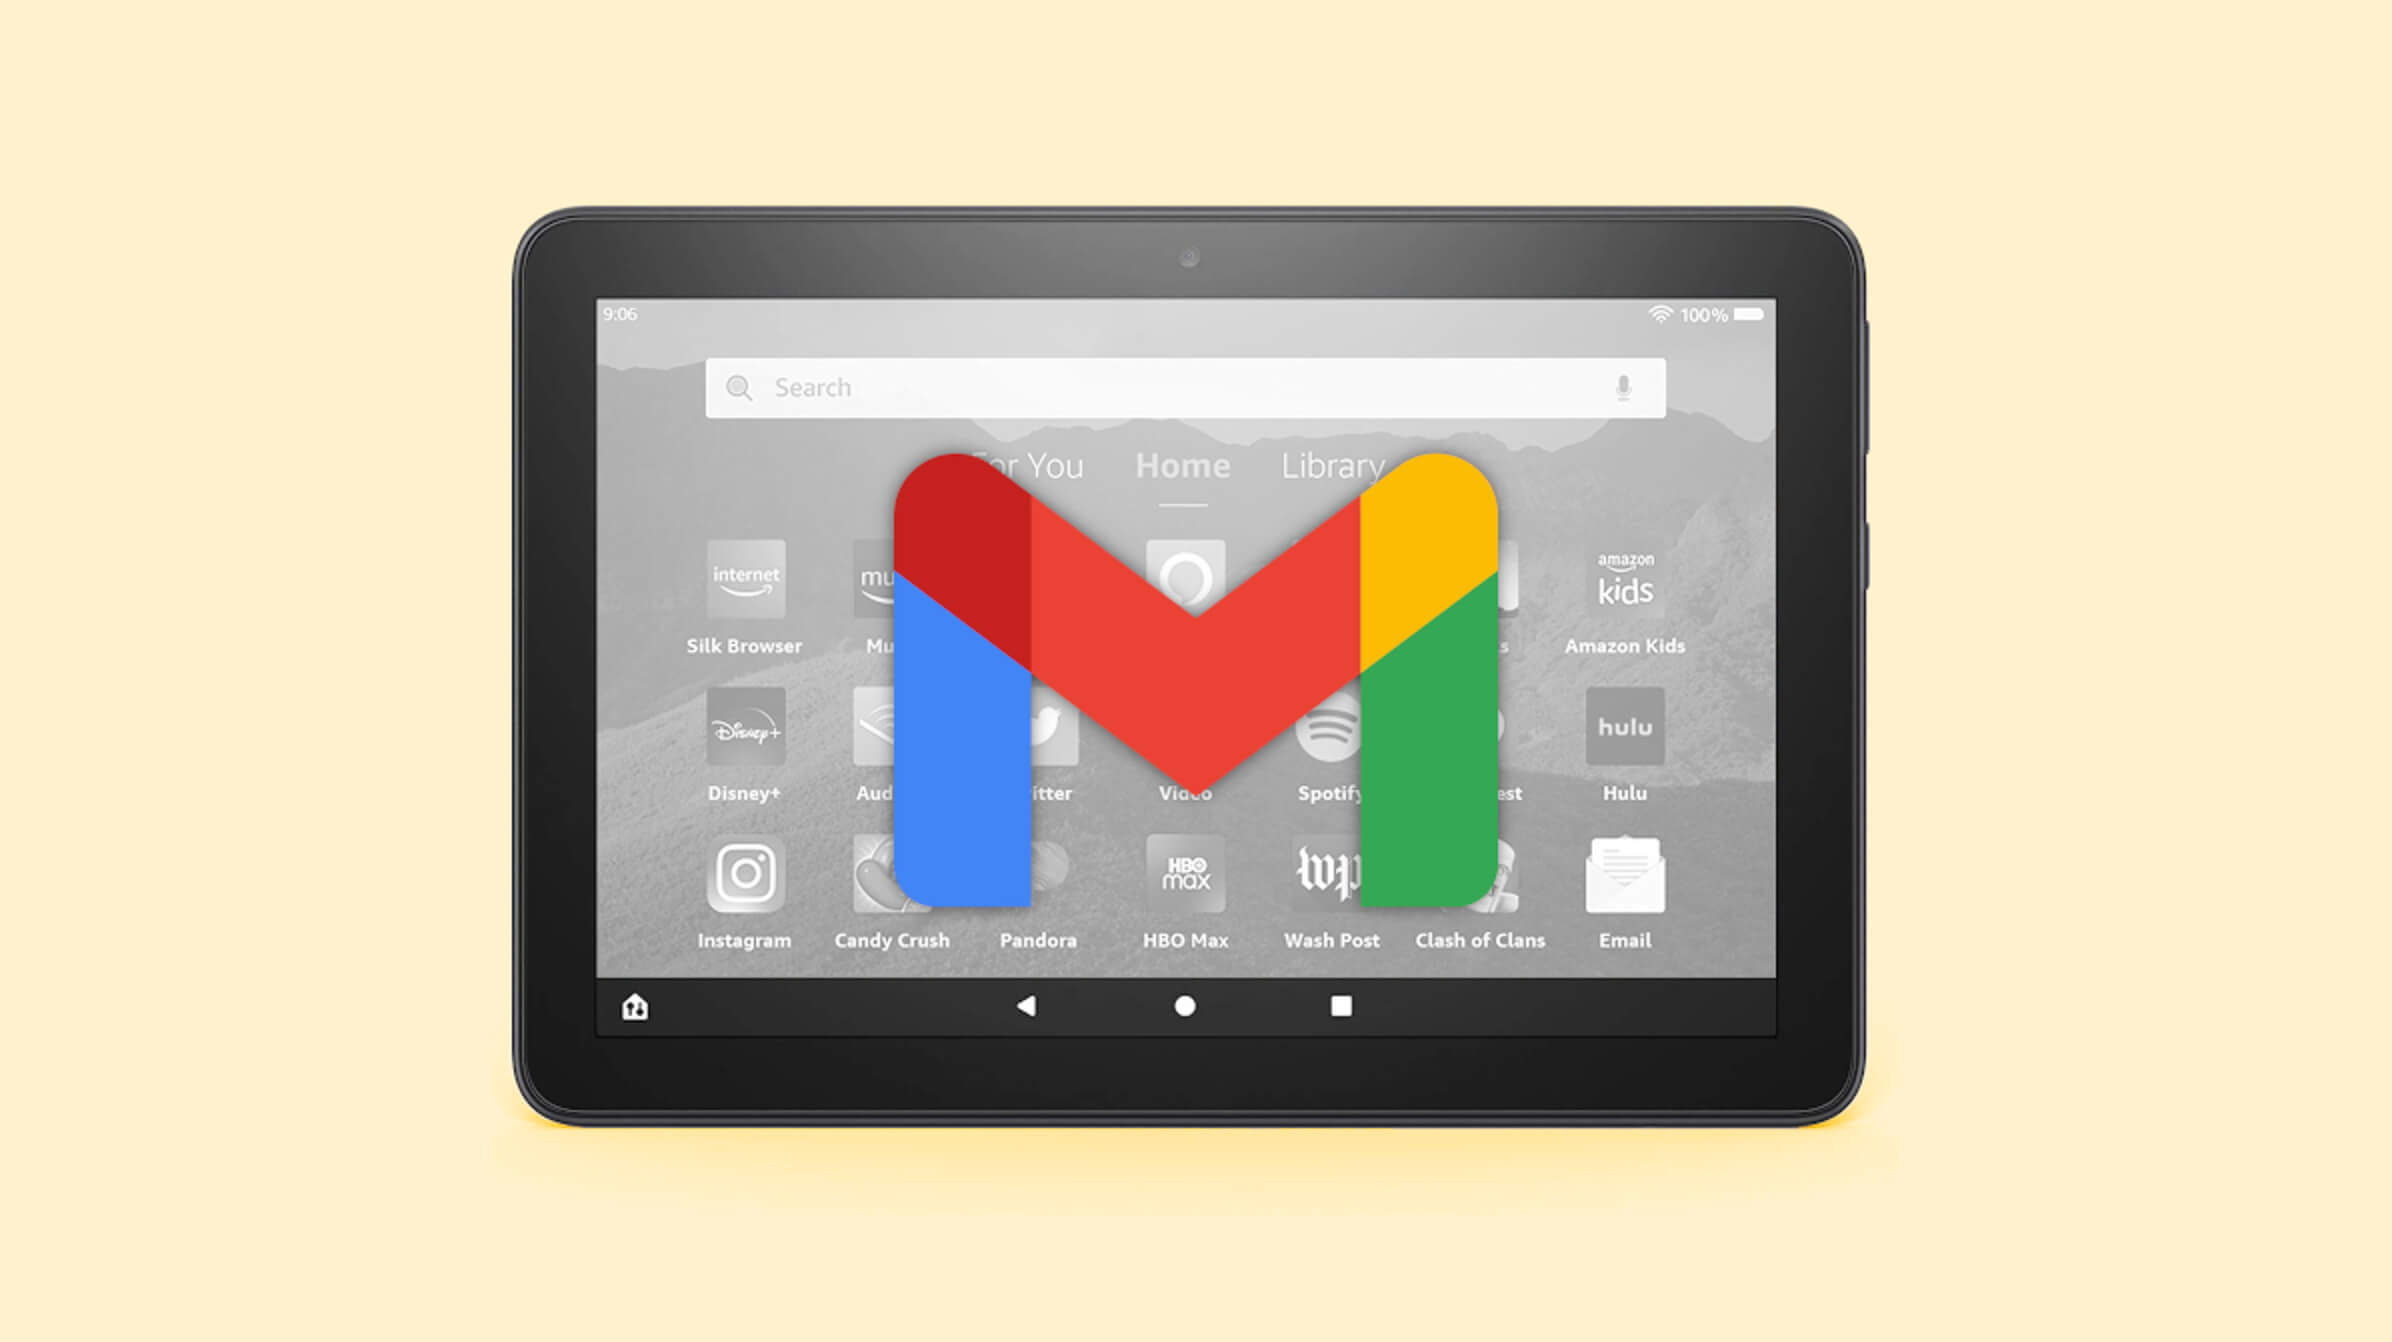
Step 1: Accessing the Email App
To begin the process of adding an email account to your Android device, you first need to locate and access the Email app. The exact location of the app may vary depending on the device manufacturer, but it is typically found in the App Drawer or on the home screen.
If you can’t find the Email app on your home screen, you can swipe left or right to navigate through the pages or use the search feature on your device to locate it. Once you have located the app, tap on it to open it.
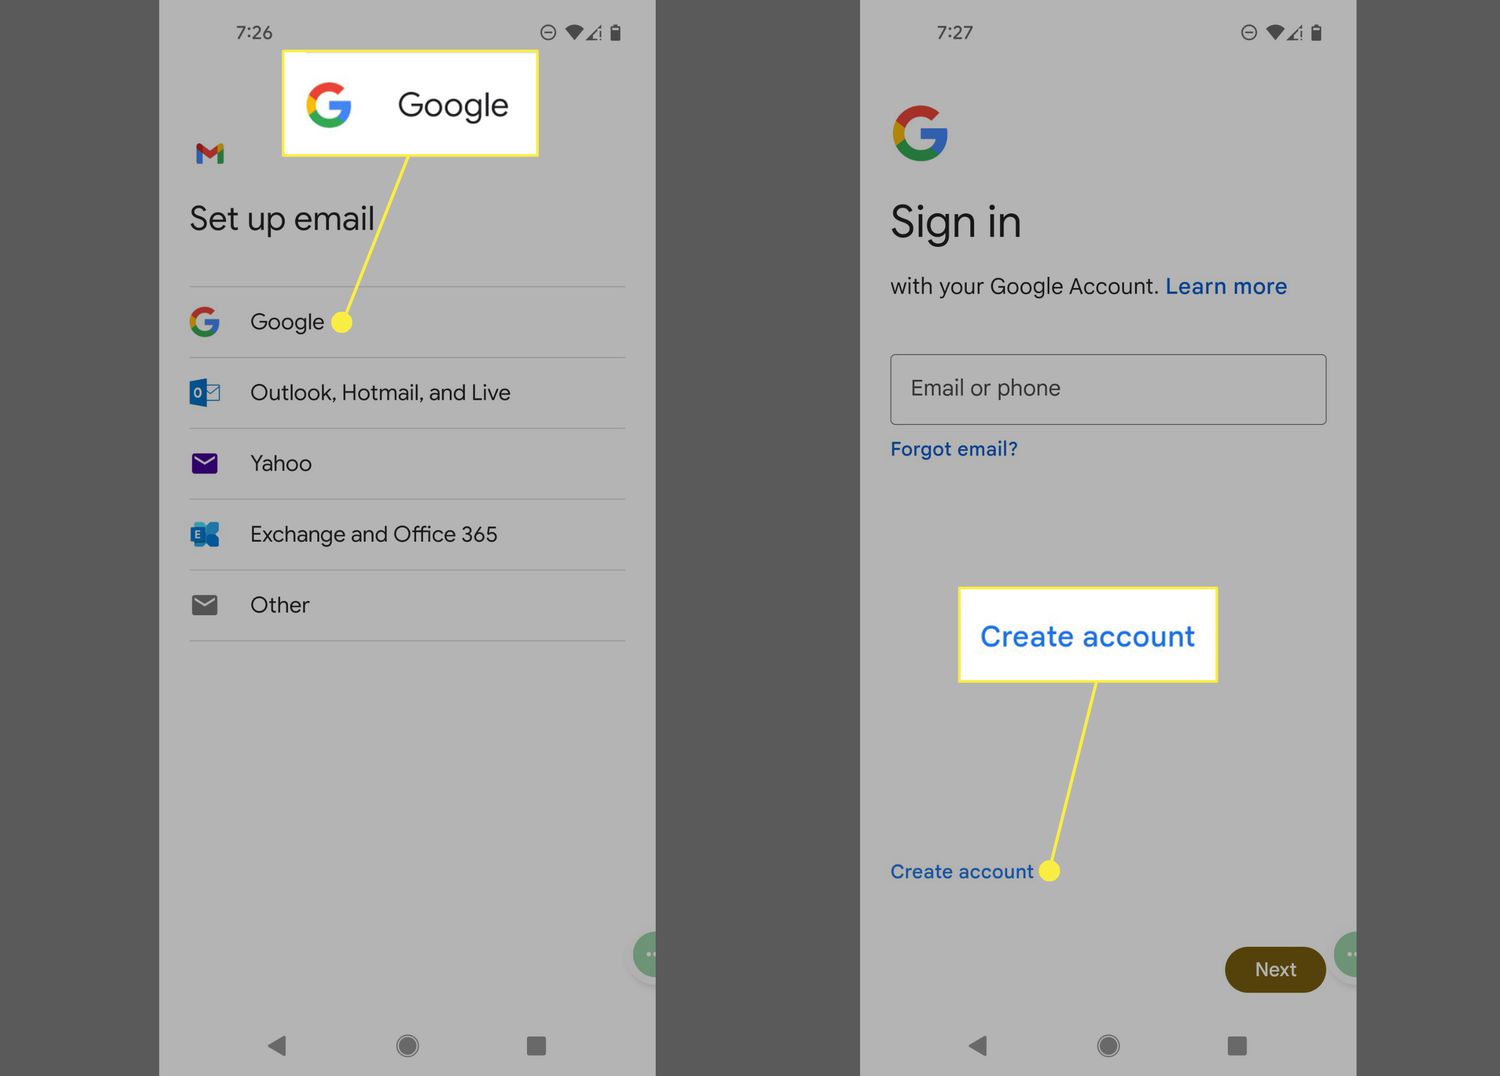
Upon opening the Email app, you will be prompted to either sign in with an existing email account or set up a new email account. If you already have an email account, you can choose the option to sign in. If not, you can select the option to set up a new account.
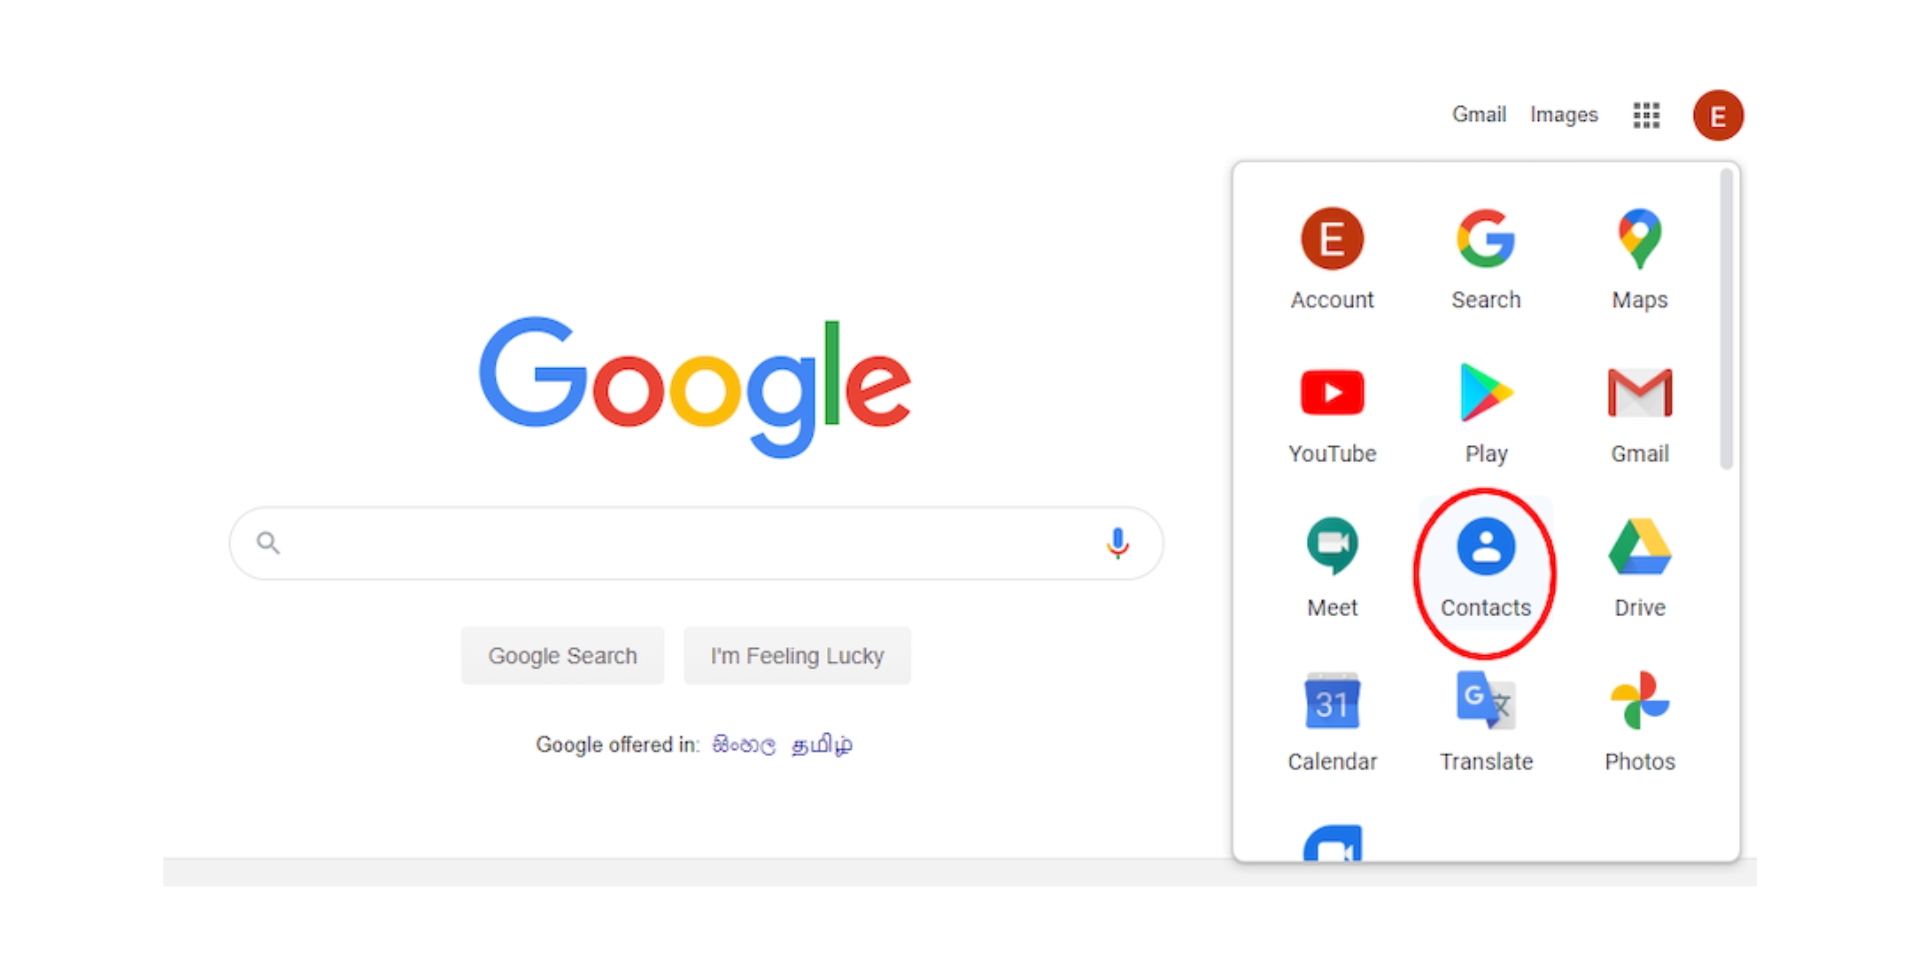
When setting up a new account, you will be asked to select your email provider. Android offers support for a wide range of email providers, including Gmail, Yahoo, Outlook, and many others. Select the appropriate option based on your email provider.
The process of accessing the Email app may differ slightly depending on the version of Android you are using. However, the basic steps remain the same. Once you have opened the Email app and selected the appropriate options, you are ready to move on to the next step.
Step 2: Selecting the Email Provider
After accessing the Email app on your Android device, the next step is to select your email provider. The app provides support for various email providers, ensuring that you can easily connect your account to your device.
Android devices have built-in support for popular email providers such as Gmail, Yahoo, and Outlook. However, if you use a different email provider, you may need to manually configure the settings. Let’s explore how to select your email provider:
- Once you open the Email app, you will be presented with a list of email providers. This list may be displayed as a grid or a drop-down menu, depending on your device and the version of Android you are using.
- Scroll through the list of email providers and locate the one that corresponds to your email account. For example, if you have a Gmail account, select the Gmail option.
- If your email provider is not listed, look for the “Other” or “Manual Setup” option. Selecting this option will allow you to manually enter the server settings for your email account.
- After selecting your email provider or the manual setup option, you will be prompted to enter your email address and password. Make sure to enter these details accurately to ensure a successful connection.
The process of selecting the email provider may vary slightly depending on your device and the version of Android you are using. However, regardless of the specific steps, the Email app provides intuitive guidance to help you connect your email account seamlessly.
Once you have selected your email provider and entered your login credentials, you are ready to proceed to the next step, which involves entering your email address and password. Let’s continue with the setup process in the next step.
Step 3: Entering Your Email Address and Password
After selecting your email provider in the Email app on your Android device, the next step is to enter your email address and password. This step is crucial as it allows your device to authenticate your account and establish a secure connection with the email server.
Here’s how you can enter your email address and password:
- Once you have selected your email provider, you will be prompted to enter your email address. Tap on the field where it requests your email address and type in the complete email address associated with your account (e.g., example@gmail.com).
- After entering your email address, move to the next field where it asks for your password. Tap on the field and carefully enter the password for your email account. Remember to double-check for any typos or errors to ensure a successful login.
Android devices prioritize the security of your email account. Depending on your device’s settings, you may have the option to enable additional security features like two-factor authentication or app-specific passwords. If available, it is recommended to enable these features to enhance the protection of your email account.
Once you have entered your email address and password, double-check for accuracy, and then proceed to the next step. The Email app will attempt to sign in to your account and verify your credentials. If the information provided is correct, your email account will be successfully connected to your Android device.
If you encounter any errors or sign-in issues, double-check the email address and password you entered. In case you have forgotten your password, use the password recovery option provided by your email provider to reset it. Once your email address and password have been verified, you can continue with the setup process by configuring any additional advanced settings, as explained in the next step.
Step 4: Configuring Advanced Settings (Optional)
While setting up your email account on your Android device, you have the option to configure advanced settings to personalize your email experience. These advanced settings allow you to customize how your device handles incoming and outgoing emails, as well as other features. While these settings are optional, they can enhance your productivity and make managing your email more efficient. Here’s how to configure advanced settings:
- Once you have successfully entered your email address and password, the Email app may prompt you to configure additional settings. This may include choosing the sync frequency, setting up notifications, or organizing your folders.
- To adjust the sync frequency, select the desired option from the available choices. The sync frequency determines how often your device checks for new emails and updates your inbox. You can choose options like every 5 minutes, every hour, or manual sync.
- If you wish to receive notifications for new emails, make sure the appropriate notification settings are enabled. You can choose to receive notifications for all incoming emails or only for important emails based on your preferences.
- Additionally, you can set up email filters or rules to automatically sort incoming messages into folders or apply labels. This can help you organize your inbox and streamline your email management.
- Depending on your email provider, you may also have the option to enable features such as conversation view, which groups related emails together for easier reading and organization.
These advanced settings may vary depending on the email provider and the version of Android you are using. Take some time to explore the various options available and tweak the settings according to your preferences.
It’s worth noting that you can always update these advanced settings later by accessing the settings menu within the Email app or the settings menu of your Android device.
Once you have configured the advanced settings to your liking, you are ready to move on to the final step of the setup process – syncing your email account.
Step 5: Syncing Your Email Account
After you have entered your email address, password, and optionally configured advanced settings, the final step is to sync your email account with your Android device. Syncing ensures that all your emails, contacts, and calendar events are up to date and accessible on your device.
Here’s what you need to do to sync your email account:
- Once you have completed the previous steps, tap on the “Next” or “Done” button to initiate the syncing process. The Email app will start syncing your email account with your Android device.
- The time it takes to sync your account will depend on the number of emails and other data present in your account. If you have a large amount of data, it may take a while for the sync to complete, so be patient.
- During the syncing process, your Android device will download all the necessary information from your email server and update your device’s Email app. This ensures that your inbox, sent folder, and other email folders are accurately reflected on your device.
- Once the sync is complete, you will be able to access your email account directly from the Email app on your Android device. You can browse through your inbox, compose new emails, reply to messages, and perform other email-related tasks with ease.
It’s important to note that syncing your email account also enables real-time email notifications. Whenever a new email arrives in your inbox, you will receive a notification on your device, allowing you to stay updated and respond promptly.
If you have multiple email accounts, you can repeat the steps outlined in this guide to add additional accounts to your Android device. This allows you to manage multiple email accounts from one centralized location.
With the email account successfully synced to your Android device, you are now ready to enjoy the convenience of accessing and managing your emails on the go.
Finally, it’s always a good idea to periodically check the settings and ensure that your email account is still syncing properly. If you encounter any issues, you can refer to the troubleshooting guide provided by your email provider or check for any software updates for your device.
Conclusion
Adding an email account to your Android device is a simple process that enables you to stay connected and manage your inbox on the go. Whether you use Gmail, Yahoo, Outlook, or any other email provider, following the steps outlined in this guide will help you seamlessly set up and access your email account.
By accessing the Email app, selecting your email provider, entering your email address and password, configuring advanced settings, and syncing your email account, you can enjoy the convenience of having your emails right at your fingertips.
Having email on your Android device allows you to quickly respond to important messages, stay updated with work or personal communications, and efficiently manage your inbox. Plus, with the ability to sync your email across devices, you can effortlessly switch between your smartphone, tablet, or computer without missing a beat.
Remember to periodically review and adjust the settings to personalize your email experience. This includes adjusting the sync frequency, setting up notifications, or organizing your folders to suit your preferences and needs.
With your email account successfully added to your Android device, you can experience the convenience and productivity that comes with easy access to your emails anytime, anywhere.
So, why wait? Follow the steps outlined in this guide and start enjoying the benefits of having your email account on your Android device today!