Introduction
Welcome to the world of convenient and secure mobile payments with Google Pay on your Android device. With the ever-growing reliance on smartphones for everyday tasks, Google Pay offers a seamless way to make payments, send money, and manage your financial transactions.
Google Pay is a digital wallet that allows you to store and use your payment cards, making it easy to make purchases in-store and online. Whether you’re buying groceries, paying for a ride-share service, or shopping online, the power of Google Pay is at your fingertips.
Not only does Google Pay provide a convenient way to make payments, but it’s also designed with security in mind. With advanced encryption and multiple layers of authentication, you can rest assured that your financial information is safe and protected.
In this guide, we will walk you through everything you need to know about using Google Pay on your Android device. We’ll cover the setup process, adding payment cards, making payments in-store and online, sending and receiving money, managing your settings, and troubleshooting any issues you may encounter along the way.
So, whether you’re a seasoned Google Pay user looking for tips and tricks or a newcomer exploring mobile payment options, this guide is here to help you make the most out of Google Pay on your Android device.
Let’s dive in and learn how to take advantage of the convenience and flexibility that Google Pay brings to your fingertips.
Setting Up Google Pay on Your Android Device
Before you can start using Google Pay, you’ll need to set it up on your Android device. Follow these steps to get started:
- Open the Google Pay app on your Android device. If you don’t have it installed, you can download it from the Google Play Store.
- Tap on the “Get Started” button to begin the setup process.
- With Google Pay, you have the option to link a bank account or add payment cards. You can choose the option that suits your needs.
- If you choose to add payment cards, you’ll be prompted to either scan your cards using your device’s camera or enter the card information manually. Follow the on-screen instructions to complete the process.
- If you choose to link a bank account, you’ll need to provide the necessary information to securely connect your account to Google Pay.
- Once you’ve added your payment cards or linked your bank account, Google Pay will verify your information and may require additional authentication, such as a one-time password sent to your registered mobile number.
- Once your account is set up, you’re ready to start using Google Pay to make payments, send money, and more.
It’s important to note that not all cards or banks may be supported by Google Pay. If you encounter any issues during the setup process, it’s recommended to contact your card issuer or bank for further assistance.
Setting up Google Pay on your Android device is a quick and simple process that allows you to access the benefits of mobile payments. Now that you have Google Pay up and running, let’s explore how to add payment cards and make payments using the app.
Adding Payment Cards to Google Pay
Once you’ve set up Google Pay on your Android device, the next step is to add your payment cards to the app. This allows you to make secure and convenient payments both in-store and online. Follow these steps to add your payment cards:
- Open the Google Pay app on your Android device.
- Tap on the “Payment” icon located at the bottom of the screen.
- Select the option to “Add a card” or “Add a bank account.”
- You can choose to scan your card using your device’s camera or enter the card information manually. If you choose to scan the card, make sure to align it within the frame and follow the on-screen instructions.
- Google Pay will then verify the card information with your card issuer. This may require additional authentication, such as a one-time password or verification code sent to your registered mobile number or email.
- Once your card is successfully added, you’ll receive a notification confirming its addition to Google Pay.
- Repeat these steps for any additional payment cards you wish to add to Google Pay.
It’s worth noting that some banks or card issuers may have specific requirements or restrictions when it comes to adding cards to Google Pay. If you encounter any issues, it’s recommended to reach out to your card issuer for further assistance.
By adding your payment cards to Google Pay, you can easily access and manage all your cards in one place. This eliminates the need to carry physical cards with you and provides a secure way to make payments on the go.
Now that you have your payment cards added, let’s explore how to make payments using Google Pay on your Android device.
Making Payments with Google Pay
Now that you have added your payment cards to Google Pay, you’re ready to start making quick and secure payments using the app on your Android device. Here’s how:
- Open the Google Pay app on your Android device.
- Ensure that NFC (Near Field Communication) is enabled on your device by going to the settings menu.
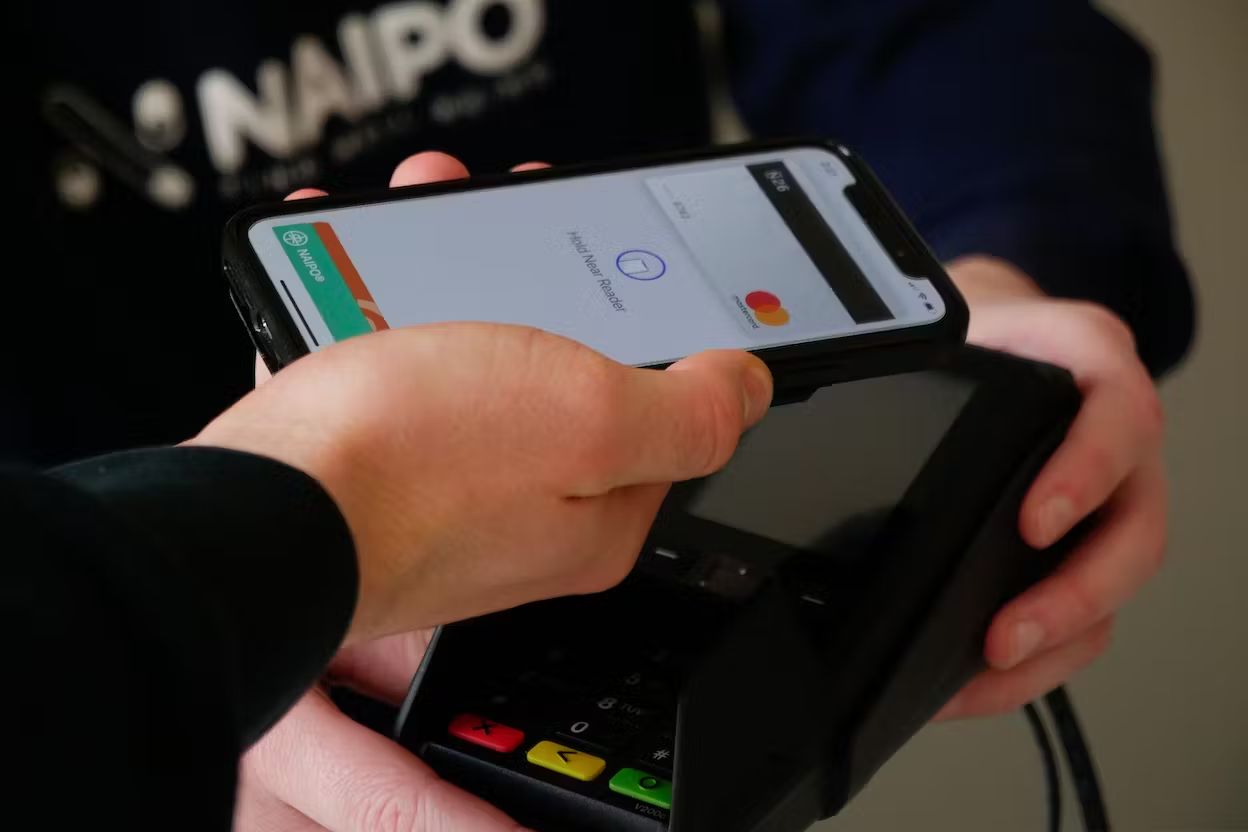
- When making an in-store payment, unlock your device and hold it near the contactless payment terminal.
- Google Pay will automatically open, and you’ll be prompted to authenticate the payment using your device’s built-in security features, such as your fingerprint or PIN.
- Once the payment is approved, you’ll receive a confirmation on your device and an email receipt if available.
- For online payments, select Google Pay as the payment option during checkout on supported websites or apps.
- Verify the payment details, authenticate the payment using the security features on your device, and complete the checkout process.
- Google Pay will securely transmit the payment information to the merchant, and you’ll receive a confirmation of the payment.
It’s important to note that not all merchants accept Google Pay, so it’s always a good idea to look for the contactless payment symbol at the payment terminal or check for Google Pay as a supported payment option when shopping online.
Using Google Pay for your payments offers several advantages. Apart from the convenience of leaving your physical wallet behind, Google Pay provides an added layer of security by not transmitting your actual card information during transactions. Instead, a virtual account number is used to safeguard your payment information.
With Google Pay, you can make payments effortlessly and securely, whether you’re at the grocery store, dining out, or shopping online. Now that you know how to make payments, let’s explore how to utilize Google Pay for online purchases.
Using Google Pay for Online Purchases
One of the great features of Google Pay is the ability to use it for secure and convenient online purchases. With the increasing popularity of online shopping, Google Pay streamlines the checkout process and offers a seamless experience. Follow these steps to use Google Pay for your online purchases:
- When shopping on supported websites or apps, proceed to the checkout page.
- Look for the Google Pay logo or the “Buy with Google Pay” button as the payment option.
- Click on the Google Pay option to select it as your payment method.
- Verify your shipping address and other necessary details, ensuring they are accurate.
- Authenticate the payment using the security features on your Android device, such as your fingerprint, facial recognition, or PIN.
- Google Pay will securely transmit the payment information to the merchant, completing the transaction.
- Upon successful payment, you’ll receive a confirmation of the purchase.
By using Google Pay for online purchases, you can eliminate the hassle of manually entering your payment card details for each transaction. This not only saves time but also provides an added layer of security by keeping your actual card information secure.
It’s important to note that Google Pay may not be available on all websites or apps. However, its adoption continues to grow, and you’ll find the option to use Google Pay on many popular e-commerce platforms.
Now that you’re familiar with using Google Pay for online purchases, let’s explore how you can send and receive money using the app.
Sending and Receiving Money with Google Pay
In addition to making payments and purchasing goods, Google Pay also allows you to send and receive money directly from your Android device. Whether you need to split a bill with friends or send money to family, Google Pay makes it easy and convenient. Here’s how:
- Open the Google Pay app on your Android device.
- Tap on the “Payment” icon located at the bottom of the screen.
- Select the option to “Send” or “Request” money.
- If sending money, enter the recipient’s email address or phone number.
- Enter the amount you want to send and add a note if desired.
- Review the details and tap on the “Send” button to initiate the transfer.
- If requesting money, enter the email address or phone number of the person you’re requesting funds from.
- Enter the amount you are requesting and provide a brief note specifying the purpose.
- Review the details and tap on the “Request” button to send your request.
The recipient will receive a notification on their device regarding the money you’ve sent or the request you’ve made. They can then accept the payment or fulfill your request through Google Pay.
Google Pay also supports sending and receiving money through the Google Pay Send service. By integrating Google Pay Send, you can easily transfer funds to other individuals even if they don’t have the Google Pay app installed.
It’s important to note that some transactions may incur fees, depending on the type of payment and location. Before sending or requesting money, ensure you are familiar with the applicable fees, if any.
With the convenience of sending and receiving money through Google Pay, you can easily split bills, repay debts, or send gifts to your loved ones. Now that you know how to manage your finances with Google Pay, let’s explore how to customize and manage your Google Pay settings.
Managing Your Google Pay Settings
Google Pay provides you with various settings and options that you can customize to enhance your payment experience. From managing your payment methods to controlling notifications, here’s how to manage your Google Pay settings:
- Open the Google Pay app on your Android device.
- Tap on the “Settings” icon, typically represented by a gear or three vertical dots.
- Within the settings menu, you’ll find options to manage various aspects of Google Pay.
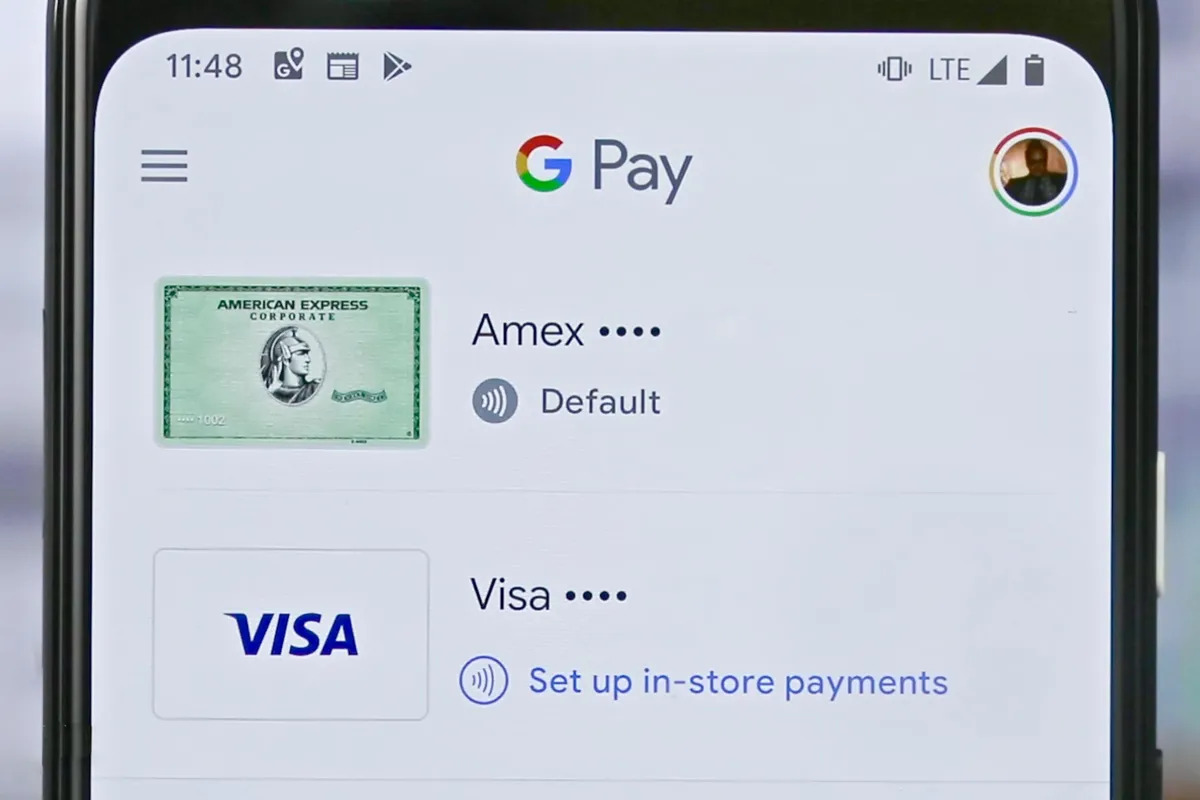
- To manage your payment methods, select “Payment methods” or a similar option. From here, you can add or remove payment cards, edit card details, or set a default payment method.
- To manage your privacy and security settings, select “Privacy & security” or a similar option. Here, you can enable or disable features such as transaction notifications, payment history, and device authentication methods.
- To manage your notifications preferences, select “Notifications” or a similar option. You can customize what types of notifications you receive from Google Pay, such as transaction alerts or promotional offers.
- Depending on your device and location, you may have additional settings options, such as loyalty cards, gift cards, or transportation card management.
- Explore the available settings and personalize them according to your preferences and needs.
By managing your Google Pay settings, you can tailor the app to align with your financial management style and privacy preferences. Whether you want to stay on top of your transactions or streamline your payment options, Google Pay provides the flexibility to meet your needs.
Remember to periodically review and update your settings to ensure they continue to meet your requirements as your financial situation and preferences may change over time.
Now that you’re familiar with managing your Google Pay settings, let’s discuss some troubleshooting tips and provide useful information to help you use Google Pay on your Android device seamlessly.
Troubleshooting and Tips for Using Google Pay on Android
While Google Pay is designed to be a reliable and user-friendly mobile payment solution, you may encounter some issues or have questions along the way. Here are some troubleshooting tips and helpful information to ensure a smooth Google Pay experience on your Android device:
Ensure NFC is enabled: Near Field Communication (NFC) is a technology that enables contactless payments. Make sure NFC is enabled in your device settings for seamless in-store payments.
Verify compatibility: Not all Android devices are compatible with Google Pay. Ensure your device meets the compatibility requirements by checking the Google Pay website or contacting Google support.
Make sure your payment cards are supported: Some card issuers or banks may not support Google Pay. Check with your card issuer to ensure your payment cards are compatible and eligible for use with Google Pay.
Clear cache and data: If you encounter any issues with the Google Pay app, clearing the cache and data can often resolve minor glitches. Go to your device’s settings, navigate to the Google Pay app, and select “Clear cache” and “Clear data.”
Update the Google Pay app: Keeping your Google Pay app updated to the latest version ensures you have access to new features and improvements. Check for updates in the Google Play Store and install any available updates.
Check your internet connection: For online payments or sending money, a stable internet connection is crucial. Make sure you have a reliable Wi-Fi or cellular data connection to prevent any disruptions during transactions.
Contact customer support: If you encounter persistent issues, such as payment failures or unexpected errors, contacting Google Pay customer support or your card issuer’s support can provide you with specific guidance tailored to your situation.
Protect your device: Keep your Android device secure by enabling a lock screen and using biometric authentication, such as fingerprint or facial recognition. This adds an extra layer of security to your Google Pay transactions.
Review transaction history: Regularly check your Google Pay transaction history to ensure all transactions are accurate. If you notice any suspicious or unauthorized activities, report them to your card issuer and Google Pay support immediately.
By keeping these troubleshooting tips and suggestions in mind, you can address any issues efficiently and fully enjoy the benefits of using Google Pay on your Android device.
Now that you’re equipped with troubleshooting knowledge and helpful tips, it’s time to confidently embrace the convenience and security of Google Pay on your Android device.
Conclusion
Congratulations! You have learned how to set up and use Google Pay on your Android device, enabling you to make quick and secure payments, send and receive money, and manage your financial transactions with ease.
By following the steps outlined in this guide, you have successfully set up Google Pay, added your payment cards, and explored the various features it offers. You’re now equipped to make payments in-store and online, send and receive money, and customize your Google Pay settings according to your preferences.
Remember to ensure NFC is enabled on your device for seamless in-store payments and to regularly update your Google Pay app to enjoy the latest features and improvements. Should you encounter any issues, refer to the troubleshooting tips provided or contact Google Pay customer support for further assistance.
Using Google Pay provides you with the convenience of simplified payment methods, enhanced security, and seamless integration with a wide range of merchants and services. Whether you’re paying for groceries, shopping online, or splitting bills with friends, Google Pay offers a reliable and efficient way to handle your transactions.
So, go ahead and tap, pay, and send money with confidence using Google Pay on your Android device. Embrace the future of mobile payments and experience the ease and convenience it brings to your everyday life!