Introduction
Adding a debit card to your Cash App account on your Android device opens up a world of convenient payment options. With Cash App, you can easily send and receive money, make purchases, and even invest in stocks and Bitcoin. By linking your debit card, you can seamlessly access and manage your funds directly from the app.
Whether you’re a seasoned Cash App user or just getting started, adding a debit card is a straightforward process that can be done in a few simple steps. In this article, we will guide you through the process of adding a debit card to Cash App on your Android device, ensuring that you can start enjoying the benefits of this popular mobile payment app in no time.
Before we dive into the step-by-step instructions, make sure you have downloaded the Cash App from the Google Play Store and have your debit card information ready. Once you have everything set up, let’s get started!
Step 1: Download the Cash App
The first step in adding a debit card to Cash App on your Android device is to download the app from the Google Play Store. The Cash App is available for free and can be easily found by searching for “Cash App” in the search bar of the Google Play Store.
Once you have located the app, tap on the “Install” button to begin the download. The app will then be downloaded and installed on your Android device. Depending on your internet connection, this process may take a few moments.
After the installation is complete, you will see the Cash App icon on your home screen or app drawer. Tap on the icon to open the app and proceed to the next step.
If you already have the Cash App installed on your device, please ensure that it is up to date. Updating to the latest version of the app will ensure that you have access to the most recent features and functionalities.
Now that you have downloaded and installed the Cash App, you are one step closer to adding your debit card and enjoying the convenience and versatility of this popular payment app.
Step 2: Open the Cash App on your Android device
Once you have successfully downloaded and installed the Cash App on your Android device, it’s time to open the app and get ready to add your debit card. Locate the Cash App icon on your home screen or app drawer and tap on it to open the app.
Upon opening the Cash App, you will be greeted with a welcome screen. If you already have a Cash App account, you can directly log in using your registered email address or mobile number. If you’re a new user, you will need to sign up for a Cash App account before proceeding.
To create a new account, tap on the “Sign Up” or “Create Account” button on the welcome screen. Follow the on-screen prompts to provide the required information, including your email address or phone number, and create a unique password. Once you have completed the registration process, you will have your own Cash App account ready to go.
If you already have a Cash App account and are logged in, you will bypass the registration process and be taken directly to the main screen of the app. Here, you will have access to various features and options, such as sending and receiving money, making purchases, and managing your account settings.
Opening the Cash App on your Android device is the crucial first step toward adding your debit card. Whether you’re a new user or an existing one, the Cash App provides a user-friendly interface that makes managing your finances quick and straightforward.
Now that you have successfully opened the Cash App on your Android device, let’s move on to the next step and navigate to the “Profile” or “Account Settings” section where you can add your debit card.
Step 3: Navigate to the “Profile” or “Account Settings” section
After opening the Cash App on your Android device, it’s time to navigate to the “Profile” or “Account Settings” section where you can add your debit card. This section of the app allows you to manage your personal information, payment methods, and other account settings.
To access the “Profile” or “Account Settings” section, look for the icon or tab that represents your user profile. This is typically denoted by a silhouette of a person or a gear icon. Tap on this icon or tab to proceed.
Once you are in the “Profile” or “Account Settings” section, you will find a list of options related to your account. Look for the option that allows you to add or manage payment methods. This option could be named “Payment Methods,” “Banking,” or similar.
Tapping on the “Payment Methods” or similar option will take you to a screen where you can view and manage your current payment methods. If you have already linked a debit card or bank account, it will be displayed here. To add a new debit card, look for the “Add Debit Card” or similar button and tap on it.
If you’re unable to find the “Profile” or “Account Settings” section or the option to add a debit card, consult the Cash App’s help section or contact customer support for guidance. They will be able to assist you in finding the necessary steps to navigate to the correct section.
Now that you have successfully located the “Profile” or “Account Settings” section, it’s time to add your debit card to Cash App. The next step will guide you through the process of entering your debit card details.
Step 4: Select “Add Debit Card” option
Once you have navigated to the “Profile” or “Account Settings” section of the Cash App on your Android device, it’s time to select the “Add Debit Card” option to begin the process of linking your debit card to your Cash App account.
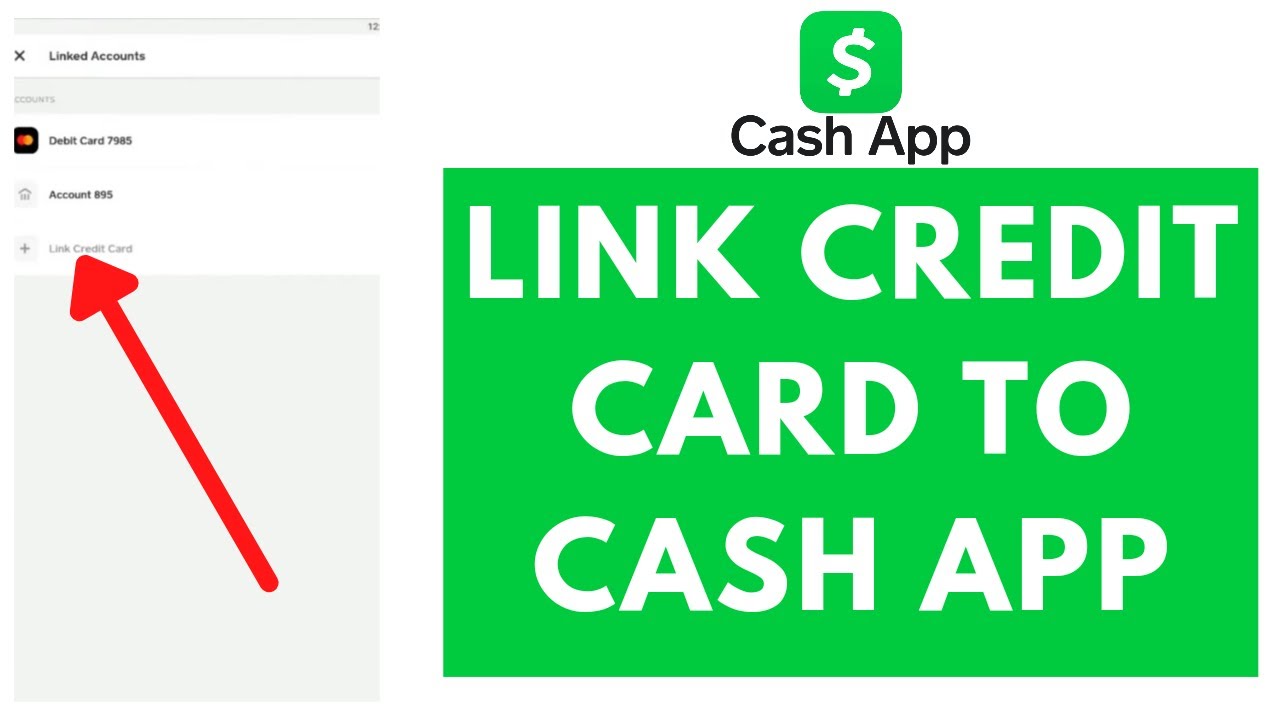
In the “Profile” or “Account Settings” section, look for the option that specifically mentions “Add Debit Card.” This option is usually prominently displayed, making it easy to find. It may be labeled as “Link Debit Card,” “Add Card,” or something similar.
Tap on the “Add Debit Card” or similar option to proceed. Doing so will open a new screen or prompt where you can input your debit card information.
Before proceeding with adding your debit card, ensure that you have your card handy. You will need to provide accurate and up-to-date information to successfully link your debit card to Cash App.
If you’re unable to find the “Add Debit Card” option or if it is not available in your region, it’s possible that Cash App may not support linking debit cards from your country or bank. In such cases, consider contacting Cash App’s customer support for more information and alternative solutions.
Now that you have selected the “Add Debit Card” option, let’s move on to the next step and enter your debit card information to link it with your Cash App account.
Step 5: Enter your debit card information
After selecting the “Add Debit Card” option in the Cash App on your Android device, you will be prompted to enter your debit card information. This step allows you to securely link your card to your Cash App account for seamless transactions.
On the screen that appears after selecting the “Add Debit Card” option, you will see a form where you can input your debit card details. The required information typically includes:
- Card Number: Enter the sixteen-digit number displayed on the front of your debit card.
- Expiration Date: Input the expiration month and year of your debit card.
- CVC Code: This three-digit code is usually located on the back of your debit card.
- Zip Code: Provide the zip code associated with the billing address linked to your debit card.
Take your time to carefully enter the information to ensure accuracy. Any mistakes or typos may result in errors during the verification process.
Additionally, make sure that the debit card you are linking to Cash App is active and has sufficient funds available for transactions.
It’s important to note that Cash App prioritizes the security of your financial information. They employ encryption and other security measures to protect your data. However, it’s always a good practice to ensure you are entering your card details in a secure environment and on a trusted device.
Once you have provided all the required information, double-check it for accuracy, and then proceed to the next step to verify your debit card.
Step 6: Verify your debit card
After entering your debit card information in the Cash App on your Android device, the next step is to verify your debit card. Verification is a crucial step to ensure the security and legitimacy of the card linked to your Cash App account.
The verification process may vary based on your bank and the specific requirements set by Cash App. In most cases, Cash App will attempt to verify your debit card by making a small charge (usually less than $1) to your card.
To verify your debit card, follow the prompts provided in the Cash App. You may be required to confirm the small charge made to your card by entering the exact amount charged or verifying the transaction in another way specified by Cash App.
Once you have successfully completed the verification process, your debit card will be officially linked to your Cash App account. This means you can start using your card for various transactions within the app.
If, for any reason, your debit card verification fails, double-check the information you entered for accuracy. If the information is correct, it’s possible that there may be an issue with the card itself or with your bank. In such cases, consider contacting Cash App’s customer support or reaching out to your bank for assistance.
It’s important to note that the verification process may take some time. Cash App may require a few minutes or even a couple of business days to complete the verification and activation of your debit card. During this time, it’s recommended to avoid making any sensitive or urgent transactions until the verification is fully completed.
Once your debit card is successfully verified, you’re almost ready to start using it for transactions on Cash App. The next step will guide you through the process of setting up your Cash App PIN for additional security.
Step 7: Set up your Cash App PIN
Setting up a unique and secure Cash App PIN adds an extra layer of protection to your account and ensures that only you can access your funds. After verifying your debit card in the Cash App on your Android device, the next step is to set up your Cash App PIN.
To set up your Cash App PIN, follow these steps:
- Open the Cash App on your Android device.
- Navigate to the “Settings” or “Account Settings” section. This is typically represented by a gear icon.
- Scroll down and look for the “Security” or “PIN” option.
- Tap on the “Security” or “PIN” option to proceed.
- Select the “Set PIN” or similar button.
- Enter a four-digit PIN of your preference. Make sure it’s something unique and not easily guessable.
- Confirm your PIN by entering it again.
Once you have successfully set up your Cash App PIN, it will be required every time you access your account or perform sensitive actions within the app, such as sending money or making a purchase. This provides an additional layer of security against unauthorized access.
It’s important to choose a PIN that is easy for you to remember but difficult for others to guess. Avoid using common patterns or easily identifiable numbers, such as your birthdate or phone number.
If at any point you need to change or update your Cash App PIN, you can do so by following a similar process within the “Settings” or “Account Settings” section of the app.
By setting up a Cash App PIN, you can have peace of mind knowing that your funds and personal information are better protected. Now that your Cash App PIN is set up, you’re ready for the final step of linking your debit card to your Cash App account.
Step 8: Link your debit card to your Cash App account
After successfully setting up your Cash App PIN, the final step is to link your debit card to your Cash App account. This step ensures that you can easily access and use your debit card for various transactions within the app.
To link your debit card to your Cash App account, follow these steps:
- Open the Cash App on your Android device.
- Navigate to the “Profile” or “Account Settings” section.
- Look for the “Payment Methods” or “Banking” option.
- Tap on the “Add Debit Card” or similar button.
- Enter your debit card details, including the card number, expiration date, CVC code, and zip code.
- Follow the prompts to verify your debit card.
Upon successful verification, your debit card will be officially linked to your Cash App account. You can now start using your debit card for various transactions, such as sending money to friends, making purchases, and even investing in stocks or Bitcoin through the app.
Keep in mind that some transactions may incur fees, such as a small percentage for Bitcoin purchases or instant transfers. It’s important to review the terms and conditions of Cash App to understand any associated fees or charges.
If at any point you wish to remove or update your linked debit card, you can do so by accessing the “Payment Methods” or similar section within the “Profile” or “Account Settings” of the app.
With your debit card successfully linked to your Cash App account, you can enjoy the convenience and flexibility of making seamless transactions right from your Android device.
Now that you have completed the process of linking your debit card to your Cash App account, you’re ready to start using your card for various transactions within the app. Enjoy the benefits and ease of managing your finances with Cash App!
Step 9: Start using your debit card on Cash App
Congratulations! You have successfully linked your debit card to your Cash App account on your Android device. Now it’s time to start using your card for various transactions within the app.
With your debit card linked, you can now:
- Send and receive money: Easily transfer funds to friends, family, or anyone else who uses Cash App.
- Make purchases: Use your debit card to pay for goods and services at participating merchants.
- Invest in stocks and Bitcoin: Take advantage of Cash App’s investment features to grow your wealth.
Cash App provides a user-friendly interface that makes managing your finances and making transactions a breeze. Simply follow the on-screen prompts to select your desired action, enter the required details, and confirm the transaction.
Remember to keep track of your transactions and monitor your account activity regularly. This will help you stay updated on your expenses, ensure the security of your funds, and promptly address any discrepancies.
It’s also important to review Cash App’s terms and conditions, including their fee structure. Some transactions may incur fees, such as a small percentage for Bitcoin purchases or instant transfers. Understanding the associated fees will help you make informed decisions about your financial transactions.
If you encounter any issues or have questions regarding the use of your debit card on Cash App, the app provides customer support services. You can access the support options within the app or on their website to seek assistance and resolve any concerns.
By linking your debit card to Cash App, you gain the convenience of managing your finances, making transactions, and even investing right from the palm of your hand. Enjoy the flexibility and ease of using Cash App to control your money.
Now that you are ready to start using your debit card on Cash App, go ahead and explore the features, make transactions, and make the most out of this powerful mobile payment app!
Conclusion
Congratulations on successfully adding your debit card to Cash App on your Android device! You have now unlocked a world of convenience and flexibility in managing your finances, making transactions, and even investing.
We began our journey by downloading the Cash App from the Google Play Store and opening it on your Android device. From there, we navigated to the “Profile” or “Account Settings” section and selected the “Add Debit Card” option. After entering your debit card information and verifying it, you set up a unique Cash App PIN for added security.
Finally, you linked your debit card to your Cash App account and learned how to start using it for transactions, such as sending money, making purchases, and even investing in stocks and Bitcoin.
Remember to stay informed about any associated fees or charges that may apply to your transactions on Cash App. Regularly review your account activity and keep track of your expenses to maintain control over your finances.
If you ever need assistance or have questions regarding your debit card on Cash App, their customer support is there to help. Don’t hesitate to reach out to them for any concerns you may have.
Now that you have successfully added and linked your debit card, enjoy the convenience and flexibility that Cash App offers. Whether you’re managing your day-to-day expenses, splitting bills with friends, or exploring investment opportunities, Cash App is your go-to app for all your financial needs.
Thank you for choosing Cash App, and we wish you a seamless and enjoyable experience as you use your debit card on the app!