Introduction
Welcome to the world of digital payments with Cash App! In this modern era, where everything is becoming increasingly digital, Cash App offers a convenient and user-friendly way to send, receive, and manage your money. Whether you want to split a bill with friends, pay your share of the rent, or send money to someone instantly, Cash App has got you covered.
With its simple and intuitive interface, Cash App has gained popularity among millions of users. It allows you to link your bank account or debit card, making transactions quick and effortless. Whether you’re a tech-savvy individual or new to digital payments, opening a Cash App account is a straightforward process that can be done in a few easy steps.
In this article, we will guide you through the process of opening a Cash App account, step by step. From downloading the app to setting up your account and exploring additional features, we’ve got you covered. So let’s get started and discover how to open a Cash App account.
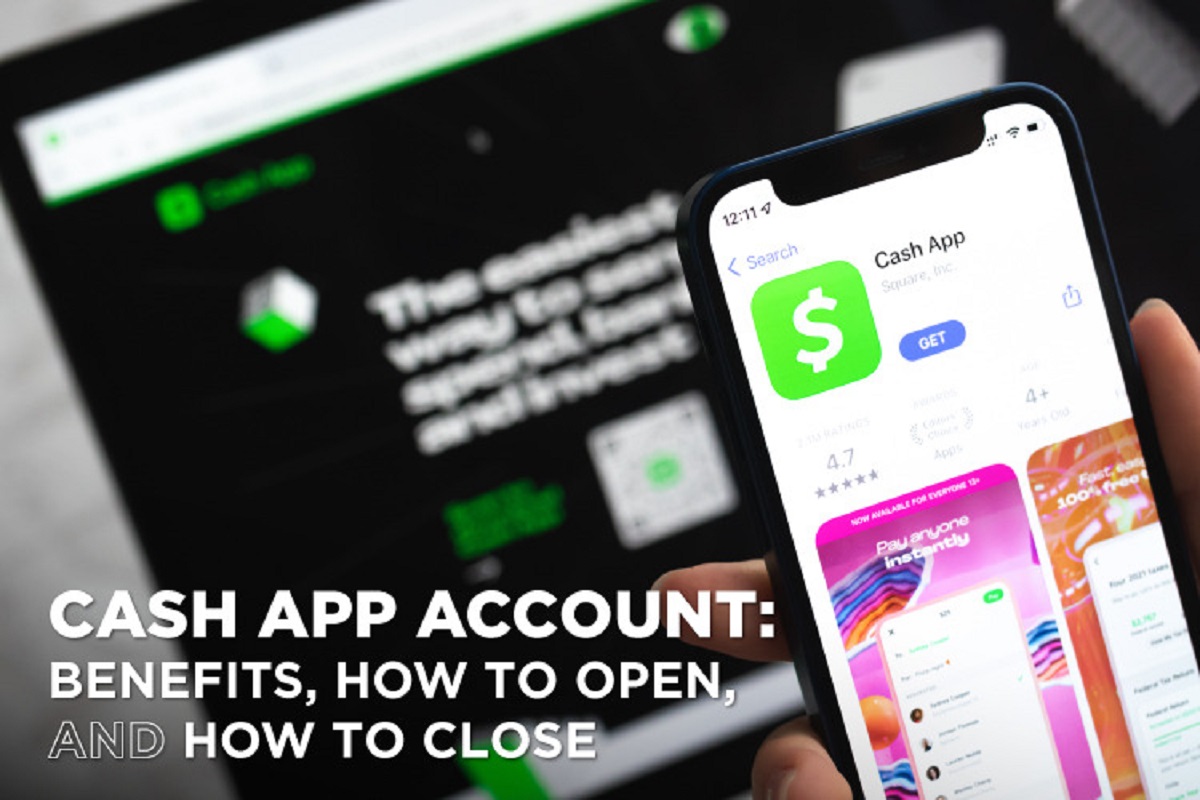
Step 1: Download the Cash App
The first step in opening a Cash App account is to download the app onto your mobile device. Cash App is available for both iOS and Android devices, so you can easily find it in the App Store or Google Play Store. Simply search for “Cash App” and look for the distinctive green icon with a dollar sign.
Once you’ve found the app, tap on the “Install” or “Get” button to begin the download. The app is free to download and doesn’t require any upfront fees or subscriptions.
After the app is downloaded and installed on your device, locate the Cash App icon on your home screen or app drawer and tap on it to open the application.
Alternatively, you can also visit the Cash App website on your computer and download the application from there. Just click on the appropriate download link for your operating system, and follow the on-screen instructions.
Downloading the Cash App is the first step towards experiencing the convenience and ease of digital payments. Once you have the app installed on your device, you’re ready to proceed to the next step in the account setup process.
Step 2: Create an Account
With the Cash App downloaded and installed on your device, it’s time to create your account. Launch the app and you will be greeted with the welcome screen. Tap on the “Sign Up” or “Create Account” button to start the registration process.
Next, you will be prompted to enter your email address or phone number. Choose the option that you prefer and enter the required information. Make sure to provide a valid email address or phone number as this will be used for account verification and communication purposes.
After entering your email address or phone number, you will need to create a unique and secure password for your Cash App account. Ensure that your password is strong and includes a combination of letters, numbers, and special characters to enhance security.
Once you’ve created your password, tap on the “Next” or “Continue” button to proceed. You may also be asked to enter a referral code at this stage if you have received one from a friend or family member. This code will enable you to earn a bonus if you meet the referral requirements.
After providing the necessary information, Cash App will send a verification code to the email address or phone number you provided. Enter the verification code in the designated field and tap on “Next” to verify your account.
Finally, you will be asked to provide your legal name. This is necessary for identity verification purposes and to ensure the security of your account. Enter your full legal name as it appears on your identification documents and tap on “Next” to complete the registration process.
Congratulations! You have successfully created your Cash App account. Now, let’s move on to the next step and learn how to link a bank account or debit card to your Cash App.
Step 3: Link a Bank Account or Debit Card
Now that you have created your Cash App account, it’s time to link a bank account or debit card. This will allow you to add funds to your Cash App account and make seamless transactions.
To link a bank account, open the Cash App on your device and tap on the profile icon at the top left corner of the screen. From the menu, select “Linked Accounts” and then tap on “Bank.” Follow the prompts to enter your bank account number and routing number. Once you’ve entered the required information, Cash App will verify your bank account by making two small deposits into your account. You will need to check your bank statements or contact your bank to find out the exact amounts of these deposits. Then, log back into your Cash App account and enter the deposit amounts to verify your bank account successfully.
If you prefer to link a debit card instead, open the Cash App and tap on the profile icon. From the menu, select “Linked Accounts” and then tap on “Cards.” Follow the prompts to enter your debit card number, expiration date, and CVV code. Once you’ve entered this information, Cash App will verify your card and link it to your account.
Linking a bank account or debit card to your Cash App account allows you to easily add money to your Cash App balance. You can then use these funds to send or receive money to and from other Cash App users, as well as make online and in-store purchases using your Cash App card.
Keep in mind that when linking a bank account or debit card, Cash App may require additional information for verification purposes. This can include your full legal name, address, and date of birth. Providing accurate and up-to-date information ensures the security and smooth functioning of your Cash App account.
With your bank account or debit card linked, you’re now ready to proceed to the next step and set up a Cash App PIN for added security.
Step 4: Set up a Cash App PIN
Setting up a Cash App PIN adds a layer of security to your account and protects your funds from unauthorized access. To set up your Cash App PIN, follow these simple steps.
Open the Cash App on your device and log into your account. Once you’re logged in, tap on the profile icon at the top left corner of the screen. From the menu, select “Privacy & Security” and then choose “Face ID & Passcode” or “Touch ID & Passcode,” depending on the capabilities of your device.
Next, you will be prompted to enter a four-digit PIN of your choice. Make sure to choose a unique PIN that is not easily guessable, such as your birthdate or a sequence of repeated numbers. A strong PIN adds an extra layer of protection to your Cash App account.
After entering your preferred PIN, you will be asked to confirm it. Enter the same PIN again to ensure accuracy. Once you’ve confirmed your PIN, it will be set as the passcode for accessing your Cash App account.
The next time you open Cash App or attempt to perform a sensitive action, such as sending money or changing account settings, you will be prompted to enter your PIN as a security measure. This ensures that only you have access to your account and helps prevent unauthorized transactions.
It’s important to remember your Cash App PIN and keep it secure. Avoid sharing it with anyone and refrain from writing it down where others might find it. By taking these precautions, you can maintain the security of your Cash App account and protect your funds.
With your Cash App PIN set up, you can now proceed to the next step, which involves activating your Cash App Card (if you have one).
Step 5: Activate Cash App Card (optional)
If you have a Cash App Card, you have the option to activate it and unlock additional features and benefits. The Cash App Card is a customizable, black Visa debit card that is linked directly to your Cash App account.
To activate your Cash App Card, follow these steps:
1. Open the Cash App on your device and tap on the Cash Card icon at the bottom of the screen.
2. Next, tap on “Activate Cash Card” to begin the activation process.
3. You will be prompted to allow Cash App to use your device’s camera. This is necessary for scanning the QR code on the Cash App Card.
4. Carefully follow the on-screen instructions to scan the QR code on your Cash App Card. Make sure the lighting conditions are adequate for proper scanning.
5. Once the QR code is successfully scanned, your Cash App Card will be activated.
With your Cash App Card activated, you can use it to make purchases online and at various retail locations where Visa debit cards are accepted. The card is connected to your Cash App balance, meaning the funds for your purchases will be deducted from your Cash App account.
In addition to making purchases, you can also withdraw cash from ATMs using your Cash App Card. Simply locate an ATM that accepts Visa cards, insert your card, enter your PIN, and follow the on-screen instructions to withdraw cash.
It’s worth noting that the Cash App Card is an optional feature, and you can still use Cash App for digital transactions without it. However, if you prefer a physical card for easier access to your funds or for making in-person purchases, the Cash App Card is a convenient option.
Now that your Cash App Card is activated (if applicable), let’s move on to the next step and learn how to add money to your Cash App account.
Step 6: Add Money to your Cash App Account
Once you have set up your Cash App account, linked your bank account or debit card, and activated your Cash App Card (if applicable), you’re ready to add money to your Cash App balance. Adding funds to your Cash App account gives you the flexibility to send money, make purchases, and withdraw cash whenever you need it.
To add money to your Cash App account, follow these simple steps:
1. Open the Cash App on your device and log into your account.
2. Tap on the “Banking” tab located at the bottom of the screen.
3. Select the “Add Cash” option.
4. Enter the amount of money you want to add to your Cash App balance.
5. Confirm the transaction by providing any requested details, such as your PIN or biometric authentication (if enabled).
6. Once the transaction is confirmed, the money will be added to your Cash App balance and will be available for immediate use.
You can add money to your Cash App account using various funding sources, such as linked bank accounts, debit cards, or Cash App Cash Cards. It’s important to note that some funding sources may have limitations, such as daily or monthly transaction limits. Be sure to familiarize yourself with these limits to ensure a smooth and hassle-free experience.
It’s worth mentioning that Cash App also offers the option to receive direct deposits, such as your paycheck or government benefits, into your Cash App account. This allows you to access your funds quickly and conveniently.
By adding money to your Cash App account, you have the flexibility to send money to friends and family, make purchases online and at various retail locations, and withdraw cash from ATMs. With your Cash App balance topped up, you’re now ready to explore the next step—sending and receiving money.
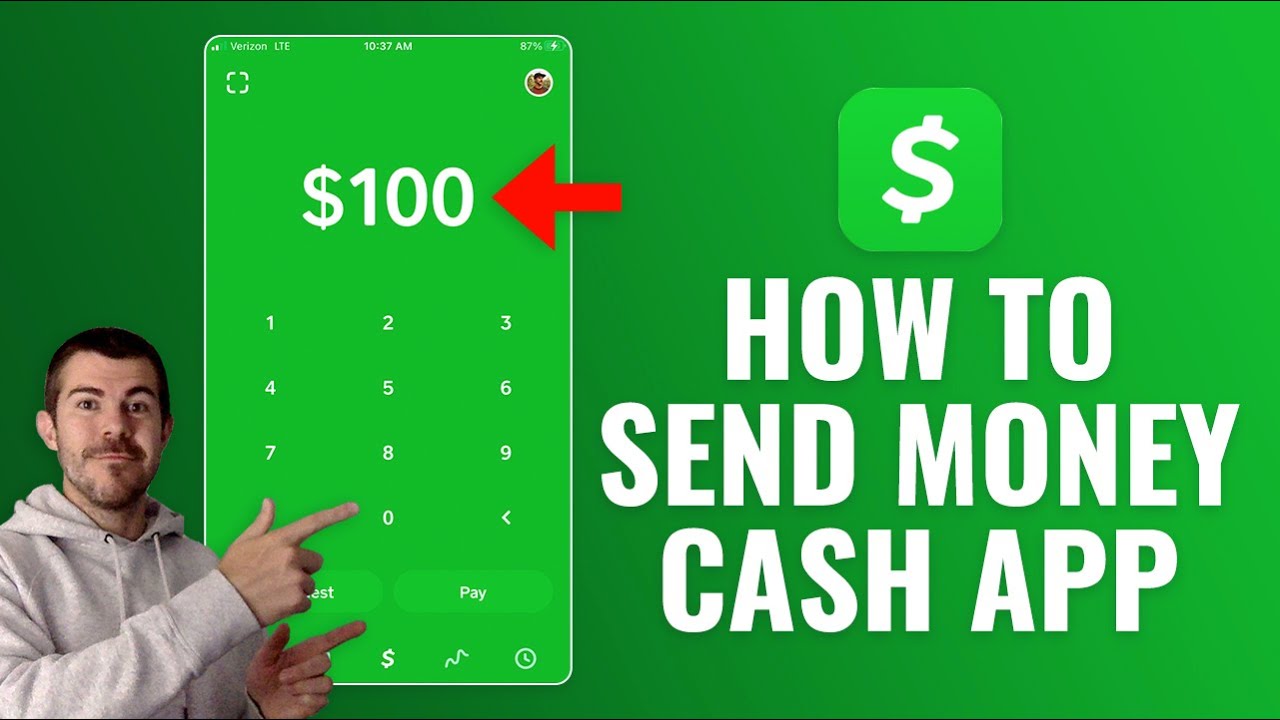
Step 7: Send and Receive Money
One of the key features of Cash App is its ability to send and receive money quickly and securely. Whether you need to split a bill, pay back a friend, or receive funds from a client, Cash App makes the process seamless and convenient.
To send money using Cash App, follow these steps:
1. Open the Cash App on your device and log into your account.
2. Tap on the “Pay” or “$” symbol located at the bottom of the screen.
3. Enter the amount you want to send.
4. Choose the recipient by either typing in their Cashtag (Cash App username), mobile phone number, or email address.
5. Add a note or description to accompany the payment (optional).
6. Double-check the details and tap on the “Pay” button to confirm the transaction.
When it comes to receiving money on Cash App, the process is just as straightforward:
1. Open the Cash App on your device and log into your account.
2. Tap on the “Request” or “$” symbol located at the bottom of the screen.
3. Enter the amount you want to request.
4. Choose the recipient by either typing in their Cashtag, mobile phone number, or email address.
5. Add a note or description to accompany the request (optional).
6. Double-check the details and tap on the “Request” button to send the request.
Once you send or receive money on Cash App, the transaction will appear in your activity feed, allowing you to keep track of your financial transactions easily.
It’s important to note that Cash App also allows you to send and receive Bitcoin. If you’re interested in cryptocurrency, you can explore this feature and start buying, selling, and storing Bitcoin directly within the app.
With Cash App’s user-friendly interface and quick transfer times, sending and receiving money has never been easier.
Now that you’re familiar with how to send and receive money using Cash App, let’s move on to the final step and explore some additional features of Cash App.
Step 8: Explore Additional Features of Cash App
Cash App offers a range of additional features that can further enhance your financial experience. Let’s explore some of these features:
Cash App Card: The Cash App Card, a customizable Visa debit card, allows you to make purchases online and at various retail locations. It is linked directly to your Cash App account, providing easy access to your funds.
Cash Boost: Cash Boost allows you to earn instant discounts at select merchants when you use your Cash App Card. Simply activate a Boost before making a purchase and enjoy savings on groceries, restaurants, and more.
Crypto Trading: Cash App enables users to buy, sell, and store Bitcoin within the app. You can explore the world of cryptocurrency and take advantage of its potential benefits using Cash App’s intuitive interface.
Cash App Investing: Cash App gives you the opportunity to invest in stocks and exchange-traded funds (ETFs) through its Cash App Investing feature. You can start with as little as $1 and build a diverse investment portfolio over time.
Cash App Discounts: Cash App provides users with personalized offers and discounts. Keep an eye on your activity feed for exclusive deals and savings on various products and services.
Cash App for Business: Cash App offers a business account option, allowing small businesses and entrepreneurs to accept payments from customers easily. You can create a dedicated business profile and access additional features tailored to your business needs.
These are just a few of the additional features that Cash App offers to enhance your financial experience and cater to your specific needs. Take some time to explore the app and discover all the features and benefits it has to offer.
By understanding and making the most of these features, you can maximize the potential of Cash App and enjoy a seamless and convenient way to manage your finances.
Now that you have explored the additional features of Cash App, you are ready to take full advantage of the app and enjoy its benefits.
Conclusion
Congratulations! You have successfully learned how to open a Cash App account and explore its various features. With Cash App, you can easily send and receive money, make purchases, and manage your finances all in one place. The step-by-step process outlined in this guide has provided you with the knowledge to create your account, link a bank account or debit card, set up a PIN, activate a Cash App Card (if applicable), add money to your account, and explore additional features.
Cash App offers a user-friendly interface, making it accessible to both tech-savvy individuals and those new to digital payments. Whether you need to split a bill, pay back a friend, or receive funds, Cash App provides a convenient and secure platform to handle your financial transactions.
Remember to follow security best practices by keeping your Cash App PIN secure and avoiding sharing it with others. Regularly monitor your account activity to stay informed about your financial transactions and take advantage of additional features like Cash Boost, direct deposit, crypto trading, and Cash App Investing to make the most of your Cash App experience.
As you continue to use Cash App, explore its features, and adapt it to your financial needs, you’ll discover how it can simplify your financial transactions and provide you with greater control over your money.
So, go ahead, download Cash App, open an account, and start enjoying the convenience of digital payments and financial management with Cash App!