Introduction
Welcome to the world of Cash App, a widely popular mobile payment service that enables you to send and receive money from friends, family, and even businesses with just a few taps on your smartphone. One of the key features of Cash App is the ability to link a debit or credit card to your account, allowing you to seamlessly make payments and manage your finances.
In this guide, we will walk you through the step-by-step process of linking a card to Cash App. Whether you want to use your existing debit card or credit card or want to add a new card to your account, we’ve got you covered.
Before we get started, it’s important to note that Cash App currently accepts Visa, Mastercard, and Discover debit and credit cards. Additionally, make sure you have the latest version of the Cash App installed on your smartphone. Now, let’s dive in and learn how to link a card to Cash App!
Step 1: Download and Install Cash App
The first step in linking a card to Cash App is to download and install the app on your smartphone. Cash App is available for both iOS and Android devices and can be found in the respective app stores.
To begin, open the App Store on your iPhone or the Google Play Store on your Android device and search for “Cash App.” Once you locate the app, tap on the “Download” or “Install” button to initiate the installation process.
After the app is successfully installed, launch Cash App by tapping on its icon on your device’s home screen. If you don’t have a Cash App account yet, you will need to sign up for one before you can proceed with linking a card.
If you already have a Cash App account, simply log in using your existing email address or phone number and password. Once logged in, you will be taken to the home screen of the app where you can access various features and functions.
Now that you have Cash App installed on your smartphone and are logged in, you are ready to move on to the next step: signing up for a Cash App account.
Step 2: Sign up for a Cash App Account
If you don’t already have a Cash App account, you will need to sign up for one before you can link a card. Don’t worry, the sign-up process is quick and straightforward.
To create a Cash App account, follow these steps:
- Open the Cash App on your smartphone and tap on the “Sign Up” button.
- Enter your phone number or email address and tap on “Next.”
- Verify your phone number or email address by entering the code sent to you.
- Create a unique and secure password for your Cash App account.
- Choose a unique username, also known as a $Cashtag, which will be associated with your Cash App account.
- Link your bank account or debit card for payments (optional).
- Agree to the terms and privacy policy, and tap on “Sign Up.”
Once you have completed these steps, you will be signed up for a Cash App account. You can now proceed to link your preferred card to your Cash App account.
It’s important to note that Cash App may require additional verification steps to ensure the security and integrity of your account. This can include providing additional identification or verifying your linked bank account. Follow any on-screen instructions to complete these steps if prompted.
Step 3: Link a Debit Card to Cash App
Linking a debit card to your Cash App account allows you to make instant payments directly from your bank account. Here’s how you can link your debit card:
- Open the Cash App on your smartphone and log in to your account.
- On the home screen, tap on the profile icon in the top left corner.
- Scroll down and select “Add a Bank” or “Add Card.”
- Choose “Add a Debit Card,” and enter the required card details, including the card number, expiration date, and CVV.
- Review the information you entered, and tap on “Add Card.”
- Follow any additional prompts to verify the card by providing any requested information.
Once you have successfully linked your debit card, you will be able to see it listed under the “Banks & Cards” section of your Cash App profile. You can now use your linked debit card to make instant payments, send money to friends, and more.
It’s worth noting that some banks may impose limits or additional fees for using your debit card with Cash App. It’s a good idea to check with your bank to ensure a smooth experience when using your linked card.
If you encounter any issues during the linking process, you can contact Cash App’s support team for assistance. They are available 24/7 and can help resolve any questions or concerns you may have.
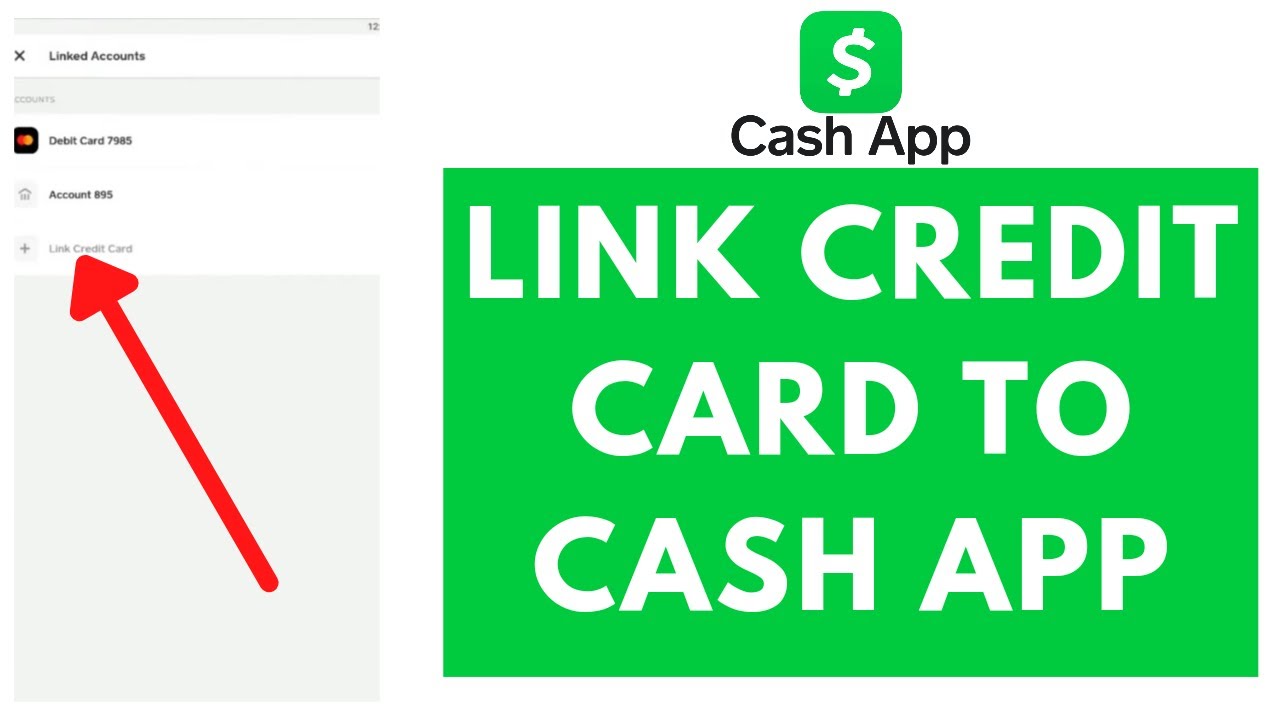
Step 4: Link a Credit Card to Cash App
Linking a credit card to your Cash App account gives you the flexibility to make payments using your credit card funds. To link your credit card to Cash App, follow these steps:
- Launch the Cash App on your smartphone and log in to your account.
- Tap on the profile icon in the top left corner of the home screen.
- Scroll down and select “Add a Bank” or “Add Card.”
- Choose “Add a Credit Card” and enter the required information, including the card number, expiration date, and CVV.
- Review the details you entered and tap on “Add Card.”
- Follow any additional prompts to verify the credit card by providing any requested information.
Once you have successfully linked your credit card, it will be listed in the “Banks & Cards” section of your Cash App profile. Now you can easily make payments, send money, and enjoy the convenience of using your credit card funds through Cash App.
It’s important to note that linking a credit card to Cash App may incur certain fees. These fees can vary depending on your card issuer and any specific terms and conditions associated with your credit card. It is advisable to review your credit card terms and contact your issuer if you have any questions regarding fees or interest rates.
If at any point you experience difficulties while linking your credit card, you can reach out to Cash App’s support team for assistance. They are available round the clock and ready to help resolve any concerns you may have throughout the process.
Step 5: Verify Your Linked Card
To ensure the security and validity of your linked card, Cash App may require you to verify it. Verifying your linked card is a simple process that helps protect against unauthorized usage and adds an extra layer of security to your transactions. Here’s how you can verify your linked card:
- Open the Cash App on your smartphone and log in to your account.
- Tap on the profile icon in the top left corner of the home screen.
- Scroll down and select “Banks & Cards.”
- Locate the card you want to verify and tap on it.
- Tap on the “Verify Card” option.
- Follow the instructions provided by Cash App to complete the verification process. This may involve entering a verification code or receiving a small temporary charge on your card that you will need to verify.
Once you have successfully verified your linked card, you can have peace of mind knowing that your transactions will be secure and protected.
It’s important to note that each card you link to Cash App may need to be verified separately. This means that if you have multiple linked cards, you will need to repeat the verification process for each one.
If you encounter any issues or have questions during the verification process, Cash App’s customer support team is available to assist you. Don’t hesitate to reach out to them for guidance and troubleshooting.
Step 6: Set Your Default Card
Setting a default card in your Cash App account allows for a convenient and seamless payment experience. When you have multiple linked cards, you can choose one as your default card for quick and easy transactions. Here’s how you can set your default card:
- Launch the Cash App on your smartphone and log in to your account.
- Tap on the profile icon in the top left corner of the home screen.
- Scroll down and select “Banks & Cards.”
- Locate the card you want to set as the default and tap on it.
- Tap on the “Set as Default” option.
Once you set a default card, any payments or transactions made through Cash App will be debited from this card by default. This eliminates the need to manually select a card each time you make a payment, saving you time and effort. You can always change your default card as needed by following these steps.
It’s important to note that setting a default card does not mean that you cannot use your other linked cards. You can still choose a different card for specific transactions by selecting it during the payment process.
If you encounter any issues or have questions regarding setting your default card, Cash App’s customer support team is just a message away. Feel free to reach out to them for assistance or further guidance.
Step 7: Start Using Your Linked Card with Cash App
Congratulations! You have successfully linked and verified your card with Cash App. Now it’s time to start using it for various transactions and payments. Here’s how you can use your linked card with Cash App:
1. Making Payments: With your linked card, you can easily make payments to friends, family, or businesses using the “Pay” feature in Cash App. Simply enter the amount you want to send, select the recipient, and choose your linked card as the payment source. Confirm the transaction, and the payment will be processed instantly.
2. Sending Money: If you need to send money to someone, you can use Cash App’s “Send” feature. Enter the amount you wish to send, provide the recipient’s details, and select your linked card as the funding source. Verify the transaction, and the money will be sent right away.
3. Receiving Money: In addition to sending money, Cash App allows you to receive funds from others. When someone sends you money through Cash App, it will be deposited into your Cash App account. You can then choose to keep the funds in your Cash App balance or transfer them to your linked card for easy access.
4. In-App Purchases: Cash App also offers a “Cash Card” feature that allows you to make online and in-store purchases. This virtual card is linked to your Cash App account and can be used for secure and convenient transactions.
Remember, always keep an eye on your transaction history and check your linked card’s balance to ensure you have sufficient funds available for any purchases or payments.
If you encounter any issues or have questions regarding using your linked card with Cash App, their customer support team is available to assist you. They can provide guidance, address concerns, and help troubleshoot any problems you may face.
Now that you have linked your card to Cash App and know how to use it for various transactions, you can enjoy the convenience and flexibility of managing your finances with ease.
Conclusion
Congratulations on successfully linking your card to Cash App! You have now unlocked a world of convenient and secure mobile payments, allowing you to easily send and receive money, make purchases, and manage your finances with just a few taps on your smartphone.
In this guide, we walked you through the step-by-step process of linking a card to Cash App. We covered the initial steps of downloading and installing the app, signing up for an account, and linking both debit and credit cards. We also discussed the importance of verifying your linked card and setting a default card for a seamless payment experience.
Now that you’re familiar with the process, you can confidently use your linked card with Cash App for various transactions. Whether you need to pay a friend, send money to a family member, or make an online purchase, Cash App provides a user-friendly interface and secure platform to handle your financial needs.
Remember to stay vigilant and regularly monitor your transactions to ensure accuracy and security. If you encounter any issues or have questions along the way, Cash App’s support team is available to assist you. Don’t hesitate to reach out to them for guidance or troubleshooting.
Enjoy the convenience, ease, and flexibility that Cash App brings to your financial life. Linking your card to Cash App opens up a world of possibilities, making your day-to-day transactions and money management simple and hassle-free.
Now it’s time to explore and make the most of your Cash App experience! Happy linking and happy spending!