Introduction
Welcome to Cash App, a convenient mobile payment service that allows you to send, receive, and store money right from your smartphone. Adding a credit card to your Cash App account can expand your payment options and make it easier to manage your finances. Whether you want to make purchases online, send money to friends and family, or even withdraw cash from ATMs, having a credit card linked to your Cash App account offers a range of benefits.
With the Cash App, you can avoid the hassle of carrying physical cash or dealing with traditional bank transfers. The app provides a seamless way to handle your financial transactions securely and quickly. Adding your credit card to the Cash App is a straightforward process that only takes a few minutes. In this guide, we will walk you through each step to help you successfully add a credit card to your Cash App account.
It’s important to note that Cash App supports most major credit cards, including Visa, Mastercard, American Express, and Discover. Before you begin, make sure you have a valid and active credit card that you want to link to your Cash App account. Once your credit card is successfully added, you will have the option to use it for various transactions within the app, such as making payments, sending money, or even requesting funds from others.
In the following sections, we will break down the process of adding a credit card to your Cash App into easy-to-follow steps. By the end of this guide, you will have the necessary knowledge and confidence to navigate the Cash App with your newly added credit card.
Step 1: Download and install the Cash App
The first step towards adding a credit card to your Cash App account is to download and install the Cash App on your smartphone. The Cash App is available for both iOS and Android devices, making it accessible to a wide range of users.
To download the Cash App on your iPhone, simply open the App Store and search for “Cash App.” Once you find the app, tap on it to open the app page and then click on the “Download” button. The app will automatically begin downloading and installing on your iPhone.
For Android users, go to the Google Play Store and search for “Cash App.” Select the official Cash App from Square, Inc., and click on the “Install” button. The app will start downloading and installing on your Android device.
Once the Cash App is successfully downloaded and installed on your smartphone, you’re ready to proceed to the next step.
Note that the Cash App is completely free to download and install. However, it’s important to ensure that you download the official Cash App from a reputable app store to avoid any potential security risks.
If you already have the Cash App installed on your smartphone, make sure it is the latest version by checking for updates in your app store. Having the latest version ensures you have access to all the newest features and improvements.
Now that you have the Cash App installed on your device, let’s move on to the next step to sign up or log in to your account.
Step 2: Sign up or log in to your account
To add a credit card to your Cash App account, you need to either sign up for a new account or log in to your existing one.
If you’re a new user and don’t have a Cash App account yet, follow these steps:
- Open the Cash App on your smartphone.
- Tap on the “Sign Up” button to create a new account.
- Enter your email address or phone number to begin the sign-up process.
- Create a unique username that will be associated with your Cash App account.
- Choose a secure password that you’ll use to log in to your account.
- Verify your email address or phone number by following the instructions sent to you.
- Once verified, you can proceed to the next step.
If you already have a Cash App account, follow these steps to log in:
- Open the Cash App on your smartphone.
- Tap on the “Sign In” button to access your account.
- Enter your registered email address or phone number.
- Enter your password and click on the “Sign In” button again.
- Once logged in, you’re ready to move on to the next step.
Signing up for a new Cash App account is quick and simple, and logging in to your existing account allows you to access all your previous transactions and settings. Now that you’ve signed up or logged in to your Cash App account, let’s proceed to the next step to open the Cash App and go to the profile section.
Step 3: Open the Cash App and go to the profile section
Once you have successfully signed up or logged in to your Cash App account, it’s time to open the app and navigate to the profile section where you can manage your account details.
To open the Cash App:
- Locate the Cash App icon on your smartphone’s home screen or app drawer.
- Tap on the icon to launch the app.
Upon opening the Cash App, you will be greeted with a welcome screen and a brief overview of the app’s features. Simply swipe or tap through the introductory screens until you reach the main interface.
Next, locate and tap on the profile icon. This is usually represented by a small circle or square image in the top-left or top-right corner of the app, depending on your device’s orientation.
In the profile section, you will find various options and settings related to your Cash App account. This is where you can view and update your personal information, transaction history, linked cards, and more.
Take a moment to familiarize yourself with the profile section and explore the different tabs or menus available. This will help you navigate through your account settings efficiently and make the necessary changes, such as adding a credit card.
Now that you have successfully opened the Cash App and located the profile section, it’s time to proceed to the next step and tap on the “Add a Credit Card” option.
Step 4: Tap on the “Add a Credit Card” option
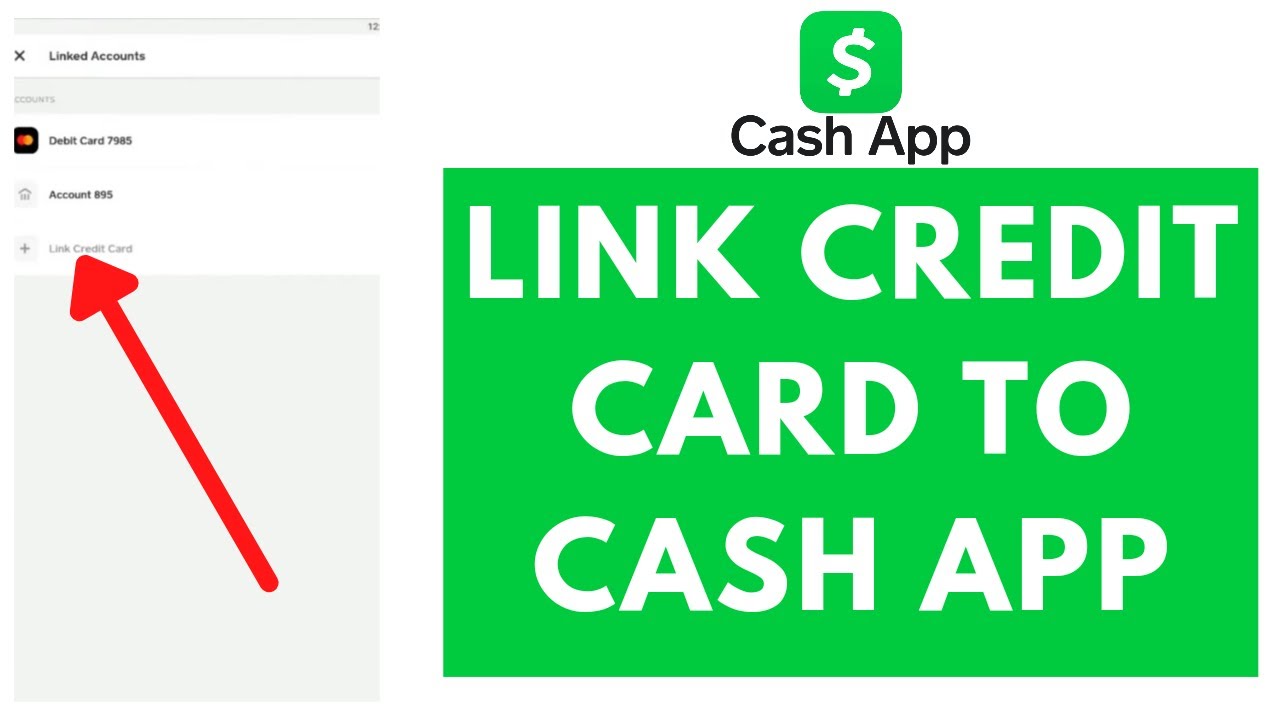
After navigating to the profile section in your Cash App account, the next step is to find and tap on the “Add a Credit Card” option. This will allow you to begin the process of linking your credit card to your Cash App account.
To tap on the “Add a Credit Card” option:
- Once you’re in the profile section of the Cash App, look for the menu or settings icon. This is often represented by three horizontal lines or a gear symbol located in the top-right corner of the screen.
- Tap on the menu or settings icon to open the options menu.
- Scroll through the available options until you find the “Add a Credit Card” option.
- Tap on the “Add a Credit Card” option to proceed.
By tapping on the “Add a Credit Card” option, you are indicating your intention to link a credit card to your Cash App account. This will open a new screen or prompt where you can enter your credit card details.
Make sure you have your credit card handy, as you will need to input accurate information to successfully link it to your Cash App account.
Now that you have tapped on the “Add a Credit Card” option, it’s time to move on to the next step and enter your credit card information.
Step 5: Enter your credit card information
After tapping on the “Add a Credit Card” option in the Cash App, you will be prompted to enter your credit card information. This step requires you to input accurate details to ensure a successful addition of your credit card to your Cash App account.
Follow these steps to enter your credit card information:
- On the screen that appears after tapping on “Add a Credit Card,” you will see blank fields where you can enter your credit card details.
- Start by entering the card number. This is typically a 16-digit number located on the front of your credit card.
- Next, enter the expiration date of your credit card. This consists of the month and year, usually printed on the front of the card.
- Then, input the CVV (Card Verification Value) code. This is a three- or four-digit security code located on the back of your credit card.
- Lastly, enter the zip code associated with the billing address for your credit card.
Take your time to double-check the accuracy of the information you’ve entered. Any inaccuracies could result in a failed verification and delay the addition of your credit card to Cash App.
It’s important to note that Cash App values your security and privacy. As such, your credit card information is encrypted and securely stored. Cash App ensures that your sensitive data is protected by industry-standard security measures.
Once you have entered your credit card information correctly, proceed to the next step to verify your credit card details.
Step 6: Verify your credit card details
After entering your credit card information in the Cash App, it’s time to verify the details to ensure the accuracy and legitimacy of the card. This verification process helps maintain the security and integrity of your Cash App account.
To verify your credit card details, follow these steps:
- Review the information you entered on the screen. Make sure that the card number, expiration date, CVV code, and zip code are all correct.
- If everything looks accurate, tap on the “Verify Card” or similar button to proceed. This will initiate the verification process.
- Depending on your card issuer’s policies, you may be prompted to provide additional verification, such as a one-time password (OTP) or a security question.
- Follow the instructions provided on the screen to complete the verification process. This may involve receiving and entering a code sent to your registered phone number or email address.
- Once you have successfully verified your credit card details, a confirmation screen will usually appear, indicating that your card has been added to your Cash App account.
It’s important to note that the verification process may vary slightly depending on your card issuer’s policies and the specific requirements of the Cash App. Follow the instructions provided on the screen and be prepared to provide any additional verification information if prompted.
Verifying your credit card details adds an extra layer of security to your account, ensuring that only legitimate credit cards are linked to your Cash App. This helps protect your financial information and prevents unauthorized access or misuse of your account.
Now that you have successfully verified your credit card details, it’s time to move on to the next step and set up your security and privacy settings in the Cash App.
Step 7: Set up your security and privacy settings
Once you have added and verified your credit card details in the Cash App, it’s essential to set up your security and privacy settings to protect your account and ensure a safe transaction experience. The Cash App provides several options to enhance the security of your account and customize your privacy settings according to your preferences.
To set up your security and privacy settings, follow these steps:
- Open the Cash App on your smartphone and navigate to the profile section.
- Look for the settings or security icon, usually represented by three horizontal lines or a gear symbol.
- Tap on the settings or security icon to access the settings menu.
- Explore the different options available, such as PIN code requirements, fingerprint or Face ID authentication, and two-factor authentication.
- Enable the security measures that you prefer and feel comfortable with. These additional layers of security help protect your account from unauthorized access.
- Ensure that your privacy settings align with your preferences. You can adjust settings related to your profile visibility and the information you share with others.
By setting up proper security measures, such as a PIN code or biometric authentication, you add an extra layer of protection to your Cash App account. This helps prevent unauthorized access to your account, even if your smartphone falls into the wrong hands.
Similarly, reviewing and adjusting your privacy settings allows you to control the information you share within the Cash App. You can choose to keep your profile private or customize who can view your transaction history and associated details.
Make sure to take the time to carefully review and understand the available security and privacy options in the Cash App. This ensures that your account is protected and your privacy preferences are respected.
Now that you have set up your security and privacy settings, it’s time to move on to the next step and confirm the addition of your credit card to the Cash App.
Step 8: Confirm the addition of your credit card
After setting up your security and privacy settings in the Cash App, the next step is to confirm the addition of your credit card. Confirming the addition ensures that your credit card is successfully linked to your Cash App account and ready to use for various transactions.
To confirm the addition of your credit card, follow these steps:
- After making any necessary changes or adjustments to your security and privacy settings, navigate back to the profile section in the Cash App.
- Look for the “Card Settings” or similar option within the settings menu.
- Tap on the “Card Settings” option to access the details of your linked credit card.
- Review the information displayed, including the card number, expiration date, and the last four digits of your credit card.
- Ensure that all the details match the credit card you intended to link to your Cash App account.
- If everything looks accurate, tap on the “Confirm” or similar button to finalize the addition of your credit card.
- A confirmation message or screen will appear, indicating that your credit card has been successfully added to your Cash App account.
Confirming the addition of your credit card ensures that the information you entered during the previous steps is accurate and valid. It serves as a final check before you can start using your credit card for various transactions within the Cash App.
It’s important to review the details of your linked credit card carefully. Any discrepancies or errors may result in failed transactions or inconvenience in the future. If you notice any incorrect information, you can go back and edit the card details before confirming.
Now that you have confirmed the addition of your credit card to the Cash App, it’s time to move on to the final step and start using your credit card seamlessly within the app.
Step 9: Start using your credit card on Cash App
Congratulations! You have successfully added and confirmed your credit card on Cash App. Now, you’re ready to start using your credit card for various transactions within the app.
With your credit card linked to your Cash App account, you can:
- Make purchases online: Use your credit card to shop online with merchants that accept Cash App payments.
- Send money to friends and family: Easily send money to your contacts within the Cash App using your linked credit card.
- Request funds: Ask friends and family to send you money directly to your Cash App using your credit card.
- Withdraw cash: Cash App provides the option to withdraw cash from ATMs using your linked credit card.
When making transactions with your credit card on Cash App, always ensure that you have sufficient funds or available credit to cover the payment. Keep track of your expenses and review your credit card statements regularly to maintain financial responsibility.
It’s important to note that Cash App may have certain transaction fees for using your credit card. Familiarize yourself with the app’s fee structure to make informed financial decisions.
It’s also worth exploring additional features and services offered by Cash App, such as direct deposit, investing in stocks or Bitcoin, and the Cash Card – a debit card linked to your Cash App account.
Now that you have successfully added and confirmed your credit card, it’s time to enjoy the convenience and flexibility of using your credit card on Cash App. Happy spending!
Conclusion
Adding a credit card to your Cash App account opens up a world of convenience and flexibility in managing your financial transactions from your smartphone. Through the step-by-step process outlined in this guide, you can seamlessly link your credit card to your Cash App and start using it for purchases, sending or receiving money, and even cash withdrawals.
Remember to follow each step carefully, ensuring the accuracy of the credit card details you enter and verifying them for security purposes. Take advantage of the security and privacy settings offered by Cash App to safeguard your account and personal information.
By adding your credit card to Cash App, you can enjoy the ease and speed of mobile payments while avoiding the hassle of carrying physical cash or dealing with traditional bank transfers. Take the time to explore all the features and services provided by Cash App, such as the Cash Card and investment opportunities.
Keep track of your expenses and stay vigilant when using your credit card on Cash App. Monitor your credit card statements and be aware of any transaction fees that may apply. Being responsible and proactive in managing your finances will help you make the most of your Cash App experience.
Now that you have successfully added your credit card to Cash App, you’re ready to take full advantage of the app’s capabilities. Whether you’re making purchases, sending money to loved ones, or withdrawing cash, Cash App offers a convenient and secure platform for managing your financial transactions.
Get started with Cash App today and enjoy the freedom and ease of using your credit card for all your mobile payment needs. Happy transacting!