Introduction
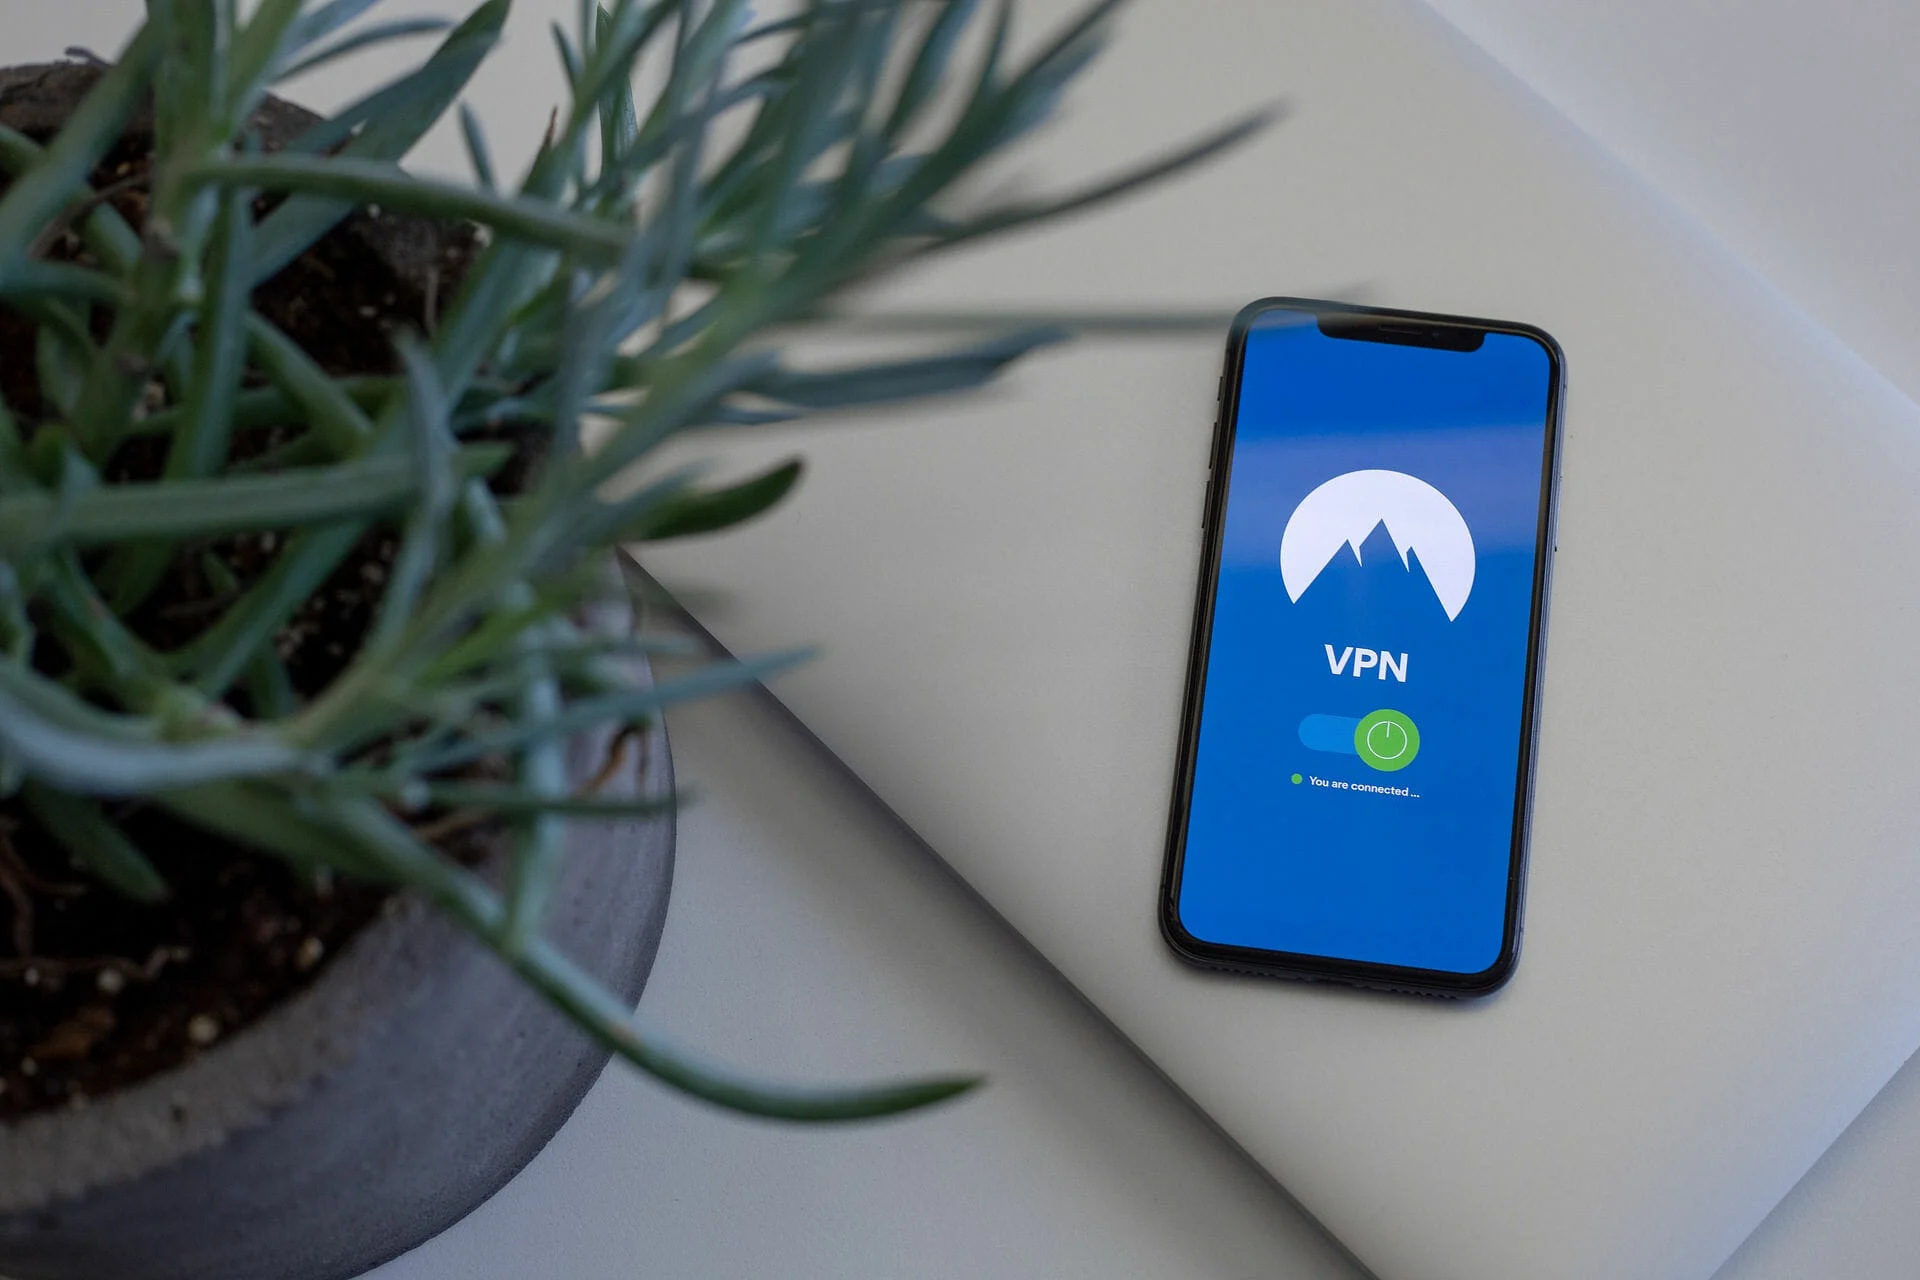
A Virtual Private Network (VPN) is a powerful tool that allows you to secure your internet connection and protect your online privacy. By encrypting your data and routing it through remote servers, a VPN creates a secure and anonymous connection between your iPhone and the websites or online services you access.
In today’s digital age, where cyber threats and privacy breaches are becoming increasingly common, using a VPN on your iPhone is more important than ever. Whether you are browsing the internet, accessing public Wi-Fi networks, or using online banking services, a VPN ensures that your sensitive information remains secure and out of the hands of hackers or malicious third parties.
Not only does a VPN provide security, but it also allows you to bypass geographical restrictions and access content from around the world. With a VPN, you can stream your favorite movies and TV shows, access region-locked websites, or stay connected to your work network even when traveling abroad.
Choosing the right VPN provider is crucial to ensure a reliable and secure connection. There are numerous VPN providers available, each offering different features and pricing plans. It’s important to consider factors such as server locations, encryption protocols, connection speed, and customer support when selecting a VPN provider that meets your specific needs.
In this article, we will provide you with a step-by-step guide on how to set up a VPN on your iPhone. We will also explain how to test your VPN connection and troubleshoot common issues that may arise. By the end of this article, you will have the knowledge and tools to protect your privacy and enjoy a secure online experience on your iPhone.
Why do you need a VPN on your iPhone?
Using a VPN on your iPhone offers a wide range of benefits and increases your online security in several ways.
- Protect your Privacy: When you connect to the internet, your ISP (Internet Service Provider) can see all your online activities. However, when you use a VPN, your internet traffic is encrypted and tunneled through the VPN server, making it virtually impossible for anyone to monitor your online activities, including your ISP.
- Secure your Data: Public Wi-Fi networks, such as those found in coffee shops or airports, are often unsecured and can leave your sensitive information vulnerable to hackers. By using a VPN on your iPhone, your data is encrypted, ensuring that even if someone tries to intercept it, they won’t be able to decipher it.
- Bypass Geographical Restrictions: Many websites and online services impose geographical restrictions, limiting access to certain content based on your location. With a VPN, you can bypass these restrictions and access websites and streaming services from anywhere in the world. Whether you want to watch your favorite Netflix series or access region-locked websites, a VPN can help you achieve that.
- Enhance Online Security: VPNs use robust encryption protocols to secure your data and ensure that it cannot be tampered with or intercepted. This provides an additional layer of security, especially when accessing sensitive information like online banking or making purchases online.
- Anonymize Your Online Activities: By masking your IP address and location, a VPN allows you to browse the internet with anonymity. This prevents websites, advertisers, and other entities from tracking your online activities and building a profile on your browsing habits. It helps to maintain your privacy and reduces the risk of targeted ads or personalized content.
With the increasing threats to online privacy and security, using a VPN on your iPhone has become essential. It ensures that your personal information remains protected, your online activities remain private, and you have unrestricted access to content from anywhere in the world. Now that we understand the importance of a VPN on your iPhone, let’s move on to choosing the right VPN provider.
Choosing the right VPN provider
With a wide range of VPN providers available in the market, selecting the right one for your iPhone can be a daunting task. Here are some key factors to consider when choosing a VPN provider:
- Security and Privacy Features: Look for a VPN provider that offers strong encryption protocols, such as OpenVPN or IKEv2. Ensure they have a strict no-logs policy, which means they do not store any information about your online activities.
- Server Locations: The more server locations a VPN provider offers, the more flexibility you’ll have in accessing content from different regions. Make sure the VPN provider has servers in the countries you are interested in.
- Connection Speed: A VPN can sometimes slow down your internet connection. To ensure a seamless browsing and streaming experience on your iPhone, choose a VPN provider that offers fast and stable connections.
- Device Compatibility: Verify that the VPN provider supports the iOS operating system and has a dedicated app for iPhones. This ensures easy installation and a user-friendly interface.
- Customer Support: A reliable VPN provider should have responsive customer support to assist you with any issues or queries. Look for providers that offer multiple support channels, such as live chat, email, or phone support.
- Price and Plans: Consider your budget and the pricing plans offered by the VPN providers. Look for flexible options, such as monthly or yearly subscriptions, to choose the plan that best fits your needs.
Additionally, reading user reviews and comparing the features and prices of different VPN providers can help you make an informed decision. Remember that a VPN is a long-term investment in your online security and privacy, so it’s important to choose a reputable provider that meets your requirements.
Now that you have an understanding of what to consider when choosing a VPN provider, let’s move forward and learn how to set up a VPN on your iPhone.
Step-by-step guide to setting up a VPN on your iPhone
Setting up a VPN on your iPhone is a straightforward process. Follow these steps to get started:
- Choose a VPN Provider: Select a reliable VPN provider that meets your needs and sign up for an account. Make sure the provider offers an iOS app for easy installation on your iPhone.
- Download and Install the VPN App: Go to the App Store on your iPhone and search for the VPN app provided by your chosen VPN provider. Download and install the app on your device.
- Open the VPN App: Once the app is installed, open it on your iPhone. You may be prompted to sign in with your account credentials.
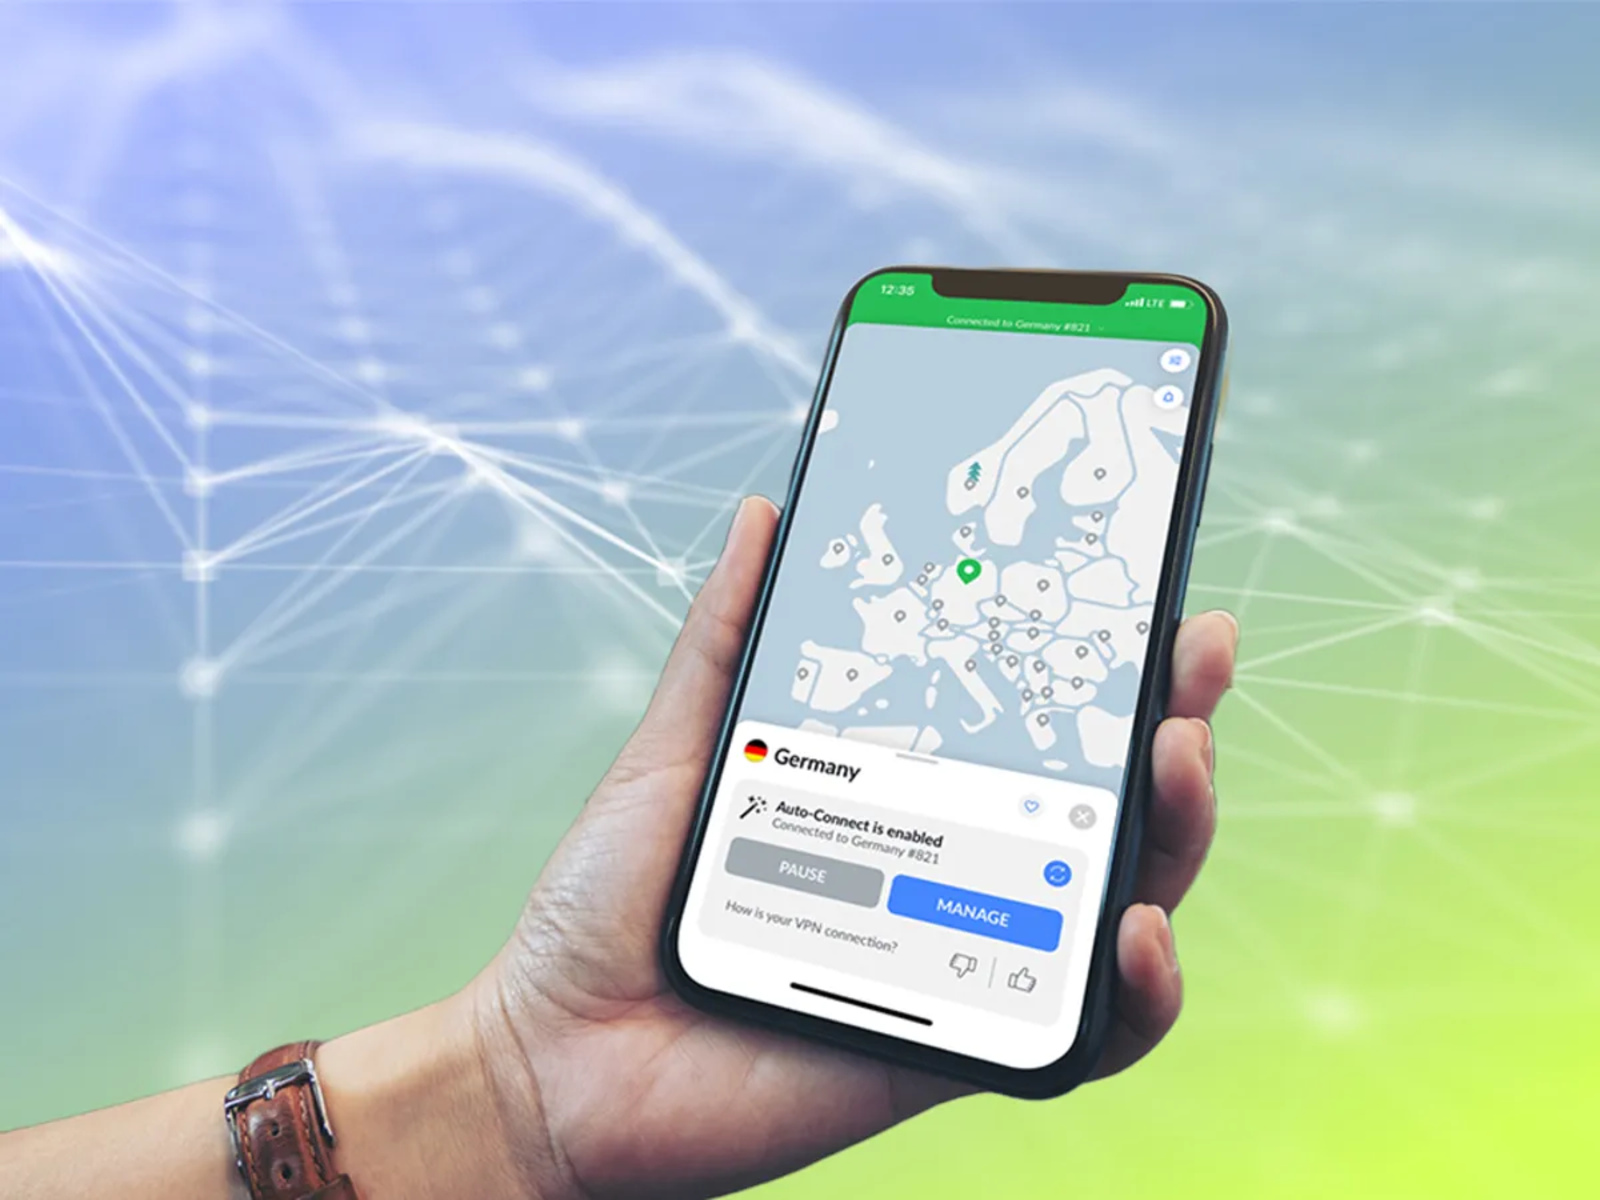
- Select a Server Location: Most VPN apps provide a list of server locations to choose from. Select a server location based on your preferences or the content you want to access.
- Connect to the VPN: Tap on the connect button within the VPN app to establish a connection to the selected server. You may need to grant permission for the VPN to configure your device’s VPN settings.
- Verify the Connection: Once connected, you will see a VPN icon in the status bar of your iPhone. This indicates that you are connected to the VPN and your internet connection is secure.
- Adjust VPN Settings (if desired): Some VPN apps offer additional settings that you can customize, such as a kill switch to automatically disconnect you from the internet if the VPN connection drops, or split tunneling to choose which apps use the VPN connection and which do not.
That’s it! You have successfully set up a VPN on your iPhone. Now, all your internet traffic will be encrypted and routed through the VPN server, ensuring your online privacy and security.
Keep in mind that you need to connect to the VPN each time you want to use it. You can easily disconnect from the VPN by tapping the disconnect button within the VPN app.
In the next section, we will learn how to test your VPN connection to ensure it is working properly.
Testing your VPN connection
Once you have set up a VPN on your iPhone, it’s important to verify that the connection is working correctly. Follow these steps to test your VPN connection:
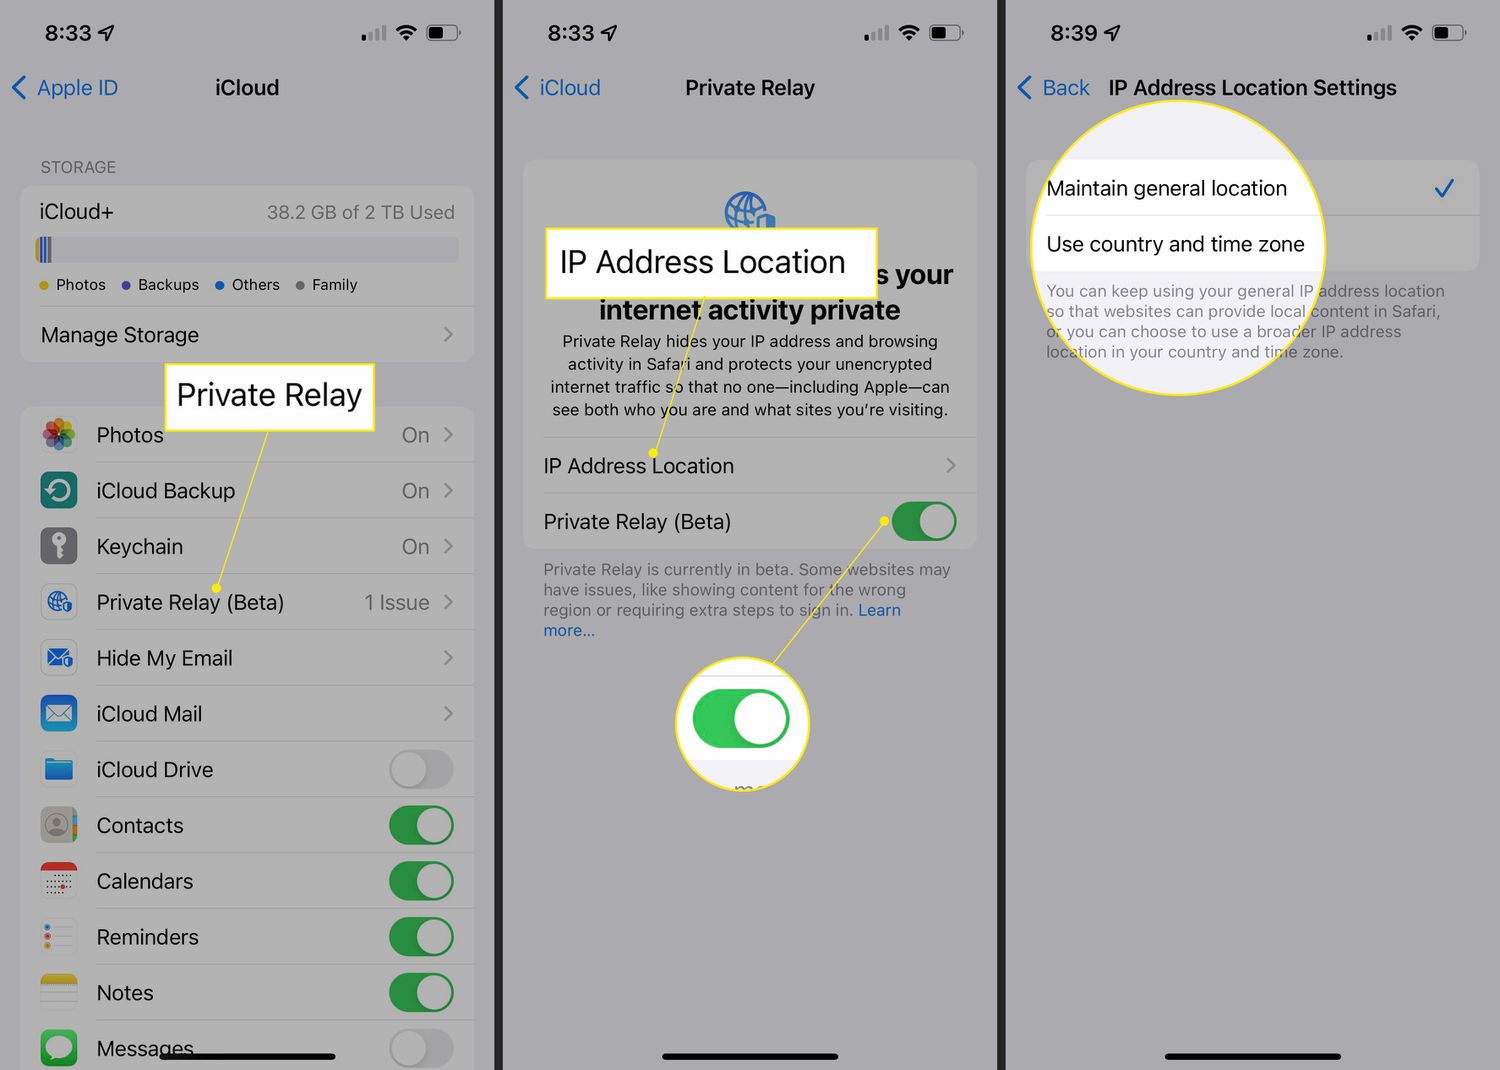
- Verify IP Address and Location: Start by checking your IP address and location before connecting to the VPN. You can do this by conducting an online search for “IP address” or using IP geolocation websites. Note down your original IP address and location.
- Connect to the VPN: Open the VPN app on your iPhone and connect to your preferred server location.
- Check IP Address and Location Again: After connecting to the VPN, repeat the process of checking your IP address and location. If your new IP address and location match the server location you selected, it means that your VPN connection is working correctly.
- Test Website Accessibility: Visit different websites or online services that were previously blocked or inaccessible due to geographical restrictions. If you can access the content without any issues, it confirms that your VPN is successfully bypassing these restrictions.
- Test Connection Speed: Run a speed test on your iPhone while connected to the VPN to determine the impact on your internet connection speed. Compare the results to your normal internet speed when not using a VPN. Keep in mind that VPNs may slightly decrease your connection speed due to the encryption overhead.
By following these steps, you can ensure that your VPN connection is functioning properly and providing the desired benefits, such as privacy, security, and access to restricted content.
If you encounter any issues during the testing process, refer to the troubleshooting section below for common VPN problems and their solutions.
Next, we will discuss some common VPN issues and how to troubleshoot them.
Troubleshooting common VPN issues
While setting up a VPN on your iPhone is typically straightforward, you may encounter some common issues along the way. Here are some troubleshooting steps to help resolve these problems:
1. Connection Issues:
- Ensure that you have a stable internet connection. Try switching to a different Wi-Fi network or using cellular data.
- Restart your iPhone and the VPN app to refresh the connection.
- Check that you have entered the correct login credentials for your VPN account.
2. VPN not Working:
- Make sure you have proper internet access before connecting to the VPN.
- Restart the VPN app and try connecting to a different server location.
- If you are using a third-party VPN app, check if it requires specific settings or configurations.
3. Slow Connection Speed:
- Try connecting to a different server location. Sometimes, specific servers may be experiencing high traffic, resulting in slower speeds.
- If you are using a VPN with configurable encryption settings, try adjusting them to optimize speed.
- Check if other apps or processes on your iPhone are consuming excessive bandwidth, as this can also affect your VPN speed.
4. VPN Disconnections:
- Ensure that your iPhone is not set to automatically disconnect from the VPN when idle. Adjust the settings within the VPN app to prevent disconnections.
- If you are experiencing frequent disconnections, it may be due to your network or ISP. Contact your VPN provider’s support team for assistance.
5. VPN App Compatibility:
- Ensure that your VPN app is up to date. Check the App Store for any available updates.
- If you are using an out-of-date iOS version, update your device’s operating system to ensure compatibility with the VPN app.
If you have tried the above troubleshooting steps and are still experiencing issues, reach out to your VPN provider’s customer support team for further assistance. They will be able to provide specific guidance tailored to your situation.
Now that you have learned how to troubleshoot common VPN issues, you are well-equipped to solve any problems that may arise during the setup or usage of your VPN on your iPhone.
Conclusion
Setting up a VPN on your iPhone is a crucial step towards ensuring your online privacy and security. By encrypting your internet traffic and routing it through remote servers, a VPN provides a secure and anonymous connection, protecting your sensitive data from potential threats.
In this article, we discussed the importance of using a VPN on your iPhone, including protecting your privacy, securing your data on public Wi-Fi networks, bypassing geographical restrictions, and enhancing overall online security. We also provided a step-by-step guide to help you set up a VPN on your iPhone, along with suggestions for testing your VPN connection and troubleshooting common issues.
Remember to choose a reputable VPN provider that offers strong security features, multiple server locations, fast connection speeds, and reliable customer support. Carefully follow the steps outlined in this guide to ensure a successful setup and enjoy the benefits of a VPN on your iPhone.
With a VPN in place, you can browse the internet with peace of mind, knowing that your privacy is protected and your online activities are shielded from prying eyes. Take control of your online security today by setting up a VPN on your iPhone.