Introduction
Deleting a VPN (Virtual Private Network) connection from your iPhone can be necessary for various reasons. Whether you want to remove an outdated or unused VPN, or you simply wish to reconfigure your network settings, the process is relatively straightforward. In this guide, we will walk you through the steps to delete a VPN on your iPhone.
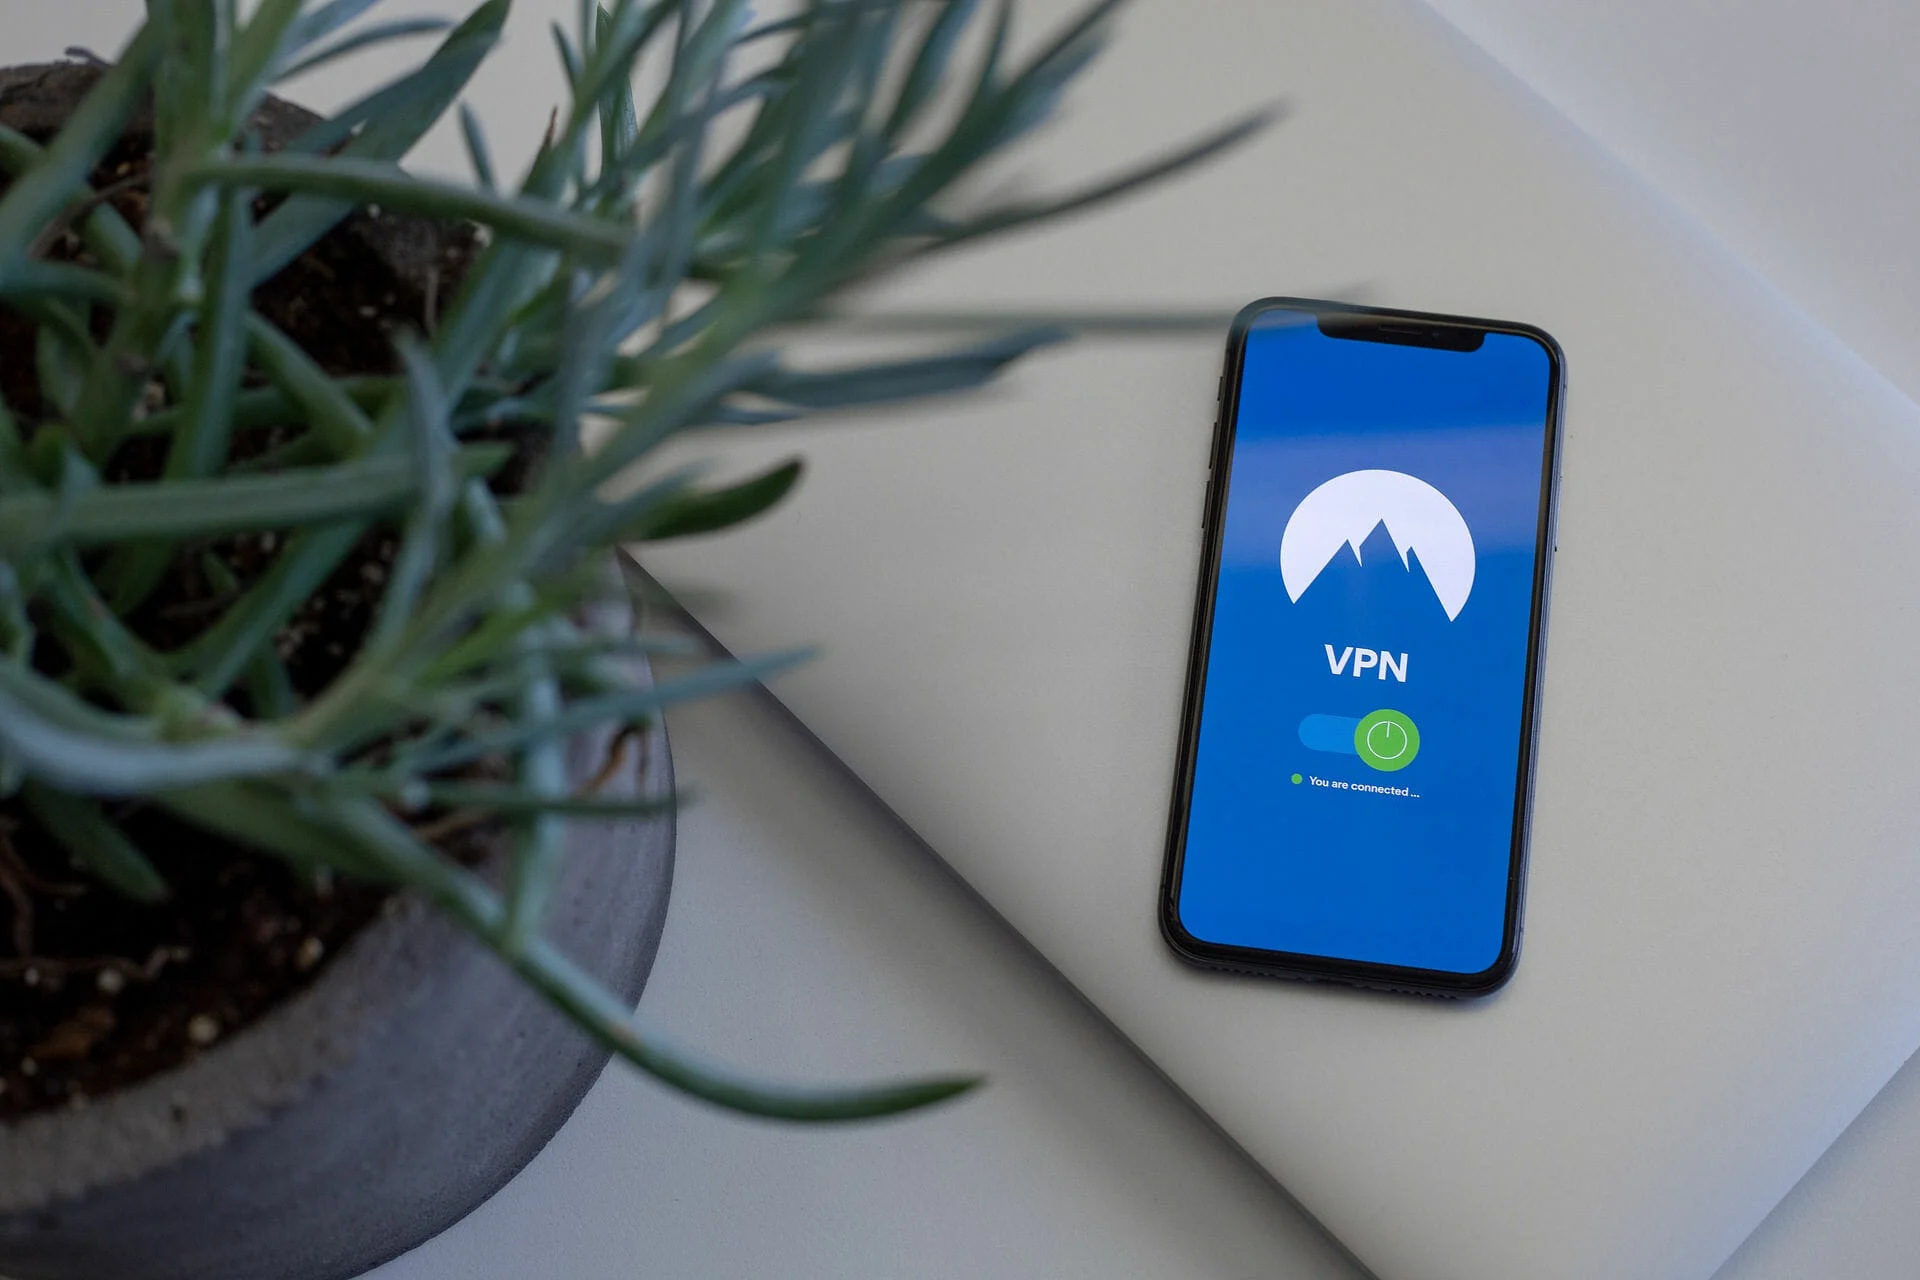
A VPN is a powerful tool that creates a secure and encrypted connection between your device and the internet. It helps protect your privacy and data by anonymizing your online activities and masking your IP address. However, there may be instances where you no longer need a VPN connection or want to switch to a different service.
Deleting a VPN on your iPhone is a quick and simple process. By following the steps outlined below, you can remove the VPN configuration from your device and regain control over your network settings. Whether you’re an experienced iPhone user or a novice, this guide will help you navigate the process with ease.
Before we proceed, it’s important to note that once you delete a VPN on your iPhone, you will no longer have access to the secure connection it provided. Therefore, ensure that you have an alternative arrangement in place, such as another VPN service or a trusted network, before removing the existing VPN configuration.
Now, let’s dive into the step-by-step process of deleting a VPN from your iPhone.
Step 1: Open Settings
The first step in deleting a VPN on your iPhone is to open the Settings app. The Settings app is a central hub where you can access and customize various features and settings on your device.
To start, locate the Settings app on your iPhone’s home screen. It is represented by a gear icon and is usually found on the first page of your apps.
Once you have located the Settings app, tap on it to open it. The app will launch, and you will be taken to the main settings screen.
Alternatively, you can also swipe down on the home screen and use the search bar at the top to search for “Settings”. This will directly take you to the Settings app, making it faster and easier to access.
Opening the Settings app is the first step towards managing and customizing various aspects of your iPhone, including network settings, privacy settings, and more. With this simple step complete, you are now ready to proceed to the next step.
Step 2: Tap on General
Once you have opened the Settings app on your iPhone, the next step is to navigate to the “General” section. The General settings provide access to a wide range of options and preferences that affect various aspects of your device.
To proceed, you will need to scroll down the list of settings until you find the “General” option. It is usually located towards the top of the list, along with other commonly used settings.
Tap on the “General” option to enter the General settings menu. Here, you will find a host of options to customize your device, including display settings, accessibility features, language preferences, and more.
The General settings menu is a central hub for managing important aspects of your iPhone’s functionality. By accessing this menu, you will have the ability to configure various settings and preferences to suit your needs and preferences.
Navigating to the General settings is a crucial step in the process of deleting a VPN on your iPhone. It will allow you to access the necessary settings required to make changes and remove the VPN configuration from your device. Once you have tapped on General and entered the General settings menu, you are now ready to proceed to the next step.
Step 3: Scroll down and select VPN
After you have entered the General settings menu on your iPhone, the next step is to scroll down until you find the “VPN” option. This option is located towards the bottom of the General settings menu and allows you to manage and configure your VPN connections.
To proceed, use your finger to swipe upward on the screen, scrolling through the various settings options. Keep scrolling until you reach the section labeled “VPN”. It is typically located below options such as “Background App Refresh” and “VPN Configuration”.
Once you have located the VPN option, tap on it to enter the VPN settings menu. Here, you will find a list of all the VPN connections that are currently configured on your iPhone.
Selecting the VPN option is an essential step in the process of deleting a VPN on your iPhone. By accessing this menu, you will be able to view and manage your existing VPN connections, allowing you to delete the ones that are no longer needed.
Scrolling down and selecting VPN is a straightforward process, but it is an important step in removing unnecessary VPN configurations from your device. Once you have tapped on VPN and entered the VPN settings menu, you can proceed to the next step of deleting the specific VPN connection.
Step 4: Tap on the VPN connection you want to delete
After entering the VPN settings menu on your iPhone, you will see a list of all the VPN connections that are currently configured on your device. In this step, you need to tap on the specific VPN connection that you want to delete.
Scroll through the list of VPN connections until you find the one that you wish to remove. Each VPN connection will be displayed with its name or description, making it easy for you to identify the one you want to delete.
Once you have located the VPN connection, simply tap on it to select it. This will bring up the detailed settings for that particular VPN connection.
By tapping on the VPN connection, you are indicating to your iPhone that you want to make changes to that specific configuration. This step is crucial as it allows you to access the necessary settings to delete the chosen VPN connection from your device.
It’s important to double-check that you are selecting the correct VPN connection to delete. Take a moment to verify the name or description to ensure that you are removing the intended VPN configuration and not any other important network settings.
Once you have tapped on the VPN connection you want to delete, you are now ready to proceed to the next step, where you will initiate the deletion process.
Step 5: Tap the Delete VPN option
After selecting the specific VPN connection you want to delete, the next step is to tap on the “Delete VPN” option. This action will initiate the process of removing the VPN configuration from your iPhone.
Within the detailed settings of the selected VPN connection, you will find various options related to its configuration. Scroll through the settings until you locate the option labeled “Delete VPN”. This option is typically located towards the bottom of the settings page.
Once you have found the “Delete VPN” option, tap on it to proceed with the deletion process. A confirmation prompt will then appear, asking you to confirm your decision to delete the VPN connection.
When prompted, take a moment to review the details of the VPN connection and ensure that you have selected the correct one for deletion. Confirming the deletion will permanently remove the VPN configuration from your iPhone.
It’s important to note that upon deleting a VPN connection, you will no longer have access to its secure connection and features. If you rely on VPN services for privacy or other purposes, make sure you have an alternative in place before proceeding with the deletion.
By tapping the “Delete VPN” option, you are taking the final step in removing the selected VPN configuration from your iPhone. Once you confirm the deletion, the VPN connection will be permanently erased from your device.
With the deletion process initiated, it’s time to proceed to the final step to complete the removal of the VPN on your iPhone.
Step 6: Confirm the deletion by tapping Delete again when prompted
Once you have tapped on the “Delete VPN” option in the previous step, a confirmation prompt will appear on your iPhone’s screen. In this final step, you need to confirm the deletion by tapping the “Delete” option again when prompted.
The confirmation prompt serves as a safety measure to prevent accidental deletions of VPN configurations. It allows you to double-check your decision before proceeding with the removal process.
When the confirmation prompt appears, take a moment to review the details of the VPN connection that you have selected for deletion. Ensure that it is indeed the VPN configuration you no longer need or wish to remove from your device.
Once you have verified the details, tap on the “Delete” option again to confirm the deletion. Your iPhone will then proceed with removing the selected VPN connection from its settings.
It’s important to note that once the deletion is confirmed, the VPN connection will be permanently removed from your iPhone. Any associated settings, including server addresses, login credentials, and usage preferences, will also be deleted.
By tapping “Delete” again when prompted, you are finalizing the deletion process and ensuring the complete removal of the VPN configuration from your iPhone.
With the final confirmation made, the VPN connection you selected for deletion is now removed from your device. You have successfully deleted a VPN on your iPhone and can now proceed with any further network configuration or adjustments as needed.
Conclusion
Deleting a VPN on your iPhone is a straightforward process that allows you to remove unnecessary or unwanted VPN configurations from your device. By following the step-by-step guide outlined in this article, you can easily delete a VPN and regain control over your network settings.
Remember to ensure that you have an alternative arrangement in place, such as another VPN service or a trusted network, before removing the existing VPN configuration. This will help ensure that you still have a secure and reliable connection after deleting the VPN.
In summary, the steps to delete a VPN on your iPhone are as follows:
- Open the Settings app.
- Tap on General.
- Scroll down and select VPN.
- Tap on the VPN connection you want to delete.
- Tap the Delete VPN option.
- Confirm the deletion by tapping Delete again when prompted.
By following these steps, you can successfully delete a VPN on your iPhone and maintain control over your network connections. Whether you no longer need a VPN or want to switch to a different service, deleting a VPN is a simple process that can be done in just a few minutes.
Remember, VPNs are powerful tools that can provide enhanced security and privacy online. If you ever decide to use a VPN again in the future, you can easily configure and set up a new VPN connection on your iPhone using the same settings menu we accessed in this guide.
Now that you have successfully deleted a VPN on your iPhone, you are ready to make any necessary adjustments to your network settings and continue enjoying a secure and customizable digital experience.