Introduction
Welcome to this comprehensive guide on how to set up VMware Workstation 12. VMware Workstation is a powerful virtualization software that allows you to run multiple operating systems on a single physical machine. Whether you are a software developer, an IT professional, or just an enthusiast looking to experiment with different operating systems, VMware Workstation is an essential tool in your arsenal.
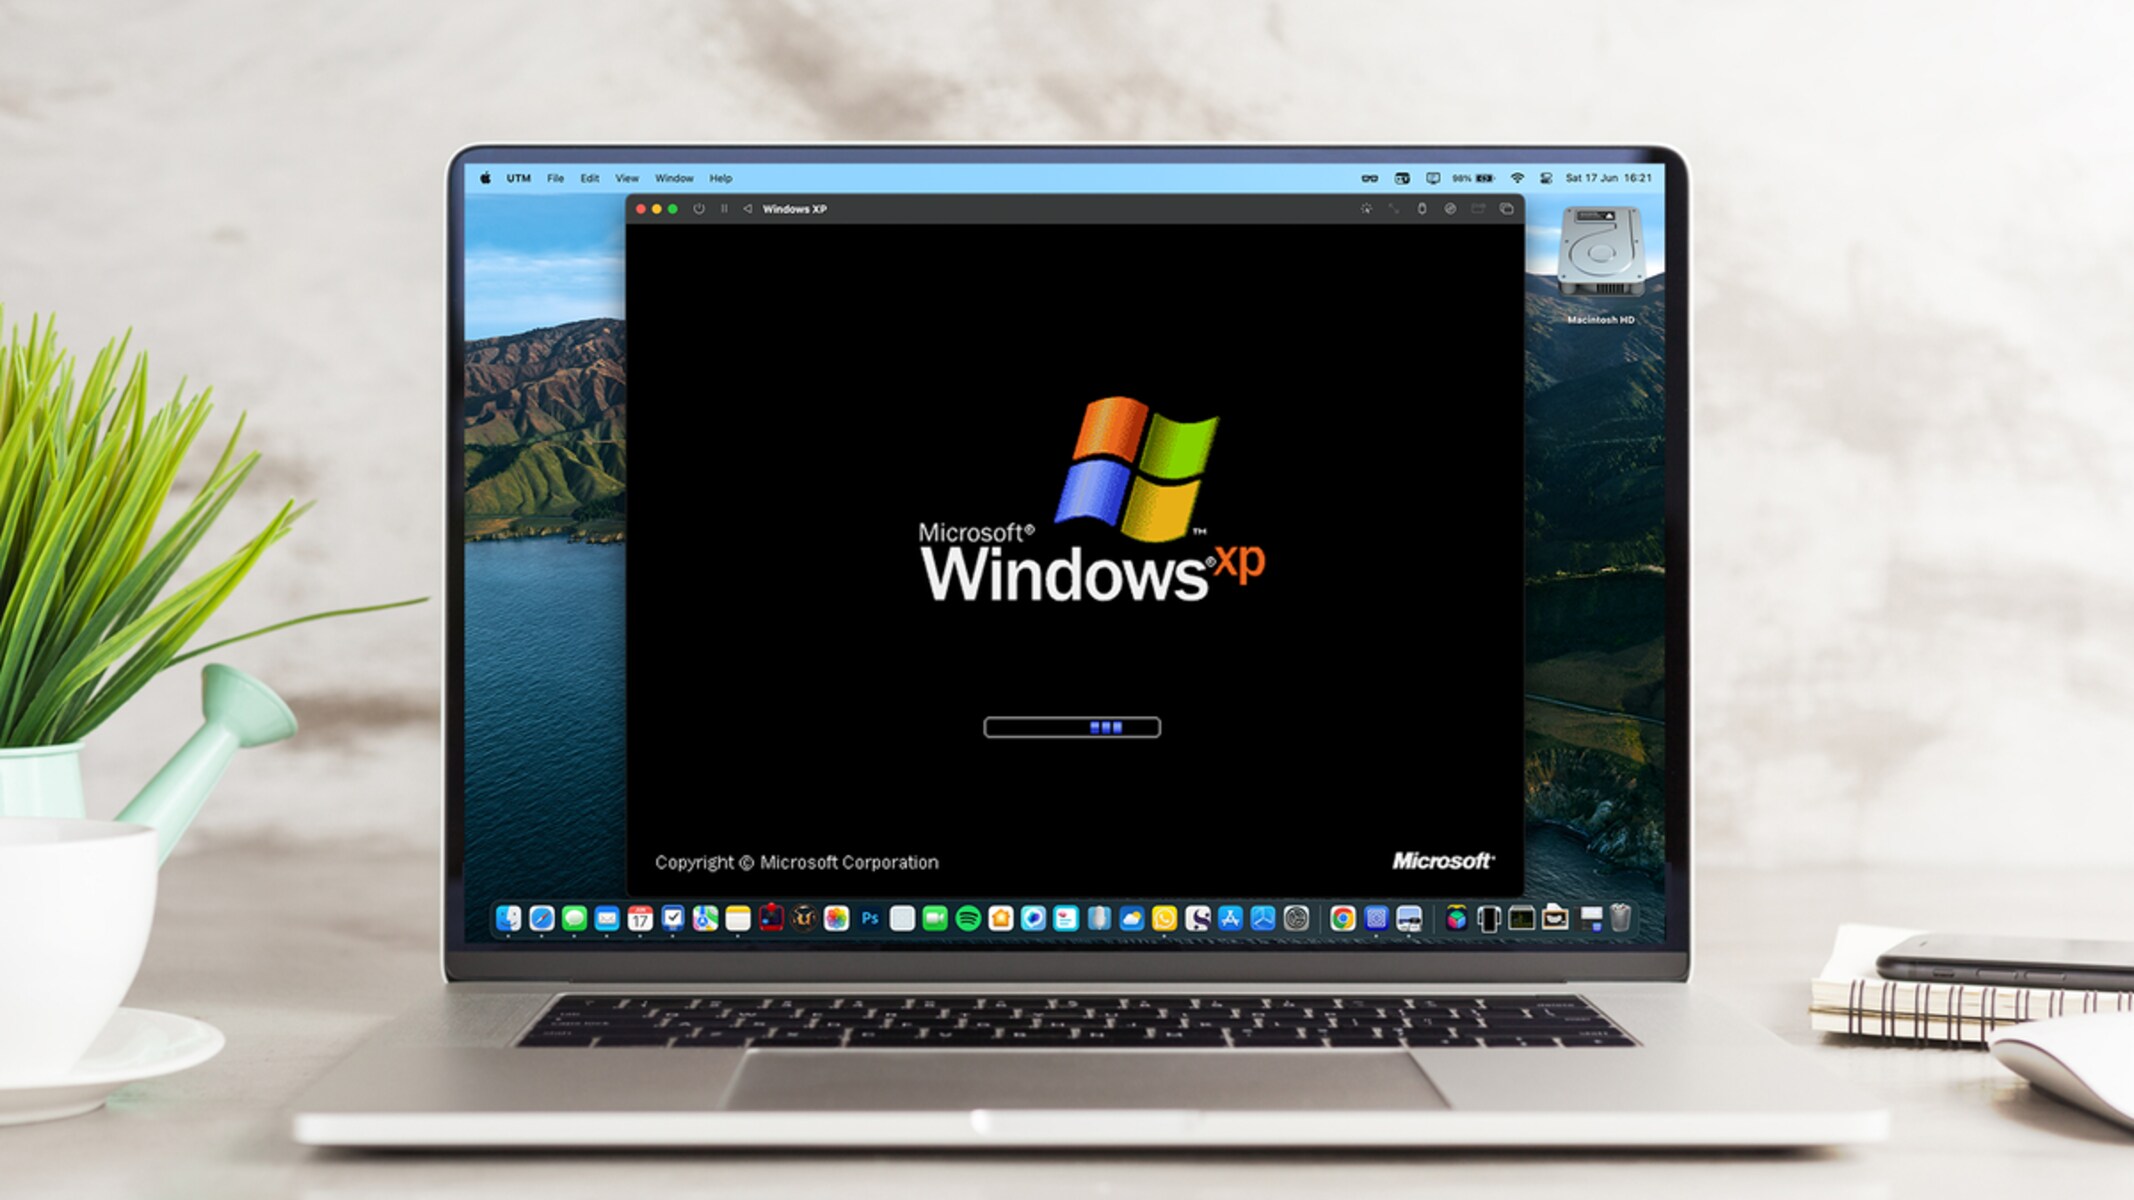
With VMware Workstation, you can create virtual machines that run a wide range of operating systems, including Windows, Linux, and macOS. You can run these virtual machines alongside your host operating system, enabling you to easily switch between different environments without the need for separate hardware.
In this guide, we will walk you through the process of setting up VMware Workstation 12 step by step. We will cover everything from system requirements and downloading the software to configuring virtual machines and troubleshooting common issues. By the end of this guide, you will be equipped with the knowledge and skills to effectively utilize VMware Workstation for your virtualization needs.
Whether you are a beginner or have some experience with virtualization, this guide is designed to be user-friendly and accessible to all levels of expertise. We will provide detailed instructions, accompanied by screenshots, to ensure a smooth and hassle-free setup process.
Before we dive into the setup process, let’s take a moment to familiarize ourselves with the system requirements for VMware Workstation 12. It is important to ensure that your computer meets these requirements to ensure optimal performance and compatibility.
System Requirements
Before installing VMware Workstation 12, it is important to ensure that your computer meets the necessary system requirements. These requirements will ensure that the software operates smoothly and efficiently, providing you with a seamless virtualization experience.
Here are the minimum system requirements for VMware Workstation 12:
- Operating System: Windows 7 or later, Linux (various distributions), or macOS 10.12 or later.
- Processor: Intel Core 2 Duo 64-bit or equivalent CPU with at least 1.3 GHz clock speed.
- Memory: 2 GB RAM or more.
- Storage: At least 5 GB of available disk space for the installation.
- Display: A minimum resolution of 1024×768 pixels.
- Networking: A network adapter supported by the host operating system.
It is worth noting that these are the minimum requirements, and for optimal performance, it is recommended to exceed these specifications if possible. Additional resources such as more RAM and faster processors will enhance the performance of your virtual machines.
If you plan to use VMware Workstation for running resource-intensive applications or multiple virtual machines simultaneously, it is advisable to have a more powerful system configuration.
Additionally, it is important to check if your system supports virtualization technology. Intel-based processors typically support Intel Virtualization Technology (Intel VT-x), while AMD processors support AMD Virtualization (AMD-V). Enabling virtualization in your system’s BIOS settings is recommended to achieve better performance and compatibility.
Now that you are familiar with the system requirements, you can proceed with downloading VMware Workstation 12. In the next section of this guide, we will provide step-by-step instructions on how to download the software from the official VMware website.
Downloading VMware Workstation 12
Now that you are familiar with the system requirements, it’s time to download VMware Workstation 12. Follow these steps to download the software:
- Open a web browser and navigate to the official VMware website, which is https://www.vmware.com/products/workstation-pro.html.
- On the VMware Workstation Pro page, click on the “Download Now” button.
- You will be prompted to sign in with your VMware account. If you already have an account, enter your credentials and click “Sign In.” If you don’t have an account, click on the “Create an Account” link and follow the instructions to create one.
- After signing in, you will be redirected to the download page. Here, you can choose between the Windows or Linux version of VMware Workstation 12, depending on your operating system. Click on the appropriate download button to initiate the download.
- The download will begin, and the VMware Workstation 12 installer package will be saved to your designated download location.
It is advisable to download the latest version of VMware Workstation to ensure that you have access to the latest features, performance enhancements, and security updates.
Once the download is complete, you are ready to proceed with the installation of VMware Workstation 12. In the next section of this guide, we will guide you through the installation process and help you get VMware Workstation up and running on your computer.
Installing VMware Workstation 12
After downloading the VMware Workstation 12 installer, you are ready to install the software on your computer. Follow these steps to install VMware Workstation 12:
- Navigate to the location where the VMware Workstation 12 installer package was saved and double-click on it to start the installation.
- The installer will launch, and you will be presented with the option to choose the installation language. Select your preferred language and click “OK.”
- Read and accept the End User License Agreement (EULA) by selecting the checkbox next to “I accept the terms” and click “Next.”
- On the next screen, you can choose the installation directory where VMware Workstation 12 will be installed. By default, it will be installed in the recommended location. If you want to change the installation directory, click “Browse” and select a different location. Once you’ve made your selection, click “Next.”
- Choose whether you want to enable VMware Workstation 12 to check for product updates during installation. It is recommended to keep this option enabled to ensure that you receive the latest updates and security patches. Click “Next” to proceed.
- Review the installation settings on the summary screen and click “Install” to begin the installation of VMware Workstation 12 on your computer.
- The installation process may take a few minutes. Once the installation is complete, click “Finish” to exit the installer.
Congratulations! You have successfully installed VMware Workstation 12 on your computer. You can now proceed to the next section where we will guide you through the process of configuring VMware Workstation to create a new virtual machine.
Configuring VMware Workstation 12
Now that you have installed VMware Workstation 12, it’s time to configure the software to optimize your virtualization experience. Follow these steps to configure VMware Workstation 12:
- Launch VMware Workstation 12 by double-clicking the desktop shortcut or by searching for it in the Start menu.
- Upon launching VMware Workstation, you will be greeted with the Home tab. From here, you can create a new virtual machine, open an existing virtual machine, or browse the VMware marketplace.
- Before creating a new virtual machine, it is a good idea to review the general settings and preferences. Click on the “Edit” menu and select “Preferences.”
- In the Preferences window, you will find various tabs that allow you to customize different aspects of VMware Workstation. Take some time to explore these options and make any desired changes. For example, you can adjust the default settings for virtual machine configuration, network behavior, and shared folders.
- Once you have customized the preferences to your liking, click “OK” to save the changes.
- Next, click on the “Virtual Machine Settings” icon in the toolbar. This will open the settings for the currently selected virtual machine (if any) or allow you to create a new virtual machine.
- In the Virtual Machine Settings window, you can configure various aspects of the virtual machine, such as hardware settings, network adapters, and storage options. Take your time to adjust these settings according to your requirements.
- Once you have configured the virtual machine settings, click “OK” to save the changes.
By configuring VMware Workstation 12 to your preferences, you can enhance the performance and functionality of your virtual machines. Additionally, familiarizing yourself with the preferences and settings will allow you to make adjustments as needed for different projects and scenarios.
Now that you have completed the configuration, you are ready to create a new virtual machine and install an operating system. In the next section of this guide, we will walk you through the process of creating a new virtual machine using VMware Workstation 12.
Creating a New Virtual Machine
With VMware Workstation 12, you can easily create new virtual machines to run a variety of operating systems. Follow these steps to create a new virtual machine:
- Launch VMware Workstation 12 and click on the “Create a New Virtual Machine” option on the Home tab.
- The New Virtual Machine Wizard will open and guide you through the process of creating a new virtual machine. The first step is to choose the installation method. You can install an operating system from an installer disc or an ISO image, or you can install from a physical computer or a network server. Select the appropriate option and click “Next.”
- Next, select the guest operating system you want to install on the virtual machine. VMware Workstation will automatically detect the operating system if the installer disc or ISO image is inserted or selected. Choose the operating system and version, and click “Next.”
- Specify a name and location for the virtual machine. You can choose the default location or browse to a specific folder. Click “Next” to proceed.
- Specify the disk capacity for the virtual machine. You can choose to allocate a specific amount of disk space now or allow the disk to grow dynamically as needed. Make your selection and click “Next.”
- Review the summary of the virtual machine configuration and make any necessary changes. Click “Finish” to create the new virtual machine.
- Once the virtual machine is created, you can power it on and proceed with the installation of the guest operating system.
- Follow the prompts and instructions provided by the operating system installer to complete the installation process.
Creating a new virtual machine with VMware Workstation 12 is a simple and straightforward process. You can repeat this process to create multiple virtual machines, each running a different operating system or serving a specific purpose.
Now that you have created a new virtual machine, you can proceed with installing an operating system on it. In the next section of this guide, we will guide you through the process of installing an operating system on the virtual machine using VMware Workstation 12.
Installing an Operating System on the Virtual Machine
After creating a new virtual machine using VMware Workstation 12, the next step is to install an operating system on it. Follow these steps to install an operating system on your virtual machine:
- Ensure that the virtual machine is powered off. If it is currently running, shut it down before proceeding.
- Insert the installer disc or select the ISO image of the operating system you want to install. You can do this by clicking on the “CD/DVD” icon in the toolbar and selecting the appropriate option.
- Power on the virtual machine by clicking on the “Power On” button in the toolbar.
- The virtual machine will boot up and start the operating system installation process. Follow the on-screen instructions provided by the operating system installer.
- During the installation process, you may be prompted to configure various settings, such as the language, time zone, and user account details. Provide the necessary information and proceed with the installation.
- Once the installation is complete, the virtual machine will reboot. Follow any additional instructions provided by the operating system to finalize the setup.
- After the virtual machine has restarted, you can log in to the operating system using the credentials you specified during the installation process.
Once the operating system is installed on the virtual machine, you can start using it just like you would on a physical computer. The virtual machine provides a self-contained environment that is isolated from your host operating system, allowing you to run different operating systems and applications simultaneously.
Repeat this process to install different operating systems on other virtual machines created with VMware Workstation 12. You can have multiple virtual machines running different operating systems side by side, providing you with a versatile virtualization environment.
Now that you have installed an operating system on your virtual machine, the next section will cover how to configure various settings for the virtual machine using VMware Workstation 12.
Configuring Virtual Machine Settings
After installing an operating system on a virtual machine using VMware Workstation 12, you may want to configure various settings to optimize its performance and functionality. Follow these steps to configure the settings for your virtual machine:
- Ensure that the virtual machine is powered off. If it is currently running, shut it down before proceeding.
- In VMware Workstation, select the virtual machine you want to configure from the library or the list of running virtual machines.
- Click on the “Edit virtual machine settings” icon in the toolbar or right-click on the virtual machine and select “Settings.”
- The Virtual Machine Settings window will open, displaying a list of configurable options and hardware settings.
- Navigate through the different categories on the left to access specific settings, such as memory, CPU, network adapters, and storage.
- Adjust the settings according to your requirements. For example, you can allocate more memory, increase the number of CPU cores, add or remove virtual hard disks, and configure network adapters.
- Explore the additional settings available, such as display, USB devices, sound, and shared folders. Customize these settings based on your preferences.
- Once you have configured the virtual machine settings, click “OK” to save the changes.
Configuring the virtual machine settings is crucial for ensuring optimal performance and compatibility with the installed operating system. You can allocate resources based on the requirements of the applications and tasks you intend to run on the virtual machine.
Additionally, VMware Workstation provides various advanced options and features, such as snapshot management, virtual machine sharing, and remote access. You can explore these options in the Virtual Machine Settings window to enhance your virtualization experience.
Once you have configured the settings for your virtual machine, you can power it on and start using the installed operating system and applications. Take advantage of the flexibility and versatility of VMware Workstation 12 to run multiple virtual machines simultaneously, each tailored to your specific needs.
In the next section, we will explore the functionality of snapshots and how they can be used to manage and revert changes made to your virtual machine.
Managing Snapshots
Snapshots are a powerful feature in VMware Workstation 12 that allow you to capture the current state of a virtual machine and easily revert back to it if needed. Snapshots can be used to save a particular configuration or freeze the state of a virtual machine, enabling you to experiment with new software or settings without worrying about permanent changes. Here’s how you can manage snapshots using VMware Workstation 12:
- Ensure that the virtual machine is powered off or in a powered-on state that you want to capture as a snapshot.
- In VMware Workstation, select the virtual machine you want to manage snapshots for from the library or the list of running virtual machines.
- Click on “Snapshot” in the toolbar or right-click on the virtual machine and select “Snapshot.”
- The Snapshot Manager window will open, displaying the current state of the virtual machine and any existing snapshots.
- To take a new snapshot, click on the “Take Snapshot” button. Provide a descriptive name for the snapshot to help you identify it later.
- You can repeat this process to create multiple snapshots, capturing different states of the virtual machine.
- To revert back to a specific snapshot, select it in the Snapshot Manager and click on the “Go to” button. The virtual machine will be restored to the state saved in that snapshot.
- You can also delete snapshots if they are no longer needed or if you want to reclaim disk space. Simply select the snapshot in the Snapshot Manager and click on the “Delete” button.
Managing snapshots gives you the flexibility to experiment and make changes to your virtual machine without the fear of permanent consequences. It allows you to easily revert back to a previous configuration if something goes wrong or if you want to revisit a specific state.
However, it is important to note that snapshots consume disk space on your host machine. As you take more snapshots, the amount of disk space used by the virtual machine will increase. It’s a good practice to regularly clean up unnecessary snapshots to optimize disk usage.
Utilize the power of snapshots in VMware Workstation 12 to save time, easily troubleshoot issues, and explore new configurations or software implementations in a risk-free environment.
In the next section, we will discuss how you can share files and folders between your host and virtual machines using VMware Workstation 12.
Sharing Files and Folders
With VMware Workstation 12, you can easily share files and folders between your host operating system and virtual machines. This feature allows for seamless data transfer and collaboration across different environments. Follow these steps to share files and folders:
- Ensure that the virtual machine is powered off.
- In VMware Workstation, select the virtual machine you want to share files and folders with from the library or the list of running virtual machines.
- Click on “Settings” in the toolbar or right-click on the virtual machine and select “Settings.”
- In the Virtual Machine Settings window, click on “Options” and select “Shared Folders.” Click on the “Add” button to configure a shared folder.
- Select the folder on your host operating system that you want to share with the virtual machine. You can choose to make the shared folder read-only or read-write.
- Specify how you want the shared folder to be named within the virtual machine’s file system.
- Click “OK” to save the settings.
- Power on the virtual machine.
- In the guest operating system, you can access the shared folder through the network or by navigating to the specified location. The shared folder will appear as a network drive or a mounted folder, depending on the guest operating system.
- You can now transfer files and folders between your host operating system and virtual machine by simply copying and pasting or dragging and dropping.
Sharing files and folders between your host operating system and virtual machines is a convenient way to collaborate, transfer data, and seamlessly work across different environments. It eliminates the need for external storage devices or complicated network configurations.
It’s important to note that the shared folders feature may require VMware Tools to be installed on the virtual machine. VMware Tools is a set of drivers and utilities that enhance the performance and functionality of virtual machines. If VMware Tools is not installed, you can easily install it using the dedicated installer in VMware Workstation.
Now that you know how to share files and folders, the next section will cover the installation of VMware Tools on your virtual machine.
Installing VMware Tools
VMware Tools is a set of utilities and drivers that enhance the performance and functionality of virtual machines running on VMware Workstation 12. It provides important features such as improved graphics, mouse integration, and file sharing between the host and guest operating systems. Follow these steps to install VMware Tools on your virtual machine:
- Ensure that the virtual machine is powered on and running.
- In the VMware Workstation menu, click on “VM” and select “Install VMware Tools.”
- A virtual CD/DVD drive will be mounted in the virtual machine, containing the VMware Tools installation files.
- In the guest operating system, open the CD/DVD drive and run the VMware Tools installer.
- Follow the on-screen instructions provided by the installer to proceed with the installation.
- During the installation, you may be prompted to choose the installation options. It is recommended to keep the default settings unless you have specific requirements that need customization.
- Once the installation is complete, restart the virtual machine to apply the changes.
After installing VMware Tools, you will experience enhanced performance and improved integration between the host operating system and the guest operating system. Some of the benefits you will enjoy include better screen resolution, seamless mouse movement between host and guest, and the ability to copy and paste files and text from one system to the other.
It is important to keep VMware Tools up to date to ensure compatibility and access to the latest features and improvements. You can check for updates by clicking on “VM” in the VMware Workstation menu and selecting “Update VMware Tools.”
By installing VMware Tools on your virtual machine, you can maximize the capabilities of VMware Workstation 12 and enhance the user experience for both the host and guest operating systems.
In the next section, we will address some common issues that you may encounter while using VMware Workstation 12 and provide troubleshooting tips to resolve them.
Troubleshooting Common Issues
While using VMware Workstation 12, you may encounter some common issues that can affect the performance or functionality of your virtual machines. Here are a few troubleshooting tips to help you resolve these issues:
1. Slow Performance:
If you notice that your virtual machine is running slower than usual, try the following:
- Ensure that your host system meets the recommended system requirements for VMware Workstation 12.
- Allocate additional resources, such as more RAM or CPU cores, to the virtual machine.
- Check for resource-intensive applications running on the host system that may be affecting performance.
2. Network Connection Issues:
If you are facing problems with network connectivity in your virtual machine, consider the following steps:
- Check the network settings of the virtual machine to ensure it is configured correctly.
- Make sure that your host system is connected to the network and has internet connectivity.
- Try restarting the virtual machine and the host system to refresh network connections.
3. Display or Graphics Issues:
If you are encountering display or graphics-related problems in your virtual machine, try the following troubleshooting steps:
- Ensure that you have installed the latest display drivers in your guest operating system.
- Adjust the display settings in the virtual machine to match the resolution and color settings of your host system.
- Check the VMware Tools installation to ensure it is up to date, as it provides improved graphics performance.
4. Snapshot-related Problems:
If you experience issues with snapshots, such as snapshot creation failures or performance degradation, consider these potential solutions:
- Ensure that you have enough free disk space on the host system for the virtual machine and its snapshots.
- Clean up unnecessary snapshots to free up disk space and improve performance.
- Check for any errors or warnings related to snapshots in the VMware Workstation logs and troubleshoot accordingly.
If you encounter any other issues or errors while using VMware Workstation 12, it is recommended to visit the VMware support website for further assistance. They provide detailed knowledge base articles, forums, and community support to help you resolve specific problems.
By utilizing these troubleshooting tips, you can efficiently address common issues and maintain a smooth virtualization experience with VMware Workstation 12.
With this, we have covered the essential aspects of setting up and using VMware Workstation 12. You are now equipped with the knowledge and skills to make the most out of this powerful virtualization software.
Happy virtualizing!
Conclusion
Congratulations! You have reached the end of this comprehensive guide on setting up and using VMware Workstation 12. Throughout this guide, we have explored the system requirements, downloading and installing the software, configuring virtual machines, installing operating systems, managing snapshots, sharing files and folders, installing VMware Tools, and troubleshooting common issues.
VMware Workstation 12 is a powerful tool that allows you to run multiple operating systems on a single physical machine. Whether you are a software developer, an IT professional, or an enthusiast, VMware Workstation provides a versatile and efficient virtualization solution.
By following the steps and tips outlined in this guide, you can confidently set up and configure VMware Workstation 12 to meet your specific needs. The ability to create virtual machines, install operating systems, manage snapshots, and share files and folders will empower you to create isolated environments for development, testing, and experimentation.
Remember to regularly update VMware Workstation 12 and keep your virtual machines and operating systems up to date. This will ensure stability, security, and access to the latest features and performance enhancements.
If you encounter any issues or have specific questions, don’t hesitate to consult the VMware support website or reach out to the community for assistance. The VMware community is active and supportive, offering valuable insights and solutions to common problems.
With VMware Workstation 12, you have the flexibility to explore different operating systems, test software configurations, and securely access legacy applications, all within a convenient virtual environment.
Thank you for choosing VMware Workstation 12 and for utilizing this guide to maximize your virtualization experience. Happy virtualizing!


