Introduction
In today’s technological landscape, virtualization has become increasingly popular for various purposes, including software development, testing, and running multiple operating systems on a single machine. To deliver efficient virtualization solutions, VMware Workstation has emerged as one of the leading platforms used by professionals and enthusiasts alike.
AMD-V (also known as AMD Virtualization) is a feature found in certain AMD processors that enhances virtualization capabilities by allowing virtual machines to access physical hardware directly. By leveraging AMD-V, VMware Workstation 12 users can experience improved performance, reduced overhead, and enhanced compatibility.
This article will guide you through the process of enabling and utilizing AMD-V with VMware Workstation 12. We will provide step-by-step instructions, highlight the essential requirements, and troubleshoot common issues that may arise. Whether you are a software developer, IT professional, or simply an enthusiast, harnessing the power of AMD-V can greatly enhance your virtualization experience and productivity.
Before diving into the details, it is important to note that while this article focuses on AMD-V, VMware Workstation 12 also supports Intel Virtualization Technology (VT-x) for Intel processors. The instructions and concepts discussed here can be applied to both AMD-V and VT-x, depending on your specific hardware configuration.
Now, without further ado, let’s explore the world of AMD-V and VMware Workstation 12, and unleash the full potential of virtualization on your machine.
What is AMD-V?
AMD-V, short for AMD Virtualization, is a technology introduced by AMD that enhances virtualization capabilities on AMD processors. With AMD-V, virtual machines can access physical hardware directly, resulting in improved performance and reduced overhead.
Virtualization is the process of creating virtual versions of computer resources, such as operating systems or applications, and running them on a single physical machine. This allows users to consolidate multiple systems onto a single device, saving costs and increasing efficiency. However, traditional virtualization methods can introduce some performance limitations due to the need for the virtual machine to go through the host operating system before accessing the physical hardware.
AMD-V addresses this limitation by providing hardware-level virtualization capabilities. It allows virtual machines to bypass the host operating system and directly access the physical hardware resources, such as CPU, memory, and I/O devices. This direct access significantly improves the performance and efficiency of virtualization, making it an ideal choice for intensive tasks, such as running resource-demanding applications or simulating complex environments.
Furthermore, AMD-V enhances compatibility by providing support for nested virtualization. Nested virtualization allows running virtual machines within virtual machines, enabling scenarios like creating a virtualized environment for testing or running multiple operating systems simultaneously.
It is important to note that not all AMD processors are equipped with AMD-V technology. You can verify if your processor supports AMD-V by checking the specifications on the AMD website or referring to your computer’s documentation. Additionally, AMD processors with AMD-V support different levels of functionalities, so it is essential to ensure that your processor meets the requirements for enabling AMD-V with VMware Workstation 12.
In the next sections, we will explore the requirements for using AMD-V with VMware Workstation 12, guide you through the process of enabling AMD-V in the BIOS, and demonstrate how to enable AMD-V in VMware Workstation 12. Let’s continue our journey into the world of virtualization and elevate your VMware Workstation 12 experience.
Requirements for using AMD-V with VMware Workstation 12
Before diving into the process of enabling AMD-V in VMware Workstation 12, it is crucial to ensure that your system meets the necessary requirements to leverage this technology effectively. Here are the key requirements for using AMD-V with VMware Workstation 12:
1. AMD Processor with AMD-V Support: To utilize AMD-V, you need a processor that supports this technology. Check the specifications of your AMD processor to verify if it is equipped with AMD-V. Additionally, ensure that the processor meets the minimum requirements for AMD-V functionality with VMware Workstation 12.
2. BIOS Support for AMD-V: The motherboard of your computer must have BIOS support for AMD-V. Enter the BIOS settings during bootup and ensure that AMD-V (or AMD Virtualization) is enabled. If you are unsure how to access the BIOS settings, refer to your computer’s documentation or the manufacturer’s website for instructions specific to your system.
3. Sufficient System Resources: Virtualization can be resource-intensive, and it is important to have adequate system resources to run virtual machines effectively. Ensure that your computer has enough RAM, CPU cores, and storage space to accommodate the virtualized environments you plan to create. Refer to VMware’s official documentation for the recommended system requirements for running VMware Workstation 12.
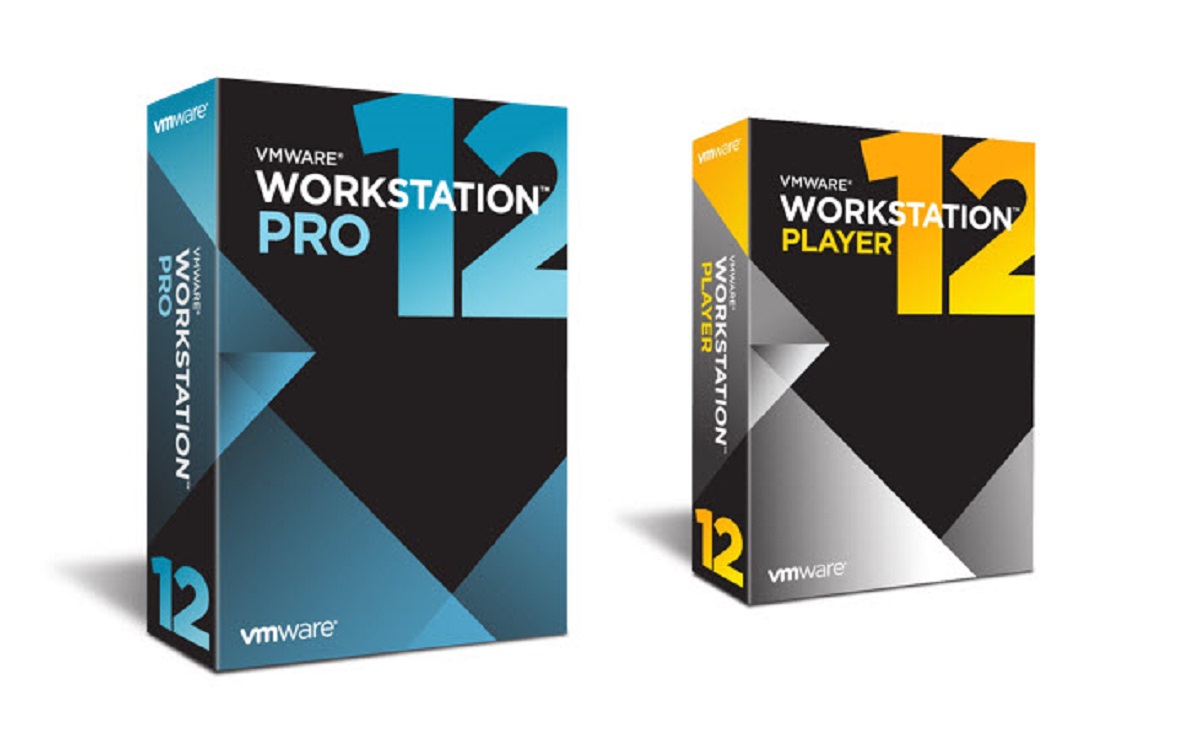
4. VMware Workstation 12: Of course, you need to have VMware Workstation 12 installed on your computer. Make sure you have the latest version of the software to take advantage of the improvements and compatibility enhancements provided by the developers.
By meeting these requirements, you will be well on your way to maximizing the benefits of AMD-V with VMware Workstation 12. In the following sections, we will guide you through the process of enabling AMD-V in the BIOS and VMware Workstation 12. So, let’s continue our journey and unleash the power of virtualization on your AMD-powered system.
Enabling AMD-V in the BIOS
In order to utilize AMD-V with VMware Workstation 12, you need to ensure that AMD-V is enabled in the BIOS settings of your computer. Follow these steps to enable AMD-V in the BIOS:
- Restart your computer and access the BIOS settings. The exact method for accessing the BIOS can vary depending on your computer’s manufacturer. Typically, you can press a specific key (such as F2 or Delete) during the boot process to enter the BIOS. Refer to your computer’s documentation or the manufacturer’s website for specific instructions.
- Once you are in the BIOS settings, navigate to the “Advanced” or “CPU” tab. Look for an option related to virtualization or AMD-V. The name of the option may vary depending on your BIOS version or manufacturer.
- Select the virtualization option and set it to “Enabled”. This activates the AMD-V feature on your processor.
- Save your changes and exit the BIOS settings. Typically, you can press the F10 key to save and exit the BIOS. Confirm the changes when prompted.
After enabling AMD-V in the BIOS, your computer is now ready to utilize this technology for virtualization. However, please note that the steps mentioned above are general guidelines and might differ slightly based on your specific BIOS version and manufacturer. It is always recommended to refer to your computer’s documentation or the manufacturer’s website for detailed instructions.
Next, we will take a look at how to check if AMD-V is enabled on your computer, ensuring that everything is properly set up for using AMD-V with VMware Workstation 12. So, let’s move ahead and validate the functionality of AMD-V on your system.
Checking if AMD-V is enabled on your computer
After enabling AMD-V in the BIOS settings, it is crucial to verify if the feature is successfully enabled on your computer. To check if AMD-V is enabled, follow the steps below:
- Ensure that your computer is powered on and running.
- Open a web browser and search for “AMD-V detection utility” or a similar term. Several free tools are available that can help you determine if AMD-V is enabled on your system.
- Download and run the AMD-V detection utility of your choice. This utility will examine your system and check if AMD-V is activated.
- Once the utility has completed its analysis, it will provide a report indicating whether AMD-V is enabled on your computer. If it confirms that AMD-V is enabled, you can proceed with confidence to the next steps. However, if it reports that AMD-V is not enabled, ensure that you followed the steps to enable it in the BIOS correctly.
Using an AMD-V detection utility simplifies the process of checking if AMD-V is enabled on your computer. It eliminates the need for complicated manual checks and provides a straightforward report to validate the functionality of AMD-V. The utility also helps in troubleshooting if you encounter any issues during the verification process.
If the AMD-V detection utility confirms that AMD-V is enabled on your computer, you are ready to move forward to the next section, which focuses on enabling AMD-V in VMware Workstation 12. However, if the utility reports that AMD-V is not enabled, double-check your BIOS settings and ensure that you have followed the correct procedure to enable AMD-V. If necessary, consult your computer’s documentation or contact the manufacturer for further assistance.
With AMD-V confirmed as enabled on your system, let’s proceed with the next steps to enable AMD-V in VMware Workstation 12 and unlock the full potential of virtualization on your AMD-powered machine.
Enabling AMD-V in VMware Workstation 12
Once you have confirmed that AMD-V is enabled on your computer, the next step is to enable AMD-V in VMware Workstation 12. To do so, follow the steps below:
- Launch VMware Workstation 12 on your computer.
- Click on “Edit” in the menu bar and select “Preferences” from the drop-down menu.
- In the Preferences window, click on “Processor” in the left-hand pane.
- Under the Virtualization Engine section, you will find an option titled “Virtualize Intel VT-x/EPT or AMD-V/RVI”. Check the box next to this option to enable AMD-V.
- Click “OK” to save the changes and close the Preferences window.
Enabling AMD-V in VMware Workstation 12 allows the virtual machines to directly access the hardware virtualization features of your AMD processor. This ensures optimal performance and compatibility when running virtual machines on your computer.
It is worth noting that VMware Workstation 12 also provides additional options related to AMD-V, such as enabling nested virtualization. Nested virtualization allows you to run virtual machines within virtual machines, opening up possibilities for testing, development, and advanced virtualization scenarios. Check the VMware Workstation 12 documentation for more information on utilizing these advanced features.
With AMD-V enabled in VMware Workstation 12, you are now ready to create and run virtual machines that fully leverage the benefits of this technology. The next section will guide you on verifying the functionality of AMD-V in VMware Workstation 12, ensuring that everything is set up correctly.
Let’s move ahead and explore how to verify AMD-V functionality on VMware Workstation 12, solidifying your virtualization setup.
Verifying AMD-V functionality on VMware Workstation 12
Once you have enabled AMD-V in VMware Workstation 12, it is essential to verify that AMD-V functionality is working correctly. To do so, follow the steps below:
- Launch VMware Workstation 12 on your computer.
- Create a new virtual machine or open an existing virtual machine.
- Power on the virtual machine.
- During the boot process of the virtual machine, pay attention to any messages or prompts related to hardware virtualization. If AMD-V is enabled and functioning correctly, you should see a notification indicating that hardware virtualization is supported.
- Once the virtual machine has booted into the operating system, you can further validate AMD-V functionality by checking if the virtual machine is utilizing the hardware virtualization capabilities of your AMD processor. You can do this by accessing the Task Manager or System Information utility in the guest operating system. Look for indicators such as virtualization extensions or virtualization technology enabled.
If you see the appropriate notifications and indicators confirming that hardware virtualization is supported and enabled, it means that AMD-V is functioning correctly with VMware Workstation 12. Congratulations! You can now enjoy the improved performance, reduced overhead, and enhanced compatibility that AMD-V brings to your virtualized environment.
However, if you encounter any issues during the verification process or if the virtual machine does not indicate hardware virtualization support, double-check that you have correctly enabled AMD-V in the BIOS and VMware Workstation 12. Additionally, ensure that your AMD processor is compatible with AMD-V and meets the requirements for VMware Workstation 12.
If you continue to experience difficulties, consider updating your BIOS firmware, installing the latest AMD processor drivers, or seeking assistance from AMD or VMware support resources.
With AMD-V functionality verified, you are now fully equipped to take advantage of the power of virtualization on your AMD-powered machine with VMware Workstation 12. In the following section, we will address common troubleshooting issues that you may encounter while using AMD-V and VMware Workstation 12, ensuring a smooth virtualization experience.
Let’s move forward and tackle potential obstacles that might come your way, making your virtualization journey even more seamless.
Troubleshooting common issues with AMD-V and VMware Workstation 12
While enabling and utilizing AMD-V with VMware Workstation 12 can bring numerous benefits to your virtualization experience, it’s not uncommon to encounter some common issues along the way. Here are a few troubleshooting tips to help you resolve some of these issues:
1. BIOS Settings: Ensure that you have correctly enabled AMD-V in the BIOS settings of your computer. Double-check the settings and refer to your computer’s documentation or the manufacturer’s website for specific instructions tailored to your system.
2. Virtual Machine Compatibility: Verify that the virtual machine you are trying to run is compatible with AMD-V. Some older operating systems or unsupported configurations may not fully utilize AMD-V. Ensure that you are using a compatible guest operating system.
3. Software Updates: Regularly check for software updates for both VMware Workstation and your AMD processor. Installing the latest updates and patches can resolve compatibility issues and provide bug fixes that improve AMD-V functionality.
4. Nested Virtualization: If you are experiencing issues with running virtual machines within virtual machines (nested virtualization), make sure that nested virtualization is enabled in both the BIOS settings and VMware Workstation 12 preferences. Nested virtualization requires explicit support and may not be available on all systems.
5. Processor Compatibility: Verify that your AMD processor meets the requirements for AMD-V and VMware Workstation 12. Consult the documentation and specifications provided by AMD and VMware to ensure compatibility.
6. Hardware Conflicts: Check for any potential conflicts with hardware devices or drivers on your system. Incompatibilities or conflicting software may interfere with the proper functioning of AMD-V. Update drivers and ensure that there are no conflicts within your system.
7. Resource Allocation: Insufficient system resources, such as CPU, memory, or storage space, can impact the performance of virtual machines utilizing AMD-V. Make sure you have allocated enough resources to each virtual machine to ensure smooth operation.
If you have addressed these troubleshooting tips and are still experiencing issues with AMD-V and VMware Workstation 12, it is recommended to consult the official documentation, support forums, or reach out to the support channels provided by AMD or VMware for further assistance.
With these troubleshooting tips in mind, you can confidently navigate through any challenges that arise while leveraging AMD-V with VMware Workstation 12. Now, it’s time to conclude our exploration of leveraging AMD-V for virtualization, and embark on your own virtualization journey with enhanced performance and compatibility.
Conclusion
In conclusion, AMD-V is a valuable technology that enhances virtualization capabilities on AMD processors, allowing virtual machines to directly access physical hardware resources. VMware Workstation 12, one of the leading virtualization platforms, provides support for AMD-V, enabling users to experience improved performance, reduced overhead, and enhanced compatibility.
In this article, we explored the key steps to enable and utilize AMD-V with VMware Workstation 12. We started by understanding what AMD-V is and its benefits in the virtualization landscape. We then discussed the requirements for using AMD-V, including having an AMD processor with AMD-V support, BIOS support, and sufficient system resources.
To enable AMD-V, we provided detailed instructions on accessing the BIOS and enabling the AMD-V feature. We also discussed the importance of verifying if AMD-V is enabled on your computer using detection utilities and explained how to check for hardware virtualization support within virtual machines.
Furthermore, we covered the process of enabling AMD-V in VMware Workstation 12 through the preferences menu, allowing virtual machines to directly leverage the AMD-V technology. We also touched on troubleshooting common issues that may arise during the setup and usage of AMD-V with VMware Workstation 12.
By following the steps outlined in this article and addressing any potential obstacles, you can harness the power of AMD-V and VMware Workstation 12 to enhance your virtualization experience. Whether you are a software developer, IT professional, or enthusiast, AMD-V can offer improved performance, reduced overhead, and enhanced compatibility for your virtualized environments.
Remember to keep your BIOS and software updated, allocate sufficient system resources, and ensure hardware compatibility to make the most of AMD-V. Additionally, consult official documentation and support channels provided by AMD and VMware if you encounter any specific issues or require further assistance.
Now that you have a comprehensive understanding of AMD-V and its integration with VMware Workstation 12, you are ready to embark on your virtualization journey with confidence. Embrace the power of AMD-V and unlock the full potential of virtualization on your AMD-powered machine with VMware Workstation 12.


