Introduction
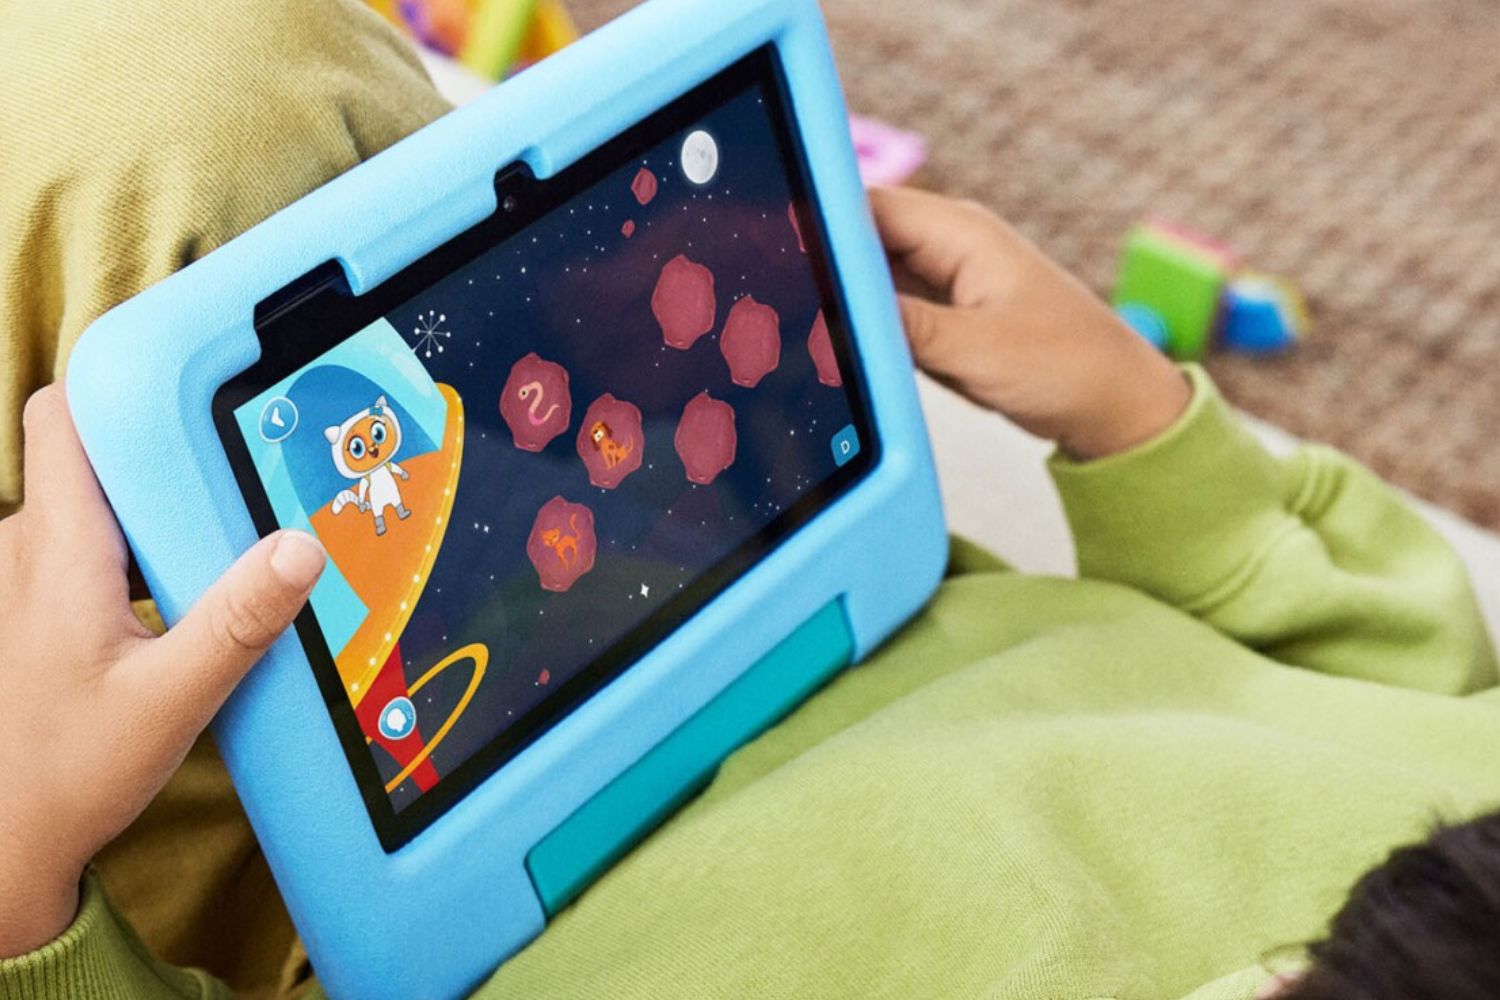
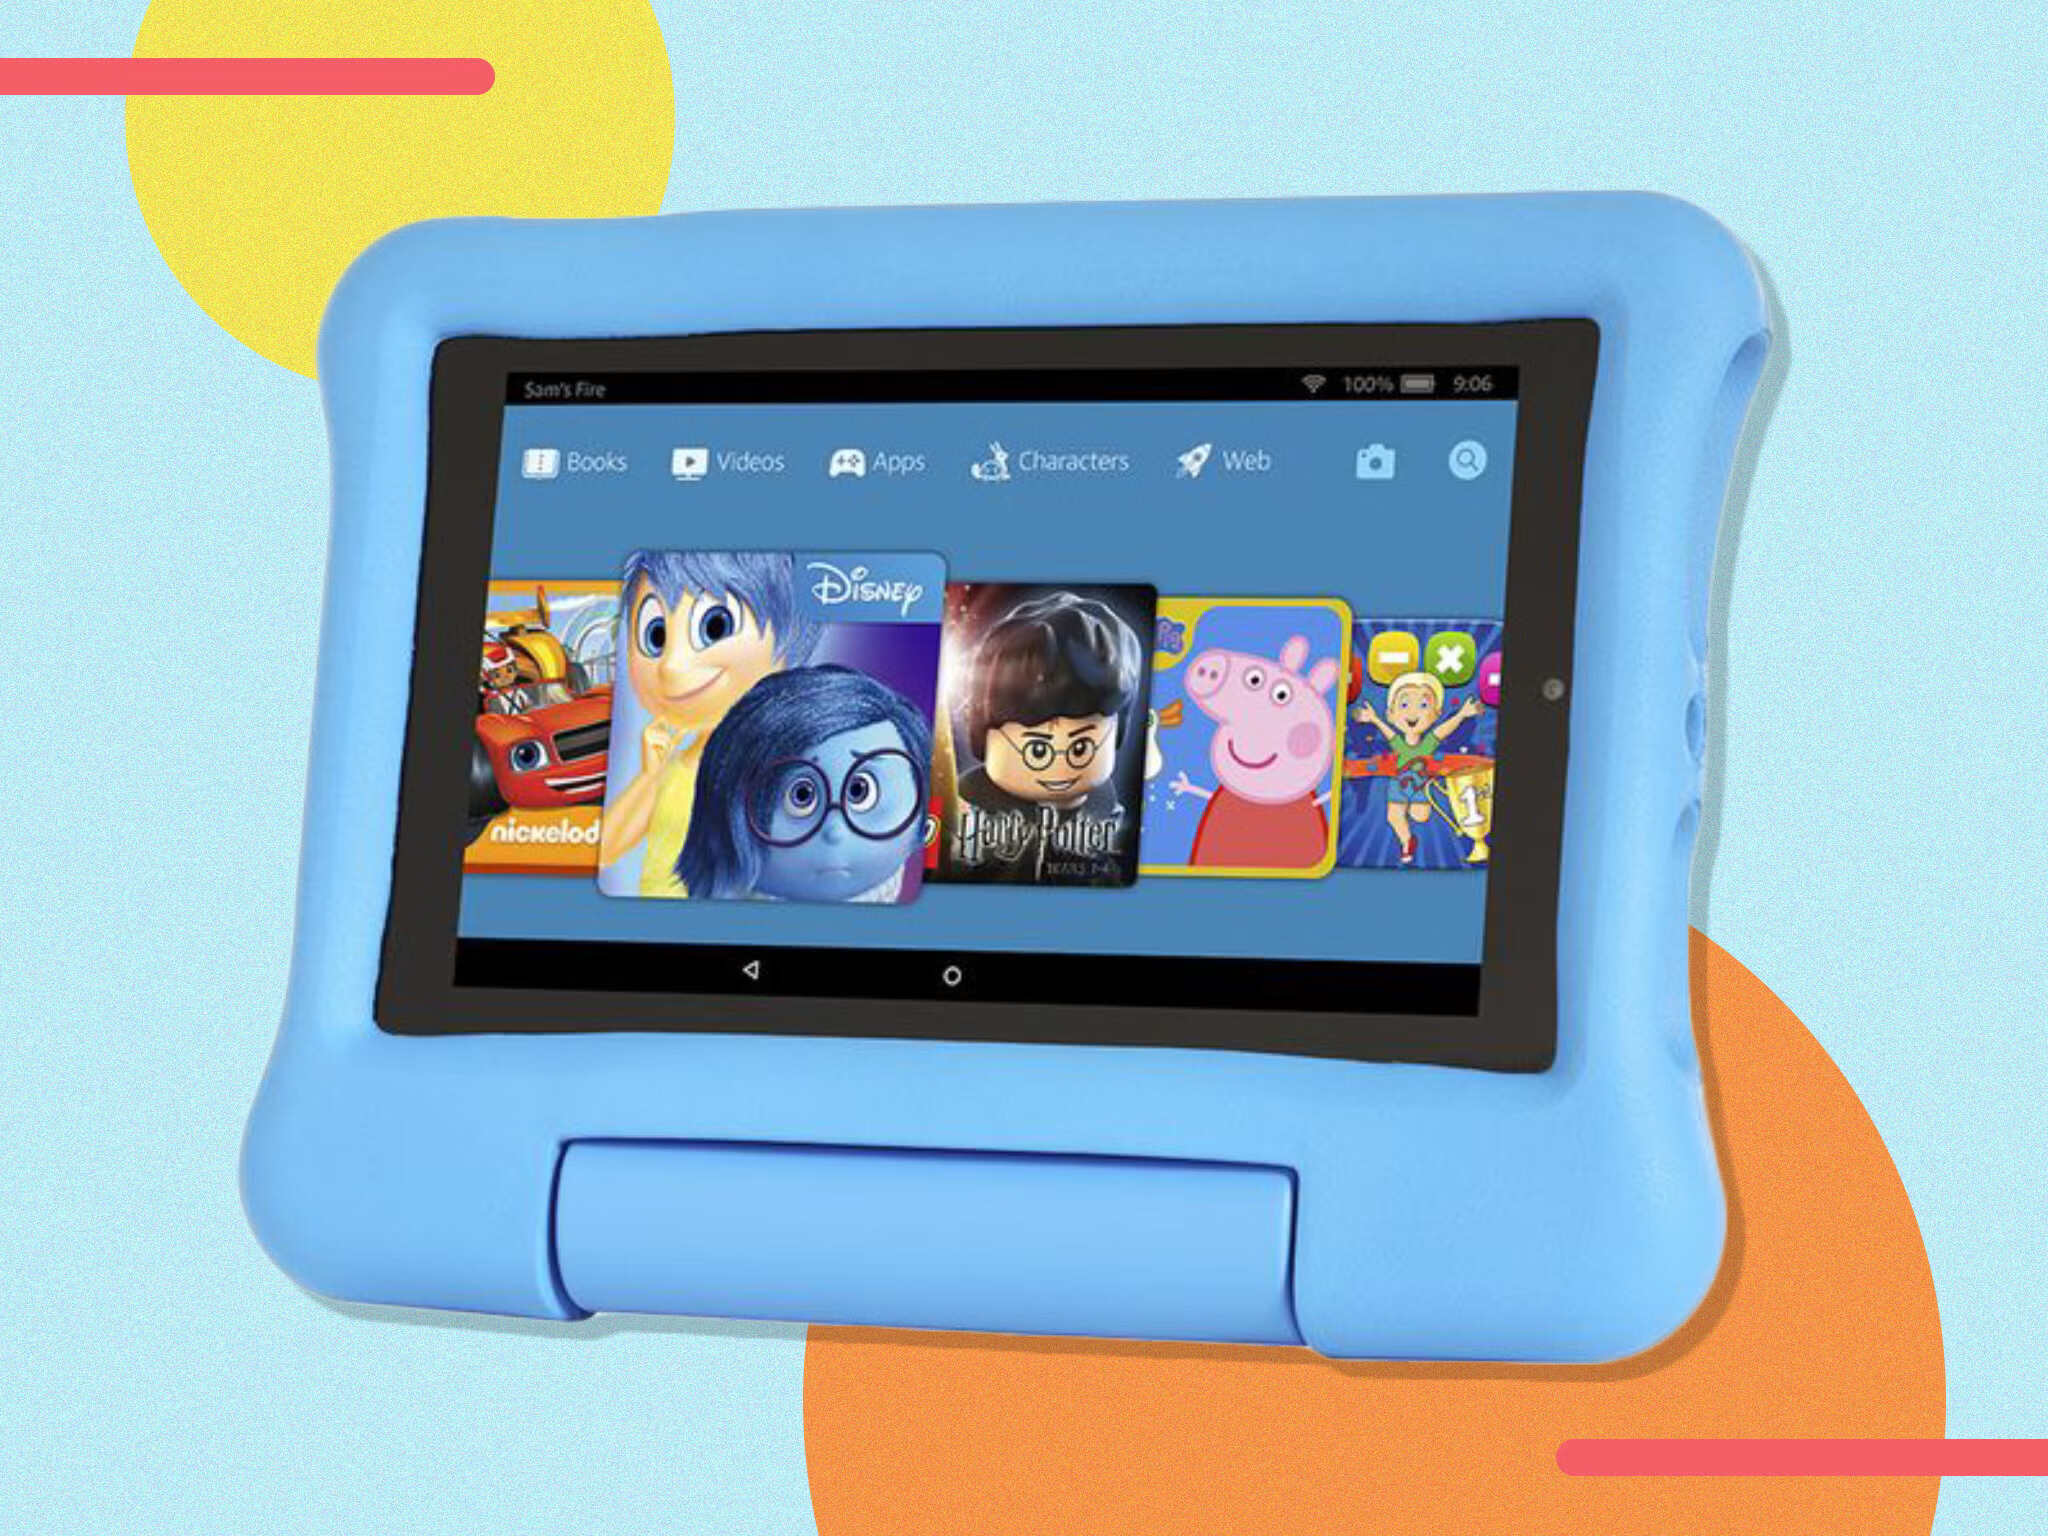
Welcome to the exciting world of technology and learning! Setting up your child’s Amazon Fire tablet is a simple and straightforward process that will provide them with endless hours of educational and entertaining content. The Fire tablet is designed specifically with kids in mind, offering a child-friendly interface and robust parental control features. With a few easy steps, you can customize the tablet to suit your child’s needs and ensure their online safety.
In this article, we will guide you through the process of setting up your child’s Amazon Fire tablet. From unboxing the device to creating kids profiles and adding content, we’ll cover everything you need to know to get started. By the end of this guide, you’ll have a fully functional and child-safe tablet that your little one will love.
Whether you’re a tech-savvy parent or new to the world of tablets, don’t worry! We’ll break down each step in a clear and concise manner, ensuring that you have no trouble following along. So, let’s dive in and get your child’s Amazon Fire tablet up and running!
Step 1: Remove the Fire Tablet from the Packaging
Before we can start setting up the Amazon Fire tablet for your child, the first step is to carefully remove it from the packaging. The tablet is securely packed to ensure it arrives in pristine condition. Follow these simple steps to unbox the device:
- Locate the box containing the Amazon Fire tablet.
- Inspect the box for any signs of damage during transit. If you notice any significant damage, contact Amazon customer support for assistance.
- Open the box by removing any tape or seals on the sides.
- Gently lift the cover, revealing the tablet nestled inside.
- Remove any protective covers or plastic films from the tablet’s screen and back.
- Take a moment to examine the tablet and familiarize yourself with its buttons, ports, and features. The power button is usually located on the top or side of the device, and the charging port is at the bottom.
Once you have successfully removed the Amazon Fire tablet from its packaging and become acquainted with its physical features, you are ready to proceed to the next step.
Step 2: Charge the Tablet
Now that you have unboxed the Amazon Fire tablet, the next step is to ensure that it is charged and ready to use. Here’s how you can charge the tablet:
- Locate the USB charging cable that came with the tablet.
- Connect one end of the cable to the charging port on the tablet.
- Insert the other end of the cable into a power outlet or a USB port on your computer.
- Check if the charging icon appears on the screen. This icon indicates that the tablet is successfully connected to a power source.
- Allow the tablet to charge for a few hours, or until the battery is fully charged. A full charge typically takes around 4 to 6 hours.
- While charging, it’s a good idea to place the tablet on a stable surface away from liquids or excessive heat.
- Once the tablet is fully charged, disconnect the charging cable from the device.
It’s important to fully charge the tablet before proceeding to the next steps to ensure uninterrupted usage. Now that your Amazon Fire tablet is powered up, we can move on to the next step of the setup process.
Step 3: Power On the Tablet
Now that your Amazon Fire tablet is charged, it’s time to power it on and start the setup process. Follow these simple steps to turn on the tablet:
- Locate the power button on the tablet. The location of the power button may vary depending on the specific model of the tablet.
- Press and hold the power button for a few seconds until the Amazon logo appears on the screen.
- Release the power button and wait for the tablet to boot up.
- Once the tablet is powered on, you will be greeted with the lock screen.
- Swipe or enter your PIN or password to unlock the tablet.
After successfully powering on the Amazon Fire tablet and unlocking it, you are ready to proceed with the setup process. Follow the on-screen instructions to customize the tablet settings and connect to a Wi-Fi network. In the next step, we will guide you through the process of setting up a Wi-Fi connection on the tablet.
Step 4: Set Up Wi-Fi Connection
In order to fully utilize the features of your Amazon Fire tablet, you will need to connect it to a Wi-Fi network. This will enable the tablet to access the internet, download content, and provide a seamless browsing experience. Follow these steps to set up a Wi-Fi connection:
- Swipe down from the top of the screen to open the Quick Settings panel.
- Tap on the “Wi-Fi” icon to open the Wi-Fi settings.
- Ensure that the Wi-Fi toggle switch is turned on.
- The tablet will automatically scan and display the available Wi-Fi networks in your vicinity.
- Select your preferred Wi-Fi network from the list by tapping on its name.
- If the network is secure, you may be prompted to enter the network password. Enter the password and tap “Connect”.
- Wait for the tablet to establish a connection to the selected Wi-Fi network. Once connected, the Wi-Fi icon on the status bar will display a signal strength indicator.
Congratulations! You have successfully set up a Wi-Fi connection on your Amazon Fire tablet. The tablet is now connected to the internet and ready for further customization. In the next step, we will guide you through the process of creating or signing in to your Amazon account.
Step 5: Create or Sign In to Amazon Account
In order to fully utilize the features and benefits of your Amazon Fire tablet, you will need to create or sign in to an Amazon account. This will allow you to access the vast library of apps, books, movies, and other content available through Amazon’s ecosystem. Follow the steps below to create or sign in to your Amazon account:
- If you already have an Amazon account, skip to step 3. Otherwise, open a web browser on another device (such as your smartphone or computer) and navigate to the Amazon website.
- Click on the “Sign In” button at the top right corner of the page.
- On your Amazon Fire tablet, go to the home screen and tap on the “Settings” icon.
- Scroll down and select “My Account” or “Accounts & Profiles”.
- Tap on “Register” or “Sign In”.
- If you already have an Amazon account, enter your email address and password, then tap “Sign In”.
- If you don’t have an Amazon account, tap on “Create an account” and follow the on-screen instructions to set up a new account.
- Once you have successfully signed in or created a new account, your Amazon Fire tablet will be linked to your Amazon account.
With your Amazon account linked to the tablet, you can now enjoy a personalized experience and access exclusive content. In the next step, we will show you how to set up parental controls to ensure a safe browsing experience for your child.
Step 6: Set Up Parental Controls
Ensuring a safe and age-appropriate browsing experience for your child is crucial when setting up their Amazon Fire tablet. Parental controls allow you to restrict access to certain content, set time limits, and protect your child from inappropriate online activities. Follow these steps to set up parental controls:
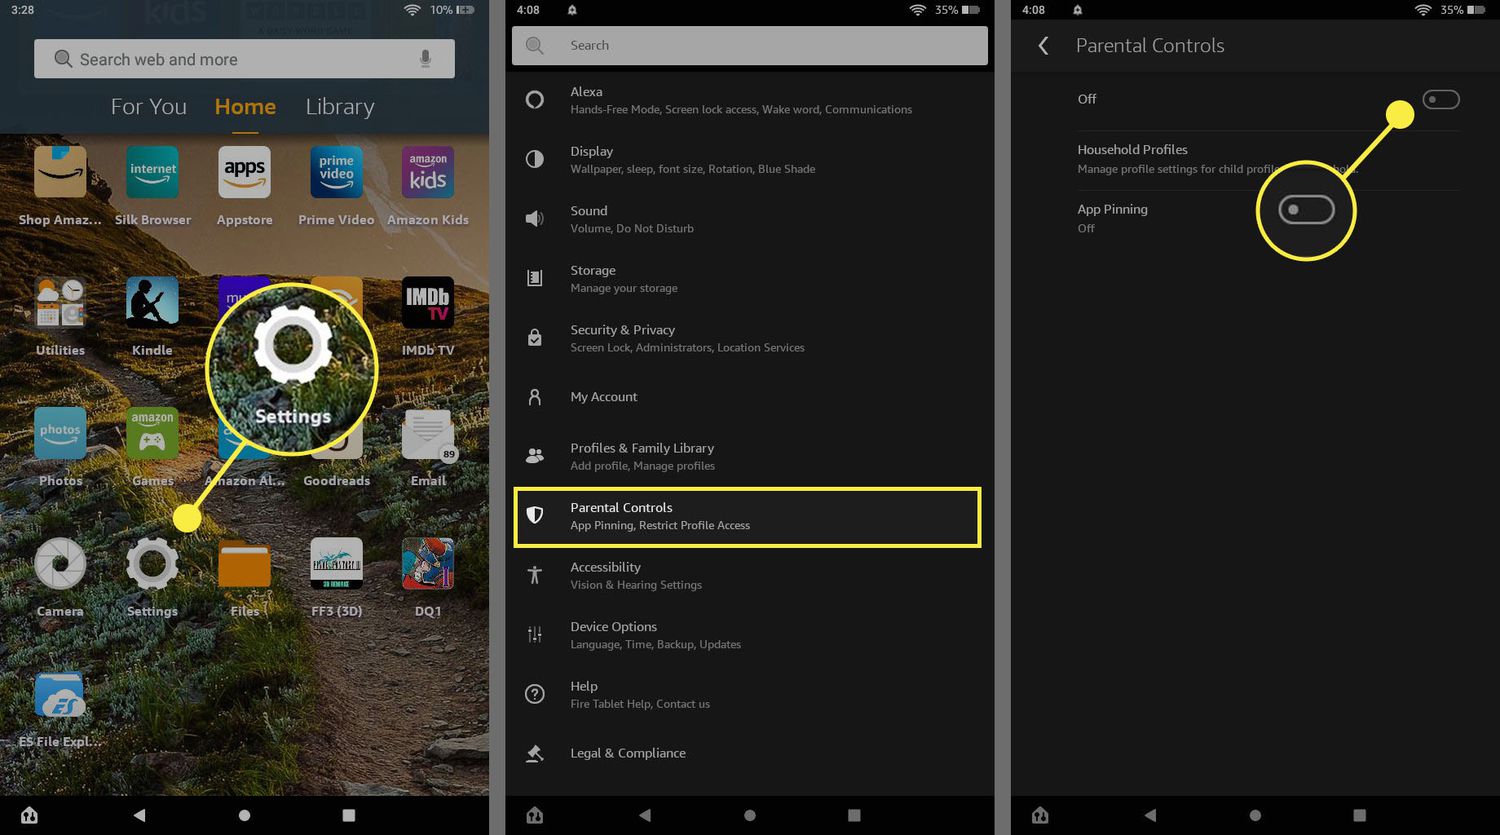
- On the home screen of your Amazon Fire tablet, go to the “Settings” menu.
- Scroll down and select “Parental Controls” or “Child Profiles”.
- If you haven’t set up a child profile yet, the on-screen instructions will guide you through the setup process. Follow the prompts and enter your child’s name and birthdate.
- Create a PIN or password that will be used to manage and access the parental control settings.
- Customize the parental control settings based on your preferences. You can choose to restrict access to certain types of content, set time limits, and manage app usage.
- Explore the various options available, such as blocking specific apps, websites, or content categories.
- Enable features like the web browser and camera based on your child’s age and your comfort level.
- Once you have set up the parental controls to your liking, make sure to save your settings.
By setting up parental controls, you can ensure that your child has a safe and secure online experience on their Amazon Fire tablet. In the next step, we will guide you through customizing the tablet’s settings to meet your child’s needs.
Step 7: Customize the Tablet Settings
Customizing the settings of your child’s Amazon Fire tablet allows you to tailor the device to their specific needs. From display preferences to accessibility options, you have the flexibility to make adjustments that enhance their overall user experience. Follow these steps to customize the tablet settings:
- On the home screen of the tablet, go to the “Settings” menu.
- Scroll through the available options to explore the various settings categories.
- Tap on each category to access more specific settings.
- Adjust the display settings, such as brightness and color temperature, to ensure optimal visibility and comfort for your child.
- Explore the “Sound & Notification” settings to customize volume levels, notification sounds, and other audio preferences.
- Take a look at the “Accessibility” settings to enable features that cater to your child’s specific needs, such as magnification, color inversion, or closed captioning.
- Review the “Security & Privacy” settings to ensure that your child’s personal information is protected and that the device is secure.
- Make any additional customization based on your child’s preferences and your own preferences for their device usage.
- Remember to save your settings once you have made all the desired adjustments.
By customizing the tablet settings, you can create a personalized and user-friendly experience for your child on their Amazon Fire tablet. In the next step, we will guide you through the process of downloading apps and content for your child to enjoy.
Step 8: Download Apps and Content
One of the most exciting features of the Amazon Fire tablet is the ability to download a wide range of apps, books, movies, and games. This allows your child to explore their interests and engage in educational and entertaining activities. Follow these steps to download apps and content onto the tablet:
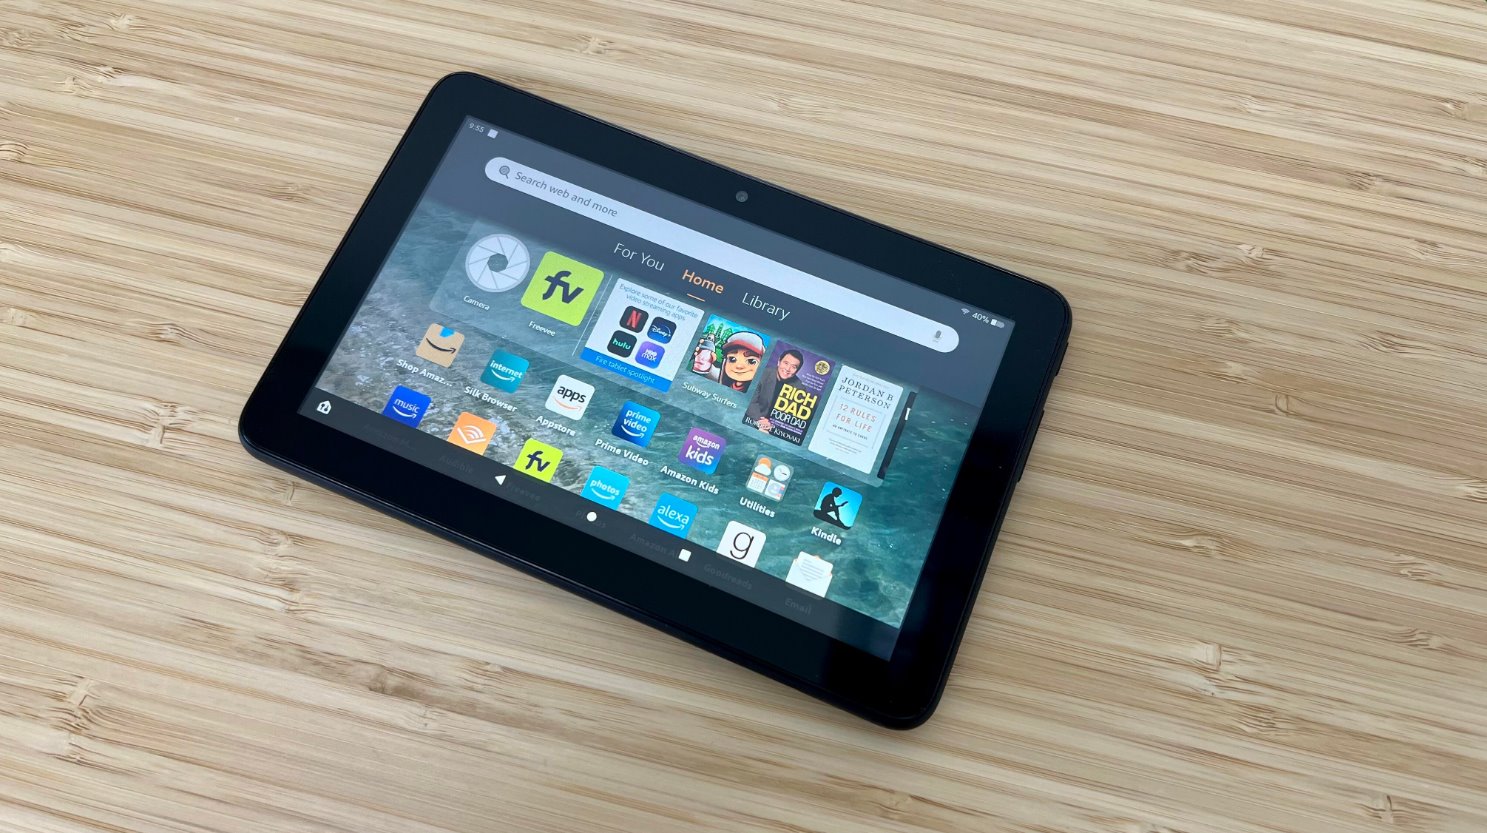
- On the home screen of the tablet, tap on the “Apps” or “Appstore” icon.
- Browse through the available categories or search for specific apps using the search bar.
- Select the desired app or content by tapping on its icon or name.
- Tap on the “Download” or “Get” button to initiate the download process.
- Depending on the size of the app or content, it may take a few moments or longer to download. The download progress will be displayed on the screen.
- Once the download is complete, you can find the app or content on the home screen or in the designated app library.
- Repeat these steps to download additional apps and content as desired.
It’s important to note that some apps or content may require a purchase or subscription. Make sure to read the descriptions and reviews before downloading to ensure it is appropriate for your child and aligns with your preferences. With the ability to download a variety of apps and content, your child can enjoy a rich and engaging experience on their Amazon Fire tablet. In the next step, we will guide you through the process of setting up kids’ profiles on the tablet.
Step 9: Set Up Kids Profiles
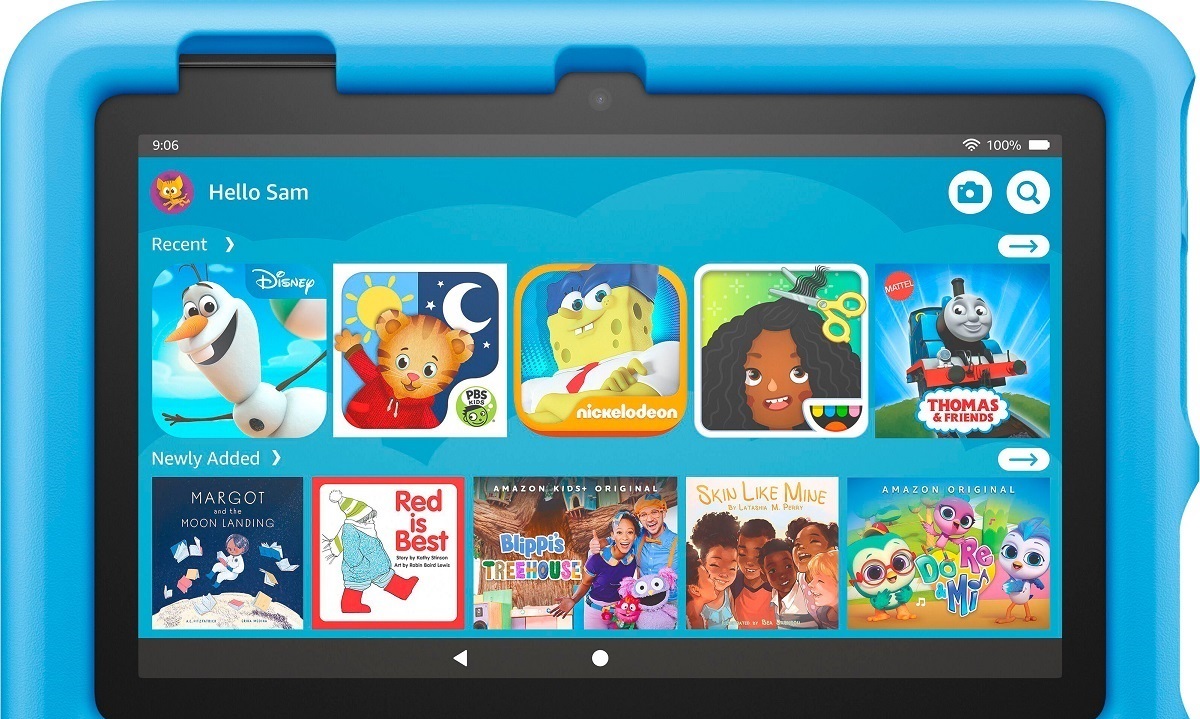
Setting up kids’ profiles on the Amazon Fire tablet ensures that your child has a personalized and safe experience tailored to their age and interests. Kids profiles provide a child-friendly interface and restrict access to content that may not be suitable for their age group. Follow these steps to set up kids’ profiles:
- On the home screen of the tablet, go to the “Settings” menu.
- Scroll down and select “Parental Controls” or “Child Profiles”.
- Tap on “Add a Child” or “Create Child Profile”.
- Enter your child’s name and birthdate.
- Choose an age range that corresponds to your child’s age, or customize the settings manually based on your preferences.
- Select a profile picture or icon for your child’s profile.
- Set a PIN or password for the kids’ profile to ensure that only you can access and manage it.
- Review and adjust the parental control settings specific to the kids’ profile, such as content restrictions, time limits, and educational goals.
- Once you have completed the setup, tap “Done” or “Save” to create the kids’ profile.
By setting up kids’ profiles, you provide a safe and age-appropriate environment for your child to explore and enjoy their Amazon Fire tablet. In the next step, we will guide you through adding content to the kids’ profiles.
Step 10: Add Content to Kids Profiles
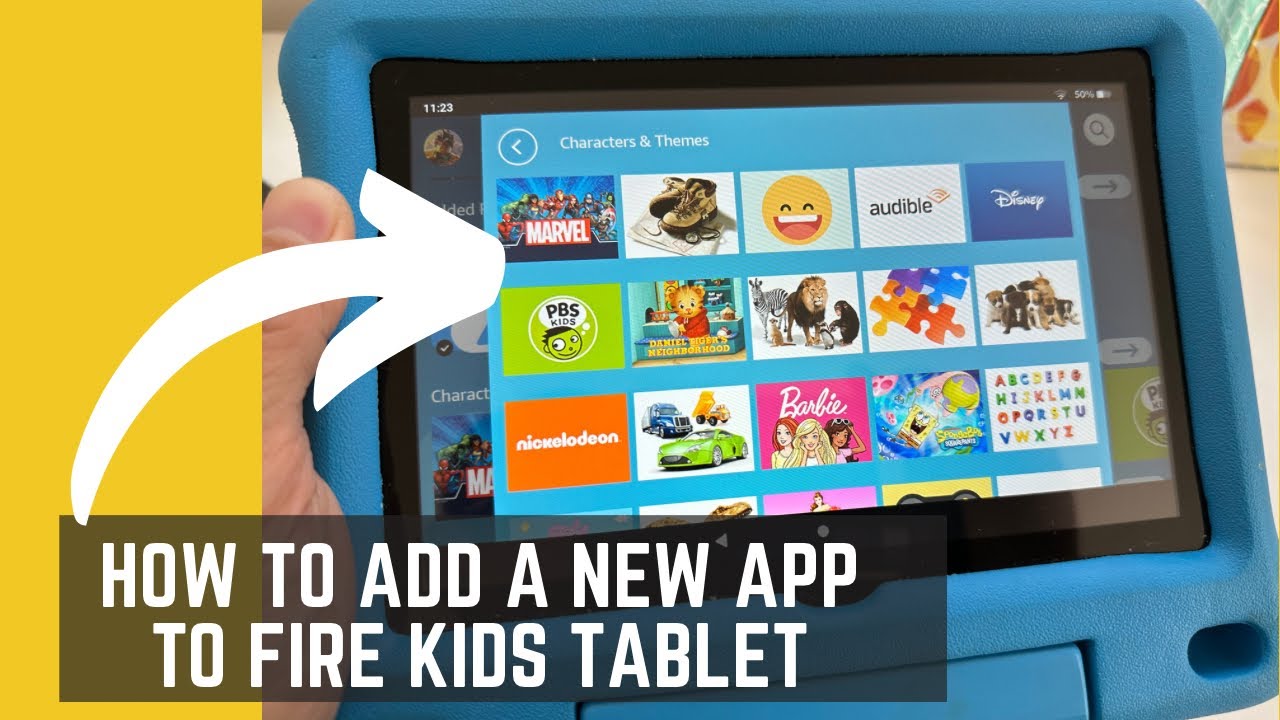
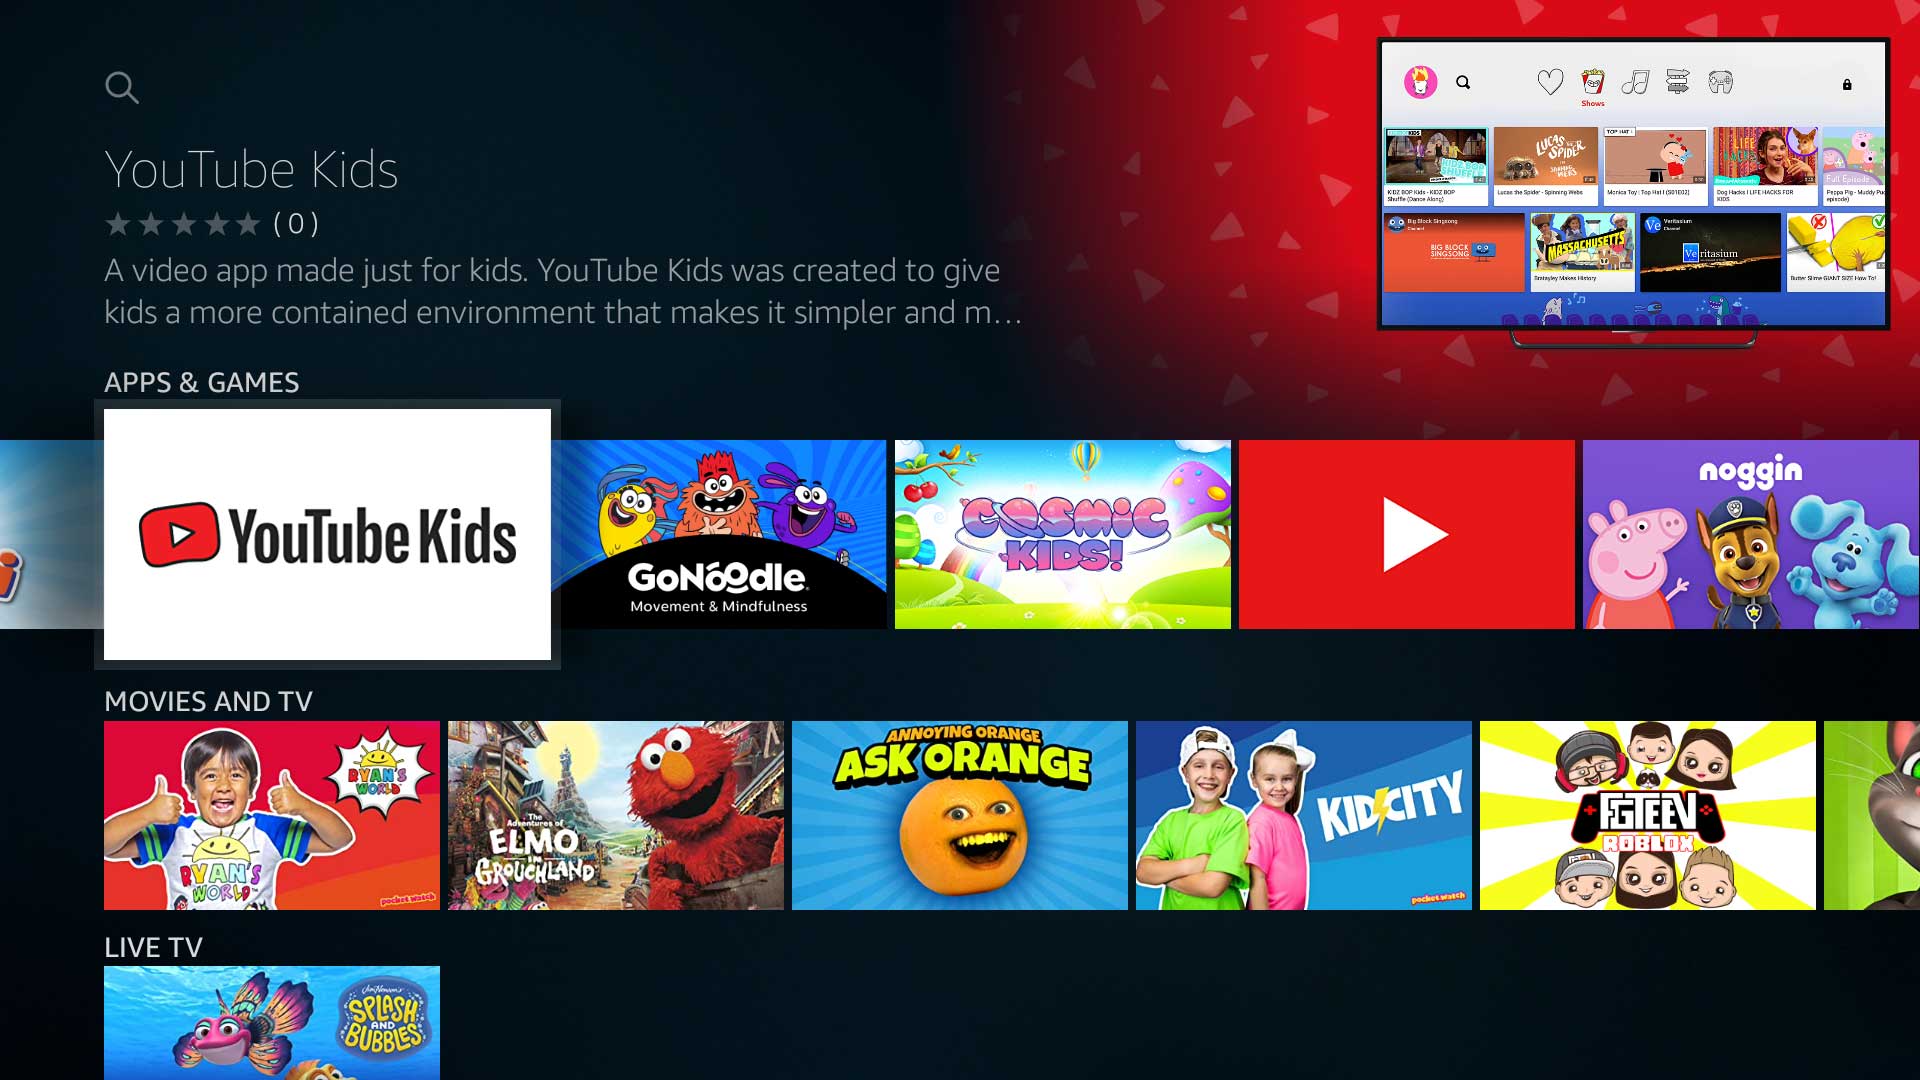
Adding content to your child’s Amazon Fire tablet is an exciting way to personalize their experience and provide educational and entertaining options. You can easily add apps, books, videos, and more to their kids’ profiles. Follow these steps to add content to the kids’ profiles:
- On the home screen of the tablet, switch to the kids’ profile by tapping on the profile icon or selecting the kids’ profile from the drop-down menu.
- Open the Kids Store or Amazon Appstore specific to the kids’ profile.
- Browse through the available categories or search for specific apps, books, or videos using the search bar.
- Select the desired content by tapping on its icon or name.
- Tap on the “Download” or “Get” button to add the content to the kids’ profile.
- Wait for the download to complete. The downloaded content will be accessible within the kids’ profile.
- Repeat these steps to add additional apps, books, or videos to the kids’ profile.
Be sure to review the content before adding it to the kids’ profile to ensure it aligns with your preferences and is appropriate for your child’s age. Adding a variety of educational and entertaining content will enhance your child’s experience and keep them engaged while using the Amazon Fire tablet. In the next step, we will discuss some important safety measures and recommendations for your child’s tablet usage.
Step 11: Review Safety Measures and Recommendations
Ensuring the safety of your child while using their Amazon Fire tablet is of utmost importance. By reviewing and implementing safety measures and recommendations, you can help create a secure and enjoyable digital environment for your child. Consider the following measures:
- Discuss internet safety with your child: Teach your child about the importance of responsible online behavior, such as not sharing personal information, interacting with strangers, or clicking on suspicious links.
- Regularly monitor their internet usage: Keep an eye on the websites, apps, and content your child accesses. Encourage open communication and discussion about their online experiences.
- Set time limits: Establish specific time limits for tablet usage to ensure a healthy balance between screen time and other activities.
- Encourage parental involvement: Engage with your child while they are using the tablet. Play educational games together, read e-books together, and discuss the content they are consuming.
- Keep the tablet in a shared space: Avoid allowing your child to use the tablet in their bedroom or other secluded areas. Keeping it in a shared space allows for increased supervision.
- Regularly update software and apps: Enable automatic updates on the tablet to ensure that the device and the installed apps have the latest security features and bug fixes.
- Use filtering and monitoring tools: Utilize the built-in parental control features, filtering tools, and monitoring apps to further enhance the safety of your child’s tablet usage.
- Discuss appropriate content: Have conversations with your child about what type of content is appropriate for them to access and consume.
- Address cyberbullying and online harassment: Educate your child about the potential risks of cyberbullying and online harassment and encourage them to speak up if they experience or witness such behavior.
- Regularly assess and update settings: Periodically review and update the parental control settings and content restrictions to ensure they align with your child’s age and maturity level.
By implementing these safety measures and recommendations, you can help create a secure and positive digital experience for your child while using their Amazon Fire tablet. Remember, active parental involvement and communication are key to maintaining a safe and healthy online environment.
Step 12: Common Troubleshooting Tips
While the Amazon Fire tablet is a reliable device, you may encounter some common issues during its usage. It’s helpful to be aware of these troubleshooting tips to resolve any potential issues quickly. Consider the following tips:
- Restart the tablet: Sometimes, a simple restart can fix minor software glitches. Press and hold the power button until the option to restart appears, then tap on “Restart”.
- Check the internet connection: If you’re experiencing connectivity issues, ensure that the Wi-Fi connection is stable and that the correct network credentials are entered. If necessary, try connecting to a different Wi-Fi network.
- Clear cache and data: If a specific app is acting up, clearing its cache and data can help. Go to “Settings”, then “Apps & Notifications”. Select the problematic app, tap on “Storage”, and click on “Clear cache” or “Clear data”. Keep in mind that clearing data will remove the app’s settings and user data.
- Update software and apps: Make sure your tablet’s software and installed apps are up to date. Go to “Settings”, then “Device Options” or “System Updates”. Check for any available updates and install them if necessary.
- Factory reset: If all else fails and you’re still experiencing significant issues, performing a factory reset may be necessary. This will erase all data and settings on the tablet, so make sure to back up any important data beforehand. Go to “Settings”, then “Device Options”. Select “Reset to Factory Defaults” or “Reset Device” and follow the on-screen instructions.
- Contact customer support: If the issue persists or you need further assistance, reach out to Amazon customer support for specialized help and guidance.
By following these troubleshooting tips, you can effectively resolve common issues that may arise while using your Amazon Fire tablet. Remember to always exercise caution and seek professional help if needed. With a little troubleshooting know-how, you can ensure a smooth and enjoyable experience with your child’s tablet.
Conclusion
Setting up your child’s Amazon Fire tablet is a straightforward process that can provide them with a world of educational and entertaining possibilities. From unboxing the tablet to customizing settings, creating kids profiles, and adding content, each step plays a crucial role in creating a safe and enjoyable experience for your child.
By following the steps outlined in this guide, you can ensure that the tablet is set up correctly, with appropriate parental controls in place. From there, you can personalize the tablet with apps, books, and videos that align with your child’s interests and age. Remember to regularly review safety measures and recommendations, as well as troubleshooting tips, to maintain a secure and seamless user experience.
With the Amazon Fire tablet, your child can embark on a learning journey, explore their creativity, and enjoy age-appropriate content. It’s important to remember that parental involvement and communication are key to maintaining safe and responsible tablet usage. By monitoring their activities, discussing online safety, and establishing boundaries, you can ensure that your child’s tablet usage remains both enjoyable and secure.
Now that you have completed the setup process, it’s time to witness the joy and excitement on your child’s face as they dive into a world of endless possibilities with their Amazon Fire tablet. Embrace the learning opportunities, encourage their creativity, and most importantly, have fun!


