Introduction
Welcome to the digital age, where tablets have become an integral part of our lives. With their sleek designs and endless possibilities, tablets offer a world of knowledge and entertainment at our fingertips. But when it comes to children, ensuring their safety and providing age-appropriate content can be a concern for parents.
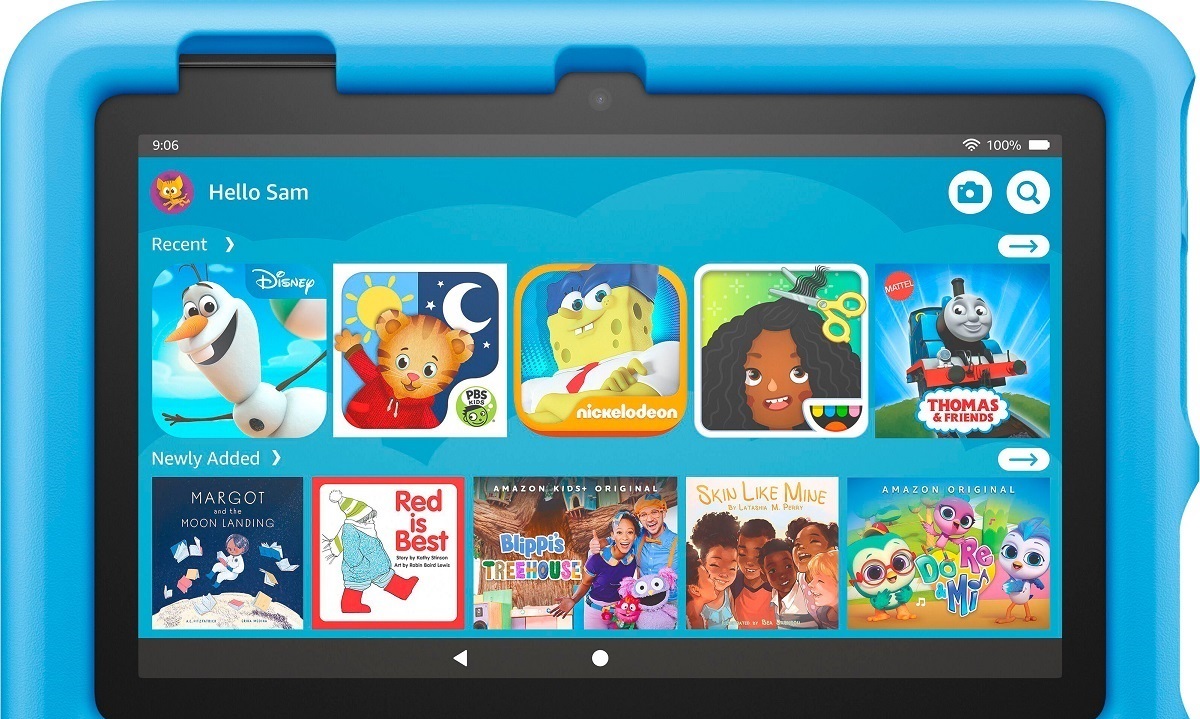
If you have recently purchased a Fire tablet for your child, you’re in luck! Amazon offers a range of parental control features and settings, specifically designed to create a safe and engaging experience for kids. By setting up your Fire tablet for your child, you can customize their access, manage content, and monitor their activities.
In this step-by-step guide, we will walk you through the process of setting up a Fire tablet for your child and configuring the necessary parental controls. By following these instructions, you can rest easy knowing that your child’s digital experience is both enjoyable and secure.
So, grab your Fire tablet, and let’s get started on creating a safe and personalized environment for your child!
Step 1: Create a Child Profile
The first step in setting up your Fire tablet for your child is to create a child profile. This profile will allow you to customize the tablet’s settings and restrict access to inappropriate content.
To create a child profile, follow these simple steps:
- Swipe down from the top of the screen to open the Quick Actions menu.
- Tap on “Settings” and then select “Profiles & Family Library.”
- Tap on “Add Child Profile” and enter your child’s name and birthdate.
- Choose an avatar for your child and tap “Next.”
- Customize the profile settings as per your preference. You can enable or disable features like camera access, contacts, and email.
- Tap on “Save Profile” to create the child profile.
Once the child profile is created, you can switch to it by tapping on the profile icon at the top of the screen and selecting your child’s name.
It’s important to note that each child profile created on the Fire tablet is associated with an Amazon account. If your child does not have an Amazon account, you can create one during the profile setup process. This account will be used to manage content and access additional features like Amazon FreeTime Unlimited, which we will explore later in this guide.
By creating a child profile, you are taking the first step towards providing a safe and age-appropriate digital experience for your child. Now that the profile is set up, let’s move on to the next step: customizing the child profile settings.
Step 2: Customize the Child Profile Settings
Customizing the child profile settings on your Fire tablet is essential to ensure that your child has a personalized and safe digital experience. By adjusting these settings, you can control which apps and content are accessible to your child.
Follow these steps to customize the child profile settings:
- Switch to your child’s profile by tapping on the profile icon at the top of the screen and selecting their name.
- From the home screen, swipe down from the top of the screen to open the Quick Actions menu.
- Tap on “Settings” and then select “Profiles & Family Library.”
- Tap on the child profile you want to customize.
- In the profile settings, you can set an age range to filter content based on appropriateness for your child’s age.
- You can also enable or disable specific apps and features on the device. For example, you can choose to disable access to the web browser or social media apps.
- Additionally, you can adjust the screen time limits and set a bedtime to ensure your child doesn’t spend excessive time on the tablet.
- Finally, you can configure the content filter settings to block or allow specific categories of content.
By customizing the child profile settings, you have more control over what your child can access and ensures that they are exposed to age-appropriate content and features. With these settings in place, you can have peace of mind knowing that the tablet is tailored to suit your child’s needs.
Now that you have customized the child profile settings, it’s time to move on to the next step: managing content and apps for your child’s profile.
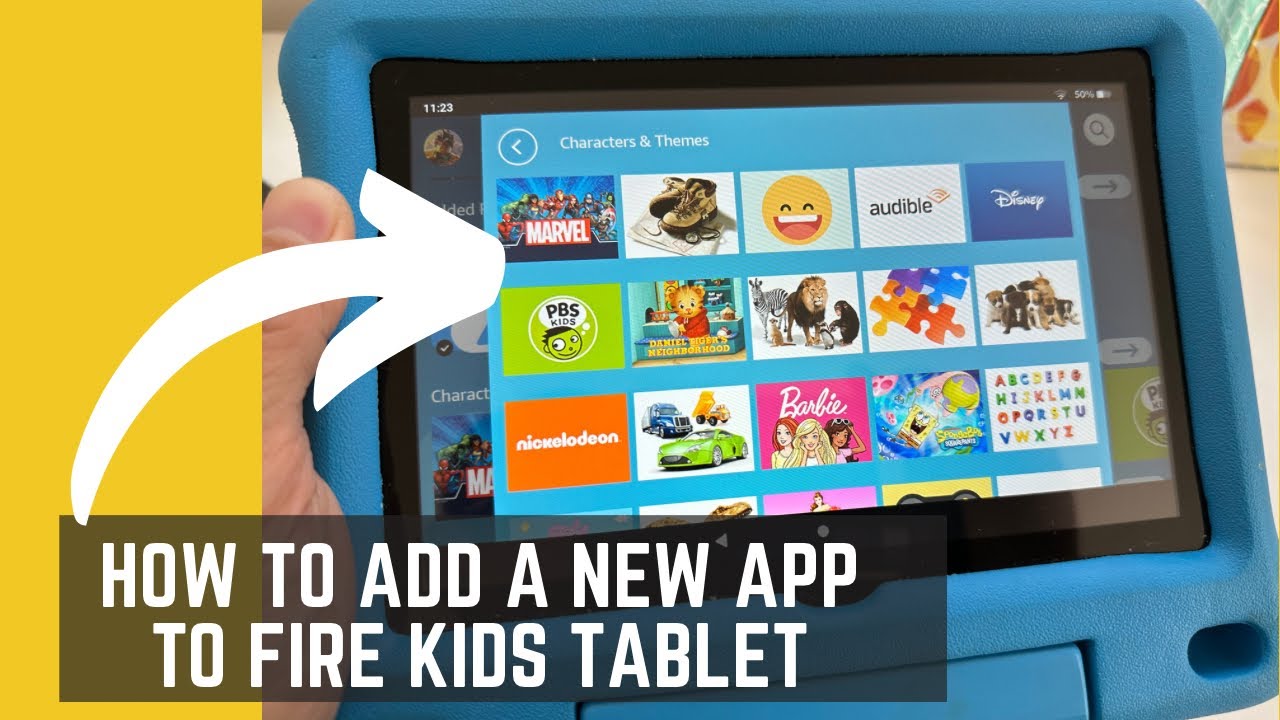
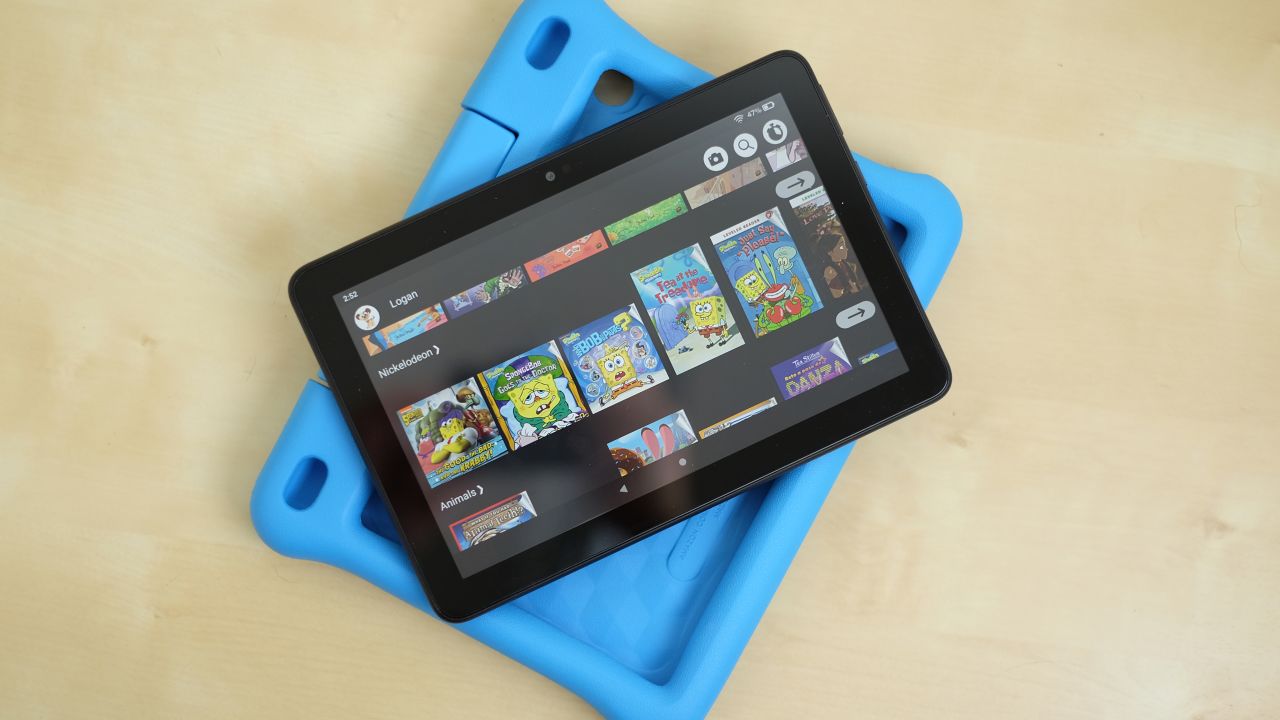
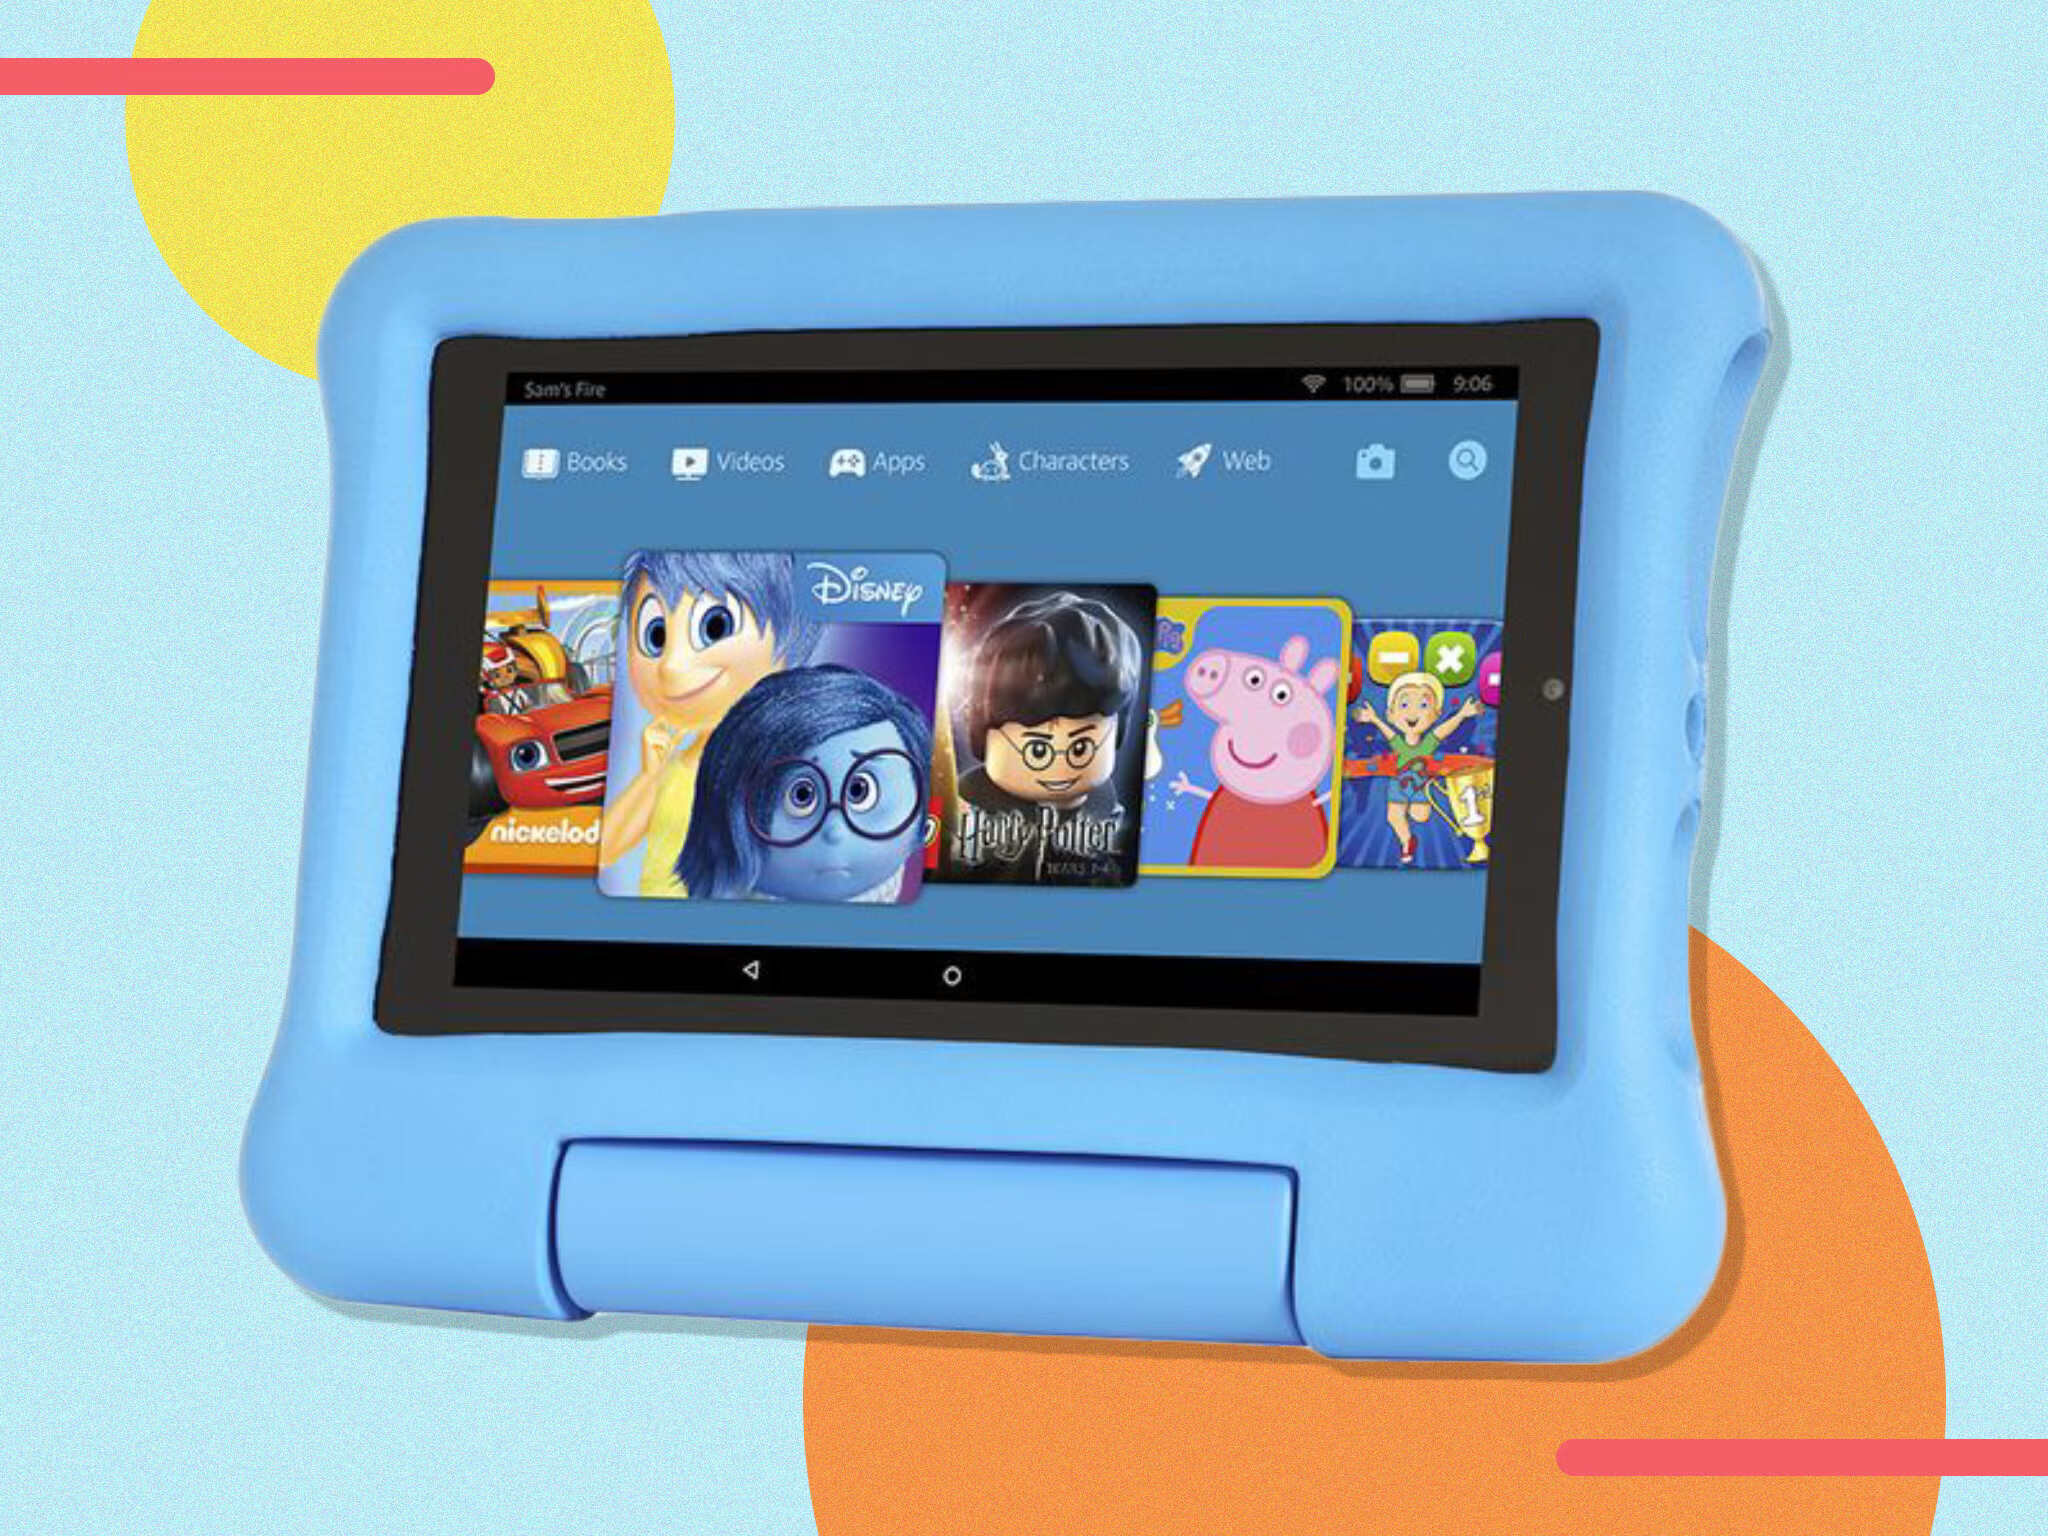
Step 3: Manage Content and Apps
Managing the content and apps that your child can access is an important aspect of setting up a Fire tablet for your child. By carefully curating their digital experience, you can ensure that they are engaged with appropriate and educational content.
Follow these steps to manage the content and apps on your child’s profile:
- Switch to your child’s profile by tapping on the profile icon at the top of the screen and selecting their name.
- From the home screen, tap on the “Home” icon in the bottom navigation bar.
- Swipe left or right to navigate through the available content categories, such as books, videos, games, and apps.
- To add specific content to your child’s profile, tap on the content item and then tap on the “Add to [Child’s Name]’s Library” button.
- To remove content from your child’s profile, tap and hold on the content item, and then tap on the “Remove from [Child’s Name]’s Library” option.
- If you want to restrict access to certain apps altogether, you can do so by going to the child profile settings and disabling those apps.
By managing the content and apps, you can ensure that your child is engaging with age-appropriate and educational materials. You can choose from a wide range of books, videos, games, and apps that are suitable for their age and interests.
Now that you have successfully managed the content and apps, it’s time to take the next step: setting up parental controls to further enhance your child’s safety and limit their access to certain features.
Step 4: Set Up Parental Controls
Setting up parental controls on your Fire tablet is crucial for ensuring a safe and secure digital environment for your child. Parental controls allow you to set restrictions on content, limit access to certain features, and manage the overall usage of the tablet.
Follow these steps to set up parental controls:
- Switch to your child’s profile by tapping on the profile icon at the top of the screen and selecting their name.
- From the home screen, swipe down from the top of the screen to open the Quick Actions menu.
- Tap on “Settings” and then select “Parental Controls.”
- If you haven’t done so already, create a parental controls password. This password will be used to access and modify the parental control settings in the future.
- Once the password is set, you can enable various parental control features. These include blocking access to specific content categories, restricting access to the web browser, blocking purchasing, and more.
- Adjust the settings according to your preferences and the age of your child.
- Remember to set restrictions that are appropriate for your child’s age and maturity level.
- Save the changes and exit the parental controls menu.
By setting up parental controls, you can have peace of mind knowing that your child’s digital experience is protected and tailored to their needs. The controls allow you to filter out inappropriate content, prevent unauthorized purchases, and limit access to certain features that may not be suitable for your child.
Now that you have successfully set up parental controls, it’s time to move on to the next step: adding parental controls to web browsing, ensuring a safe online experience for your child.
Step 5: Add Parental Controls to Web Browsing
Protecting your child while they browse the internet is essential, and adding parental controls to web browsing on your Fire tablet can help achieve that. By implementing these controls, you can filter out inappropriate content and ensure a safe online experience for your child.
Follow these steps to add parental controls to web browsing:
- Switch to your child’s profile by tapping on the profile icon at the top of the screen and selecting their name.
- From the home screen, swipe down from the top of the screen to open the Quick Actions menu.
- Tap on “Settings” and then select “Parental Controls.”
- Enter your parental controls password to access the settings.
- Under “Web Browsing,” tap on “Manage Amazon FreeTime web settings.”
- Check the box next to “Enable web browsing” to allow your child to access the web browser.
- Select the age range that best suits your child to filter out inappropriate content.
- If desired, you can specify specific websites that your child is allowed to access by adding them to the “Approved Websites” list.
- Once you have configured the web browsing settings, tap on the “Save” button to apply the changes.
By adding parental controls to web browsing, you can ensure that your child only accesses age-appropriate and safe websites while using the Fire tablet. This serves as an additional layer of protection, allowing you to have peace of mind while your child explores the online world.
Now that you have added parental controls to web browsing, it’s time to move on to the next step: setting time limits and usage restrictions, which help promote healthy screen time habits for your child.
Step 6: Set Time Limits and Usage Restrictions
Setting time limits and usage restrictions on your child’s Fire tablet is crucial to ensuring a healthy and balanced digital lifestyle. By implementing these controls, you can promote responsible screen time habits and prevent excessive use of the device.
Follow these steps to set time limits and usage restrictions:
- Switch to your child’s profile by tapping on the profile icon at the top of the screen and selecting their name.
- From the home screen, swipe down from the top of the screen to open the Quick Actions menu.
- Tap on “Settings” and then select “Parental Controls.”
- Enter your parental controls password to access the settings.
- Under the “Screen Time” section, tap on “Set Daily Goals & Time Limits.”
- Here, you can set daily time limits for various activities such as books, videos, games, and apps.
- Adjust the time limits according to your desired usage restrictions and your child’s needs.
- You can also set bedtime limits to prevent late-night device usage.
- After configuring the time limits and usage restrictions, tap on the “Save” button to apply the changes.
By setting time limits and usage restrictions, you can ensure that your child has a balanced digital experience and allocates time for other activities such as physical play, social interactions, and homework. It helps in promoting healthy screen time habits and prevents excessive dependency on the device.
Now that you have successfully set time limits and usage restrictions, it’s time to explore educational tools and features that can further enhance your child’s learning experience.
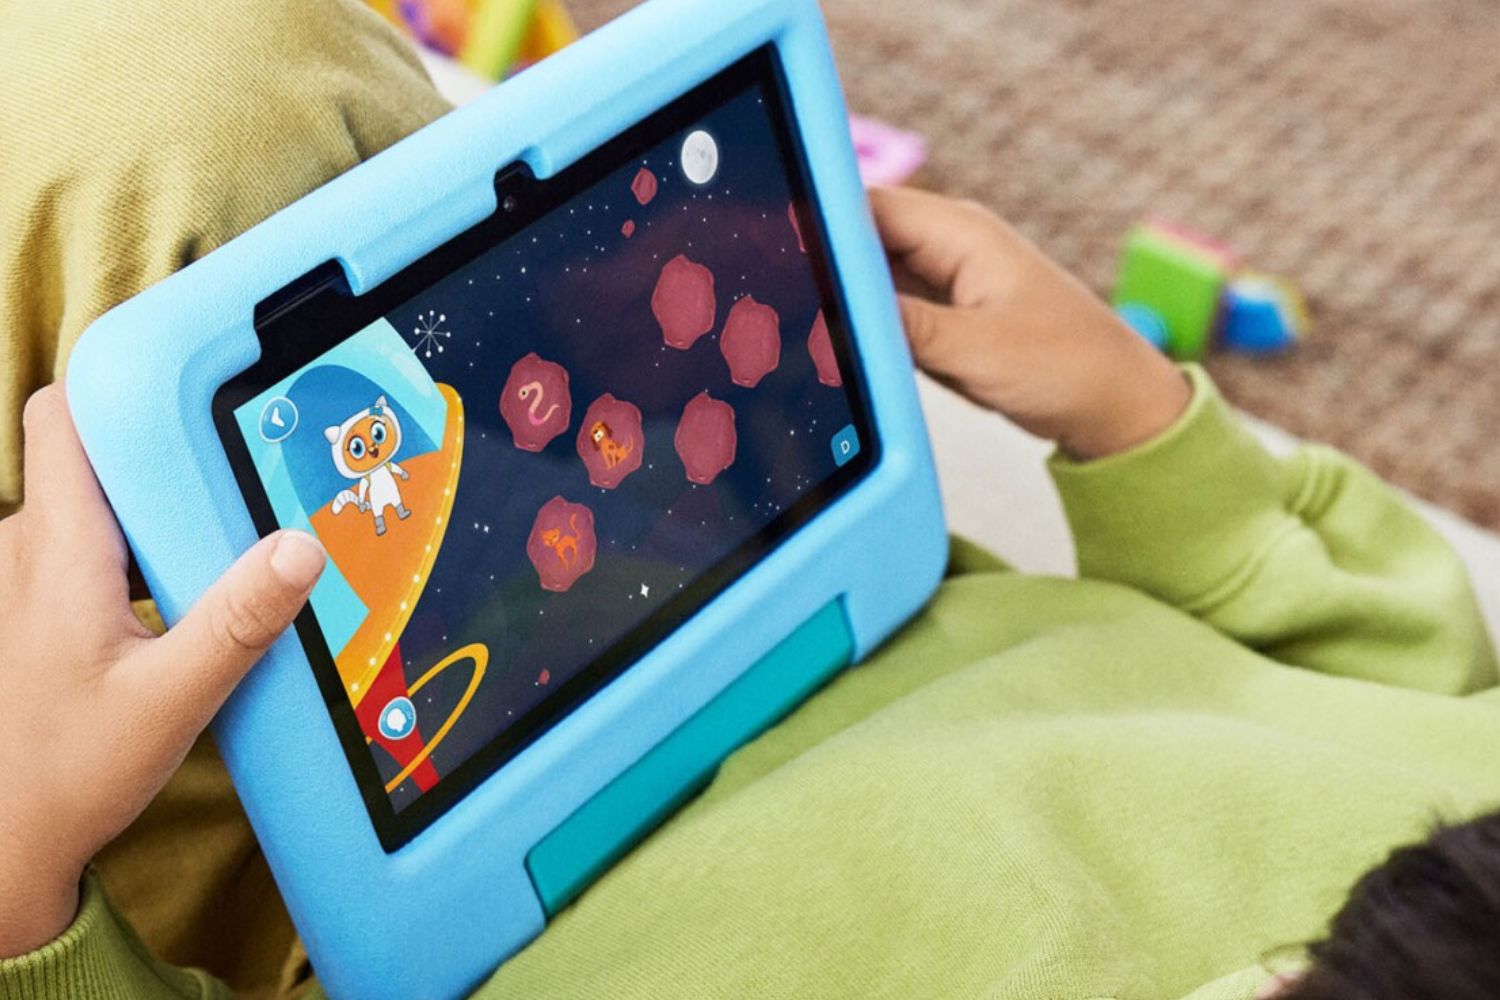
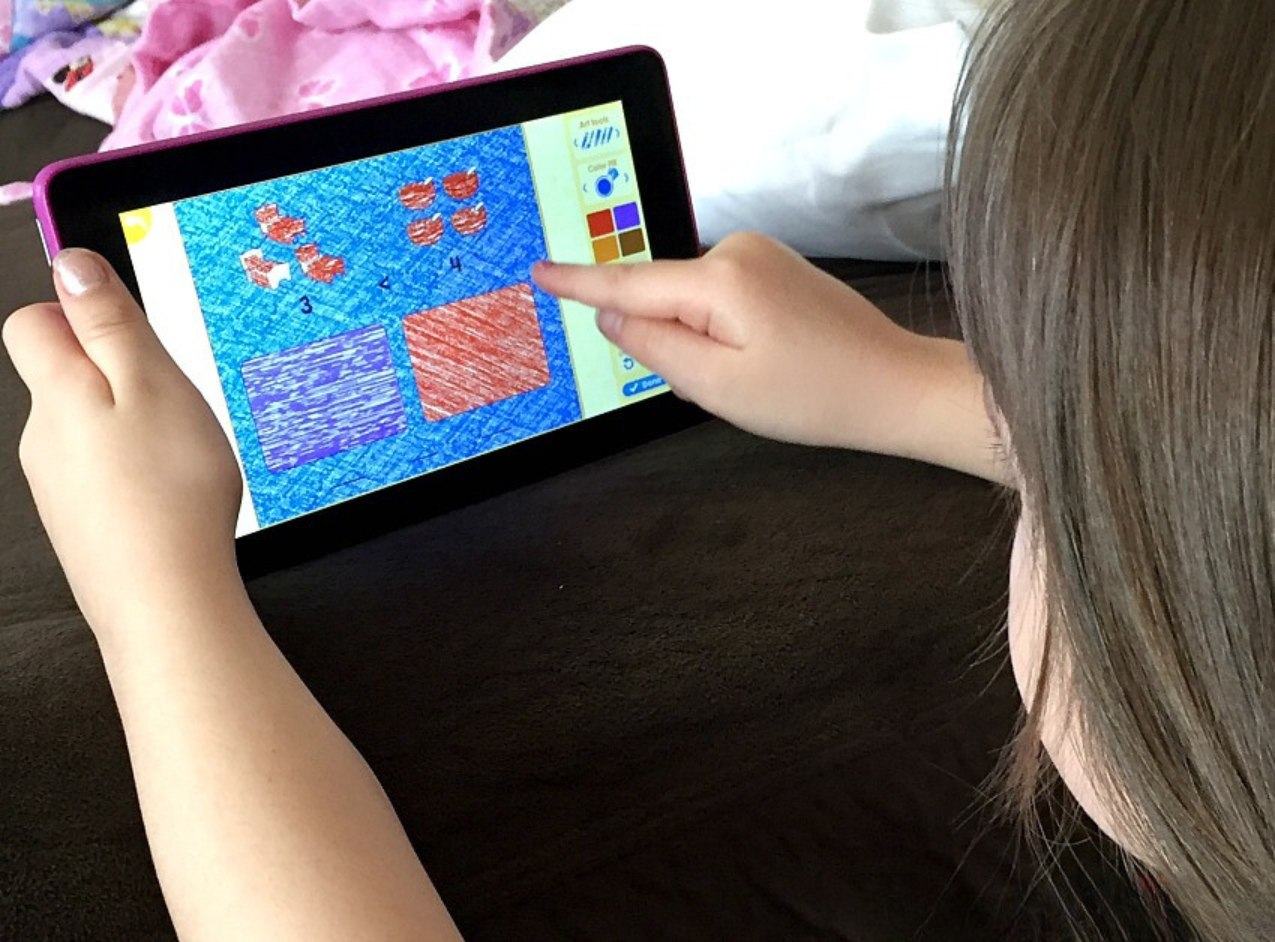
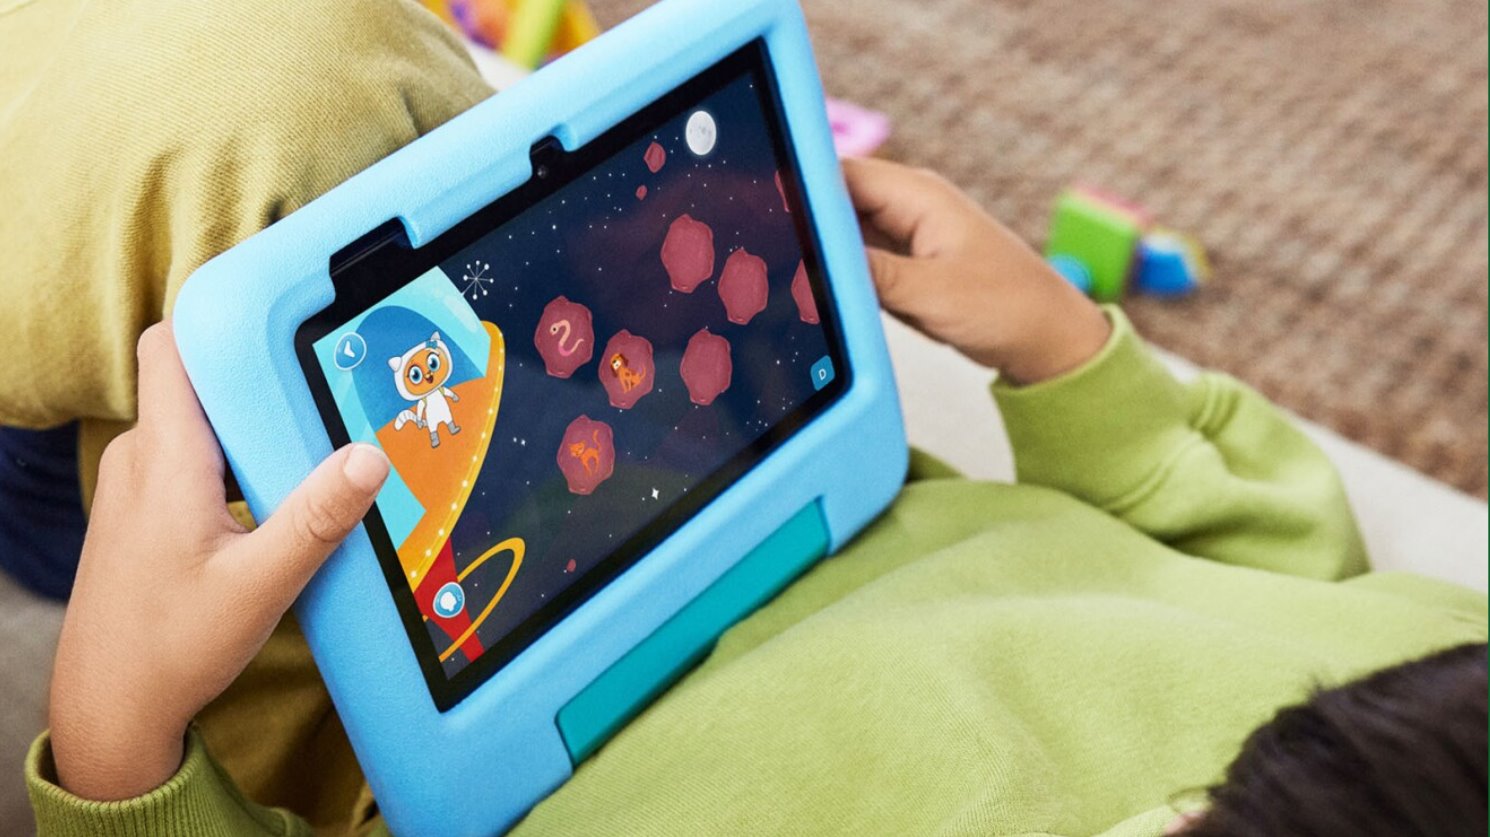
Step 7: Enable Educational Tools and Features
Fire tablets offer a range of educational tools and features that can enhance your child’s learning experience. Enabling these tools allows your child to engage with interactive and educational content, promoting their cognitive development and academic growth.
Follow these steps to enable educational tools and features:
- Switch to your child’s profile by tapping on the profile icon at the top of the screen and selecting their name.
- From the home screen, swipe down from the top of the screen to open the Quick Actions menu.
- Tap on “Settings” and then select “Parental Controls.”
- Enter your parental controls password to access the settings.
- Tap on “Educational Goals & Controls.”
- Here, you can enable features like “Learn First” to prioritize educational content over entertainment.
- You can also explore the “Learn & Discover” category to find educational apps, books, and videos tailored to your child’s age and interests.
- Additionally, you can enable educational goals and track your child’s progress in various subjects using the “Reading” and “Math” goals.
- After enabling the desired educational tools and features, tap on the “Save” button to apply the changes.
By enabling educational tools and features, you can create a conducive learning environment for your child on their Fire tablet. These tools provide access to educational content and interactive learning experiences that can supplement their formal education and foster a love for learning.
Now that you have enabled the educational tools and features, it’s time to move on to the next step: monitoring and approving purchases made through the device.
Step 8: Monitor and Approve Purchases
Monitoring and approving purchases made through your child’s Fire tablet is an essential step in ensuring responsible spending and preventing unauthorized purchases. By setting up purchase approval, you have control over what your child can buy and can avoid unexpected charges.
Follow these steps to monitor and approve purchases:
- Switch to your child’s profile by tapping on the profile icon at the top of the screen and selecting their name.
- From the home screen, swipe down from the top of the screen to open the Quick Actions menu.
- Tap on “Settings” and then select “Parental Controls.”
- Enter your parental controls password to access the settings.
- Tap on “Amazon Store & Apps,” and then select “Amazon FreeTime settings.”
- Under “Manage Your Content & Devices,” tap on “Household Profile Settings.”
- Here, you can enable purchase approvals and select the level of approval required for purchases made on the device.
- You can choose to require a password for every purchase, or allow purchases without a password for apps and games that are already approved for your child’s profile.
- Save the changes and exit the settings.
By monitoring and approving purchases, you can prevent unwanted charges and ensure that your child only accesses content and apps that are appropriate and within your budget. It allows you to have control over their spending habits and promotes responsible use of the device.
Now that you have set up purchase monitoring and approval, it’s time to explore Amazon FreeTime Unlimited, a subscription service that provides unlimited access to age-appropriate content and educational resources.
Step 9: Use Amazon FreeTime Unlimited
Amazon FreeTime Unlimited is a subscription service offered by Amazon that provides unlimited access to a wide range of age-appropriate content for kids. It offers a vast collection of books, videos, apps, and games that are engaging, entertaining, and educational.
To make the most of Amazon FreeTime Unlimited, follow these steps:
- Switch to your child’s profile by tapping on the profile icon at the top of the screen and selecting their name.
- From the home screen, swipe down from the top of the screen to open the Quick Actions menu.
- Tap on “Amazon FreeTime” and then select “Get Started.”
- Sign up for a subscription to Amazon FreeTime Unlimited if you haven’t already.
- Once subscribed, you can access a vast library of age-appropriate content for your child.
- Encourage your child to explore the various categories available, including books, videos, apps, and games.
- The content available through Amazon FreeTime Unlimited is carefully curated for different age groups, ensuring that your child’s digital experience is both enjoyable and educational.
- Monitor your child’s usage and encourage them to engage with educational and enriching content.
Utilizing Amazon FreeTime Unlimited provides a wealth of possibilities for your child’s learning and entertainment. With a diverse range of content available at their fingertips, they can discover new interests and expand their knowledge in a safe and controlled environment.
By following these steps, you can make the most of Amazon FreeTime Unlimited and enhance your child’s digital experience on their Fire tablet.
Congratulations! You have successfully completed the steps to set up and optimize your child’s Fire tablet. By creating a safe and personalized environment, monitoring their activities, and providing access to educational content, you are ensuring a positive and enjoyable digital experience for your child.
Conclusion
Setting up a Fire tablet for your child can be a rewarding experience as it allows them to explore a world of knowledge and entertainment. By following the step-by-step guide in this article, you have learned how to create a child profile, customize settings, manage content and apps, set up parental controls, add controls to web browsing, set time limits, enable educational tools, monitor purchases, and utilize Amazon FreeTime Unlimited.
By taking these measures, you can ensure that your child has a safe and enjoyable digital experience. Customizing the tablet’s settings allows you to create a personalized environment that is appropriate for your child’s age and interests. Parental controls provide additional layers of protection and help in managing screen time, content, and access to certain features.
Enabling educational tools and features fosters your child’s learning and cognitive development, while monitoring and approving purchases ensures responsible spending and prevents unexpected charges. Lastly, utilizing Amazon FreeTime Unlimited provides a vast library of age-appropriate content that delivers both entertainment and educational value.
So go ahead and apply these steps to set up your child’s Fire tablet. By doing so, you are empowering them to explore, learn, and have fun in a safe and controlled digital environment.
Remember to regularly review and adjust the settings as your child grows and their needs change. Open communication with your child about responsible device usage and digital literacy is also important. Together, you can make the most of their Fire tablet experience while ensuring their safety and wellbeing.