Introduction
Welcome to our guide on how to set up a webcam! In today’s digital age, webcams have become an essential tool for online communication, whether it’s for video conferencing, online meetings, or simply keeping in touch with loved ones. Setting up a webcam may seem like a daunting task, but fear not – we’re here to help you through the process, step by step.
A webcam is a small camera that connects to your computer or laptop, allowing you to capture video and transmit it in real-time. It’s a great way to add a visual element to your online communication and take your video chats to the next level. In this guide, we’ll walk you through the entire setup process, from choosing the right webcam to troubleshooting common issues.
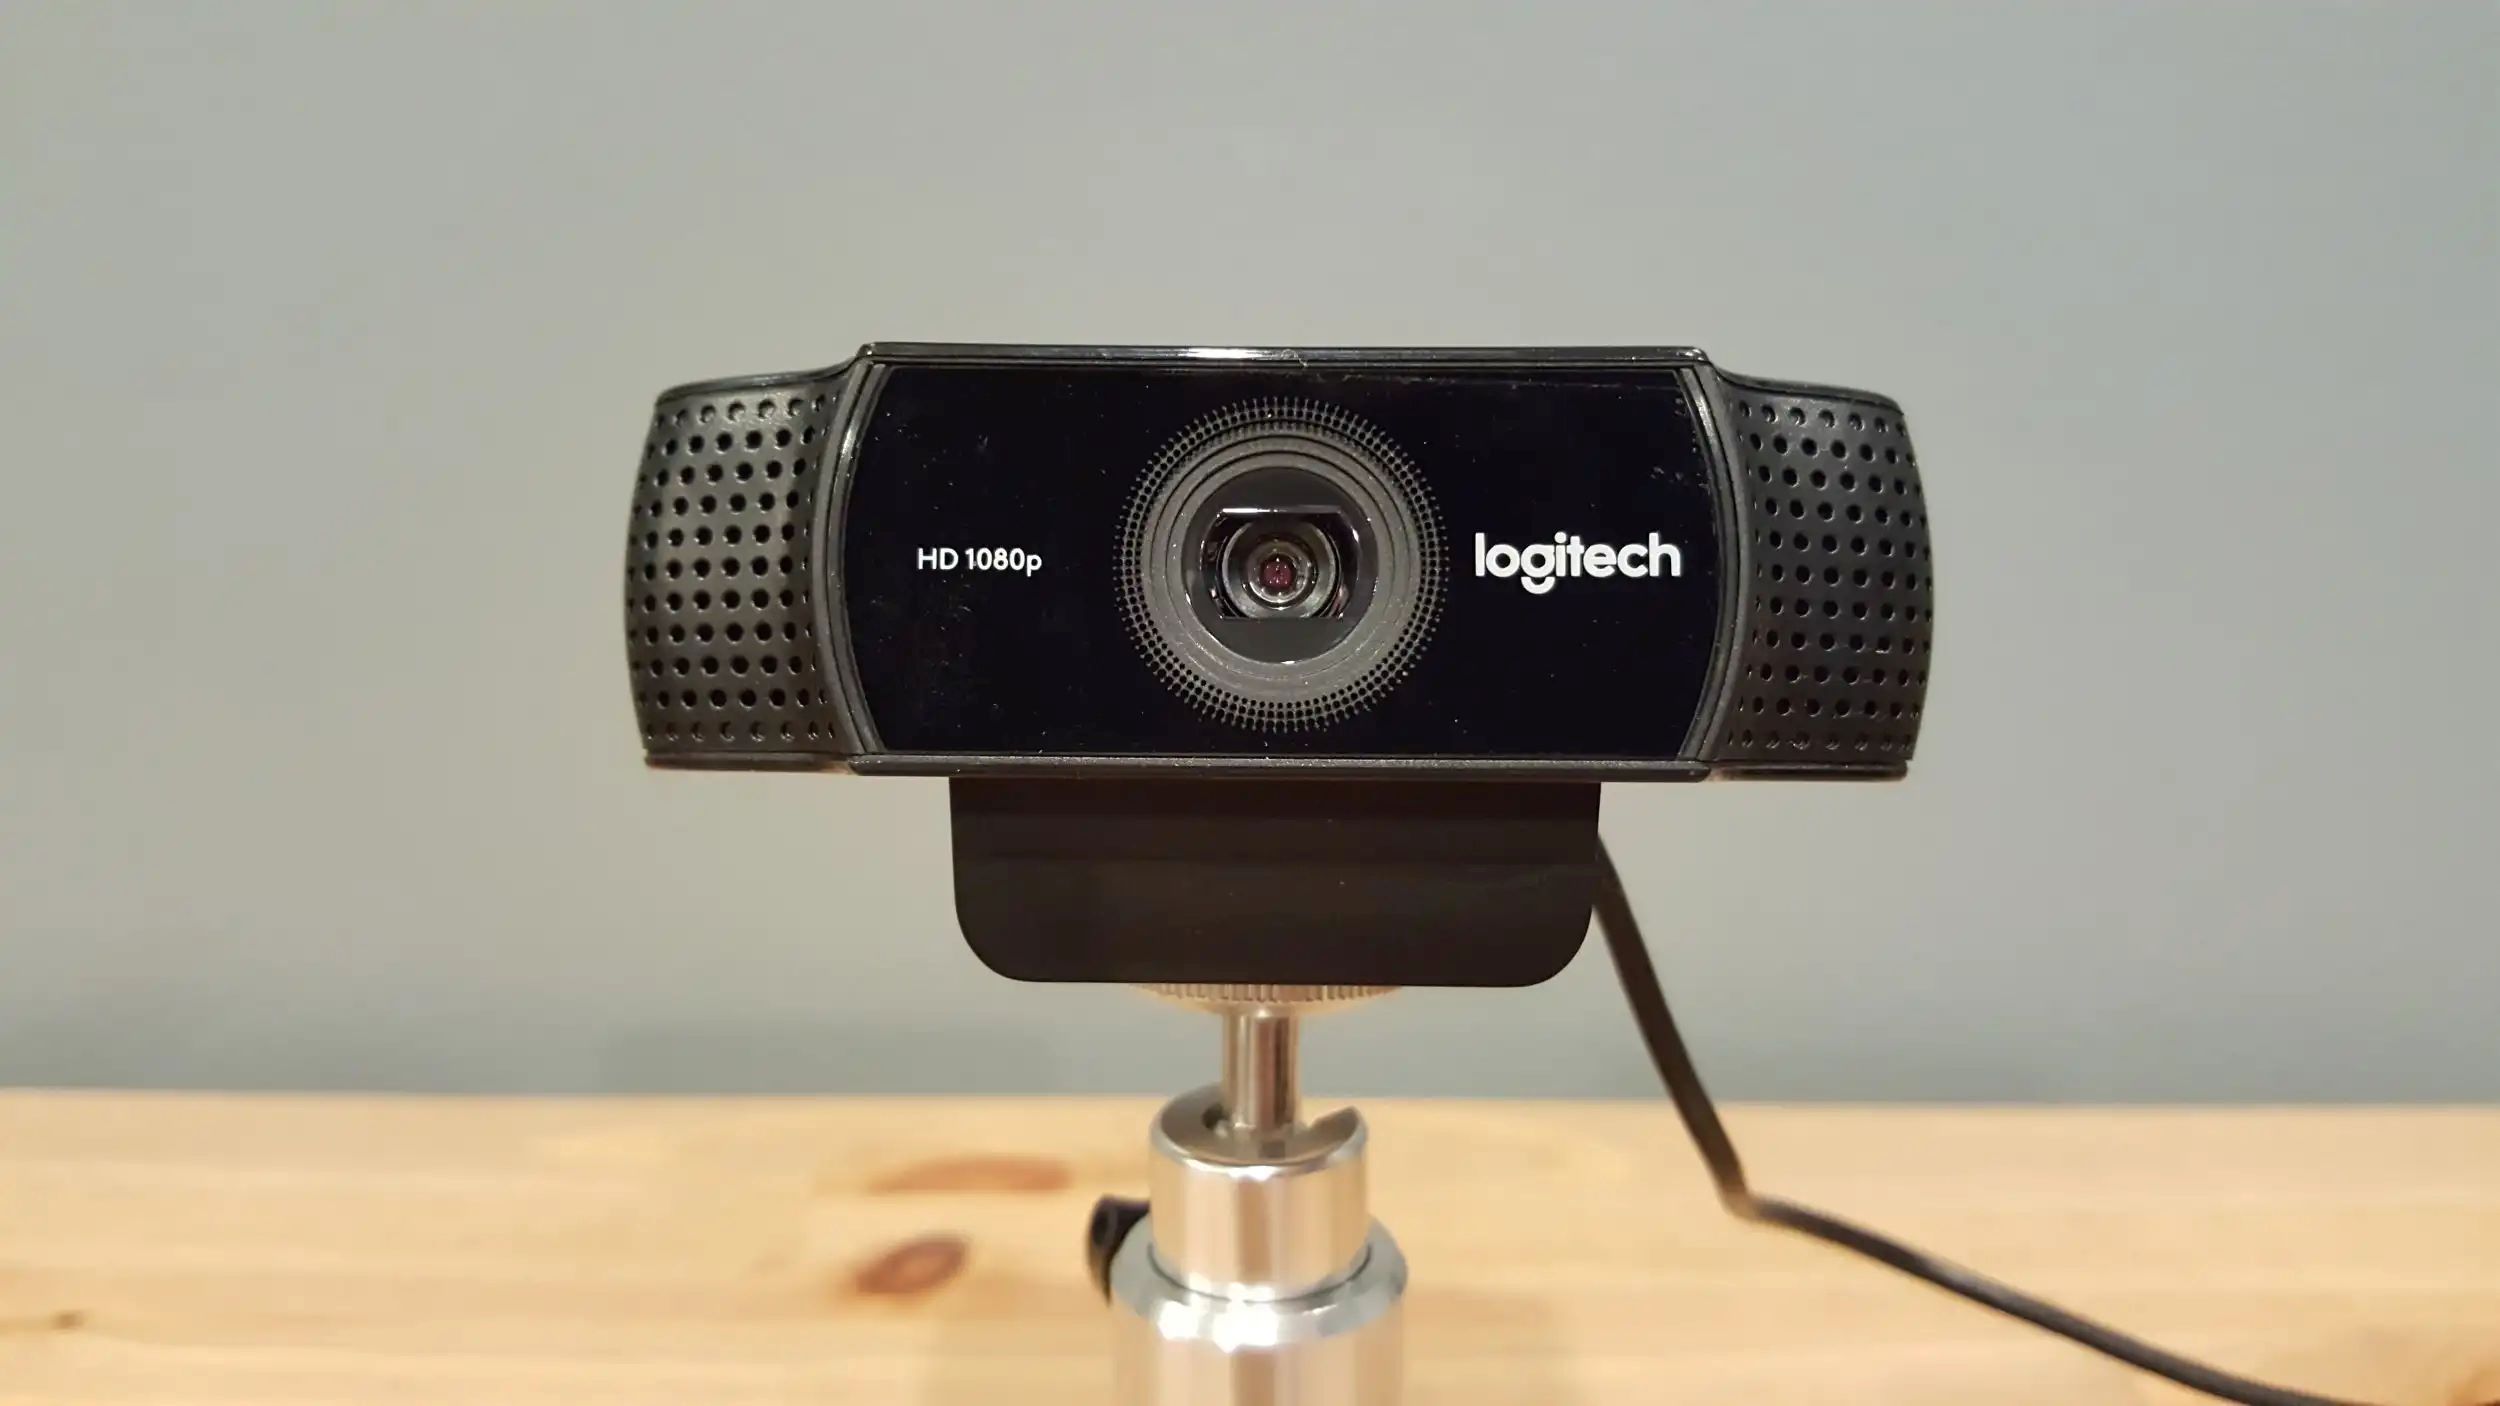
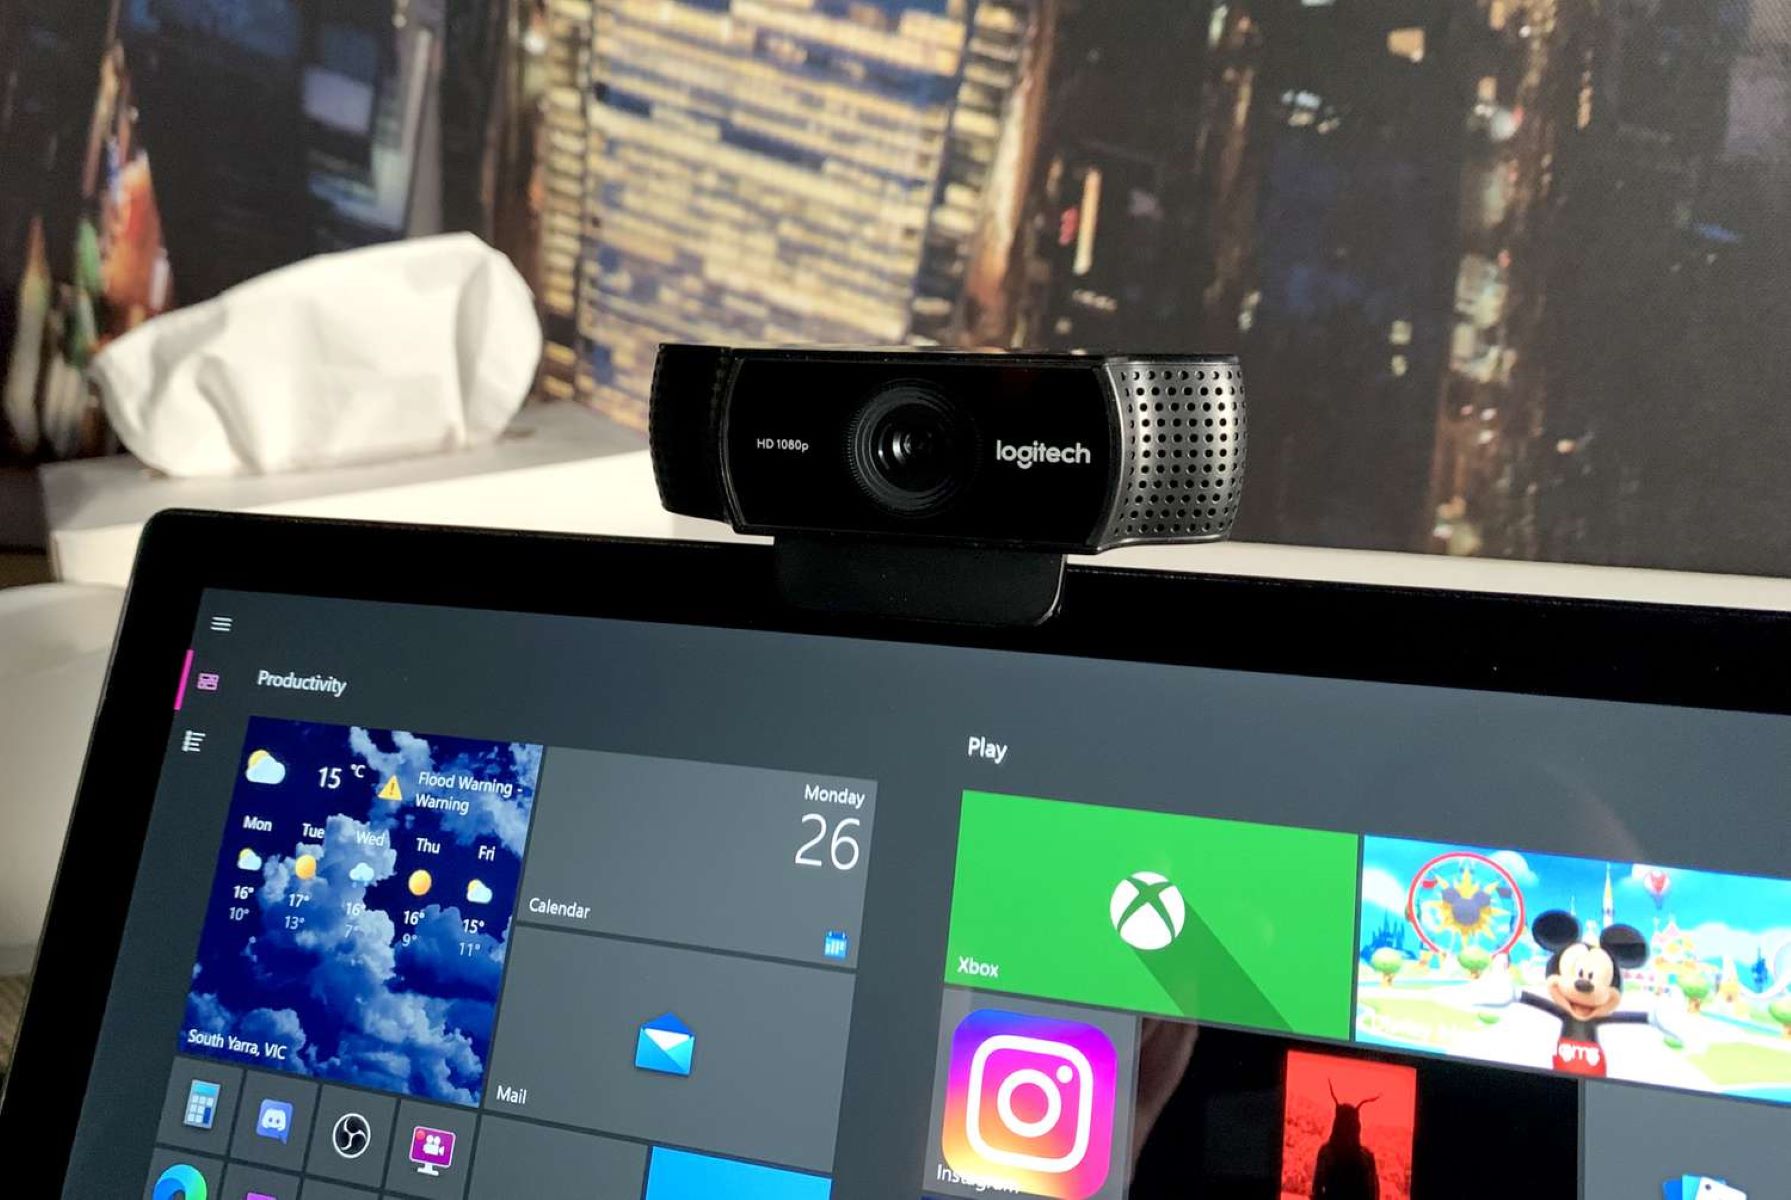
Before diving into the setup process, it’s important to understand the importance of choosing the right webcam for your needs. There are various options available on the market, ranging from basic models to high-definition cameras with advanced features. Consider factors such as video resolution, frame rate, autofocus capabilities, and microphone quality when making your decision. It’s also worth checking if the webcam is compatible with your operating system.
Once you’ve chosen the perfect webcam, it’s time to check if your system meets the necessary requirements. Most webcams are plug-and-play devices, meaning they can be connected directly to your computer or laptop without the need for additional drivers. However, it’s still important to ensure that your operating system and available USB ports are compatible with the webcam.
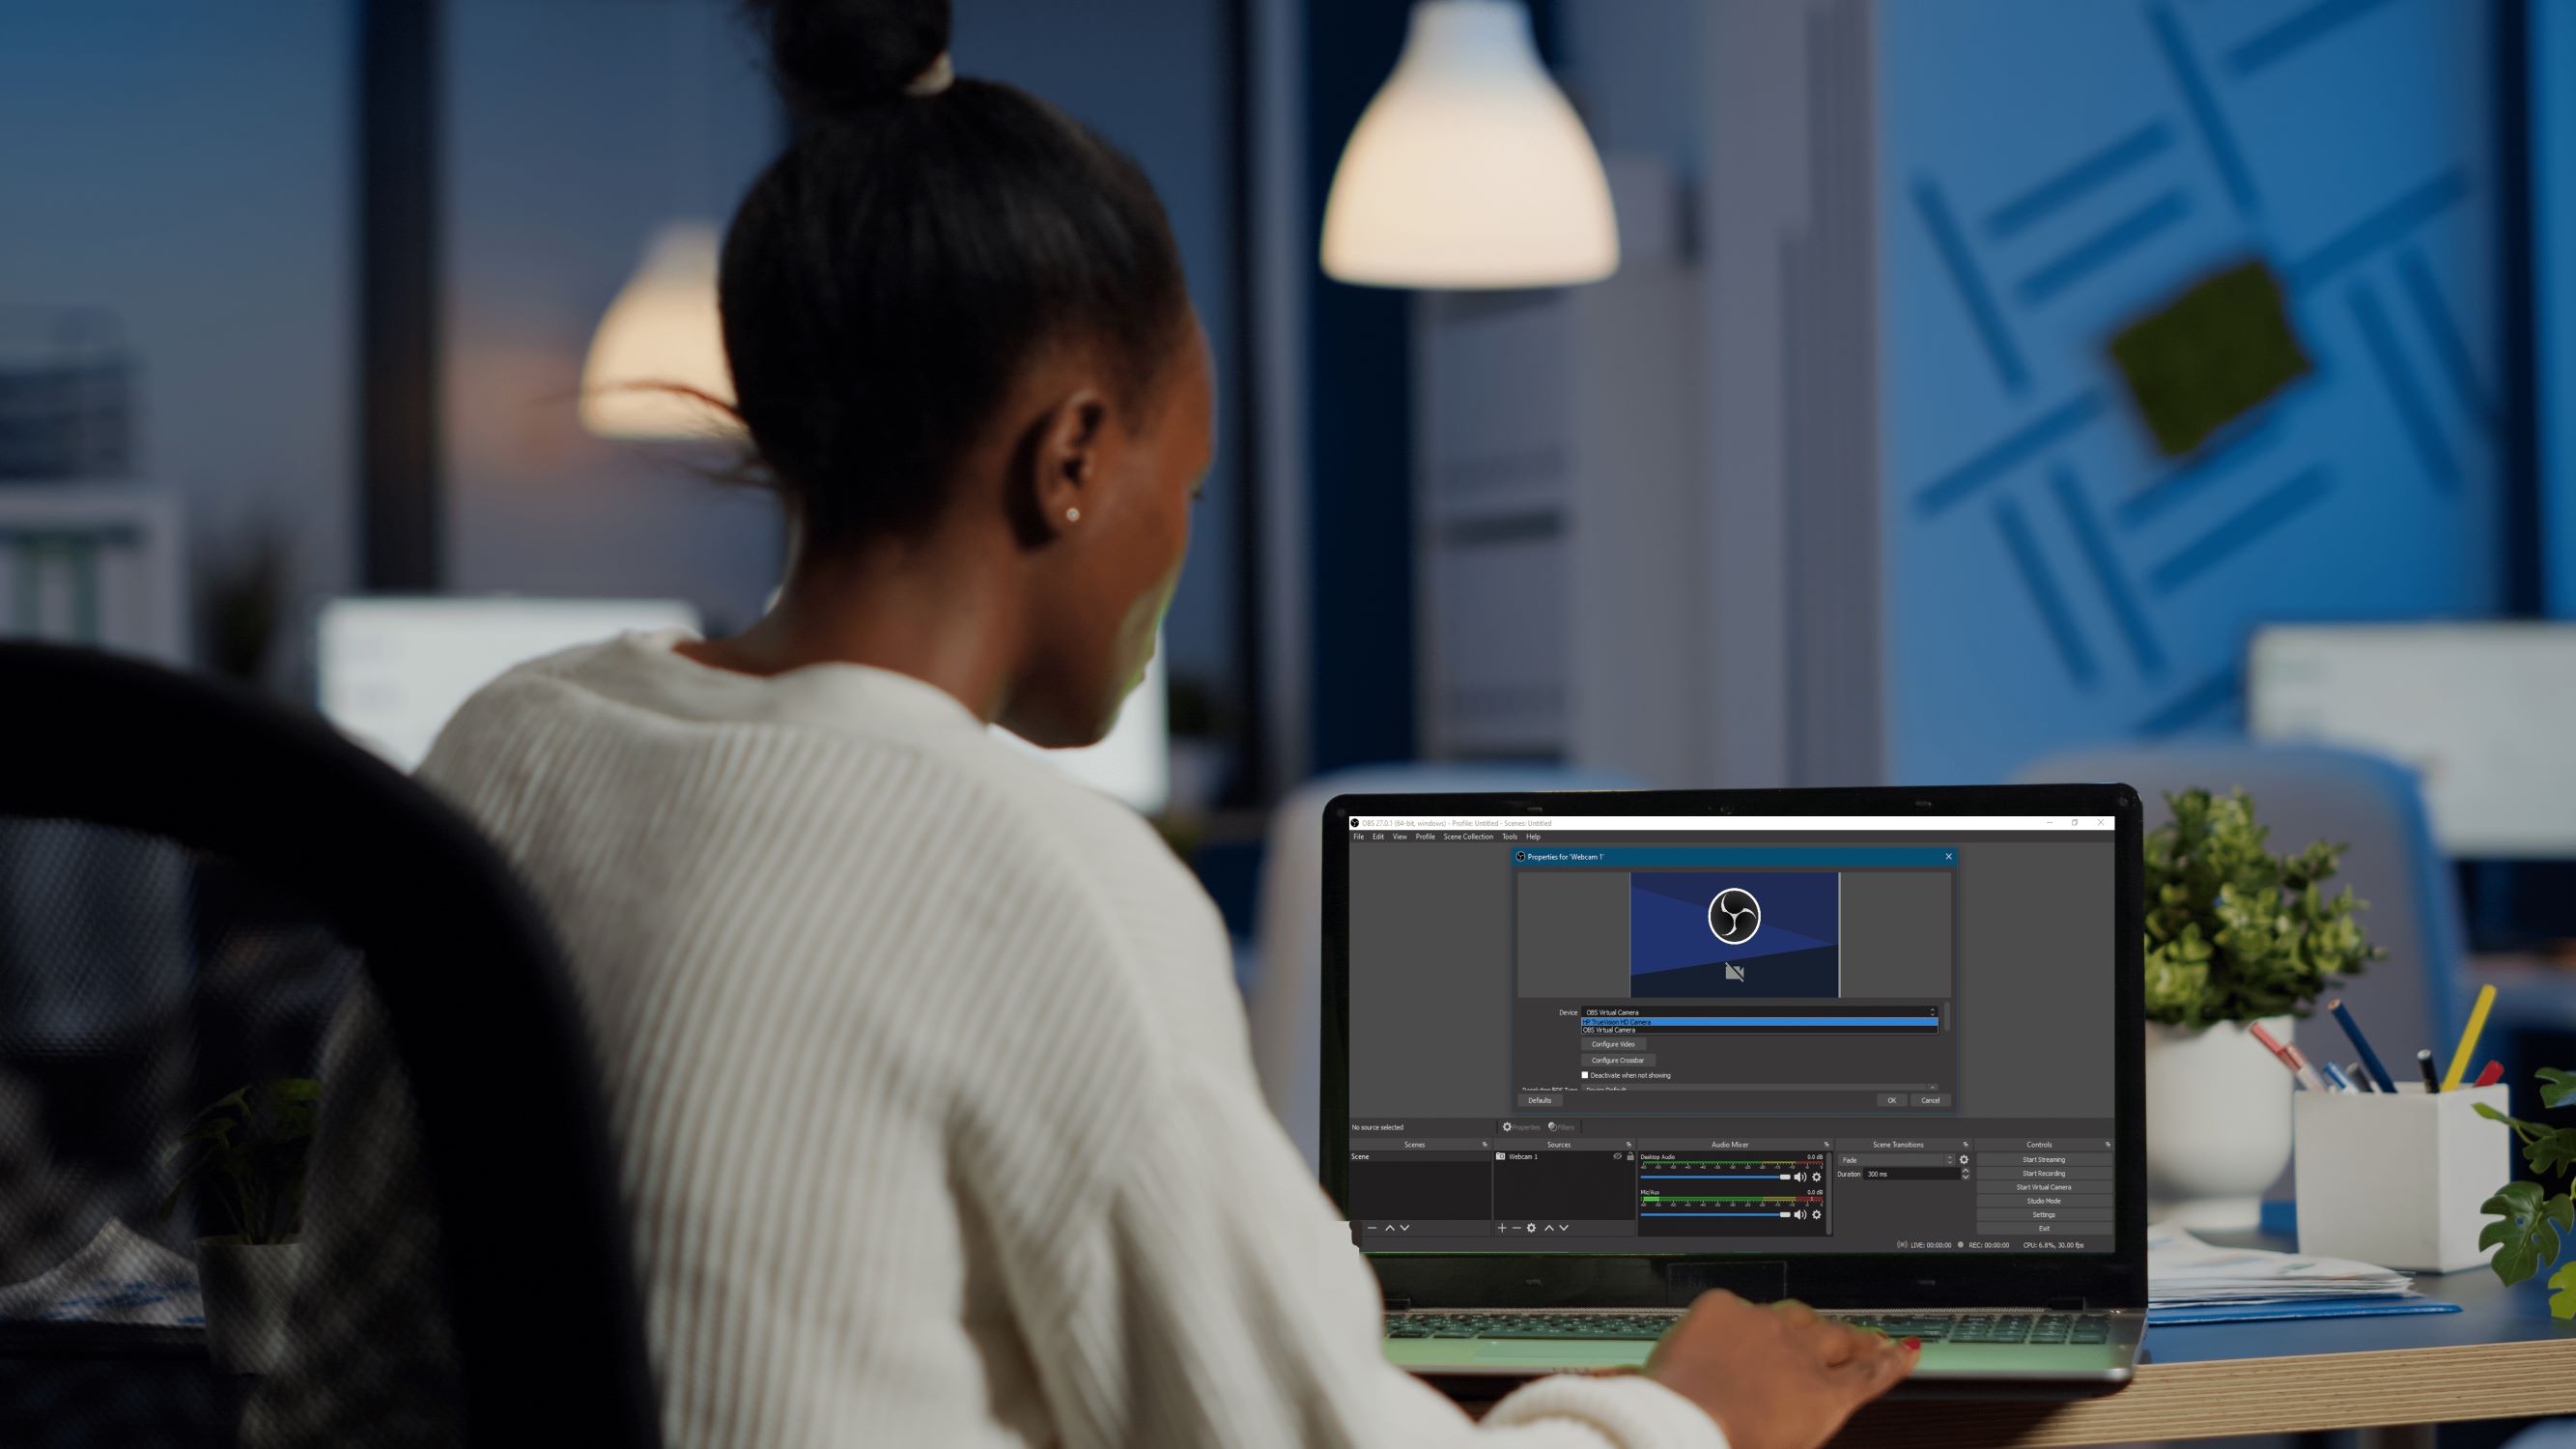
Installing the webcam software is the next step in the setup process. Some webcams come with their own software, while others utilize generic webcam software that is widely available. Follow the manufacturer’s instructions to install the software and drivers necessary for your webcam to function properly.
After the software installation is complete, it’s time to connect the webcam to your computer or laptop. Most webcams use a USB connection, so simply plug the USB cable into an available USB port. Your computer should recognize the webcam and automatically install any remaining drivers.
Choosing the Right Webcam
When it comes to choosing the right webcam, there are a few key factors to consider. The right webcam can make a significant difference in terms of video quality, ease of use, and overall performance. Here are some things to keep in mind when making your selection:
- Video Resolution: The video resolution determines the clarity and sharpness of the image. Higher resolution webcams, such as those with 720p or 1080p resolution, offer clearer and more detailed video.
- Frame Rate: Frame rate refers to the number of frames per second that the webcam can capture. A higher frame rate, such as 30 frames per second (fps), ensures smoother and more natural-looking video.
- Autofocus: Autocus is a feature that allows the webcam to automatically adjust the focus to ensure a sharp image. This is especially useful if you plan on moving around while using the webcam or if you want to capture objects at different distances.
- Low Light Performance: If you anticipate using the webcam in low light conditions, look for a model that has good low light performance. Some webcams use advanced sensor technology or built-in LED lights to improve image quality in dimly lit environments.
- Microphone Quality: Many webcams come with built-in microphones for capturing audio. Consider the quality of the microphone and whether it will be able to pick up your voice clearly without capturing excessive background noise.
- Compatibility: Ensure that the webcam you choose is compatible with your computer or laptop’s operating system. Most webcams are designed to work with both Windows and Mac systems, but it’s always a good idea to double-check.
Additionally, take into account your specific needs and use cases. If you primarily use the webcam for video calls, a basic model with standard features may suffice. However, if you plan on recording videos or streaming, you may want to consider a webcam with more advanced capabilities, such as face tracking or background replacement.
Reading online reviews and customer feedback can also provide valuable insights into the performance and reliability of different webcam models. Pay attention to the overall ratings, as well as any common complaints or praises mentioned by users.
By considering these factors and understanding your specific requirements, you can confidently select a webcam that meets your needs and enhances your online communication experience.
Checking System Requirements
Before you begin the setup process, it’s important to ensure that your computer or laptop meets the necessary system requirements to use a webcam. Here are some key factors to consider:
- Operating System Compatibility: Check if the webcam you’ve chosen is compatible with your computer or laptop’s operating system. Most webcams are designed to work with both Windows and Mac systems, but it’s always a good idea to double-check the specifications to avoid any compatibility issues.
- USB Port Availability: Most webcams connect to your computer or laptop through a USB port. Make sure you have an available USB port to connect the webcam. It’s also worth noting that USB 3.0 ports offer faster data transfer speeds, which can be beneficial for high-resolution webcams.
- System Resources: Some webcams may require a certain amount of system resources to function properly. Check the system requirements provided by the webcam manufacturer to ensure that your computer or laptop meets the necessary specifications in terms of processor, RAM, and available storage space.
Checking system requirements before purchasing a webcam can help you avoid compatibility issues and ensure a smooth setup process. If you’re unsure about your computer’s specifications, you can usually find this information in the system settings or consult the manufacturer’s website for your specific model.
In some cases, you may need to update your computer’s drivers or install additional software to ensure compatibility with the webcam. Consult the webcam manufacturer’s instructions or support resources for any specific requirements or recommendations regarding drivers or software updates.
By taking the time to check the system requirements and address any compatibility issues, you’ll be able to set up your webcam more efficiently and enjoy a seamless video conferencing or online communication experience.
Installing the Webcam Software
Once you have chosen and connected your webcam, the next step is to install the necessary software and drivers. The software installation process may vary depending on the webcam model and manufacturer, so it’s important to carefully read and follow the instructions provided. Here are the general steps to install the webcam software:
- Check the Packaging: The webcam package should include a CD or a download link where you can find the necessary software and drivers. If not, you can usually find the required software on the manufacturer’s website.
- Download the Software: If you have an internet connection, it’s recommended to download the latest version of the software from the manufacturer’s website. This ensures that you’re installing the most up-to-date drivers and features for your webcam.
- Run the Installer: Locate the downloaded software file and run the installer. Follow the on-screen prompts and accept the terms and conditions if prompted. The installation process will begin, and you may need to wait for a few moments.
- Complete the Installation: Once the installation is complete, you may be asked to restart your computer. If so, save any open files and close all applications before proceeding with the restart.
- Connect the Webcam: After your computer has restarted, connect the webcam to an available USB port, if it’s not already connected. Your computer should detect the webcam and install any remaining drivers if necessary.
It’s important to note that some webcams are designed to be plug-and-play, meaning they don’t require additional software installation. In such cases, your operating system should automatically recognize and configure the webcam for use.
If you encounter any issues during the installation process, consult the webcam’s user manual or the manufacturer’s support documentation for troubleshooting steps. They may provide specific instructions for resolving common installation problems.
Installing the webcam software ensures that your webcam functions properly and unlocks additional features and settings that may enhance your video quality or provide advanced functionalities. Follow the installation instructions provided by the manufacturer to make the most out of your webcam experience.
Connecting the Webcam
Now that you have installed the webcam software, it’s time to connect the webcam to your computer or laptop. The process of connecting the webcam is relatively straightforward and can be completed in a few simple steps:
- Locate an Available USB Port: Inspect your computer or laptop to find an available USB port. Most webcams use a standard USB connection, so you should have no trouble finding a suitable port.
- Connect the Webcam: Take the USB cable that came with your webcam and plug it into the USB port. Ensure that the connection is secure and properly inserted. Give it a gentle wiggle to confirm that it’s firmly in place.
- Wait for Recognition: Once the USB connection is established, your computer should recognize the webcam and automatically install any necessary drivers. Depending on your operating system, you may see a notification indicating that the device is being installed.
- Test the Connection: To verify that the webcam is properly connected, open the webcam software or an application that uses the webcam. Look for an option to view the live video feed. If the webcam is working correctly, you should see the video feed displayed on your screen. You can also try making a video call to a friend or using a webcam testing website to ensure that the camera and microphone are functioning properly.
If your computer does not recognize the webcam or if there are any issues with the connection, try the following troubleshooting steps:
- Ensure that the USB cable is properly connected to both the webcam and the computer.
- Try connecting the webcam to a different USB port to rule out any port-specific issues.
- Restart your computer and try reconnecting the webcam.
- If the issue persists, consult the webcam’s user manual or the manufacturer’s support documentation for further troubleshooting steps specific to your model.
Once your webcam is successfully connected, you’re ready to start using it for video calls, online meetings, or recording videos. Remember to adjust the webcam settings to suit your preferences and optimize the video quality, which we will cover in the next section.
Adjusting Webcam Settings
After connecting your webcam and ensuring it is working properly, you may want to adjust the settings to optimize the video quality and personalize your webcam experience. Here are some key settings you can adjust:
- Video Resolution: Most webcam software allows you to adjust the video resolution. Higher resolutions, such as 720p or 1080p, will provide a sharper and more detailed image, but they may require more processing power and a stable internet connection.
- Frame Rate: If your webcam supports different frame rates, you can adjust this setting to control the smoothness of the video. Higher frame rates, such as 30 or 60 frames per second (fps), create smoother video playback but may require more processing power.
- Exposure and Brightness: Webcam software often includes options to adjust the exposure and brightness levels. Experiment with these settings to ensure that your video is well-lit and properly exposed, especially in different lighting conditions.
- Focus and Autofocus: If your webcam has manual focus capabilities, you can adjust the focus manually to ensure a sharp image. Alternatively, if your webcam supports autofocus, you can enable it to automatically adjust the focus as needed.
- Zoom and Pan: Some webcams allow you to zoom in or pan across the frame. This can be useful if you want to focus on specific details or adjust the framing of your video.
- Audio Settings: If your webcam has a built-in microphone, you can adjust the audio settings, such as microphone volume and noise cancellation, to ensure clear and high-quality audio during video calls or recordings.
Accessing and adjusting these settings may vary depending on the webcam software you are using. Typically, you can find these options within the webcam software’s settings or preferences menu. Explore the software interface to locate the settings that are relevant to your webcam’s capabilities.
Keep in mind that finding the perfect balance for each setting may require some trial and error. Take the time to test different configurations and see which settings provide the best video and audio quality for your needs. Additionally, consider the capabilities and limitations of your computer or laptop when adjusting the settings, as higher resolutions and frame rates may require more processing power.
Once you have adjusted the webcam settings to your liking, you’re ready to enjoy enhanced video quality and a more personalized webcam experience. Take some time to explore and experiment with the settings to find the configuration that suits you best.
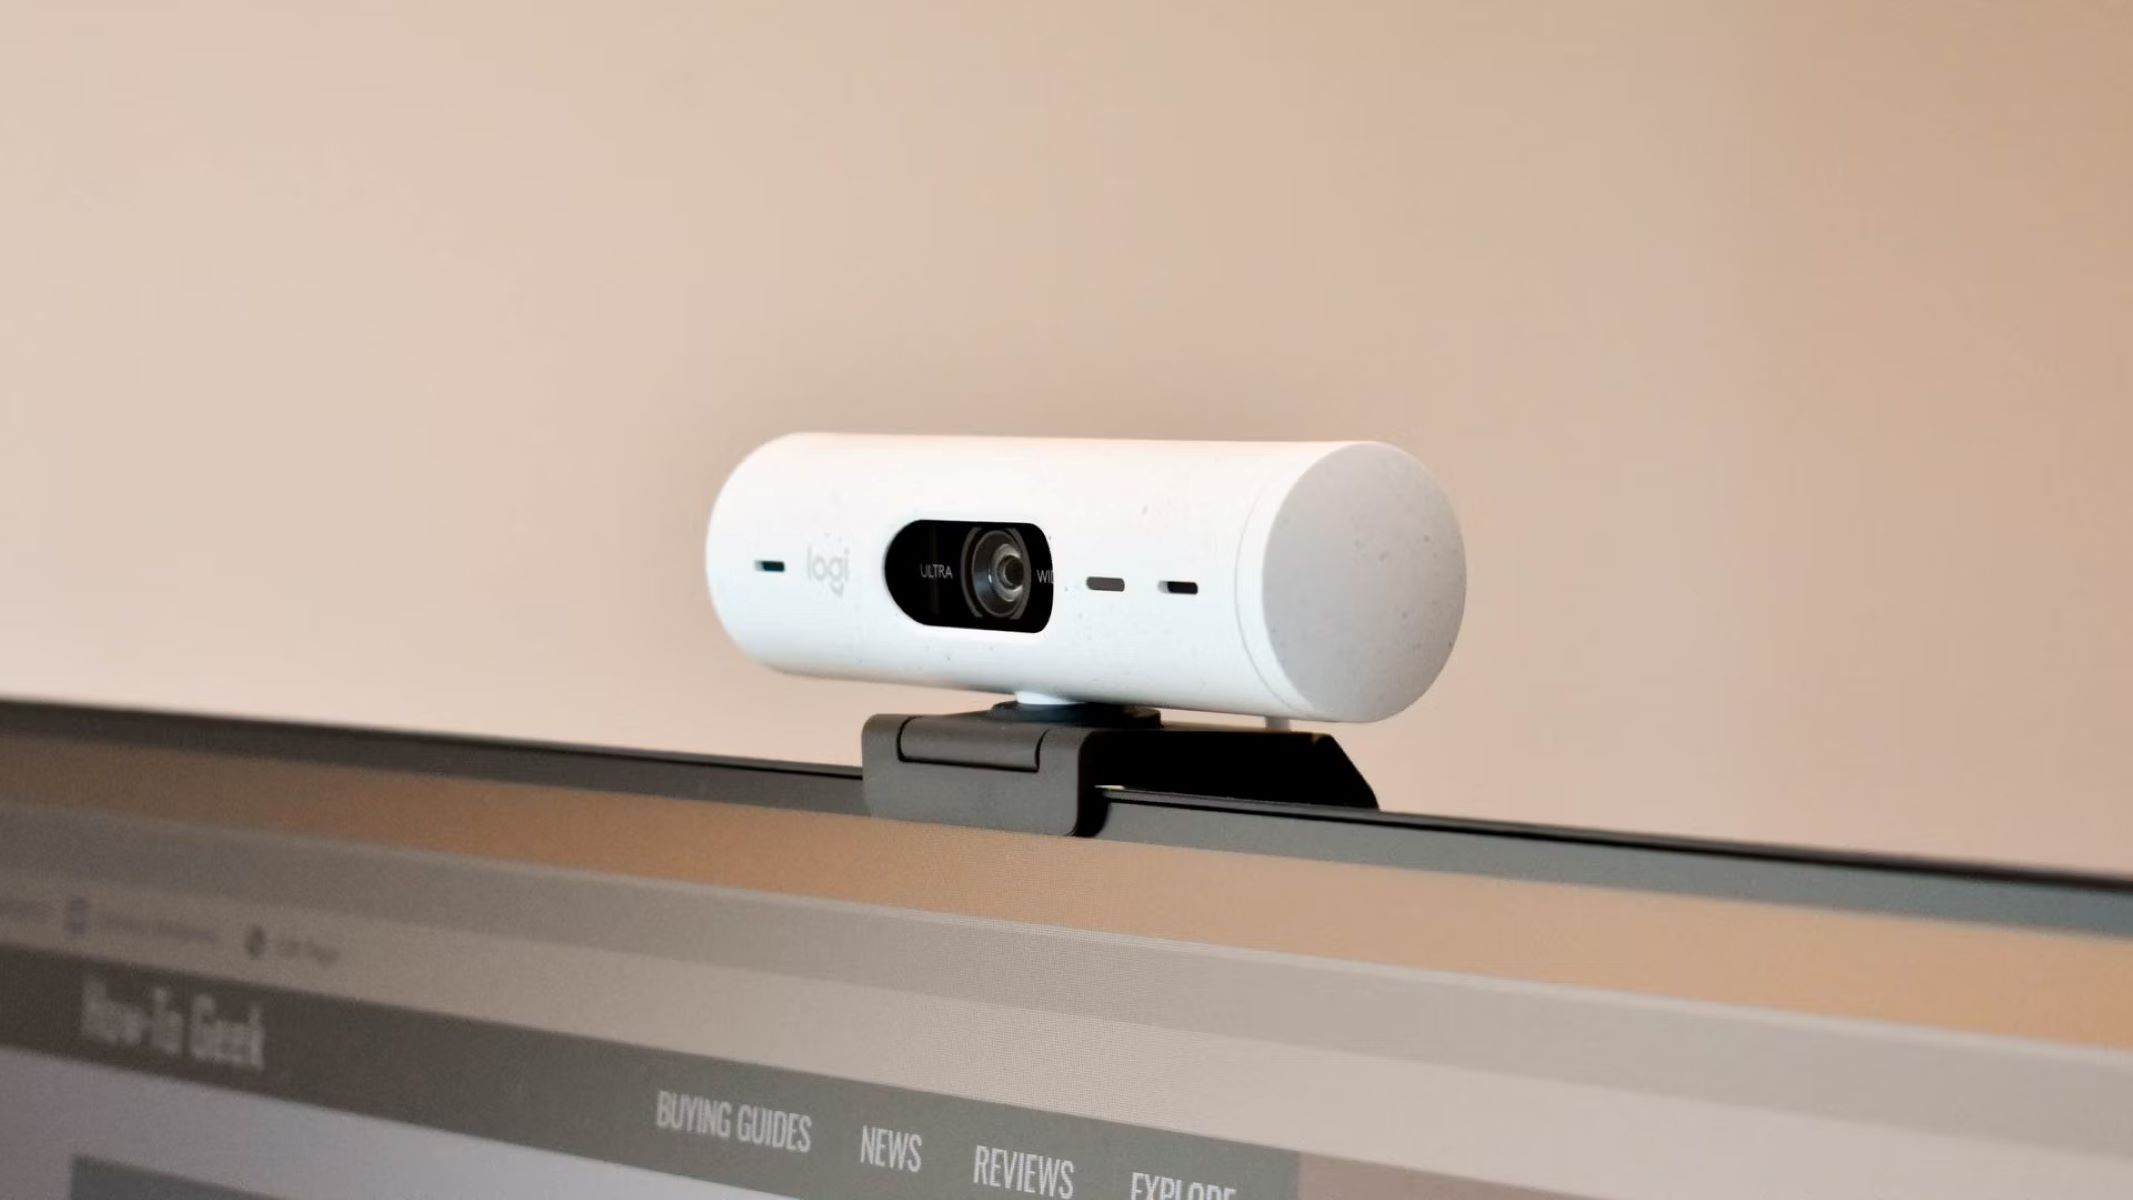
Placing the Webcam
Now that your webcam is set up and the settings are adjusted, it’s important to consider the placement of the webcam for optimal video quality and framing. Here are some tips to help you find the ideal position for your webcam:
- Eye Level Position: Position the webcam at eye level or slightly above. This ensures that the camera captures your face at a flattering angle and provides a more natural-looking perspective during video calls or recordings.
- Stable Surface: Place the webcam on a stable surface to avoid any unnecessary movement or vibrations. A desk, tripod, or monitor stand can provide a sturdy base for your webcam.
- Avoid Backlighting: Make sure not to position the webcam against a bright light source, such as a window or a lamp. This can cause your face to appear dark or overshadowed by the backlight. Instead, try to face a well-lit area or use additional lighting to evenly illuminate your face.
- Consider the Background: Pay attention to the background behind you when setting up the webcam. Choose a clutter-free and visually appealing backdrop that is not distracting. You can also experiment with backgrounds or virtual backgrounds for a more personalized touch.
- Distance from the Webcam: Find a comfortable distance from the webcam that allows your face to be clearly visible without dominating the entire frame. A medium shot, where your head and shoulders are in view, is usually a good framing option for video calls.
- Check the Camera Angle: Adjust the webcam angle to ensure that it captures your entire face. Avoid extreme angles that may distort your features or create unflattering perspectives. You can also tilt the webcam slightly downward to frame your face and upper body more evenly.
- Minimal Camera Movement: Try to minimize any unnecessary movement or camera shaking during video calls or recordings. Make sure the webcam is securely positioned to avoid any accidental movement that may disrupt the frame or cause blurred images.
Take a moment to test the webcam positioning and framing before starting your video calls or recordings. You can use the webcam software or a video conferencing application to preview the camera feed and make any necessary adjustments.
Finding the right placement for your webcam can greatly enhance the visual experience for both you and the people you’re communicating with. Experiment with different positions and angles to find the one that works best for your setup.
Tips for Better Video Quality
To ensure the best video quality during your webcam sessions, there are a few additional tips and tricks you can follow. By implementing these suggestions, you can enhance your appearance, lighting, and overall video performance. Here are some tips to help you achieve better video quality:
- Good Lighting: Lighting plays a crucial role in video quality. Find a well-lit area, preferably with natural light, and position yourself facing the light source. Avoid backlighting, as it can cast shadows on your face. If necessary, use additional lighting options, such as desk lamps, to evenly illuminate your face.
- Reduce Background Noise: Find a quiet location for your webcam sessions to minimize background noise. Close windows, doors, and turn off any noisy appliances or fans. Consider using a headset or external microphone to improve audio quality and reduce ambient noise.
- Internet Connection: A stable and fast internet connection is essential for smooth video streaming. Connect your computer or laptop to a reliable network, and if possible, use a wired connection instead of relying on Wi-Fi. Close any unnecessary applications or browser tabs that may consume bandwidth.
- Optimize Bandwidth: If your internet connection is limited, or if you’re experiencing slow video streaming, consider reducing the bandwidth consumption. You can lower the video resolution or frame rate in the webcam software settings to minimize the data being transmitted.
- Camera Hygiene: Keep your webcam lens clean and free from smudges or fingerprints to ensure clear video quality. Use a microfiber cloth or lens cleaning solution to gently wipe the lens before each use. Additionally, regularly clean the area around your webcam to prevent dust buildup that can impact the image quality.
- Dress Appropriately: Consider your attire when on camera. Choose clothing with solid colors that are not overly busy or distracting. Avoid wearing clothing that matches your background, as it can make you appear transparent or camouflaged.
- Avoid Distractions: Minimize any potential distractions around you, such as moving objects, bright decorations, or cluttered backgrounds. Create a clean and professional-looking environment to keep the focus on you during video calls or recordings.
- Maintain Eye Contact: Look directly into the webcam to establish eye contact with the person you’re communicating with. Avoid constantly looking at yourself or the video feed, as this may give the impression that you’re not fully engaged in the conversation.
Implementing these tips can greatly improve the overall video quality and enhance your virtual presence. Regularly review and adjust your setup to ensure the best possible video experience for both yourself and the people you interact with.
Troubleshooting Common Issues
While setting up and using a webcam, you may encounter some common issues that can hinder the video quality or functionality. Here are some troubleshooting tips to help you address and resolve these issues:
- No Video or Blank Screen: If your webcam is not showing any video or displaying a blank screen, first ensure that it is properly connected to your computer or laptop. Try unplugging and reconnecting the USB cable, or connecting it to a different USB port. If the issue persists, check if the webcam drivers are properly installed, and consider updating them to the latest version.
- Poor Video Quality: If you’re experiencing blurry or pixelated video, check the lighting conditions in your environment. Insufficient lighting or excessive backlighting can result in poor video quality. Adjust the lighting or position of the webcam to improve the clarity of the video. Additionally, ensure that your internet connection is stable and the bandwidth is not being heavily utilized.
- No Audio or Poor Audio Quality: If you’re not getting any audio from your webcam or if the audio quality is poor, make sure that the microphone is properly connected and not muted. Check the audio settings in the webcam software or the application you’re using and ensure that the correct microphone is selected. If necessary, consider using an external microphone or headset for better audio quality.
- Compatibility Issues: If your webcam is not functioning or being recognized by your operating system, check if it is compatible with your computer or laptop. Verify that the webcam is compatible with your specific operating system, and if not, check for any available software or driver updates from the manufacturer’s website. If the issue persists, contact the manufacturer’s customer support for further assistance.
- Software Freezing or Crashing: If the webcam software freezes or crashes during use, try restarting your computer and relaunching the application. Make sure that your computer meets the minimum system requirements for the webcam software. If the problem persists, consider reinstalling the webcam software using the latest version available from the manufacturer’s website.
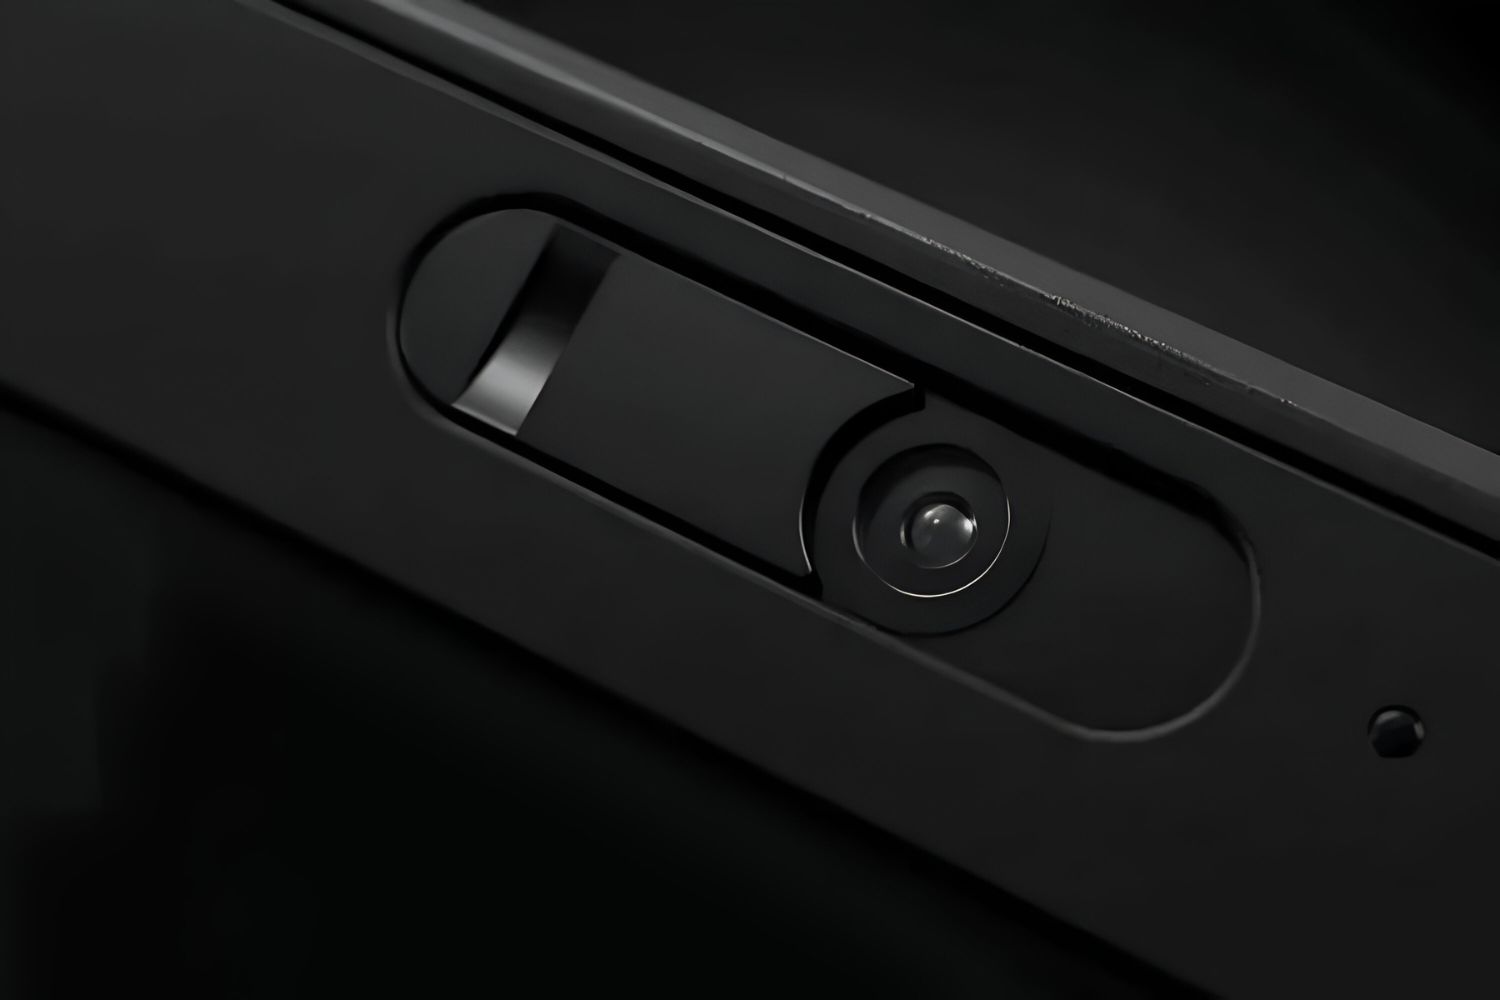
- Privacy and Security Concerns: As webcams can potentially be vulnerable to privacy and security breaches, it’s important to be cautious. Ensure that your webcam software is up to date, as software updates often include security patches. When not in use, consider covering the webcam lens with a physical cover or using privacy settings that disable the camera when not needed.
If you continue to experience issues with your webcam despite troubleshooting, consult the user manual or the manufacturer’s support documentation for more specific guidance. Additionally, you can reach out to the manufacturer’s customer support to report any persistent issues and seek further assistance.
By troubleshooting common issues and resolving them promptly, you can ensure a smooth and hassle-free webcam experience for all your online communication needs.
Conclusion
Congratulations! You have successfully learned how to set up a webcam and optimize its performance. By following the steps outlined in this guide, you are now equipped to choose the right webcam that suits your needs, check system requirements, install the necessary software, connect the webcam to your computer, adjust the settings for better video quality, position the webcam effectively, and troubleshoot any common issues that may arise.
Webcams have become an essential tool for video conferencing, online meetings, and staying connected with loved ones. With the increasing reliance on virtual communication, it’s important to ensure that your webcam setup is optimized for the best possible experience.
Remember to consider factors such as video resolution, frame rate, autofocus capabilities, and microphone quality when choosing a webcam. Check the system requirements to ensure your computer or laptop is compatible, and install the necessary software and drivers for optimal performance.
When connecting your webcam, find a stable surface and position the camera at eye level or slightly above. Ensure proper lighting, reduce background noise, and test your internet connection for a smooth video streaming experience. Adjust the webcam settings to optimize video quality, maintain a clean and professional background, and dress appropriately for your video calls.
If you encounter any issues, refer to the troubleshooting tips provided in this guide. Addressing common problems such as no video, poor video quality, or audio issues can help resolve any difficulties and ensure a seamless webcam experience.
By following these guidelines and putting them into practice, you can enhance your webcam setup and enjoy high-quality video communication with friends, family, colleagues, or clients. Whether it’s for work or personal use, a well-configured webcam setup will greatly improve your online communication and make your virtual interactions more engaging and enjoyable.
Now go ahead and put your newly acquired knowledge into action. Set up your webcam confidently, and embrace the world of seamless video communication!