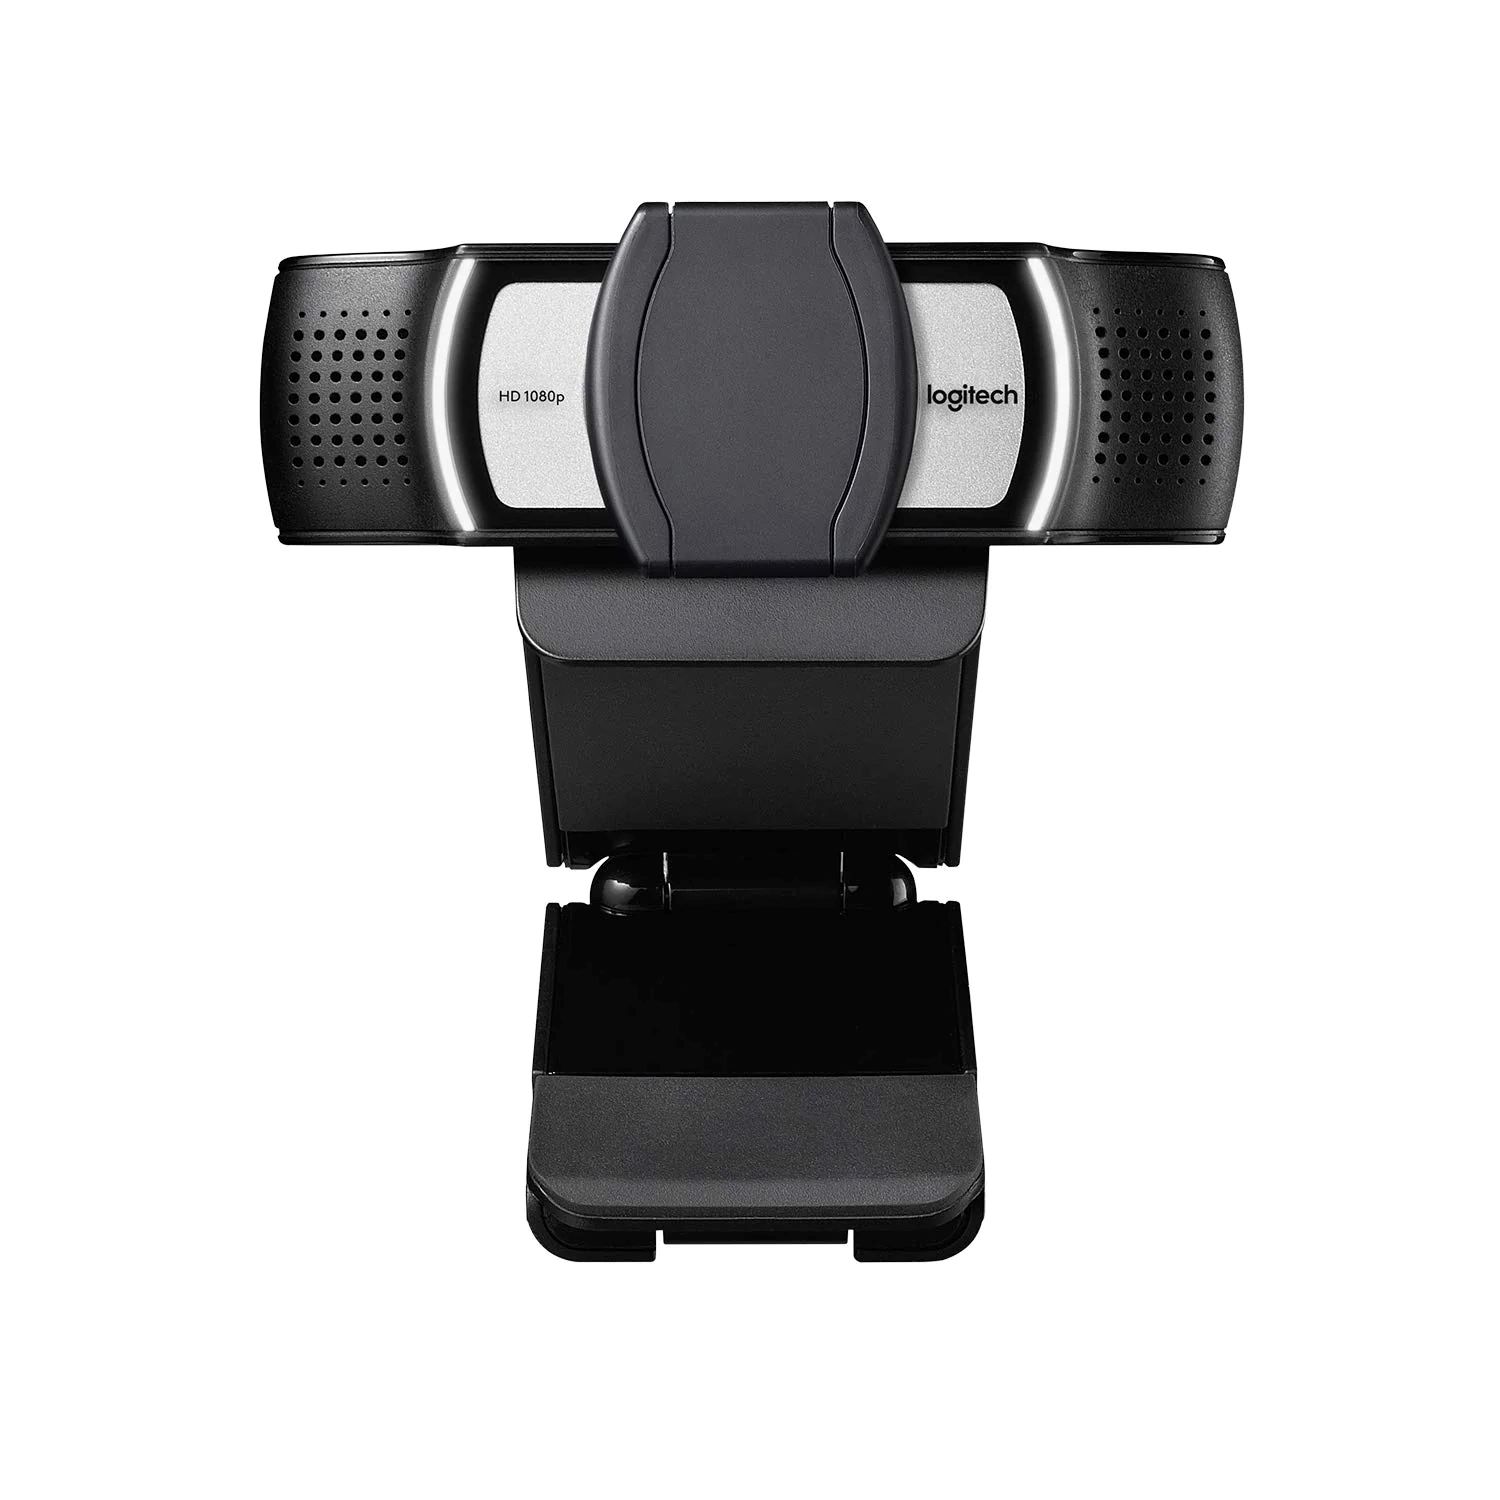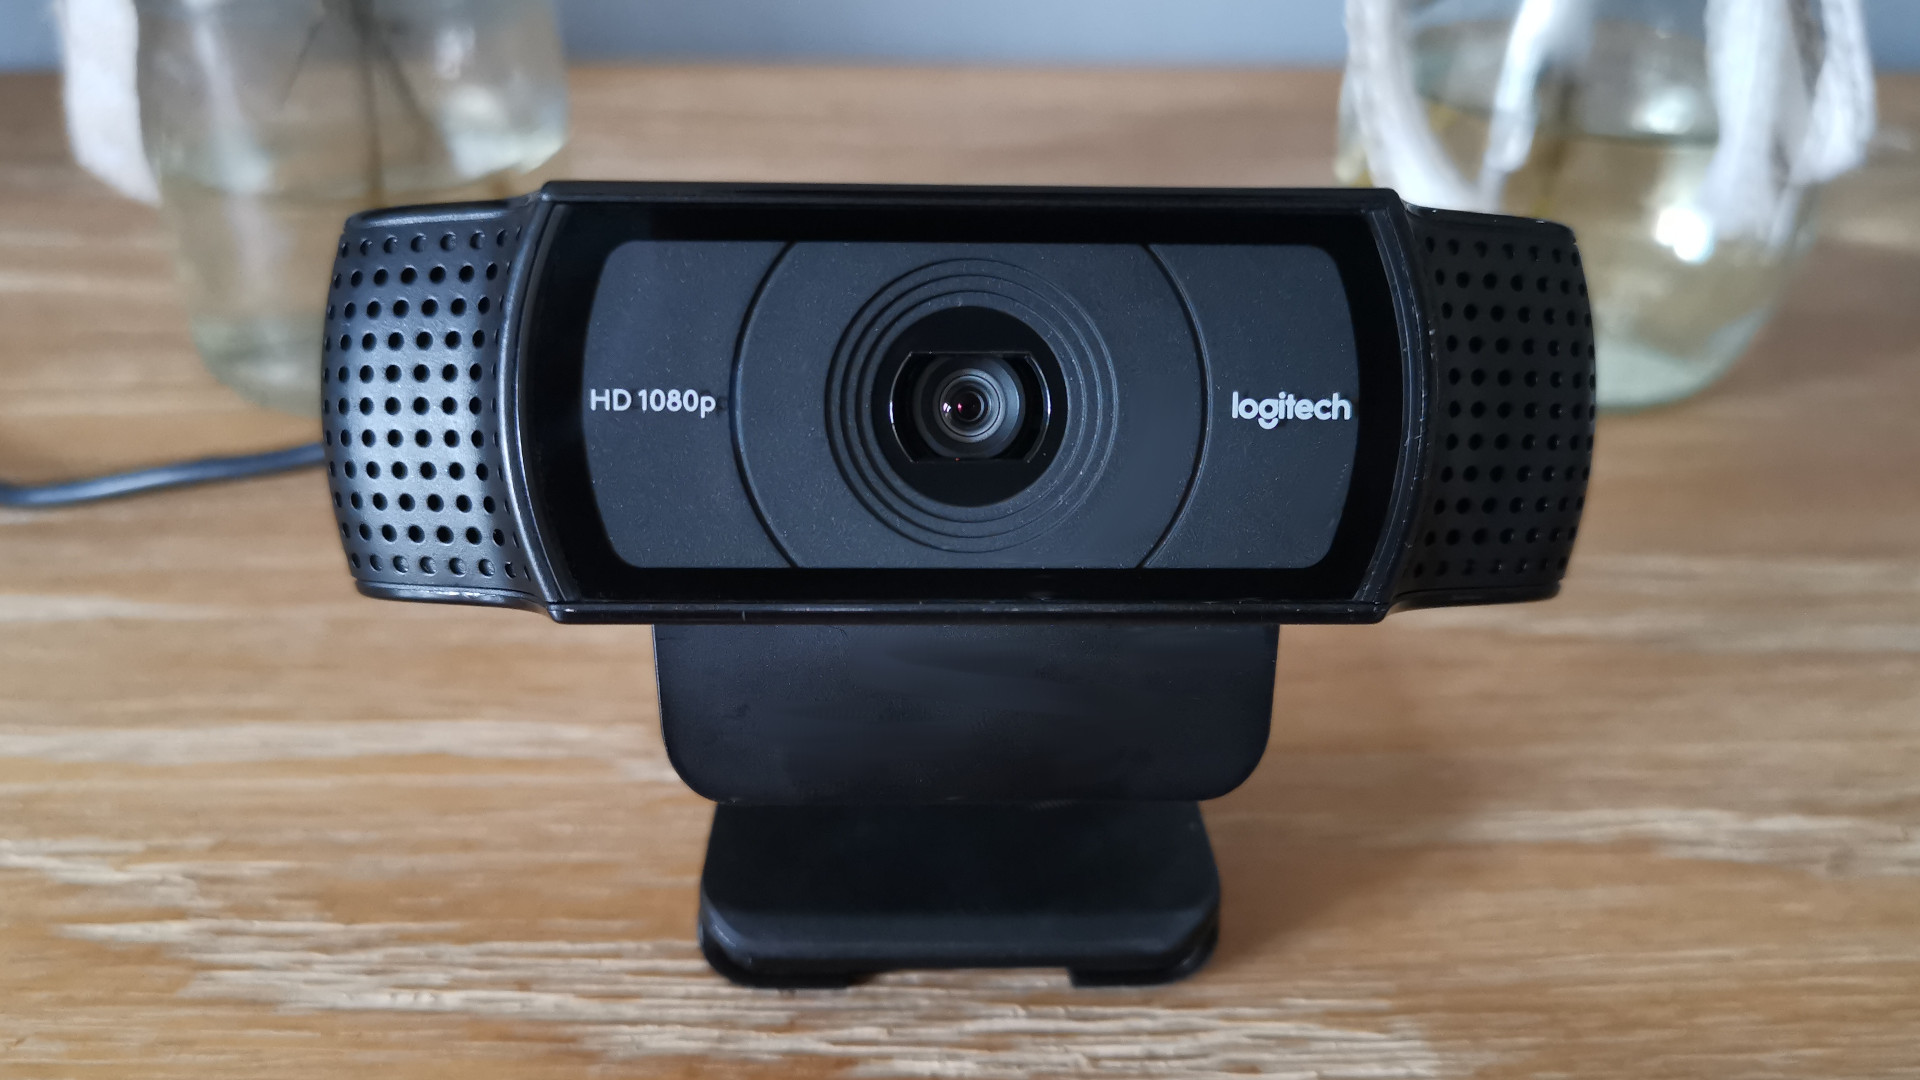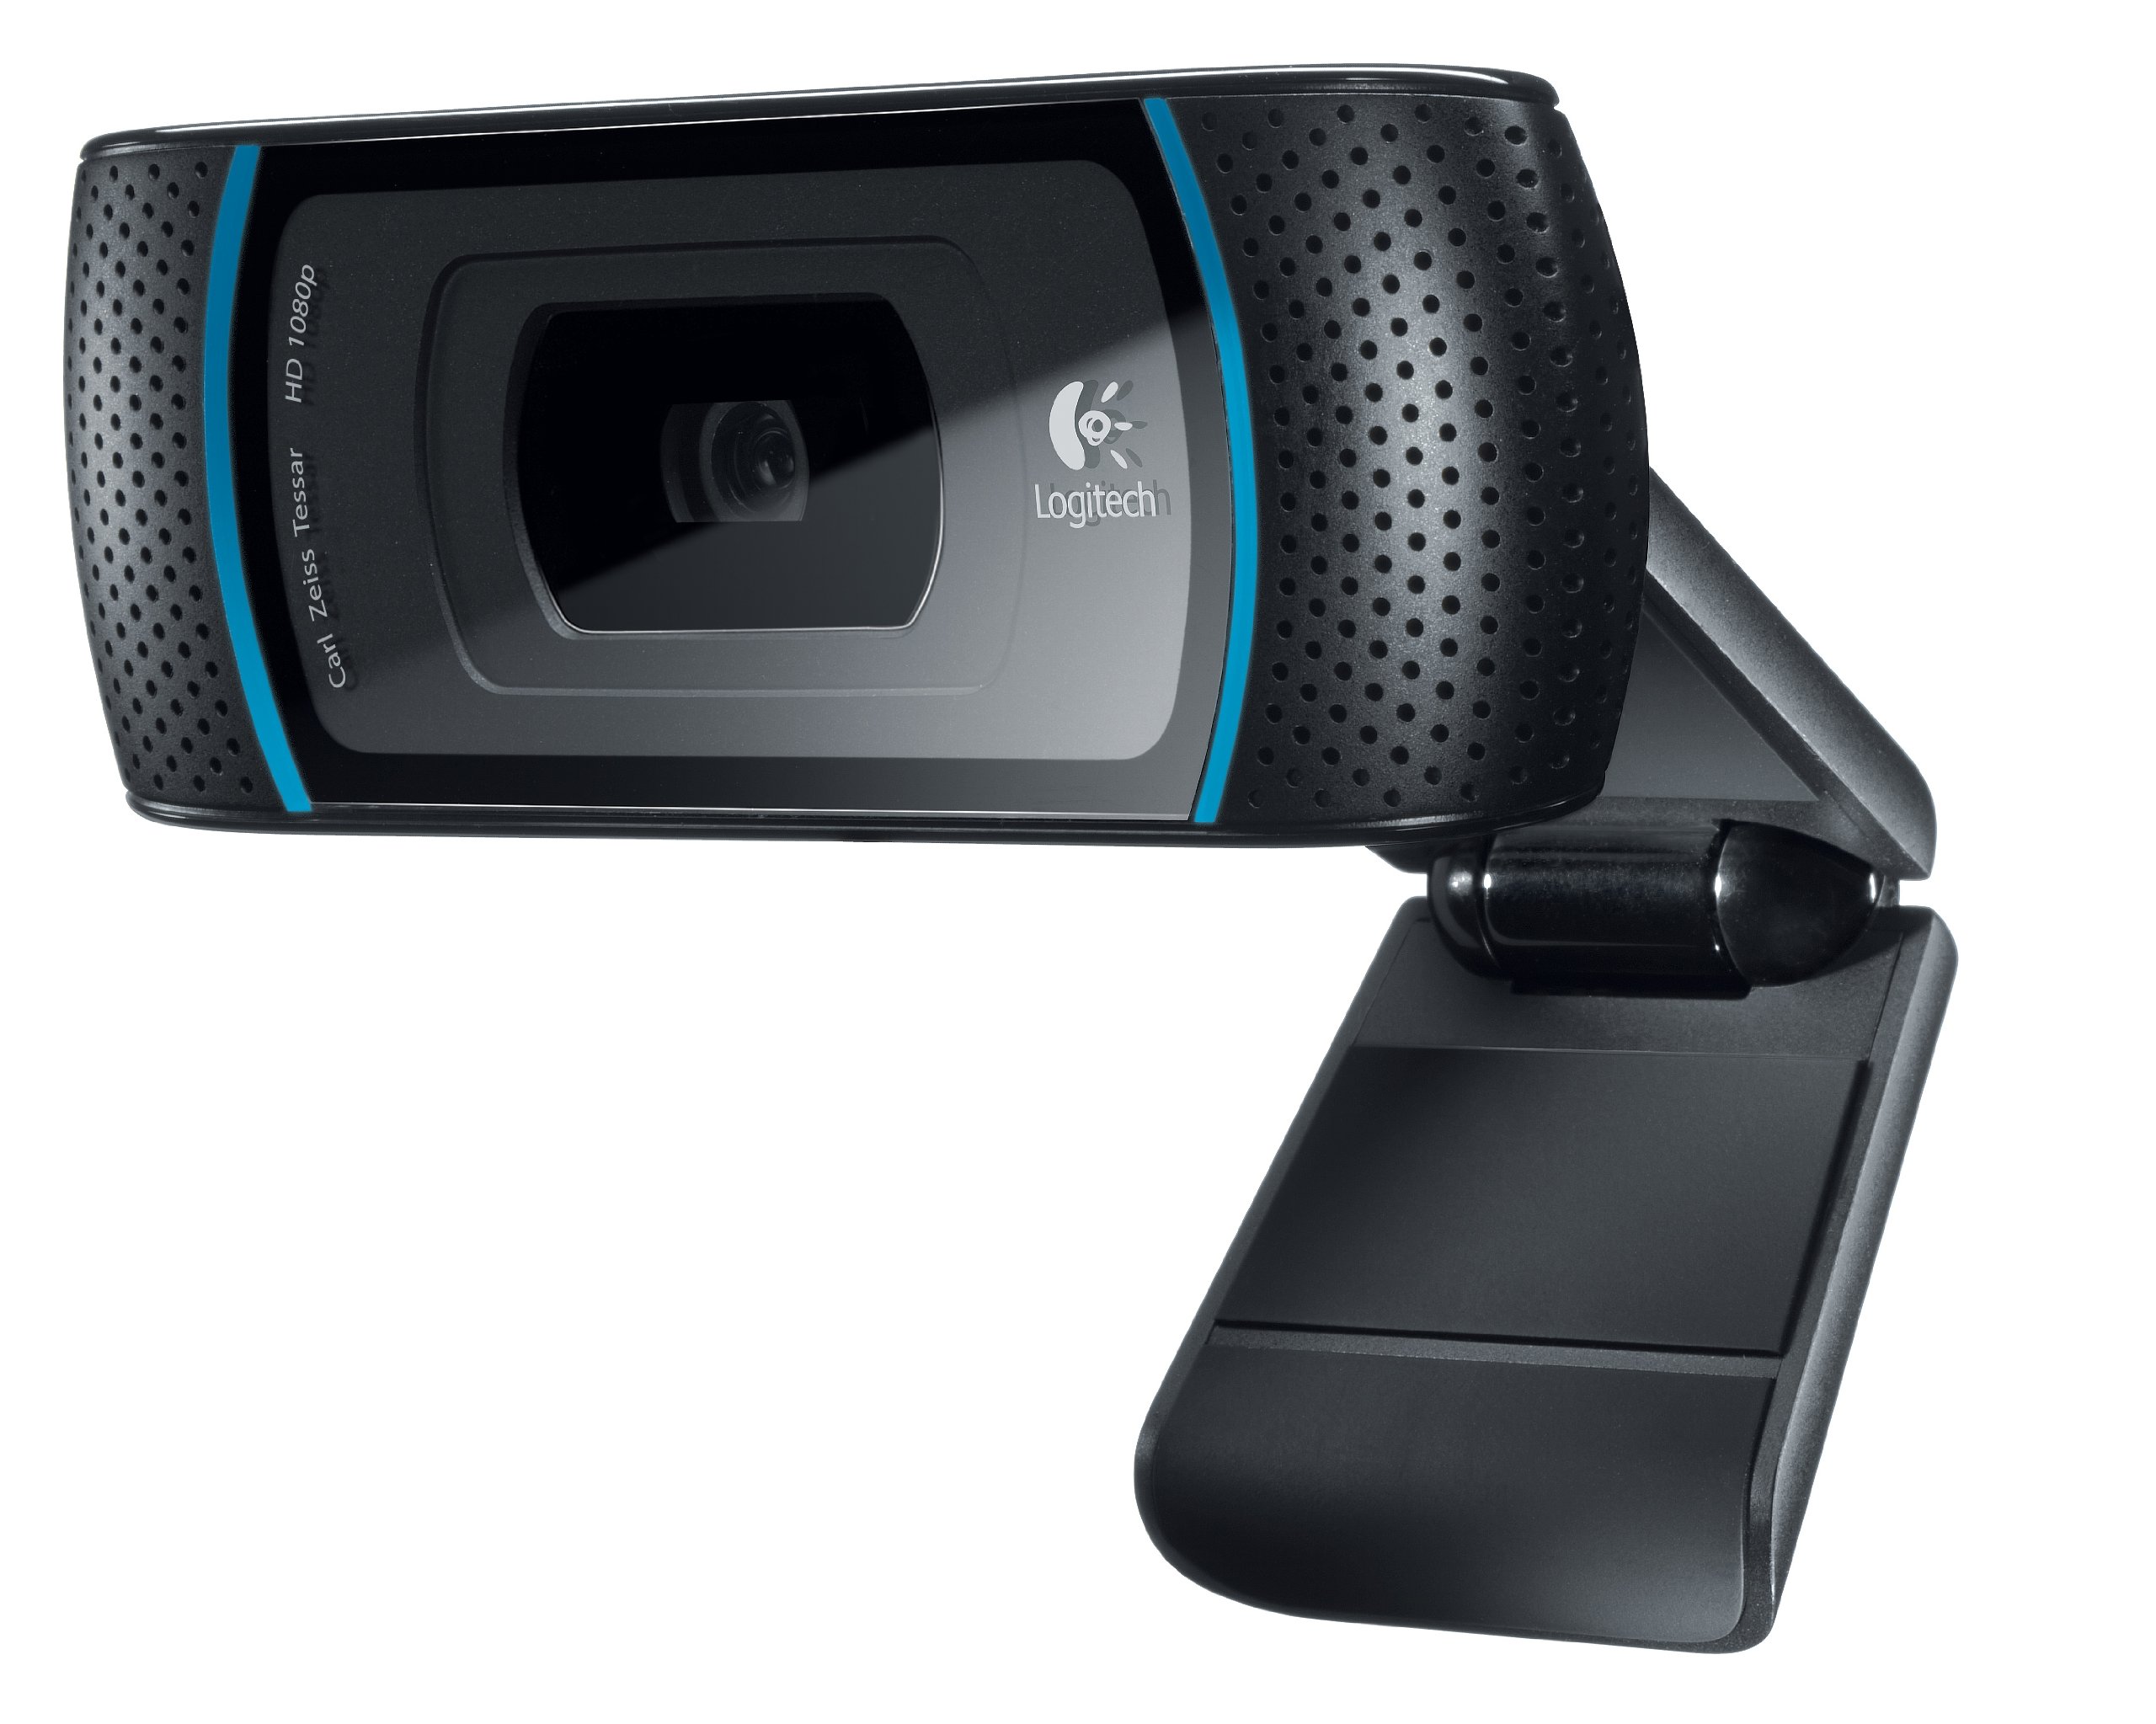
Common Issues with Logitech Webcams
Logitech webcams are known for their high-quality video and audio capabilities, making them a popular choice for video conferencing, streaming, and online communication. However, like any technology, they can encounter a few common issues that may disrupt their functionality. In this section, we will explore some of these issues and provide possible solutions.
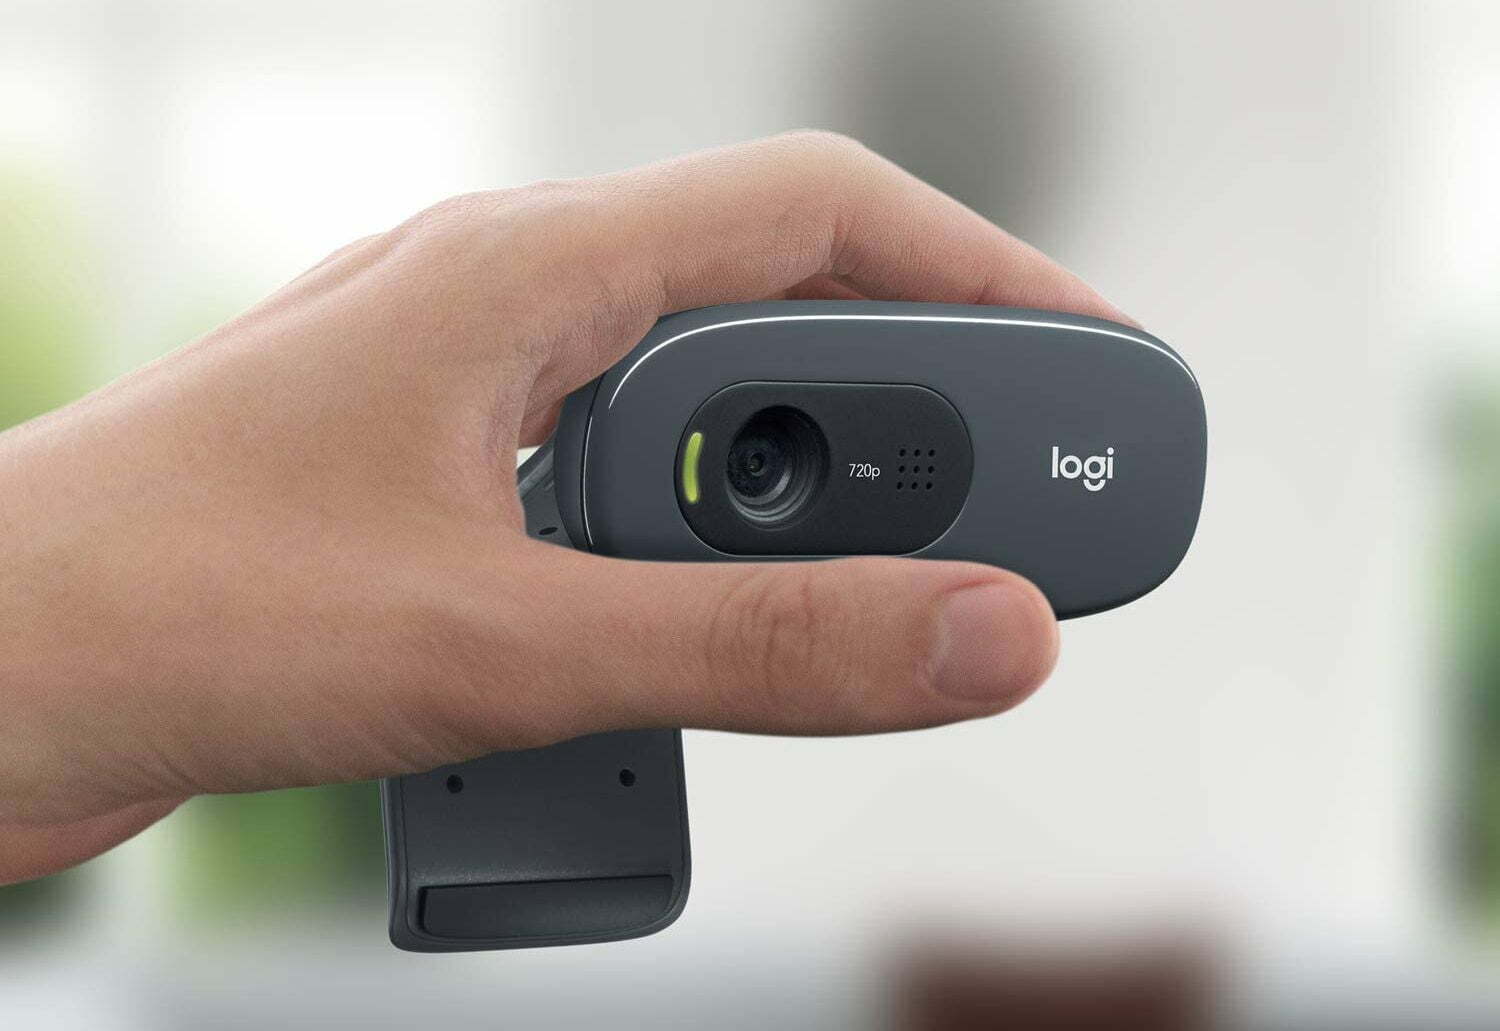
1. Connection Problems: One of the most common issues you may encounter with your Logitech webcam is a faulty connection. Ensure that the webcam is securely connected to your computer’s USB port. Try plugging it into a different USB port to rule out any port-related issues. Additionally, check if the USB cable is damaged or frayed and consider using a different cable if necessary.
2. Compatibility Issues: It’s crucial to ensure that your Logitech webcam is compatible with your operating system. Check the system requirements specified by Logitech for your webcam model. If your operating system is not supported, you may need to upgrade or find alternative solutions such as using third-party webcam software.
3. Device Driver Problems: Outdated or incompatible device drivers can also cause issues with your Logitech webcam. To resolve this, visit the official Logitech website and download the latest drivers for your webcam model. Follow the installation instructions carefully and restart your computer for the changes to take effect. Updating drivers can often resolve compatibility and performance-related issues.
4. Camera Settings: Sometimes, incorrect camera settings can lead to problems. Open the webcam settings software provided by Logitech or access the camera settings through your video conferencing application. Check if the resolution, frame rate, exposure, and other settings are configured correctly. Adjust them as needed and test your webcam again.
5. Webcam Cache: The webcam cache can accumulate temporary files and data, which may cause performance issues. Clear the cache by accessing your computer’s temporary file folder and deleting the webcam-related files. Restart your computer after clearing the cache to allow the changes to take effect.
6. Test with Another Application: If you’re experiencing issues with a specific application, try using your Logitech webcam with another application. This will help determine if the problem lies with the webcam itself or the application. If the webcam works fine with another application, consider reinstalling or updating the problematic application.
7. Camera Firmware Updates: Logitech periodically releases firmware updates for their webcams to enhance performance and address known issues. Visit the Logitech support website and check if there are any firmware updates available for your webcam model. Follow the instructions provided to update the firmware and test the webcam again.
8. Restart Your Computer: Sometimes, a simple restart can resolve minor glitches and conflicts that may be affecting your Logitech webcam. Restart your computer and allow it to fully boot up. Test the webcam after the restart to see if the issue has been resolved.
9. Contact Logitech Support: If none of the above solutions resolve the issue, it is advisable to reach out to Logitech support. They have a dedicated team of experts who can provide further assistance and guidance for troubleshooting the problem with your webcam.
By following these troubleshooting steps, you should be able to resolve common issues that may arise with your Logitech webcam. Remember to check for software updates regularly and keep your drivers up to date to ensure optimal performance.
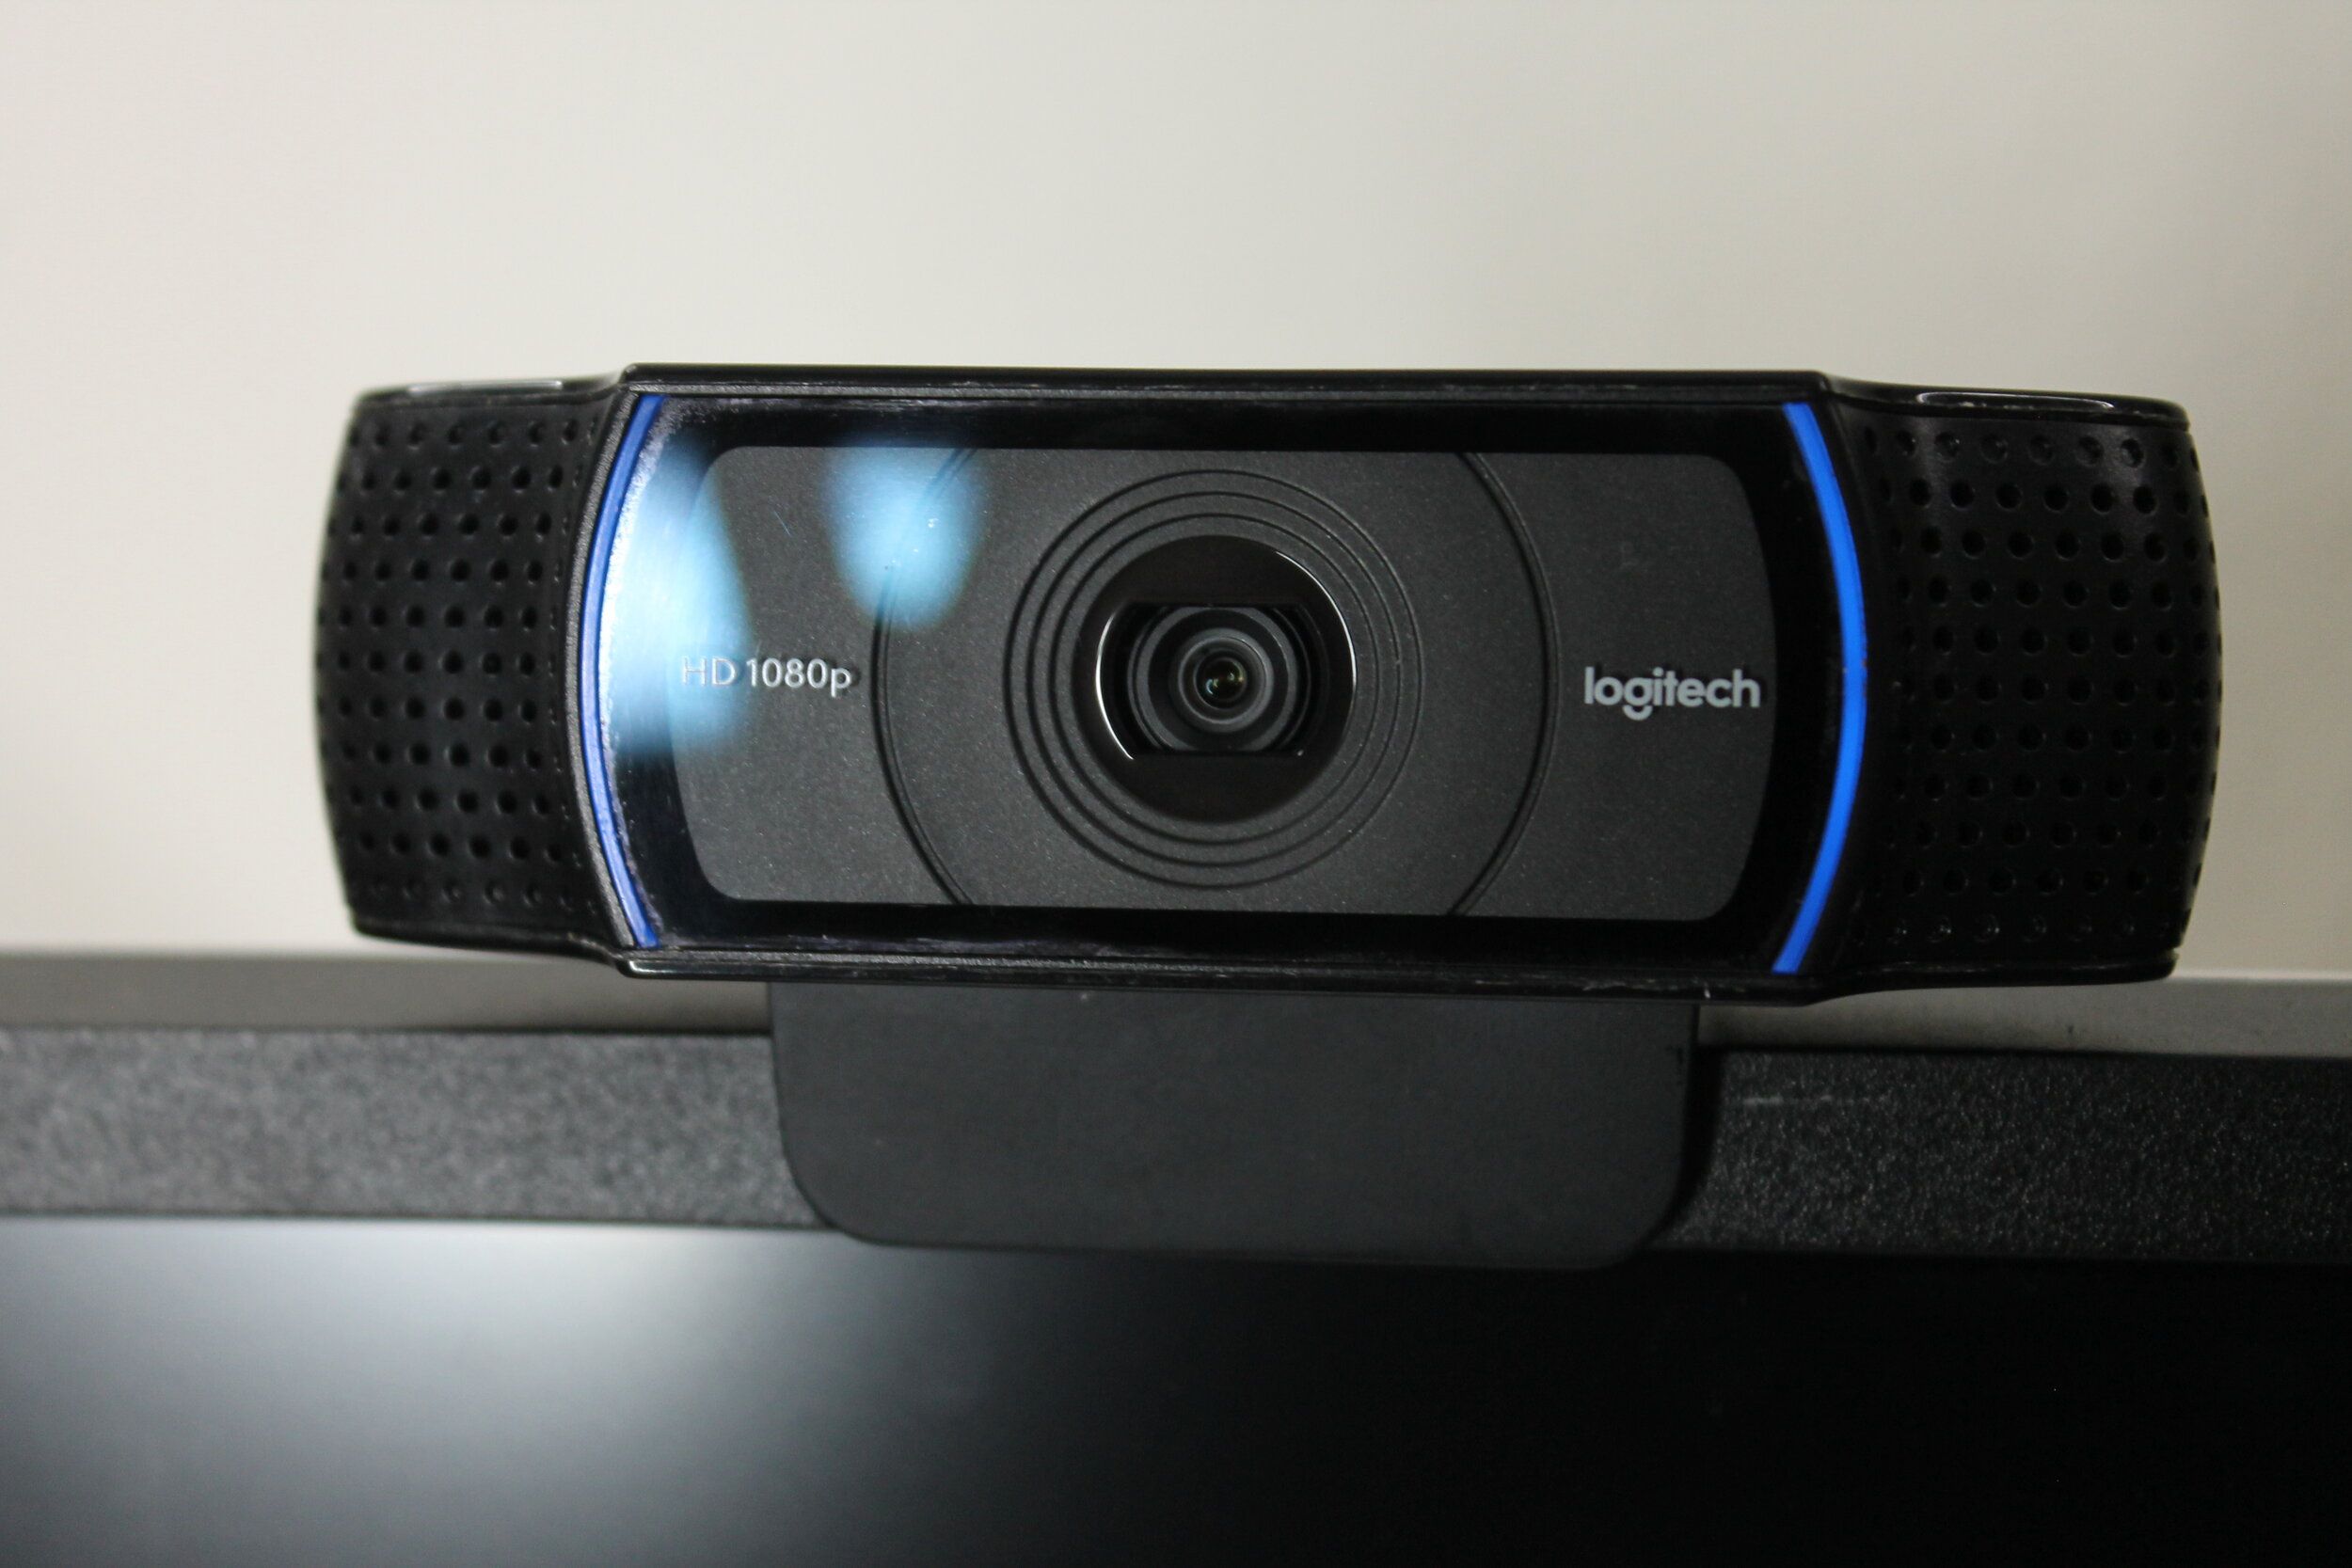
Check the Connection
One of the most common issues you may encounter with your Logitech webcam is a faulty connection. A poor connection can lead to a variety of problems, such as a black screen, freezing video, or no video feed at all. Luckily, checking the connection is relatively easy and can often resolve these issues.
First, ensure that the webcam is securely connected to your computer’s USB port. Sometimes, a loose connection can cause instability in the webcam’s performance. Disconnect the USB cable and then reconnect it firmly into the USB port. Make sure that the connection is secure and there are no obstructions preventing a proper connection.
If you have multiple USB ports on your computer, try plugging the webcam into a different port. Occasionally, a specific USB port may not be functioning correctly, causing issues with the webcam. By switching to a different port, you can determine whether the problem lies with the port or the webcam itself.
It’s also worth checking the USB cable for any signs of damage or wear. A frayed or damaged cable can disrupt the connection and cause issues with the webcam’s functionality. If the cable appears damaged, consider using a different USB cable of the same type to connect the webcam to your computer.
In some cases, using a USB hub or extension cable can also introduce connection problems. If you’re using any additional devices such as USB hubs or extension cables, try connecting the webcam directly to a USB port on your computer instead. This can help rule out any issues caused by these intermediary devices.
After checking the physical connection, it’s important to ensure that the webcam is recognized by your computer. Go to your computer’s device manager or system preferences and check if the webcam is listed under the connected devices. If it is not listed, you may need to install the necessary drivers for the webcam to be recognized properly.
By checking the connection and ensuring a secure and stable connection between the webcam and your computer, you can often resolve common issues that arise with Logitech webcams. If the problem persists, you can explore other troubleshooting steps to identify the root cause of the issue and find a suitable solution.
Ensure Compatibility with Your Operating System
Compatibility issues can often be a major culprit when it comes to problems with Logitech webcams. Before purchasing or using a Logitech webcam, it’s important to check if it is compatible with your operating system. Failure to do so can result in various issues, including driver conflicts, software incompatibility, and overall instability.
Start by checking the system requirements specified by Logitech for your webcam model. This information can usually be found on the product packaging or on the Logitech website. Pay close attention to the minimum operating system version and any specific requirements, such as available USB ports or processor specifications.
If your operating system is not listed as being compatible, it may be worth considering an upgrade to a newer version or researching alternative solutions. Logitech may offer older versions of software or drivers that are compatible with your specific operating system, but these may not provide the same level of support or functionality as the latest versions.
In some cases, third-party software may be available that can bridge the compatibility gap between your operating system and the Logitech webcam. These software solutions typically provide additional features and functionalities that are not present in the Logitech-provided software. However, it’s important to research and choose reputable third-party software to avoid potential security risks.
Another critical aspect to consider is whether your operating system is up to date. Regularly updating your operating system ensures that you have the latest security patches, bug fixes, and compatibility updates. These updates can often resolve compatibility issues with various hardware devices, including Logitech webcams.
To check for operating system updates on Windows, go to the Windows Update settings and click on “Check for updates.” On macOS, click on the Apple menu, select “System Preferences,” and choose “Software Update.”
If you have recently updated your operating system and started experiencing compatibility issues with your Logitech webcam, it’s possible that the update has caused a conflict. In such cases, you may need to install updated drivers or software specifically designed to address the compatibility issue.
By ensuring compatibility between your Logitech webcam and your operating system, you can minimize the chances of encountering compatibility issues that can disrupt the functionality of your webcam. Always refer to the official Logitech resources and consult the support team if you have any doubts or require further assistance.
Check Device Drivers
Device drivers play a crucial role in the proper functioning of Logitech webcams. Outdated or incompatible drivers can cause a variety of issues, such as camera not being recognized by the computer, video freezing or lagging, or audio problems. Therefore, it’s essential to regularly check and update the device drivers for your Logitech webcam.
Start by visiting the official Logitech website and navigate to the support section or driver download page. Locate the drivers specifically designed for your webcam model and operating system. Download the latest version of the drivers, ensuring that you select the correct version based on your operating system (e.g., Windows or macOS).
Once the drivers are downloaded, follow the installation instructions provided by Logitech. This typically involves running the installer file and following the on-screen prompts. During the installation process, the device drivers will be updated, replacing any outdated or incompatible ones.
After the installation is complete, it’s recommended to restart your computer to ensure that the changes take effect properly. Restarting your computer allows the system to update and reload the new device drivers for the webcam.
To check if the webcam is recognized and functioning correctly after updating the drivers, go to your computer’s device manager or system preferences. Look for the webcam under the connected devices or peripherals section. If the webcam is listed without any warning signs or error messages, it indicates that the drivers have been installed successfully.
If you encounter any issues during the driver installation or the webcam is still not functioning properly, you might consider uninstalling the existing drivers before attempting to install the updated drivers. To uninstall the drivers, go to the device manager, locate the webcam, right-click on it, and select “Uninstall.” Then, proceed with installing the updated drivers as mentioned earlier.
In some cases, it may be necessary to completely remove any trace of the webcam drivers before reinstalling them. Third-party driver uninstaller software can help in thoroughly removing all remnants of the previous drivers. However, exercise caution when using such software and ensure that you select a reputable and reliable option.
Regularly checking and updating the device drivers for your Logitech webcam is crucial to ensure compatibility and optimal performance. By keeping the drivers up to date, you can address compatibility issues, resolve software conflicts, and enjoy a smooth and trouble-free webcam experience.
Adjust Camera Settings
The camera settings of your Logitech webcam play a vital role in capturing high-quality videos and producing the desired results. If you’re experiencing issues with the video quality, exposure, or other camera-related aspects, adjusting the camera settings can often help resolve these issues.
To access the camera settings, you can use the software provided by Logitech specifically for your webcam model. Alternatively, many video conferencing and streaming applications also offer camera settings within their interface. Open the software or application and look for the camera settings option.
One of the essential settings to adjust is the resolution. Higher resolutions result in clearer and more detailed video, but they also require a more significant amount of processing power and bandwidth. If you’re experiencing lag or issues with video playback, reducing the resolution to a lower setting may improve performance.
Exposure settings control the amount of light that the camera captures. This setting is particularly important in varying lighting conditions. If your video appears too bright or washed out, decreasing the exposure can help. Conversely, if the video is too dark, increasing the exposure can improve visibility.
Frame rate refers to the number of frames per second that the camera captures. Higher frame rates result in smoother videos, but they also require more resources. If you’re experiencing choppy or lagging video, reducing the frame rate can potentially resolve the issue.
White balance settings ensure that the colors in your video appear accurate and natural. This setting is crucial when recording in different lighting conditions. Most webcams offer automatic white balance, which adjusts the color temperature based on the environment. However, some webcams may allow manual adjustments as well.
In addition to these basic settings, some webcams offer additional advanced settings such as autofocus, zoom, pan, tilt, and image stabilization. These settings can further enhance the video quality and allow for more flexibility in capturing content.
While adjusting the camera settings, it’s important to strike a balance between the desired results and the resources of your computer or the capabilities of your internet connection. Experiment with different settings and monitor the performance to find the optimal configuration for your specific needs.
Remember to save the changes after adjusting the camera settings. Close and reopen the software or application to ensure that the settings are applied correctly.
By adjusting the camera settings of your Logitech webcam, you can fine-tune the video quality, exposure, and other parameters to achieve optimal results. Take advantage of the available options and experiment with different settings to find the perfect configuration for your use case.
Clear Your Webcam Cache
Over time, the cache of your webcam can accumulate temporary files and data, which may lead to performance issues and unexpected behavior. If you’re experiencing problems with your Logitech webcam, clearing the webcam cache can often help resolve these issues and improve its overall performance.
To clear the webcam cache, follow these steps:
- Disconnect your Logitech webcam from your computer.
- Access your computer’s temporary file folder. The location of this folder may vary depending on your operating system.
- Look for a folder or subfolder related to your webcam or video peripherals. It may have a name that includes “Logitech,” “webcam,” or the specific model of your webcam.
- Open the folder and delete all the files and subfolders inside. These files are temporary files and can be safely removed.
- Restart your computer to allow the changes to take effect.
After clearing the webcam cache and restarting your computer, reconnect your Logitech webcam and check if the performance issues have been resolved.
It’s important to note that clearing the webcam cache will not delete any essential files or settings associated with your webcam. Instead, it removes temporary files that may be causing conflicts or affecting the webcam’s performance.
If you’re using video conferencing or streaming applications, clearing the cache of these applications may also help resolve any camera-related issues. Look for settings within the application that allow you to clear the cache or temporary files associated with it.
Regularly clearing the cache of your Logitech webcam can help maintain its optimal performance. It’s recommended to include this task as part of your regular computer maintenance routine, especially if you use the webcam frequently or encounter performance issues.
In addition to clearing the cache, it’s also advisable to keep your computer’s overall cache and temporary files in check. Periodically clear the cache of your web browser and remove unnecessary files from your computer using built-in tools or third-party software.
By clearing the webcam cache and maintaining a clean system, you can ensure that your Logitech webcam operates smoothly, providing high-quality video and audio for all your video conferencing, streaming, and communication needs.
Test with Another Application
If you’re experiencing issues with your Logitech webcam, such as a black screen or audio problems, it’s important to determine whether the problem lies with the webcam itself or with the application you’re using. Testing your webcam with another application can help identify the root cause of the issue and guide you towards a suitable solution.
Start by closing the current application that you’re experiencing issues with. Then, open a different application that supports webcam usage, such as a video conferencing application or a webcam testing tool.
In the new application, access the settings or preferences section to ensure that your Logitech webcam is selected as the default camera. If your webcam is not detected or listed as an option, check the connection, drivers, and compatibility issues as discussed in previous sections.
Once the webcam is selected, initiate a test or a video call within the application. Pay attention to whether the webcam functions properly, if the video feed is clear, and if the audio is captured accurately. If the webcam works seamlessly without any issues in the new application, it suggests that the problem lies with the previous application you were using.
In case the issues persist in the new application as well, further troubleshooting steps may be necessary. Check the webcam settings within the application to ensure that they are configured correctly. Adjust settings such as resolution, frame rate, and exposure to see if they improve the performance of the webcam. You can also reach out to the application’s support team for assistance and guidance.
If the webcam continues to malfunction in all applications, you may consider updating the application or reinstalling it entirely. Check for available updates for the application and install them if necessary. Uninstalling and reinstalling the application can also help resolve software-related conflicts that may be causing issues with your webcam.
Testing your Logitech webcam with another application provides valuable insight into whether the problem is specific to a particular application or if it extends to the webcam itself. This information can guide you towards the appropriate troubleshooting steps to resolve the issue and ensure proper functionality of your webcam.
Remember to keep your webcam drivers up to date and regularly check for software updates for both your webcam and the applications you’re using. This helps ensure compatibility, improves performance, and reduces the chances of encountering issues in the future.
Update Camera Firmware
Logitech periodically releases firmware updates for their webcams to improve performance, fix bugs, and address known issues. Updating the firmware of your Logitech webcam can be an effective troubleshooting step to resolve certain camera-related problems and ensure optimal functionality.
To update the camera firmware, follow these steps:
- Visit the official Logitech website and navigate to the support or downloads section.
- Locate the firmware update specifically designed for your webcam model. Ensure that you select the firmware update compatible with your operating system.
- Download the firmware update to your computer.
- Disconnect any other external devices or webcams connected to your computer.
- Close all applications and ensure that no other programs are running in the background.
- Run the firmware update file that you downloaded. Follow the on-screen instructions and prompts to complete the firmware update process.
- Once the firmware update is complete, restart your computer to allow the changes to take effect.
After restarting your computer, reconnect your Logitech webcam and test its functionality to ensure that the firmware update was successful.
Updating the camera firmware is crucial to stay up to date with the latest enhancements and fixes provided by Logitech. Firmware updates address known issues, optimize performance, and introduce new features, enhancing the overall user experience.
Regularly checking for firmware updates is recommended, especially if you encounter any issues with your webcam or if Logitech releases firmware specifically addressing known problems. It’s essential to check the Logitech website periodically and subscribe to any notifications or newsletters that provide information about firmware updates.
Note that firmware updates are specific to the webcam model and may vary between different Logitech models. Ensure that you download the correct firmware update for your specific webcam model to avoid compatibility issues.
If you encounter any difficulties during the firmware update process or if the webcam continues to exhibit issues after the update, consider reaching out to Logitech support for further assistance. They can provide guidance and troubleshoot any specific issues you may be facing.
By regularly updating the camera firmware of your Logitech webcam, you can ensure that it operates at its best potential, with improved performance and stability, allowing you to fully enjoy its features for video conferencing, streaming, and other camera-related activities.
Restart Your Computer
When encountering issues with your Logitech webcam, restarting your computer is often a simple yet effective troubleshooting step that can resolve minor glitches and conflicts. Restarting your computer allows the system to refresh and reload essential drivers and processes, potentially resolving any issues affecting the functionality of your webcam.
To restart your computer, follow these steps:
- Save any open files and close all running applications.
- Click on the “Start” menu or press the Windows key.
- Select the “Restart” option from the power options menu.
- Wait for your computer to shut down and restart.
After the restart, allow your computer to boot up fully and log in. Once you’re logged in, test the functionality of your Logitech webcam to determine if the issue has been resolved.
Restarting your computer can help clear temporary files, refresh system processes, and reestablish connections between your hardware devices and the operating system. This can potentially resolve minor conflicts or software glitches that may be affecting the proper functioning of your webcam.
In addition to resolving webcam issues, restarting your computer can also have other positive effects on overall system performance. It frees up system resources, clears temporary caches, and closes background processes that may be consuming memory.
It’s worth noting that a simple restart may not always resolve more complex issues with your webcam. If the problem persists after a restart or if you’re facing recurring issues, further troubleshooting steps discussed in previous sections may be necessary.
Regularly restarting your computer as part of your routine maintenance can help prevent the buildup of issues and ensure a more stable and efficient system overall. Additionally, updating your operating system, device drivers, and webcam software can further improve your webcam’s performance and address any compatibility concerns.
If the issue with your Logitech webcam persists even after restarting your computer and following other troubleshooting steps, it may be necessary to contact Logitech support or consult with a technician to diagnose and resolve the problem.
By restarting your computer when encountering webcam issues, you provide your system with a fresh start and a chance to rectify minor software conflicts or glitches that may be affecting your webcam’s functionality. Always remember to save your work before restarting to avoid any data loss.
Contact Logitech Support
If you have tried all the troubleshooting steps mentioned earlier and are still experiencing issues with your Logitech webcam, it’s time to reach out to Logitech support for further assistance. Logitech has a dedicated support team that can provide expert guidance and solutions tailored to your specific webcam model and issue.
Before contacting Logitech support, make sure to gather all relevant information about your webcam, including the model number, serial number, and any error messages or specific details regarding the issue you are facing. This information will help the support team better understand your situation and provide accurate assistance.
There are several ways to contact Logitech support:
- Online Support: Visit the Logitech support website and navigate to the support section. Search for articles, FAQs, and troubleshooting guides related to your specific webcam model. Logitech provides a comprehensive database of knowledge that can help address common issues.
- Live Chat: Logitech offers live chat support on their website. This allows you to have a real-time conversation with a support representative who can guide you through troubleshooting steps or provide further assistance.
- Email Support: If your issue is not urgent or requires more detailed information, you can send an email to Logitech support. Make sure to provide a clear description of the problem you are facing, along with any relevant information or error messages.
- Phone Support: Logitech also provides phone support for more immediate assistance. Check the Logitech website for the phone support hours and contact numbers specific to your region.
When contacting Logitech support, be prepared to provide as much information as possible about your webcam and the issue you are facing. This will help the support team diagnose the problem more efficiently and provide the most suitable solutions.
Logitech support representatives are trained to assist customers with a wide range of issues, from technical problems to warranty inquiries. They can guide you through advanced troubleshooting steps, offer firmware or driver updates, or provide information on how to initiate a warranty claim if applicable.
Remember to be patient and cooperative with the support team, as they are there to assist you and find a solution to your webcam issue. Follow their instructions carefully and provide any requested information promptly to ensure a smooth support experience.
By contacting Logitech support, you can receive expert assistance and personalized solutions for the issues you are facing with your Logitech webcam. They have the knowledge and resources to help you resolve the problem and ensure that your webcam is functioning optimally.