Introduction
Installing a CPU fan is an essential step in ensuring the proper cooling of your computer’s processor. Without adequate cooling, the CPU can overheat, leading to performance issues and potentially even permanent damage. While the process may seem daunting at first, with the right tools and instructions, anyone can successfully install a CPU fan.
In this guide, we will walk you through the step-by-step process of screwing in a CPU fan, ensuring that it is properly secured and providing effective cooling for your computer. Whether you are a seasoned computer enthusiast or a first-time builder, this guide will help you complete this essential task with ease.
Before we begin, it’s important to mention that different CPU fan models may have slightly different installation methods. Therefore, it’s always a good idea to refer to the specific instructions provided by the manufacturer. However, the general principles outlined in this guide should apply to the majority of CPU fans.
Now, let’s gather the necessary tools and materials and get started on your CPU fan installation journey.
Tools and Materials Needed
Before you begin the process of screwing in your CPU fan, make sure you have the following tools and materials ready:
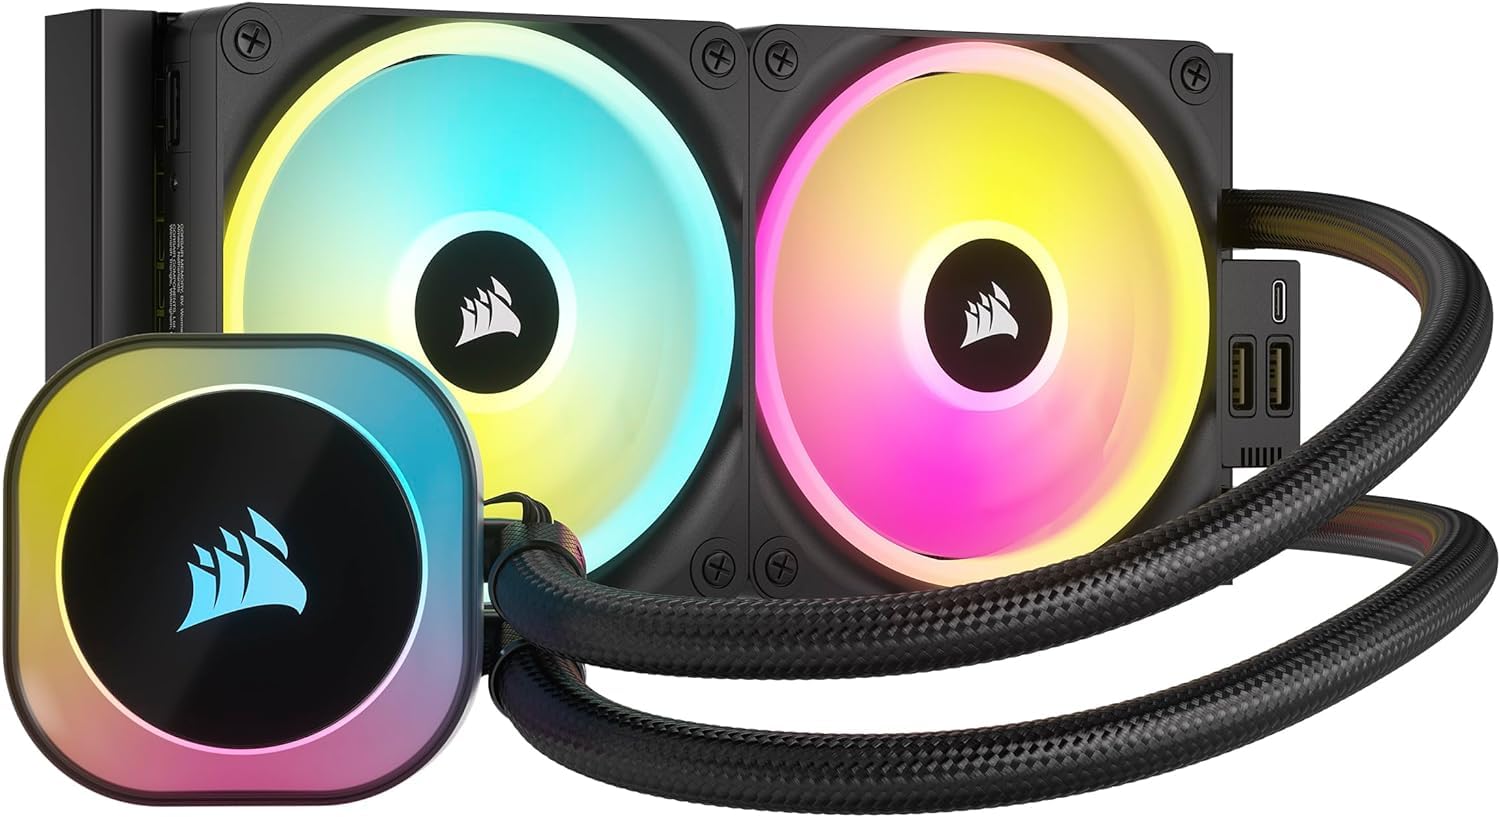
- A CPU fan: Ensure that you have a compatible CPU fan that is designed to fit your specific processor.
- Screwdriver: Depending on the type of screws used by your CPU fan, you may need a Phillips-head or flat-head screwdriver. Check the instructions provided with your CPU fan to determine the appropriate screwdriver type.
- Thermal paste: It’s important to have a high-quality thermal paste to provide optimal heat transfer between the CPU and the fan. This will ensure efficient cooling of the processor.
- Rubbing alcohol: Use rubbing alcohol or any recommended cleaner to remove any old thermal paste residue from the processor before installing the CPU fan.
- Clean cloth: Have a clean, lint-free cloth on hand to wipe off any excess thermal paste or to clean the surface of the processor.
It’s essential to have all the tools and materials ready before starting the installation process to avoid any interruptions or delays. Taking the time to gather these items beforehand will make the installation process smoother and more efficient.
With the necessary tools and materials prepared, you’re now ready to move on to the next step: preparation.
Step 1: Preparation
Before proceeding with the installation of the CPU fan, it’s crucial to prepare your workspace and make the necessary preparations:
- Power off your computer: Start by completely shutting down your computer and unplugging it from the power source. This will ensure your safety and prevent any electrical mishaps during the installation process.
- Discharge static electricity: To prevent static electricity from damaging sensitive components, ground yourself by touching a grounded metal object or wearing an anti-static wristband.
- Access the CPU socket: Remove the computer case’s side panel to gain access to the CPU socket. Refer to your computer’s manual if you need assistance in locating the CPU socket.
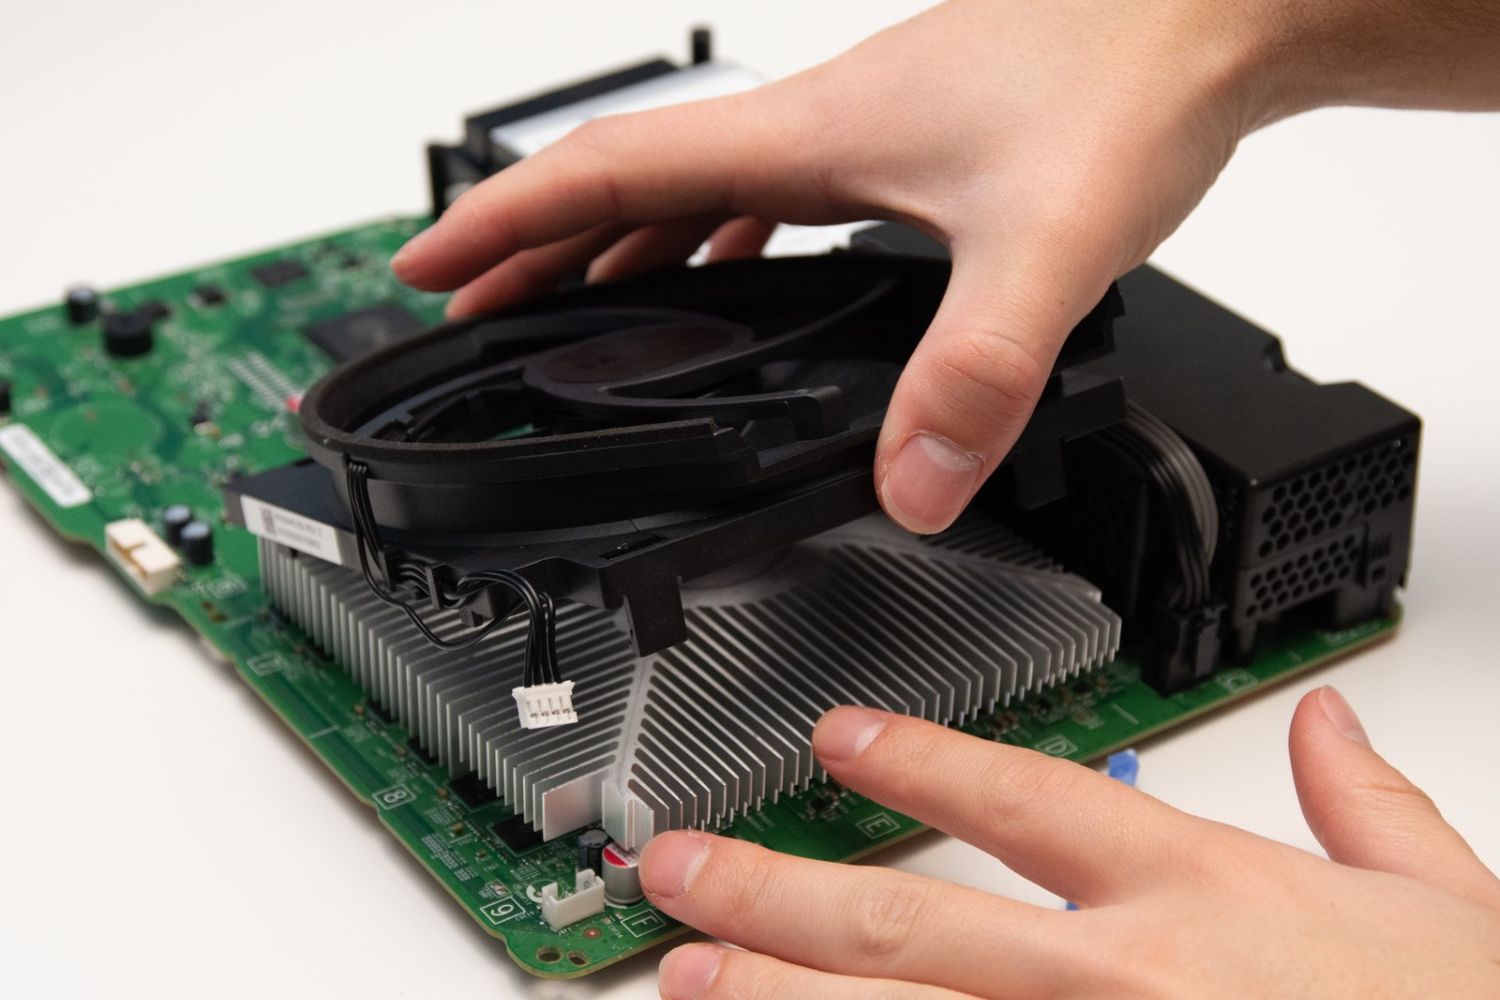
- Remove the old CPU fan (if applicable): If you are replacing an existing CPU fan, carefully disconnect the fan cables from the motherboard and remove any screws or clips securing it to the CPU socket. Remember to clean off any residual thermal paste from the processor using a clean cloth and rubbing alcohol.
- Apply new thermal paste (if applicable): If you are installing a new CPU fan or if the existing thermal paste is old and dried out, apply a small amount of thermal paste to the center of the processor. Use a credit card or a thermal paste spreader to evenly distribute the paste in a thin layer.
Taking the time to prepare your workspace and the CPU socket will ensure a smooth installation process and help optimize the performance of your CPU fan. Once you have completed the necessary preparations, you can move on to the next step: locating the CPU fan mounting points.
Step 2: Locating the CPU Fan Mounting Points
Each CPU fan comes with a specific mounting mechanism to secure it to the CPU socket. In this step, we will locate the mounting points on your CPU fan:
- Refer to the instruction manual: Consult the instruction manual that came with your CPU fan to identify the specific mounting points. The manual will provide detailed diagrams and explanations for your specific model.
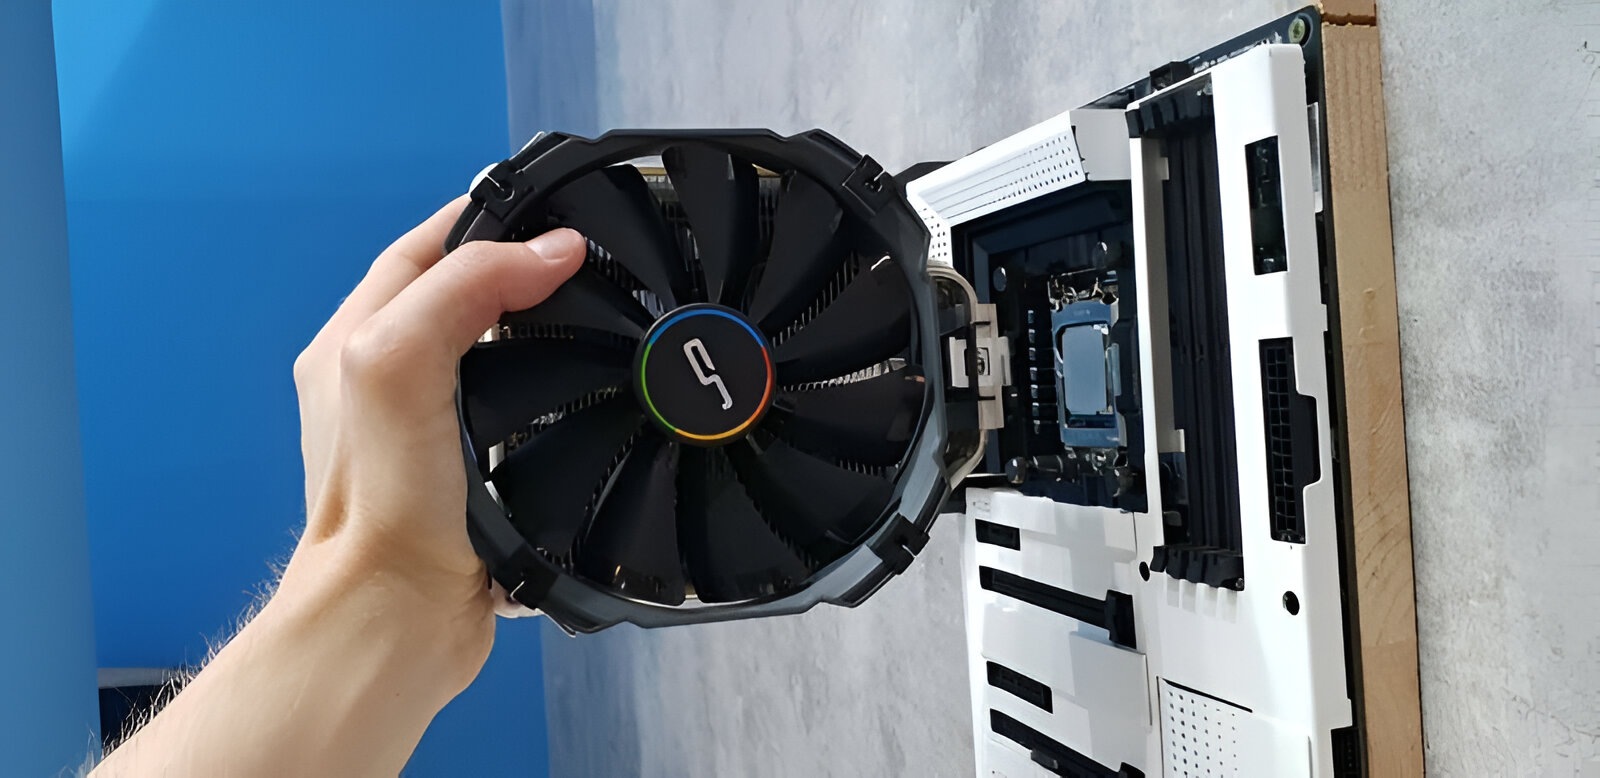
- Inspect the CPU fan: Examine the CPU fan and look for screws or clips that are designed to fit into corresponding holes or brackets on the CPU socket. These mounting points ensure a secure and stable installation of the CPU fan.
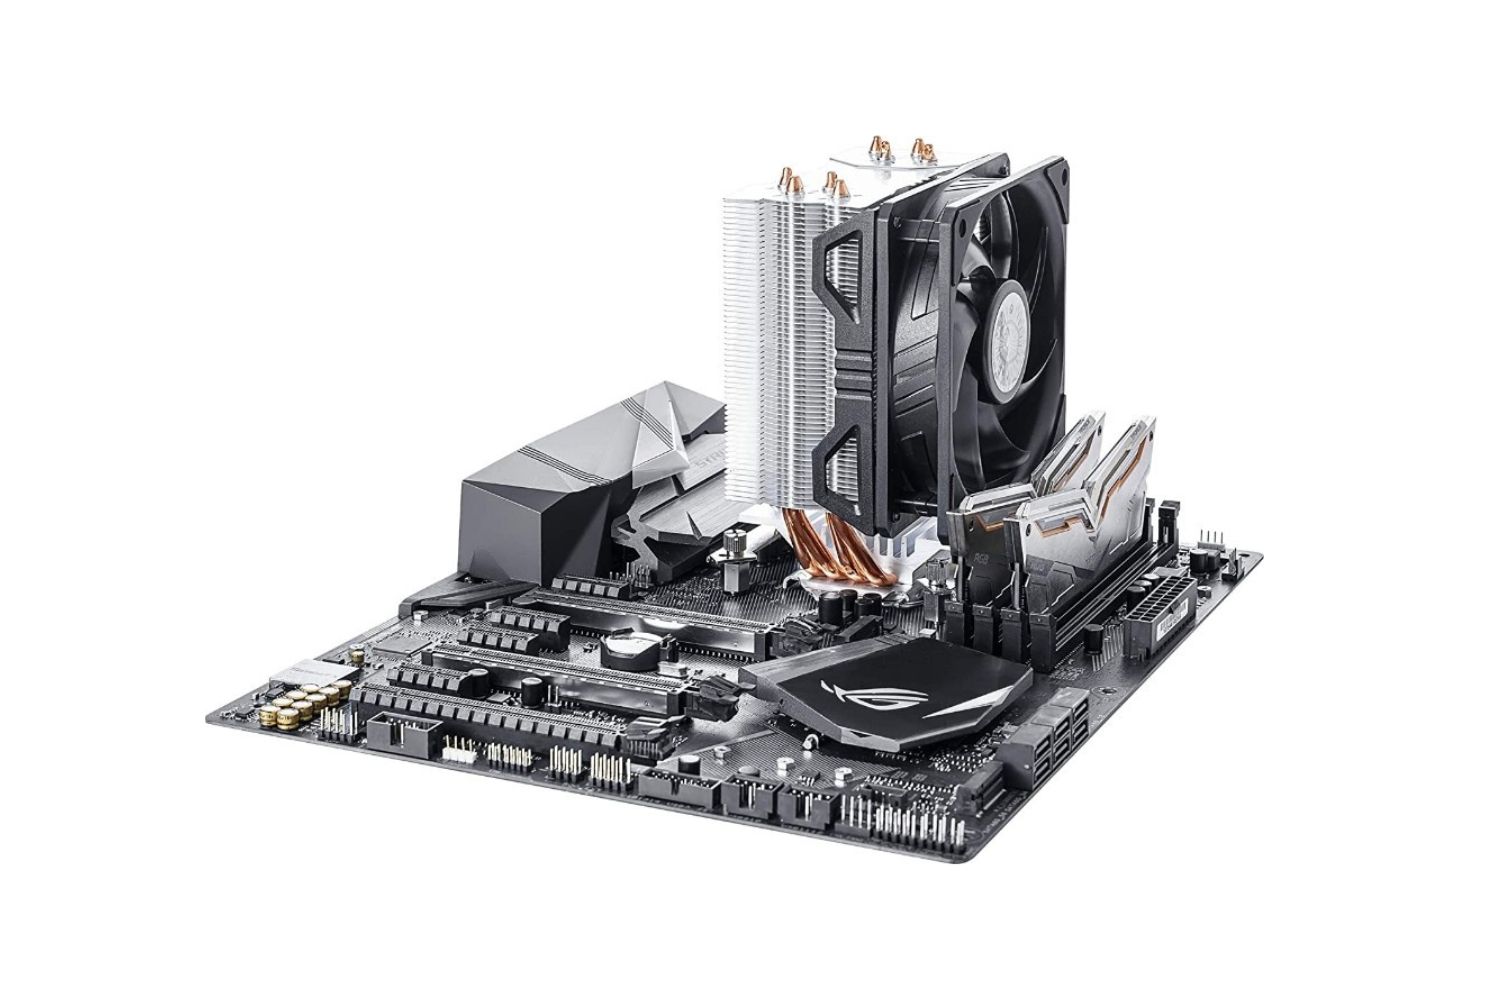
- Identify the correct orientation: Take note of the correct orientation of the CPU fan, ensuring that the fan blades will blow air towards the heatsink or exhaust air out of the case. The fan’s orientation can affect the cooling efficiency, so it’s essential to install it correctly.
Locating the CPU fan mounting points is a crucial step in ensuring a successful installation. By referring to the instruction manual and carefully inspecting the CPU fan, you will have a clear understanding of how the fan should be positioned and secured to the CPU socket. Once you have located the mounting points and determined the correct orientation, you can move on to the next step: aligning the CPU fan.
Step 3: Aligning the CPU Fan
Proper alignment of the CPU fan is essential to ensure efficient cooling and prevent any damage to the components. In this step, we will guide you through aligning the CPU fan with the mounting points:
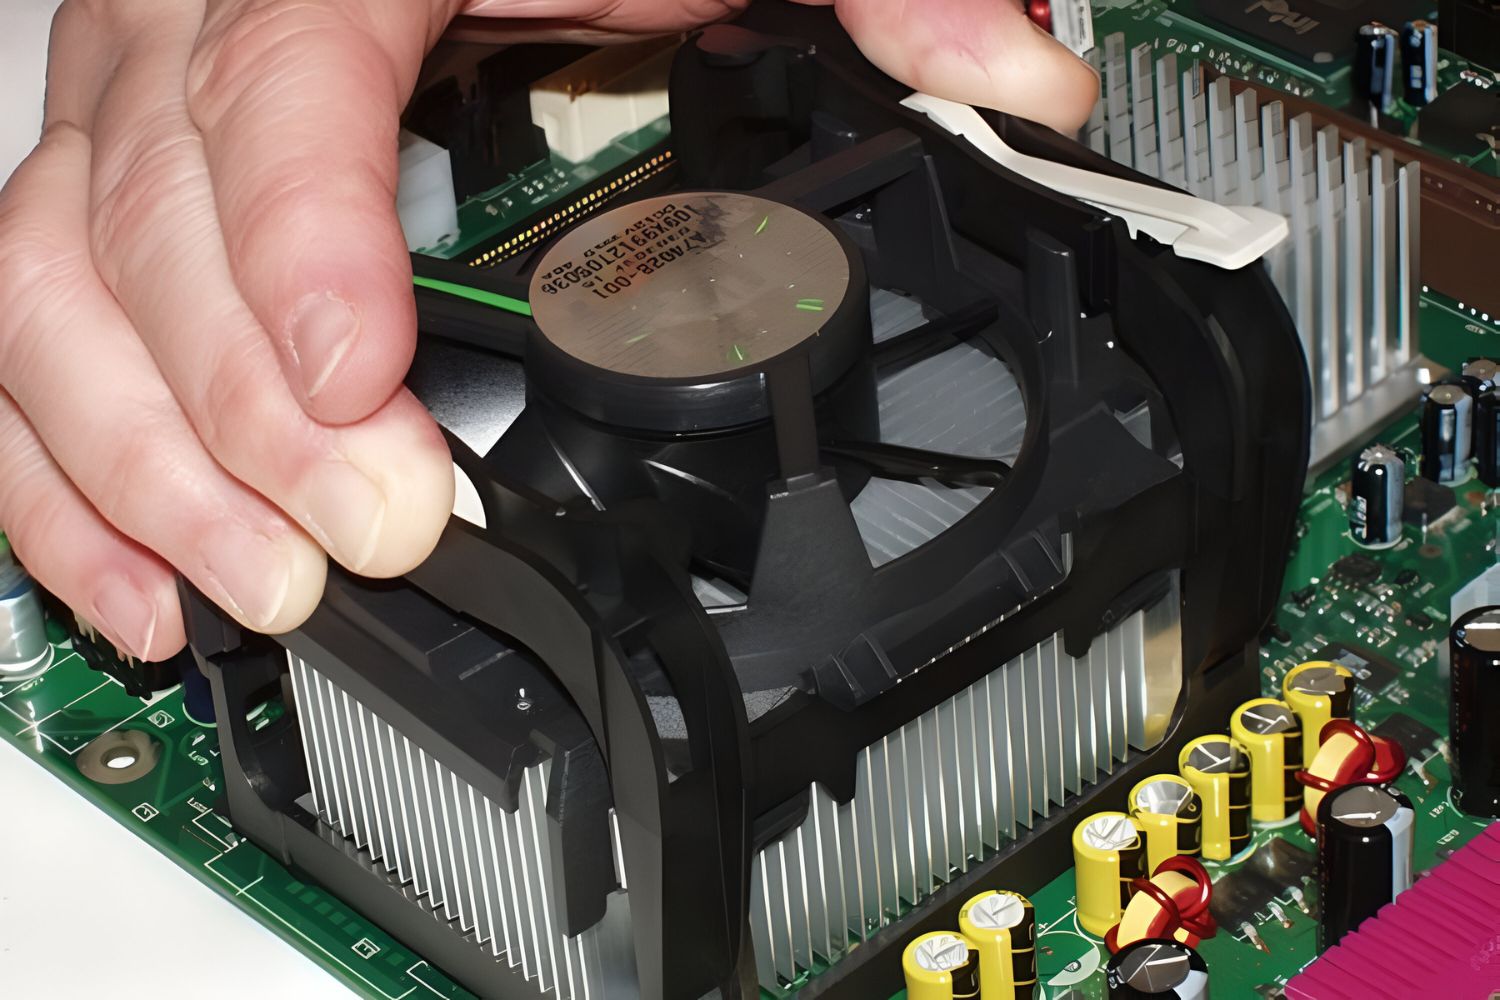
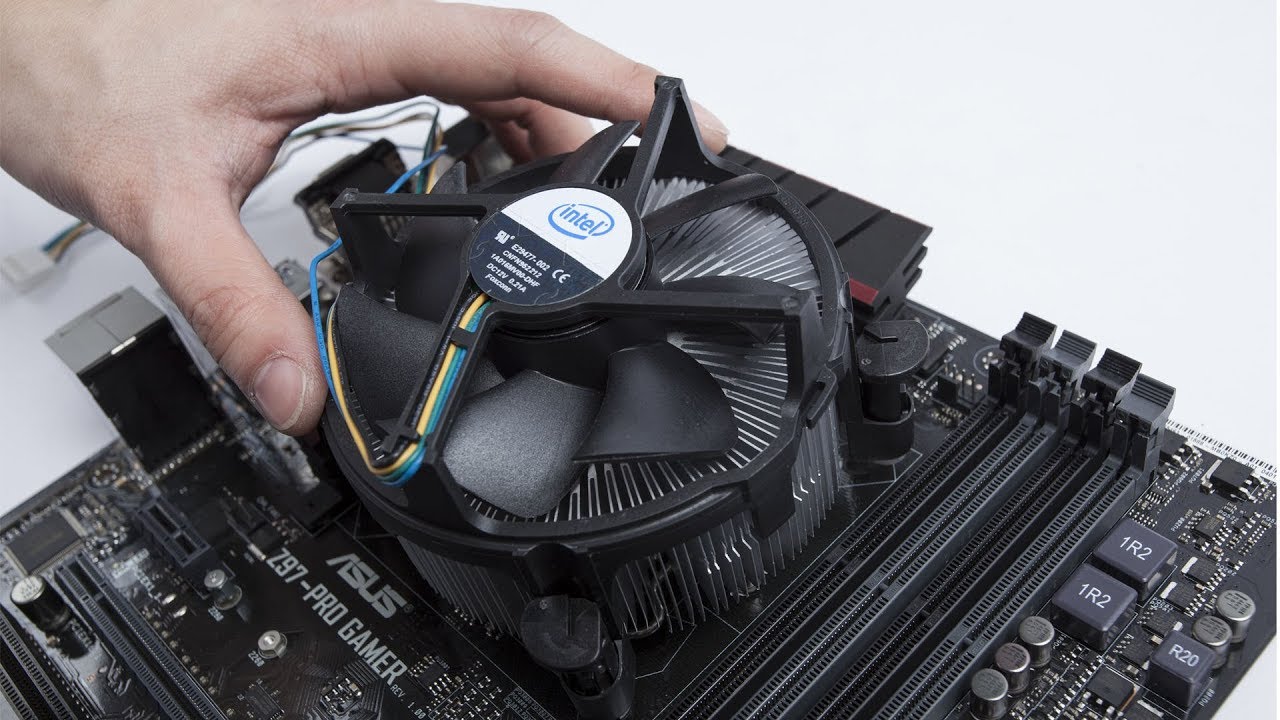
- Position the CPU fan: Gently place the CPU fan on top of the CPU socket, aligning the mounting holes or brackets with the corresponding holes or tabs on the socket. Take note of any guides or notches that may help with alignment.
- Ensure a snug fit: Once the CPU fan is positioned correctly, apply gentle pressure to secure it in place. The fan should fit snugly without any wobbling or excessive movement. Make sure it is centered properly and aligned with the CPU socket.
- Double-check the orientation: Verify that the fan blades are facing the correct direction for optimal airflow. The fan should be positioned to blow air towards the heatsink or exhaust air out of the case, depending on the desired configuration.
Take your time when aligning the CPU fan to ensure a proper fit. Rushing this step or forcing the fan into place can result in damage to the fan or the CPU socket. Once you are satisfied with the alignment, you are ready to move on to the next step: screwing in the CPU fan.
Step 4: Screw in the CPU Fan
Securing the CPU fan in place is crucial to ensure proper cooling and prevent any movement that could damage the components. Follow these steps to correctly screw in the CPU fan:
- Identify the screw holes: Examine the CPU fan and locate the screw holes that correspond to the mounting points on the CPU socket.
- Insert the screws: Align the screw holes on the CPU fan with the mounting points on the CPU socket. Carefully insert the screws into the holes, ensuring they fit securely but not too tight.
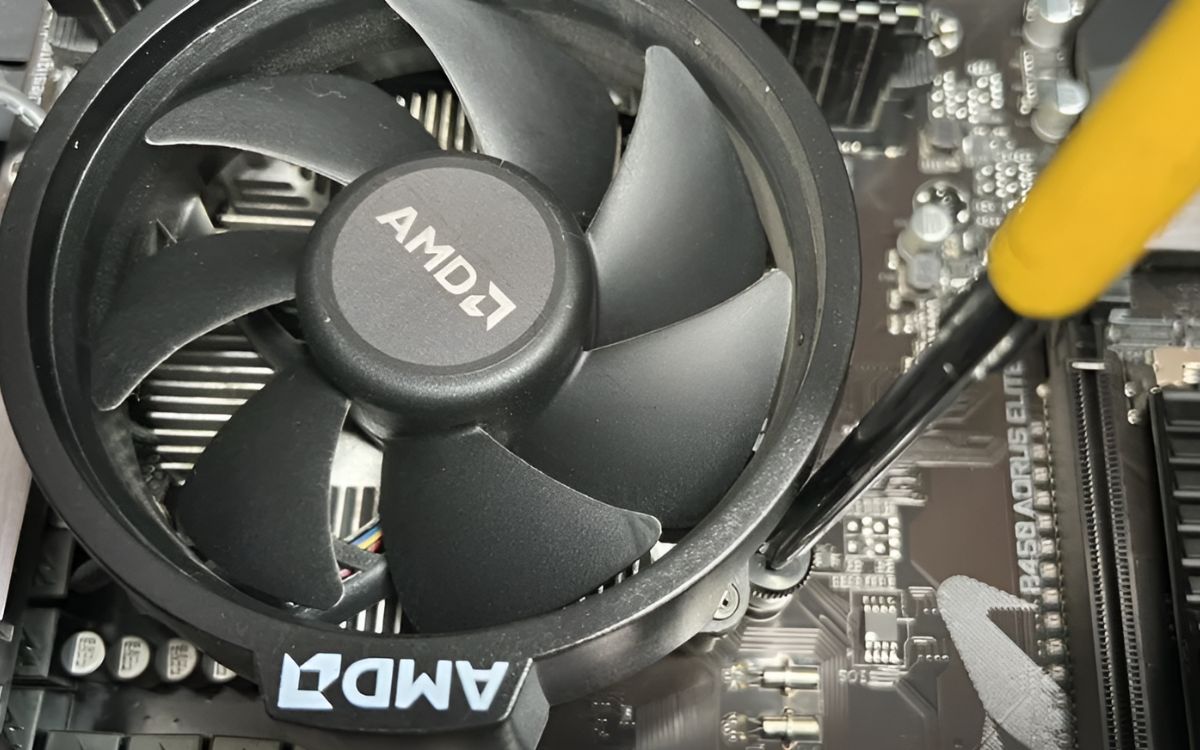
- Tighten the screws: Using a Phillips-head or flat-head screwdriver, tighten the screws in a cross pattern. Start with one corner and then move diagonally to the opposite corner. Continue this pattern until all screws are securely tightened.
- Check for stability: Once all the screws are tightened, gently check the stability of the CPU fan. Ensure that it is securely fastened and doesn’t move or wobble.
It’s important to be cautious when tightening the screws to avoid overtightening, which can damage the CPU socket or the fan itself. Follow the manufacturer’s instructions regarding the appropriate tightness for the screws.
With the CPU fan correctly and securely screwed in, you are ready to move on to the next step: securing the fan connections.
Step 5: Securing the Fan Connections
Securing the fan connections is a crucial step to ensure proper functionality and prevent any loose connections that could disrupt the cooling process. Follow these steps to securely connect the CPU fan:
- Locate the fan connector: Identify the fan connector on the motherboard or fan controller where the CPU fan will be connected. It is usually labeled as “CPU_FAN” or “SYS_FAN”.
- Connect the fan cable: Take the fan cable from the CPU fan and carefully plug it into the corresponding fan connector. Ensure that it is inserted fully and securely, aligning the pins or notches correctly.
- Secure the connection: Once the fan cable is connected, use any included connectors or clips to secure the cable in place. This will prevent any accidental disconnections or strain on the connection.
Double-check the fan connection to make sure it is properly secured and seated. A loose or improperly connected fan cable can result in decreased cooling efficiency or even cause the fan to stop functioning altogether.
After securing the fan connections, you can move on to the next step: testing and finalizing the CPU fan installation.
Step 6: Testing and Final Steps
Once you have completed the installation of the CPU fan, it’s important to perform some final checks and tests to ensure its proper functioning. Follow these steps to test and finalize the CPU fan installation:
- Reassemble the computer: Once the CPU fan is securely installed and connected, reassemble your computer by putting the side panel back on the case. Ensure that all other components are properly connected.
- Connect the power: Plug in the power cable and turn on your computer. Listen for any abnormal noises coming from the CPU fan and check if it is spinning. A properly functioning CPU fan should spin without any issues.
- Check the temperatures: Use monitoring software or the BIOS to check the CPU temperatures. Ensure that the temperatures are within the manufacturer’s recommended limits. If the temperatures are excessively high, double-check the installation and contact the manufacturer for assistance.
- Monitor the fan speed: Pay attention to the fan speed reported by the monitoring software or BIOS. The fan speed should adjust according to the CPU temperatures. If the fan speed remains constant or doesn’t change appropriately, troubleshoot the fan connection and settings.
By thoroughly testing the CPU fan and monitoring its performance, you can ensure that it is functioning optimally and providing adequate cooling for your processor. Keep an eye on the temperatures and fan speed in the following days to ensure consistent performance.
Congratulations! You have successfully screwed in and installed your CPU fan. Proper cooling is essential for maintaining the longevity and performance of your computer. If you encounter any issues or have further questions, don’t hesitate to seek assistance from the manufacturer or a professional technician.
Conclusion
Congratulations on successfully installing your CPU fan! Properly screwing in the CPU fan is crucial for maintaining the optimal performance and longevity of your computer’s processor. By following the step-by-step instructions outlined in this guide, you have learned how to prepare your workspace, locate the CPU fan mounting points, align the fan, screw it in securely, and secure the fan connections.
Remember to gather all the necessary tools and materials, take precautions to prevent static electricity, and apply new thermal paste when necessary. Carefully align the CPU fan and tighten the screws in a cross pattern to ensure a secure fit. Double-check the fan connections to prevent any loose cables.
After completing the installation, perform tests to verify the functionality of the CPU fan. Reassemble your computer, power it on, and listen for abnormal noises while checking the fan spin. Monitor the temperatures to ensure they are within the recommended range, and observe the fan speed adjust accordingly.
Proper cooling is essential for maintaining the performance and reliability of your computer, and installing a CPU fan is a crucial step in achieving that. Keep an eye on the temperatures and fan performance in the following days to ensure consistent cooling.
If you encounter any issues or have further questions, consult the manufacturer’s instructions or reach out to a professional technician for assistance. With your CPU fan correctly installed, you can now enjoy the benefits of an efficiently cooled computer system.