Introduction
With the increasing demand for virtualization, Virtualbox has become a popular choice for running virtual machines on desktop computers. However, running Virtualbox on your computer’s local storage may limit the flexibility and portability of your virtual machines. This is where the use of external hard drives comes in handy.
In this article, we will explore the benefits of running Virtualbox on an external hard drive and guide you through the process of setting it up. Whether you’re a developer, designer, or IT professional, this guide will help you take advantage of the benefits of running virtual machines on an external hard drive.
Running Virtualbox on an external hard drive provides several advantages. Firstly, it allows you to carry your virtual machines with you wherever you go. With the increasing popularity of portable devices, it’s essential to have your virtualized environment readily available regardless of the computer you’re using. Additionally, it enables you to free up space on your computer’s local storage, especially if you’re working with large and resource-intensive virtual machines.
Before we dive into the setup process, it’s important to ensure that your external hard drive is compatible with Virtualbox. Check if your external hard drive has a USB 3.0 or Thunderbolt interface for optimal performance. It’s also crucial to have a formatted and reliable external hard drive with sufficient storage capacity to accommodate your virtual machines.
In the following sections, we will provide step-by-step instructions on preparing your external hard drive for Virtualbox, installing and configuring Virtualbox on the hard drive, transferring existing virtual machines, and finally, running the virtual machines directly from the external hard drive.
So, let’s get started and explore the world of running Virtualbox on an external hard drive for enhanced convenience and flexibility!
Overview of Virtualbox and External Hard Drives
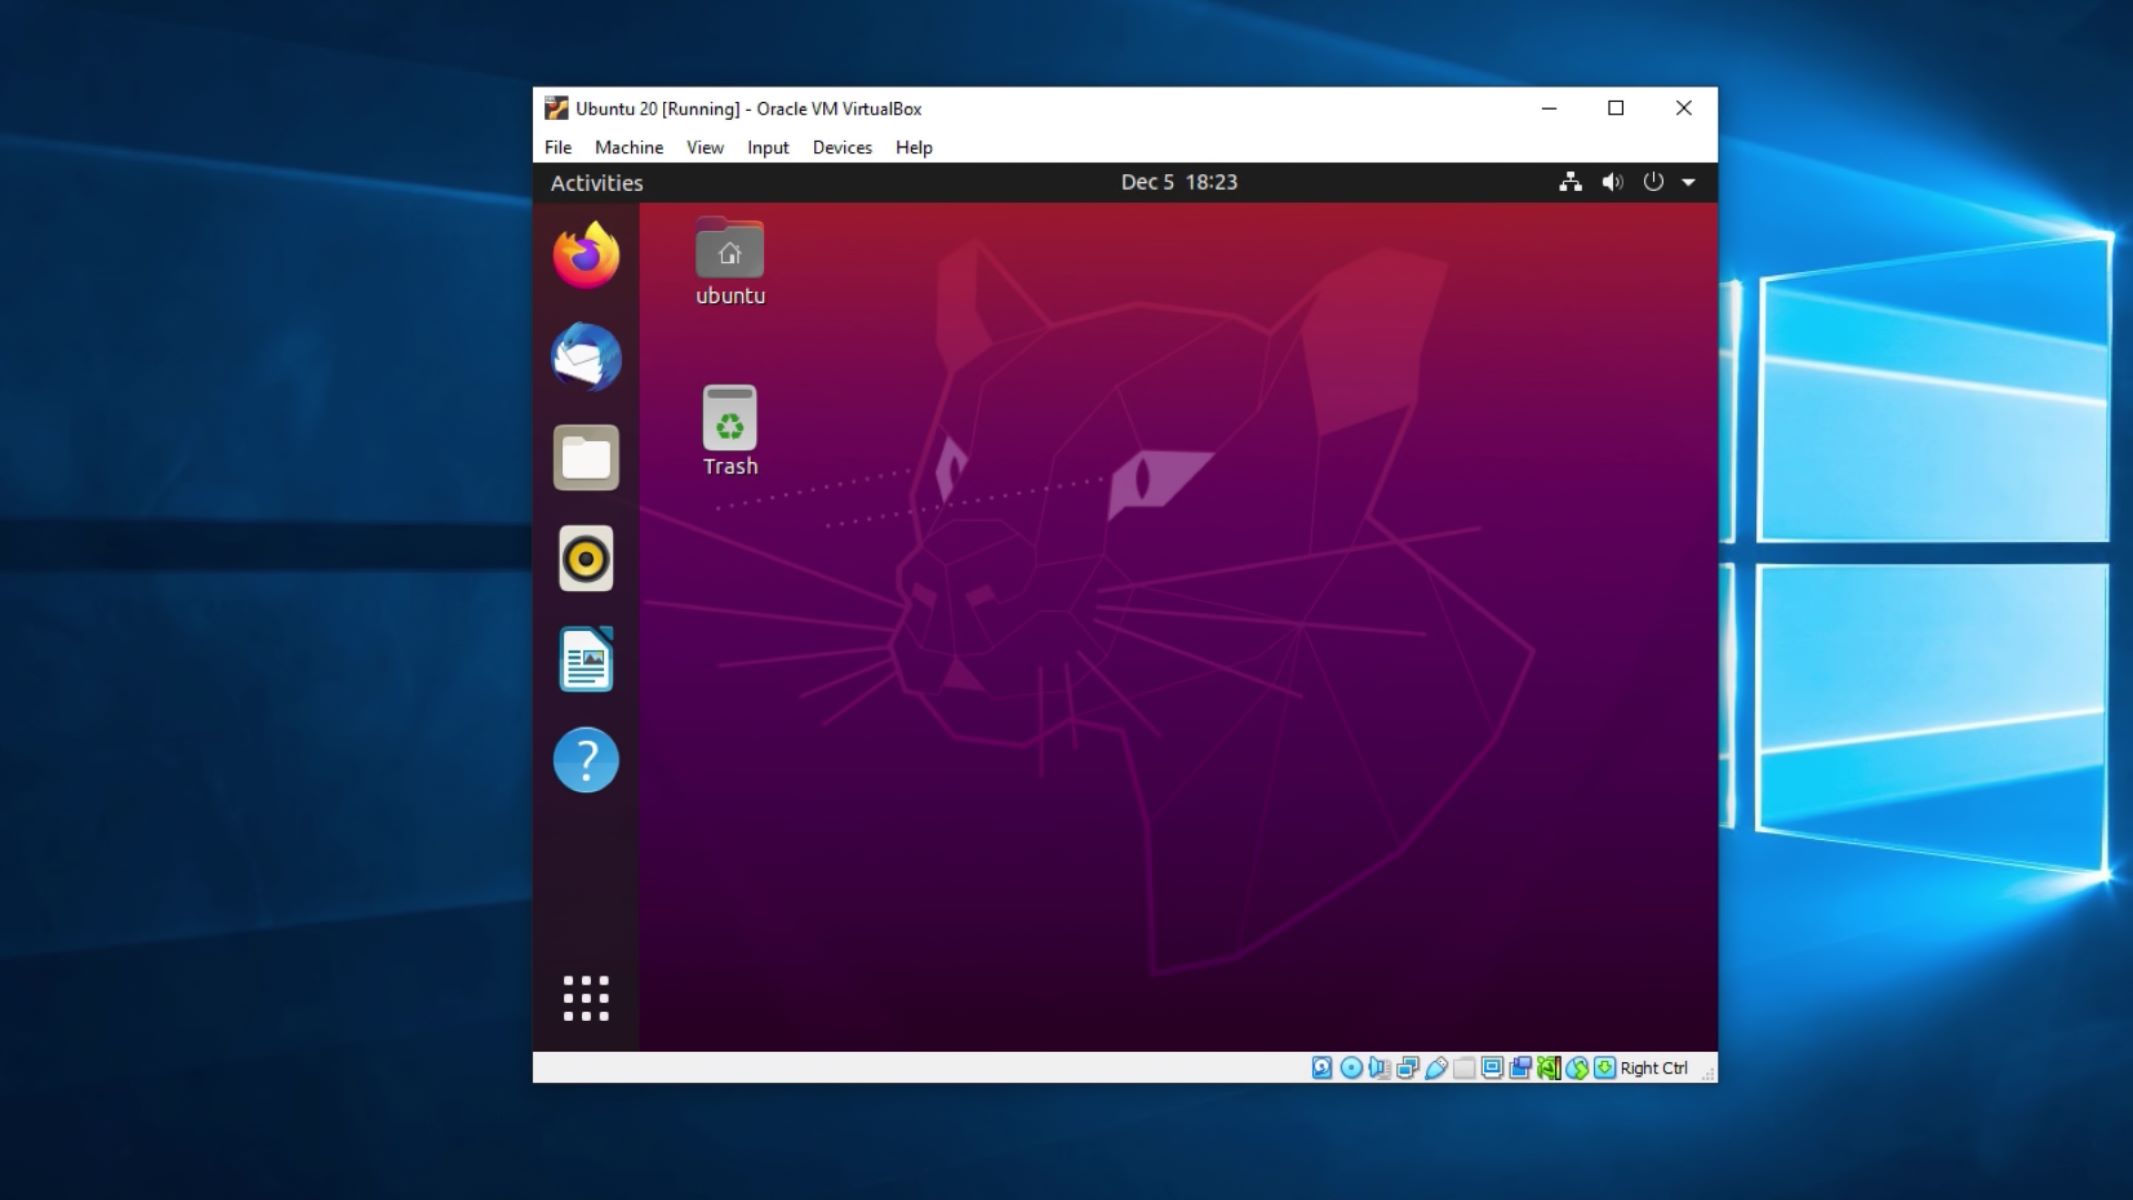
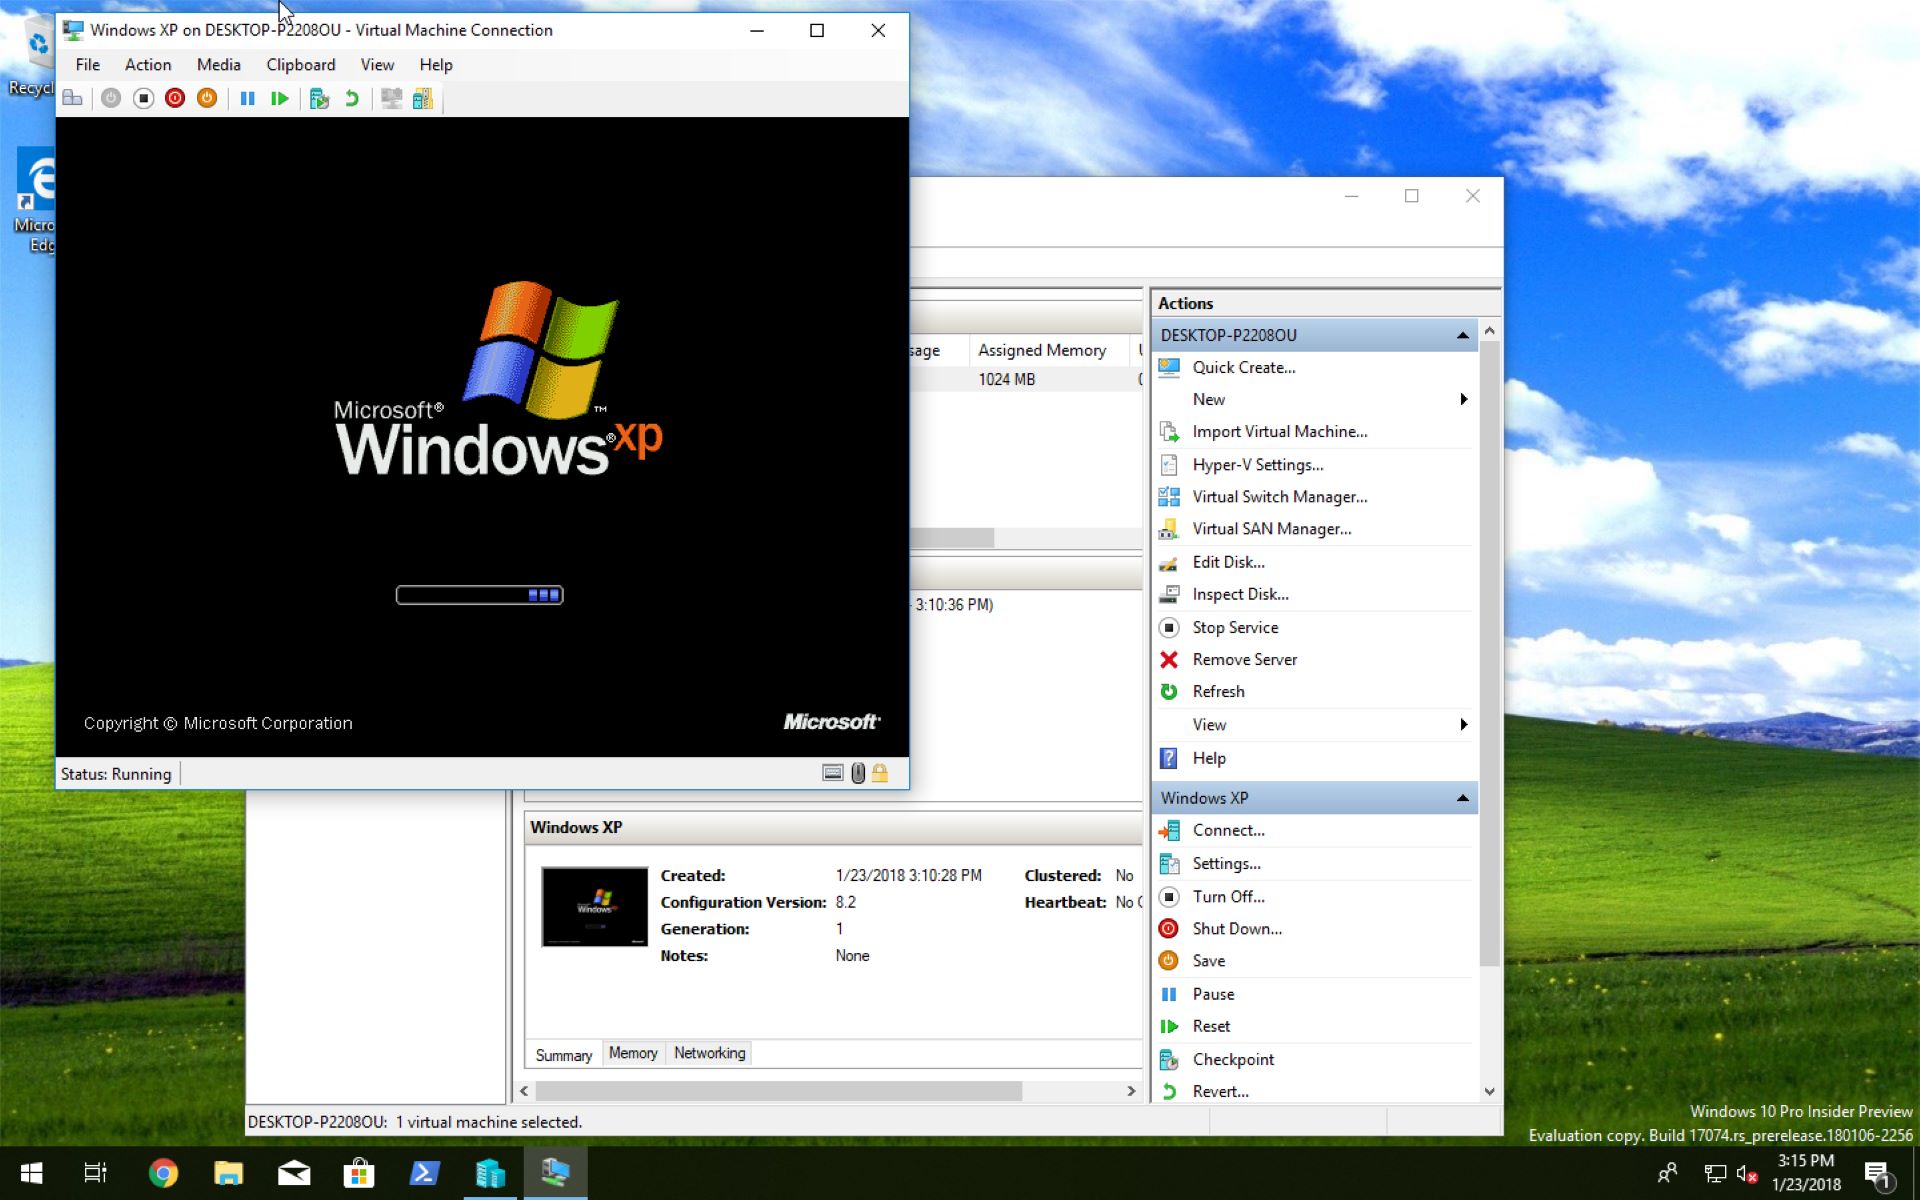
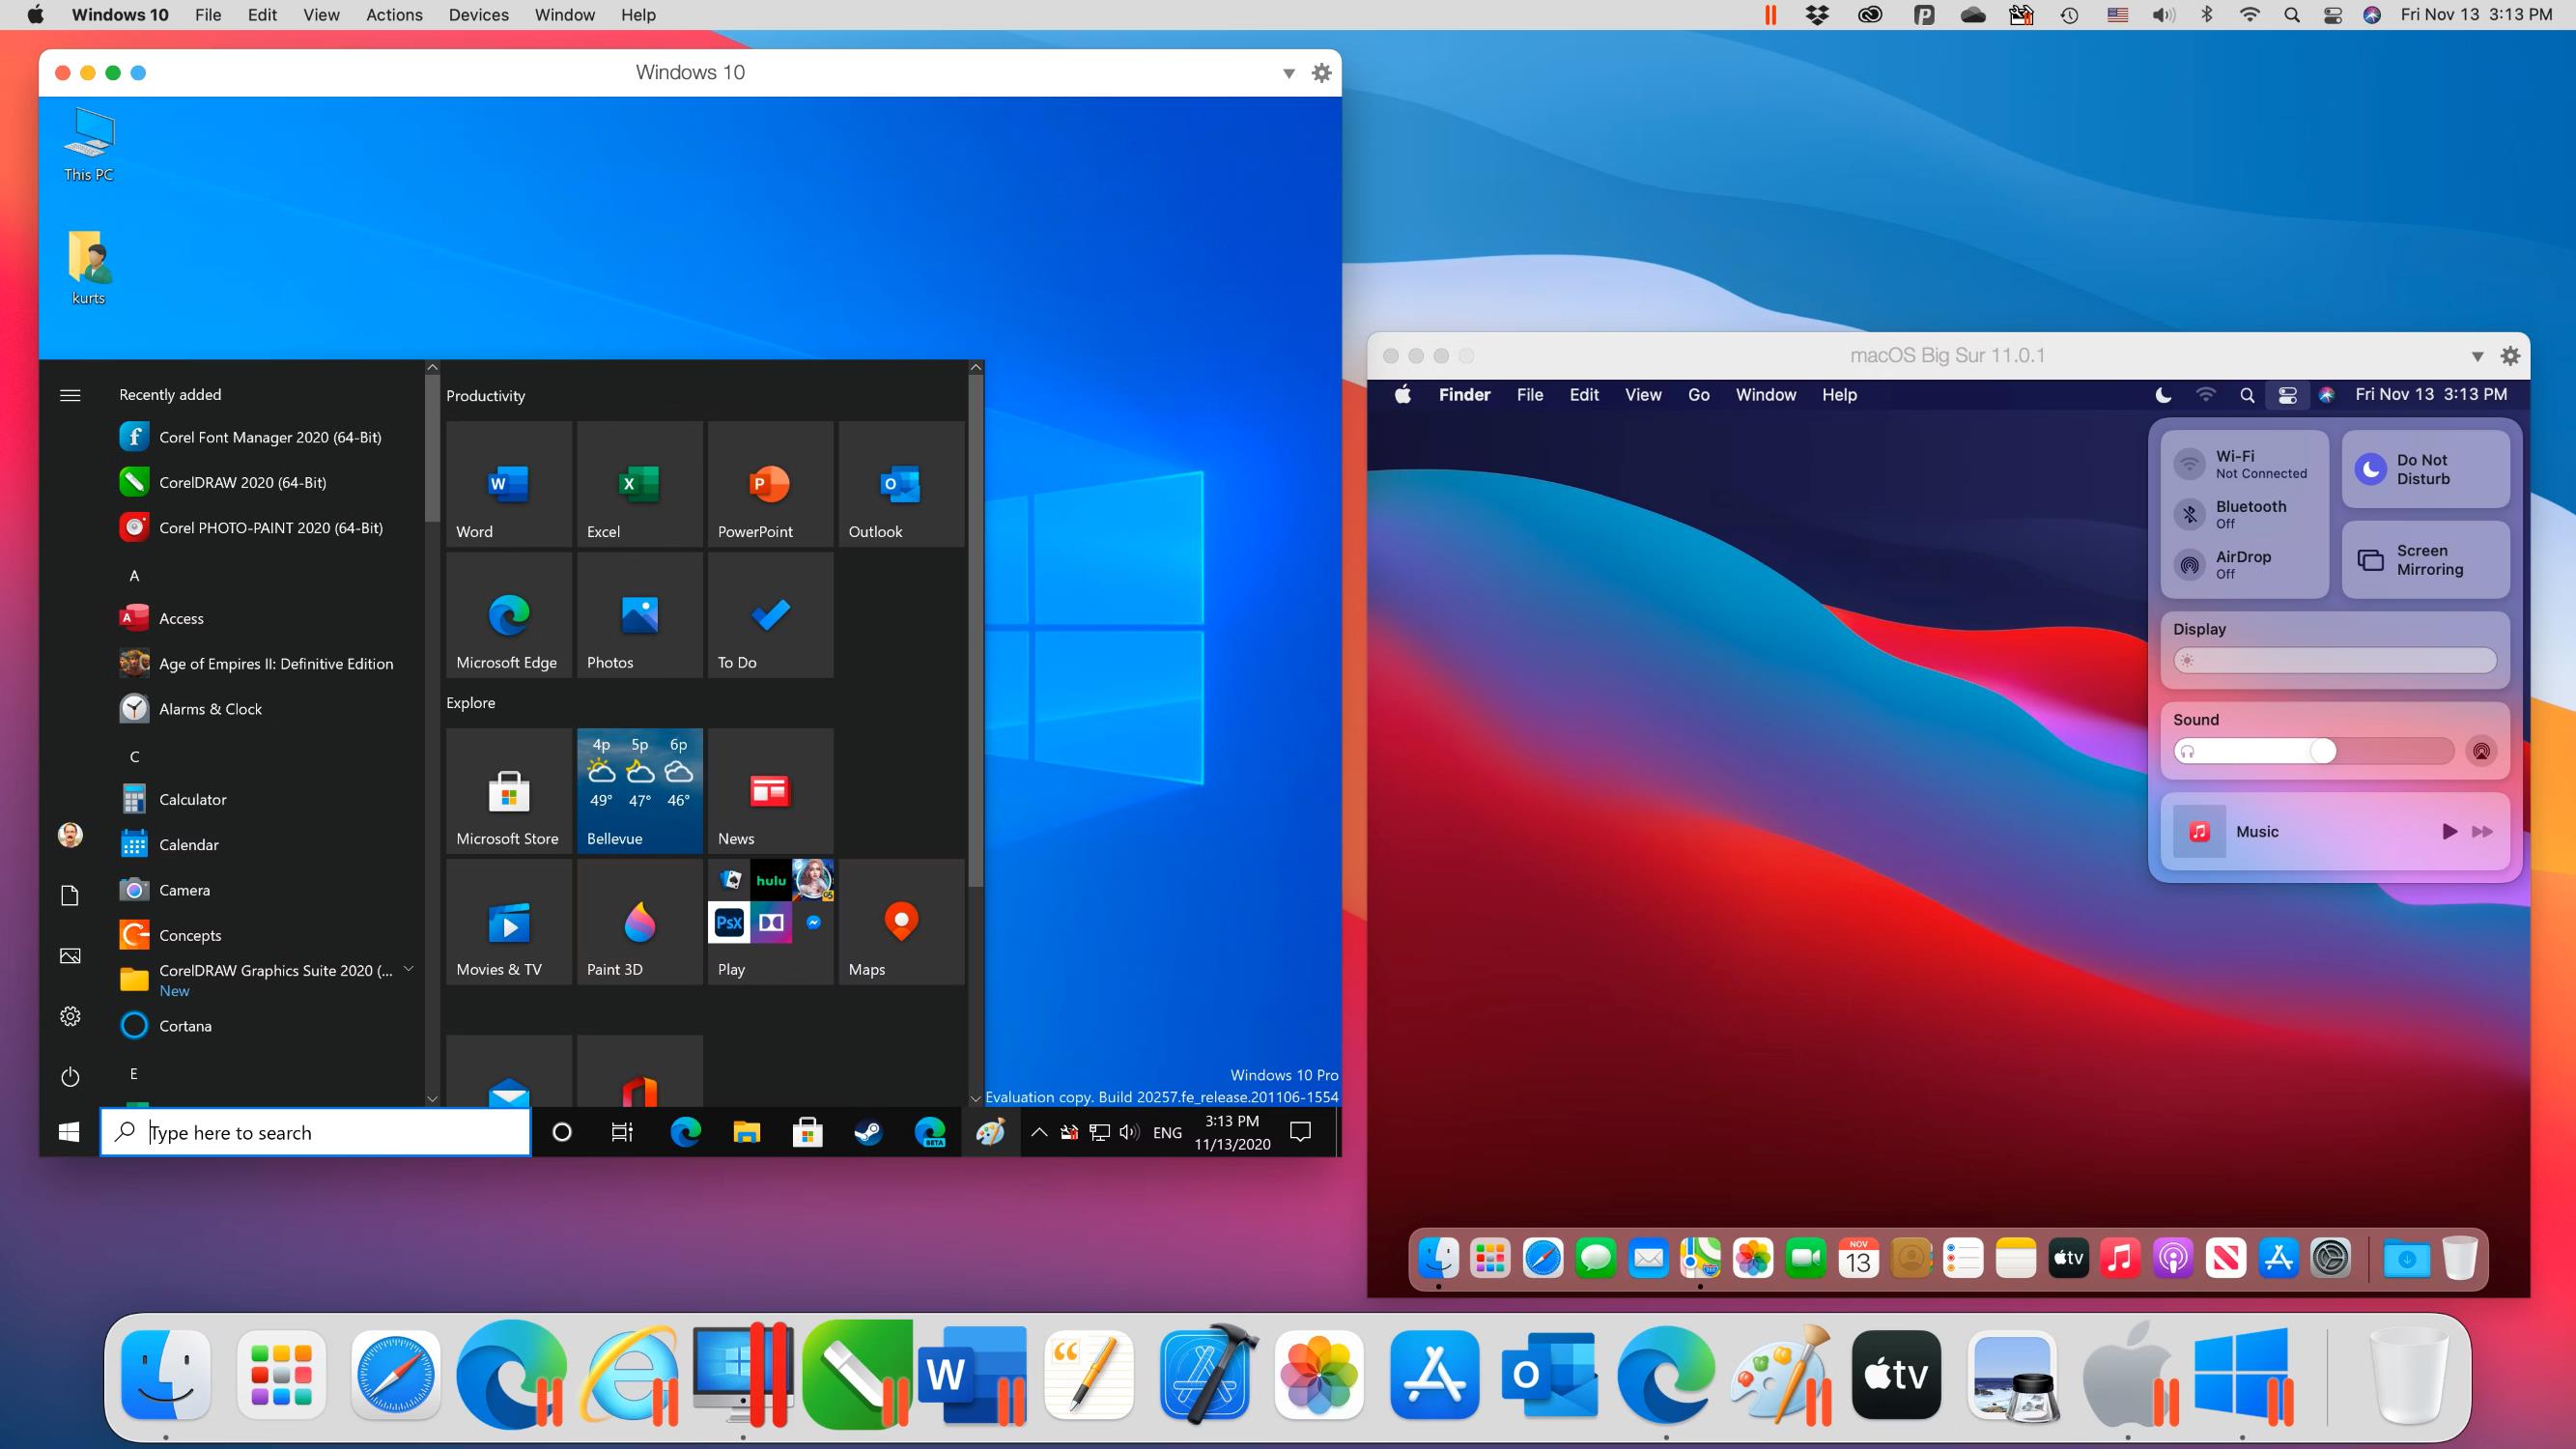
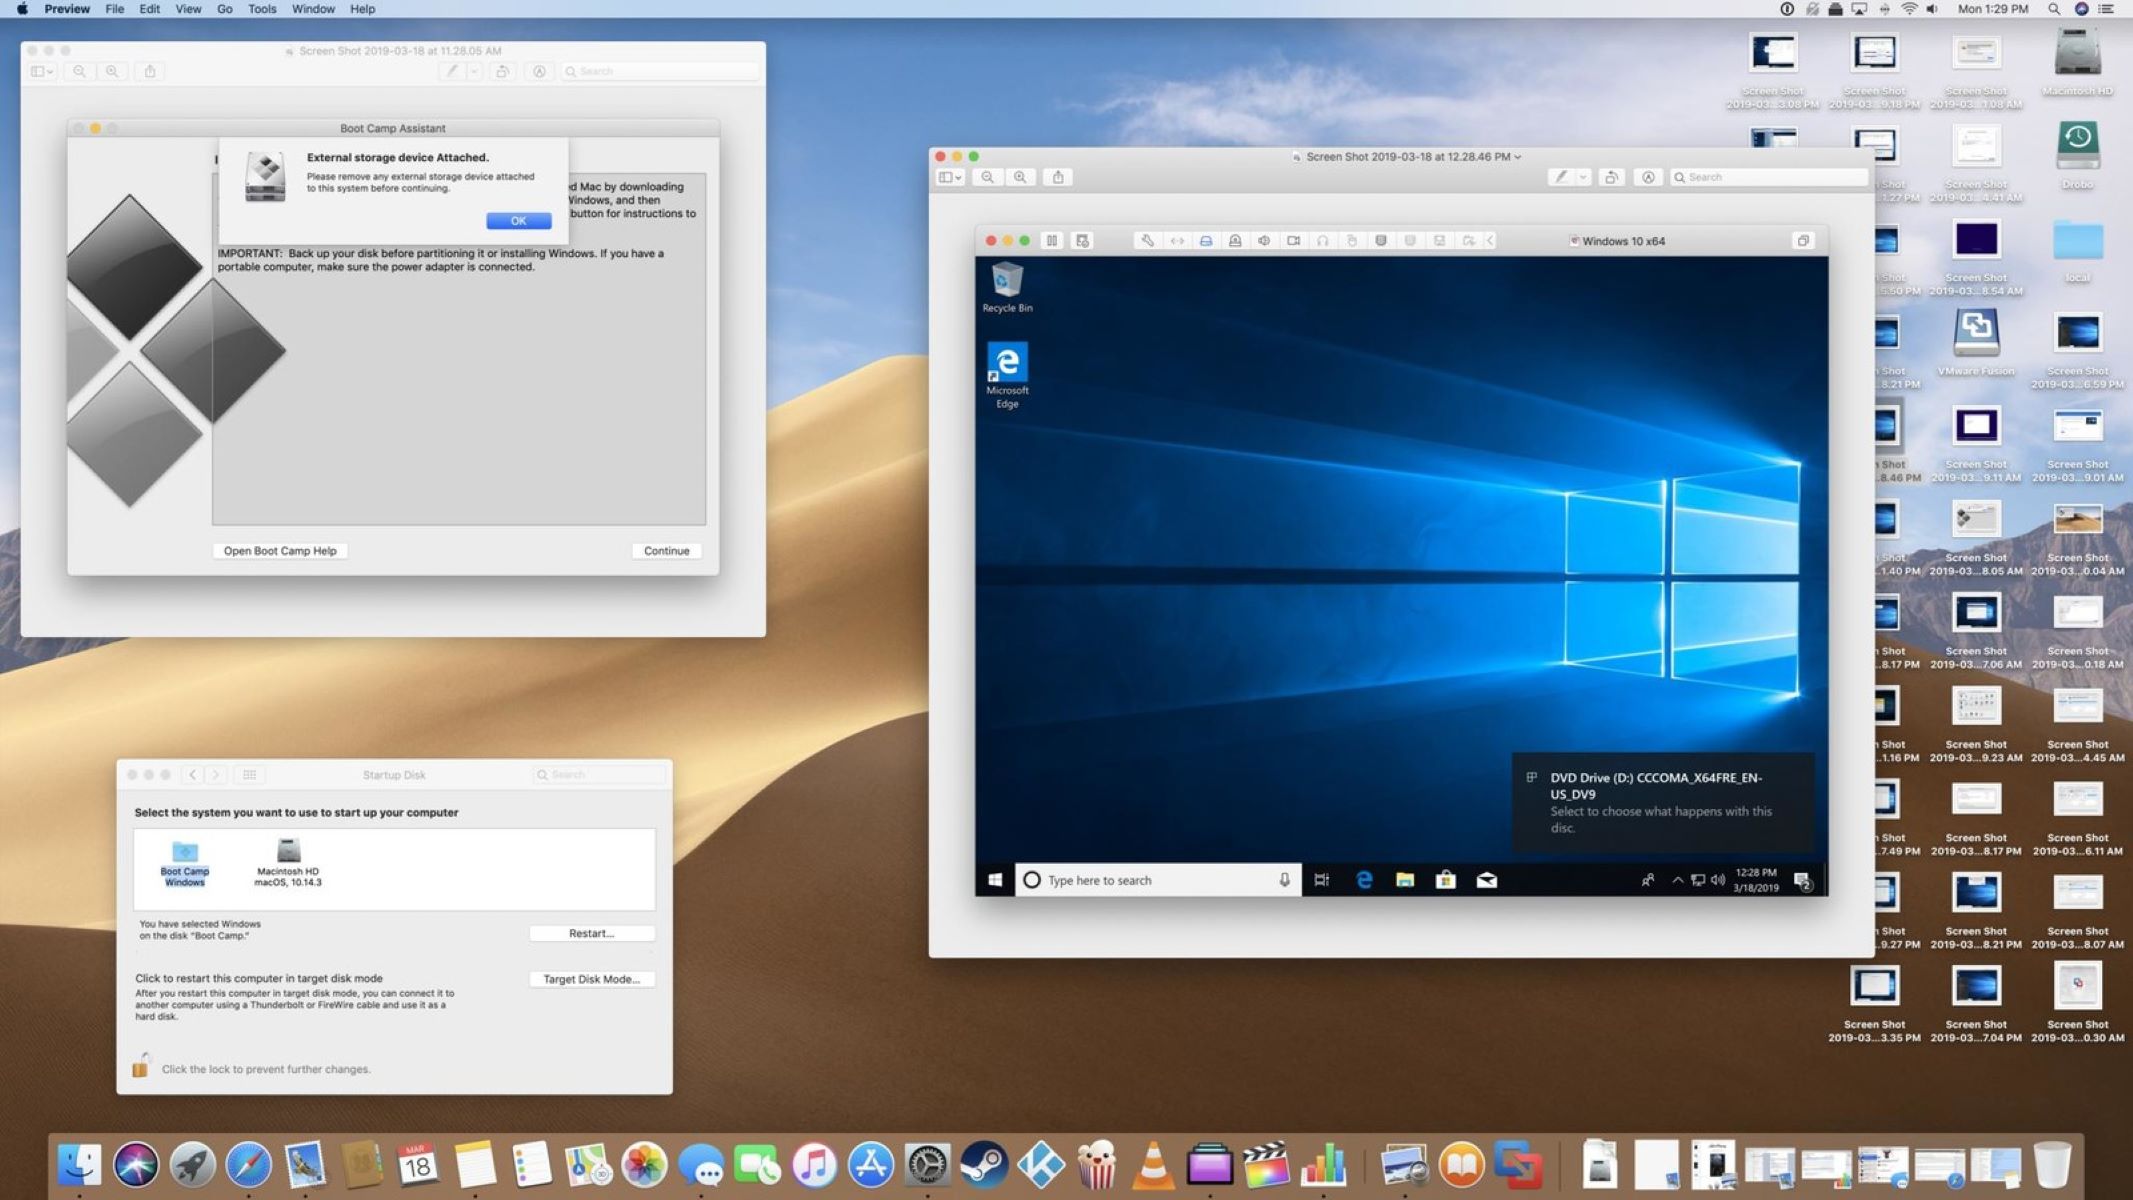
Virtualbox, developed by Oracle, is a powerful virtualization software that allows you to run multiple operating systems on a single computer. It creates virtual machines that mimic the hardware and software environment of a physical computer. This enables you to run different operating systems, such as Windows, Linux, or macOS, simultaneously without the need for separate hardware.
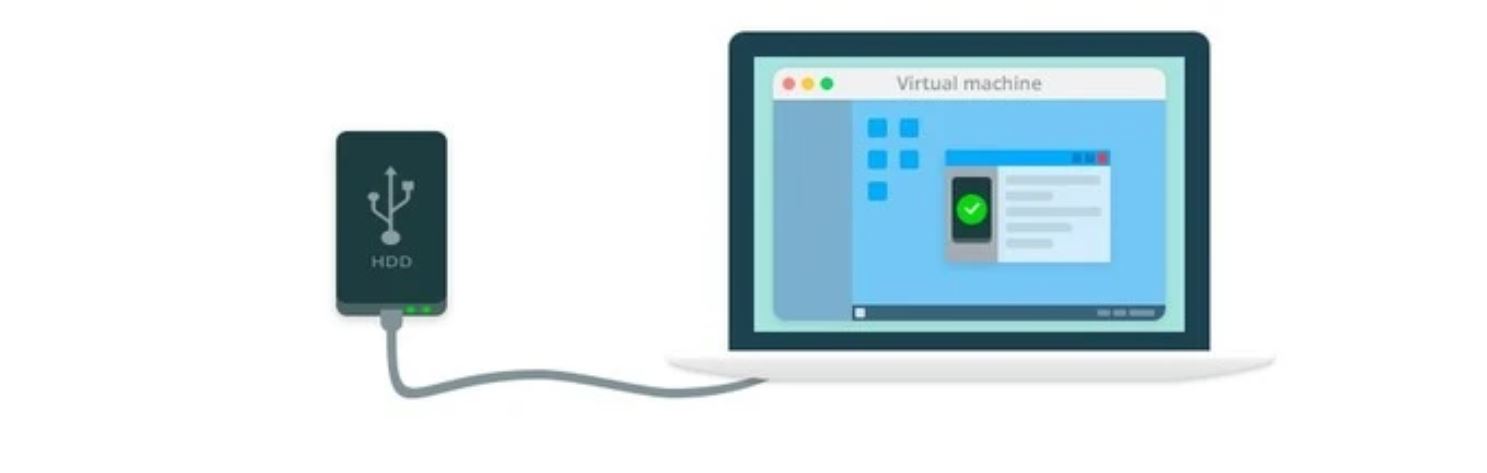
An external hard drive, on the other hand, is a portable storage device that connects to your computer via USB or Thunderbolt. It provides additional storage capacity and can be easily disconnected and moved between different computers.
Combining Virtualbox with an external hard drive offers numerous benefits. By running Virtualbox on an external hard drive, you can enjoy the following advantages:
- Flexibility: Running Virtualbox on an external hard drive allows you to easily switch between different computers without worrying about installing and configuring the software on each one. Simply plug in your external hard drive, and you’re ready to work.
- Portability: With your virtual machines stored on an external hard drive, you can carry your entire virtualized environment with you wherever you go. This is particularly useful for professionals who frequently travel or work remotely.
- Space-saving: Virtual machines can occupy a substantial amount of storage space on your computer’s local storage. By moving them to an external hard drive, you can free up valuable space on your primary drive and maintain better organization.
- Performance: Depending on the specifications of your external hard drive, running Virtualbox from an external drive can potentially improve performance, especially if the drive supports USB 3.0 or Thunderbolt. This can result in faster read/write speeds and smoother operation of your virtual machines.
By understanding the capabilities of Virtualbox and the advantages of using an external hard drive, you can harness the full potential of your virtualization setup. In the next sections, we will guide you through the process of setting up Virtualbox on your external hard drive, transferring existing virtual machines, and running them directly from the drive.
Benefits of Running Virtualbox on an External Hard Drive
Running Virtualbox on an external hard drive offers a range of benefits for both individuals and professionals. Let’s explore some of the advantages of utilizing an external hard drive for your Virtualbox setup:
1. Portability
One of the significant advantages of running Virtualbox on an external hard drive is the portability it provides. With your virtual machines stored on the external drive, you can easily carry your entire virtualized environment with you. This is particularly useful for freelancers, consultants, and individuals who frequently travel or work across different locations. You can plug the external drive into any computer and have access to your virtual machines without any installation or configuration hassles.
2. Flexibility
Running Virtualbox on an external hard drive offers flexibility in terms of using multiple computers. Whether you have a desktop computer at home and a laptop for on-the-go or you share your virtual machines with colleagues, an external hard drive allows you to seamlessly switch between different devices. This flexibility enables you to maintain a consistent working environment, regardless of the device you’re using at any given time.
3. Space-saving
If you’re working with resource-intensive virtual machines that require a large amount of storage space, running Virtualbox on an external hard drive can help save space on your computer’s local storage. By offloading the virtual machines to the external drive, you can keep your primary drive free from the burden of storing large files. This not only improves the performance of your computer but also allows for efficient organization of your data.
4. Performance
Depending on the specifications of your external hard drive, running Virtualbox from an external drive can result in improved performance. If your external drive supports high-speed interfaces like USB 3.0 or Thunderbolt, you may experience faster read/write speeds and better overall performance. This can lead to smoother operation of your virtual machines, especially for resource-demanding tasks.
5. Backup and Recovery
By storing your virtual machines on an external hard drive, you can easily create backups and facilitate quick recovery in the event of any data loss or system failures. External hard drives offer ample storage space, allowing you to maintain regular backups of your virtual machines, ensuring the safety and integrity of your work.
Overall, running Virtualbox on an external hard drive provides the convenience of portability, flexibility, space-saving, improved performance, and robust backup options. These benefits make it an attractive option for anyone who requires a portable and efficient virtualization solution. In the upcoming sections, we will guide you through the steps of preparing your external hard drive, installing and configuring Virtualbox, as well as transferring and running virtual machines directly from the drive.
Preparing Your External Hard Drive for Virtualbox
Before you can start running Virtualbox on your external hard drive, you need to ensure that the drive is properly prepared. Here are the steps to get your external hard drive ready for Virtualbox:
1. Format the External Hard Drive
The first step is to format the external hard drive to a file system that is compatible with both your operating system and Virtualbox. Most commonly, the file systems used are NTFS for Windows and exFAT for cross-platform compatibility.
Formatting the drive will erase all existing data on it, so make sure to back up any important files before proceeding. To format the drive, connect it to your computer, open the Disk Management utility (for Windows) or Disk Utility (for macOS), locate the external drive, and choose the option to format it with the desired file system.
2. Allocate a Separate Partition
To optimize the performance of Virtualbox on the external hard drive, it is recommended to allocate a separate partition specifically for Virtualbox. This allows you to keep your virtual machine files separate from other data on the drive and helps in better organization and management.
Using the Disk Management utility (for Windows) or Disk Utility (for macOS), shrink the existing partition on the external drive or create a new partition to allocate space for Virtualbox. Make sure to choose a size that provides enough space for your virtual machines, taking into consideration the size of the virtual hard disks and any additional storage requirements.
3. Mount the External Hard Drive
Once the formatting and partitioning are complete, you need to ensure that the external hard drive is correctly mounted or assigned a drive letter. This will enable Virtualbox to access and utilize the drive when running virtual machines.
In the Disk Management utility (for Windows), right-click on the partition on the external drive and choose “Change Drive Letter and Paths.” Assign a drive letter to the partition if it doesn’t have one already.
In Disk Utility (for macOS), select the partition on the external drive and click on the “Mount” button in the toolbar to mount the drive and make it accessible.
4. Validate the Drive Configuration
Before proceeding further, it’s important to ensure that the external hard drive is properly recognized and accessible by your operating system. Open the file explorer (Windows) or Finder (macOS) and navigate to the assigned drive letter or mount point of the external drive. Verify that you can read and write to the drive without any issues.
With these preparations complete, your external hard drive is now ready to be used with Virtualbox. In the next sections, we will cover the steps to install and configure Virtualbox on the drive, as well as transferring and running virtual machines directly from the external hard drive.
Installing and Configuring Virtualbox on Your External Hard Drive
Now that you have prepared your external hard drive, it’s time to install and configure Virtualbox on the drive. Follow these steps to set up Virtualbox on your external hard drive:
1. Download Virtualbox Setup
Visit the official Virtualbox website and download the setup file for your operating system. Make sure to download the version that matches your computer’s architecture (32-bit or 64-bit).
2. Choose Installation Location
During the installation process, you will be prompted to choose the installation location for Virtualbox. Select the external hard drive partition or directory that you prepared earlier. This ensures that the Virtualbox installation and associated files are stored directly on the external drive.
3. Customize Installation Options
While installing Virtualbox, you may be presented with customization options. Select the desired components to install, such as USB support and network drivers, based on your requirements.
Additionally, you can choose to associate Virtualbox files with the Virtualbox application itself, enabling you to seamlessly open and manage virtual machines directly from the external hard drive.
4. Complete the Installation
Follow the on-screen instructions to complete the installation process. Once the installation is finished, Virtualbox should be installed and configured on your external hard drive.
5. Validate Virtualbox Installation
After installation, navigate to the location where Virtualbox was installed on the external hard drive. Locate the Virtualbox application file (e.g., “VirtualBox.exe”) and double-click it to launch Virtualbox.
If Virtualbox launches without any errors, it means the installation was successful. You can now proceed with configuring Virtualbox as per your requirements.
6. Configure Virtualbox Preferences
Open the Virtualbox application and go to the “File” menu, then select “Preferences.” Here, you can configure various settings, such as the default VM folder, keyboard shortcuts, and network preferences. Specify the appropriate folder on the external hard drive as the default VM folder to ensure that all virtual machines are saved on the external drive.
Review and adjust other preferences as needed to match your workflow and system requirements.
With Virtualbox installed and configured on your external hard drive, you are ready to transfer existing virtual machines or create new ones directly on the drive. In the next section, we will explore the process of transferring existing virtual machines to your external hard drive.
Transferring Existing Virtual Machines to Your External Hard Drive
If you have existing virtual machines stored on your computer’s local storage, you can easily transfer them to your external hard drive. Follow these steps to transfer your existing virtual machines:
1. Locate Virtual Machine Files
Firstly, identify the location of your virtual machine files on your computer’s local storage. These files typically include the virtual hard disk, configuration files, and any associated snapshot files.
Depending on your operating system and Virtualbox version, the default location for virtual machine files may vary. Common locations include the Virtualbox folder in your user directory or the virtual machine directory in a shared folder.
2. Copy Virtual Machine Files
Using the file explorer (Windows) or Finder (macOS), navigate to the location where your virtual machine files are stored. Select the relevant files and copy them to a folder on your external hard drive.
Ensure you maintain the folder structure and keep all the files together to maintain the integrity of the virtual machine.
3. Update Virtual Machine Settings
Open Virtualbox and go to the “File” menu. Select “Import Appliance” and navigate to the location where you copied the virtual machine files on your external hard drive.
Select the appropriate virtual machine file (e.g., .ova or .ovf) and follow the instructions to import it into Virtualbox.
If the virtual machine was reliant on an existing virtual hard disk, Virtualbox will prompt you to either choose an existing disk or create a new one. Select the existing virtual hard disk file from the location on the external hard drive where you copied it.
4. Validate Imported Virtual Machine
Once the virtual machine is imported successfully, it should appear in the Virtualbox interface. Double-click on the virtual machine to launch it and ensure everything is functioning correctly.
Make any necessary adjustments to the virtual machine settings, such as the amount of allocated RAM, network configuration, or shared folder options.
5. Repeat for Additional Virtual Machines
If you have multiple virtual machines, repeat the steps above for each one, ensuring you copy the necessary files and import them into Virtualbox on your external hard drive.
By transferring your existing virtual machines to your external hard drive, you can take full advantage of the portability and storage capacity provided by the drive. In the next section, we will discuss how to run virtual machines directly from your external hard drive.
Running Virtual Machines from Your External Hard Drive
Now that you have transferred your virtual machines to your external hard drive, you can easily run them directly from the drive. Here are the steps to run virtual machines from your external hard drive:
1. Launch Virtualbox
Make sure your external hard drive is connected to your computer, and then open Virtualbox from the external hard drive location. Double-click on the Virtualbox application file (e.g., “VirtualBox.exe”) to launch the program.
2. Select the Virtual Machine
In the Virtualbox interface, you will see a list of all the virtual machines available to you. Locate the desired virtual machine from the list and select it.
3. Start the Virtual Machine
With the virtual machine selected, click on the “Start” button in the Virtualbox interface to initiate the virtual machine. The virtual machine will start running, and you can interact with it as you would with a physical computer.
4. Configure External Hard Drive Access
When the virtual machine is up and running, you may want to configure external hard drive access within the virtual machine. This allows the virtual machine to interact with the files and data stored on your external hard drive.
In Virtualbox, go to the “Devices” menu and select “USB.” From the USB menu, choose the external hard drive you want to connect to the virtual machine. This will make the external hard drive accessible from within the virtual machine, just like any other USB device.
5. Enjoy your Virtualized Environment
With the virtual machine running, you can now take advantage of the full functionality of your software, applications, and operating system within the virtualized environment. Use the virtual machine as you would on a physical computer, save files, and perform tasks as needed.
6. Safely Shut Down the Virtual Machine
Once you are done using the virtual machine, it is important to properly shut it down. This ensures that any changes you made are saved correctly and prevents data corruption.
In the virtual machine’s operating system, go to the “Start” menu and select the shut down or power off option. Allow the virtual machine to complete the shut down process before closing Virtualbox.
Remember to safely disconnect your external hard drive from your computer before unplugging it to prevent any data loss or damage.
By running your virtual machines directly from your external hard drive, you can have a portable and flexible virtualized environment that can be accessed from any computer. In the next section, we will provide some tips and troubleshoot common issues you may encounter when running Virtualbox on an external hard drive.
Tips and Troubleshooting
Running Virtualbox on an external hard drive can enhance your virtualization setup, but it’s important to keep in mind a few tips and be prepared for any troubleshooting that may arise. Here are some helpful tips and troubleshooting steps:
Tips:
1. Keep your external hard drive secure: Make sure to protect your external hard drive from physical damage and store it in a safe place when not in use. This helps to prevent data loss or corruption.
2. Backup your virtual machine files: Regularly back up your virtual machine files to a separate storage device or cloud storage to safeguard against any unexpected issues or data loss. This ensures that you have a copy of your virtual machines in case of any hardware or software failures.
3. Check external hard drive compatibility: Before purchasing or using an external hard drive, check its compatibility with your computer’s operating system and Virtualbox requirements. Ensure that it supports the required interfaces (e.g., USB 3.0 or Thunderbolt) for optimal performance.
4. Optimize your virtual machine settings: Adjust the settings of your virtual machines to match the resources available on the host computer. Allocating appropriate amounts of memory, CPU cores, and disk space can improve performance and prevent sluggishness.
Troubleshooting:
1. Error accessing the external hard drive: If your virtual machine encounters issues accessing the external hard drive, ensure that the drive is properly connected and recognized by your host computer. Try disconnecting and reconnecting the drive, restarting both the host computer and the virtual machine.
2. Incompatibility with the host operating system: If you experience compatibility issues between Virtualbox on the external hard drive and your host operating system, ensure that you have the latest updates and patches installed for both. Check the Virtualbox documentation or support forums for any specific guidance on compatibility issues.
3. Performance issues: If you encounter performance issues when running virtual machines from the external hard drive, ensure that the drive is connected to a high-speed USB port or Thunderbolt port. Additionally, close any unnecessary background processes on the host computer, allocate sufficient resources to the virtual machine, and optimize settings within Virtualbox.
4. Corrupted virtual machine files: If your virtual machine files become corrupted, try restoring from a backup or reimporting the virtual machine into Virtualbox from the original source files. Ensure that you have a reliable backup strategy in place to minimize the impact of any data loss.
5. Disconnecting the external hard drive: Always safely eject or disconnect the external hard drive from your computer before physically unplugging it. Abruptly removing the drive without following the proper procedure can lead to data corruption or loss.
By following these tips and being prepared for any troubleshooting, you can ensure smooth and efficient running of your virtual machines from your external hard drive. Experiment with different configurations and settings to find the optimal setup for your needs, and don’t hesitate to seek assistance from the Virtualbox community or official support channels if you encounter any persistent issues.
Conclusion
Running Virtualbox on an external hard drive provides numerous benefits, including portability, flexibility, space-saving, improved performance, and robust backup options. By preparing your external hard drive, installing and configuring Virtualbox on it, transferring existing virtual machines, and running them directly from the drive, you can enjoy a portable and convenient virtualization setup.
By utilizing an external hard drive, you can easily carry your virtual machines with you, switch between different computers, and free up space on your local storage. The flexibility and portability offered by running Virtualbox on an external hard drive are especially valuable for professionals who travel frequently or work across different locations.
Remember to properly prepare your external hard drive by formatting it to a compatible file system, allocating a separate partition, and ensuring it is correctly mounted. Install and configure Virtualbox on the external drive, and transfer existing virtual machines to preserve your work and maintain a seamless transition.
With your virtual machines on the external hard drive, you can start them directly from the drive, configure external hard drive access, and make the most of your virtualized environment. Keep in mind some helpful tips, such as keeping your external hard drive secure, regularly backing up your virtual machines, checking compatibility, and optimizing settings for performance.
In case you encounter any issues, troubleshooting steps include checking for errors accessing the external hard drive, addressing incompatibility between Virtualbox and the host operating system, resolving performance concerns, dealing with corrupted virtual machine files, and safely disconnecting the external hard drive.
By following these guidelines, you can fully leverage the benefits of running Virtualbox on an external hard drive, creating a versatile and efficient virtualization setup that meets your needs. Enjoy the ease, portability, and convenience that an external hard drive brings to your virtualized environment.