Introduction
Welcome to the world of Google Sheets, a powerful online spreadsheet tool that allows you to organize and analyze data, collaborate with others, and streamline your workflow. One essential feature of Google Sheets is the ability to resize rows, which allows you to adjust the height of each row to accommodate the content within it. Whether you’re working on a simple task list or a complex data analysis project, knowing how to resize rows in Google Sheets is key to optimizing your workflow and ensuring that your data is presented in a clear and organized manner.
In this article, we will explore different methods to resize rows in Google Sheets, both manually and automatically. We’ll also provide you with some handy tips and tricks to enhance your productivity and efficiency while working with rows in Google Sheets. So, whether you’re a beginner looking to learn the basics or an advanced user seeking to improve your skills, this guide is here to help you master the art of resizing rows in Google Sheets.
Why Resize Rows in Google Sheets is Important
Resizing rows in Google Sheets might seem like a mundane task, but it plays a crucial role in improving the readability and organization of your data. Here’s why resizing rows is important:
1. Optimal Data Presentation: When you resize rows, you ensure that the text and data within each cell are displayed properly. By adjusting the row height, you prevent overcrowding or excessive white space, making it easier to read and understand the information in your spreadsheet.
2. Data Visualization: Resizing rows allows you to effectively present data in visual formats like tables and charts. By appropriately sizing rows, you can create visualizations that are visually appealing and easy to interpret, making it simpler for others to grasp the insights and trends present in your data.
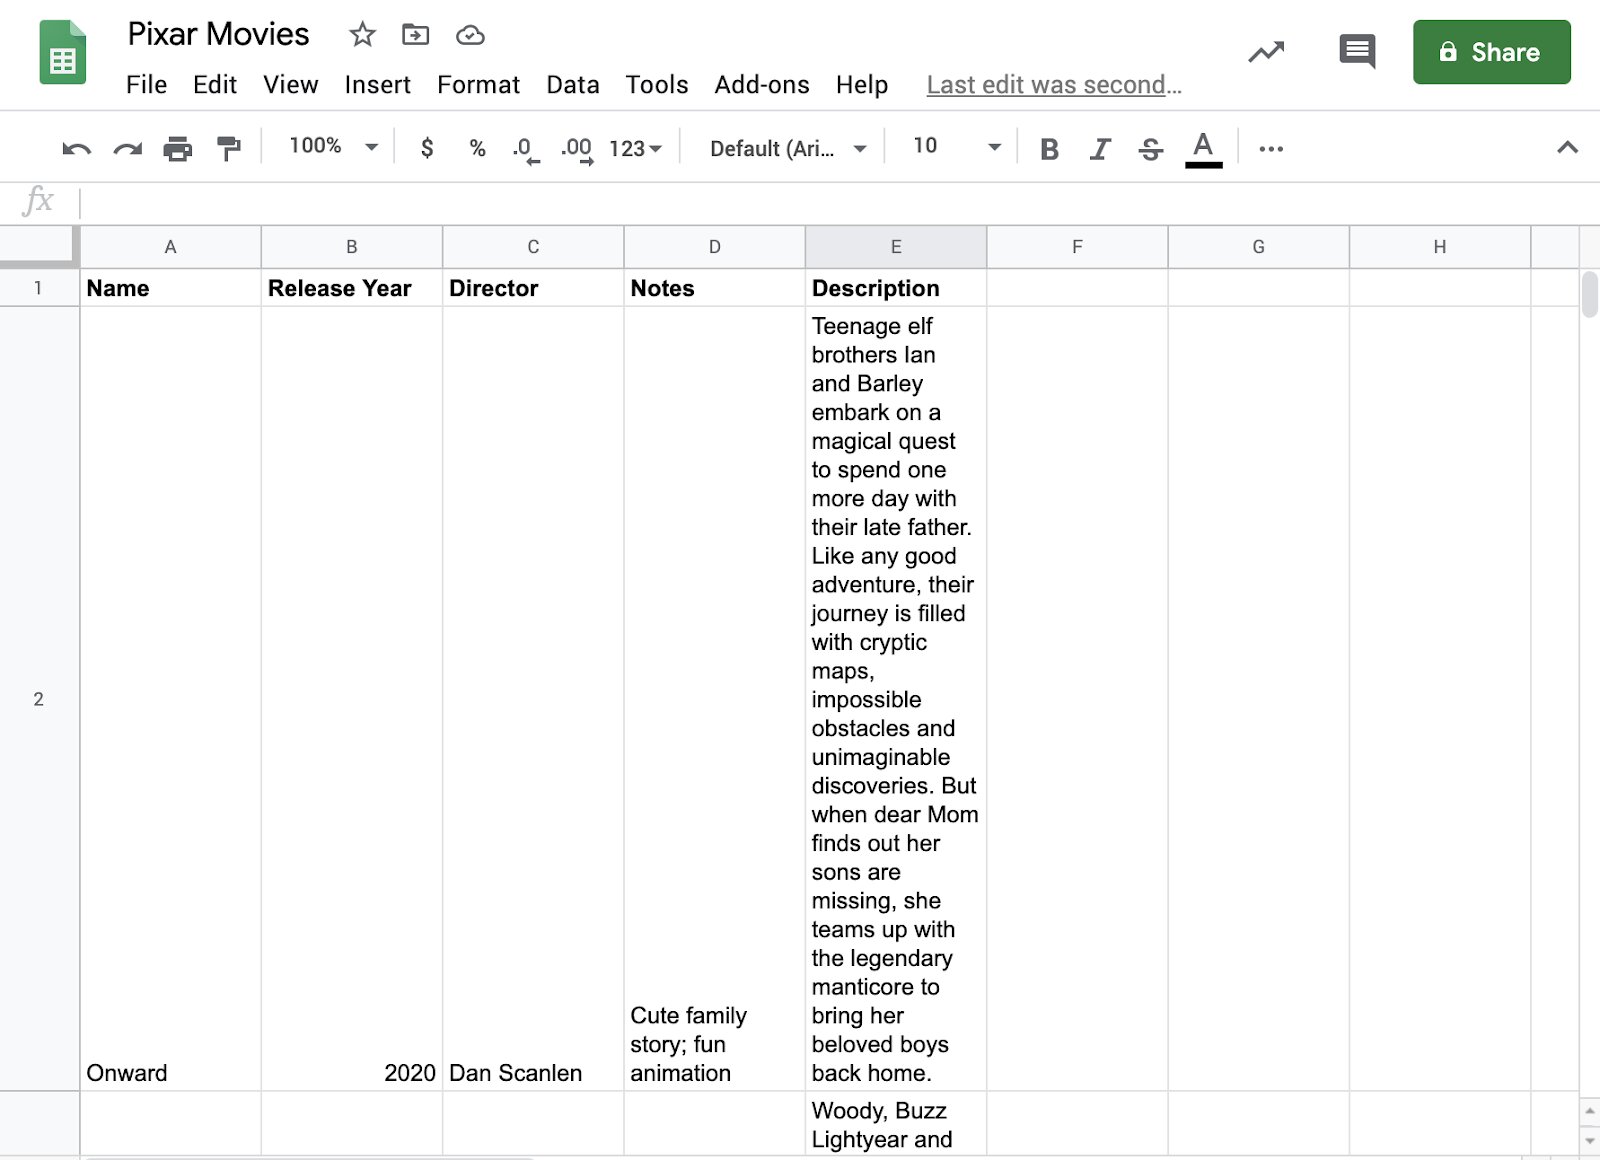
3. Accommodating Text and Wrap: Some cells in your spreadsheet might contain lengthy text or multiple lines. Resizing rows ensures that the content is fully visible within the cell, preventing important information from being cut off. Additionally, row resizing enables the text wrap feature, allowing long lines of text to wrap and fit within the cell without distorting the appearance of the spreadsheet.
4. Printing and Exporting: When you print or export your spreadsheet, resizing rows becomes even more vital. By adjusting row heights, you can prevent content from being cropped or overlapping in the printed or exported version. This ensures that your data retains its integrity and remains legible regardless of the medium.
5. Collaboration and Readability: In collaborative environments, resizing rows is important to ensure consistent formatting and readability across multiple users. When everyone is working with the same row heights, it becomes easier to navigate, understand, and make changes to the spreadsheet without any confusion or misinterpretation.
By understanding the importance of resizing rows in Google Sheets, you can effectively optimize your spreadsheets for better data presentation, data visualization, and collaboration.
How to Manually Resize Rows in Google Sheets
Resizing rows manually in Google Sheets gives you full control over the height of each row. Here’s how you can do it:
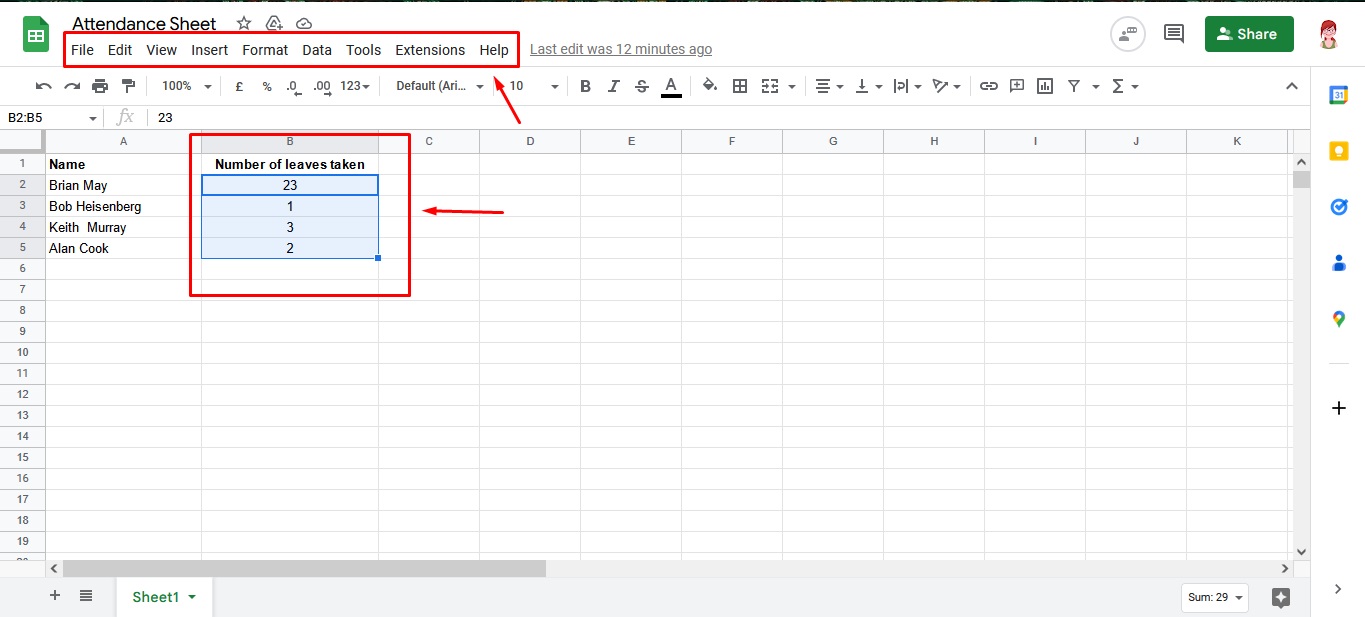
1. Select the Rows: To resize a single row, click on the row number (on the left side of the sheet) to select the entire row. To resize multiple rows, click and drag your mouse across the row numbers to select them all.
2. Adjust Row Height: Once the rows are selected, move your mouse cursor to the edge of the row header (the grey line between row numbers) until it turns into a double-sided arrow. Click and drag the row header up or down to increase or decrease the row height as desired. For precise measurements, you can also right-click on the row header, select “Resize row,” and enter an exact value in pixels.
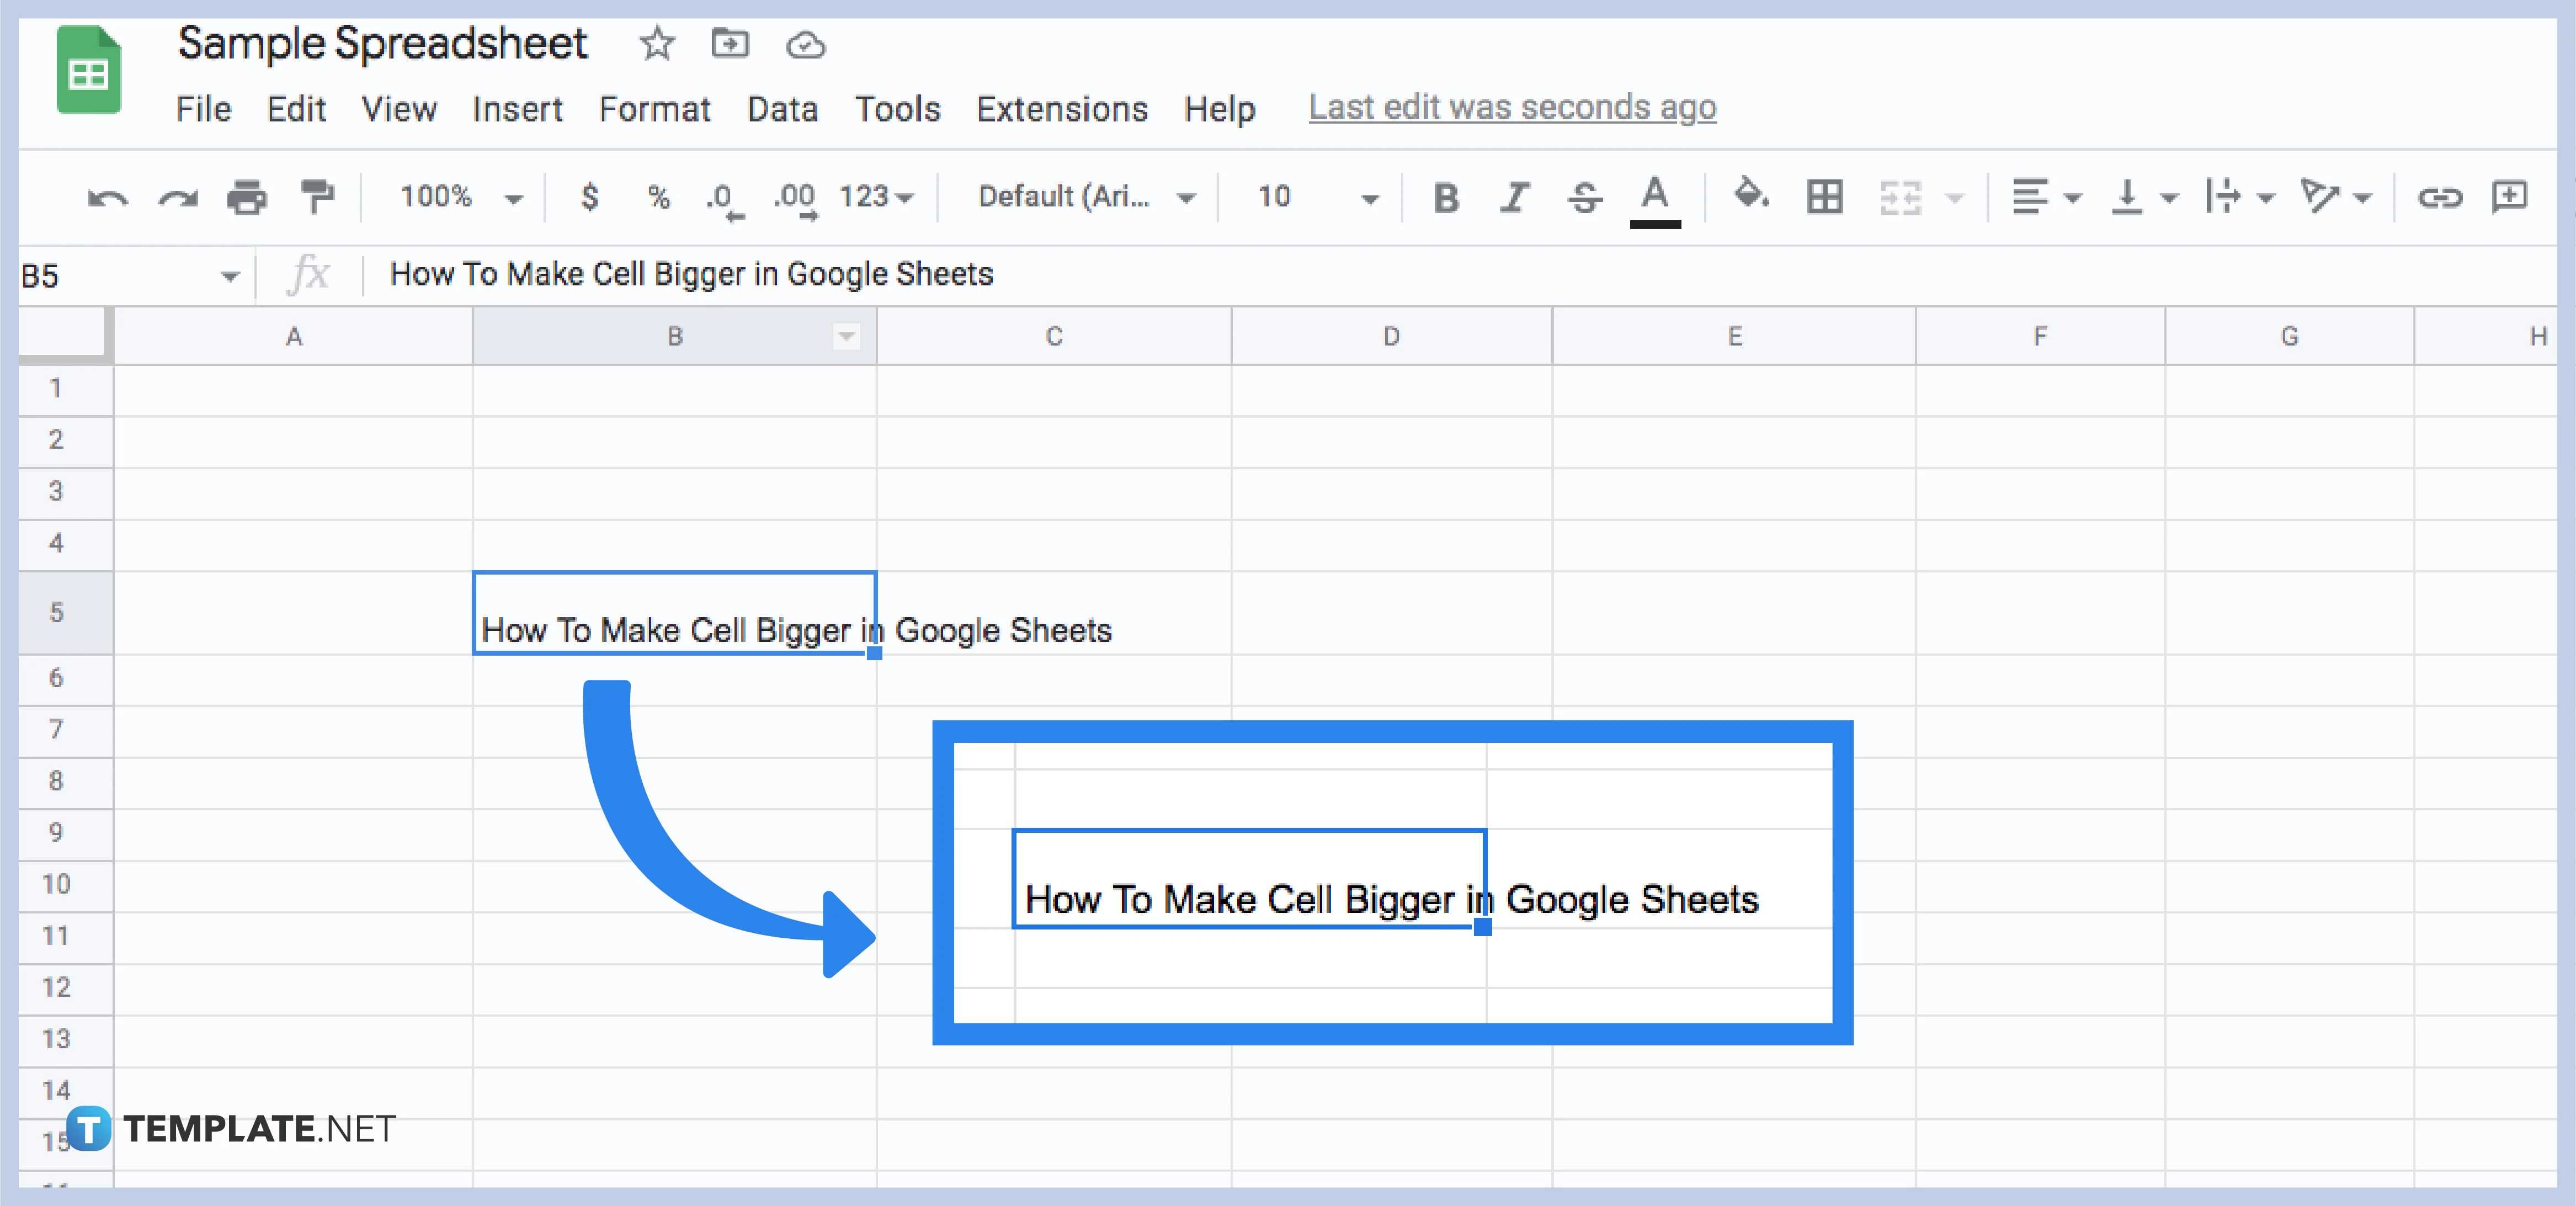
3. Auto-Resize Row: Another option is to use the auto-resize feature to automatically adjust the row height based on the content. Double-click on the edge of the row header, and the row will expand or shrink to fit the content within it. This is particularly useful when dealing with cells that contain text wrapped on multiple lines.
4. Adjust Column Width: It’s important to note that resizing rows can also impact the appearance of your columns. When you resize a row, the columns in the affected row may adjust to maintain the overall layout. If you want to maintain specific column widths, you can manually adjust the column widths before or after resizing the rows.
5. Undo or Redo Resizing: If you make a mistake while resizing rows, you can easily undo it by pressing “Ctrl+Z” (Windows) or “Cmd+Z” (Mac). Similarly, if you want to redo an action, use “Ctrl+Y” (Windows) or “Cmd+Y” (Mac). These keyboard shortcuts come in handy when you need to quickly revert any unintentional changes.
By following these simple steps, you can manually resize rows in Google Sheets to customize the height according to your specific needs and preferences. Keep in mind that manual resizing provides you with the flexibility to fine-tune the appearance of your spreadsheet.
How to Automatically Resize Rows in Google Sheets
While manual resizing of rows in Google Sheets gives you control over the height of each row, it can be time-consuming, especially when working with large datasets. Fortunately, Google Sheets provides an automatic resizing feature that adjusts the row heights based on the content within them. Here’s how you can automatically resize rows:
1. Select the Rows: Just like in manual resizing, start by selecting the rows you want to automatically resize. Click and drag your mouse across the row numbers to select multiple rows, or click on a single row number to select a specific row.
2. Resize Rows: With the rows selected, go to the “Format” menu at the top of the screen and select “Row height.” A dialog box will appear, offering several options for resizing rows.
3. Choose an Auto-Resize Option: In the “Row height” dialog box, you’ll see three options: “Fit to data,” “Fit to data (wrapped),” and “Set row height.” Choose the option that suits your needs:
- Fit to data: This option automatically adjusts the row heights to fit the contents of the cells. It considers both the text and any formatting applied, such as bold or italicized text.
- Fit to data (wrapped): Similar to “Fit to data,” this option adjusts the row heights to accommodate the cell contents. However, it specifically accounts for wrapped text, ensuring that all lines are visible within the row.
- Set row height: With this option, you can manually set a specific row height in pixels. Enter the desired value in the dialog box, and the selected rows will be resized accordingly.
4. Apply and Confirm: After choosing the desired auto-resize option, click “OK” to apply the changes. The selected rows will automatically adjust their heights based on the content within them.
By using the automatic resizing feature in Google Sheets, you can save time and effort, especially when dealing with large sheets or dynamic datasets. It ensures that the row heights are optimized to display the content in a clear and organized manner.
Tips and Tricks for Resizing Rows in Google Sheets
Resizing rows in Google Sheets is a fundamental skill that can greatly enhance your productivity and improve the visual appearance of your spreadsheets. To help you make the most out of this feature, here are some handy tips and tricks:
1. Use Keyboard Shortcuts: To quickly resize rows, leverage keyboard shortcuts. Press “Alt+Shift+” (Windows) or “Option+Command+” (Mac) and then the corresponding arrow key (up or down) to automatically adjust the selected row’s height to fit the contents.
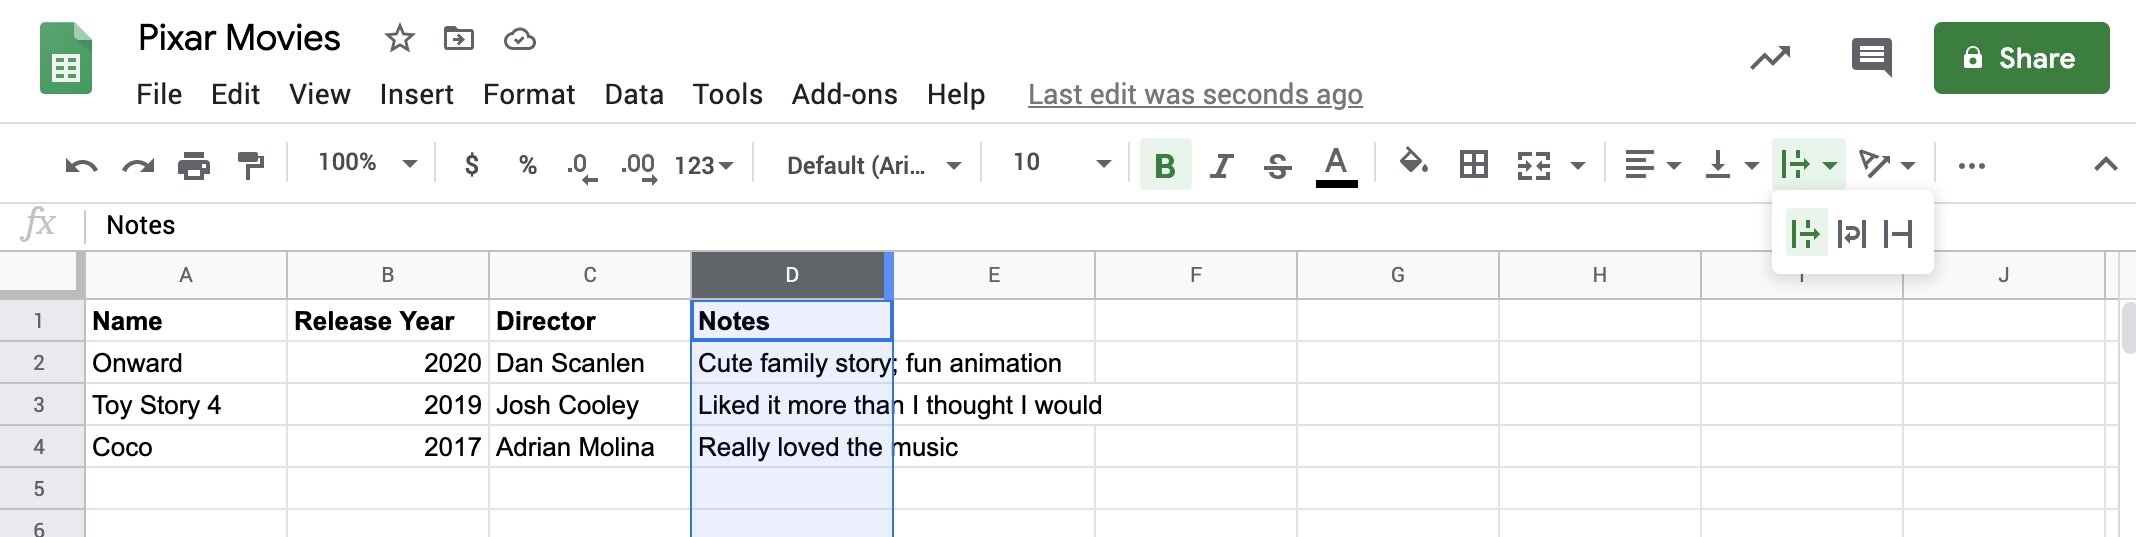
2. Resize Multiple Rows at Once: To resize multiple rows simultaneously, select the desired rows, right-click on any of the selected row headers, and choose “Resize rows” from the context menu. Enter the desired row height, and all selected rows will resize accordingly.
3. Create Uniform Row Heights: Maintain consistent row heights throughout your spreadsheet for a clean and professional look by using the “Resize rows” feature on a single row. Then, select the row, hover over the row number, and when the cursor turns into a hand icon, double-click. This will automatically resize all rows in the sheet to match the selected row’s height.
4. Adjust Row Heights While Editing: When you’re editing text in a cell, you might notice that the row height doesn’t automatically adjust to fit the text as you type. To temporarily adjust the row height while editing, place the cursor at the end of the line and press “Ctrl+Enter” (Windows) or “Cmd+Enter” (Mac) to create a line break. The row height will adjust to accommodate the additional line of text.
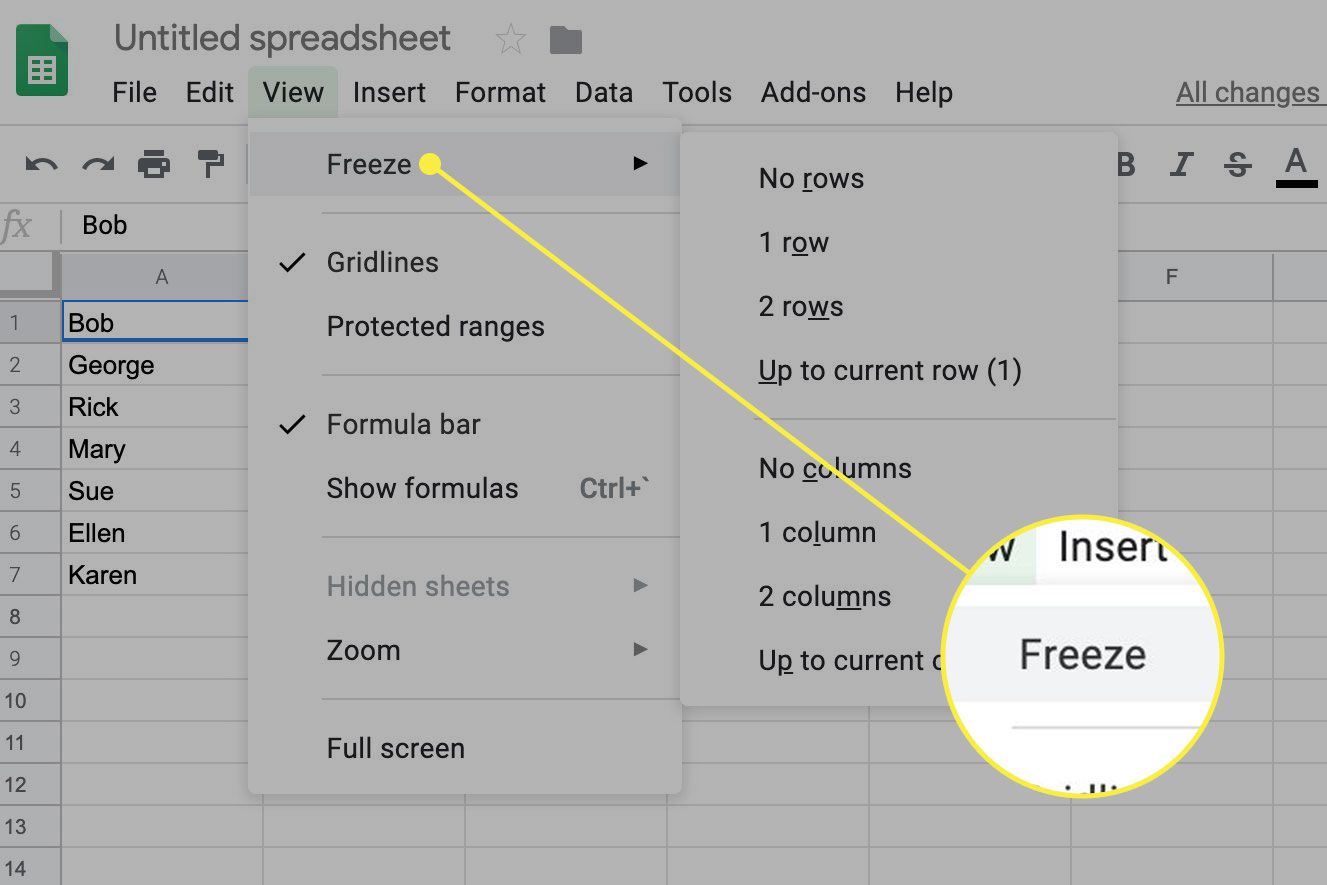
5. Freeze Rows: If certain rows contain important headers or information that you want to remain visible while scrolling, consider freezing those rows. Go to the “View” menu, select “Freeze,” and choose the appropriate freeze option to lock the selected rows in place.
6. Check for Hidden Content: If you’re experiencing issues with row heights not adjusting properly, ensure that there is no hidden content within the rows. Check for hidden columns, merged cells, or excessive line breaks that might be affecting the overall row height.
7. Utilize Split View: If you want to compare or work with two different sections of a document simultaneously, you can make use of the split view feature. Go to the “View” menu, select “Split,” and adjust the divider to create two distinct views of your spreadsheet. This allows you to resize rows independently in each view.
By implementing these tips and tricks, you can streamline your workflow, maintain consistency, and effectively customize the appearance of your Google Sheets by resizing rows efficiently.
Conclusion
Congratulations! You have now mastered the art of resizing rows in Google Sheets. Whether you need to manually adjust row heights or automatically resize them based on content, you have the tools and knowledge to optimize the appearance and readability of your spreadsheets.
By resizing rows, you can present your data in a clear and organized manner, ensuring that text and content within each cell are visible and legible. Resizing rows is particularly important when it comes to data visualization, printing or exporting your spreadsheet, and collaborating with others.
Remember to make use of the various tips and tricks provided, such as utilizing keyboard shortcuts, resizing multiple rows at once, and maintaining uniform row heights. These techniques will help you work more efficiently and create polished and professional-looking spreadsheets.
Whether you’re a beginner or an advanced user, it’s essential to understand the importance of resizing rows in Google Sheets and how it can enhance your overall spreadsheet experience. By mastering this skill, you’ll be able to present data more effectively, work more efficiently, and collaborate seamlessly with others.
So, go ahead and start resizing those rows in Google Sheets to create visually appealing and well-organized spreadsheets. Happy resizing!