Introduction
Google Sheets is a powerful tool that allows users to create, organize, and analyze data in a spreadsheet format. One of the key features of Google Sheets is the ability to adjust the size of cells to accommodate different types of content. Whether you need to make cells bigger to fit longer text or to display larger and more prominent data, Google Sheets provides several options for customizing cell size and appearance.
In this article, we will explore various methods for making cells bigger in Google Sheets. We will cover adjusting cell width and height, wrapping text in cells, merging cells, and formatting cells for a larger appearance. By mastering these techniques, you will be able to optimize the layout of your spreadsheet and present your data in a more organized and visually appealing manner.
Whether you are a business professional, a student, or simply someone who needs to manage data effectively, being able to manipulate cell size in Google Sheets will greatly enhance your productivity and the professional look of your spreadsheets. So, let’s dive in and learn how to make cells bigger in Google Sheets!
Adjusting Cell Width
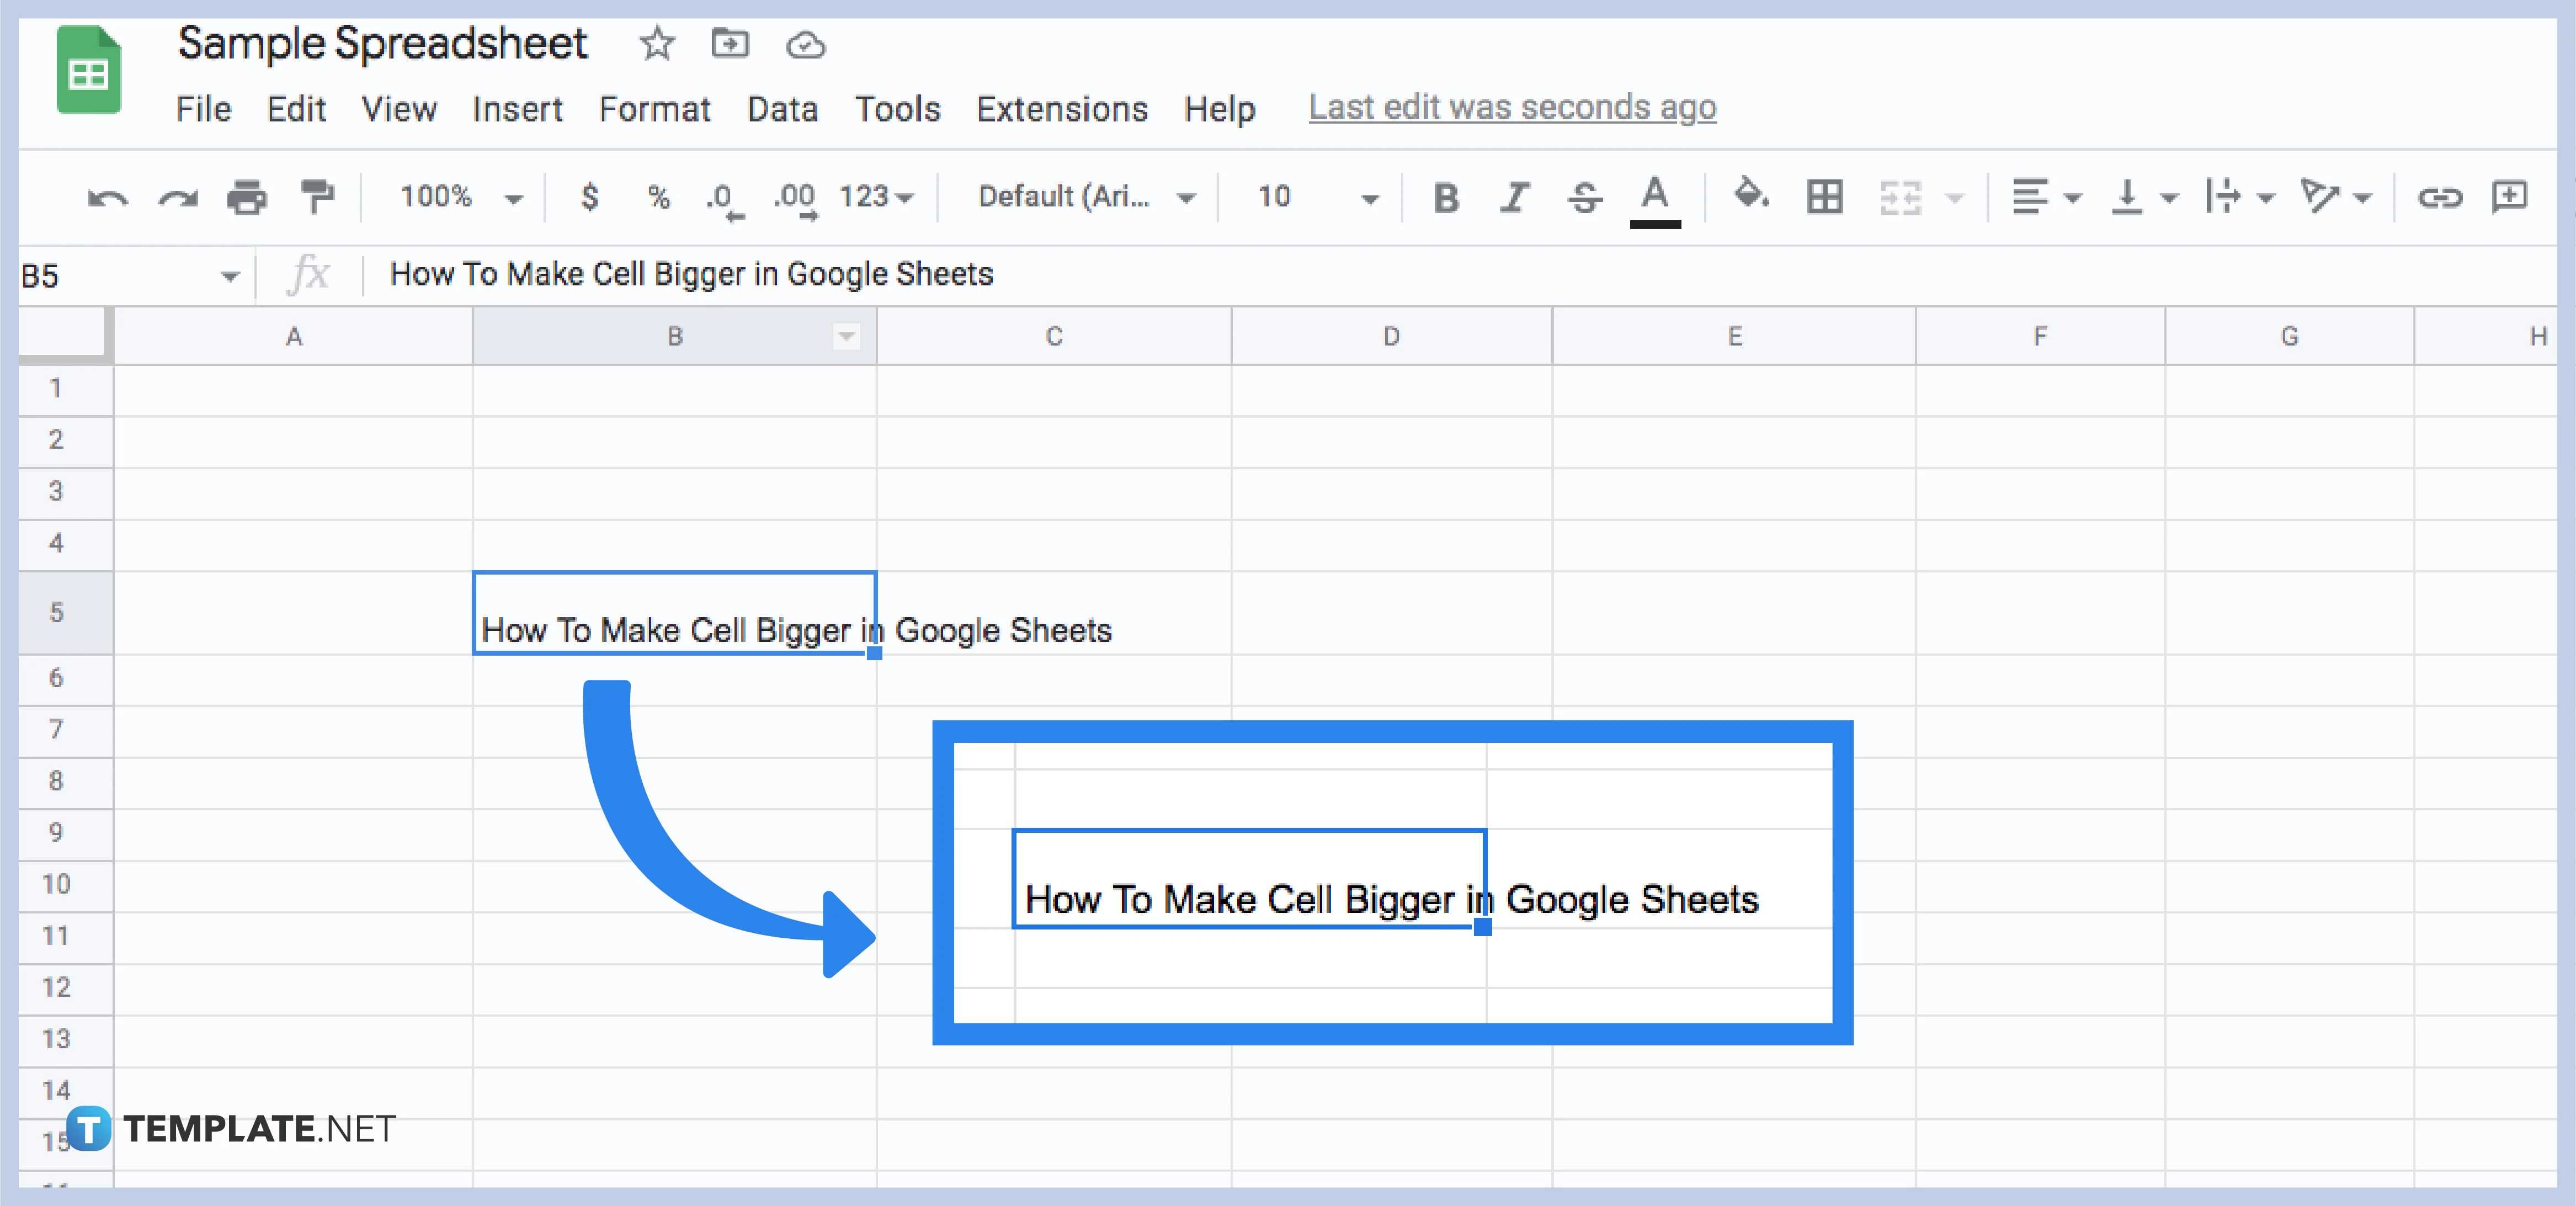
When working with Google Sheets, you may encounter situations where the content in a cell exceeds its default width, resulting in truncated text or hidden data. To adjust the cell width and display all the content within a cell, follow these steps:
- Select the column or columns that contain the cells you want to adjust. To select a single column, click on the column header. To select multiple columns, click and drag across the column headers.
- Right-click on one of the selected column headers and choose “Resize column” from the context menu. Alternatively, you can use the keyboard shortcut “Ctrl + Alt + [“.
- A resize cursor will appear. Click and drag the cursor to the right or left to increase or decrease the column width. As you resize the column, a preview of the new column width will be displayed.
- Release the mouse button when you are satisfied with the new width. The selected columns will now be adjusted to the specified width.
This method allows you to manually adjust the width of one or more columns to ensure that the content within the cells is visible. It is worth noting that when you adjust the width of a column, the changes will affect all the cells in that column. If you only want to adjust the width of a specific cell, you can follow the same steps but select only that particular column.
In addition to manually adjusting the width, Google Sheets also provides an option to automatically resize columns to fit the content. To use this feature, double-click on the right edge of the column header. The column width will adjust automatically to fit the longest content within the column.
Adjusting Cell Height
Just like adjusting cell width, there may be instances in Google Sheets where the content in a cell is too tall to fit within the default height. To ensure that all the content in a cell is visible, you can adjust the cell height using the following steps:
- Select the row or rows that contain the cell you want to adjust. To select a single row, click on the row number. To select multiple rows, click and drag across the row numbers.
- Right-click on one of the selected row numbers and choose “Resize row” from the context menu. Alternatively, you can use the keyboard shortcut “Ctrl + Alt + ;”.
- A resize cursor will appear. Click and drag the cursor up or down to increase or decrease the row height. As you resize the row, a preview of the new row height will be displayed.
- Release the mouse button when you are satisfied with the new height. The selected rows will now be adjusted to the specified height.
By using these steps, you can manually adjust the height of one or more rows to accommodate the content within the cells. Similar to column width adjustments, changes in row height will affect all the cells in that particular row. If you only want to adjust the height of a specific cell, follow the same steps but select only that particular row.
In addition to manual adjustments, Google Sheets also provides an automatic option to resize rows to fit the content. Simply double-click on the bottom edge of the row number, and the row height will adjust automatically to fit the tallest content within the row.
By adjusting the cell height, you can ensure that all the content within the cells is visible and properly displayed. This is especially useful when dealing with multiline text or larger amounts of data within a single cell.
Wrapping Text in Cells
When the content in a cell is too long to fit within the default width, one approach to ensuring that all the text is visible is by wrapping the text within the cell. This means that the text will automatically move to the next line within the cell, instead of being cut off or hidden. Follow these steps to wrap text in a cell:
- Select the cell or cells that contain the text you want to wrap. To select a single cell, click on it. To select multiple cells, click and drag across the cells.
- Right-click on one of the selected cells and choose “Wrap” from the context menu. Alternatively, you can use the keyboard shortcut “Ctrl + Option + \\ (backslash)”.
- The text within the selected cells will now be wrapped and displayed on multiple lines to fit the cell width. You will notice that the cell height adjust automatically to accommodate the wrapped text.
By wrapping text in cells, you can ensure that all the content is visible without needing to adjust the cell width or height. This is particularly useful when dealing with longer text entries or when you want to include multiple lines of information within a single cell.
It is important to keep in mind that wrapped text may not be fully displayed if the cell height is insufficient to show all the wrapped lines. In such cases, you can manually adjust the cell height, as explained in the previous section, to accommodate all the wrapped text.
Furthermore, you can undo the text wrapping by following the same steps mentioned above. Simply right-click on the wrapped cell, choose “Wrap” from the context menu (which will now appear as “Unwrap”), and the text will revert to its original state, being displayed on a single line within the cell.
Merging Cells
Another way to adjust the size and appearance of cells in Google Sheets is by merging them. Merging cells allows you to combine multiple adjacent cells into a single, larger cell. This can be helpful when you want to create headings, labels, or to make certain data stand out. To merge cells in Google Sheets, follow these steps:
- Select the cells that you want to merge. To select multiple cells, click and drag across them.
- Right-click on one of the selected cells and choose “Merge cells” from the context menu. Alternatively, you can use the keyboard shortcut “Ctrl + Option + M”.
- The selected cells will now be merged into a single cell, with the content from the upper-left cell being retained. The merged cell will expand to fit the size of the original selected cells.
When cells are merged, any formatting, text, or data in the merged cells will be combined and displayed in the upper-left cell. The original content of the other merged cells will be overwritten and no longer visible.
Keep in mind that when you merge cells, you cannot group cells from different columns or rows. Merging is limited to cells that are adjacent to each other within the same row or column. Also, merging cells affects the overall structure of the spreadsheet, so be cautious when merging cells that contain important data.
To unmerge cells and revert them to their original state, follow the same steps mentioned above but choose “Unmerge cells” from the context menu (which will appear as “Merge all” or “Merge horizontally/vertically” depending on the current state of the merged cells).
By merging cells, you can create a visually appealing and organized layout in your spreadsheet, allowing for a clearer representation of data and a more professional appearance.
Formatting Cells for Bigger Appearance
In addition to adjusting the width, height, and merging cells, you can also format cells to create a bigger appearance. Formatting options such as font size, cell color, and borders can help make important data or headings stand out. Here are some formatting techniques to make cells appear bigger:
- Increase font size: Select the cells or text that you want to make bigger, and choose a larger font size from the font size drop-down menu in the toolbar. You can also use the keyboard shortcut “Ctrl + Shift + >” to increase the font size.
- Apply bold or italics: Emphasize important text by applying bold or italics formatting. Select the cells or text and use the bold or italics buttons in the toolbar. You can also use the keyboard shortcuts “Ctrl + B” for bold and “Ctrl + I” for italics.
- Add cell borders: Enhance the visibility of specific cells by adding borders. Select the cells and click on the “Borders” button in the toolbar to choose different border styles. You can add borders to the top, bottom, left, and right sides of the cells, or create custom border designs.
- Change cell color: Draw attention to specific cells by changing their background color. Select the cells and click on the “Fill color” button in the toolbar to choose a different cell color. You can select from a range of preset colors or create custom color options.
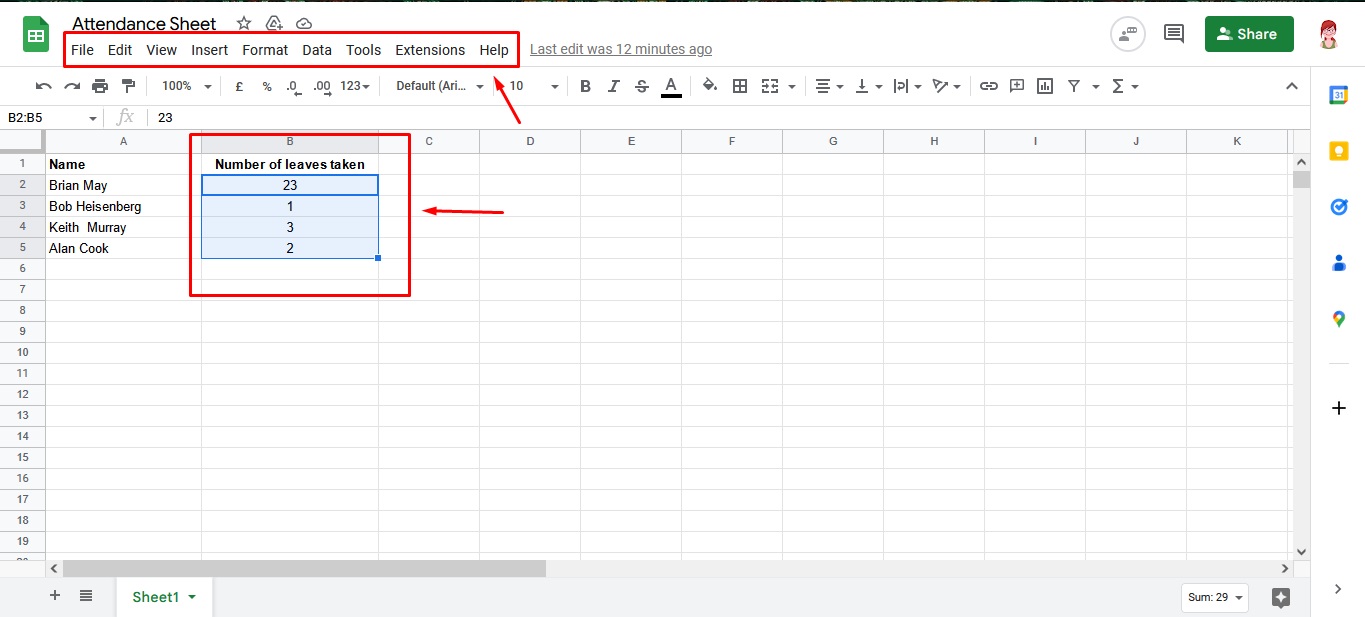
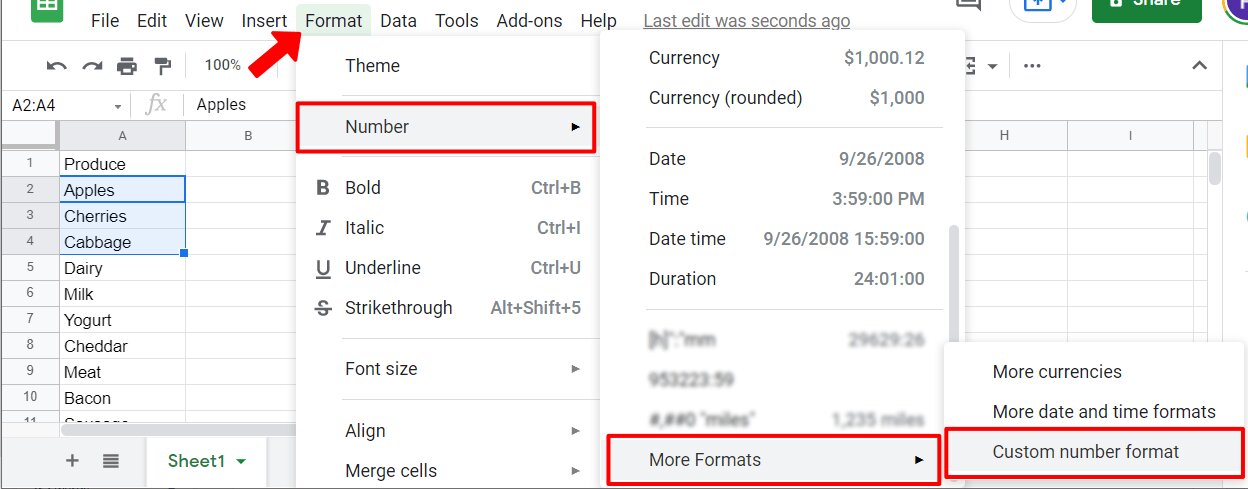
- Apply number formatting: If you have numerical data, you can format the cell to display it in a larger and more readable format. Select the cells and choose a desired number format from the “Number format” drop-down menu in the toolbar. You can choose formats such as currency, percentages, or custom formats.
By using these formatting techniques, you can visually enhance the appearance of cells, making them appear bigger and more prominent within your spreadsheet. Experiment with different combinations of font size, styles, borders, colors, and number formats to achieve your desired effect.
Remember that while formatting can make cells appear bigger, it does not actually change the size of the cells. The content within the cells will still adjust based on the width and height settings. Formatting is purely visual and aimed at improving the readability and emphasis of the data.
Conclusion
In Google Sheets, adjusting the size of cells is essential for effectively managing and presenting data. By following the methods outlined in this article, you can easily make cells bigger to accommodate content, improve readability, and create a visually appealing spreadsheet.
First, adjusting cell width allows you to fit longer text and prevent truncation. By manually resizing columns or using the automatic resizing option, you can ensure all content is visible without compromise.
Next, adjusting cell height helps display multiline text or larger amounts of data within a single cell. By manually resizing rows or using the automatic resizing feature, you can ensure complete visibility without the need for scrolling.
Wrapping text within cells is another effective method. By wrapping text, you allow it to flow to multiple lines within a cell, avoiding cutoff and improving readability.
Merging cells is useful for creating headings, labels, or emphasizing specific data. By combining adjacent cells into a single larger cell, you can create a more organized and visually appealing layout.
Finally, formatting cells for a bigger appearance adds visual prominence to important data. By adjusting font size, applying bold or italics, adding borders, changing cell color, or implementing number formatting, you can enhance the visual impact of your spreadsheet.
With proficiency in these techniques, you can optimize the layout and appearance of your Google Sheets, making your data more accessible and visually pleasing. This will not only improve your productivity but also make your spreadsheets more professional and appealing to your audience.
So, experiment with these methods and find the best ways to make your cells bigger in Google Sheets. By doing so, you will take your spreadsheet skills to the next level and create visually stunning and functional documents.