Introduction
Google Sheets is a powerful tool for organizing and analyzing data, but one common frustration users encounter is columns that differ in size. This discrepancy can cause alignment issues and make the spreadsheet look unprofessional. Fortunately, there are several methods available to make columns the same size in Google Sheets, ensuring a neat and organized appearance.
Whether you’re working on a simple budget, project tracker, or complex data analysis, having uniform column widths is essential for easy readability and a professional presentation. In this article, we will explore different techniques to adjust column widths in Google Sheets, allowing you to create visually appealing and well-organized spreadsheets.
From manually adjusting column widths to using built-in features such as “Fit to data” and “Resize column,” we will cover a range of methods suitable for various scenarios. Additionally, we will explore the “Distribute evenly” feature and provide tips on how to make columns the same size using the ruler function.
By the end of this article, you will have a solid understanding of how to achieve consistent column sizes in Google Sheets, enabling you to create professional-looking spreadsheets that are both visually appealing and highly functional.
Why do columns differ in size in Google Sheets?
Understanding why columns in Google Sheets may differ in size can help troubleshoot and prevent issues with misaligned data and uneven presentation. Here are a few reasons why this discrepancy occurs:
- Varying content length: When cells within a column contain different lengths of text or numbers, the column widths may adjust automatically to accommodate the content. This can result in irregular column sizes.
- Formatting changes: Applying formatting changes such as bold or italic text, changing font sizes, or adjusting cell borders can inadvertently impact column widths.
- Merging cells: If you merge cells within a column, it can affect the overall width and cause inconsistency.
- Pasting data: When copying and pasting data from external sources or different worksheets, the column widths may not automatically adjust to fit the new content, resulting in variations.
- Hidden content: Sometimes, content within cells may be hidden due to a particular formatting setting or cell overflow. Hidden content can affect column widths, making them appear different.
While these factors can contribute to different column sizes, Google Sheets provides several tools and features to help you regain control and make the columns the same size again. By utilizing these methods, you can ensure consistency, readability, and a professional appearance in your spreadsheets.
How to adjust column widths manually
If you prefer a hands-on approach, manually adjusting column widths in Google Sheets is a quick and straightforward method to make the columns the same size. Follow these steps:
- Select the column or columns you want to resize. To select multiple columns, hold down the “Ctrl” key (Windows) or “Command” key (Mac) while clicking on the column headers.
- Place your cursor on the line between two column headers until it changes to a double-sided arrow cursor.
- Click and drag the column line to the left or right to adjust the width. As you drag, a tooltip will display the current width measurement.
- Release the mouse button when you are satisfied with the new width.
- Repeat these steps for any additional columns you want to adjust.
By manually resizing the columns, you have full control over their widths, ensuring they are consistent and visually appealing. This method is particularly useful when you need precise column sizes or prefer a customized layout for your spreadsheet.
Keep in mind that manually adjusting column widths can be time-consuming, especially if you have a large dataset or multiple columns to modify. In such cases, consider using other techniques or features provided by Google Sheets to expedite the process and achieve uniform column sizes efficiently.
How to use the “Fit to data” feature
The “Fit to data” feature in Google Sheets is a convenient way to automatically adjust column widths to fit the content within them. This ensures that the columns are the same size while accommodating the length of the data. Follow these steps to use the “Fit to data” feature:
- Select the column or columns that you want to adjust.
- Go to the “Format” menu at the top of the screen and select “Column” from the dropdown menu.
- Click on the “Auto fit” option. Alternatively, you can use the keyboard shortcut “Ctrl + Alt + F” (Windows) or “Command + Option + F” (Mac) to instantly fit the column width to the content.
Google Sheets will automatically resize the selected columns to fit the widest cell content within them. This ensures that all of the data is visible without any unnecessary empty space. This feature is particularly useful when you are working with data that has varying lengths or when you want the columns to adjust dynamically as you update the spreadsheet.
It’s important to note that the “Fit to data” feature may result in columns being wider than anticipated if there are cells with exceptionally long content or if there is extra whitespace within cells. If you find that the columns are still not the desired width after using this feature, you can modify them further by manually adjusting the widths or using other techniques available in Google Sheets.
The “Fit to data” feature is a efficient way to achieve consistent column sizes while ensuring that all the content within the cells is visible. It saves time and allows you to focus on the data itself rather than wasting effort on manual adjustments.
How to use the “Resize column” feature
In addition to manually adjusting column widths, Google Sheets offers a helpful “Resize column” feature that allows you to precisely set the width of one or more columns. This feature is useful when you want to ensure that specific columns have the exact same size. Follow these steps to use the “Resize column” feature:
- Select the column or columns that you want to resize.
- Right-click on the selected column header(s) to open the context menu.
- Hover over the “Resize column” option in the menu.
- Select “Specify width” from the sub-menu that appears.
- In the pop-up window, enter the desired width in the input field.
- Click “OK” to resize the column(s) with the specified width.
Using the “Resize column” feature allows you to set precise measurements for column widths, ensuring that they are all the same size. This can be particularly helpful when you have specific formatting requirements or when you want to create a consistent and visually appealing layout for your spreadsheet.
Keep in mind that if you have a large dataset or multiple columns to resize, this method may be time-consuming. In such cases, consider using other techniques or automation tools within Google Sheets to expedite the process and achieve uniform column sizes efficiently.
The “Resize column” feature provides you with the flexibility to set the exact width requirements for your columns, ensuring that they are consistent and visually appealing. It gives you more control over the layout of your spreadsheet and allows you to tailor it to your specific needs.
How to use the “Distribute evenly” feature
Google Sheets offers a convenient “Distribute evenly” feature that allows you to automatically adjust the column widths to be evenly distributed across a selected range. This feature is useful when you want to ensure that multiple columns have the same width without manually resizing each one individually. Follow these steps to use the “Distribute evenly” feature:
- Select the range of columns that you want to adjust.
- Right-click on one of the selected column headers to open the context menu.
- Hover over the “Resize column” option in the menu.
- Select “Distribute evenly” from the sub-menu that appears.
Google Sheets will automatically adjust the widths of the selected columns, distributing the available space evenly among them. This ensures that all columns within the selected range have the same width, creating a visually balanced and professional-looking spreadsheet.
The “Distribute evenly” feature is particularly useful when you have a group of columns that you want to resize collectively while maintaining consistency. This feature saves time and effort by automatically determining the appropriate widths for the columns, ensuring that they are evenly spaced without the need for manual adjustments.
It’s important to note that the “Distribute evenly” feature will allocate the available space equally among the selected columns, which may result in wider or narrower columns depending on the number of columns and the overall width of the data range. If you need precise control over individual column widths, consider using other techniques or features available in Google Sheets.
The “Distribute evenly” feature is a convenient way to achieve equal column widths across a selected range. It helps create a visually balanced and organized spreadsheet, saving you time and ensuring consistency in your data presentation.
How to adjust column widths using the ruler
In Google Sheets, you can adjust column widths using the ruler, which provides a visual representation of the column widths and allows for precise resizing. This method is particularly useful when you want to adjust column widths to specific measurements. Follow these steps to adjust column widths using the ruler:
- Locate the ruler at the top of the Google Sheets interface.
- Hover your cursor over the boundary line between two column headers until it changes to a double-sided arrow cursor.
- Click and drag the boundary line left or right to adjust the width of the column.
- As you drag, a tooltip will display the current width measurement.
- Release the mouse button when you are satisfied with the new column width.
By using the ruler, you have precise control over the column widths, allowing you to align them with specific measurements or adjust them to visually balance the spreadsheet. This method is particularly helpful when you want to achieve consistency and precision in your column sizes.
Remember that adjusting column widths using the ruler can be time-consuming, especially if you have a large number of columns or complex formatting requirements. In such cases, consider using other techniques or features provided by Google Sheets to expedite the process and ensure uniform column sizes efficiently.
The ruler in Google Sheets provides a visual interface for adjusting column widths, allowing you to have complete control over the layout and appearance of your spreadsheet. Utilizing the ruler ensures that your columns are accurately sized according to your requirements, resulting in a neat and professional-looking presentation of your data.
Tips for making columns the same size
Ensuring that columns have the same size in Google Sheets not only enhances the visual appeal of your spreadsheet but also facilitates easier data analysis. Here are some useful tips to help you achieve consistent column widths:
- Plan your layout: Before inputting data, consider the overall structure and layout of your spreadsheet. Think about the desired column widths and make a plan to ensure uniformity.
- Utilize formatting templates: If you frequently work with similar spreadsheets, create a formatting template with predetermined column widths. Apply the template to new sheets to maintain consistency effortlessly.
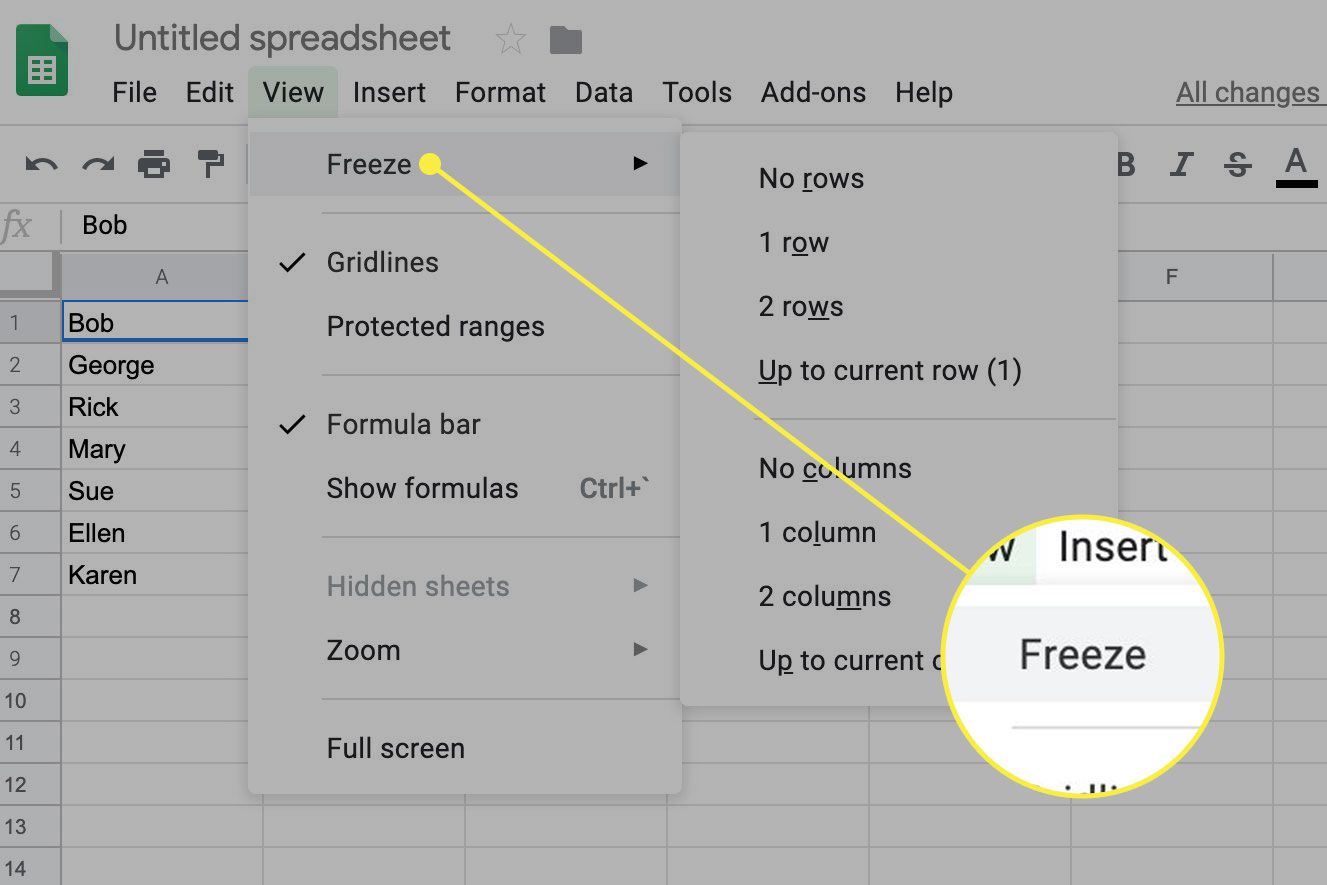
- Use frozen columns: Freeze the columns you want to keep a specific size, while allowing the remaining columns to adjust dynamically. This feature is especially helpful when working with large datasets.
- Avoid unnecessary merging: Minimize the need to merge cells within a column, as it can cause uneven column sizes. Instead, use alignment and formatting options to achieve desired visual effects.
- Copy and paste with caution: When copying and pasting data from external sources, choose the appropriate paste option to ensure the column widths adjust automatically to fit the new content.
- Regularly review and adjust: Periodically review your spreadsheet and adjust column widths as needed. This will help maintain consistent sizes, especially if the content changes over time.
By following these tips, you can maintain consistency in column widths, resulting in a visually pleasing and organized spreadsheet. It’s important to strike a balance between readability and efficient use of space, ensuring that your data is well-structured and easy to navigate.
Remember that the techniques and features available in Google Sheets, such as manual resizing, “Fit to data,” “Resize column,” and “Distribute evenly,” provide valuable tools for achieving uniform column sizes. Experiment with different methods and find the approach that works best for your specific spreadsheet needs.
Conclusion
Maintaining consistent column sizes is essential for creating professional and visually appealing spreadsheets in Google Sheets. Uneven column widths can lead to alignment issues and a cluttered appearance, making it difficult to analyze and present data effectively. However, with the various techniques and features available in Google Sheets, achieving uniform column widths is easier than ever.
We explored several methods in this article, such as manual resizing, using the “Fit to data” feature, utilizing the “Resize column” option, and leveraging the “Distribute evenly” feature. Each method offers its own advantages and flexibility, allowing you to adjust column widths based on your specific requirements.
Additionally, we discussed some valuable tips to help you maintain consistent column sizes. By planning your layout, utilizing formatting templates, avoiding unnecessary cell merging, using frozen columns, copying and pasting with caution, and regularly reviewing and adjusting your spreadsheet, you can ensure that your columns stay the same size over time.
Remember that the ultimate goal is to create spreadsheets that are not only visually appealing but also functional and easy to navigate. Consistent column sizes contribute to improved readability and data analysis, enabling you to present your information in a clear and organized manner.
Experiment with the different techniques and features mentioned in this article to find the ones that work best for your needs. Whether you choose to manually adjust column widths, utilize the built-in features in Google Sheets, or a combination of both, achieving uniform column sizes will enhance the overall quality of your spreadsheets.
By implementing these strategies and incorporating attention to detail, you can ensure that the columns in your Google Sheets are the same size, creating professional-looking spreadsheets that make a positive impression and effectively communicate your data.


