Introduction
Text wrapping is a fundamental feature in Google Sheets that allows users to control the appearance of text within cells. By default, Google Sheets truncates text that exceeds the width of a cell, which can result in incomplete information or the need to manually adjust column widths. Text wrapping, on the other hand, automatically adjusts the width of a cell to display the entire contents, ensuring that all text is visible without requiring manual intervention.
With the ability to wrap text, users can easily read and comprehend long or multi-line text within a single cell. Whether you need to display lengthy descriptions, addresses, or notes, text wrapping in Google Sheets provides a simple and efficient solution. In this article, we will explore various methods to enable and utilize text wrapping in Google Sheets, allowing you to present your data more effectively and improve overall readability.
By mastering text wrapping techniques, you can enhance the aesthetics and functionality of your spreadsheets. Say goodbye to awkwardly truncated text and the hassle of resizing columns manually. Let’s dive in and discover how to make the most of text wrapping in Google Sheets.
What is text wrapping?
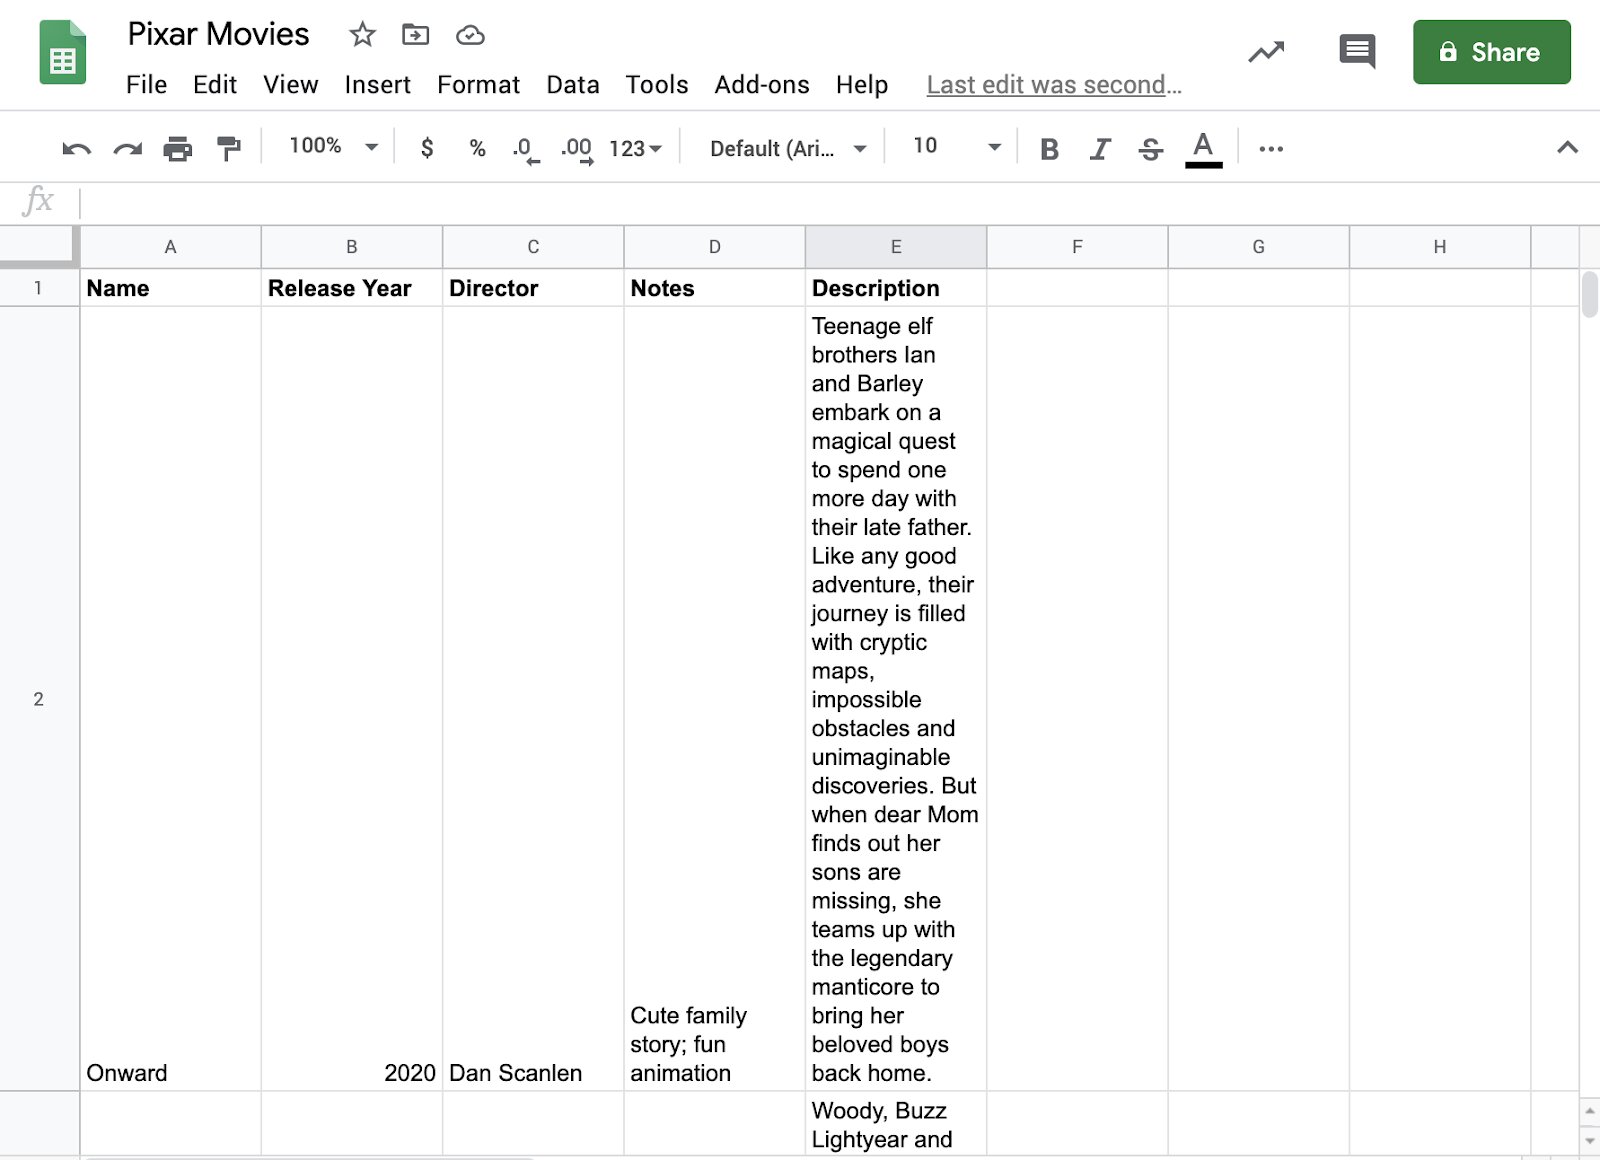
Text wrapping is a formatting feature that ensures all text within a cell is visible by automatically adjusting the cell’s width to accommodate the content. When text wrapping is enabled, if the text exceeds the width of a cell, it will move to the next line within the same cell, instead of being truncated or hidden.
Text wrapping is especially useful when working with long sentences, paragraphs, or multiple lines of text within a single cell. By allowing the text to span multiple lines, it improves readability and prevents important information from being cut off.
With text wrapping, you can efficiently display information without the need to manually adjust column widths or compromise the content’s visibility. It is a vital tool for organizing and presenting data in a clear and concise manner.
In addition to making data more accessible, text wrapping also offers the flexibility to align text within a cell. By default, Google Sheets aligns wrapped text to the left side of the cell. However, users can choose to align text vertically or horizontally, adjusting cell margins to further enhance the presentation.
Text wrapping in Google Sheets is not limited to the display of text within individual cells. It can also be applied to merged cells, allowing you to consolidate multiple cells into one and wrap the content seamlessly across the merged range.
Now that we understand what text wrapping is and its benefits, let’s explore how to enable and utilize this feature in Google Sheets to improve the readability and aesthetics of your spreadsheets.
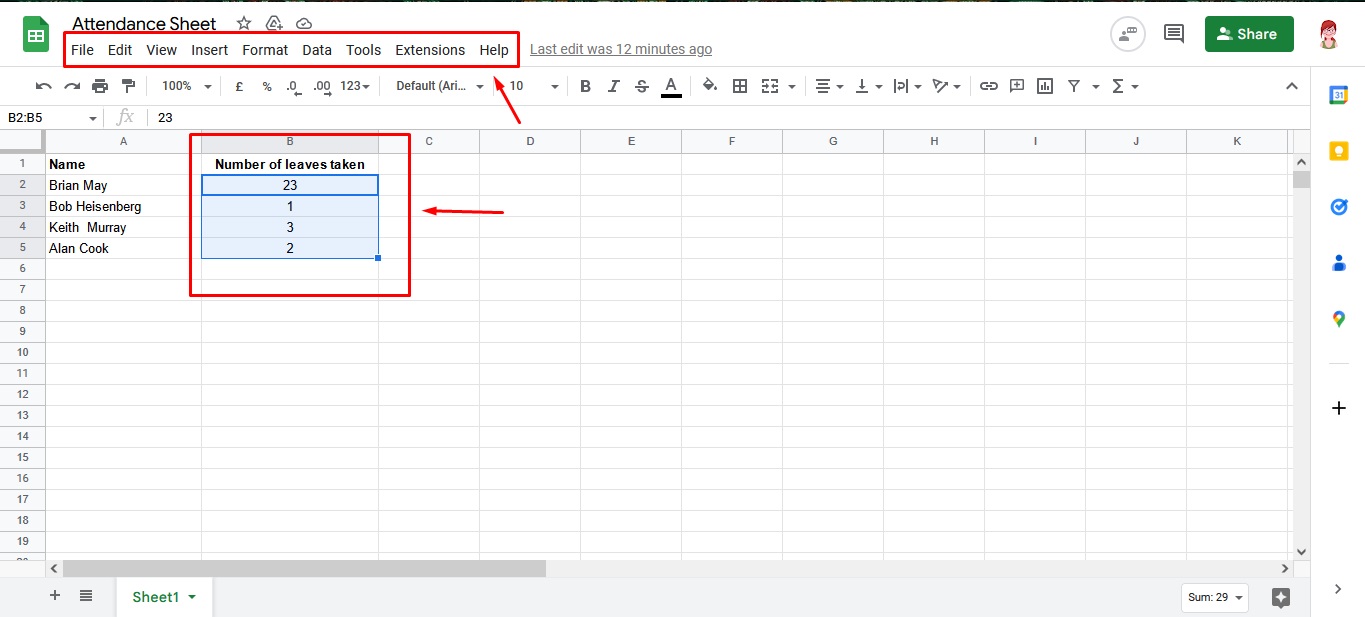
How to enable text wrapping in Google Sheets
Enabling text wrapping in Google Sheets is a simple process that can be done in a few different ways. Let’s explore the various methods:
Method 1: Using the toolbar option:
- Select the cell or range of cells that you wish to apply text wrapping to.
- Click on the “Format” menu at the top of the screen.
- Hover over the “Text wrapping” option.
- Click on the “Wrap” option from the dropdown menu.
This will enable text wrapping for the selected cells, and the text will adjust accordingly based on the cell width.
Method 2: Using the Format Cells dialog box:
- Select the cell or range of cells that you want to wrap text in.
- Right-click on the selected cells and choose “Format cells” from the context menu.
- In the Format Cells dialog box, go to the “Alignment” tab.
- Check the “Wrap” option under the “Text wrapping” section.
Click on “Apply” and then “Close” to enable text wrapping for the selected cells.
Method 3: Using the shortcut:
- Select the cell or range of cells.
- Press the combination of keys Ctrl + Alt + Enter (Windows) or Cmd + Option + Enter (Mac).
This shortcut will instantly enable text wrapping for the selected cells.
By using any of these methods, you can easily enable text wrapping in Google Sheets and ensure that your data is displayed in a way that is both visually appealing and easy to read.
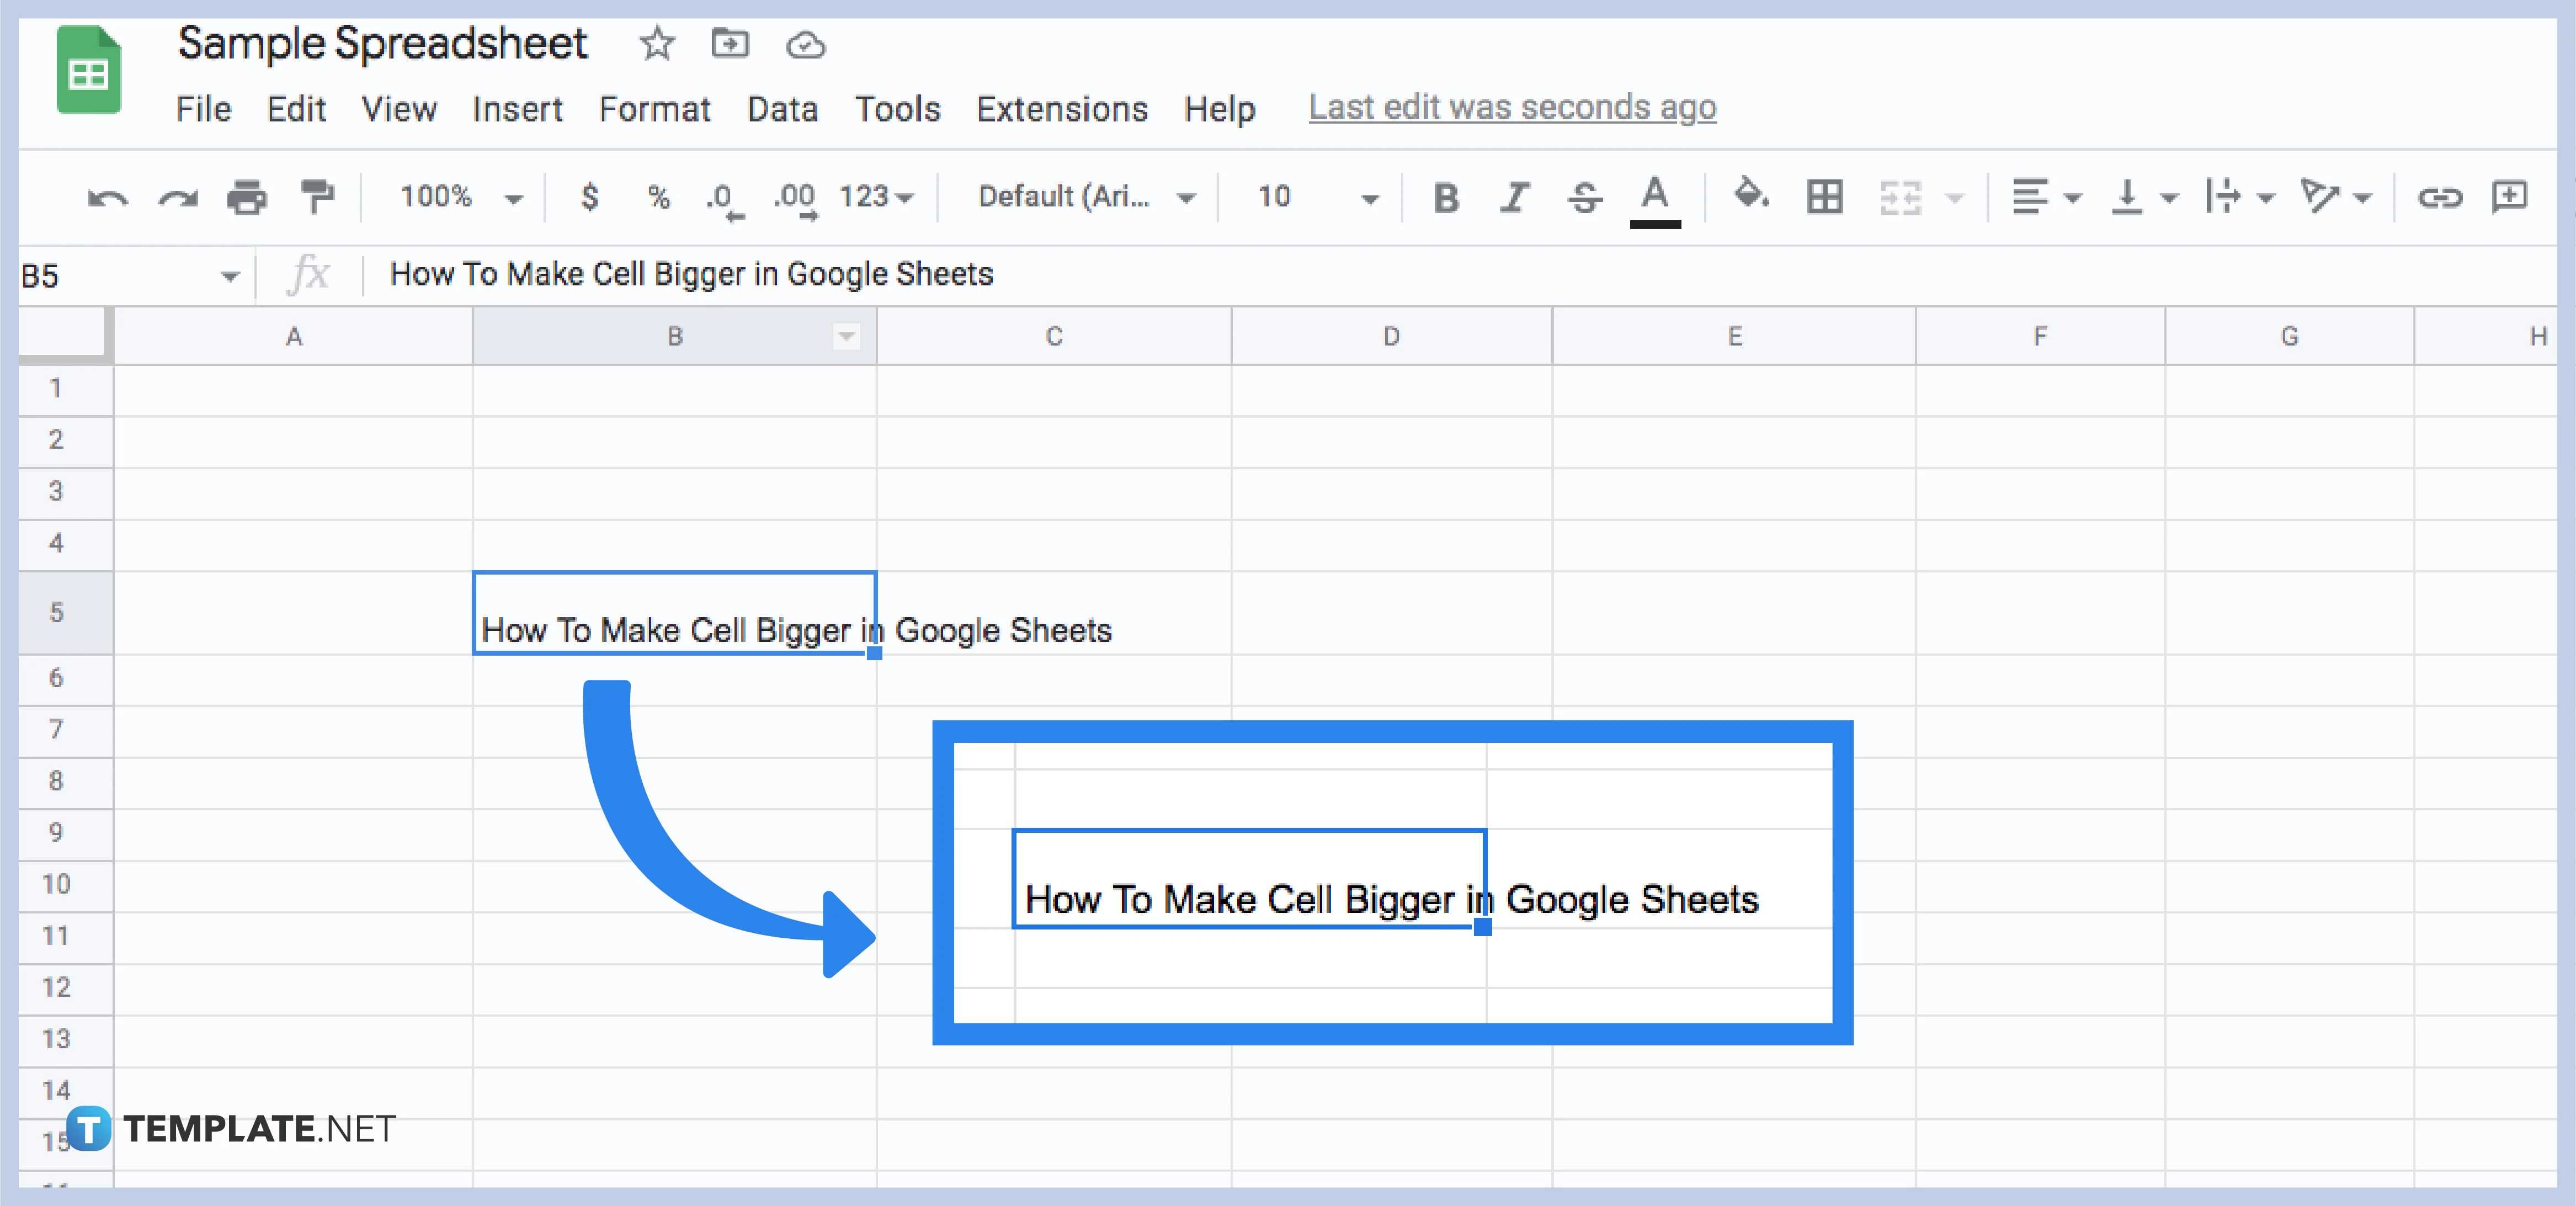
Wrapping text in a single cell
When you have a long sentence or multiple lines of text within a single cell in Google Sheets, it’s important to wrap the text to ensure it fits within the cell and remains visible. Here’s how you can wrap text in a single cell:
- Select the cell in which you want to wrap the text.
- Right-click on the selected cell and choose “Wrap” from the context menu.
- Alternatively, you can use the toolbar option by selecting the cell and clicking on “Format” from the top menu. Then, choose “Text wrapping” and select “Wrap” from the dropdown menu.
By wrapping the text, Google Sheets will automatically adjust the width of the cell to display all the text within it. If the text exceeds the default column width, it will continue on the next line within the same cell.
With text wrapping enabled, you can easily read and work with lengthy text in a single cell without any text being truncated or hidden. This is particularly useful for displaying notes, descriptions, or any other type of text-based information that requires more space.
To disable text wrapping in a cell, simply follow the same steps and select the “Overflow” or “Clip” option instead of “Wrap.” This will revert the cell back to the default behavior of truncating text that exceeds the cell width.
By wrapping text in a single cell, you have the flexibility to present data in a clean and organized manner, making it easier for yourself and others to interpret and understand the content within the cell.
Adjusting row height to wrap text
When text is wrapped in a cell, it’s important to adjust the row height to ensure that the entire text is fully visible. By default, Google Sheets automatically adjusts the row height to fit the wrapped text. However, if you need to manually adjust the row height, here’s how you can do it:
- Select the row or rows where you want to adjust the row height.
- Right-click on the selected row(s) and choose “Resize rows” from the context menu.
- In the “Resize rows” dialog box, check the “Specify rows height” option.
- Manually adjust the row height by dragging the border of the row or by entering a specific row height value.
- Click on “OK” to apply the changes.
By adjusting the row height, you ensure that all the wrapped text in the selected row(s) is fully visible, improving the readability and appearance of the spreadsheet.
In addition to manually adjusting row height, Google Sheets also provides an automatic option to adjust row height based on the content within it. To enable this option:
- Select the row or rows where you want to adjust the row height.
- Right-click on the selected row(s) and choose “Resize rows” from the context menu.
- In the “Resize rows” dialog box, check the “Fit to data” option.
- Click on “OK” to apply the changes.
By selecting the “Fit to data” option, Google Sheets will automatically adjust the row height based on the content within the row, ensuring that all the text is visible without any manual intervention.
By adjusting the row height to wrap text, you can ensure that your spreadsheet is visually appealing, easy to navigate, and displays all the necessary information clearly and concisely.
Wrapping text in multiple cells simultaneously
Wrapping text in multiple cells simultaneously can save you time and effort, especially when you have a large dataset or need to apply text wrapping to multiple cells at once. Here’s how you can wrap text in multiple cells simultaneously:
- Select the range of cells that you want to apply text wrapping to. You can select adjacent cells by clicking and dragging, or select non-adjacent cells by holding down the “Ctrl” (Windows) or “Cmd” (Mac) key while clicking on each cell.
- Right-click on any of the selected cells and choose “Wrap” from the context menu.
- Alternatively, you can use the toolbar option by selecting the range of cells and clicking on “Format” from the top menu. Then, choose “Text wrapping” and select “Wrap” from the dropdown menu.
By applying text wrapping to multiple cells simultaneously, you can ensure consistent formatting and readability across a range of cells. This is particularly useful when you have multiple columns or rows of data that require text wrapping for better presentation and comprehension.
If you want to remove text wrapping from multiple cells, follow the same steps as above, but select the “Overflow” or “Clip” option instead of “Wrap.” This will revert the text wrapping and return the cells to the default behavior of truncating text that exceeds the cell width.
Text wrapping in multiple cells simultaneously allows you to effortlessly manage and format data in your spreadsheet, ensuring that information is clearly visible and easily accessible to yourself and others.
Wrapping text in merged cells
Merging cells in Google Sheets allows you to combine multiple cells into a larger, single cell. When you have merged cells, you can also wrap the text within the merged cell to ensure it fits and displays correctly. Here’s how you can wrap text in merged cells:
- Select the merged cell(s) where you want to wrap text.
- Right-click on the selected merged cell(s) and choose “Wrap” from the context menu.
- Alternatively, you can use the toolbar option by selecting the merged cell(s) and clicking on “Format” from the top menu. Then, choose “Text wrapping” and select “Wrap” from the dropdown menu.
By wrapping text within merged cells, you can display long sentences or multiple lines of text seamlessly across the merged cell(s). This is especially useful when you want to create headings, labels, or descriptions that span across multiple columns or rows.
It’s important to note that when you merge cells and wrap text, the merged cell(s) will automatically adjust their width to fit the content. However, if the content exceeds the available space in the merged cell(s), the text might be cut off or hidden. To avoid this, you may need to adjust the column width or row height of the merged cell(s) accordingly.
To remove text wrapping from merged cells, follow the same steps as above, but select the “Overflow” or “Clip” option instead of “Wrap.” This will revert the text wrapping and return the merged cells to the default behavior of truncating text that exceeds the cell width.
By wrapping text within merged cells, you can effectively present information in a consolidated and visually appealing format, facilitating better comprehension and readability.
Using line breaks to wrap text within a cell
In addition to traditional text wrapping, Google Sheets provides the option to wrap text within a cell using line breaks. Line breaks allow you to create new lines within a cell and control the positioning of text without affecting the width of the cell. Here’s how you can use line breaks to wrap text within a cell:
- Select the cell where you want to wrap the text.
- Place your cursor at the position within the cell where you want to add a line break.
- Press the combination of keys Ctrl + Enter (Windows) or Cmd + Enter (Mac).
By using line breaks, you can effectively format text within a cell, creating visually appealing and organized information. This is particularly useful when you want to create bullet-point lists, address lines, or any other text layout that requires multiple lines within a single cell.
You can add multiple line breaks within a cell to structure the content further. To do this, repeat steps 2 and 3 for each line break you want to include.
To remove a line break from a cell, simply place the cursor immediately before or after the line break and press the Backspace or Delete key on your keyboard. The text will merge into a single line again, removing the line break.
Line breaks within cells provide versatility in organizing and presenting text in a compact space. However, it’s important to note that line breaks only affect the display of text within the cell and do not impact the width or height of the cell itself.
By leveraging line breaks, you can customize the layout within a cell, making your data more readable and visually appealing to users.
Wrapping text using formatting options
In Google Sheets, there are additional formatting options available to wrap text based on specific conditions or criteria. These formatting options allow you to customize how text wrapping is applied to your cells. Here are some common formatting options for wrapping text in Google Sheets:
- Conditional formatting: You can set conditional formatting rules that automatically apply text wrapping based on specific conditions. For example, you can conditionally format cells to wrap text if a certain value is met or if the text exceeds a certain length. Conditional formatting helps you dynamically adjust text wrapping based on your data.
- Text rotation: Google Sheets offers text rotation options that allow you to customize the angle or direction of text within cells. By rotating the text vertically or diagonally, you can create a visually appealing layout and optimize space within your spreadsheet.
- Font size and style: Adjusting the font size and style can influence how text wraps within cells. Smaller font sizes or condensed styles can help fit more text within a cell before wrapping occurs. Experimenting with different font options can help you find the optimal combination for your text wrapping needs.
- Cell borders: Applying cell borders can aid in text wrapping by creating visual boundaries within cells. By adding borders, you can control how text wraps around the cell boundaries, making it easier to distinguish different sections and enhance readability.
By utilizing these formatting options, you can customize text wrapping to suit your specific requirements. Whether it’s applying conditional formatting for dynamic text wrapping, rotating text for creative layouts, adjusting font size for compact presentation, or using cell borders for clear delineation, these options provide additional flexibility in how you wrap text within your spreadsheet cells.
Remember to evaluate which formatting options best align with your data and the desired presentation style. Experimenting with different combinations can help you achieve the most visually appealing and efficient text wrapping results in Google Sheets.
Compatibility and limitations of text wrapping in Google Sheets
While text wrapping is a valuable feature in Google Sheets, it is important to be aware of its compatibility and limitations. Understanding these factors can help you optimize your use of text wrapping in your spreadsheets. Here are some key considerations:
Compatibility:
- Text wrapping in Google Sheets is fully compatible with all modern web browsers, including Chrome, Firefox, Safari, and Edge.
- Text wrapping in Google Sheets can be viewed and edited on various devices, including desktop and laptop computers, smartphones, and tablets.
- Sharing and collaborating on Google Sheets files with text wrapping enabled works seamlessly across devices and users.
Limitations:
- When exporting or saving Google Sheets as a different file format, such as Excel or PDF, text wrapping settings may not be preserved. The file format’s own text wrapping capabilities or limitations will apply.
- Extremely long or complex text may not wrap properly, especially in narrow cells or when the available column width is limited. It is advisable to adjust column widths or consider alternative formatting options in such cases.
- Conditional formatting rules applied to text wrapping may impact performance, especially in large datasets. Be mindful of the number and complexity of conditional formatting rules to maintain optimal speed and efficiency.
- Text wrapping can affect the alignment of other cells in close proximity within the same row or column. It is important to adjust column widths or row heights accordingly to prevent unintended layout disruptions.
Being aware of the compatibility and limitations of text wrapping in Google Sheets can help you plan and design your spreadsheets effectively. By keeping these considerations in mind, you can ensure a smooth and consistent user experience while effectively leveraging text wrapping to showcase your data.
Conclusion
Text wrapping is a powerful tool in Google Sheets that allows you to enhance the appearance and readability of your spreadsheets. By enabling text wrapping, you can ensure that long or multi-line text fits within cells without being truncated or hidden. This not only improves the aesthetics of your data but also makes it easier for others to interpret and understand the information you’re presenting.
We explored various methods to enable text wrapping in Google Sheets, including using the toolbar options, format cells dialog box, and shortcuts. We also discussed how to wrap text in a single cell, adjust row height to accommodate wrapped text, wrap text in multiple cells simultaneously, wrap text in merged cells, and use line breaks for customized text layout. Furthermore, we touched upon additional formatting options and considered the compatibility and limitations of text wrapping in Google Sheets.
By utilizing text wrapping effectively, you can present your data in a clean and organized manner, making it more visually appealing and accessible. Whether you’re creating reports, managing data tables, or working on other spreadsheet tasks, text wrapping is an essential feature to master.
Remember to evaluate your specific requirements and choose the most suitable method for applying text wrapping. Experiment with different formatting options to find the optimal combination that best showcases your data. By utilizing the full capabilities of text wrapping in Google Sheets, you can enhance the presentation and readability of your spreadsheets, making them more informative and impactful.