Introduction
Welcome to our comprehensive guide on how to replace a motherboard. Whether you’re upgrading your computer’s hardware or dealing with a faulty motherboard, this step-by-step tutorial will help you navigate the process with ease. A motherboard is the backbone of your computer, connecting all the components and ensuring they work together smoothly. Over time, motherboards can become outdated or malfunction, requiring a replacement to optimize your computer’s performance.
Replacing a motherboard can seem like a daunting task, especially for those new to computer hardware. However, with the right tools, knowledge, and a little patience, you can successfully swap out your old motherboard for a new one. This guide aims to provide you with a detailed walkthrough, ensuring that you have all the necessary information to complete the task confidently and efficiently.
Throughout this guide, we’ll cover the essential steps to replace a motherboard, including preparing for the replacement, removing the old motherboard, installing the new motherboard, connecting components and cables, powering on and testing the new motherboard, and troubleshooting any encountered issues. By following these steps carefully, you’ll be able to upgrade your motherboard without any hassle.
It’s worth noting that replacing a motherboard requires intermediate knowledge of computer hardware and basic understanding of how components interact. If you aren’t comfortable working inside a computer case or dealing with delicate electronics, we recommend seeking professional assistance.
Now, without further ado, let’s dive into the process of replacing a motherboard and get your computer up and running with improved performance and reliability.
Why Replace a Motherboard?
There are several reasons why you might need to replace a motherboard. Let’s explore some of the most common situations that may require a motherboard replacement.
1. Upgrading Hardware: One of the main reasons people choose to replace a motherboard is to upgrade their computer’s hardware. If you want to install a faster processor, add more RAM modules, or utilize the latest graphics card, your current motherboard might not be compatible or support the necessary components. In these cases, replacing the motherboard becomes essential to unlock the full potential of your new hardware.
2. Malfunctioning Motherboard: Over time, motherboards can develop technical issues. Common problems include faulty components, excessive heating, or worn-out connectors. These issues can lead to frequent crashes, system instability, or even complete failure. If you’ve already tried troubleshooting and ruled out other potential causes, a motherboard replacement may be the most effective solution.
3. Outdated Technology: Technology advancements are rapidly changing, and what was once cutting-edge may now be outdated. Older motherboards may lack essential features or support for the latest technologies, such as USB 3.0, PCIe 4.0, or M.2 storage. By replacing your motherboard with a newer model, you can take advantage of these advancements, benefitting from improved performance, faster data transfer speeds, and expanded connectivity options.
4. Expansion and Customization: If you’re looking to expand your system’s capabilities or customize it to meet your specific needs, a motherboard replacement can provide the necessary flexibility. Some users may want to add additional expansion slots for more graphics cards, install a RAID controller for data redundancy, or upgrade to a motherboard with overclocking capabilities. Upgrading to a motherboard that supports your desired features allows you to tailor your computer to your requirements.
5. Repairing Damage: Accidents can happen, and if your motherboard has suffered physical damage, it might need to be replaced. Whether it’s a spilled cup of coffee, a power surge, or a dropped computer, physical damage can impair the motherboard’s functionality. If repairing the damaged components is impractical or costly, replacing the motherboard may be the more feasible option.
Now that you have a clear understanding of why you may need to replace a motherboard, let’s proceed to the next section, where we’ll discuss the tools and equipment you’ll need for the replacement process.
Tools and Equipment Needed
Before you begin the motherboard replacement process, it’s important to gather the necessary tools and equipment. Having the right tools on hand will help ensure a smooth and efficient replacement process. Here are the essential items you’ll need:
- Screwdriver Set: A good quality screwdriver set is essential for removing and fastening screws. Make sure to have both Phillips and flathead screwdriver heads to accommodate various screw types.
- Thermal Paste: When replacing a motherboard, it’s recommended to apply fresh thermal paste between the processor and the heat sink to ensure optimal heat transfer. If you don’t already have thermal paste, now is the time to get some.
- Anti-Static Wrist Strap: To prevent damage caused by static electricity, it’s crucial to wear an anti-static wrist strap while working on your computer. This helps discharge static buildup and protects delicate electronic components.
- Cable Ties or Velcro Strips: Keeping cables organized is important to ensure proper airflow and prevent interference. Have some cable ties or Velcro strips on hand to neaten up the cable management inside your computer case.
- Flashlight: A flashlight can be helpful for better visibility inside the computer case, especially when working in dimly lit areas.
- Optional: Screw Tray or Magnetic Parts Tray: Using a tray or magnetic parts tray can help you keep track of screws and prevent them from rolling off the table or getting lost.
In addition to these tools, it’s essential to have a clean and clutter-free workspace. Make sure you have enough room to comfortably work on your computer and keep track of all the components you remove.
It’s worth noting that specific computer models or motherboard types may require additional tools. Refer to the manufacturer’s documentation for any specialized tools or instructions that are specific to your system.
Now that you’re aware of the tools and equipment required, let’s proceed to the next section, where we’ll cover the first step in the motherboard replacement process: preparing for the replacement.
Step 1: Preparing for the Replacement
Before you dive into replacing your motherboard, it’s crucial to take some preparatory steps to ensure a smooth and successful replacement process. This includes gathering information, backing up your data, and taking precautions to protect your components. Let’s go through each of these steps in detail:
- Research and Documentation: Start by researching your new motherboard model and familiarize yourself with its specifications, compatibility, and any specific installation instructions provided by the manufacturer. This will help you better understand how everything fits together and ensure a trouble-free replacement process.
- Back up Your Data: Since replacing a motherboard involves handling sensitive components, it’s always wise to back up all your important data. This includes files, documents, photos, and any other data that you don’t want to risk losing during the replacement process.
- Create a Safety Plan: It’s essential to have a safety plan in place to protect your components from static electricity. Before you begin, find a static-free workspace and put on an anti-static wrist strap. Additionally, avoid working on carpeted surfaces and wear non-static clothing to minimize the risk of static buildup.
- Take Photos or Make Notes: To make reassembly easier, take photos or make detailed notes of the connections and cables before removing them. This will serve as a helpful reference when connecting everything back together later.
- Disconnect Power and Remove Peripherals: Shut down your computer and disconnect it from its power source. Remove all peripherals, including the power cord, monitor cable, keyboard, mouse, and any other devices connected to your computer. This ensures that you have a clear workspace and reduces the risk of accidental damage to your components.
- Remove the Computer Case: Depending on your computer case design, you may need to remove the panel or panels to access the internal components. Typically, this involves removing screws or sliding latches. Refer to your computer or case manual for specific instructions on how to safely remove the case.
- Ground Yourself: As a final precautionary step, touch a grounded metal object to discharge any static electricity from your body. This helps minimize the risk of accidental static discharge damaging your components.
By following these preparation steps, you’ll ensure a smooth and efficient motherboard replacement process. Once you’ve completed the necessary preparations, you’re ready to move on to the next step: removing the old motherboard.
Step 2: Removing the Old Motherboard
With the necessary preparations complete, it’s time to move on to the next step: removing the old motherboard. Follow these steps carefully to ensure a successful removal:
- Disconnect Cables and Components: Start by identifying and disconnecting all the cables and components connected to the motherboard. This includes the power supply cables, SATA data cables, PCIe cards, RAM modules, and any other peripheral connections. Refer to your motherboard manual or documentation if you’re unsure about any specific connections.
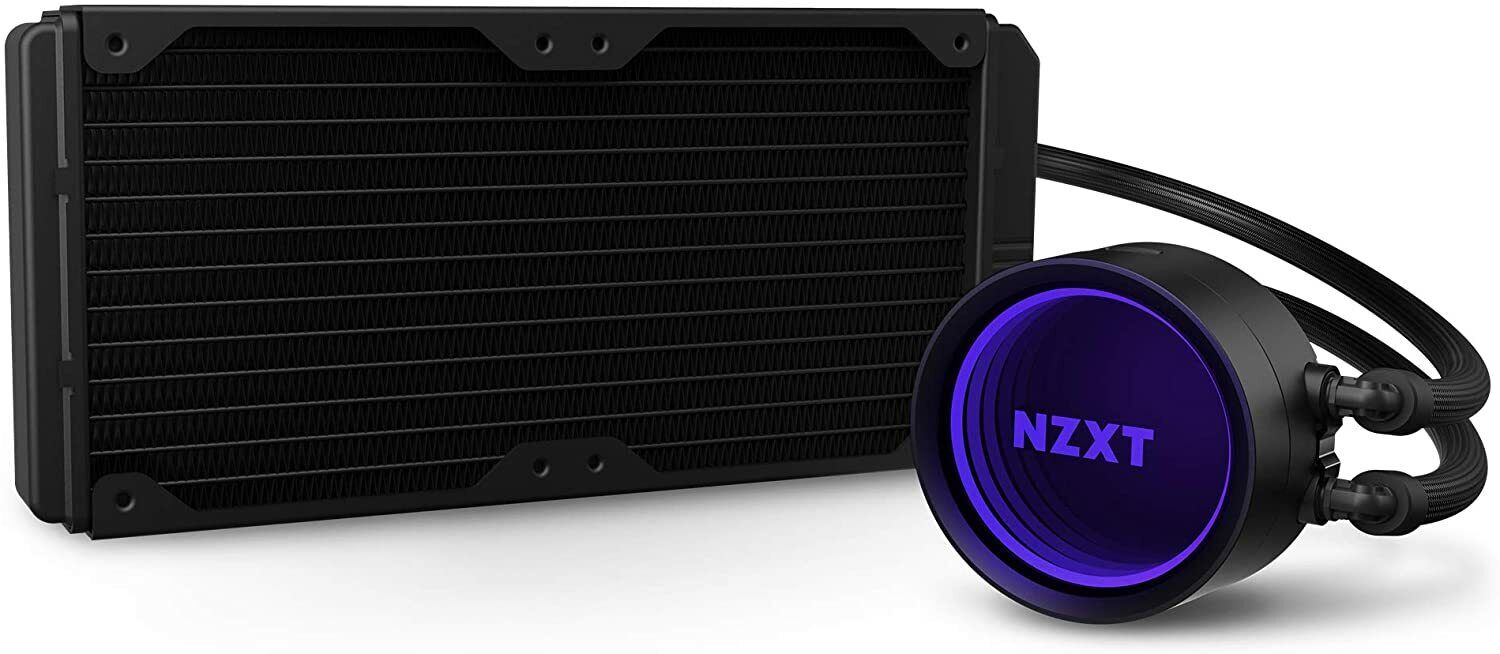
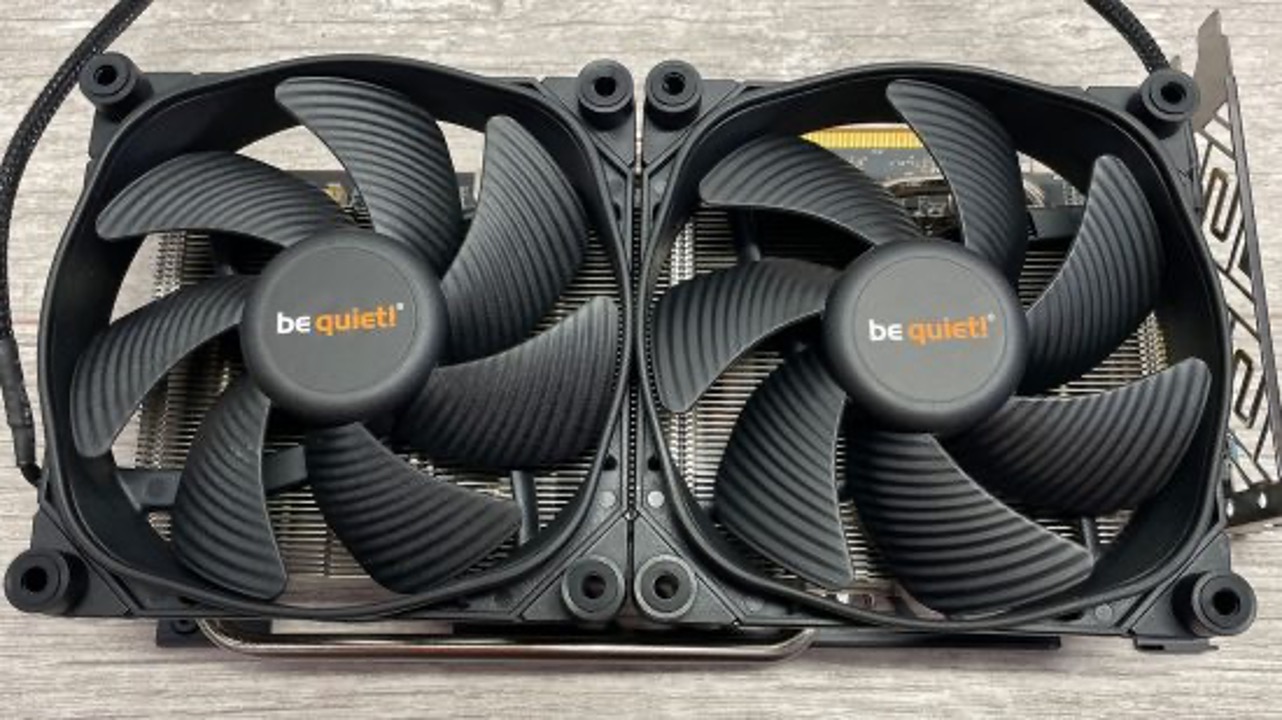
- Remove the CPU Cooler: If your CPU has an attached cooling fan or heatsink, detach it carefully to expose the CPU. Most CPU coolers are secured with a few screws or latches. Gently loosen them, and lift the cooler off, taking care not to damage the CPU or bend any pins.
- Release the RAM Modules: Locate the RAM slots on the motherboard and gently push down on the latches at each end of the module. This will release the RAM module, allowing you to lift it out of the slot. Repeat this process for all installed RAM modules.
- Remove Expansion Cards: If you have any PCIe expansion cards, such as a graphics card or sound card, remove them by unscrewing or unlatching the securing mechanism. Carefully pull the card straight out of the slot, avoiding any excessive tilting or bending.
- Unmount Storage Drives: If your motherboard has any SATA or M.2 storage drives, unmount them by unscrewing or releasing the securing mechanism. Gently disconnect the data and power cables from the drives.
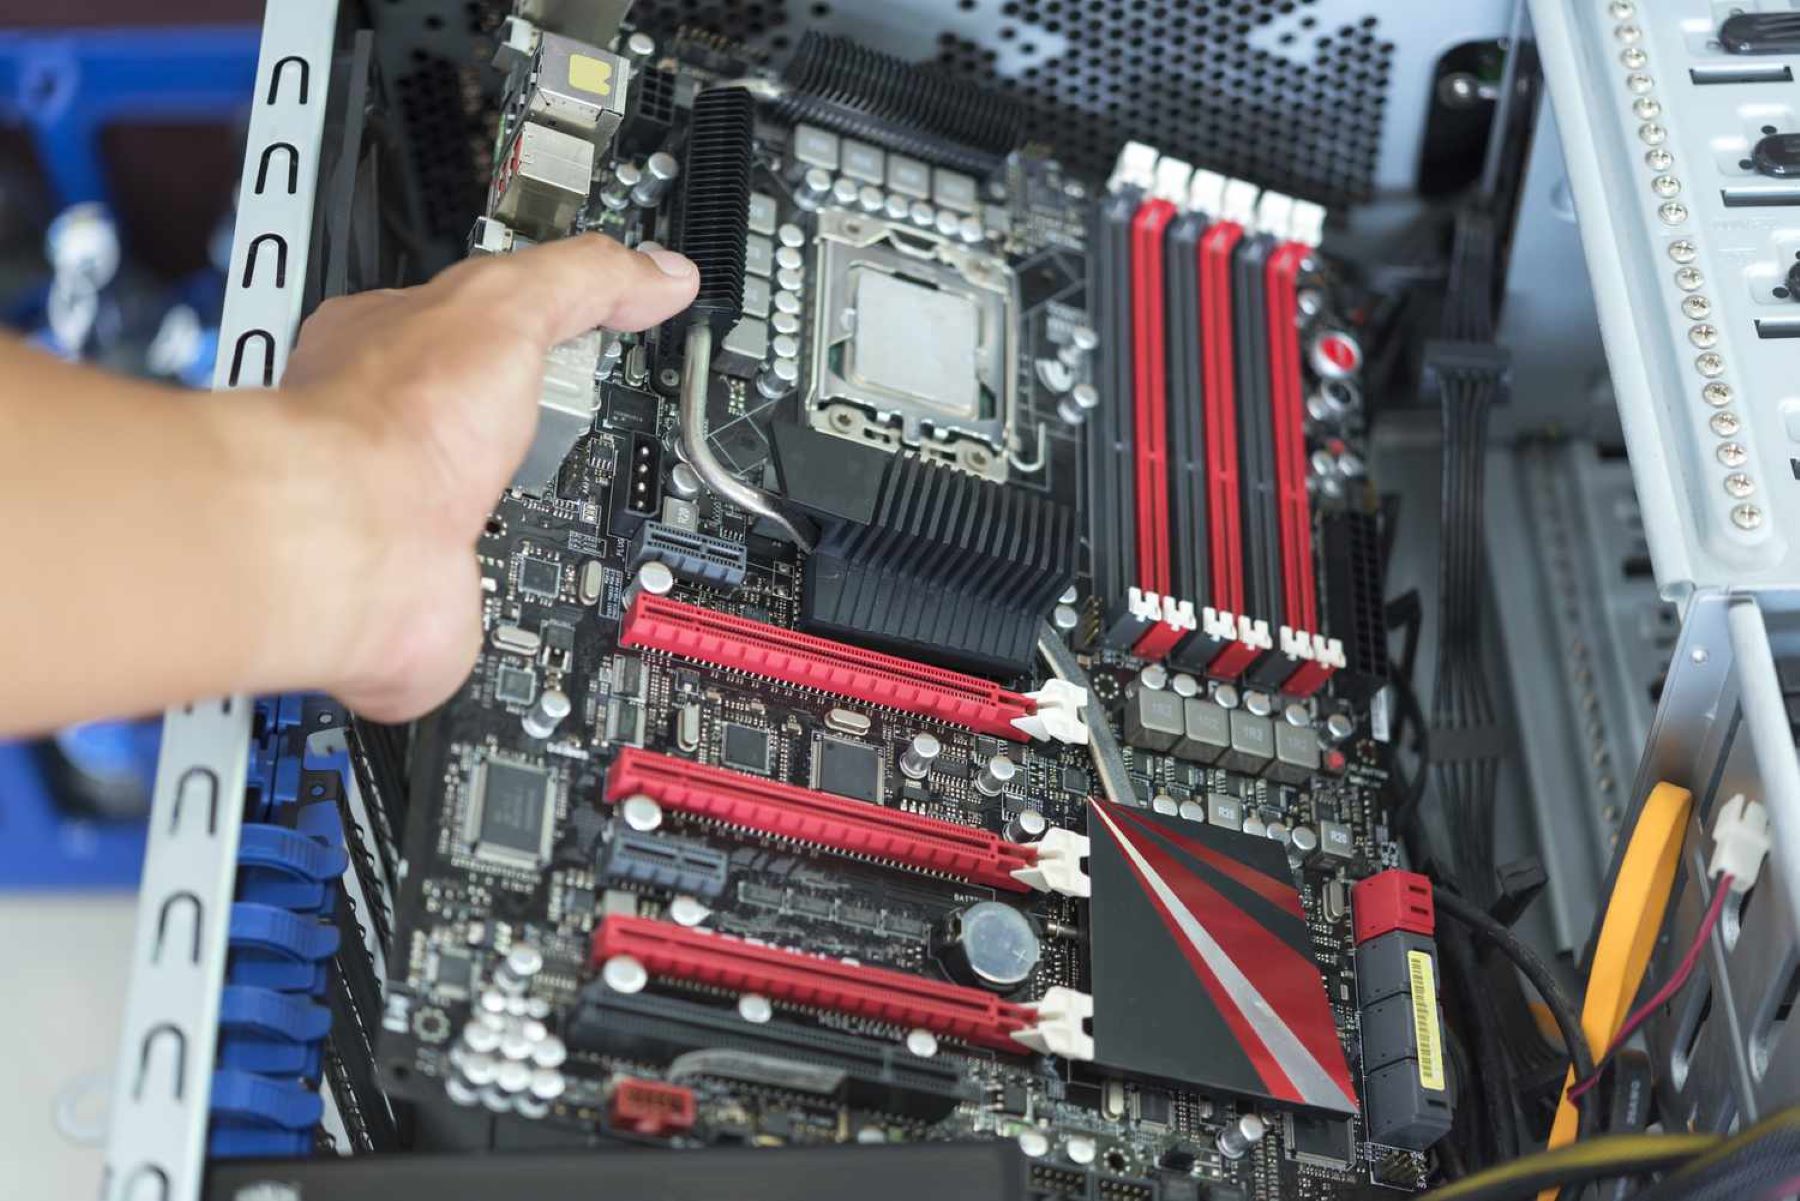
- Unscrew and Remove the Motherboard: Locate the screws securing the motherboard to the computer case. Depending on the case design, there might be multiple screws holding the motherboard in place. Unscrew them using a screwdriver and carefully lift the motherboard out of the case, holding it by its edges to avoid touching sensitive components.
Remember to save all the screws and components you removed in a safe place, as you may need them during the installation of the new motherboard.
Now that you’ve successfully removed the old motherboard, you’re ready to move on to the exciting part: installing the new motherboard. Follow the subsequent steps carefully to ensure a seamless installation process.
Step 3: Installing the New Motherboard
With the old motherboard successfully removed, it’s time to move on to the next step: installing the new motherboard. Follow these steps carefully to ensure a smooth and secure installation:
- Check Compatibility: Before proceeding, double-check that the new motherboard is compatible with your computer case and existing components. Ensure that the motherboard matches the form factor, socket type, and has the necessary connections for your peripherals.
- Align the Standoff Screws: Place the new motherboard on a clean and static-free surface. Align the screw holes on the motherboard with the standoffs located inside the computer case. These standoffs act as spacers and prevent the motherboard from touching the case directly.
- Screw the Motherboard in Place: Insert screws through the screw holes on the motherboard and into the corresponding standoffs in the case. Tighten the screws gently with a screwdriver to secure the motherboard, taking care not to overtighten and damage the board.
- Install the CPU: Refer to the CPU manufacturer’s instructions to correctly install the CPU. Open the CPU socket lever, align the notches on the CPU with the socket, and gently place it into position. Close the lever to secure the CPU in place.
- Apply Thermal Paste: Apply a small amount of thermal paste to the center of the CPU. The thermal paste helps facilitate heat transfer between the CPU and the cooling solution. Spread the paste evenly using a plastic card or a thermal paste applicator.
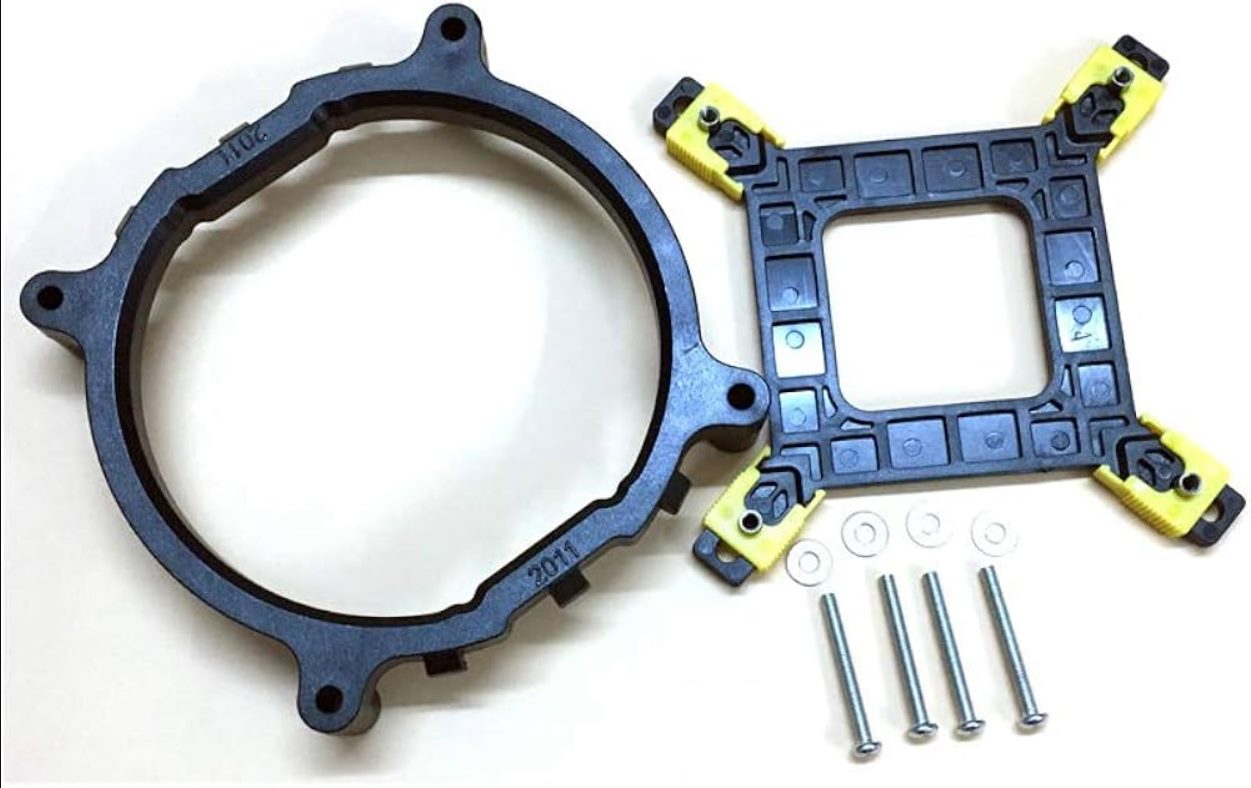
- Attach the CPU Cooler: Place the CPU cooler onto the CPU, aligning the mounting brackets or screws with the corresponding brackets on the motherboard. Secure the cooler by screwing it in place or latching it down, depending on the cooler design.
- Install RAM Modules: Align the notch on the RAM module with the corresponding slot on the motherboard. Gently insert the module into the slot, applying even pressure until it clicks into place. Repeat this process for all RAM modules.
- Connect Storage Drives: Attach the SATA or M.2 storage drives to the motherboard, ensuring a secure connection. Use the screws or latches provided with the drives to fasten them in place.
- Connect PCIe Cards: If you have any PCIe expansion cards, align the connectors on the cards with the corresponding slots on the motherboard. Gently press the card into the slot until it clicks and is firmly seated. Use screws or latches to secure the card in place, if necessary.
Now that you’ve successfully installed the new motherboard, you’re ready to move on to the next step: connecting the components and cables. Make sure to follow the upcoming steps carefully to ensure a seamless connection process.
Step 4: Connecting Components and Cables
Now that the new motherboard is securely installed, it’s time to connect components and cables to ensure the proper functioning of your computer. Follow these steps carefully to ensure a successful connection process:
- Power Supply Connections: Connect the main power supply cable from the power supply unit to the motherboard’s ATX power connector. Additionally, connect any additional power cables required by the motherboard, such as CPU power or PCIe power cables.
- SATA Data and Power Cables: Connect the SATA data cables from your storage drives to the motherboard’s SATA connectors. Also, connect the SATA power cables from the power supply unit to the corresponding power connectors on the storage drives.
- Front Panel Connectors: Connect the cables from your computer case’s front panel to the corresponding pins on the motherboard. These cables include the power switch, reset switch, HDD LED, power LED, and audio connectors. Consult your motherboard manual for the exact pin layout.
- USB and Audio Connectors: Connect any USB and audio connectors from the front panel or other peripherals to the appropriate headers on the motherboard. These headers are typically labeled and can be found along the edges of the motherboard.
- GPU and PCIe Cards: If you have a dedicated graphics card or other PCIe cards, insert them into their respective slots on the motherboard. Ensure that they are properly seated and secure any additional power connections required by these cards.
- RAM Modules: Ensure that the RAM modules are fully inserted into their slots and securely locked in place. It’s important to double-check that they are evenly inserted, with the retention clips on each side securely latched.
- Additional Components: If you have any other additional components, such as sound cards, Wi-Fi cards, or expansion cards, insert them into the appropriate slots on the motherboard and secure them in place.
- Cable Management: Organize and route the cables inside your computer case to ensure proper airflow and aesthetics. Use cable ties or Velcro strips to secure and bundle the cables, keeping them away from fans and obstructing airflow.
Once all components and cables are properly connected, you’re ready to power on your newly installed motherboard and test its functionality. Proceed to the next step for instructions on powering on and testing the new motherboard.
Step 5: Powering On and Testing the New Motherboard
After successfully connecting all the components and cables, it’s time to power on and test your new motherboard. Follow these steps carefully to ensure a smooth testing process:
- Double-Check Connections: Before powering on, take a final look at all the connections and ensure that everything is securely plugged in and properly seated. Check for any loose cables or components that may need to be reattached.
- Reconnect Peripherals: Reconnect all peripherals that were disconnected during the motherboard replacement process. This includes your monitor, keyboard, mouse, and any other devices necessary for testing.
- Connect the Power Cable: Plug the power cable back into the power supply unit and ensure that it is securely connected to a power source. Double-check all power connections to make sure they are properly inserted and secure.
- Power On the Computer: Press the power button on your computer case to turn on the system. You should hear fans spinning, and lights and indicators on the motherboard and peripherals should illuminate.
- Check BIOS/UEFI Settings: During the boot-up process, quickly enter the BIOS/UEFI settings by pressing the designated key (typically F2, Del, or Esc) as mentioned in your motherboard’s manual. Verify that all hardware components are detected correctly and adjust any necessary settings, such as boot order or RAM frequency.
- Ensure Proper Functionality: Once you’ve checked and adjusted the necessary settings, allow the computer to fully boot into your operating system. Test all the connected components for proper functionality, including the graphics card, storage drives, sound, USB ports, and any other peripherals.
- Monitor Temperatures: Install a monitoring software program, such as HWMonitor or Core Temp, to monitor the temperatures of your CPU and other components. Ensure that temperatures remain within safe operating limits during various tasks, such as idle, web browsing, and gaming.
- Run Stability Tests: To further ensure the stability and performance of your new motherboard, consider running stress tests, such as Prime95 or Memtest86, to check for any potential issues with the CPU or RAM. Monitor the system for any signs of instability or errors.
If everything is functioning correctly, congratulations! You’ve successfully replaced your motherboard. Ensure that you keep your system drivers and BIOS up to date for optimal performance and stability.
However, if you encounter any issues during the testing phase, refer to the troubleshooting section in the next step to help identify and resolve the problem.
Step 6: Troubleshooting Issues
During the motherboard replacement process, you may encounter various issues or complications. This final step focuses on troubleshooting common problems and finding solutions to ensure a successful replacement:
- No Power: If your computer does not power on after replacing the motherboard, double-check all power connections and ensure they are securely plugged in. Check the power supply unit for any signs of failure, such as a burnt smell or smoke. If necessary, try a different power outlet or test the power supply with a power supply tester.
- RAM or CPU Errors: If you encounter errors related to the RAM or CPU during the boot-up process, ensure that the RAM modules are properly seated and that the CPU is installed correctly. Check the motherboard’s manual for any specific requirements or settings related to RAM or CPU compatibility.
- Peripheral Recognition Issues: If connected peripherals, such as storage drives or USB devices, are not being recognized by the operating system, double-check the connections to ensure they are securely attached. If necessary, try different SATA ports or USB ports on the motherboard.
- System Instability or BSODs: If you experience system crashes, blue screens of death (BSODs), or general instability after the motherboard replacement, ensure that all drivers are up to date. Update the BIOS or UEFI firmware to the latest version provided by the manufacturer. Consider testing the system’s stability using stress tests to identify any potential hardware or driver issues.
- No Display Output: If there is no display output after powering on the system, check the connections between the graphics card or integrated graphics and the monitor. Ensure that the monitor cable is securely plugged into the correct port. Verify that the graphics card is properly seated and has the necessary power connections.
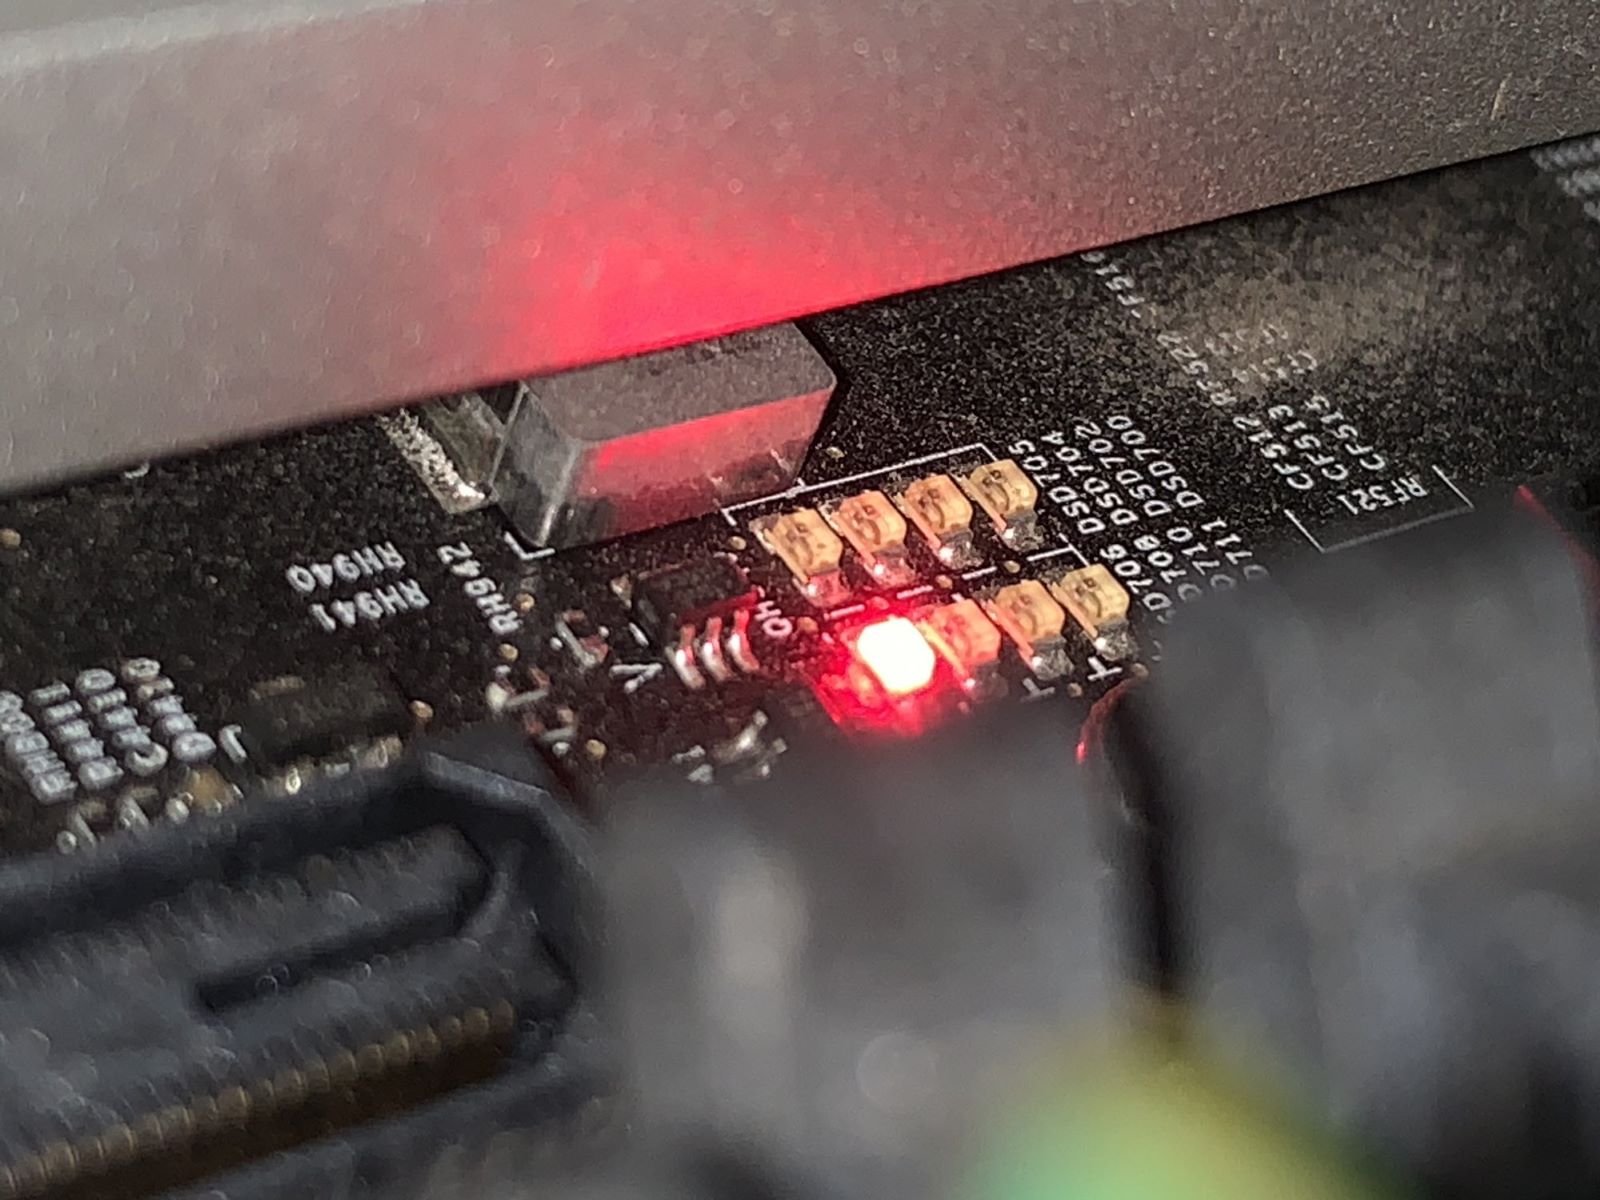
- Beep Codes or Error Messages: If you encounter any beep codes or error messages during the boot-up process, refer to your motherboard’s manual for a list of the specific codes or messages. These codes can help identify various hardware issues, such as faulty RAM, graphics card problems, or CPU errors.
- Consult Manufacturer Support: If you encounter persistent issues or are unsure about troubleshooting steps, reach out to the manufacturer’s support team or consult community forums for assistance. They can provide specific troubleshooting steps or guide you through the process of resolving any problems.
Remember that troubleshooting can vary depending on your specific hardware configuration and the nature of the issue you’re experiencing. Patiently follow the steps provided, and if necessary, seek professional assistance to ensure a successful resolution.
With the troubleshooting process complete, you can now enjoy the improved performance and functionality of your newly replaced motherboard. Keep your system regularly maintained and updated to ensure optimal performance for years to come.
Conclusion
Congratulations on successfully replacing your motherboard! We hope this comprehensive guide has provided you with the knowledge and confidence to undertake this task effectively. By following the step-by-step instructions in this guide, you’ve gained valuable insight into the process of replacing a motherboard.
Remember, replacing a motherboard requires careful preparation, attention to detail, and adherence to safety measures. Taking the time to research, gather the necessary tools, and properly disconnect and reconnect components will ensure a smooth replacement process.
Throughout the process, you’ve learned how to prepare for the replacement, remove the old motherboard, install the new one, connect components and cables, power on and test the new motherboard, and troubleshoot common issues. These steps have equipped you with the skills to confidently resolve any challenges that might arise.
As you continue to use your newly replaced motherboard, remember to keep your drivers and firmware up to date, regularly perform system maintenance, and follow best practices for computer care and safety. This will help maximize the performance and longevity of your system.
If you encounter any difficulties, don’t hesitate to reach out to the manufacturer’s support team or consult online communities for assistance. It’s always beneficial to seek expert advice when needed.
Thank you for following this guide, and we hope your new motherboard enhances your computer’s performance and provides a smoother computing experience for years to come!