Introduction
Removing a stuck Zalman liquid CPU cooler backplate can be a daunting task for computer enthusiasts and DIY builders. The Zalman liquid CPU cooler, known for its excellent cooling performance, is equipped with a backplate that attaches securely to the motherboard. However, there are instances where the backplate becomes stubbornly stuck, making it challenging to remove.
In this guide, we will walk you through the step-by-step process of removing a Zalman liquid CPU cooler backplate that refuses to budge. We will provide you with the necessary tools, tips, and techniques to tackle this problem with ease and minimal damage to your motherboard.
It’s important to note that removing the backplate requires caution and precision to prevent any accidental damage to your motherboard or CPU cooler. Following this guide will help you safely remove the stuck backplate and ensure a successful cooler removal process.
So, if you’re ready to tackle this challenging task, roll up your sleeves, gather your tools, and let’s dive into the exciting journey of removing a stubborn Zalman liquid CPU cooler backplate!
Step 1: Gathering the necessary tools
Before you begin the process of removing the stuck Zalman liquid CPU cooler backplate, it’s crucial to gather all the necessary tools. Having the right tools on hand will make the process smoother and more efficient. Here is a list of tools you will need:
- Screwdriver set with various sized heads
- Tweezers
- Isopropyl alcohol
- Cotton swabs
- Heat source (heat gun or hairdryer)
- Plastic pry tool
- Soft cloth or microfiber cloth
Make sure that the screwdriver set includes both Phillips and flathead screwdrivers as you may need them for different components of the CPU cooler. The tweezers will help you handle small parts and cables during the removal process. Isopropyl alcohol and cotton swabs are essential for cleaning any leftover thermal paste or residue on the CPU and cooler surface.
The heat source, such as a heat gun or hairdryer, will be used to apply gentle heat to the backplate, helping to loosen any adhesive or thermal paste in case the backplate is stuck due to it. The plastic pry tool will come in handy for gently prying off the backplate without causing damage to the motherboard or other components. Lastly, a soft cloth or microfiber cloth will be used to wipe off any dirt or smudges from the CPU cooler and surrounding areas.
Having all these tools ready before starting the process will save you time and frustration as you won’t have to scramble to find the right tool in the middle of the removal. With your tools in hand, you are now prepared to move on to the next step.
Step 2: Preparing the workspace
Before you begin the process of removing the stuck Zalman liquid CPU cooler backplate, it’s essential to prepare your workspace. A well-prepared workspace will ensure a smooth removal process and minimize the risk of damaging your components. Here are a few steps to follow when preparing your workspace:
- Power off and disconnect your computer: Shut down your computer and unplug it from the power source. This step is crucial to avoid any electrical mishaps during the removal process.
- Choose a clean and well-lit area: Select a spacious and well-lit area to work on your computer. Having enough space will allow you to move freely and comfortably, reducing the chances of accidentally knocking over any tools or components.
- Ground yourself: Static electricity can damage sensitive electronic components, so it’s important to ground yourself before handling any parts. You can do this by touching a metal object, such as a doorknob or a grounded metal surface.
- Clear the area around the motherboard: Ensure that there are no unnecessary cables or objects around the motherboard that may hinder your access. This will give you ample room to work and prevent any accidental pulls or tugs on cables.
- Place a soft cloth or an anti-static mat: To protect your motherboard from scratches or static damage, place a soft cloth or an anti-static mat on your workspace. This will serve as a cushioned and anti-static surface for you to place your motherboard on during the removal process.
By following these steps, you will create an organized and safe workspace for removing the stuck Zalman liquid CPU cooler backplate. Paying attention to these details will help you prevent any unnecessary mishaps and ensure a smooth removal process. With your workspace prepared, you are now ready to move on to the next step.
Step 3: Removing the motherboard
Now that you have gathered the necessary tools and prepared your workspace, it’s time to remove the motherboard to gain access to the Zalman liquid CPU cooler backplate. Follow these steps carefully:
- Refer to your motherboard’s user manual: Before removing the motherboard, consult the user manual that came with your motherboard. This will provide you with specific instructions on how to remove it correctly.
- Power down and unplug your computer: Turn off your computer and disconnect it from the power source. This is crucial to avoid electrical hazards during the removal process.
- Disconnect all cables and components: Begin by disconnecting all cables connected to the motherboard. This includes power cables, data cables, and any other peripherals connected to the motherboard.
- Remove expansion cards and RAM: If necessary, remove any expansion cards, such as graphics cards or sound cards, from the motherboard. Additionally, remove the RAM modules by pressing down on the retention clips on either side and gently lifting the RAM sticks out of their sockets.
- Inspect for screws and standoffs: Check for any screws or standoffs that secure the motherboard to the case. These can vary depending on your specific case and motherboard. Remove them carefully using the appropriate screwdriver.
- Gently lift and remove the motherboard: Once all screws and standoffs are removed, carefully lift the motherboard out of the case. Hold it by its edges and avoid touching any sensitive components or connectors.
Remember, motherboards are delicate and sensitive components, so handle them with care throughout the removal process. Place the motherboard on a safe and anti-static surface, such as a soft cloth or an anti-static mat, to prevent any damage.
Removing the motherboard will provide you with the necessary access to the Zalman liquid CPU cooler backplate. With the motherboard safely removed, you can now proceed to the next step of removing the stuck backplate.
Step 4: Removing the Zalman liquid CPU cooler
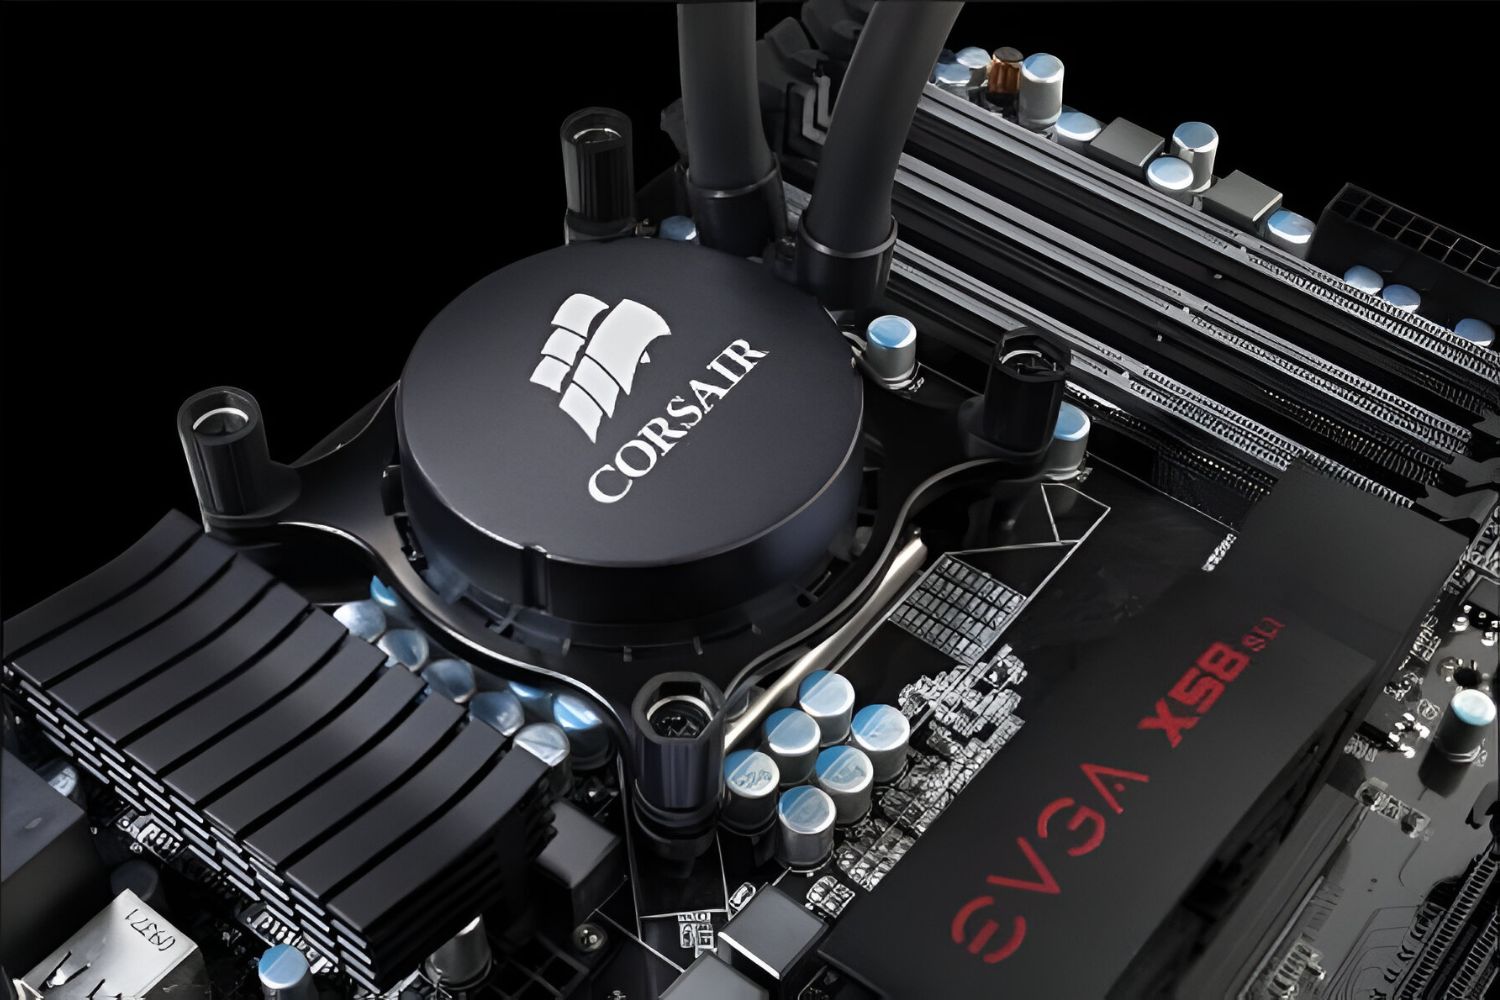
With the motherboard safely removed, you can now focus on removing the Zalman liquid CPU cooler from the processor. Follow these steps to proceed:
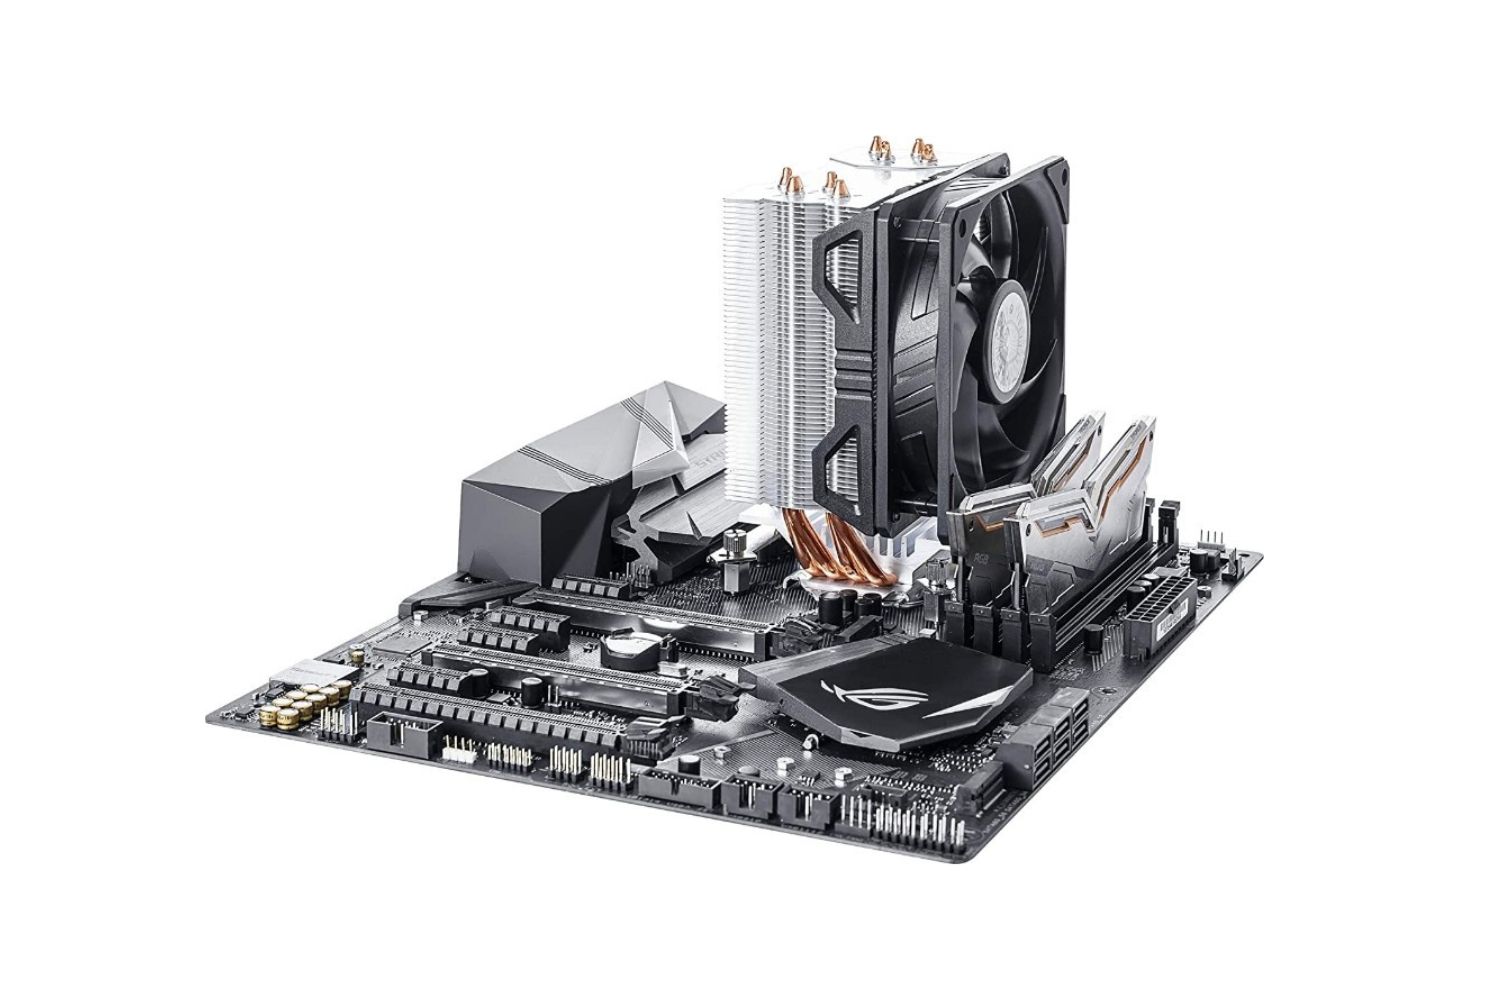
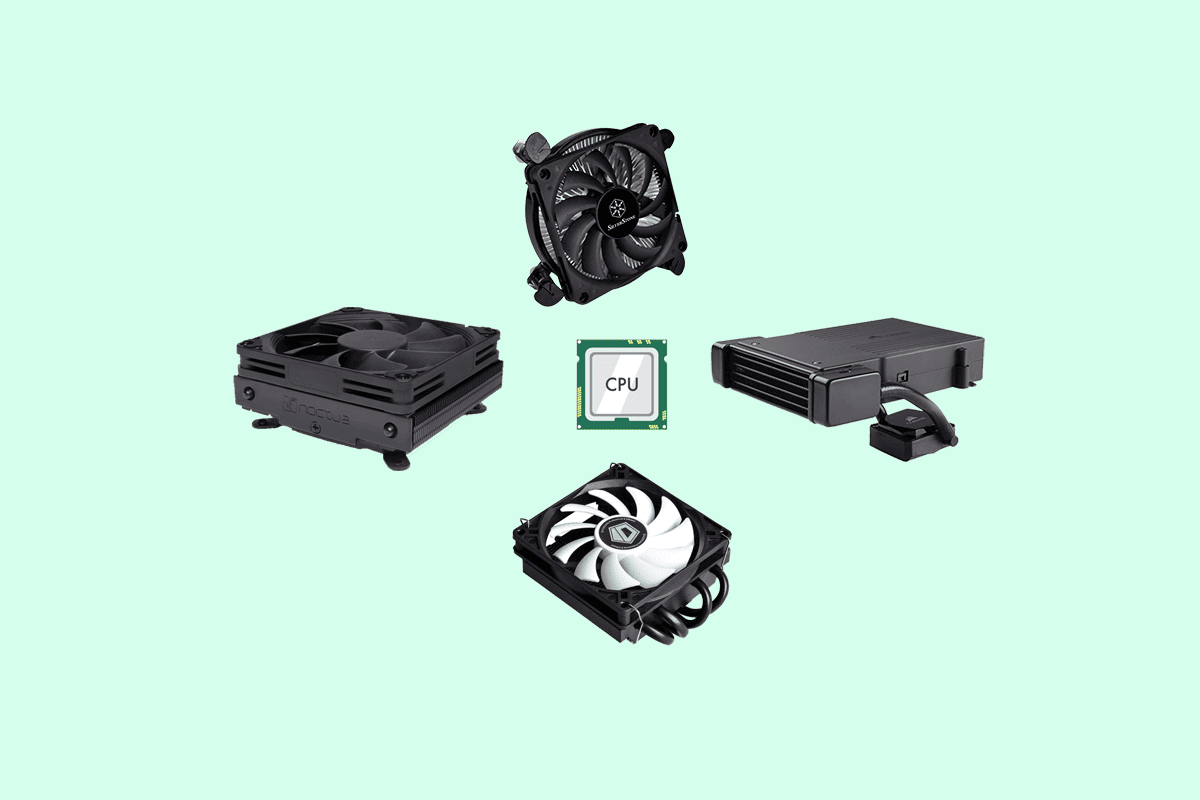
- Identify the CPU cooler retention mechanism: Examine the mounting mechanism used by your Zalman liquid CPU cooler. It can be a bracket, screws, clips, or any other type of mechanism.
- Release the CPU cooler retention mechanism: Depending on the type of mechanism, loosen or remove the screws, release the clips, or disengage any other components holding the CPU cooler in place. Take note of the order and position of any washers or spacers that may be present.
- Gently lift and remove the CPU cooler: Once the retention mechanism is released, carefully lift the Zalman liquid CPU cooler away from the processor. Make sure to hold it firmly and avoid putting excessive pressure on the processor or motherboard.
- Detach the CPU cooler fan: If your Zalman liquid CPU cooler has an attached fan, disconnect the fan cable from the header on the motherboard. Store the fan in a safe place to prevent any damage during the removal process.
While removing the CPU cooler, be mindful of any thermal paste that may be present between the cooler and the processor. Depending on the situation, it might be necessary to clean and reapply thermal paste later on.
Remember to handle the CPU cooler with care. Dropping or mishandling it can cause damage to the delicate cooling components or the processor itself.
With the CPU cooler successfully removed, you can now move on to the next step of dealing with a stubborn backplate that refuses to come off.
Step 5: Dealing with a stubborn backplate
Removing a stuck Zalman liquid CPU cooler backplate can be a challenge, but there are several techniques you can try to loosen it. Here’s how to deal with a stubborn backplate:
- Assess the situation: Take a close look at the backplate and try to identify why it may be stuck. It could be due to adhesive residue, thermal paste, or simply a tight fit.
- Apply heat: Use a heat gun or a hairdryer set on low heat to apply gentle heat to the backplate. The heat helps loosen any adhesive or thermal paste that might be causing the backplate to stick. Be careful not to heat the backplate excessively to avoid damage to the motherboard or other components.
- Try twisting or wiggling: Gently twist or wiggle the backplate back and forth to loosen it. This motion can help break the bond between the backplate and the motherboard.
- Use a plastic pry tool: If the backplate remains stuck, carefully slide a plastic pry tool between the backplate and the motherboard. Apply gentle pressure to pry the backplate away from the motherboard. Take your time and be patient to avoid damaging the motherboard or other components.
- Apply a lubricant: If the backplate is still firmly stuck, you can try applying a small amount of a lubricant, such as silicone grease or a specialized adhesive remover, around the edges of the backplate. This can help loosen the bond and make it easier to remove.
Be cautious and take your time when dealing with a stubborn backplate. Rushing or using excessive force can cause damage to your motherboard or other components. If none of these techniques work, it might be necessary to seek professional assistance or contact Zalman’s customer support for further guidance.
Once the backplate is successfully removed, you can proceed to the next steps of cleaning the CPU cooler and reassembling your computer.
Step 6: Applying heat to loosen the adhesive
When dealing with a stubborn Zalman liquid CPU cooler backplate, applying heat can be an effective method to loosen the adhesive that may be causing it to stick. Here’s how to apply heat to loosen the adhesive:
- Ensure the motherboard is safely positioned: Before applying heat, make sure the motherboard is in a secure position and protected from any potential damage. Place it on a soft cloth or an anti-static mat to provide a safe and stable surface.
- Use a heat gun or hairdryer: Set your heat gun to a low heat setting or adjust your hairdryer to the lowest heat setting. Hold it a few inches away from the backplate and move it in a slow, circular motion. Be cautious not to overheat the motherboard or other components.
- Apply heat evenly: Make sure to apply heat evenly across the backplate, covering all areas. This will help soften the adhesive and make it more pliable for removal.
- Continue applying heat: Keep the heat gun or hairdryer directed towards the backplate for a few minutes. This will allow sufficient time for the adhesive to loosen, making it easier to remove the stubborn backplate.
By applying heat, you are essentially softening the adhesive that is bonding the backplate to the motherboard. This method can significantly increase the chances of successfully removing the backplate without causing damage to the motherboard or other components.
Remember, it’s important to follow the manufacturer’s instructions and take caution when using heat on electronic components. Proper heat application can make the removal process smoother, but excessive heat can lead to damage. If you’re uncertain about using heat or unsure of the safe temperature range for your specific motherboard, consult the manufacturer’s guidelines or seek professional assistance.
Once you’ve applied heat to loosen the adhesive, you can proceed to the next step of using a screwdriver to pry off the backplate if it remains stuck.
Step 7: Using a screwdriver to pry off the backplate
If the Zalman liquid CPU cooler backplate is still stubbornly stuck after applying heat, using a screwdriver to carefully pry it off can be a viable option. Here’s how to use a screwdriver to pry off the backplate:
- Choose the right screwdriver: Select a flathead screwdriver that fits snugly into the gap between the backplate and the motherboard. Ideally, the screwdriver blade should be thin enough to fit without causing any unnecessary pressure or damage.
- Position the screwdriver: Place the blade of the screwdriver into the gap between the backplate and the motherboard. Look for any areas where the backplate seems more accessible or easier to pry off.
- Apply gentle pressure: With the screwdriver blade in position, apply gentle and even pressure to pry the backplate away from the motherboard. Start with small increments of pressure and gradually increase if necessary.
- Work in a controlled manner: Move the screwdriver along the edge of the backplate, gradually prying it away from the motherboard. Be cautious not to exert excessive force as it can cause damage to the motherboard or other components.
- Repeat the process: If the backplate doesn’t release easily, repeat the prying process in different areas, applying pressure and working your way around the backplate until it comes off completely.
It’s essential to exercise patience and precision when using a screwdriver to pry off the backplate. Take your time and be gentle to avoid any accidental damage. If you encounter significant resistance or difficulty, stop and reassess the situation. Seeking professional assistance may be necessary in such cases.
Once the backplate is successfully removed, proceed to the next step of cleaning and reinstalling the CPU cooler to ensure optimal performance.
Step 8: Cleaning and reinstalling the CPU cooler
Now that the Zalman liquid CPU cooler backplate is removed, it’s time to clean the CPU cooler and prepare it for reinstalling. Follow these steps to clean and reinstall the CPU cooler:
- Clean the cooler and CPU surface: Use a soft cloth or a microfiber cloth to gently wipe away any dust, debris, or residual thermal paste from the cooler and the CPU surface. Avoid using abrasive materials that can scratch or damage the surfaces.
- Remove old thermal paste: If there is old thermal paste on the cooler and the CPU, carefully remove it using isopropyl alcohol and cotton swabs. Apply a small amount of alcohol to the swab and wipe away the paste. Repeat this process until the surfaces are clean.
- Apply new thermal paste: After the surfaces are clean and dry, apply a small amount of high-quality thermal paste to the center of the CPU. The paste should be spread evenly using a plastic card or the thermal paste applicator that came with your CPU cooler. Avoid using too much paste, as it can lead to poor heat transfer.
- Reinstall the CPU cooler: Carefully align the CPU cooler with the mounting holes on the motherboard. Depending on the type of CPU cooler and motherboard, you may need to attach brackets, screws, or clips to secure it in place. Follow the manufacturer’s instructions to ensure proper installation.
- Secure the cooler: Tighten the screws or engage the clips evenly and firmly to ensure the CPU cooler sits securely on the CPU. Be cautious not to overtighten, as it can damage the CPU or the motherboard.
- Reconnect the CPU cooler fan: If the CPU cooler has an attached fan, reconnect the fan cable to the header on the motherboard. Ensure the cable is inserted correctly and securely to prevent any loose connections.
By cleaning and reinstalling the CPU cooler, you ensure optimal heat dissipation and performance. Properly applying thermal paste and securing the cooler help maintain efficient cooling for the CPU.
With the CPU cooler cleaned and reinstalled, you are now ready to move on to the next steps of reassembling your motherboard and PC.
Step 9: Reassembling the motherboard and PC
After successfully cleaning and reinstalling the CPU cooler, the final step is to reassemble the motherboard and PC. Follow these steps to ensure a proper and secure reassembly:
- Position the motherboard: Carefully place the motherboard back into the case, aligning the mounting holes with the standoffs or screws. Ensure that the ports and connectors on the motherboard line up with the corresponding openings on the case.
- Secure the motherboard: Use the screws or standoffs that you previously removed to secure the motherboard back into place. Tighten them evenly, but avoid over-tightening to prevent damage to the motherboard.
- Reconnect the cables: Start by reconnecting the cables that were previously disconnected from the motherboard, including power cables, data cables, and peripheral cables. Refer to the motherboard’s user manual for proper cable connections if needed.
- Reinstall expansion cards and RAM: If you removed any expansion cards or RAM modules, carefully reinsert them into their respective slots. Ensure that they are securely seated and the retention mechanisms are properly engaged.
- Check cable management: Organize and route the cables neatly to improve airflow and aesthetics inside the case. Use cable ties or cable management clips to secure the cables and minimize clutter.
- Close the case: Once all components are securely reinstalled and the cables are properly managed, close the case by attaching the side panel(s) and securing them with the appropriate screws or latches.
Double-check all the connections and ensure that everything is in its proper place before powering on the PC. Take a moment to ensure that no cables are obstructing fans or interfering with other components.
Once you have reassembled the motherboard and PC, connect the power cable and any peripherals. Power on the PC and verify that it starts up properly. Monitor the temperatures of the CPU and other components to ensure that the CPU cooler is functioning efficiently.
Congratulations! You have successfully removed a stuck Zalman liquid CPU cooler backplate, cleaned and reinstalled the CPU cooler, and reassembled your PC. Enjoy the enhanced cooling performance and the smooth functioning of your computer.
Conclusion
Removing a stuck Zalman liquid CPU cooler backplate can be a challenging task, but with the right tools and techniques, it can be accomplished safely and effectively. In this guide, we’ve provided you with a step-by-step process to successfully remove the stubborn backplate and reinstall the CPU cooler.
Starting with gathering the necessary tools and preparing your workspace, you were guided through the removal of the motherboard, the CPU cooler, and the stubborn backplate. From applying heat to loosen the adhesive to using a screwdriver to pry off the backplate, we’ve covered various methods to address the challenge at hand.
With the backplate removed, we then proceeded to clean the CPU cooler and CPU surface, apply new thermal paste, and reinstall the CPU cooler. We highlighted the importance of proper cleaning and thermal paste application for optimal heat transfer and cooling performance.
Finally, we discussed reassembling the motherboard and PC, ensuring that all cables and components were properly connected and secured. The importance of cable management was emphasized to maintain airflow and minimize clutter inside the case.
By following the steps outlined in this guide, you’ve successfully overcome the obstacle of a stuck Zalman liquid CPU cooler backplate. Your PC is now ready to provide efficient cooling and optimal performance.
Remember, it’s essential to exercise caution, patience, and precision throughout the entire process. If you encounter any difficulties or are unsure about any step, don’t hesitate to seek professional assistance.
We hope this guide has been helpful to you in tackling the challenge of removing a stuck Zalman liquid CPU cooler backplate. Happy computing!