Introduction
Chromebooks have become an integral part of education, providing students with easy access to educational tools and resources. However, there may come a time when you need to remove the school administrator account from your Chromebook to use it for personal purposes. Whether you have graduated, changed schools, or simply want to reclaim full control over your device, this guide will walk you through the steps to remove the school administrator account from your Chromebook.
It is important to note that removing the school administrator account will erase all data and settings associated with it. Make sure to backup any important files or documents before proceeding.
In this step-by-step tutorial, we will guide you through the process of removing the school administrator account from your Chromebook, resetting the device to its factory settings, and signing in with your personal Google account.
By the end of this guide, you will have complete control over your Chromebook and be able to personalize it according to your preferences. So, let’s get started and take back ownership of your Chromebook!
Step 1: Access Chromebook Settings
The first step towards removing the school administrator account from your Chromebook is to access the device’s settings. Follow these simple instructions:
- Start by turning on your Chromebook and signing in with the school administrator account.
- Once you are logged in, locate the time and battery status in the bottom-right corner of the screen. Click on it to open the quick settings menu.
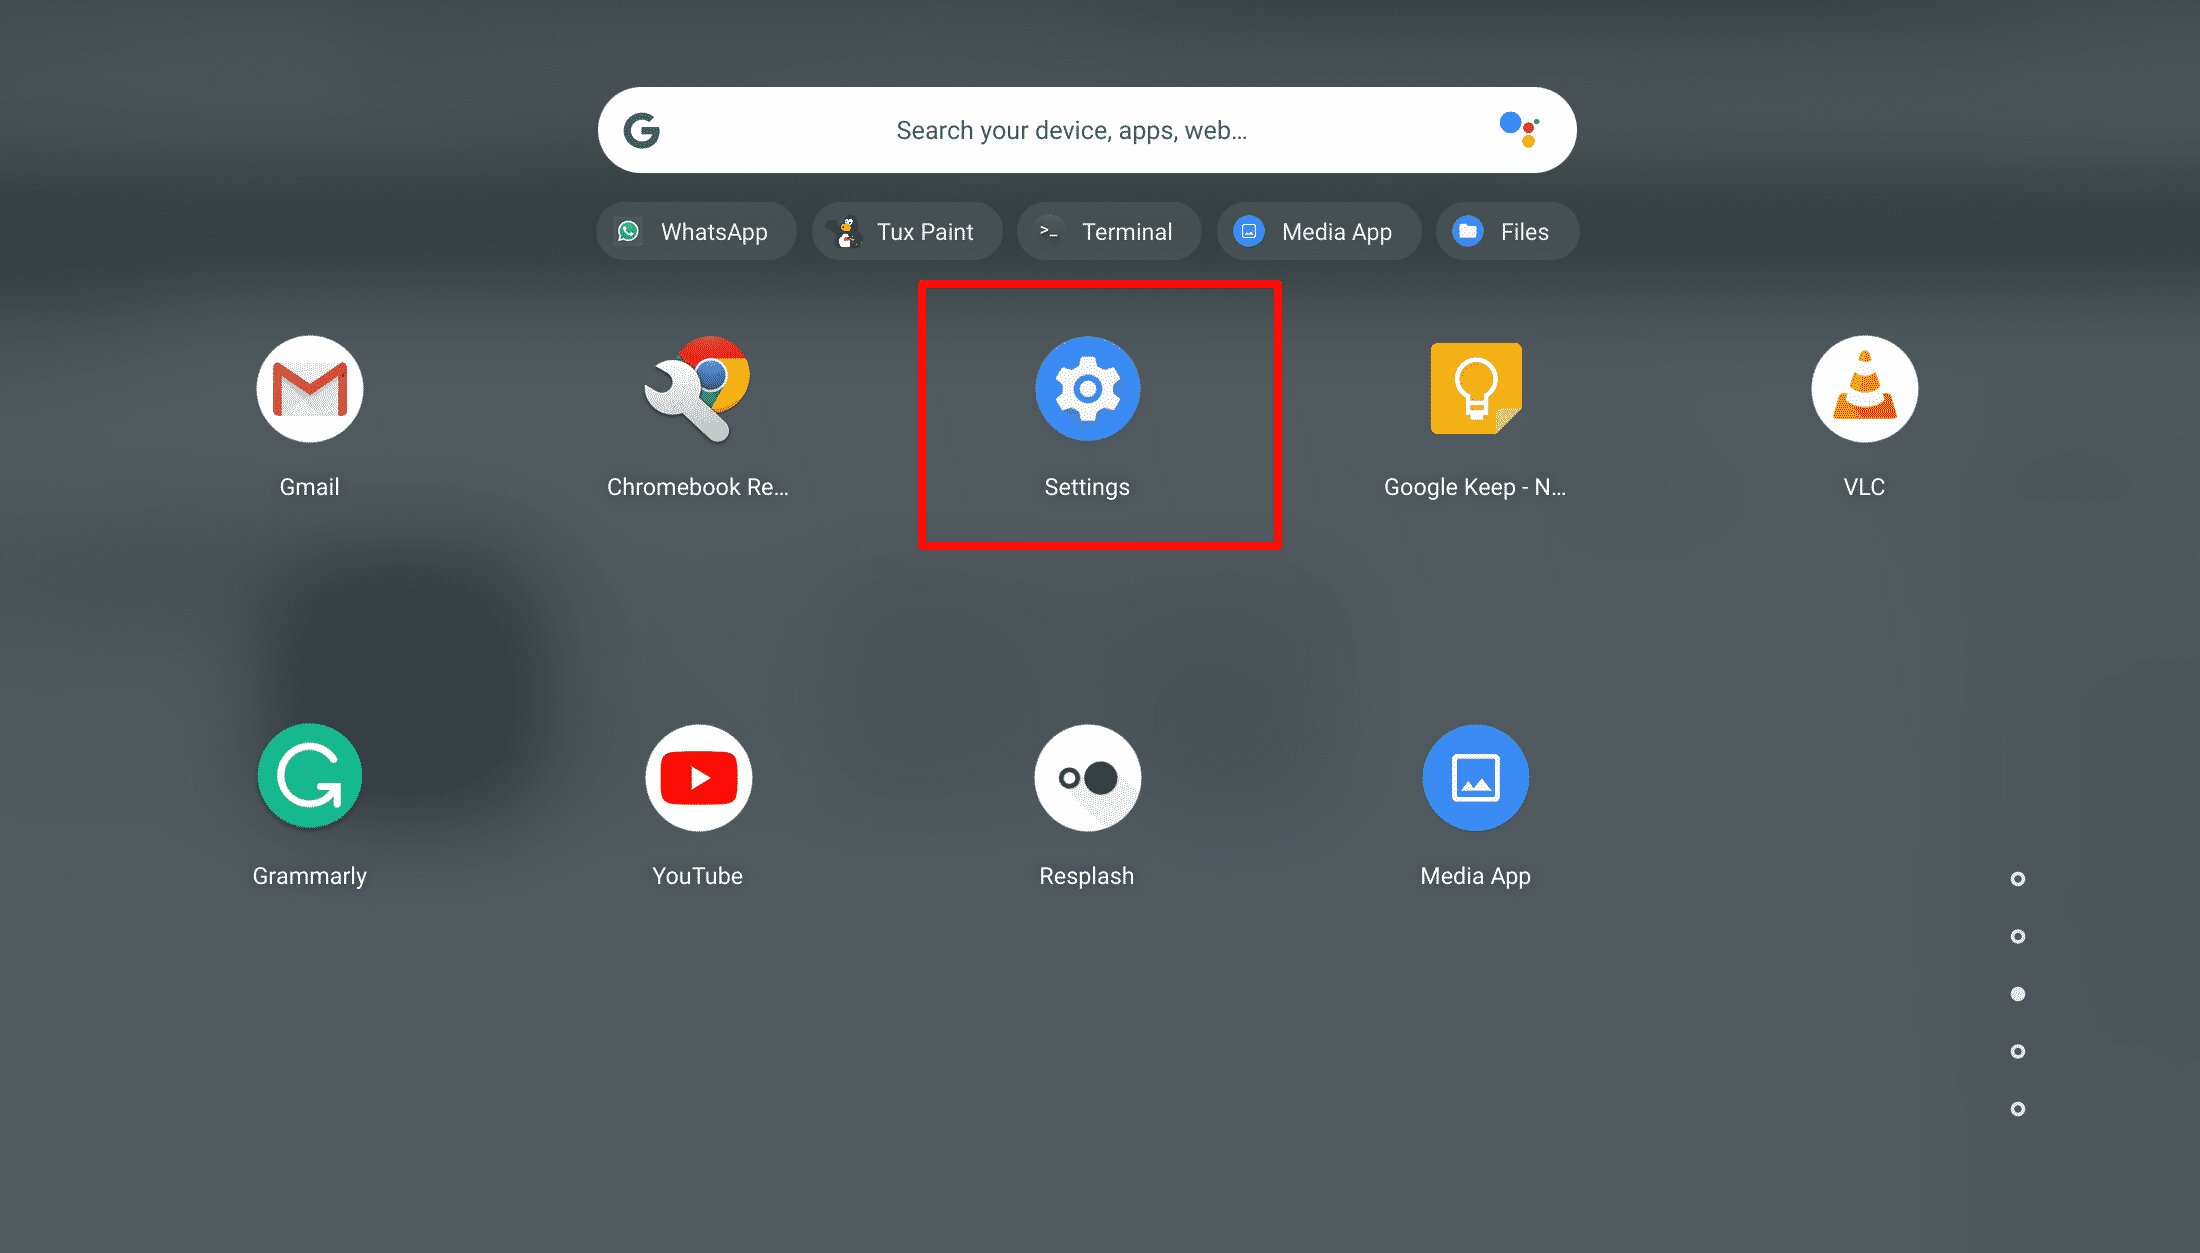
- From the quick settings menu, click on the gear icon labeled “Settings.” This will open the Chromebook settings page.
- Alternatively, you can access the settings page by clicking on the Launcher icon in the bottom-left corner of the screen, then searching for “Settings” in the search bar.
- On the settings page, you will find various categories such as “Wi-Fi,” “Display,” and “Device.”
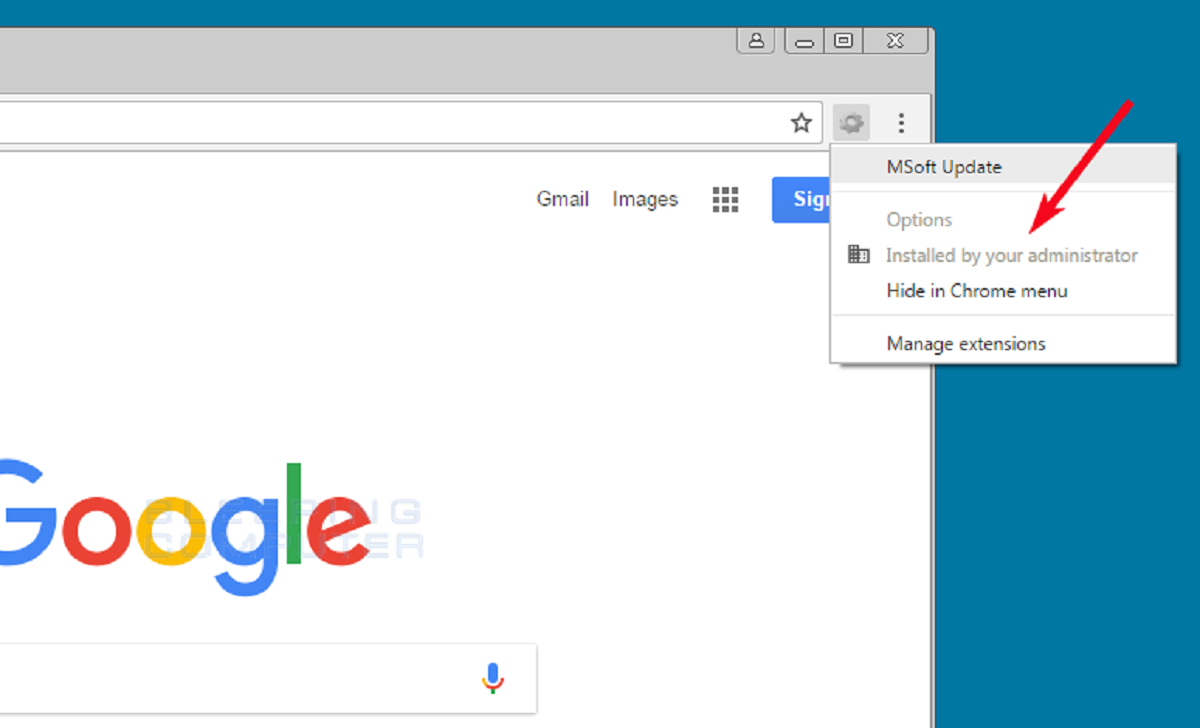
- By default, the “People” category will be selected. However, to remove the school administrator account, you need to navigate to the “People” category and click on “Manage other people.”
- This will open a list of all the user accounts associated with the Chromebook.
Once you have successfully accessed the Chromebook settings and reached the “Manage other people” section, you are ready to proceed to the next step: resetting the Chromebook to its factory settings.
Step 2: Reset Chromebook
Now that you have accessed the Chromebook settings and reached the “Manage other people” section, it’s time to reset the device to its factory settings. This process will remove all user accounts and data from the Chromebook, including the school administrator account. Follow these steps to reset your Chromebook:
- On the “Manage other people” page, locate the school administrator account that you want to remove.
- Click on the three vertical dots next to the account name and select “Remove this person” from the dropdown menu.
- A confirmation dialog box will appear, asking if you want to remove the account. Click “Remove this person” to proceed.
- Once the account has been removed, you will be taken back to the “Manage other people” page, and the school administrator account will no longer be listed.
- Now, it’s time to reset the Chromebook to its factory settings. On the left-hand side of the settings page, click on the “Advanced” category.
- Scroll down until you find the “Reset settings” section.
- Click on the “Powerwash” button. A dialog box will appear, explaining what the powerwash process does.
- Read the information carefully, as powerwashing will erase all your data and restore the Chromebook to its original state.
- If you are ready to proceed, click on the “Restart” button to initiate the powerwash process.
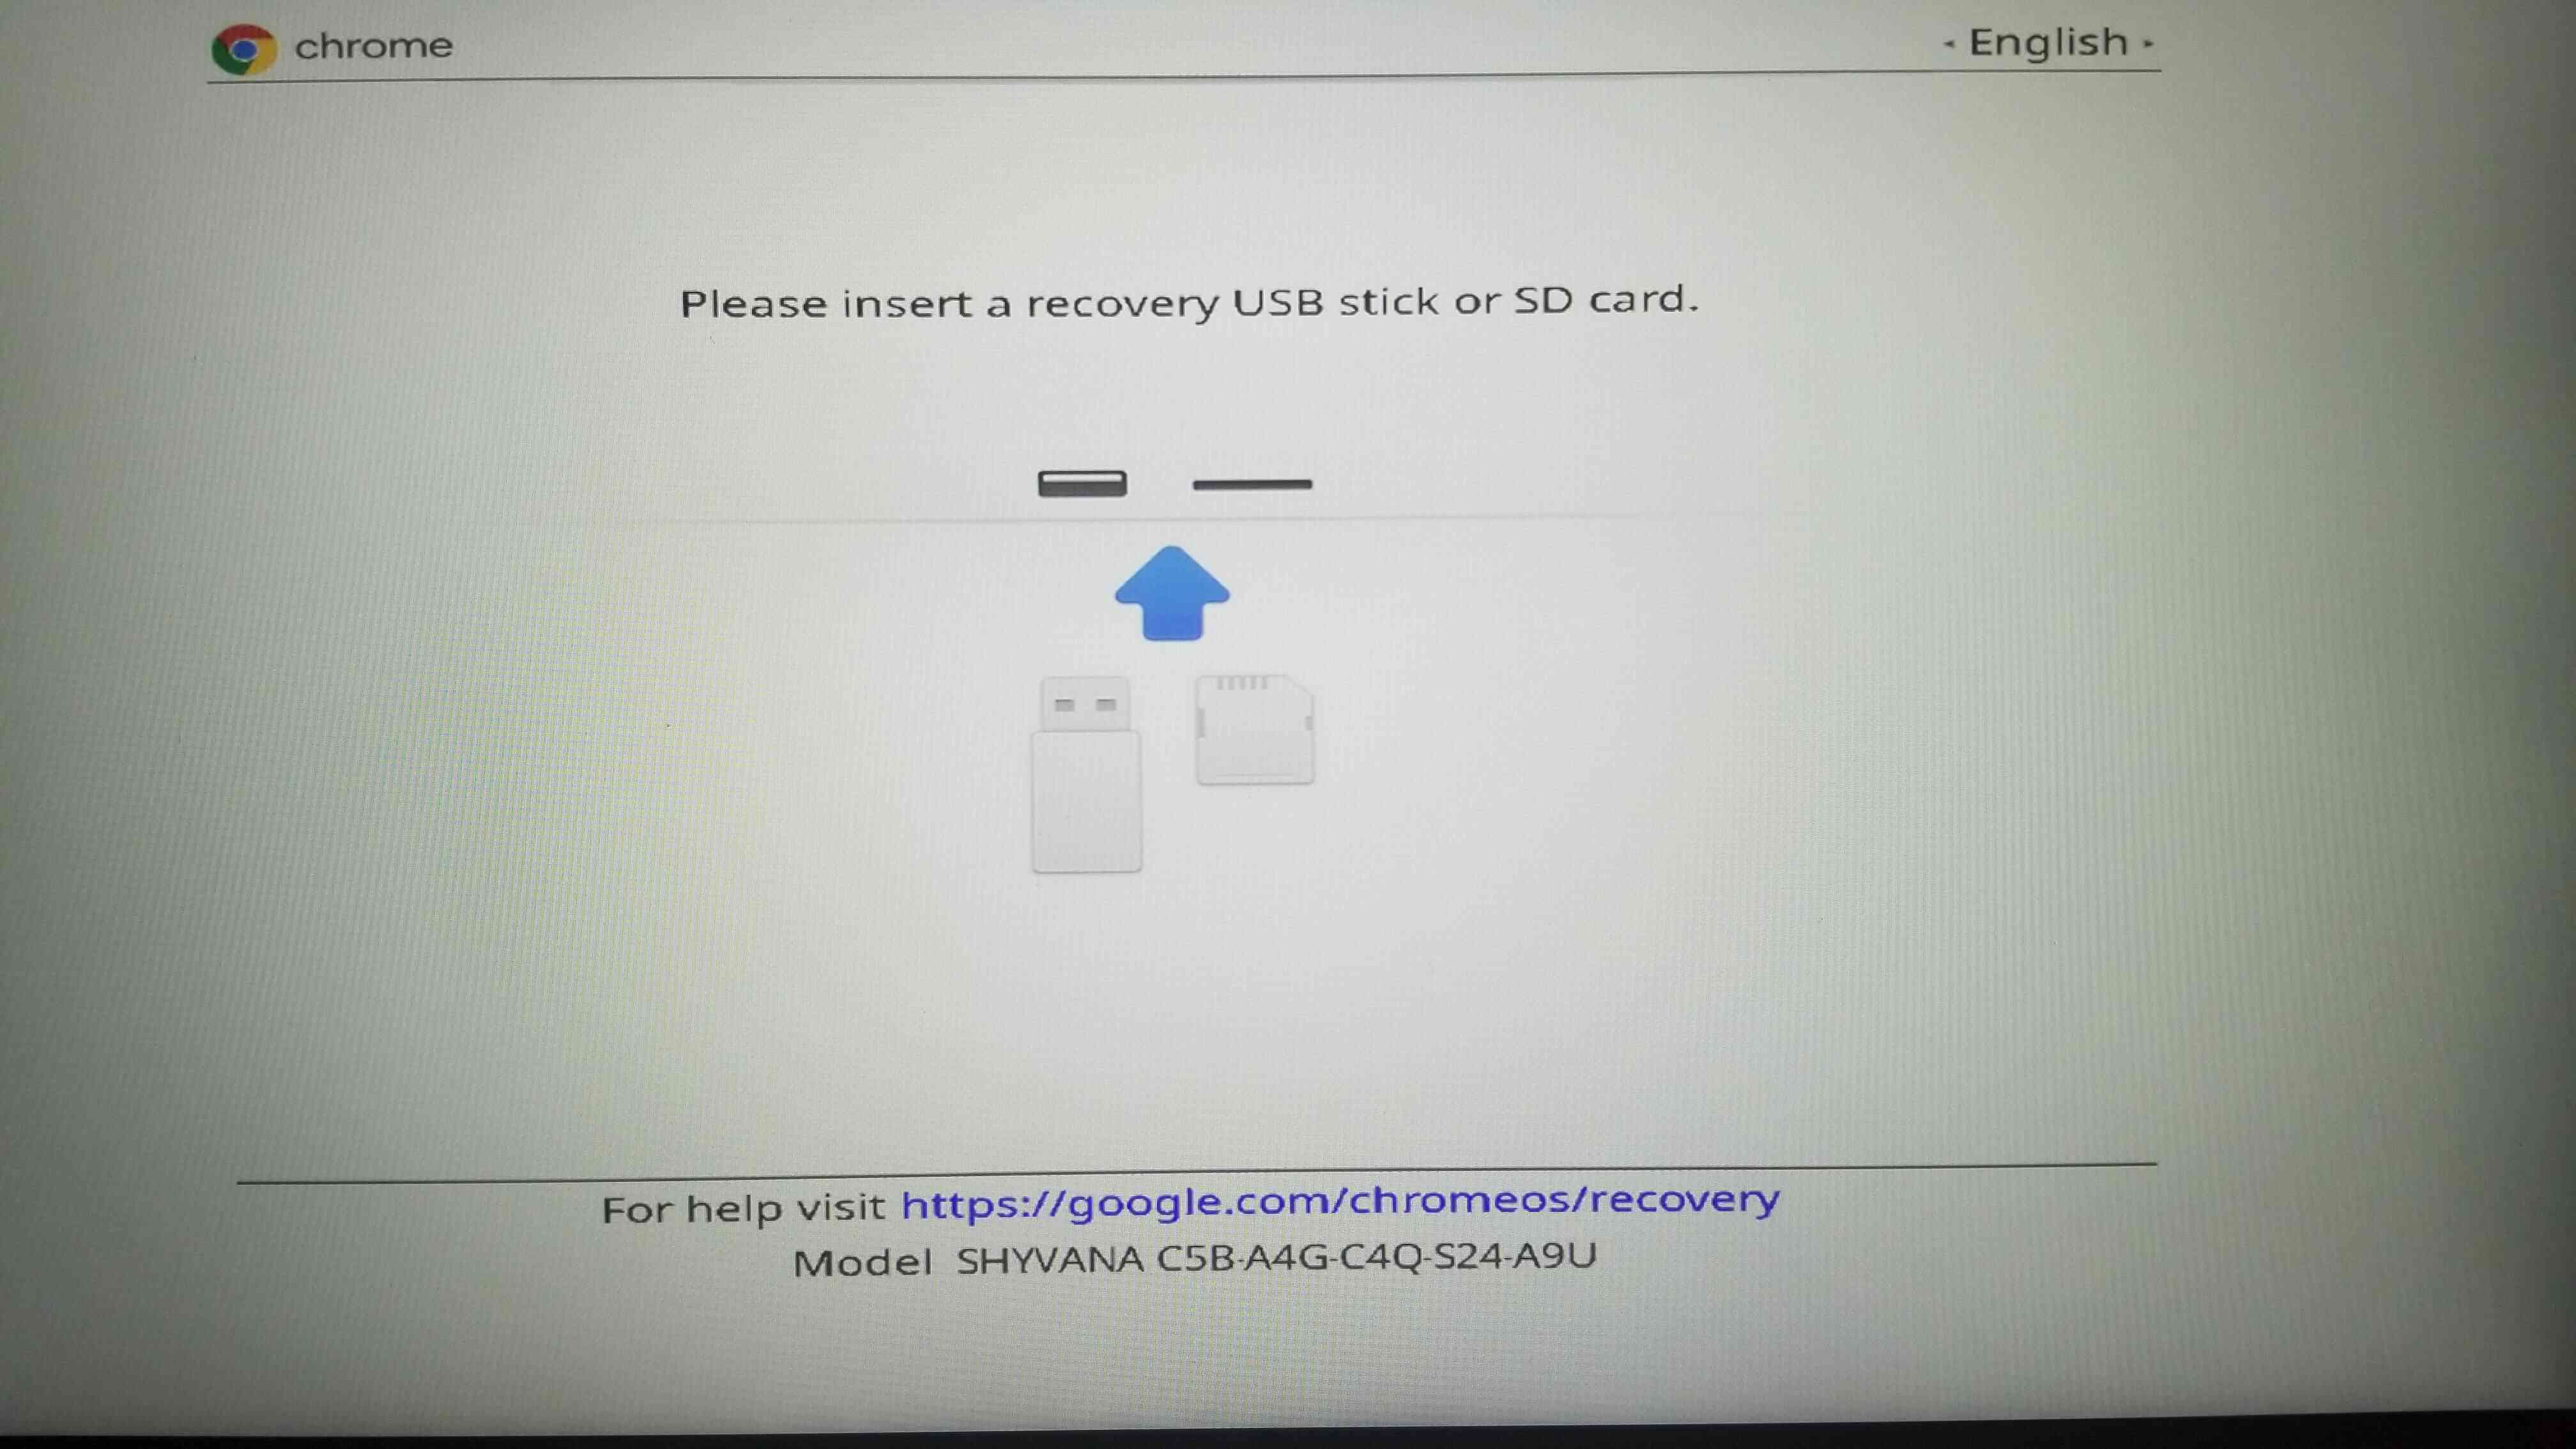
- The Chromebook will now restart and go through the powerwash process, which may take a few minutes.
- Once the powerwash is complete, the Chromebook will reboot and be in the initial setup screen.
Now that you have successfully reset the Chromebook to its factory settings, let’s move on to the next step: removing the school administrator account.
Step 3: Powerwash Chromebook
After resetting your Chromebook to its factory settings, the next step is to perform a powerwash. Powerwashing erases all data and settings from the Chromebook, ensuring a clean start without any traces of the previous school administrator account. Follow these steps to powerwash your Chromebook:
- On the initial setup screen, click on the “Let’s go” button to begin the setup process.
- Select your language and keyboard layout preferences.
- Next, connect your Chromebook to a Wi-Fi network by following the instructions on the screen.
- Once your Chromebook is connected to the internet, you will be prompted to sign in with a Google Account. Here, you need to sign in with your own personal Google Account, which will become the new primary account on the Chromebook.
- If you don’t have a personal Google Account, you can create one by clicking on the “Create account” option.
- Follow the on-screen instructions to sign in or create a new account.
- After signing in with your personal Google Account, the Chromebook will finish the setup process.
- Once the setup is complete, you will have a clean and fresh Chromebook, free from any traces of the school administrator account.
It’s important to note that powerwashing permanently deletes all user accounts and data on the Chromebook. Make sure to backup any important files or documents before performing the powerwash.
Now that you have successfully powerwashed your Chromebook, it’s time to move on to the next step: removing the school administrator account.
Step 4: Remove School Administrator Account
Now that you have reset and powerwashed your Chromebook, it’s time to remove the school administrator account from the device. Follow these steps to remove the school administrator account:
- Sign in to your Chromebook using your personal Google Account, which you used during the setup process.
- Once you are logged in, click on the time and battery status in the bottom-right corner of the screen to open the quick settings menu.
- From the quick settings menu, click on the gear icon labeled “Settings” to open the Chromebook settings page.
- In the settings page, navigate to the “People” category and click on “Manage other people.”
- You will see a list of user accounts associated with the Chromebook.
- Locate the school administrator account that you want to remove.
- Click on the three vertical dots next to the account name and select “Remove this person” from the dropdown menu.
- A confirmation dialog box will appear, asking if you want to remove the account. Click “Remove this person” to proceed.
- The school administrator account will now be removed from your Chromebook.
Removing the school administrator account ensures that you have full control over your Chromebook and can use it with your personal Google Account.
Now that you have successfully removed the school administrator account, let’s move on to the next step: signing in with your personal Google Account.
Step 5: Sign In with Personal Google Account
With the school administrator account removed from your Chromebook, it’s time to sign in with your personal Google Account. Follow these steps to sign in with your personal Google Account:
- On the Chromebook login screen, click on the profile picture located at the bottom-left corner of the screen.
- A list of available Google Accounts will appear.
- Click on the “Add account” option.
- Enter your personal Google Account credentials, including your email address and password.
- Click “Next” and follow any additional prompts to complete the sign-in process.
- Your personal Google Account will now be added to the Chromebook and become the primary account.
- After signing in with your personal Google Account, you will have access to all the features and services associated with your account.
Signing in with your personal Google Account ensures that you can use your Chromebook with all your personalized settings, bookmarks, and installed apps.
Congratulations! You have successfully signed in with your personal Google Account and reclaimed ownership of your Chromebook.
Now that you have completed this step, let’s move on to the final step: reinstalling apps and configuring settings.
Step 6: Reinstall Apps and Configure Settings
Now that you have signed in with your personal Google Account, it’s time to reinstall your favorite apps and configure the settings according to your preferences. Follow these steps to reinstall apps and configure settings on your Chromebook:
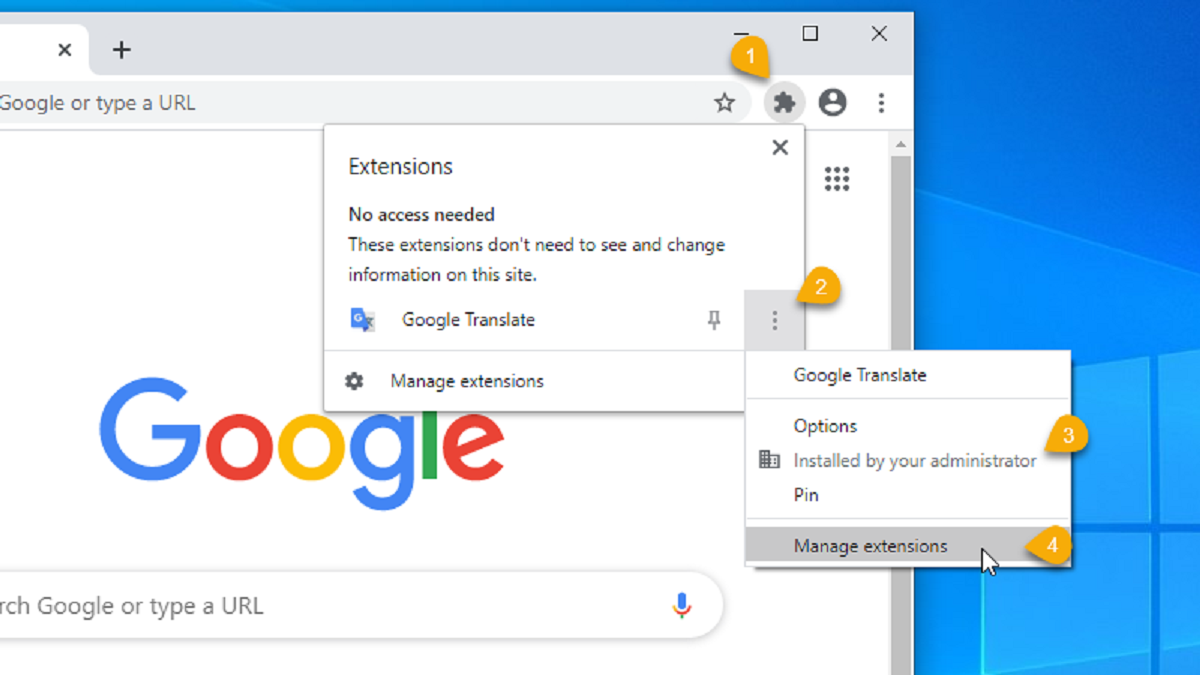
- Open the Chrome Web Store by clicking on the “Launcher” icon, located in the bottom-left corner of the screen, and selecting “Chrome Web Store.”
- Search for the apps and extensions that you want to reinstall on your Chromebook.
- Once you find the desired app or extension, click on it to view more details.
- Click on the “Add to Chrome” button to install the app or extension.
- Repeat this process for all the apps and extensions you want to reinstall.
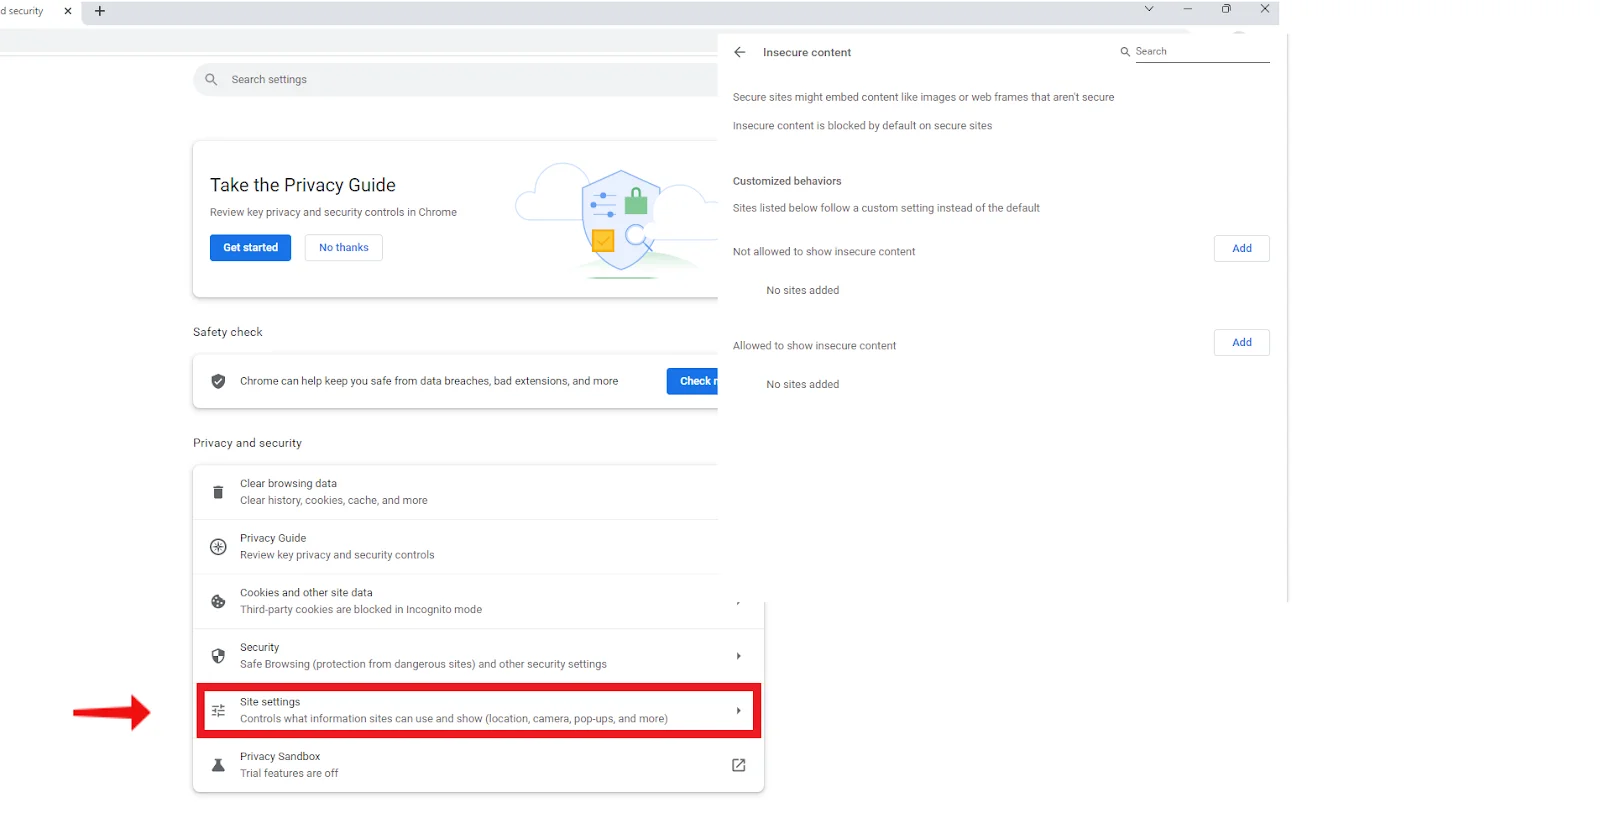
- To configure settings, click on the time and battery status in the bottom-right corner of the screen to open the quick settings menu, and then click on the gear icon labeled “Settings.”
- Explore the various settings categories, such as “Appearance,” “Privacy and security,” and “Advanced,” and customize them according to your preferences.
- Make sure to configure settings related to Wi-Fi, sound, display, and other features to ensure your Chromebook works exactly as you want it to.
- Take your time to explore the settings and make any necessary changes to suit your needs.
By reinstalling apps and configuring settings, you can personalize your Chromebook and optimize it for your specific requirements.
Once you have finished reinstalling your apps and configuring settings, you are all set to enjoy the full functionality of your Chromebook with your personal Google Account.
Congratulations! You have successfully removed the school administrator account from your Chromebook and set it up with your personal Google Account.
Now you can fully utilize your Chromebook for your personal use and enjoy the flexibility and convenience it offers.
Conclusion
Removing the school administrator account from your Chromebook can be a necessary step when transitioning from a school environment to personal use. By following the steps outlined in this guide, you have successfully removed the school administrator account and reclaimed ownership of your Chromebook.
Starting with accessing the Chromebook settings, resetting the device to its factory settings, performing a powerwash, removing the school administrator account, and signing in with your personal Google Account, you have taken the necessary steps to ensure a clean and personalized Chromebook experience.
Once you have signed in with your personal Google Account, you can reinstall your favorite apps and extensions, and configure settings to tailor your Chromebook to your specific needs and preferences. This allows you to fully utilize the features and functionalities of your Chromebook for your personal use.
Remember to backup any important files or documents before starting the process, as resetting and powerwashing your Chromebook will permanently erase all data associated with the school administrator account.
With the school administrator account removed and your personal Google Account set up, you can enjoy the freedom to customize your Chromebook, access your personal files and settings, and make the most out of this versatile device.
Whether you are a student who has graduated, changed schools, or simply want full control over your Chromebook, following these steps will allow you to remove the school administrator account and transition to personal use.
Now that you have completed the process, take some time to explore all the features and capabilities of your Chromebook and make it truly yours.
Enjoy your liberating Chromebook experience!