Introduction
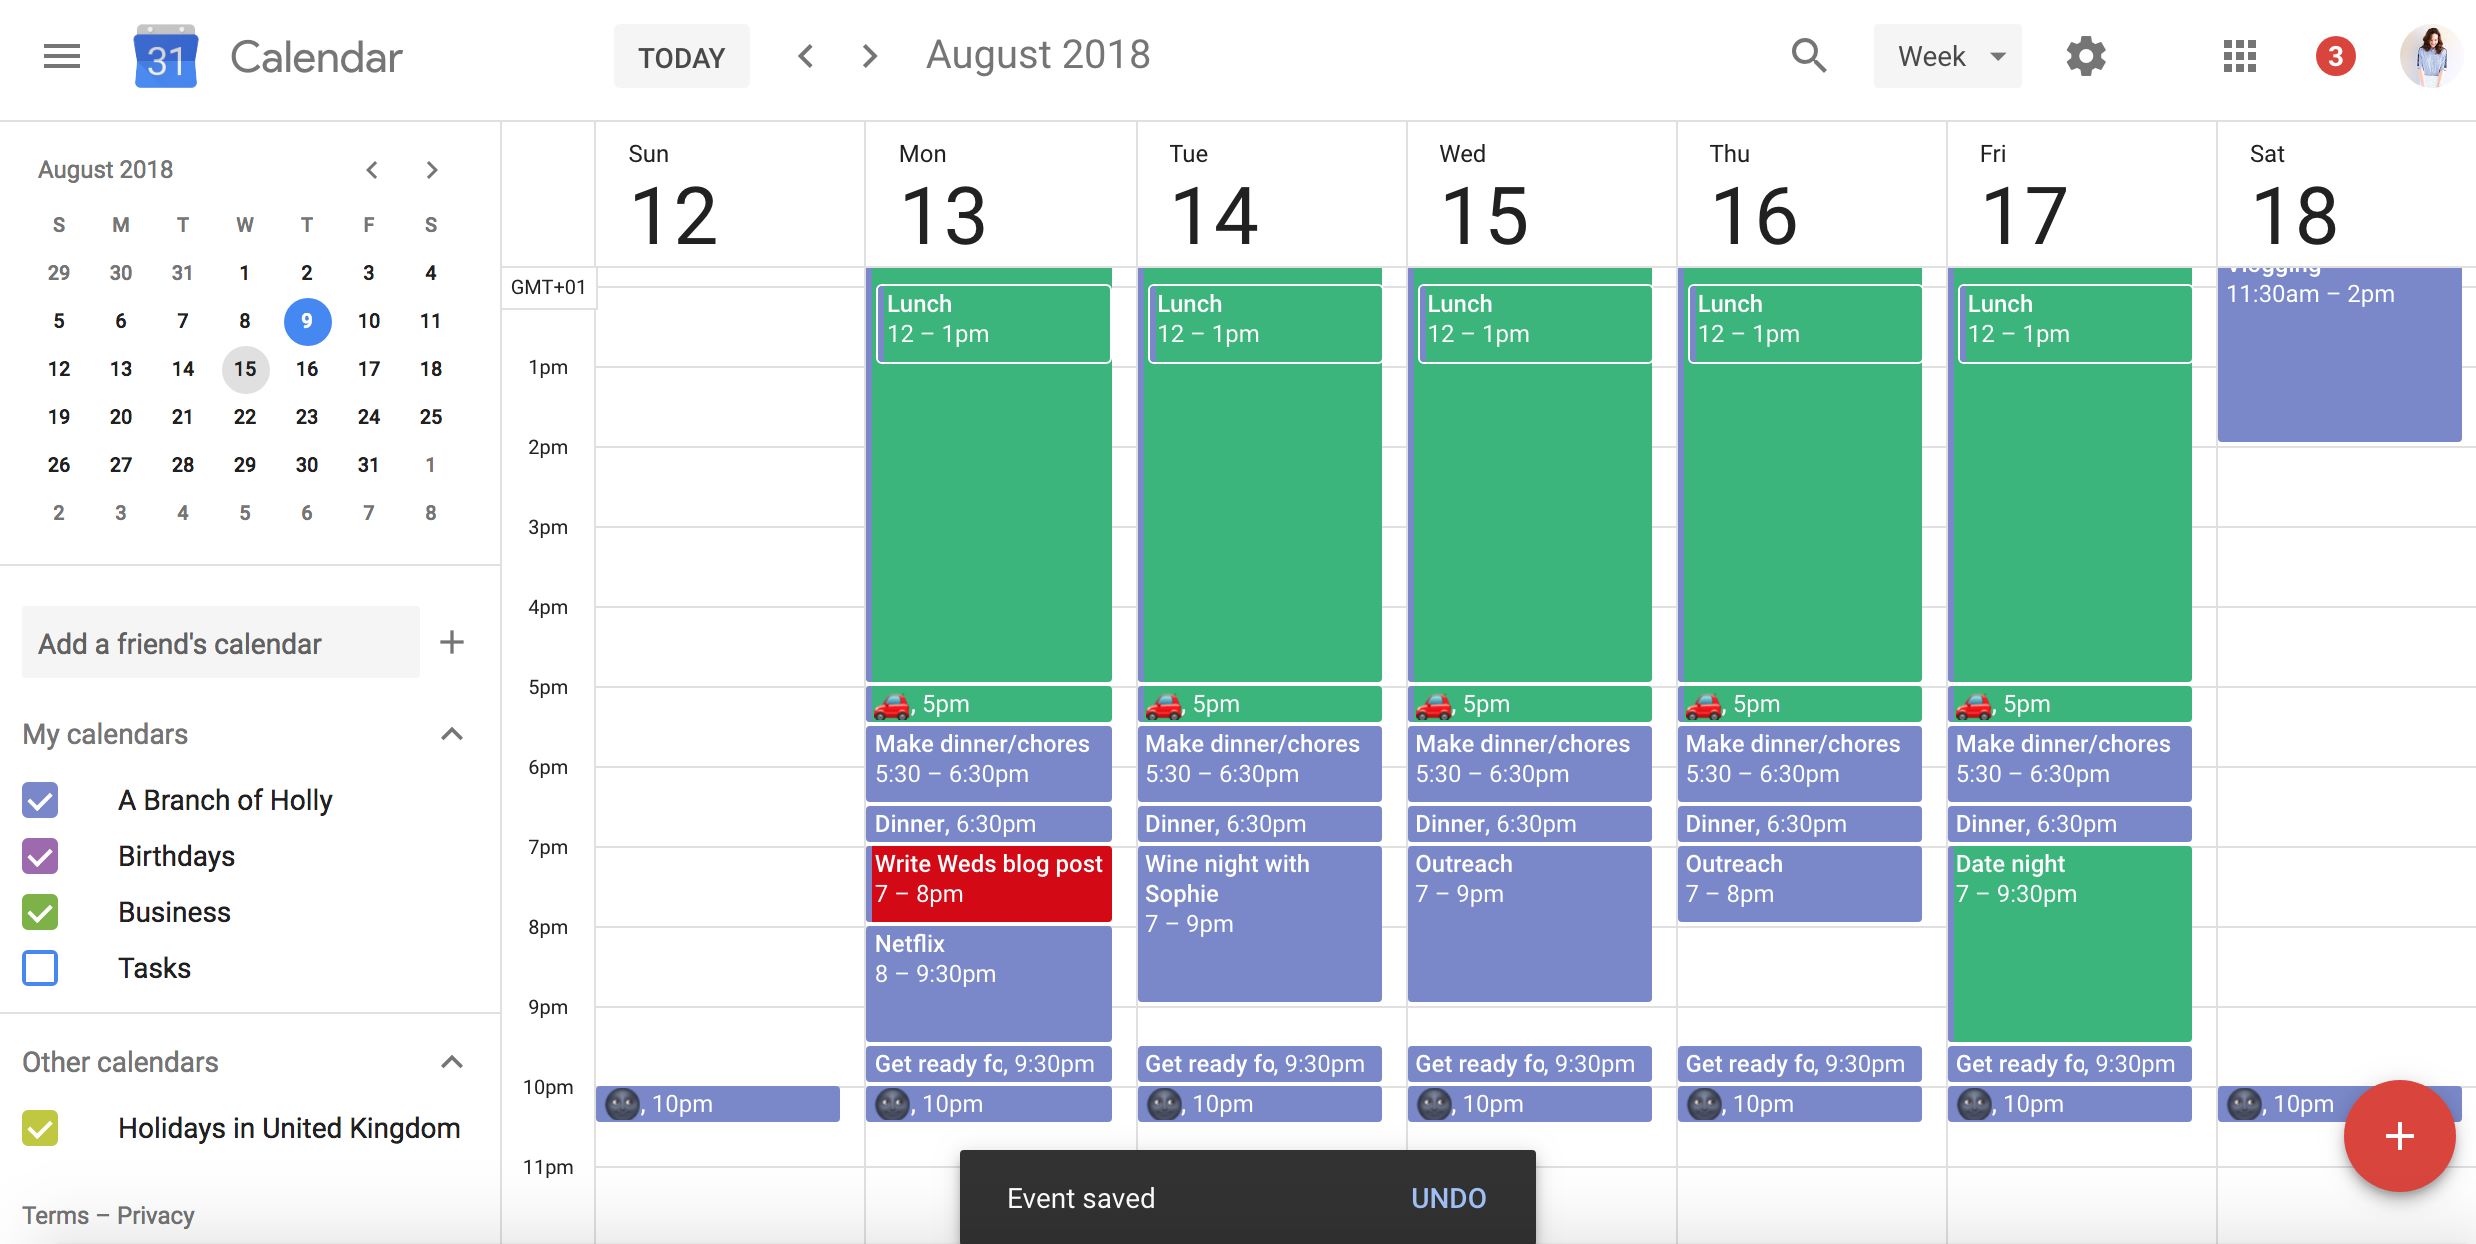
Google Calendar is a powerful tool for keeping track of your appointments, meetings, and events. It not only helps you manage your own schedule but also allows you to schedule meetings in shared rooms or spaces. However, there may come a time when you no longer need a particular room or space and want to remove it from your Google Calendar.
In this article, we will guide you through the steps of removing a room from Google Calendar. Whether you no longer use the room, have changed locations, or simply want to declutter your calendar, removing a room from Google Calendar is a straightforward process. By following these steps, you can ensure that your calendar remains organized and reflects your current needs.
Before we dive into the steps, let’s briefly discuss why you might want to remove a room from Google Calendar.
Why would you want to remove a room from Google Calendar?
There can be several reasons why you might want to remove a room from your Google Calendar:
- You no longer use the room and want to free up space in your calendar.
- The room has changed locations, and you need to update your calendar accordingly.
- You need to declutter your calendar and remove unnecessary rooms.
- You want to ensure that only relevant rooms are displayed for scheduling meetings.
Regardless of the reason, removing a room from Google Calendar is a simple and effective way to streamline your schedule and focus on what matters most. Let’s now dive into the steps to remove a room from Google Calendar.
Why would you want to remove a room from Google Calendar?
There can be several reasons why you might want to remove a room from your Google Calendar:
1. You no longer use the room and want to free up space in your calendar:
Over time, your organization’s needs may change, and certain rooms or spaces may no longer be utilized. Removing these rooms from your Google Calendar can help declutter your schedule and make it easier to find the relevant information you need. By eliminating unused rooms, you can streamline your calendar and focus on the events that matter most.
2. The room has changed locations, and you need to update your calendar accordingly:
If a room or space has been relocated within your organization, it is essential to update your Google Calendar to reflect this change. By removing the outdated room and adding the new location, you ensure that colleagues and meeting attendees have the correct information when scheduling events. This prevents any confusion or double bookings caused by outdated room listings.
3. You need to declutter your calendar and remove unnecessary rooms:
As your calendar fills up with various rooms and spaces, it can become overwhelming to navigate and manage. Removing unnecessary rooms can help simplify your calendar view, making it easier to find and schedule events. By regularly evaluating and removing rooms you no longer use or need, you can maintain a clean and organized calendar.
4. You want to ensure that only relevant rooms are displayed for scheduling meetings:
If your organization has multiple rooms or spaces available for meetings, you may want to ensure that only relevant options are displayed when scheduling. By removing unused or irrelevant rooms from your calendar, you can streamline the selection process and make it easier to find and book the appropriate space for your needs. This saves time and avoids any confusion or double bookings that may occur when unnecessary rooms are displayed.
By considering these reasons, you can determine whether removing a room from your Google Calendar is necessary. Whether it’s to free up space, update room locations, declutter your calendar, or focus on relevant options, removing unneeded rooms can help optimize your scheduling process and enhance your overall productivity.
Step 1: Accessing Google Calendar
The first step in removing a room from Google Calendar is to access your Google Calendar account. Follow these instructions to get started:
1. Open your preferred web browser and go to https://calendar.google.com.
2. Sign in to your Google Account. Enter your email address and password associated with your Google Calendar account.
If you’re already signed in to your Google Account, you may be directed straight to your Google Calendar. If not, follow the prompts to sign in.
3. Once signed in, you will be taken to your Google Calendar dashboard, where you can view and manage your calendar events.
If you’re using a mobile device, you can also access Google Calendar by downloading the Google Calendar app from your device’s app store. Sign in to your Google Account within the app to access your calendar.
Now that you’ve accessed Google Calendar, you’re ready to move on to the next step: navigating to the calendar settings.
Step 2: Navigating to the calendar settings
Once you’ve accessed your Google Calendar account, the next step is to navigate to the calendar settings. Here’s how you can do it:
1. On the Google Calendar dashboard, locate the gear icon in the top right corner of the screen. Click on the gear icon to access the settings menu.
2. From the settings menu, select “Settings” to open the calendar settings page.
3. On the left-hand side of the settings page, you will see a list of different sections. Look for the section labeled “Settings for my calendars.” Under this section, you will find a list of calendars that you have access to.
4. Locate the calendar that contains the room you want to remove. The calendar names are displayed in a list format, and you can find the room’s calendar by its name or description.
5. Once you’ve identified the calendar, click on the calendar name to access the specific settings for that calendar.
By following these steps, you will be able to navigate to the calendar settings page and locate the specific calendar that contains the room you want to remove. The calendar settings page allows you to manage various aspects of the calendar, including the room resources.
Now that you’ve successfully navigated to the calendar settings page, let’s move on to the next step: managing room resources.
Step 3: Managing room resources
Once you’ve accessed the calendar settings and located the calendar that contains the room you want to remove, the next step is to manage the room resources. Follow these instructions to effectively manage the room resources:
1. On the calendar settings page, look for the section or tab that is related to room resources. The exact wording may vary depending on the version of Google Calendar you are using, but it is typically labeled something like “Resources” or “Rooms.”
2. Click on the room resources section to expand it and view the list of available rooms.
3. Scan the list of room resources and locate the room you want to remove. The room names are typically listed along with their corresponding email addresses or descriptions.
4. Once you’ve found the room you want to remove, look for an option or button that allows you to manage or edit the room resource.
5. Click on the manage or edit option for the specific room resource. This will take you to a page where you can modify the settings and details of the room.
6. Within the room resource settings, you should find an option to remove or delete the room. Click on this option to initiate the removal process.
7. Confirm your action when prompted to ensure that you want to remove the room from your Google Calendar. Keep in mind that this action may permanently delete any associated events or bookings related to the room.
By following these steps, you will be able to manage the room resources and remove the specific room from your Google Calendar. This will ensure that the room is no longer displayed or available for scheduling in your calendar.
Now that you’ve successfully managed the room resources, let’s move on to the final step: removing a room from Google Calendar.
Step 4: Removing a room from Google Calendar
After you have accessed the calendar settings and managed the room resources, the final step is to remove the room from your Google Calendar. Follow these instructions to successfully remove the room:
1. Once you are on the room resource settings page, look for an option or button specifically labeled “Remove” or “Delete.” This option is usually located at the bottom of the page or in a prominent position.
2. Click on the “Remove” or “Delete” option to initiate the removal process. A confirmation or verification prompt may appear to ensure that you want to proceed with the removal.
3. Carefully review the prompt and make sure that it is indeed the room you intend to remove. Deleting a room resource will remove it from your Google Calendar and may delete any associated events or bookings.
4. Confirm your action when prompted. This will finalize the removal process and remove the room from your Google Calendar.
5. After the room has been successfully removed, double-check your Google Calendar to ensure that it no longer appears as an available room resource.
By following these steps, you will be able to effectively remove a room from your Google Calendar. Removing the room will ensure that it is no longer displayed or available for scheduling, allowing you to maintain an organized and up-to-date calendar.
It is important to note that removing a room from Google Calendar may permanently delete any associated events, bookings, or settings related to that room. Therefore, it is advisable to double-check and ensure that you are removing the correct room resource.
Now that you have successfully removed the room from your Google Calendar, you can enjoy a more streamlined and accurate schedule.
Conclusion
Removing a room from Google Calendar is a simple yet essential process to keep your calendar organized and up to date. By following the steps outlined in this article, you can easily remove unused or irrelevant rooms from your calendar.
First, access your Google Calendar account by signing in and navigating to the calendar dashboard. From there, locate the calendar settings and access the specific calendar that contains the room you want to remove. Next, manage the room resources by locating the room in the list and accessing the settings to remove it. Finally, confirm the removal and ensure that the room no longer appears in your Google Calendar.
By removing unneeded rooms, you declutter your calendar and make it easier to find and schedule events. It also helps ensure that only relevant rooms are displayed for booking purposes, reducing the risk of confusion or double bookings.
However, keep in mind that removing a room from Google Calendar may permanently delete any associated events or bookings related to that room. Therefore, it’s essential to double-check your actions and make sure you are removing the correct room.
Now that you have the knowledge and steps to remove rooms from Google Calendar, take some time to review your calendar and remove any unnecessary or outdated rooms. This will help optimize your scheduling process and make your Google Calendar more efficient and effective.
Start streamlining your calendar today and enjoy a more organized and hassle-free scheduling experience.