Introduction
Welcome, fellow tech enthusiasts! If you’ve found your way to this article, chances are you’re looking to upgrade your PC or replace your existing solid-state drive (SSD). Removing an SSD from your PC may seem like a daunting task, but fear not! With this step-by-step guide, we’ll walk you through the process and have you on your way to a speedy SSD upgrade in no time.
Before we dive into the nitty-gritty, let’s take a moment to understand the importance of removing an SSD properly. The SSD houses valuable data that needs to be handled with care to avoid any accidental damage or loss. By following these instructions, you’ll ensure a safe removal process, preserving your data and allowing for a seamless transition to a new drive.
Whether you’re a seasoned PC builder or a newbie in the tech world, this guide is designed to be easy to follow, providing clear instructions along the way. So, let’s get started on this exciting journey of upgrading or replacing your SSD. Get your toolkit ready and let’s dive in!
In the following steps, we’ll cover each aspect of safely removing an SSD from your PC. We’ll start with powering down the system and opening the PC case, then move on to locating the SSD, disconnecting cables, and removing any mounting brackets if necessary. Finally, we’ll guide you through removing the SSD from its slot and storing it in a safe place.
Ready to take the plunge? Let’s begin the process of removing an SSD from your PC and embark on a hardware adventure that will give you faster speeds and increased storage capacity.
Step 1: Power down the PC
The first step in safely removing an SSD from your PC is to power down the system. This is a crucial step to ensure that no electrical current is flowing through the components, reducing the risk of damage during the removal process.
To power down your PC, follow these simple instructions:
- Save any unsaved work and close all active programs to prevent data loss.
- Click on the “Start” button located at the bottom left corner of your screen.
- Select the “Power” option from the Start menu.
- Click on the “Shut Down” option. This will initiate the process of shutting down your PC.
- Wait patiently as your system powers down completely.
It’s important to note that some PCs may have different power down procedures. If you’re unsure about how to turn off your specific model, consult the user manual or manufacturer’s website for guidance.
Once your PC is completely powered down, you can proceed to the next step of safely removing the SSD from your computer.
Now that your PC is powered down, let’s move on to the next step and open the PC case to access the internals of your computer.
Step 2: Open the PC case
With the PC powered down, the next step in removing an SSD from your PC is to open the PC case. Opening the case will give you access to the internals of your computer, allowing you to locate and remove the SSD.
Follow these steps to safely open your PC case:
- Locate the screws or latches securing the side panel of your PC case.
- Using a screwdriver or your hands, remove the screws or unlatch the latches holding the side panel in place.
- Gently slide or lift off the side panel to reveal the internal components of your PC.
It’s important to handle the side panel with care to avoid any damage. Be mindful of any cables that may be connected to the side panel and ensure they are not pulled or strained during the removal process.
Once the side panel is removed, take a moment to familiarize yourself with the internal layout of your PC. Look for any cables or components that may obstruct access to the SSD.
Opening the PC case can vary depending on the model and manufacturer of your computer. If you’re unsure about how to open your specific PC case, refer to the user manual or the manufacturer’s website for detailed instructions.
Now that you have successfully opened the PC case, it’s time to move on to the next step and locate the SSD within your computer.
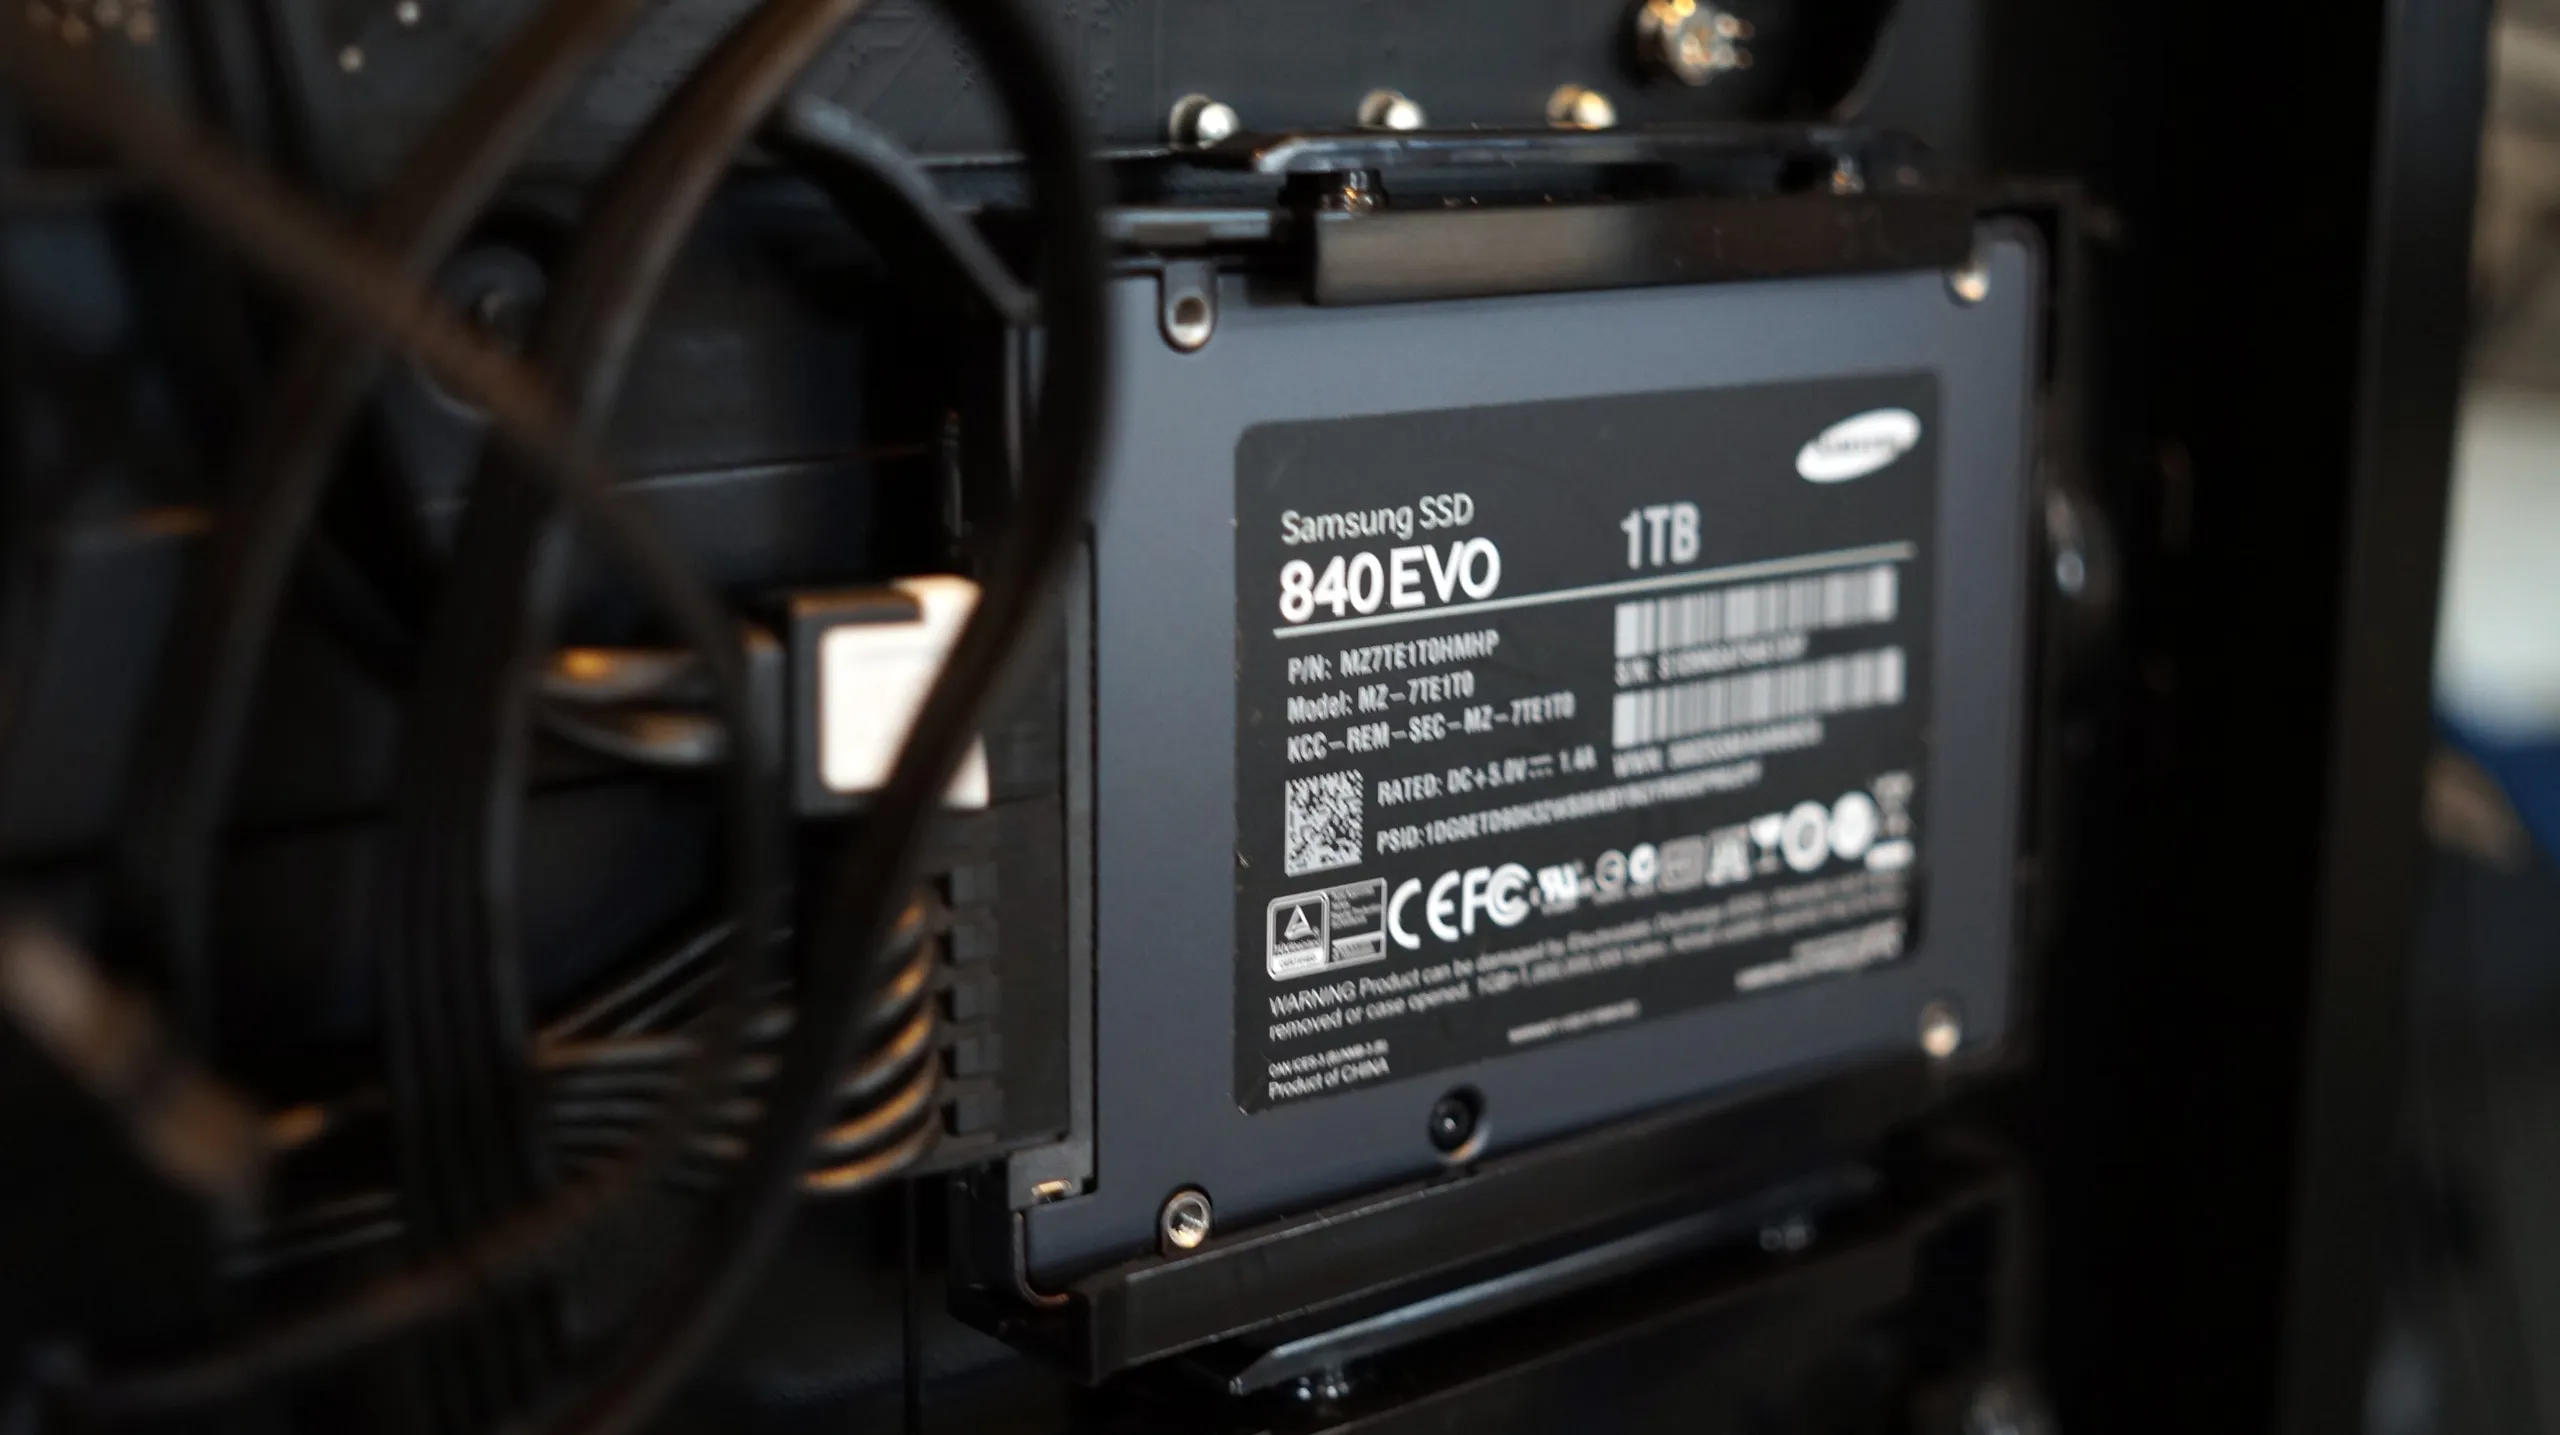
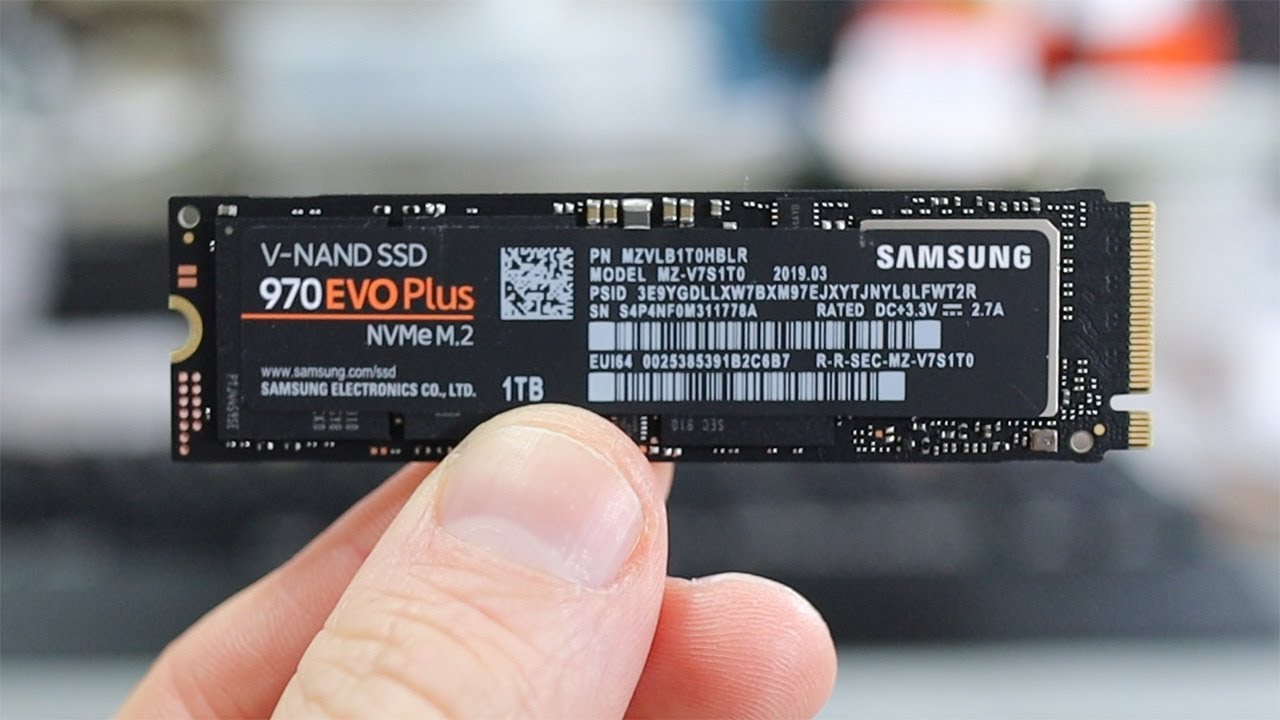
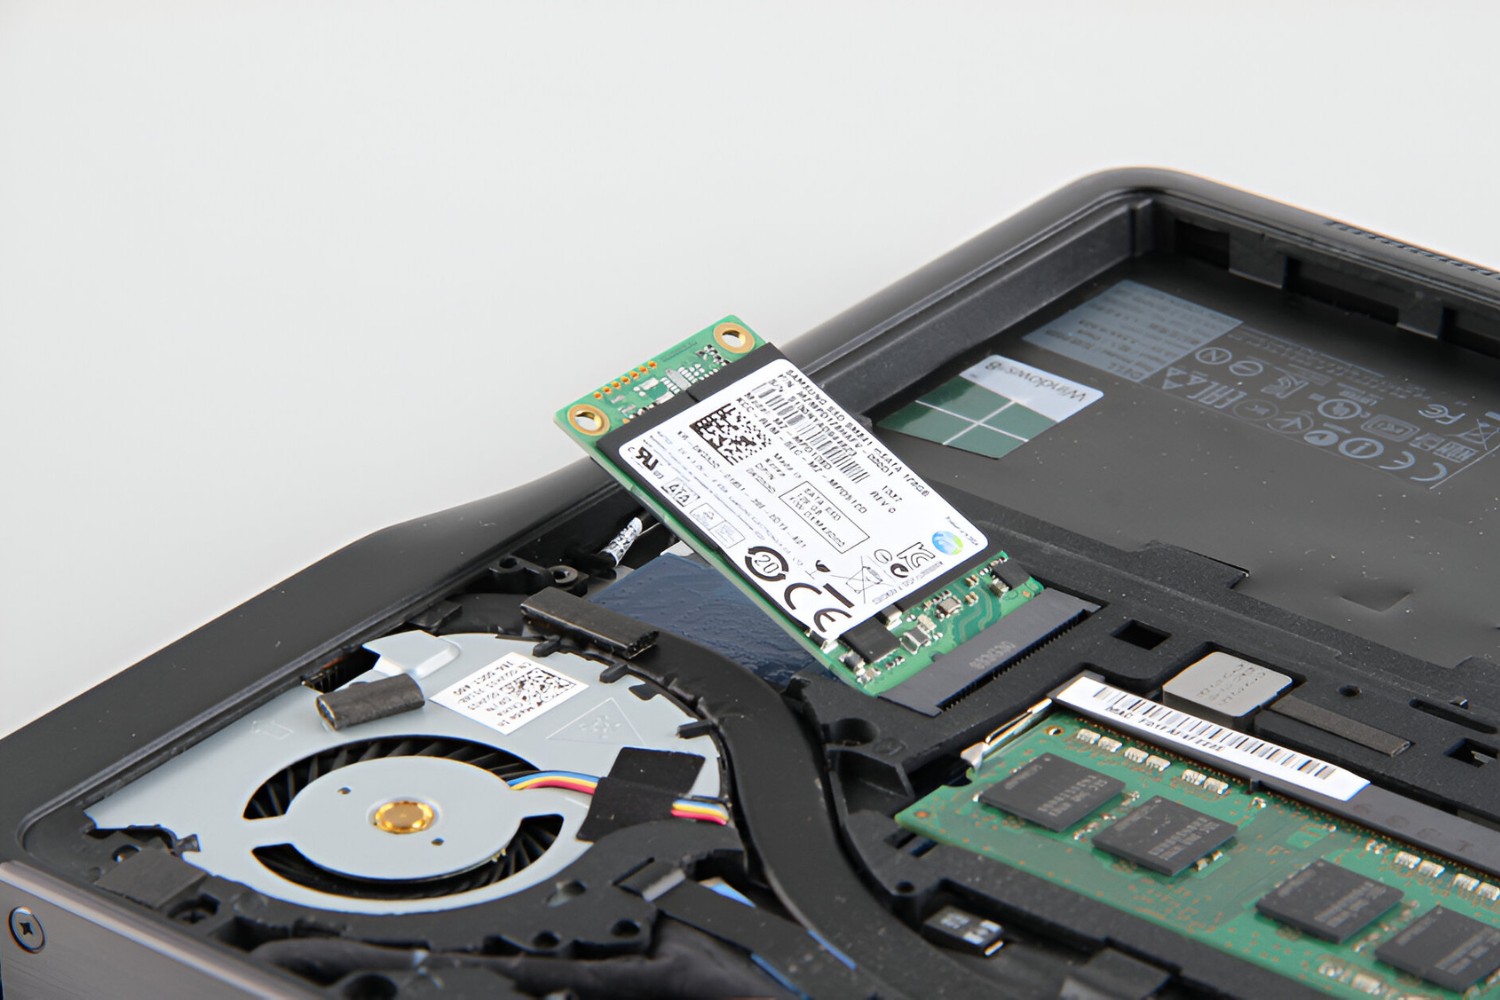
Step 3: Locate the SSD
Now that you have the PC case open, it’s time to locate the solid-state drive (SSD) within your computer. The SSD is usually a rectangular-shaped device, typically smaller than a traditional hard drive, and it stores data on flash memory chips.
To locate the SSD, follow these steps:
- Take a moment to visually scan the internal components of your PC, looking for the rectangular-shaped SSD.
- If you’re having trouble identifying the SSD, consult your PC’s documentation or the manufacturer’s website to determine the exact location.
- Most commonly, the SSD is connected to the motherboard via a SATA cable, and it may also have a power cable connected to it.
- The SSD might be secured in a mounting bracket or installed directly into a dedicated slot in the PC case.
As you locate the SSD, pay attention to any cables or connectors attached to it. These cables will need to be disconnected in the following step when removing the SSD.
If you’re still having trouble finding the SSD or are unsure about any of the components you see, it’s always a good idea to refer to the user manual or seek assistance from the manufacturer or a knowledgeable professional.
Now that you have located the SSD within your PC, it’s time to move on to the next step and disconnect the cables.
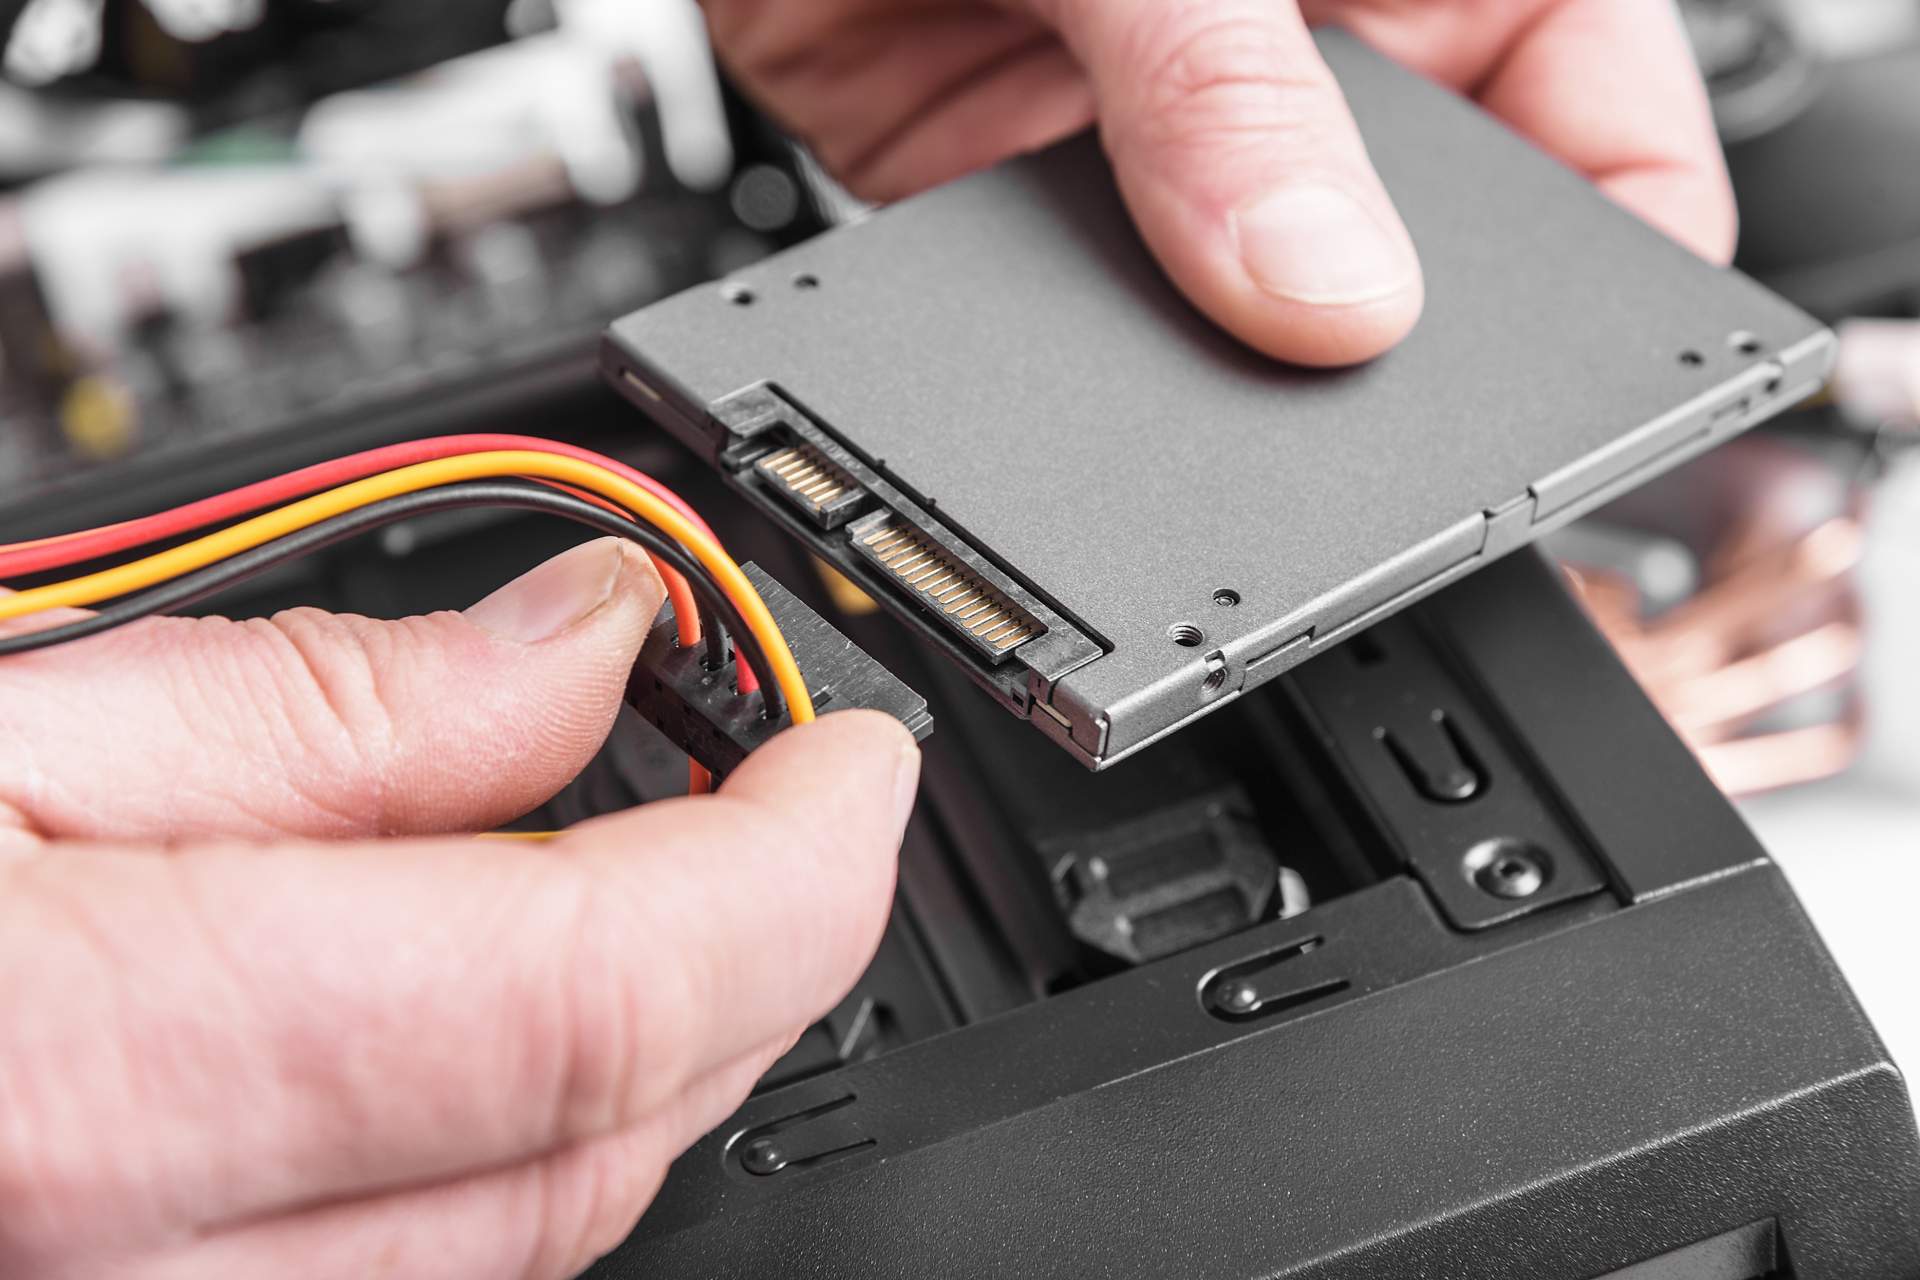
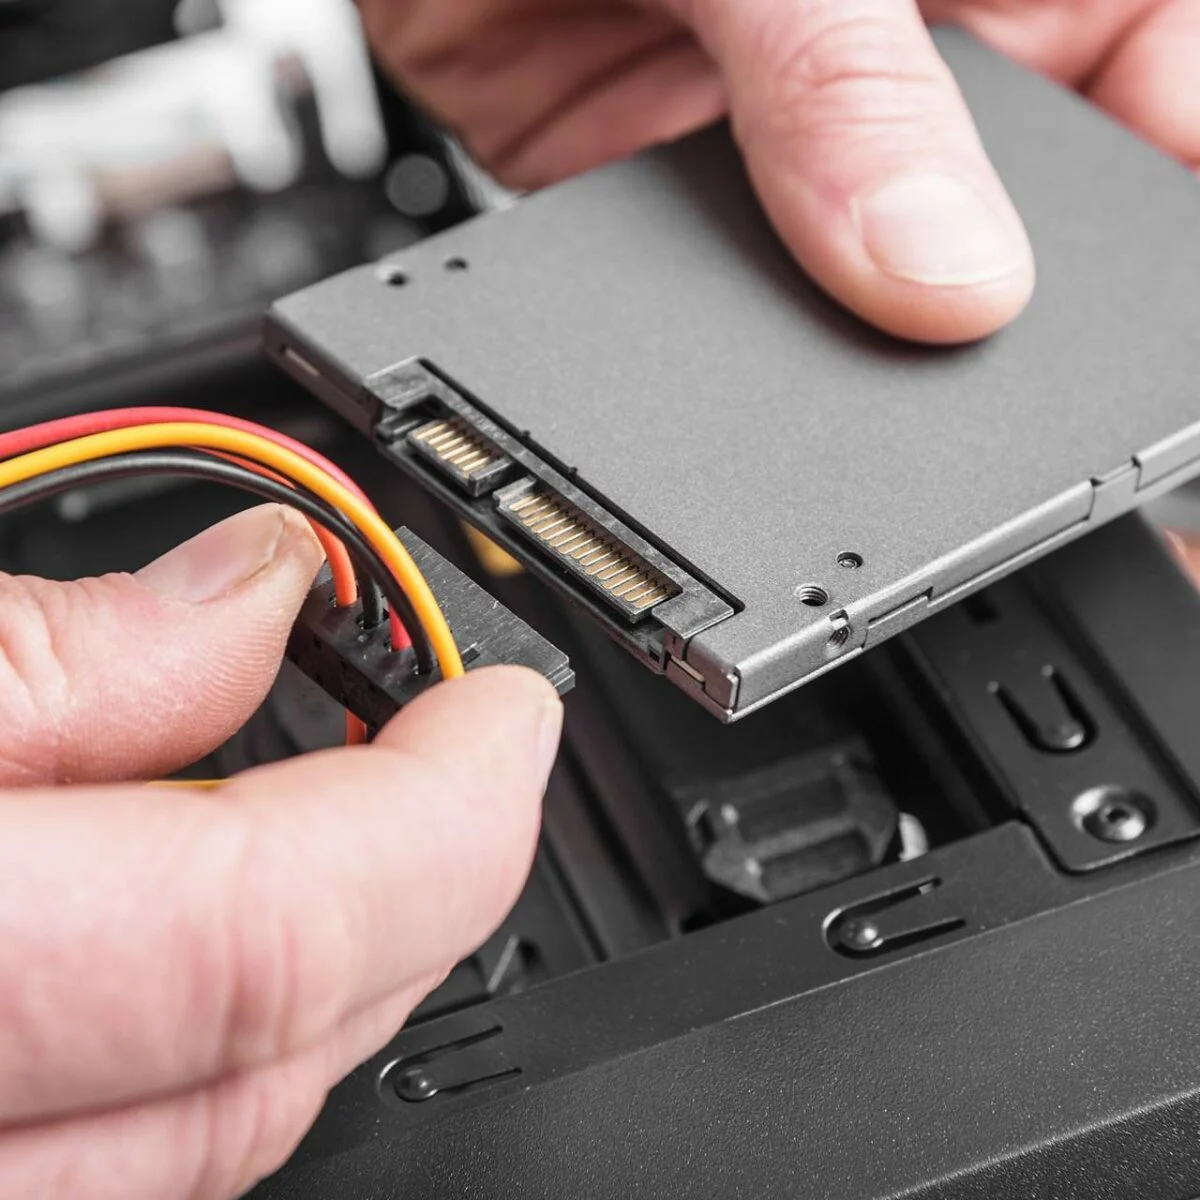
Step 4: Disconnect cables
Now that you have located the solid-state drive (SSD) within your PC, it’s time to disconnect the cables connected to it. This will ensure that the SSD can be safely removed without causing any damage to the cables or the SSD itself.
Follow these steps to disconnect the cables from the SSD:
- Identify the SATA cable connected to the SSD. This is a thin, flat cable that transfers data between the SSD and the motherboard.
- Gently grip the connector where it plugs into the SSD to avoid pulling on the cable itself.
- Give a gentle tug while holding the connector to disconnect the SATA cable from the SSD.
- If there is a power cable connected to the SSD, use the same process to disconnect it. The power cable usually has a larger connector and supplies power to the SSD.
It’s important to note that some computers may have additional cables or connectors attached to the SSD, such as a data cable or screws securing the SSD in place. If this is the case, make sure to disconnect all relevant cables and remove any securing screws as necessary.
As you disconnect the cables, be mindful of other components in the vicinity to avoid accidentally disconnecting or damaging any other parts of your PC.
Once all the cables are safely disconnected from the SSD, you’re ready to move on to the next step and, if applicable, remove any mounting brackets securing the SSD in place.
Step 5: Remove the mounting bracket (if applicable)
In some cases, the solid-state drive (SSD) might be secured in a mounting bracket within your PC. The mounting bracket provides stability and helps to secure the SSD in place. If your SSD is installed in a mounting bracket, this step will guide you on how to safely remove it.
Follow these steps to remove the mounting bracket:
- Identify the mounting bracket that is securing the SSD.
- Observe the way the SSD is attached to the bracket. It may be held in place by screws, clips, or other fasteners.
- Using a screwdriver or your hands, remove the screws or unclip the fasteners to release the SSD from the mounting bracket.
- Once the SSD is free from the mounting bracket, set aside the bracket for future use or storage.
It’s important to handle the mounting bracket with care to avoid any damage. Be mindful of any components or cables that may be connected to the bracket as you remove it.
Keep in mind that not all PCs have mounting brackets for SSDs. If your SSD is directly installed into a dedicated slot in your PC case, skip this step and proceed to the next one.
Now that you have successfully removed the mounting bracket (if applicable), it’s time to detach the SSD from the slot it is inserted in.
Step 6: Remove the SSD from the bracket (if applicable)
If your solid-state drive (SSD) is secured in a mounting bracket within your PC, this step will guide you on how to safely detach it from the bracket. Removing the SSD from the bracket allows for easy removal from your PC case.
Follow these steps to remove the SSD from the bracket:
- Inspect the way the SSD is attached to the mounting bracket.
- There may be screws or clips holding the SSD in place.
- Using a screwdriver or your hands, remove the screws or unclip the fasteners to release the SSD from the bracket.
- Gently slide or lift the SSD out of the bracket, ensuring not to force or bend the SSD during the removal process.
Handle the SSD with care as it is a delicate electronic component. Avoid touching any of the exposed circuitry or connectors on the SSD.
If your SSD is directly installed into a dedicated slot in your PC case without a mounting bracket, you can skip this step and proceed to the next one.
Once the SSD is removed from the bracket, set the bracket aside for future use or storage. Now, you’re ready for the next step, which is removing the SSD from its slot within the PC case.
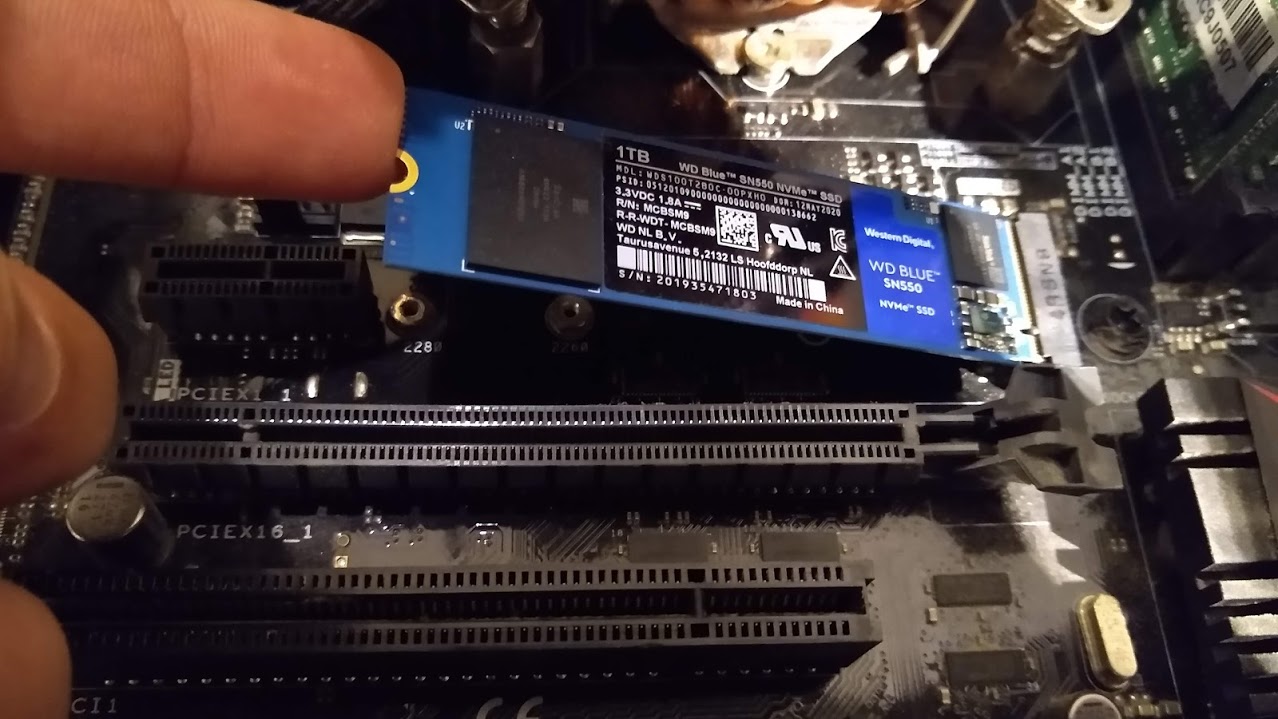
Step 7: Remove the SSD from the slot
Now that you have successfully removed the solid-state drive (SSD) from any mounting brackets (if applicable), it’s time to remove the SSD from its slot within the PC case. This step will guide you on how to safely detach the SSD, allowing for its removal from the computer.
Follow these steps to remove the SSD from its slot:
- Identify the slot in which the SSD is inserted. It may be located on the motherboard or a separate expansion card.
- Take note of any clips, levers, or screws that are holding the SSD in place within the slot.
- If there are clips or levers, gently push or release them to unlock the SSD from the slot.
- If there are screws, use a screwdriver to unscrew them and release the SSD from the slot.
- Gently rock the SSD back and forth while pulling it out of the slot. Be careful not to apply excessive force or twist the SSD.
Handle the SSD with care throughout the removal process, making sure not to touch any of the exposed circuitry or connectors on the SSD.
Once the SSD is free from the slot, it’s important to place it in a safe location to prevent any damage. Avoid placing it on a static-prone surface or near any magnetic sources that may interfere with the integrity of the data stored on the SSD.
Congratulations! You have successfully removed the SSD from its slot. The next step is to store the SSD safely and securely.
Step 8: Store the SSD safely
Now that you have successfully removed the solid-state drive (SSD) from your PC, it’s crucial to store it safely to prevent any damage and ensure the integrity of your valuable data. Proper storage will protect the SSD from physical harm and potential data loss.
Follow these steps to store the SSD safely:
- Find an antistatic bag or antistatic foam to store the SSD. These materials help dissipate any static electricity that can potentially damage sensitive electronic components.
- If you have an antistatic bag, gently place the SSD into the bag and seal it. Ensure that there is no excessive bending or pressure on the SSD.
- If you have antistatic foam, carefully insert the SSD into the foam cutout, ensuring it fits snugly and is properly cushioned.
- Label the antistatic bag or foam with the SSD’s name or any other relevant information. This will help you identify it easily in the future.
- Store the SSD in a cool, dry place away from direct sunlight and sources of heat. Excessive heat and humidity can potentially damage the SSD.
- If you plan to reuse the SSD or place it in another PC, store it in a location where it will be easily accessible when needed.
By storing the SSD properly, you will not only protect it from physical damage but also ensure that it remains in optimal condition for future use or resale.
Remember, always handle the SSD with care, avoiding unnecessary drops, shocks, or exposure to static electricity. These precautions will help extend the lifespan of the SSD and maintain the integrity of your data.
Congratulations! You have successfully removed and stored the SSD. Now you can proceed with your desired upgrade or replacement for a faster and more efficient computing experience.
Conclusion
Removing a solid-state drive (SSD) from your PC may seem like a daunting task, but with the right guidance, it can be a smooth and safe process. By following the step-by-step instructions in this guide, you can confidently remove your SSD, whether you’re upgrading to a larger capacity drive or replacing a faulty one.
We started by powering down the PC and opening the case to gain access to the internal components. Then, we located the SSD within the PC and disconnected the necessary cables. If your SSD was secured in a mounting bracket, we walked you through removing the bracket and freeing the SSD. Finally, we removed the SSD from its slot and stored it safely to protect its integrity.
Remember, throughout the process, it’s essential to handle the SSD with care, avoiding excessive force and being mindful of static electricity. Take your time, follow the instructions, and refer to your PC’s documentation if needed.
Now that you have successfully removed the SSD from your PC, you can proceed with your desired next steps, such as installing a new SSD, upgrading other components, or troubleshooting any PC issues you may have.
As always, if you’re uncertain about any step in the process or encounter any difficulties, it’s wise to seek the assistance of a professional or consult the manufacturer’s support services. They can provide guidance specific to your PC model and ensure a smooth SSD removal process.
We hope this guide has been helpful in assisting you with removing your SSD. Good luck with your future PC endeavors!